~ Expectantly Expectant ~
I had originally planned on making this just a 2 part series and saving my finished art for this part 2 post. However, i still have a ways to go towards finishing and i took a great many progress shots to share with you. So, i should be finished by part 3 but i hope you enjoy this post in the meantime.
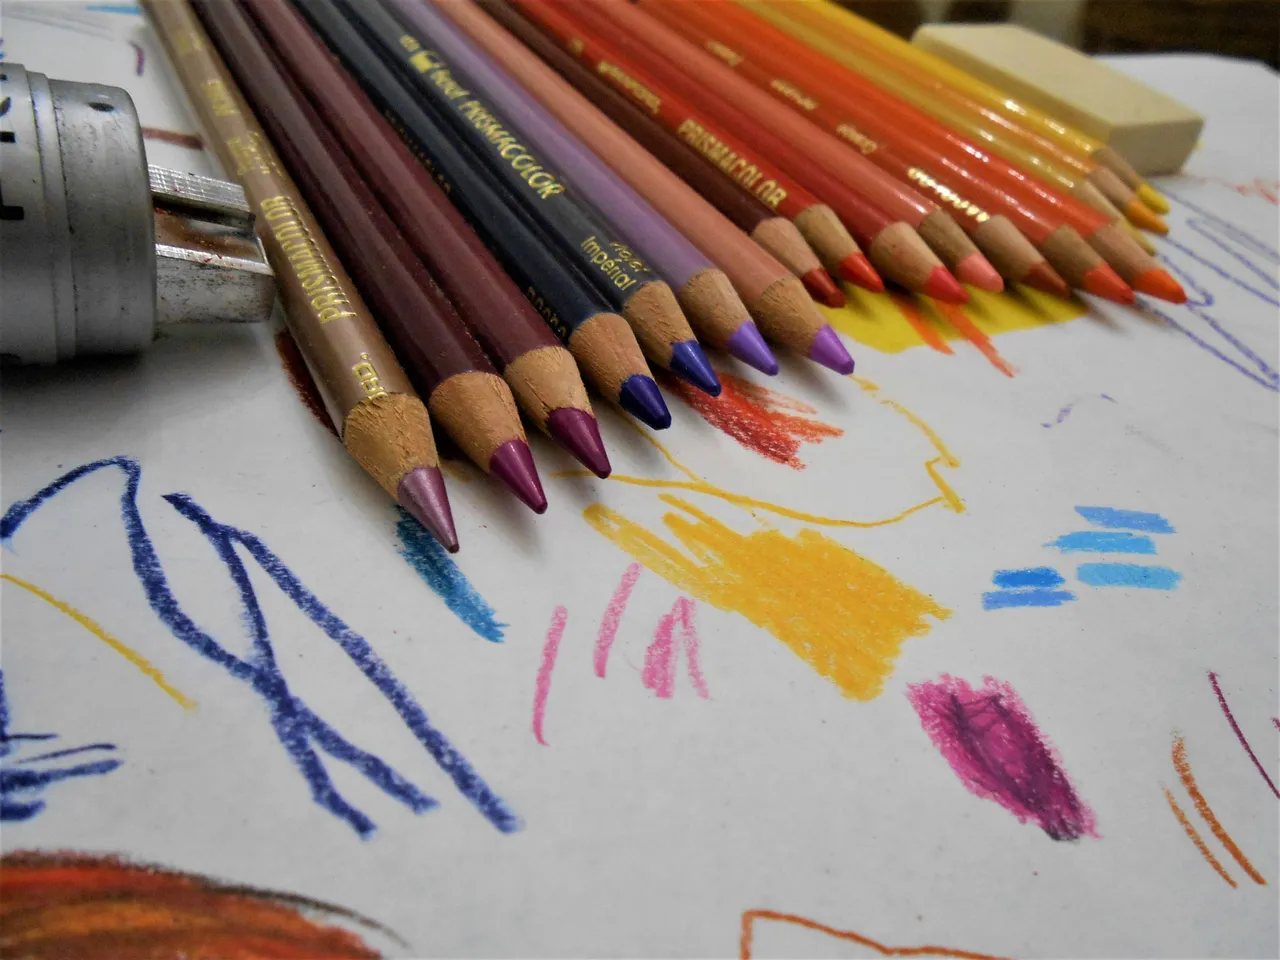
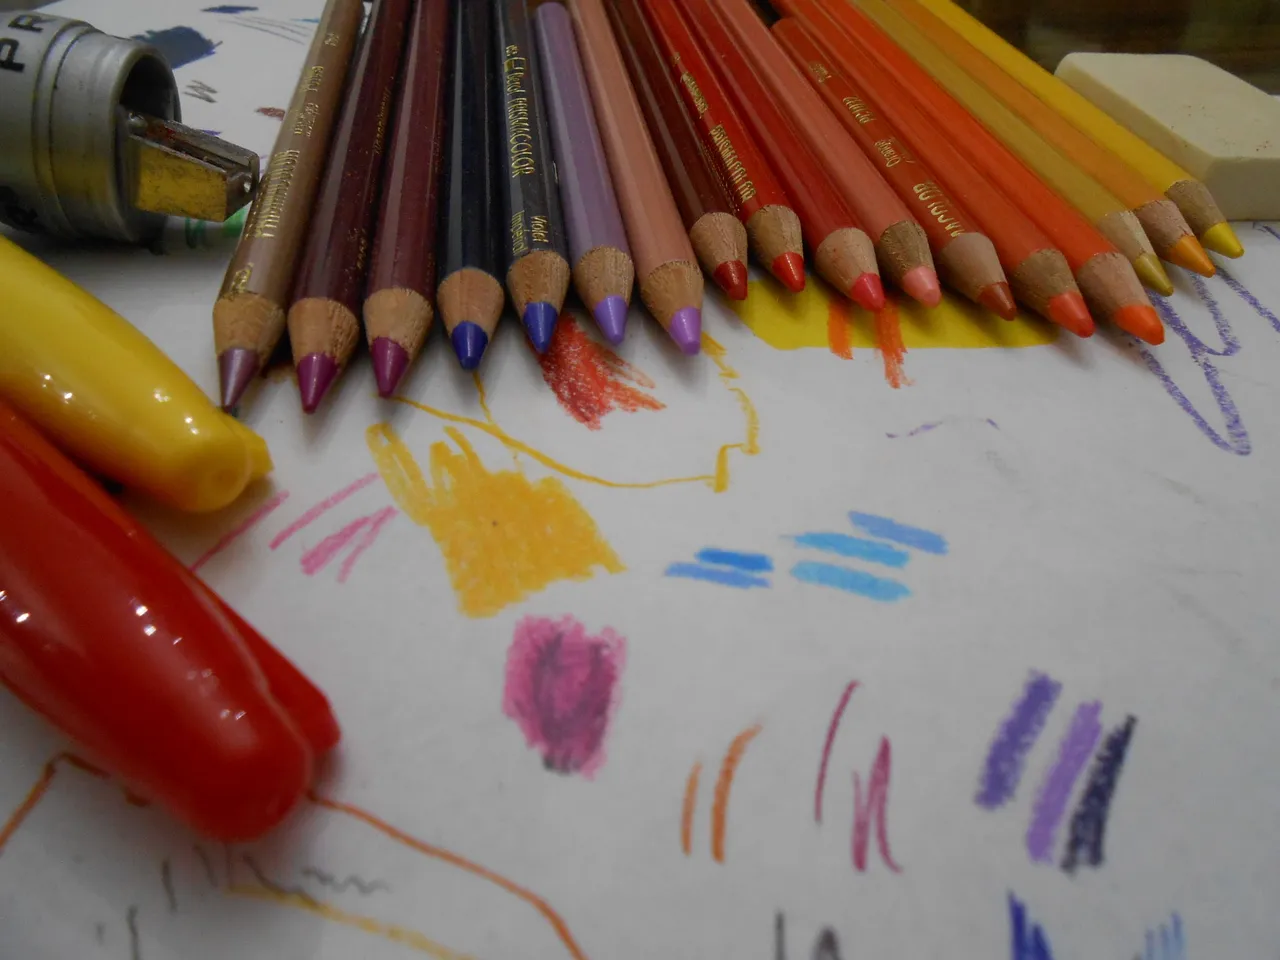
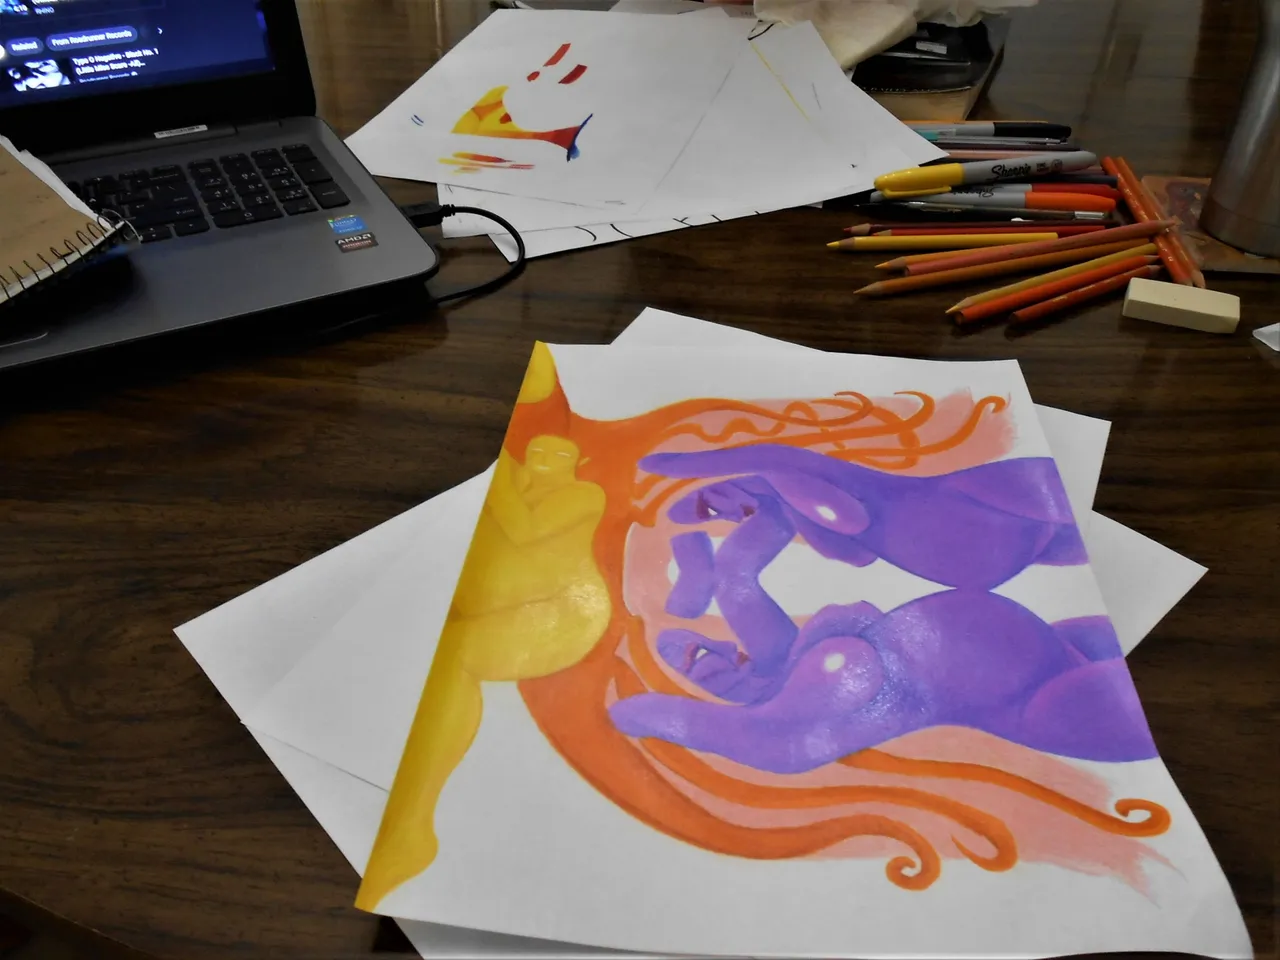
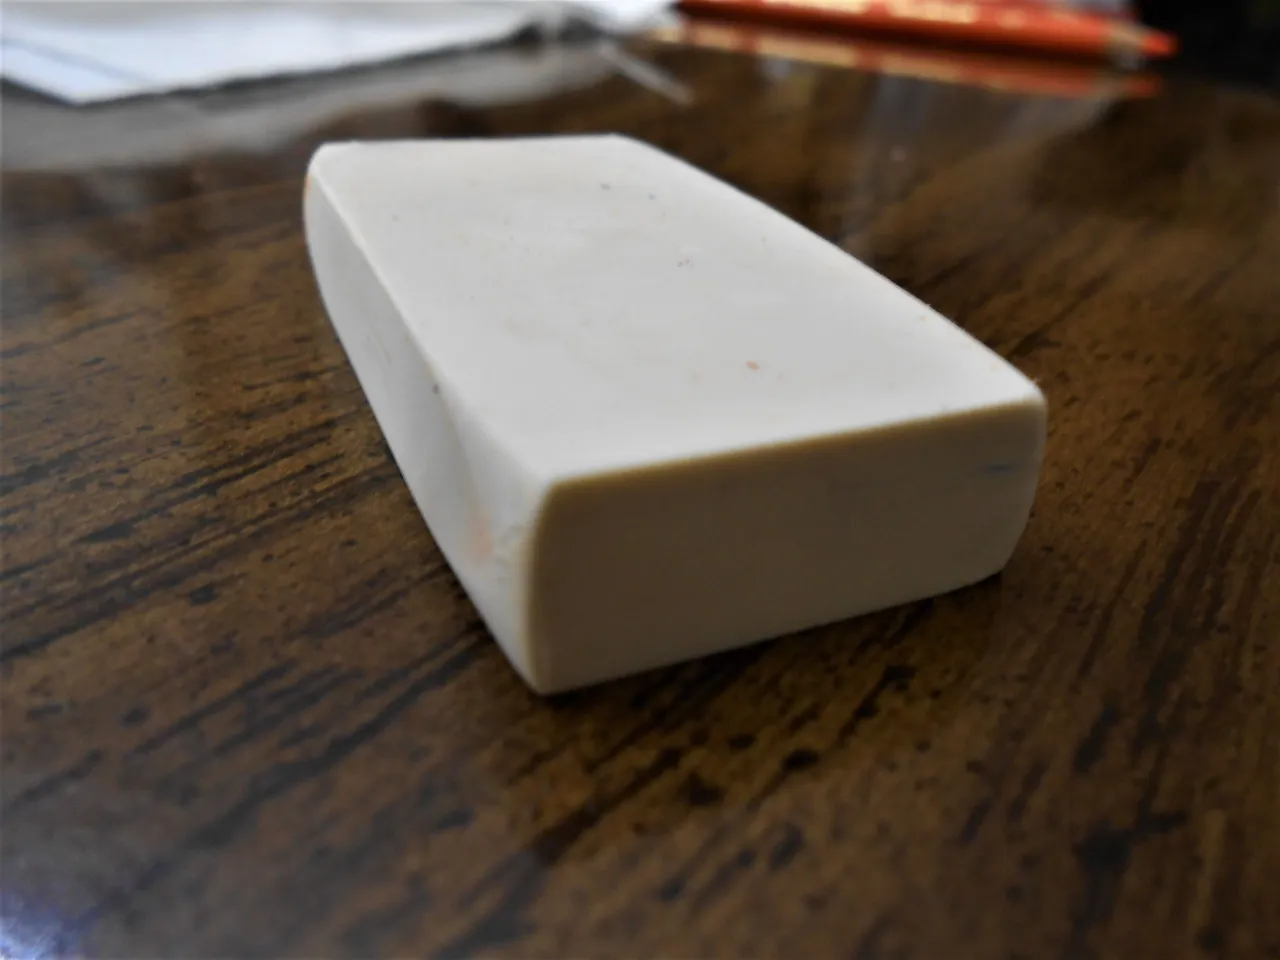
I took a couple of shots of the tools i'm using. You can see my worn and torn pencil sharpener on the left. I used those two Sharpie markers on the base, which you can see here in my first post Expectant - NFT Showroom Collection - W.I.P. I also put the colors i'm using in the color ranges that correspond to light and dark for each tone. You can also go check out that post to see where i started and left off.
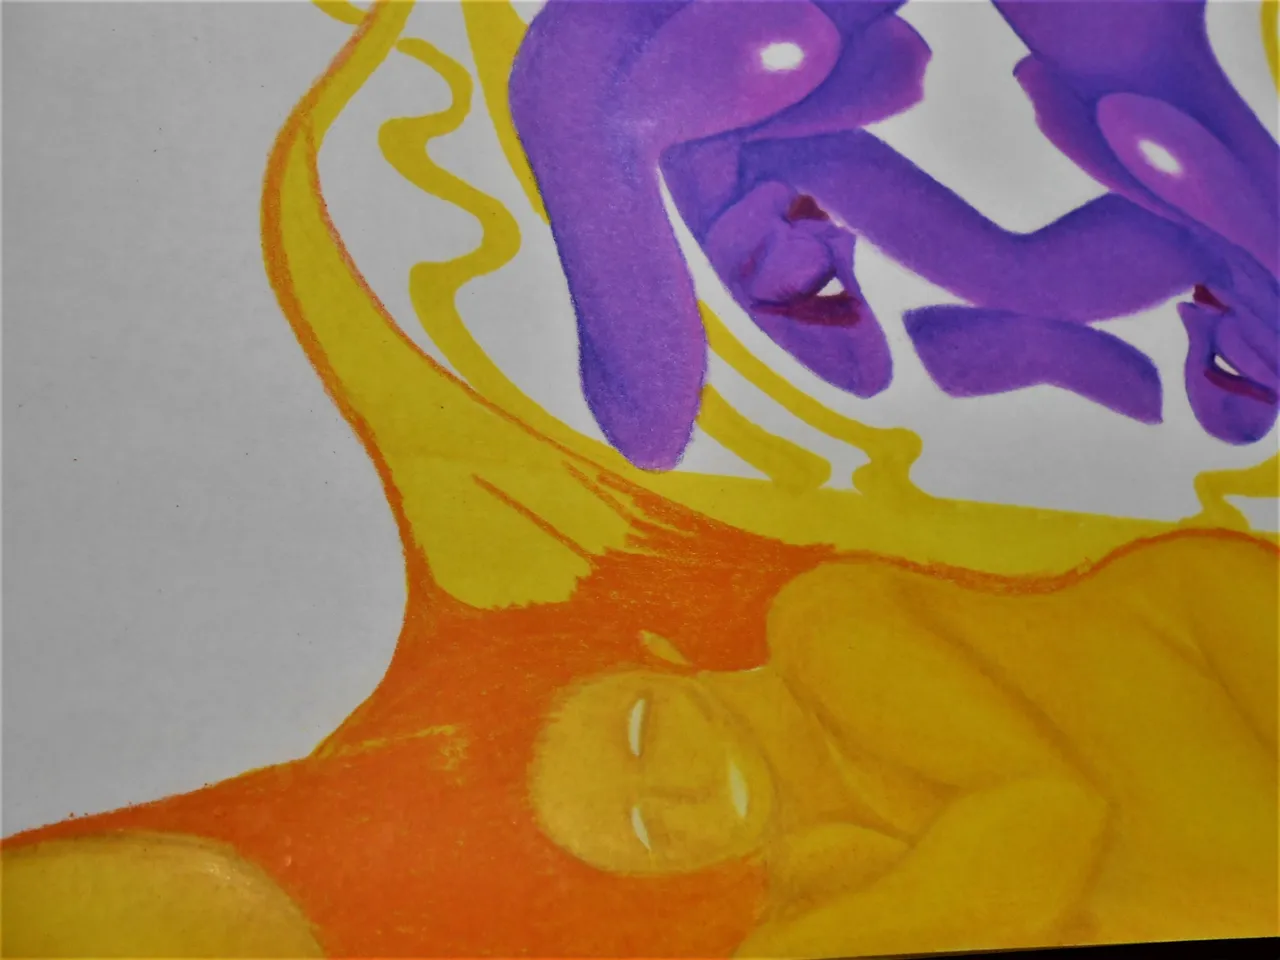
I took a few more shots from strange angles to accent certain aspects of the art. I hope that doesn't bother you since it will add to your scrolling adventure.
 Castleberry is not responsible for any physical or emotional damage done to your joints from excessive swiping or scrolling! By continuing further you agree to these terms!

Let's Get This Art Party Started!
~ Nearer to Humanity ~
While trying to think of a fancy title for this section i found this awesome quote that i had to share with y'all.
"Orange is red brought nearer to humanity by yellow."
- Wassily Kandinsky
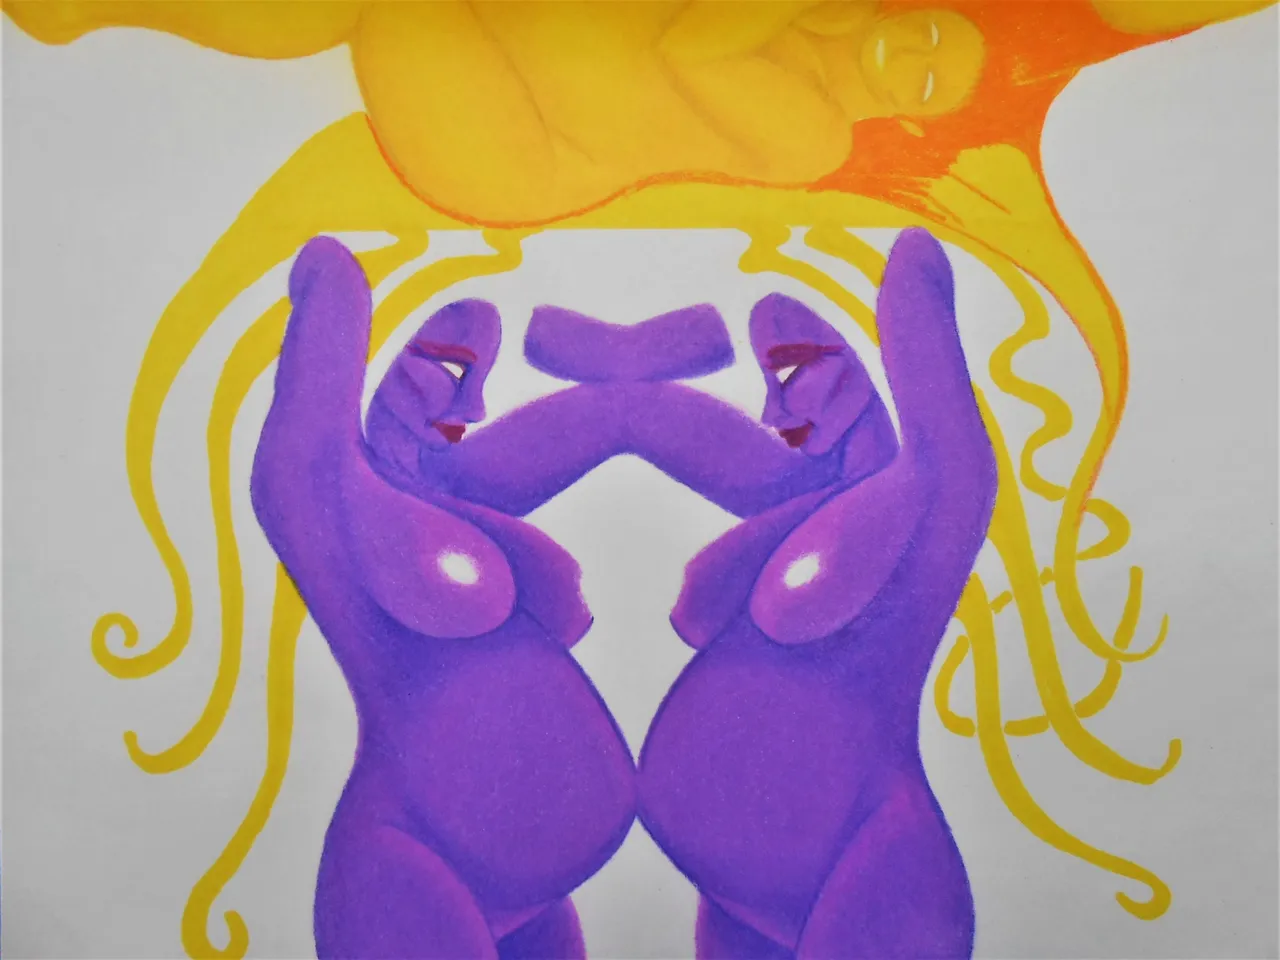
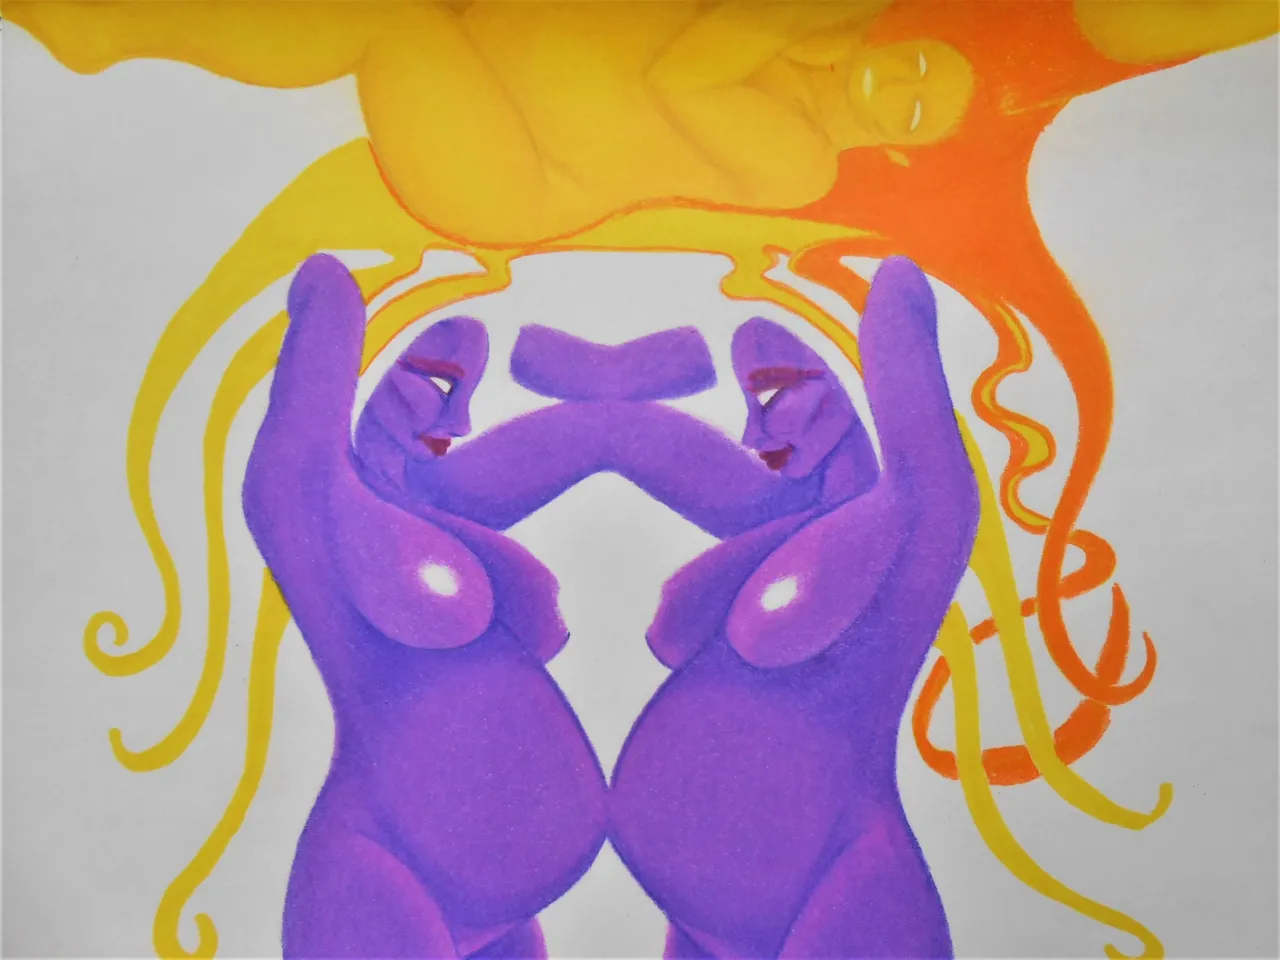
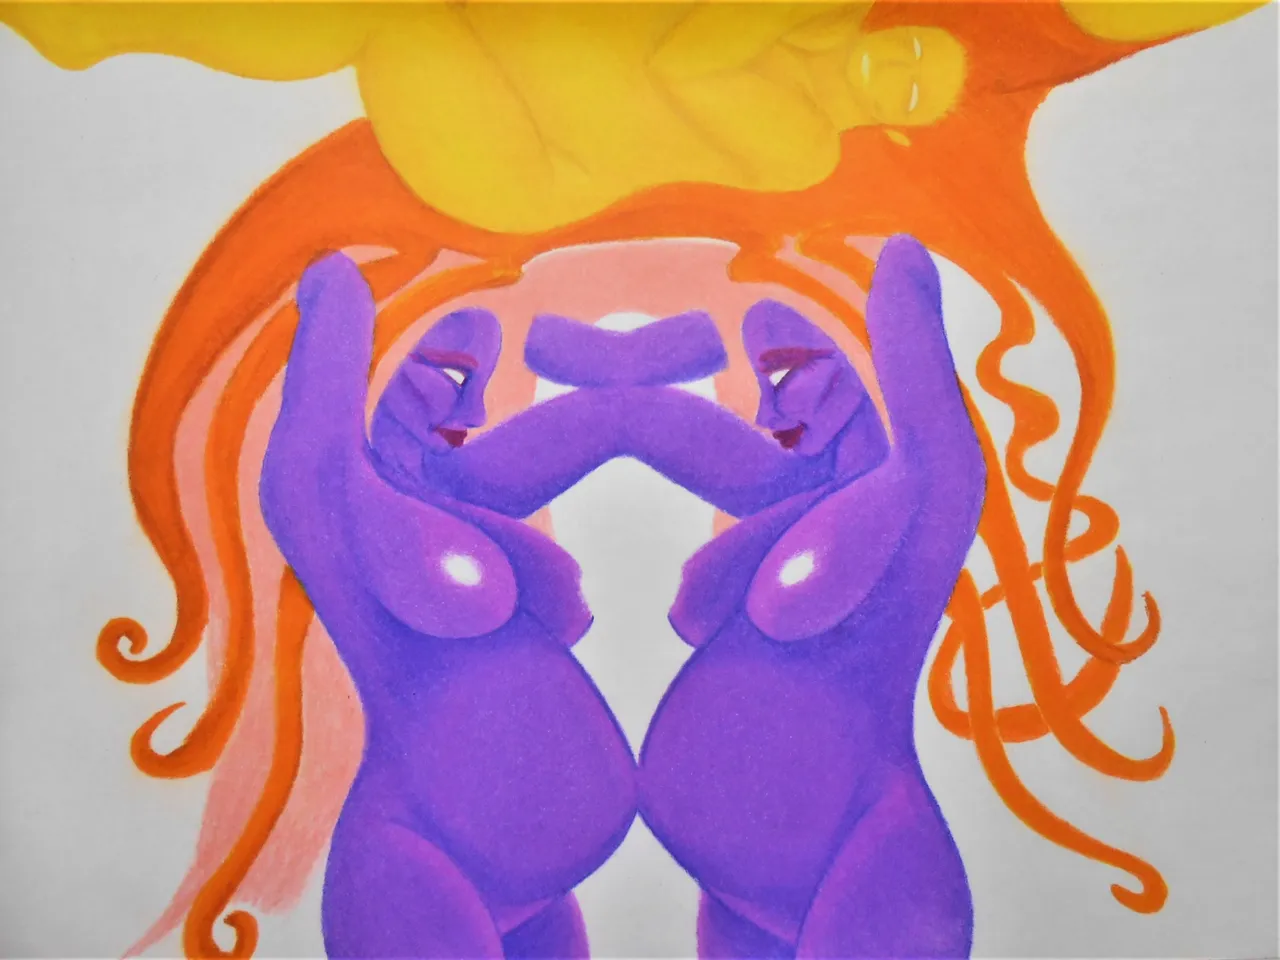
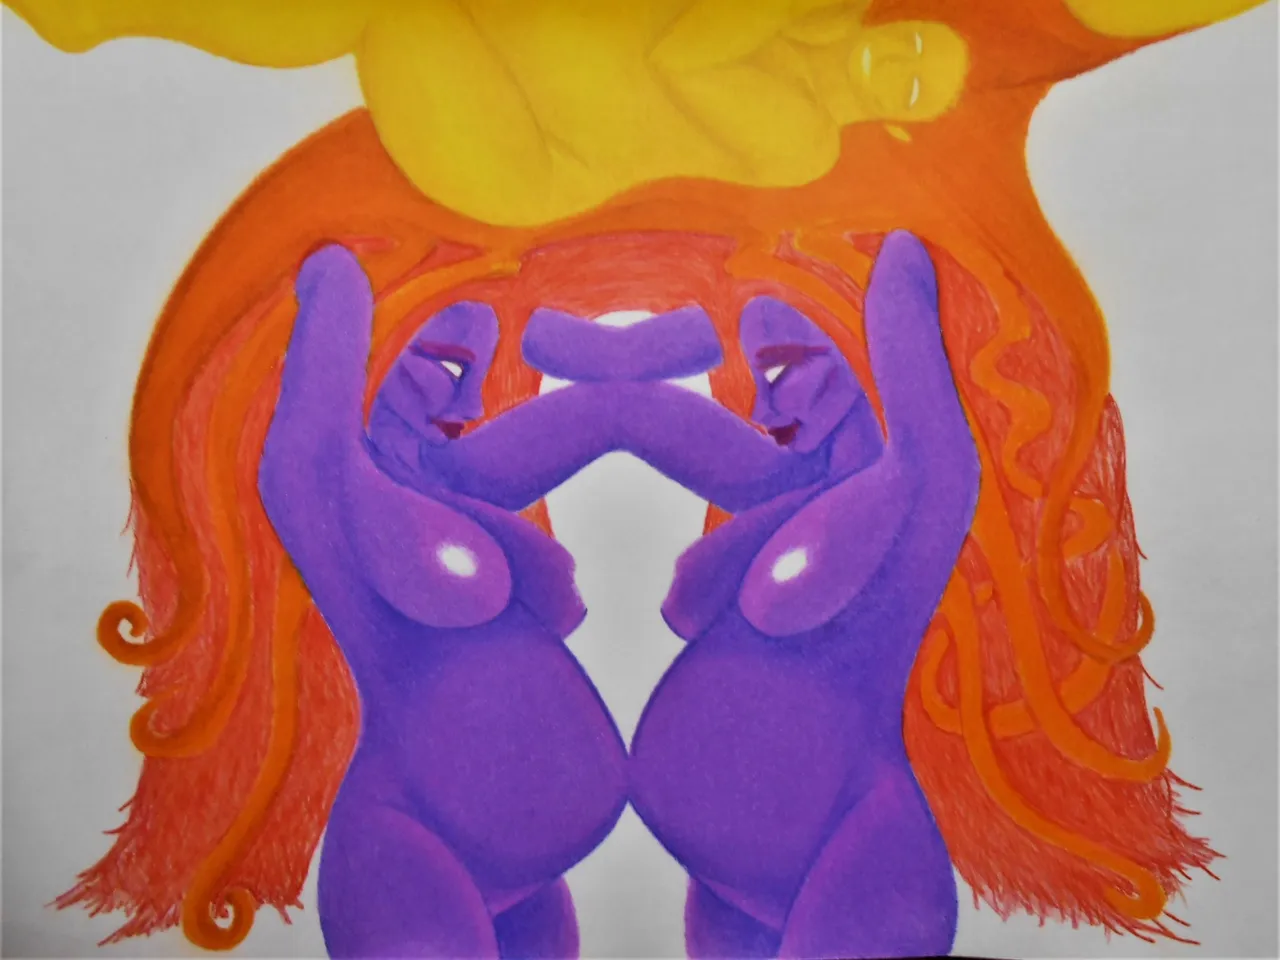
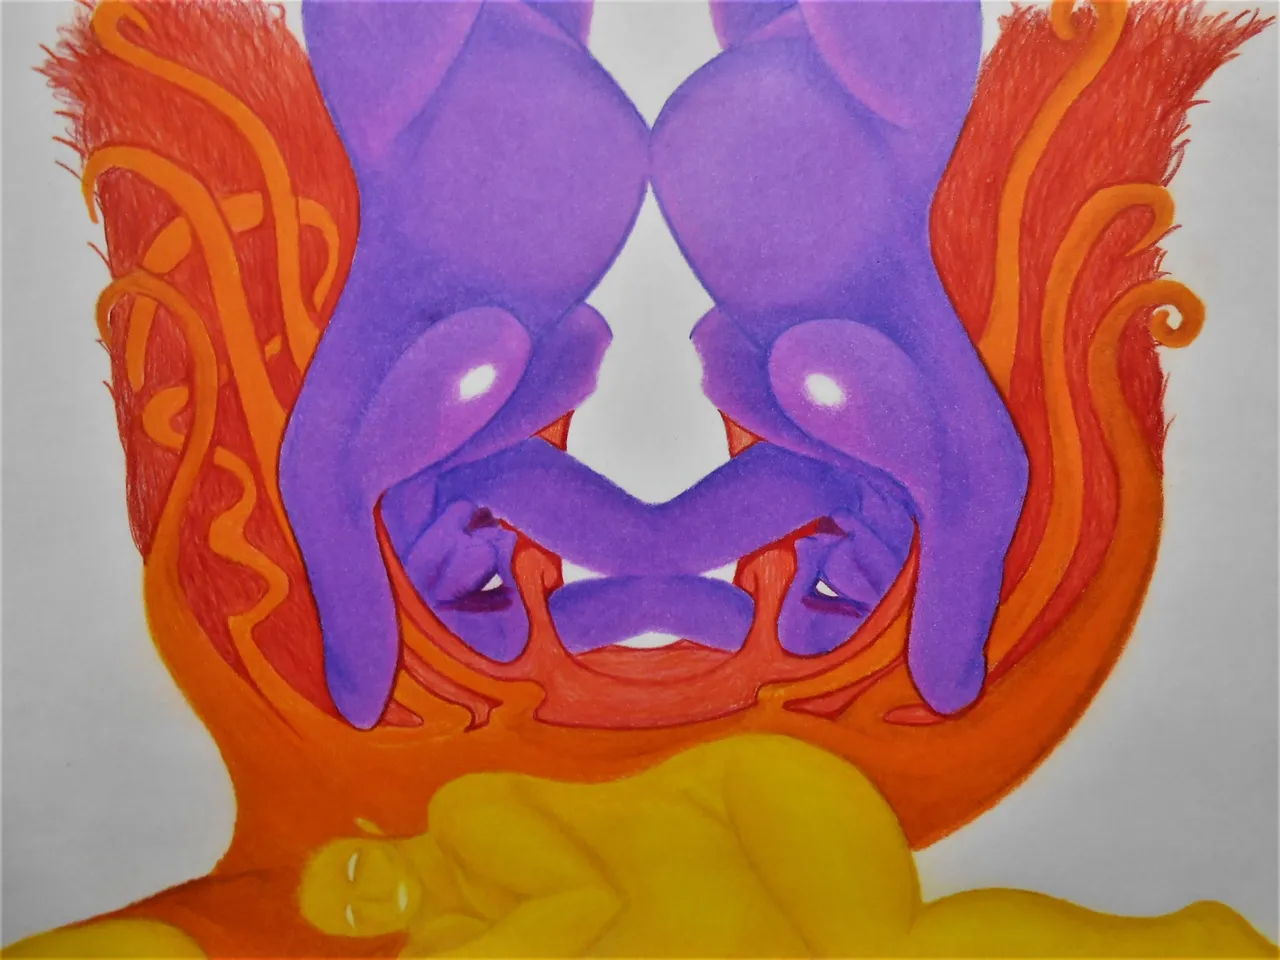
I thought that was a perfect way to describe the process of adding my orange layers on top of my yellow layers. I had built up multiple layers of yellow Prismacolor from the yellow Sharpie base. This helped to not have too much wax build-up, which can damage this paper, but still be able to be layered and blended further.
I had the idea of having the yellow lady's hair be orange. I asked for some ideas from a few folks and also got some cool comments with some interesting suggestions. I factored all of those possibilities and decided to go with orange.

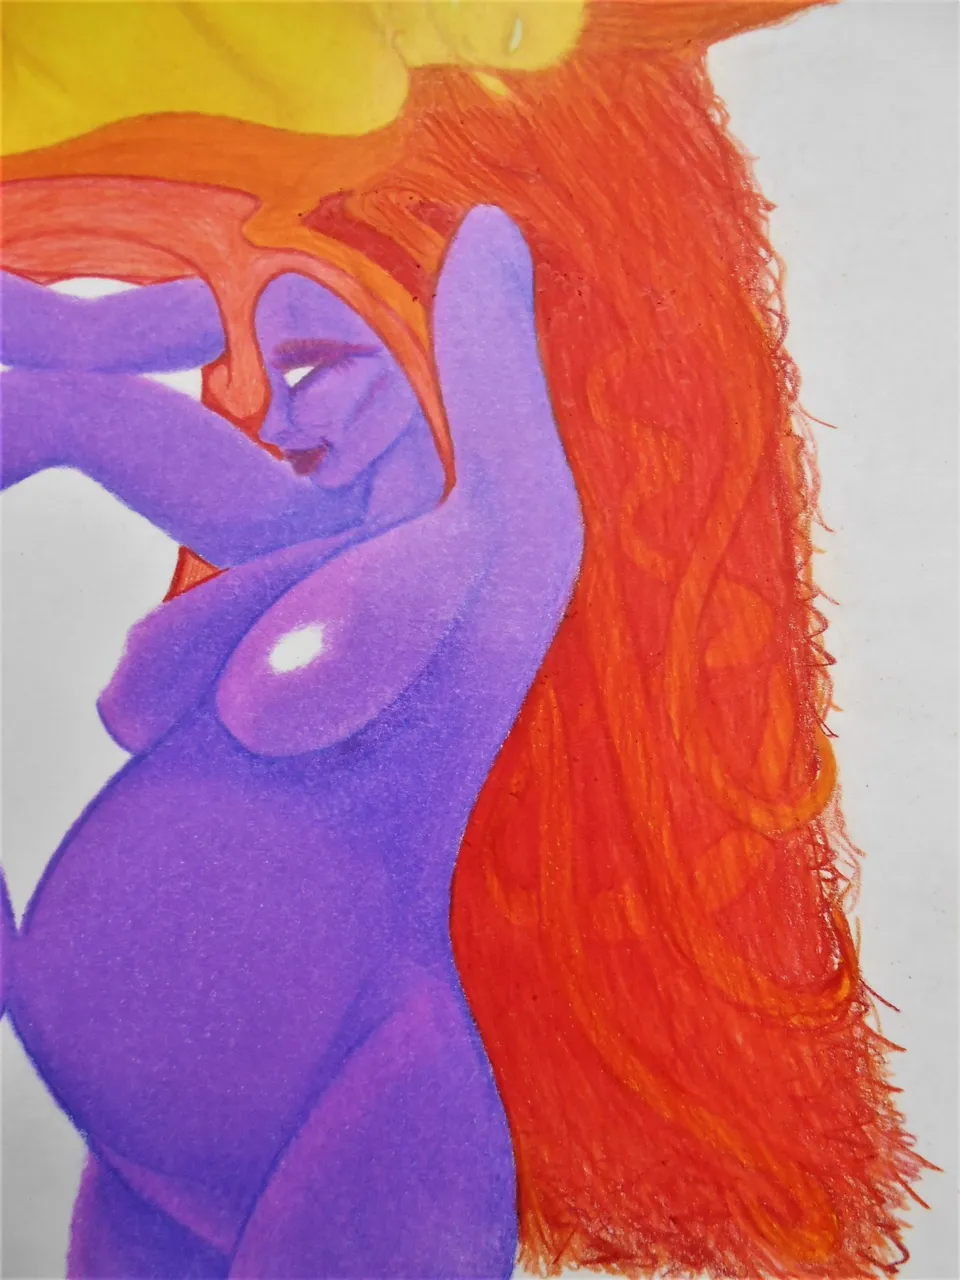
When photographing these images i generally try to crop the image as i frame up the composition as best i can to get as much of the art in frame without having the table show from underneath. But the more colored pencil that gets layered up the more it makes the paper draw up. In those cases, i usually crop the image afterward but still end up losing something along the edges.
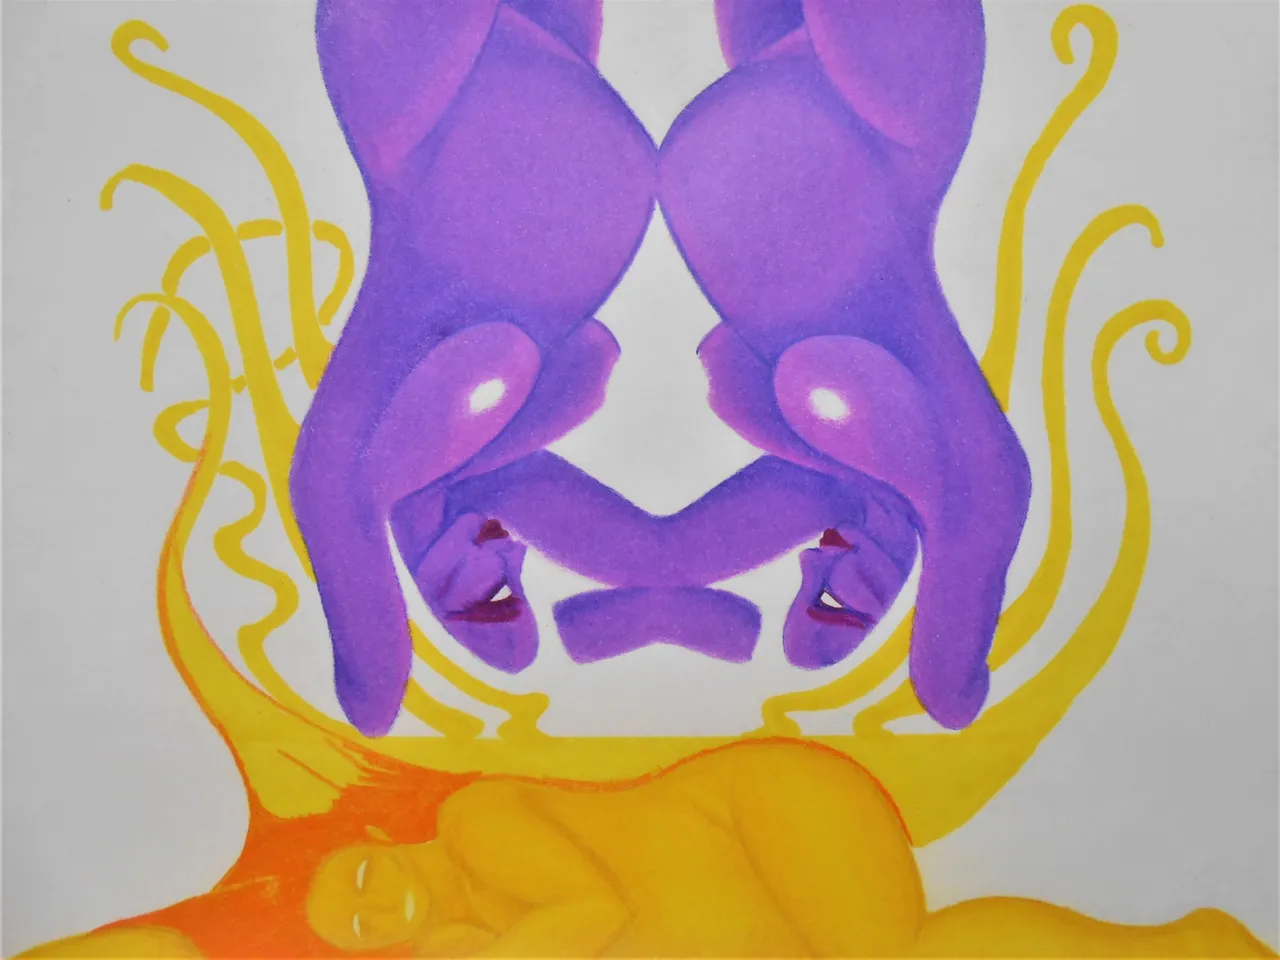
I did a base layer of the lightest orange tone to give the other shades something to set up on top of. I then began to use my mid-tone orange to do some outlining and add some areas i thought might end up getting shaded.
At this point, i wasn't completely sure where we were going with this thing so i kind of discovered that as i experimented along the way.
Sometimes when i make art i have a vision in my mind i want to see manifest. Other times, i have no idea what's going on and i let the art kind of create itself. At this point in the work... i was unsure of what i wanted it to truly be as an end result. I have about five ideas i ended up blending into this one!
License to Chill
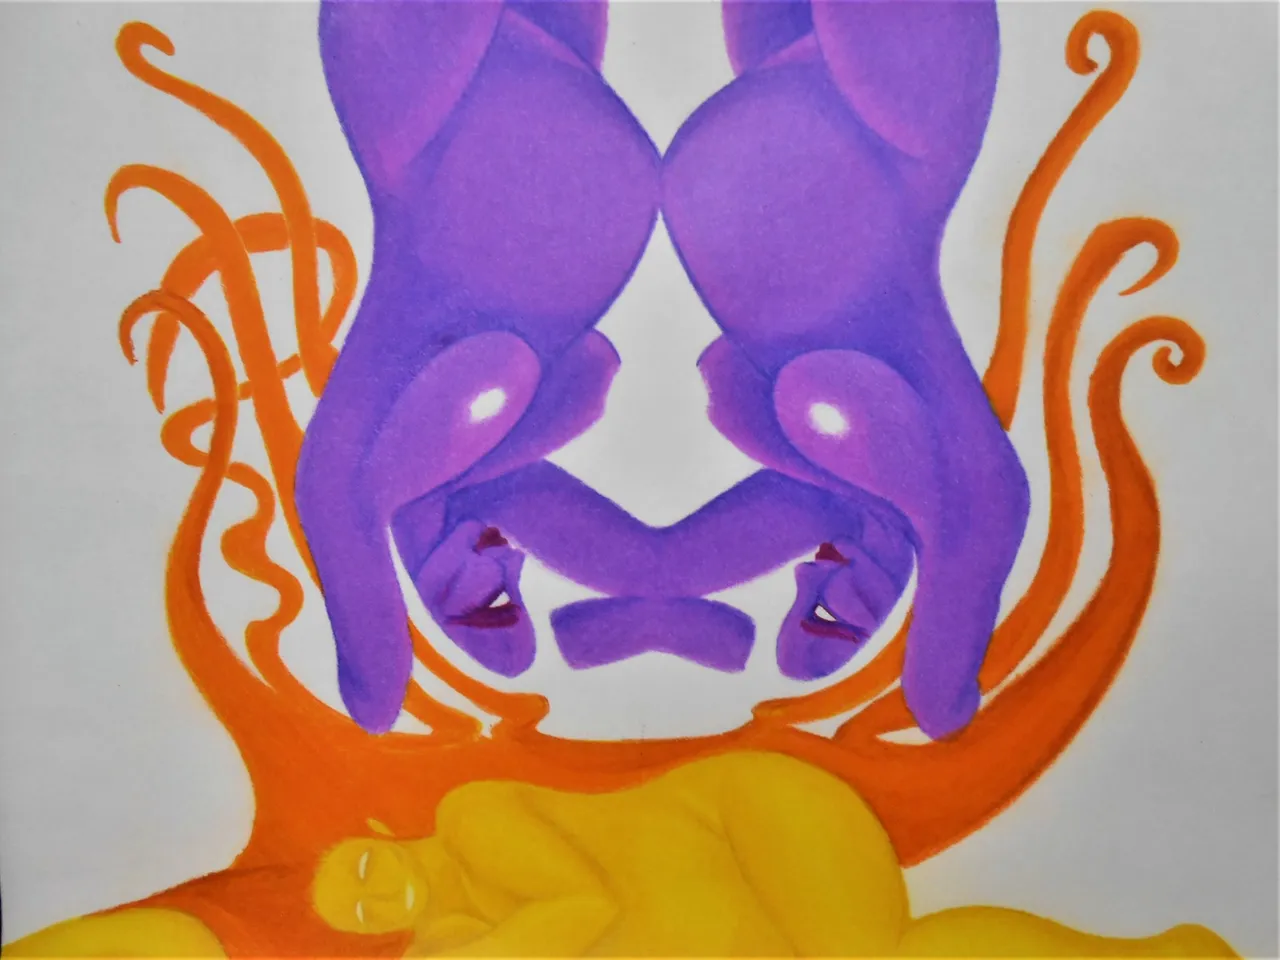
~ Roses are Red ~
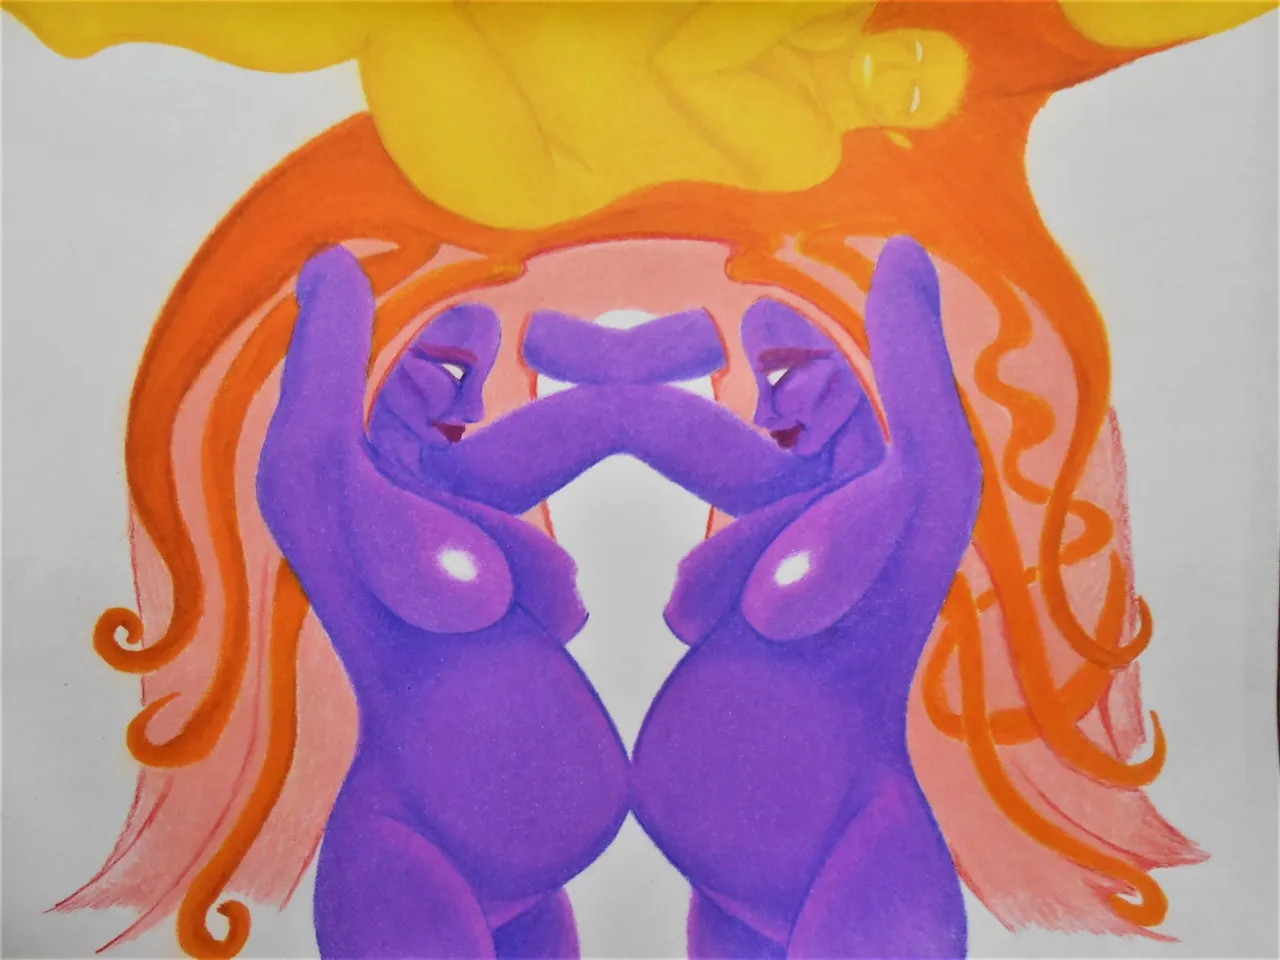
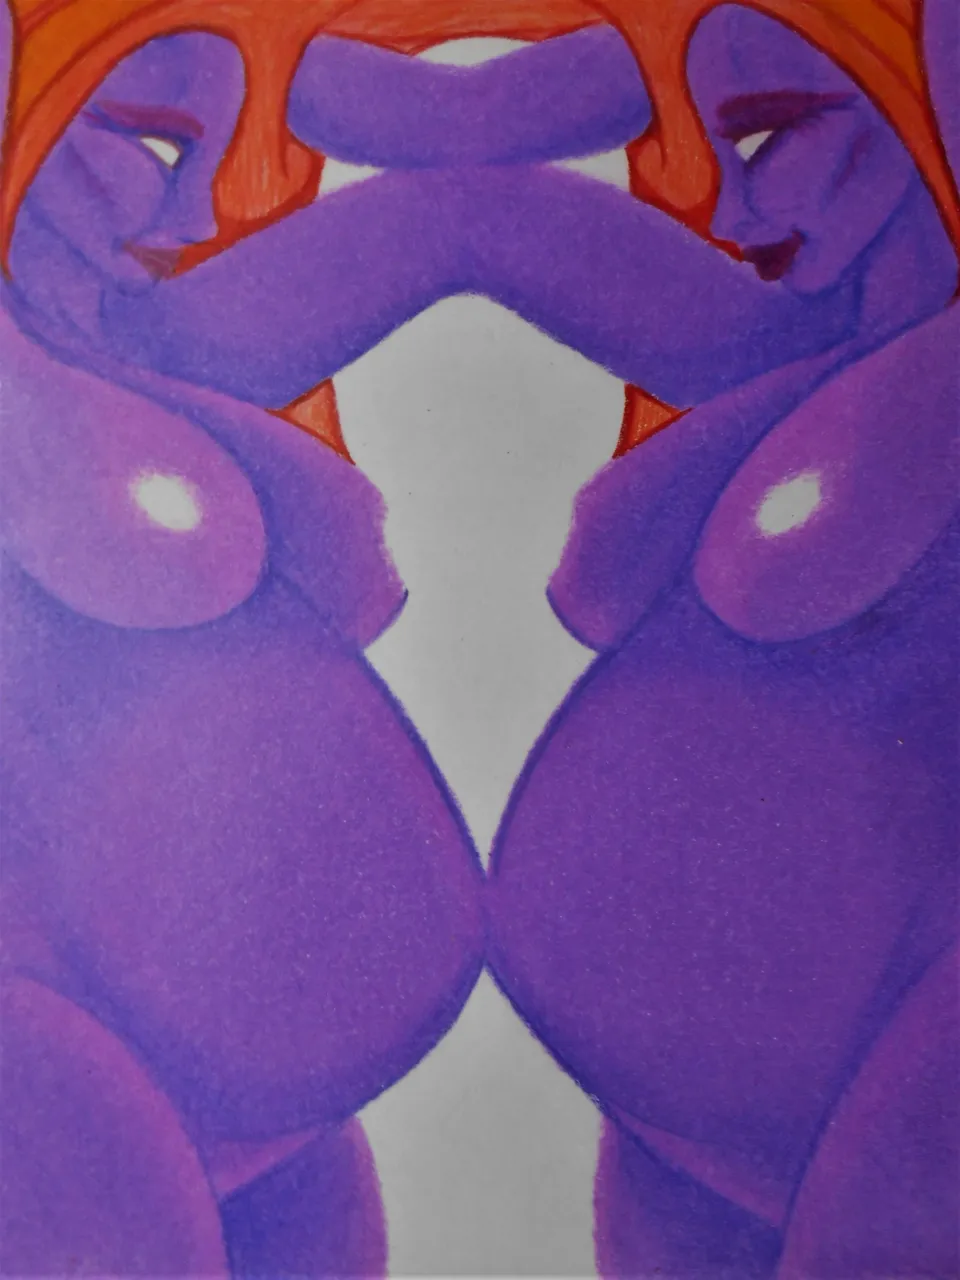
The next steps after getting the basic orange done was to add in the purple ladies' hair. I started that process by filling in the negative space with a light rose tone. Technically, it's red but this would just serve as a layer to blend on top of.
I wasn't too concerned with the details at this point since that wouldn't be necessary until many layers later. I almost started to panic at this juncture because i wasn't sure if this rose tone was going to be the way forward.

That definitely didn't stop me from carrying on anyhow!
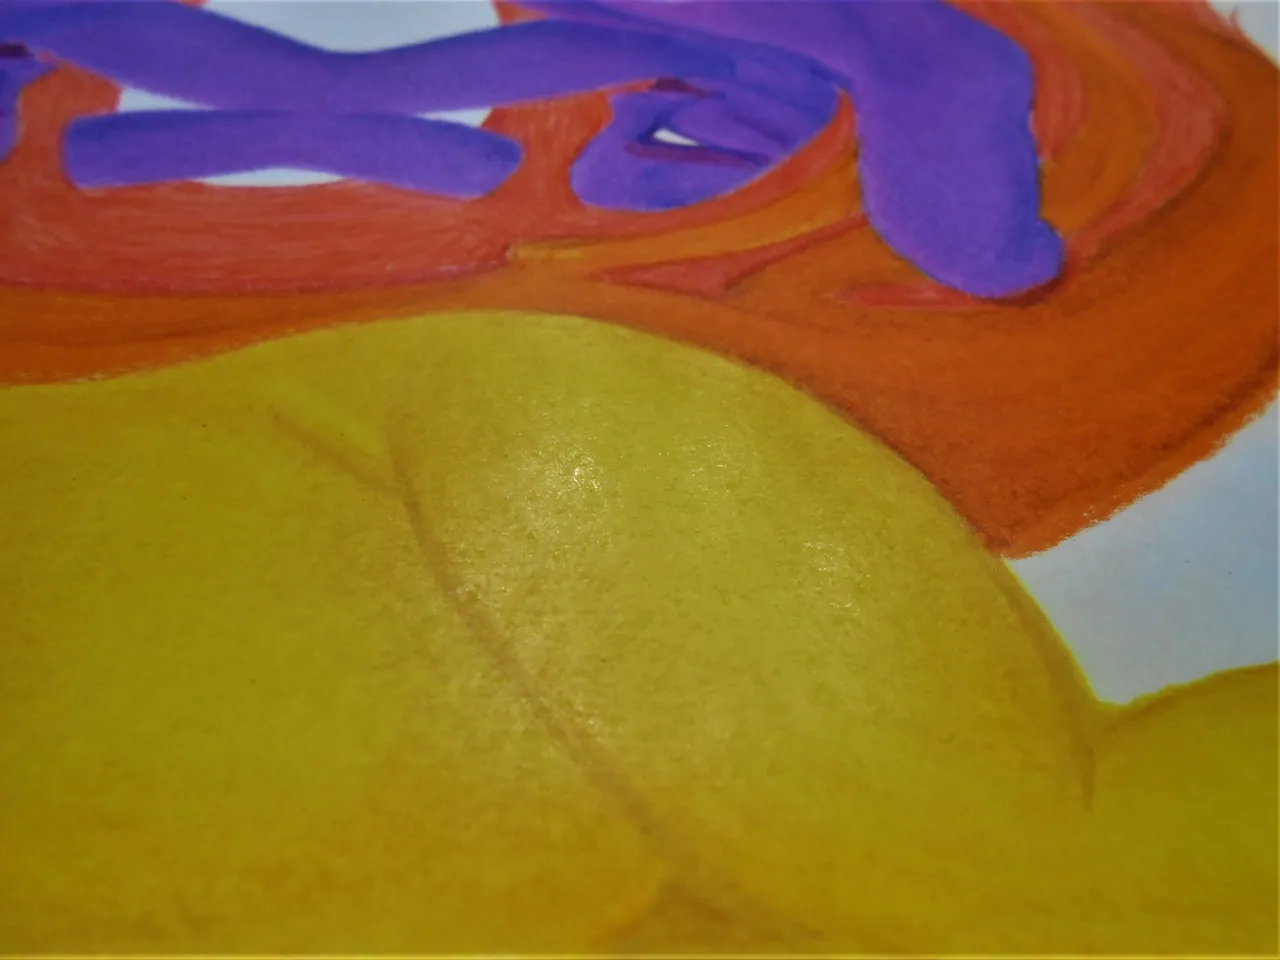
I always like how the pencil looks when the light shines on it from certain angles. I try to capture that in some of the photos but it's a challenging thing to share.
Mixin' It Up
~ Proof of Work ~
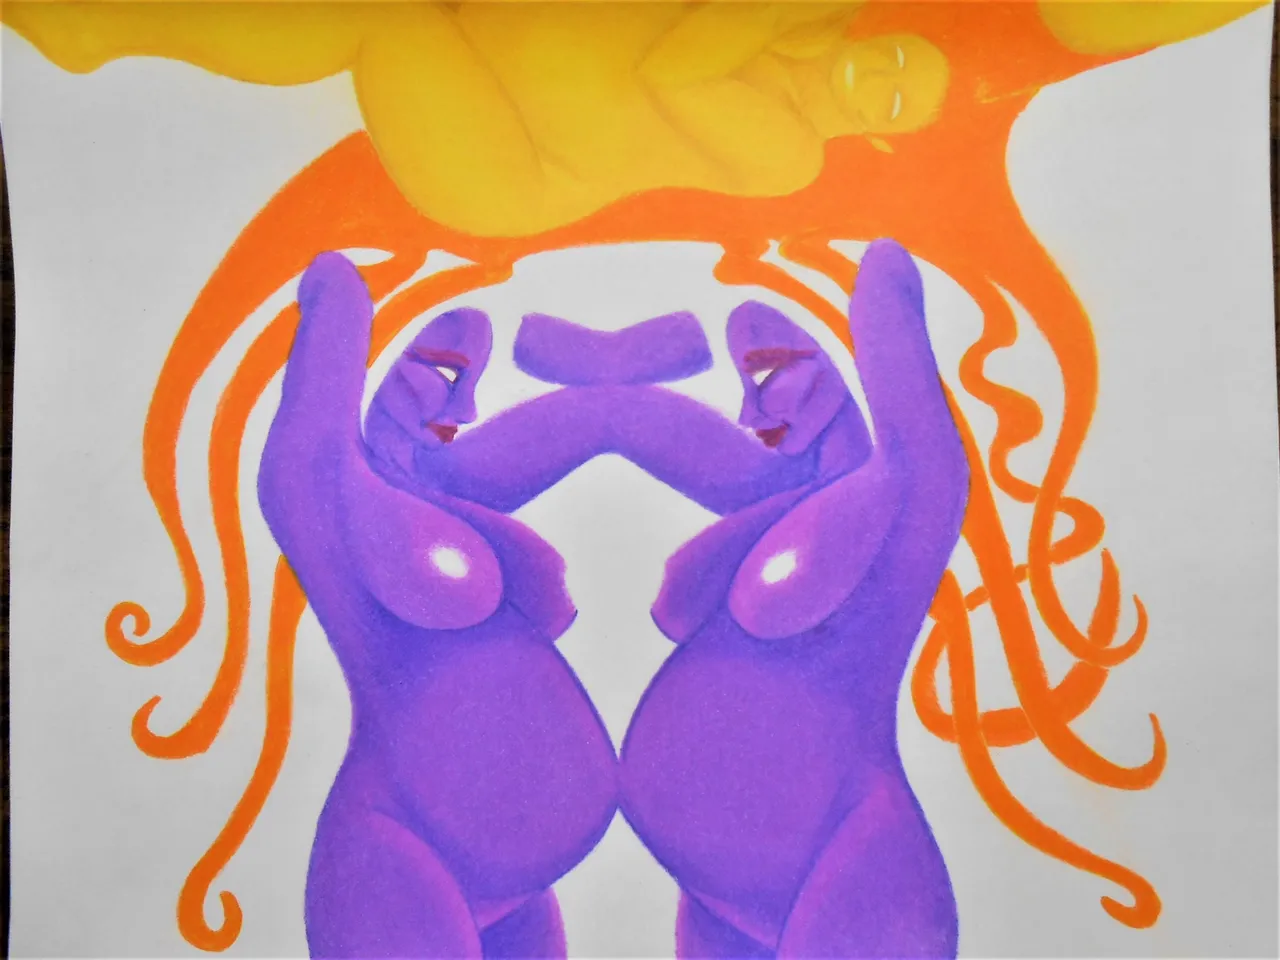
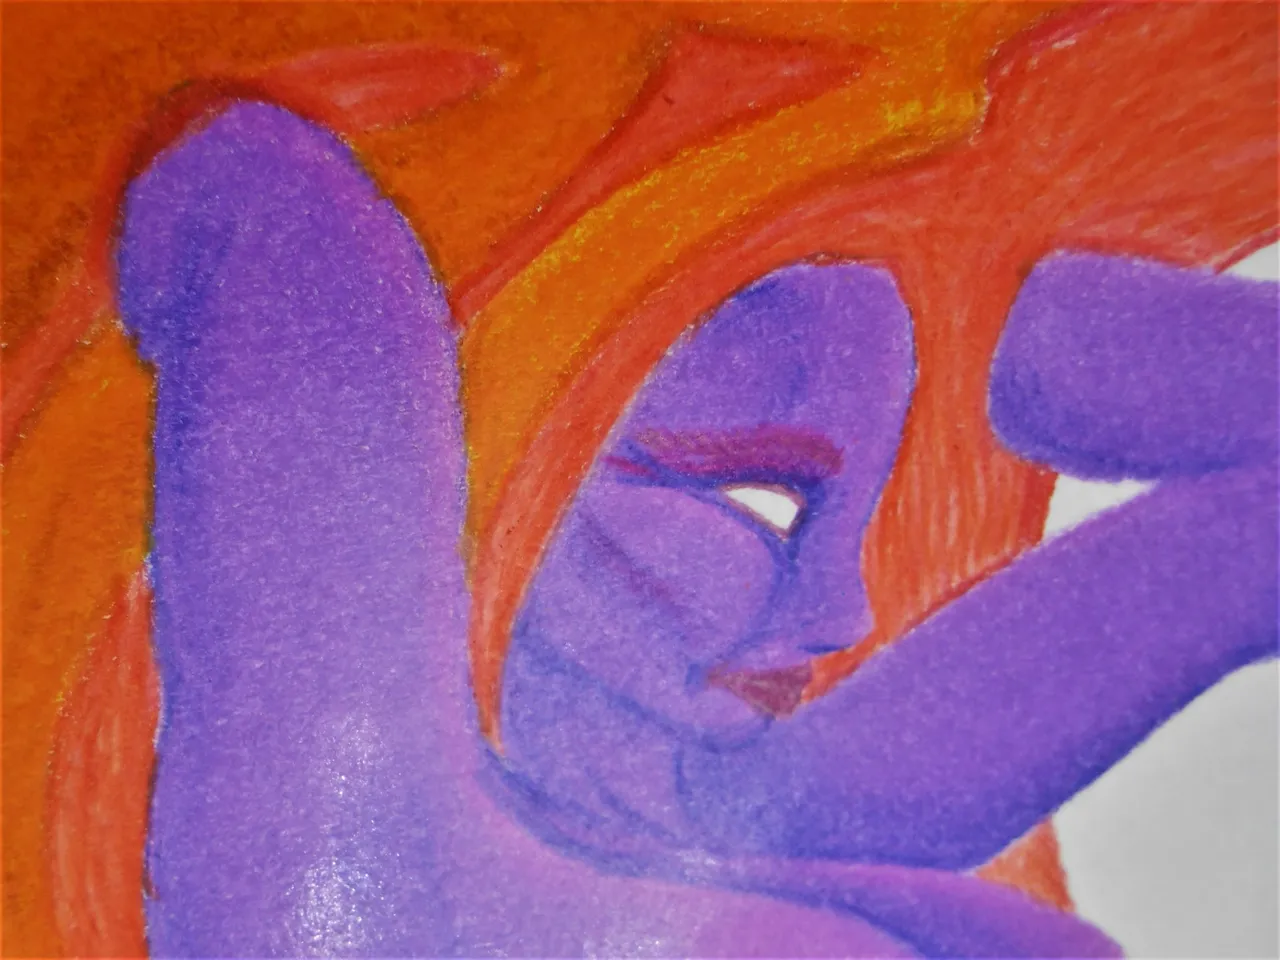
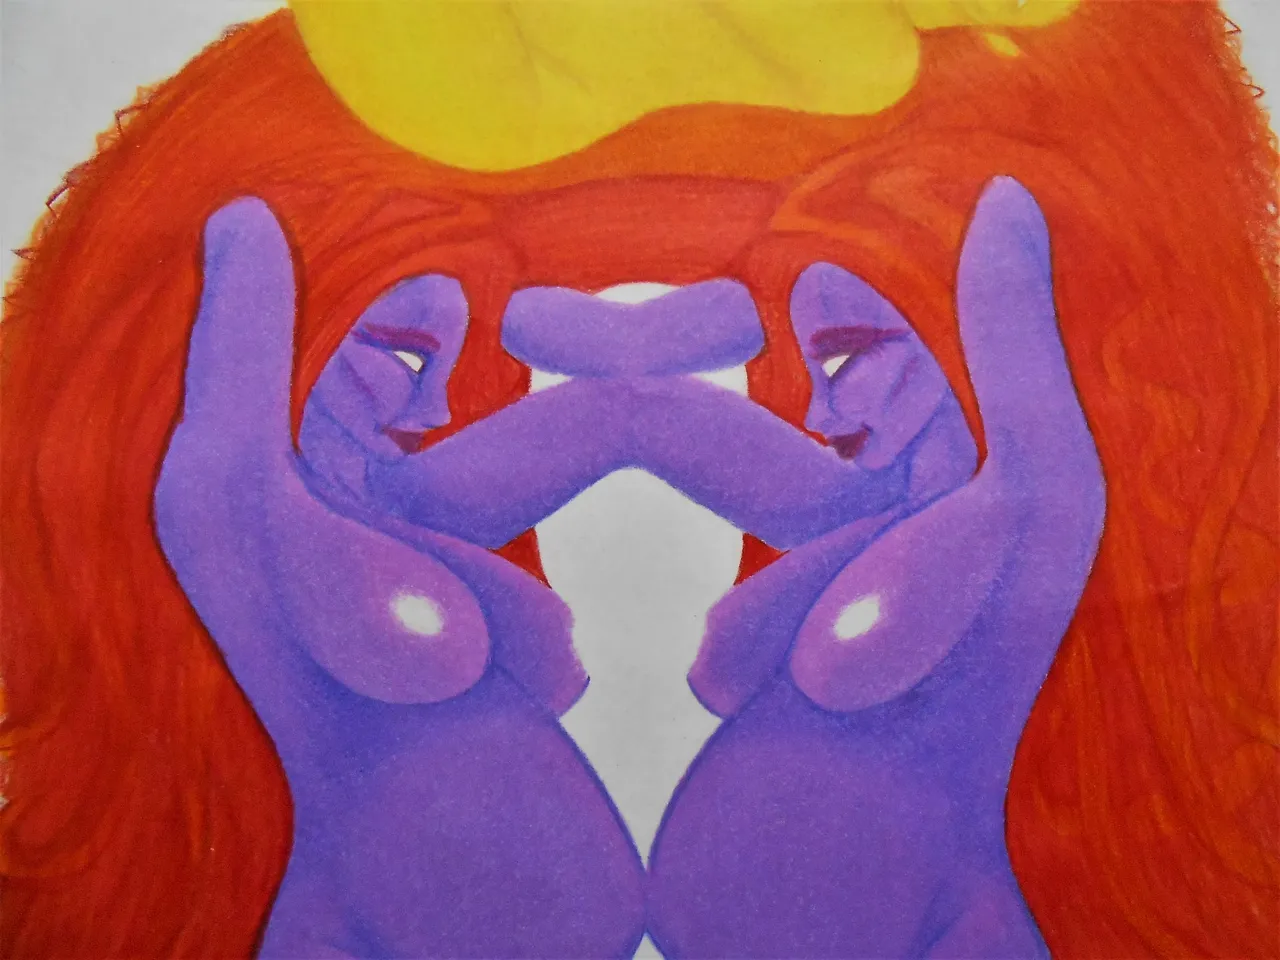
So, this is the part where i start with the next shade of a red-tone. You can see below that i start by outlining and getting a few of my tighter areas mapped out.
Now that i have a little bit of contrast i began to start thinking more spacially oriented as i work out moving forward. It was easy to think in a dimentional way when it came to the bodies... but the hair is it's own set of complex problems to be solved.
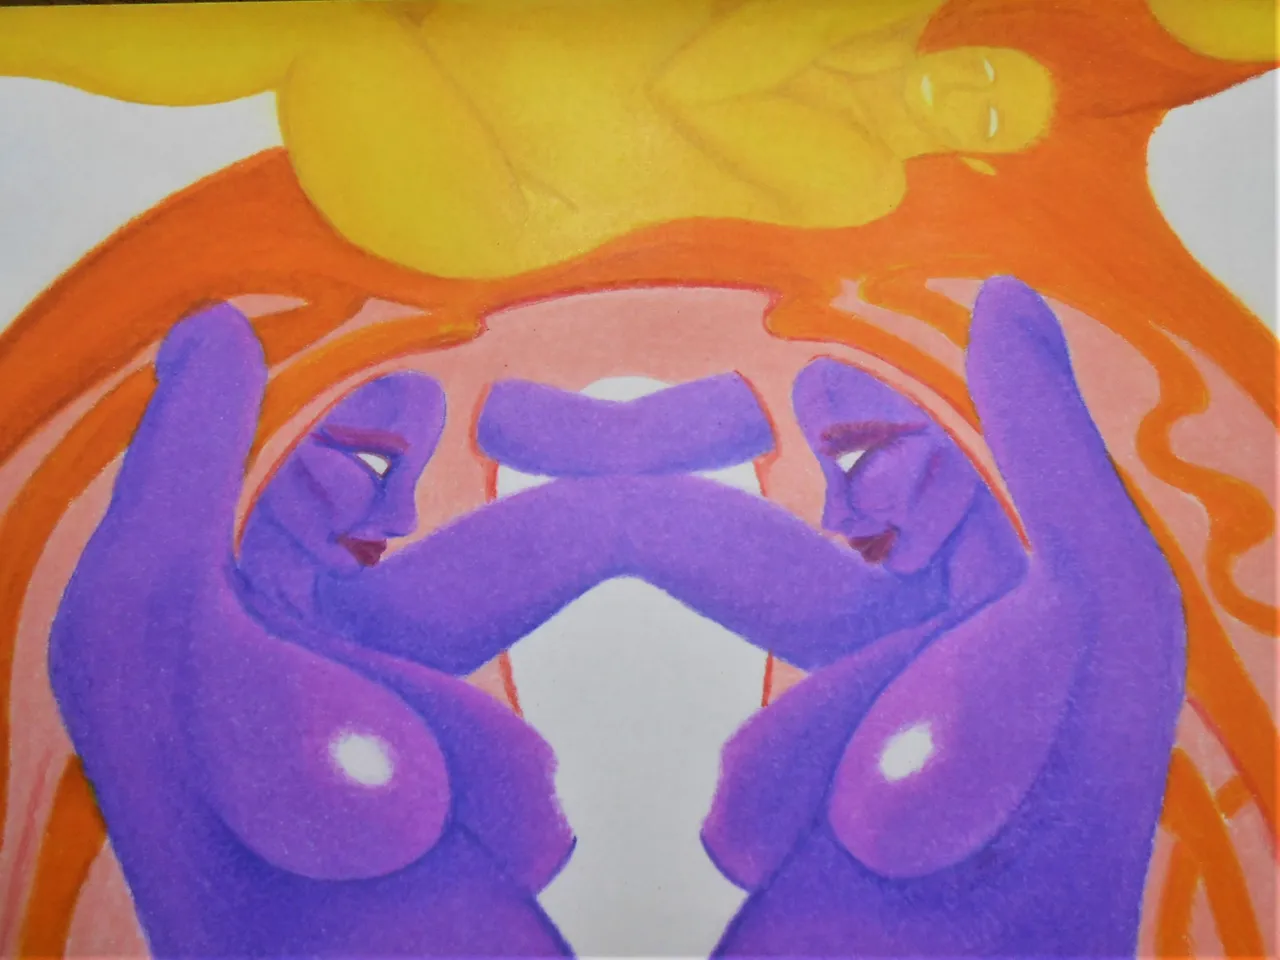
I found it pretty intersting how much depth was created by just adding one light tone onto an even ligher rose-tone. You can see what i mean in the images below.
Things still have a way to go but at this point i started to see some light at the end of the tunnel....
I just hope it's not a train coming this way! hahaha
I really began to feel like things were coming together and starting to work!
Starting to Believe!
~ Casting Shade ~
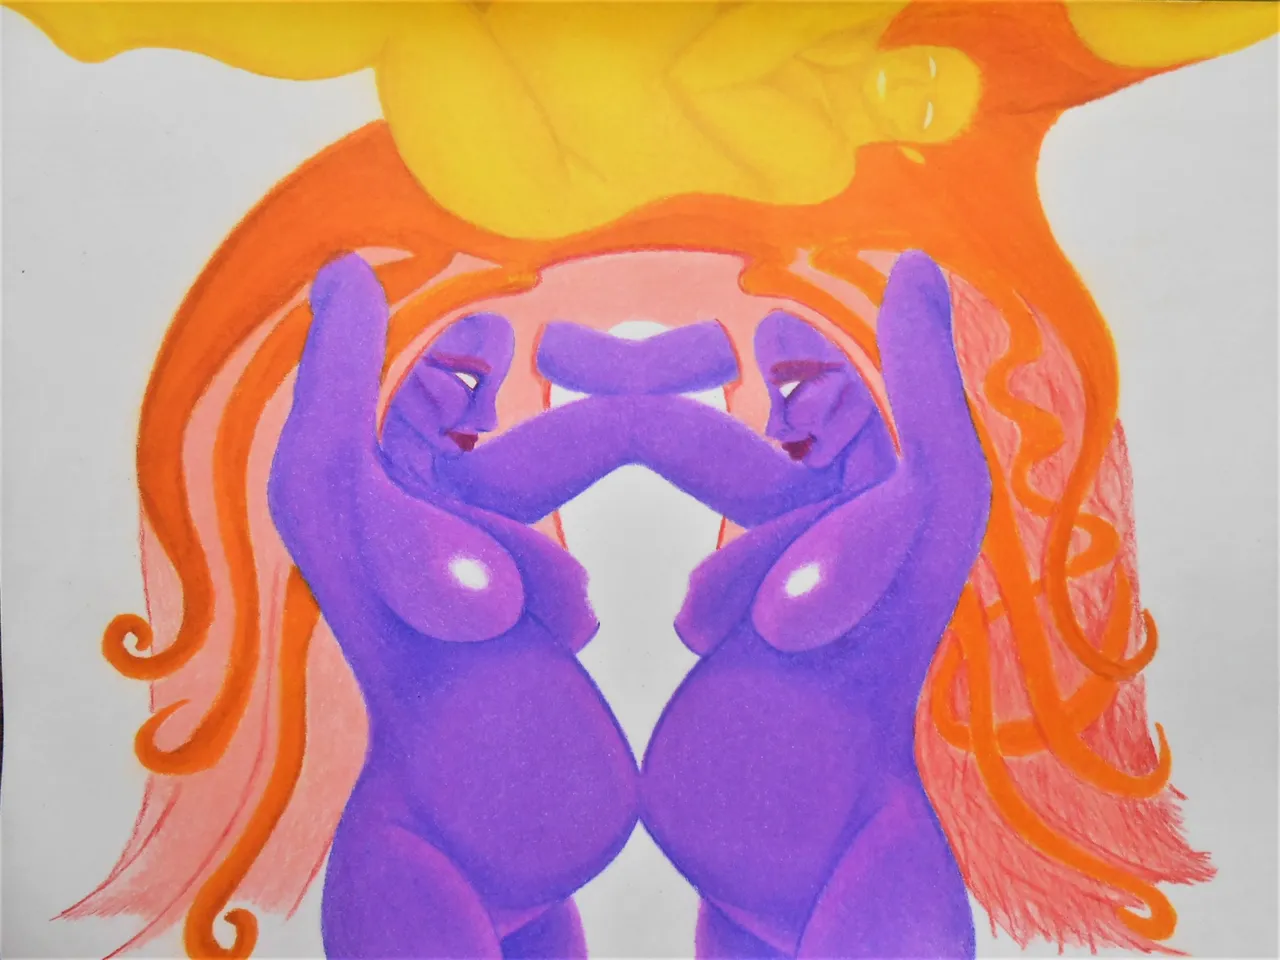
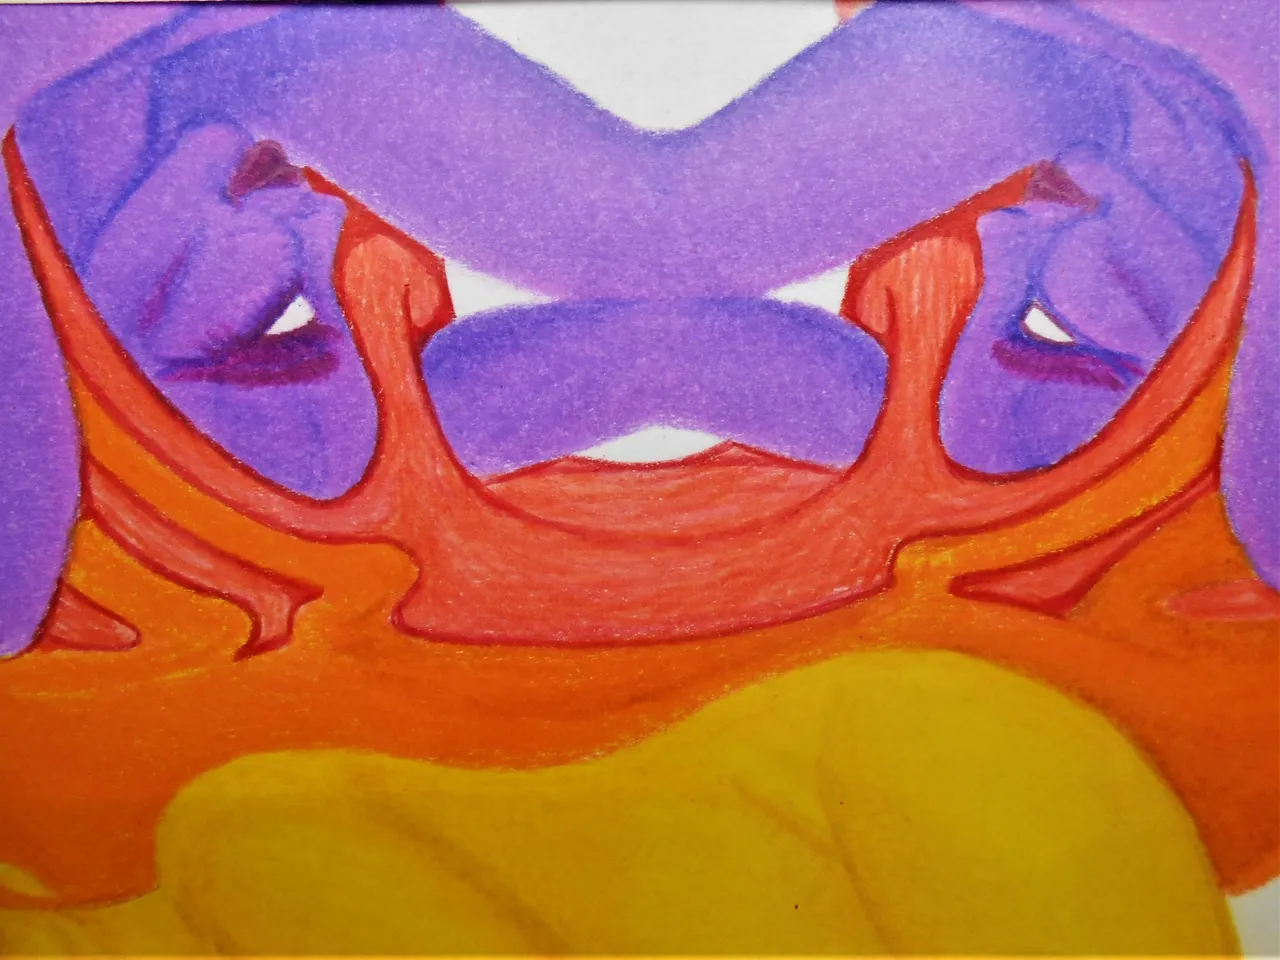
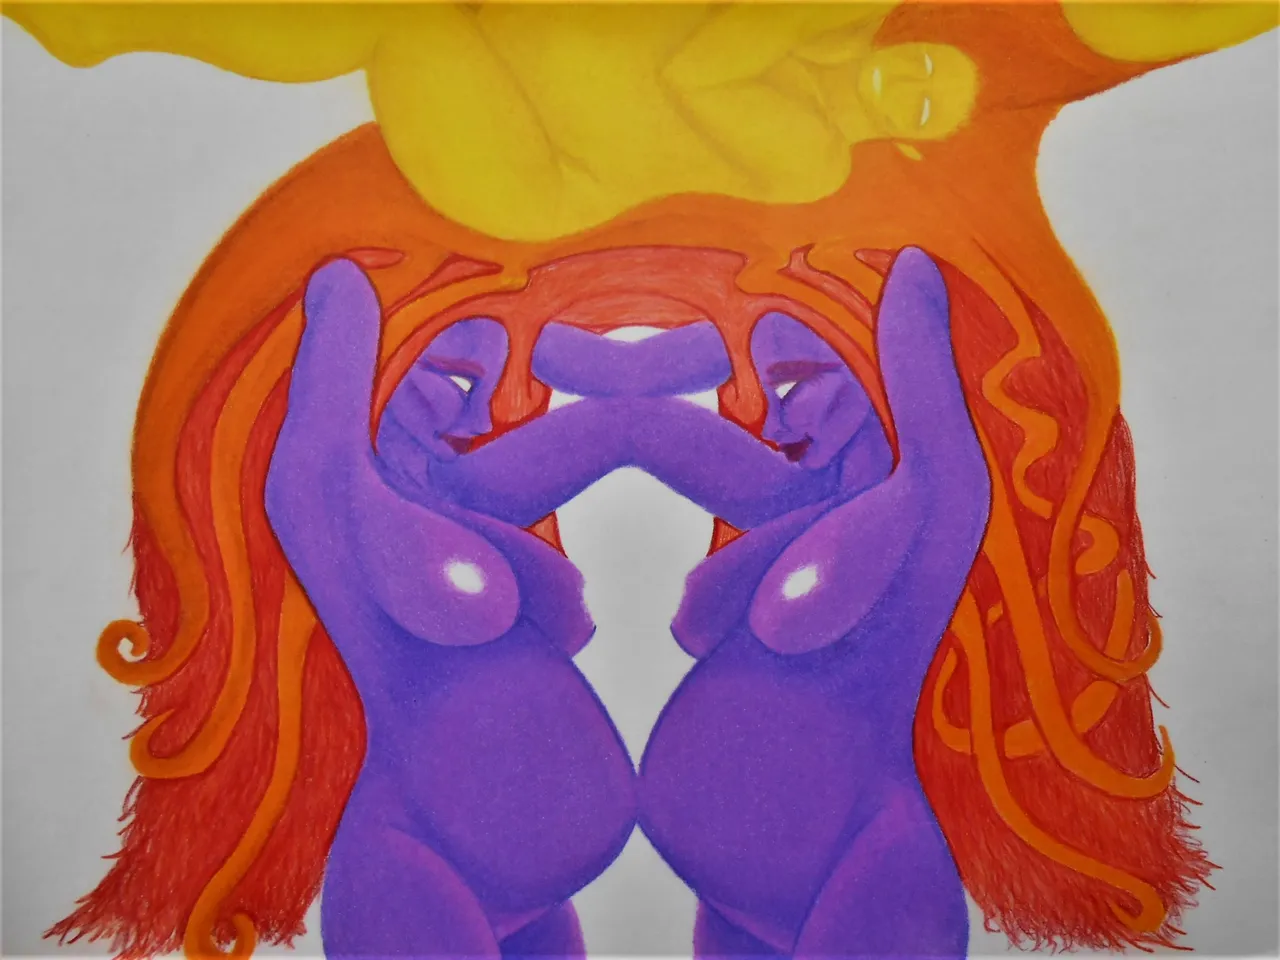
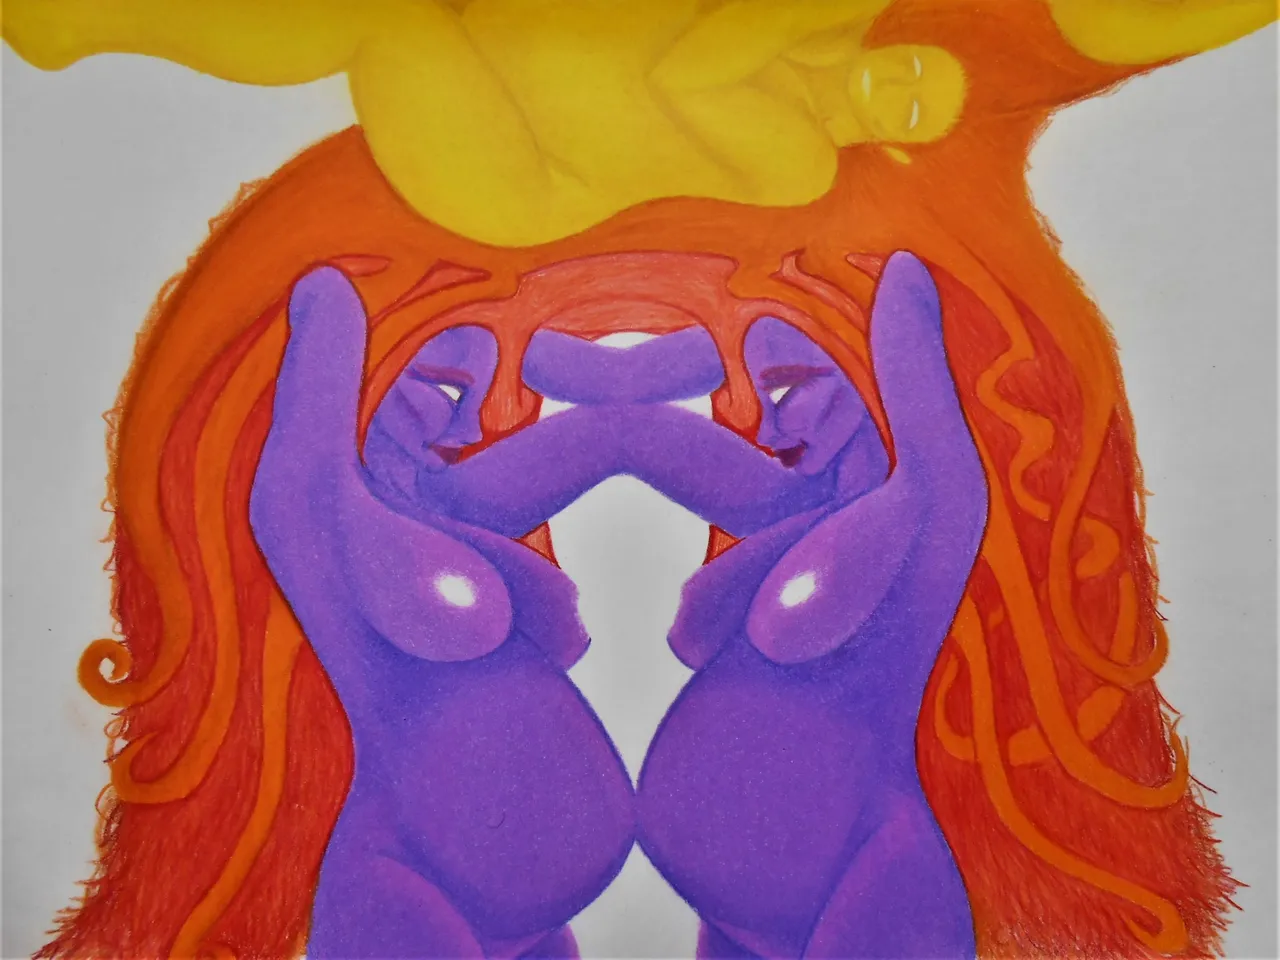
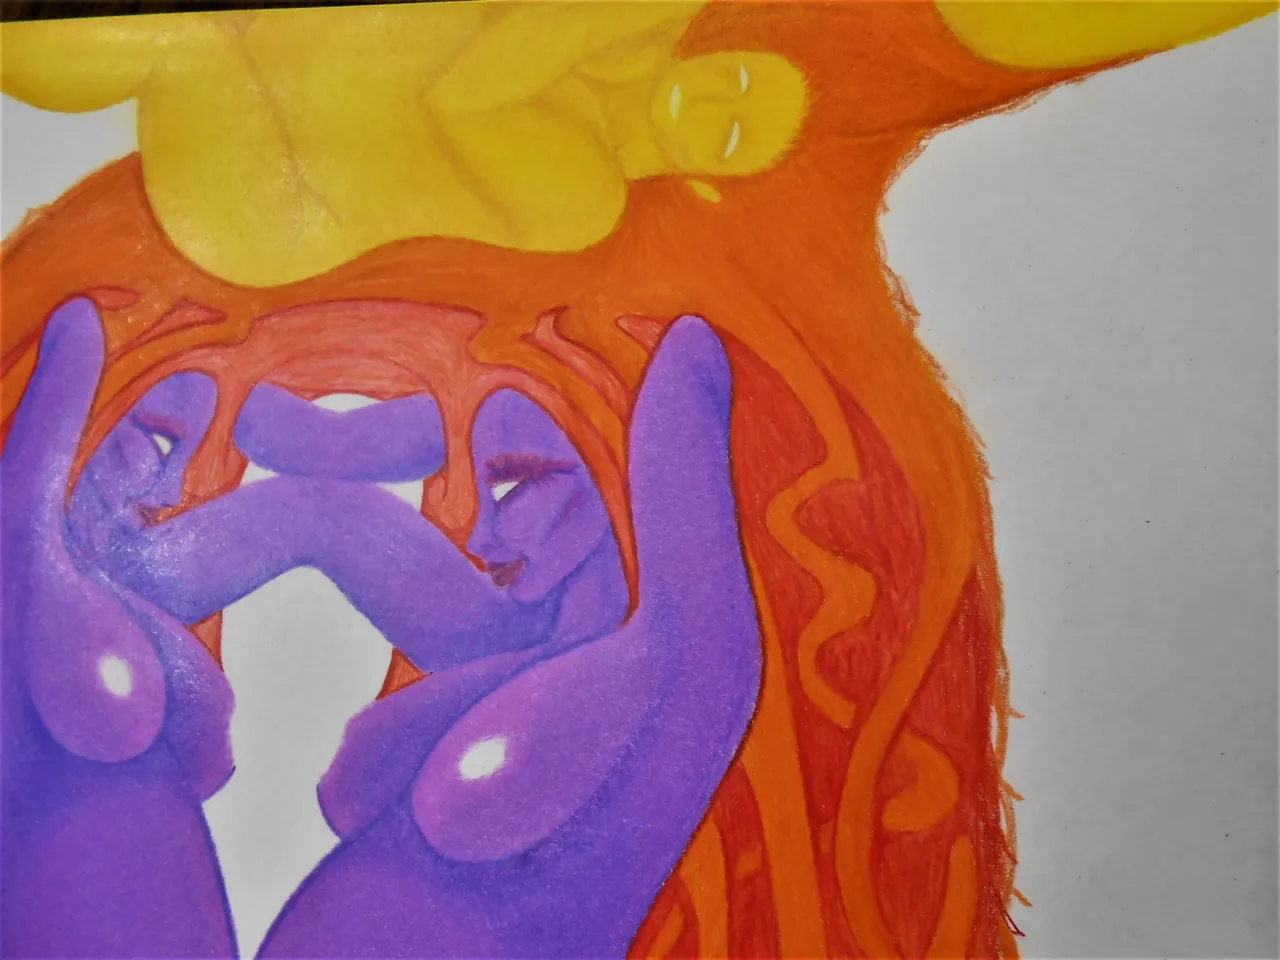
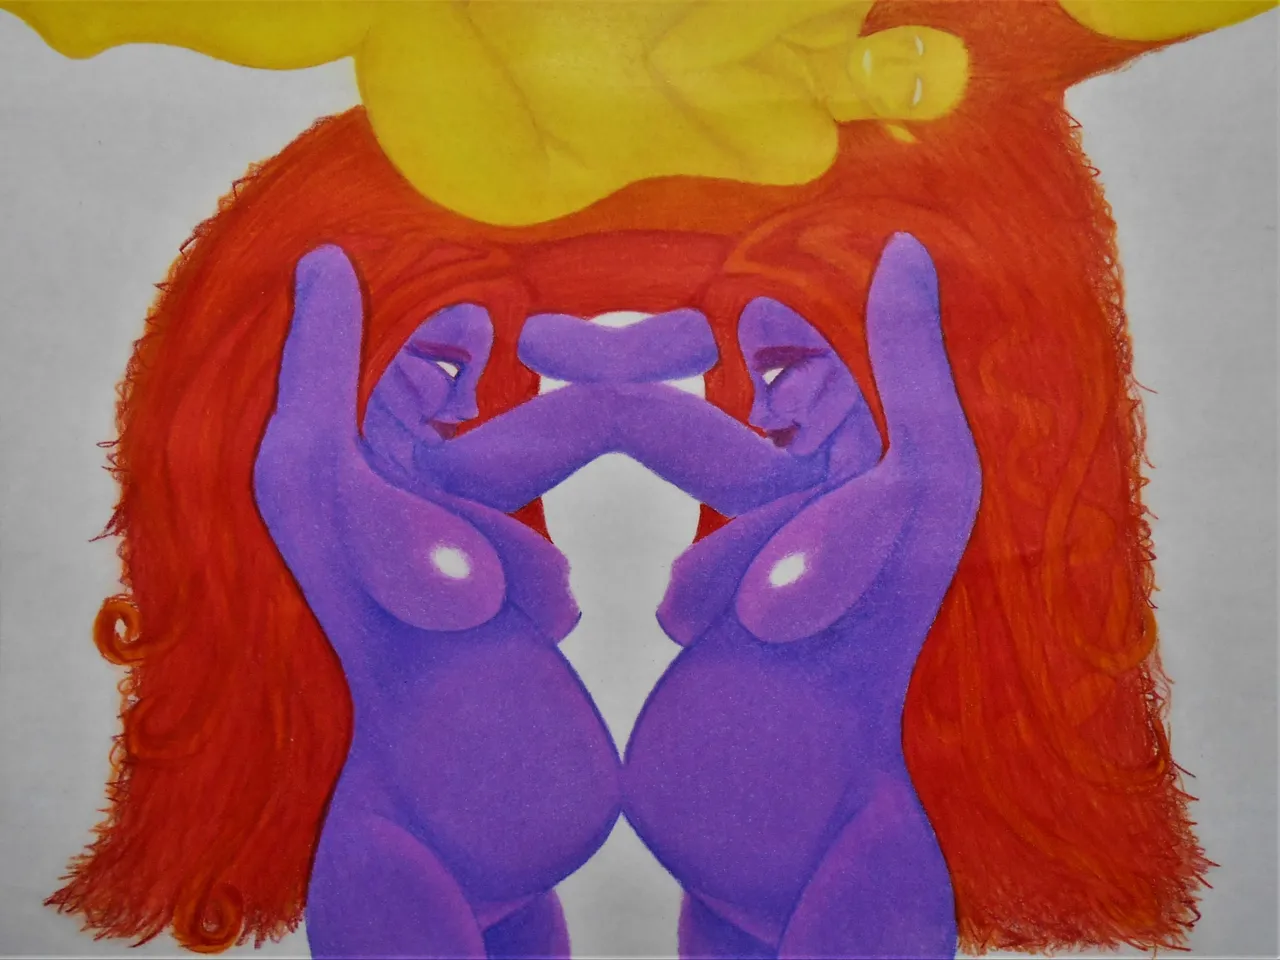
The next series of steps in the process were to apply the mid-tone red. I did the same as with the last layer beginning by outlining some tighter areas which you can see beginning on the right side in the image below.
I wasn't originally going to go with the red hair for the purple women. However, once i confirmed that i would make the yellow lady's hair orange i figured it was a great choice. I had a few different ideas about blending the orange and red hair into one form. This made the quote from earlier even more meaningful. I also happened upon this awesome quote i couldn't resist sharing with y'all.
"There is a shade of red for every woman."
- Audrey Hepburn
And before we move forward in the process i wanted to show some more sheen!
Now we get to the real red!
Let the Fun Begin!
~ Update on Luci ~
It's not the longest and most in depth updates... but my squirrel friend Luci had been still coming to hangout. In fact, she showed up while i was editing the photos for the post.
She now lets me pet her while she eats out of my hand. She will also hold my hand or grab my fingers. She has let me pet her on her head and back. Most surprising to me is that she let me rub on her belly too.
I think she is pregnant and her little nipple rows are protruding quite noticably. So, i find it that much more special that she trusts me enough to pet her little belly.
Relationship Goals
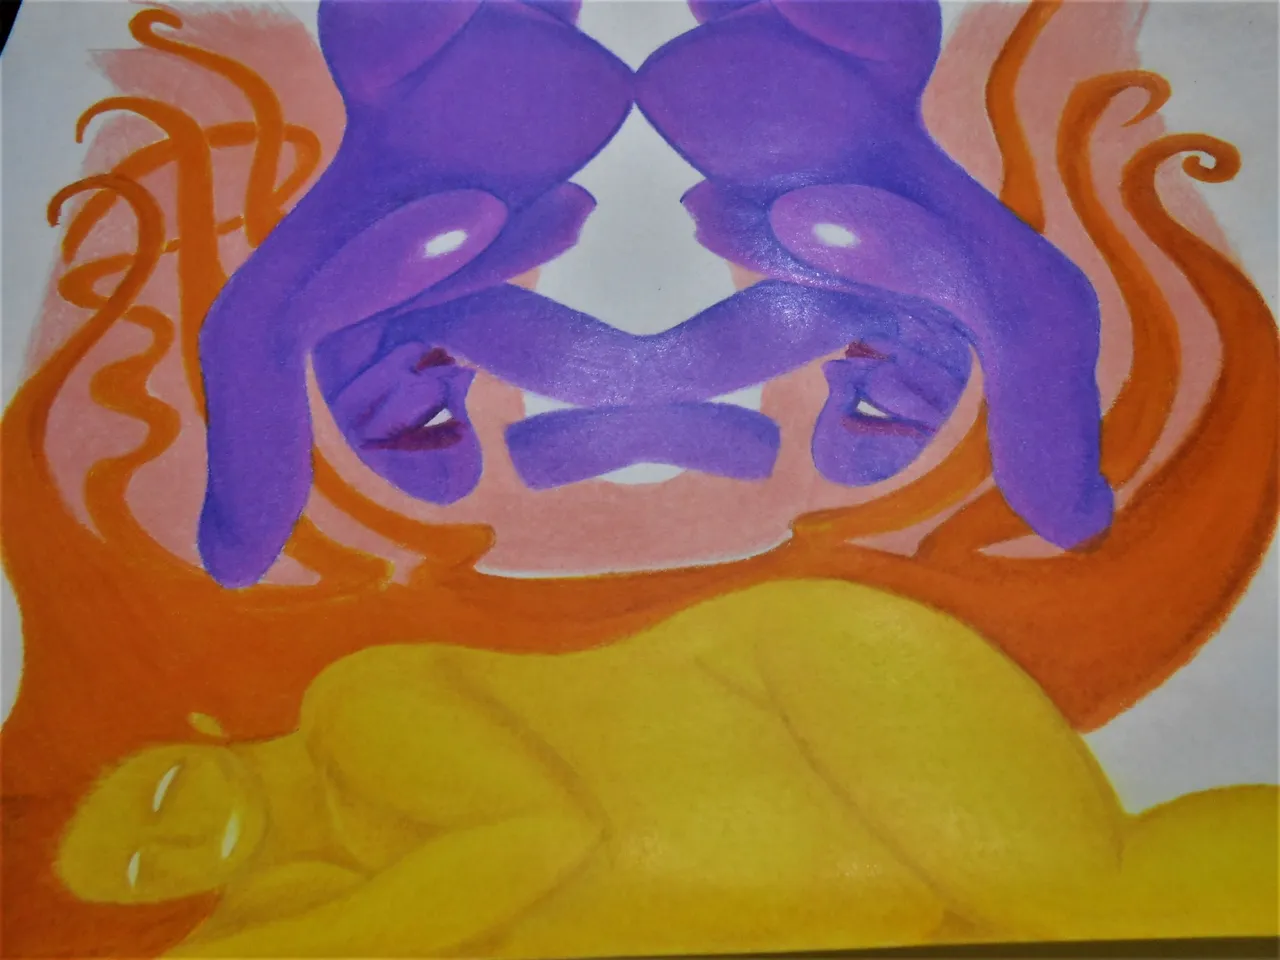
~ Hair Don't Care ~
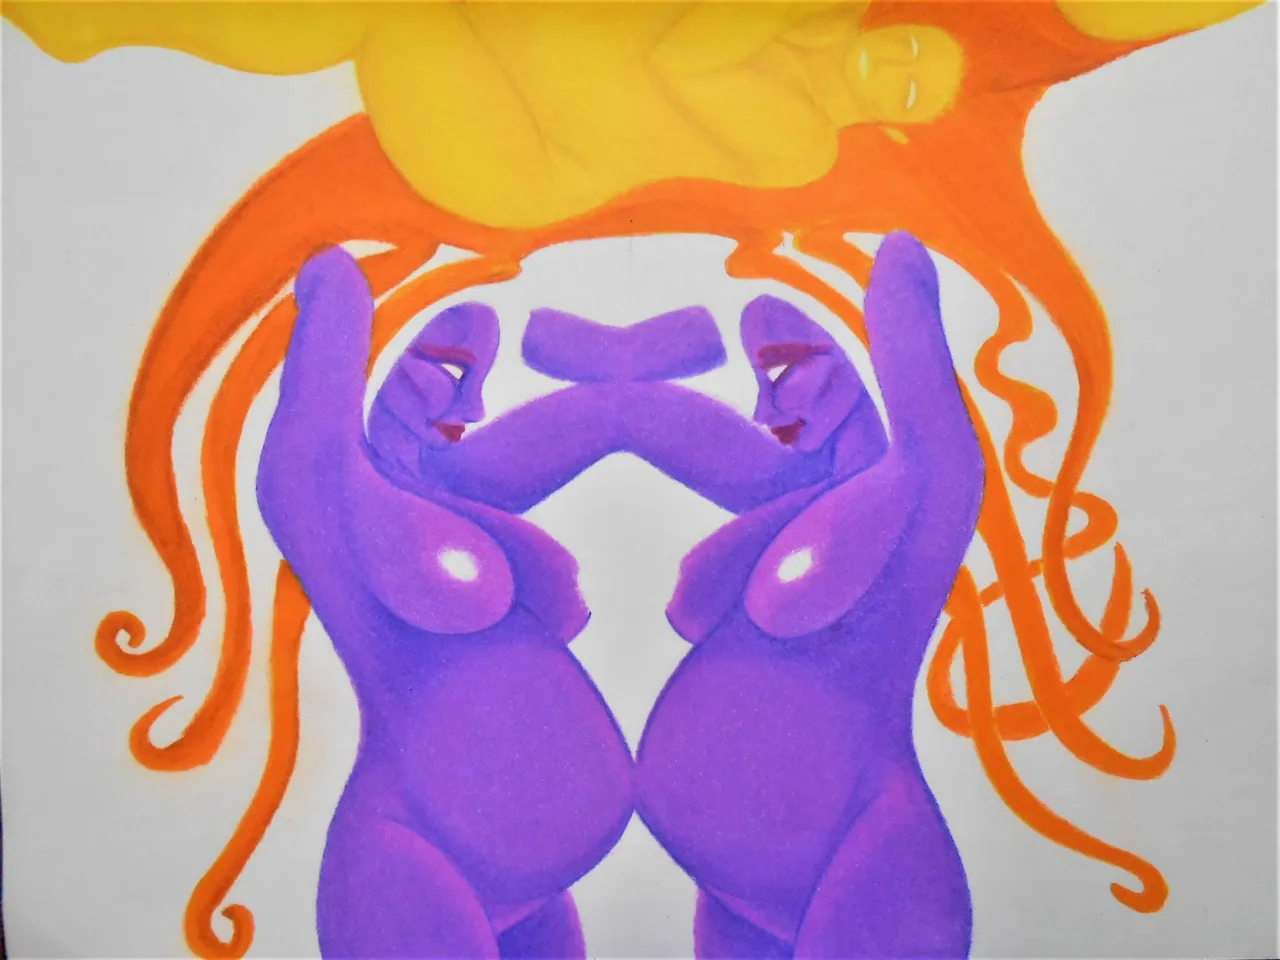
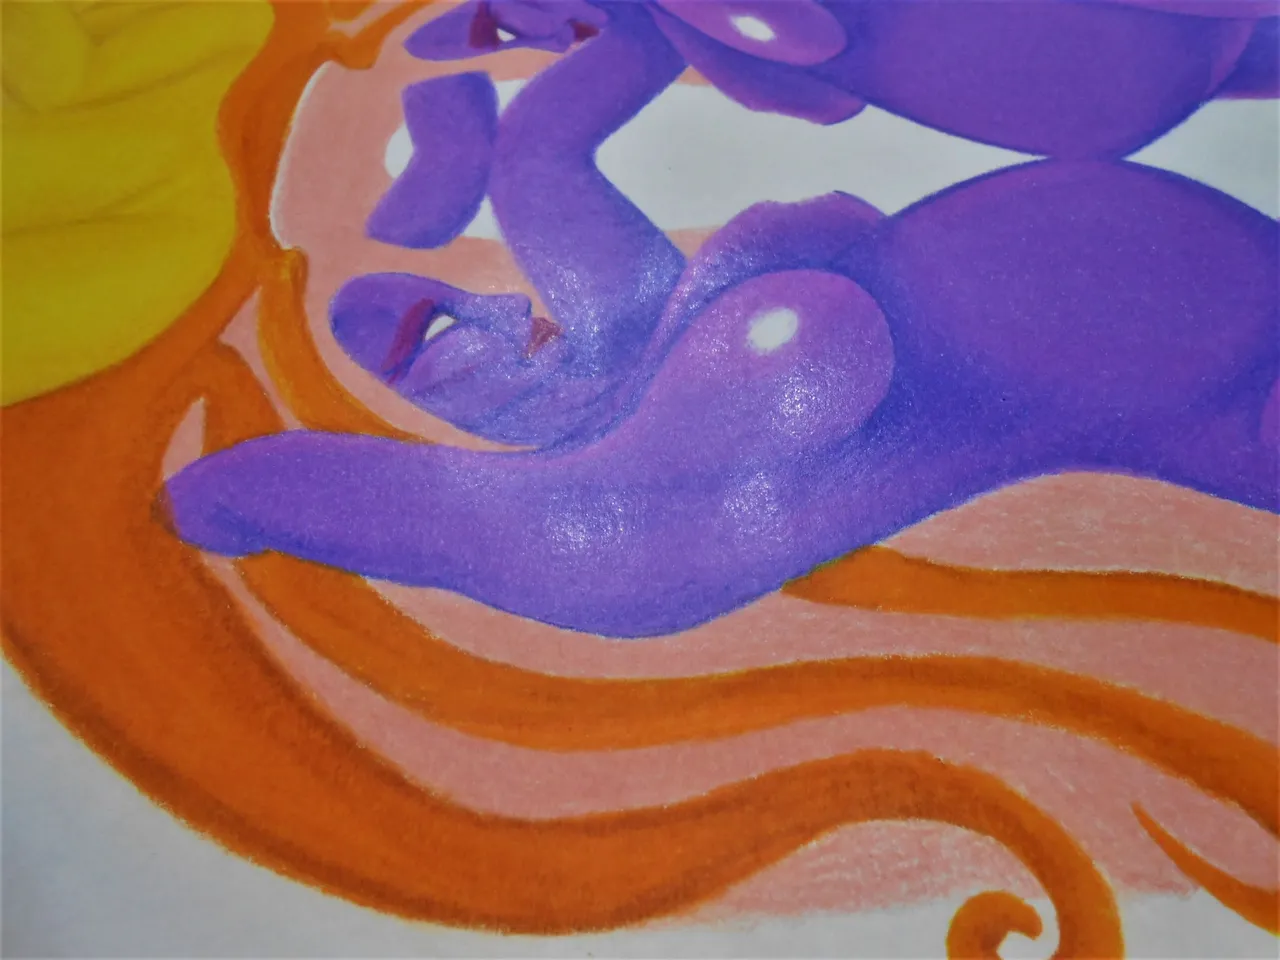
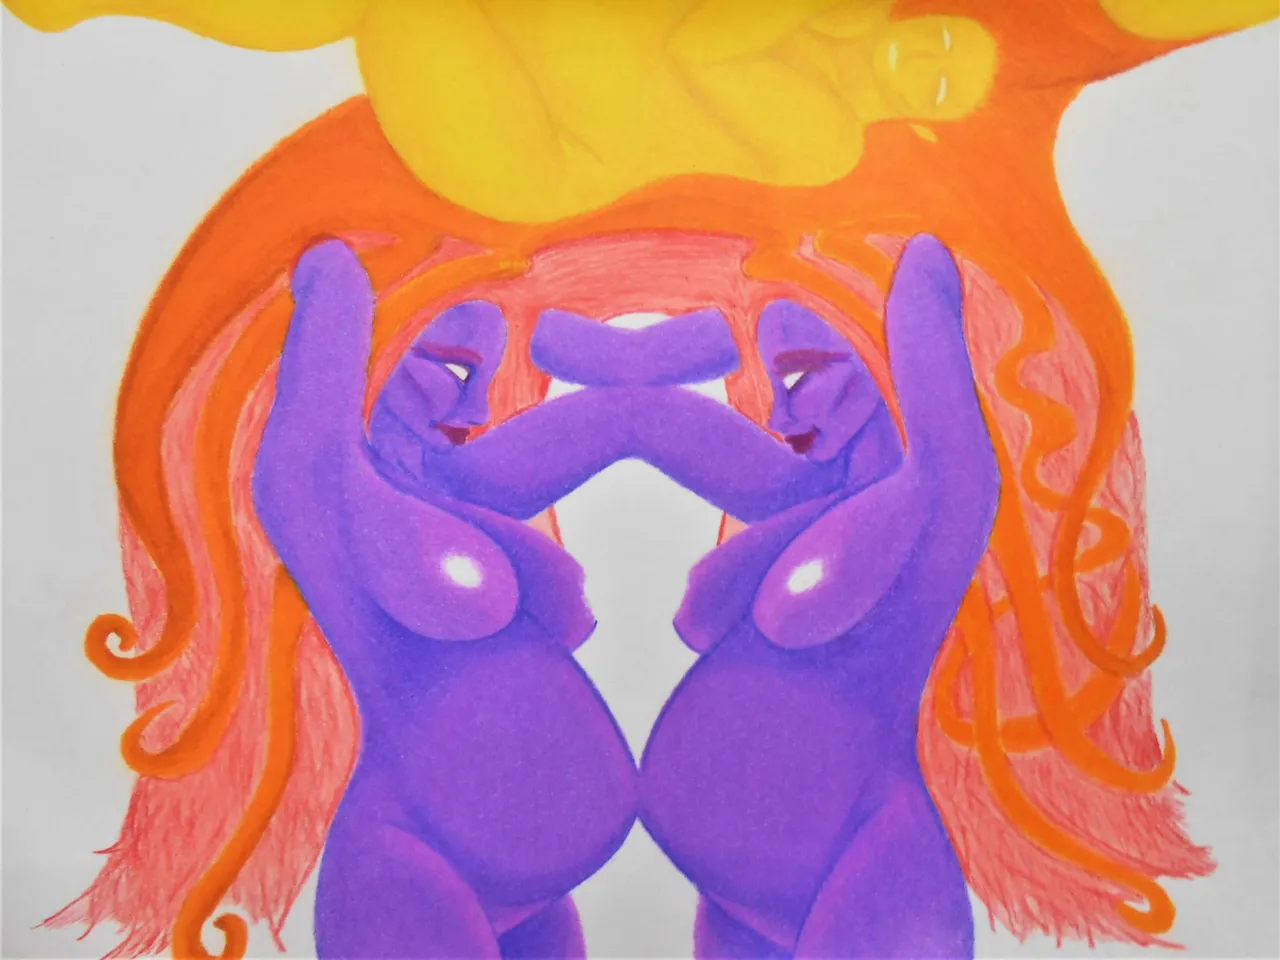
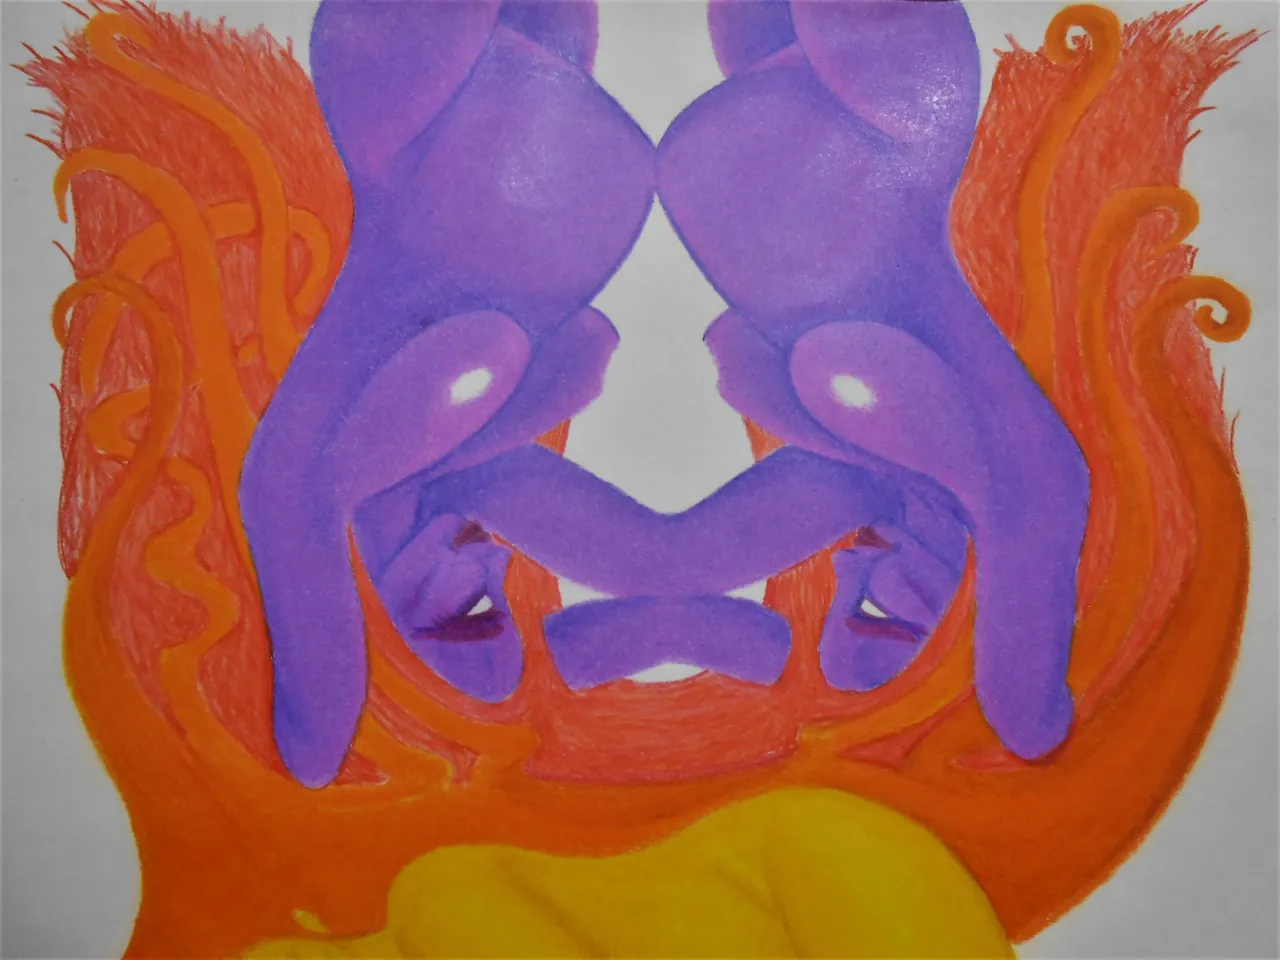
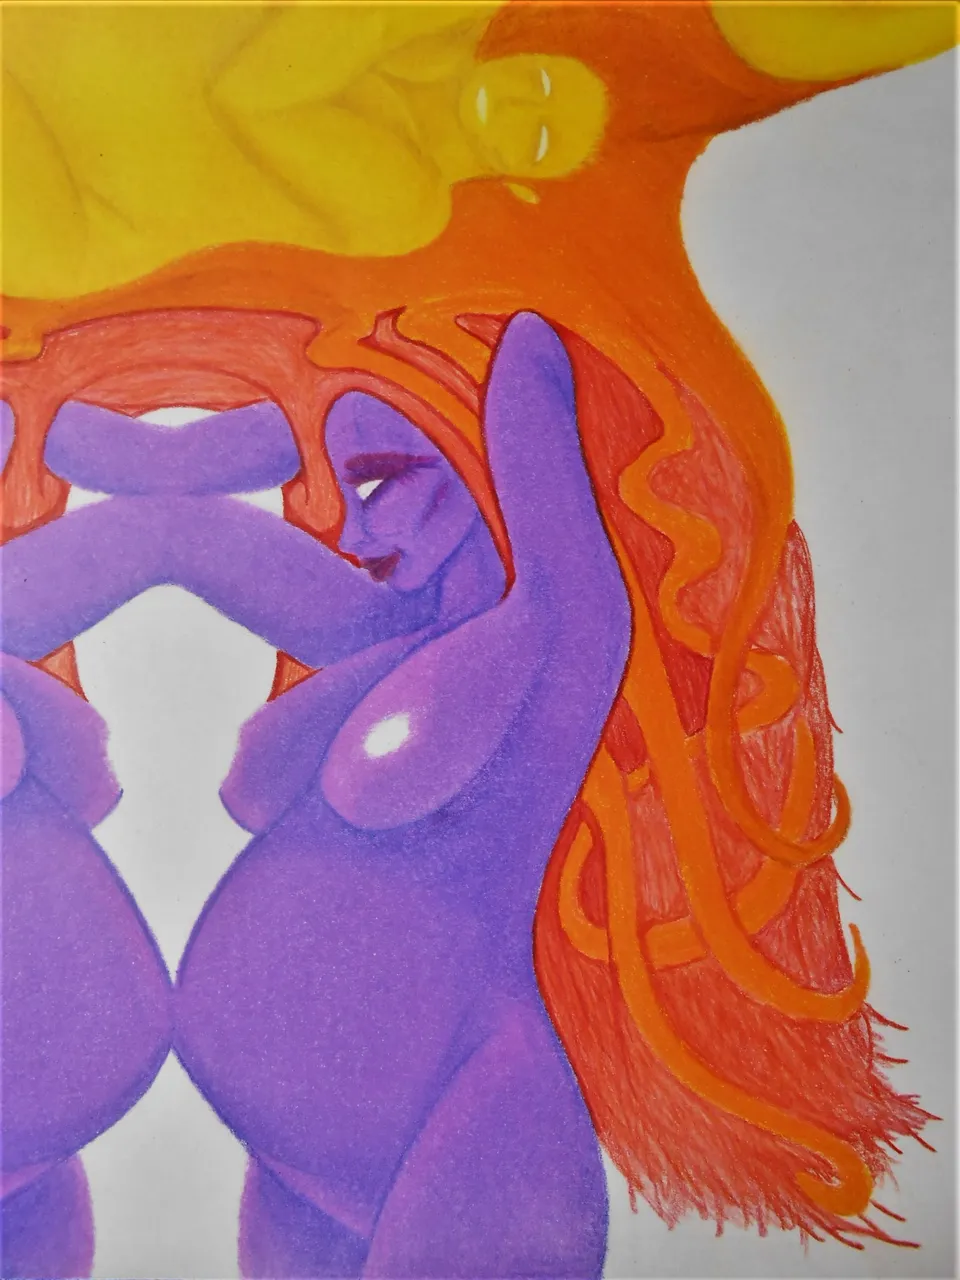
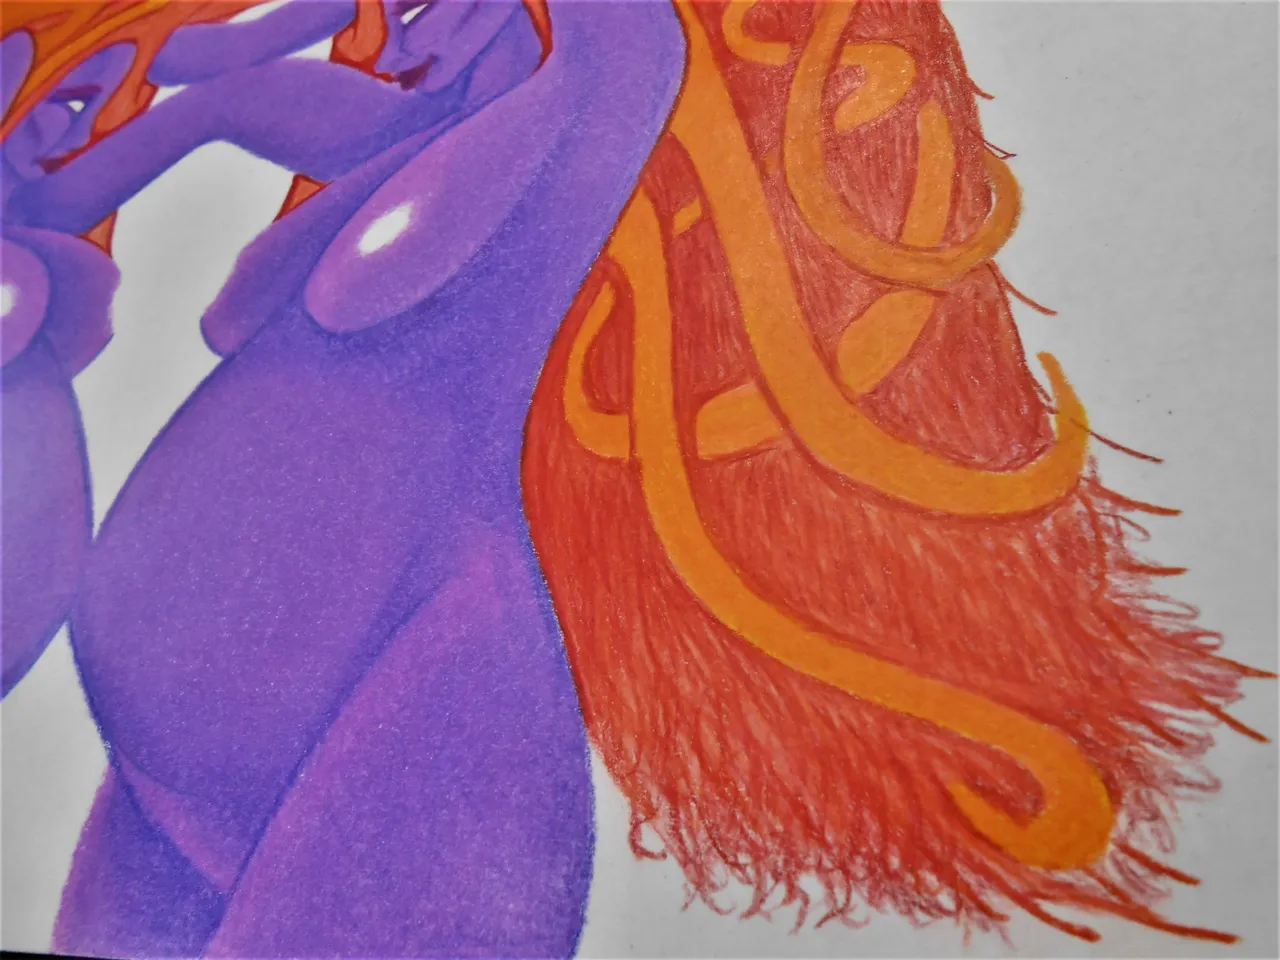
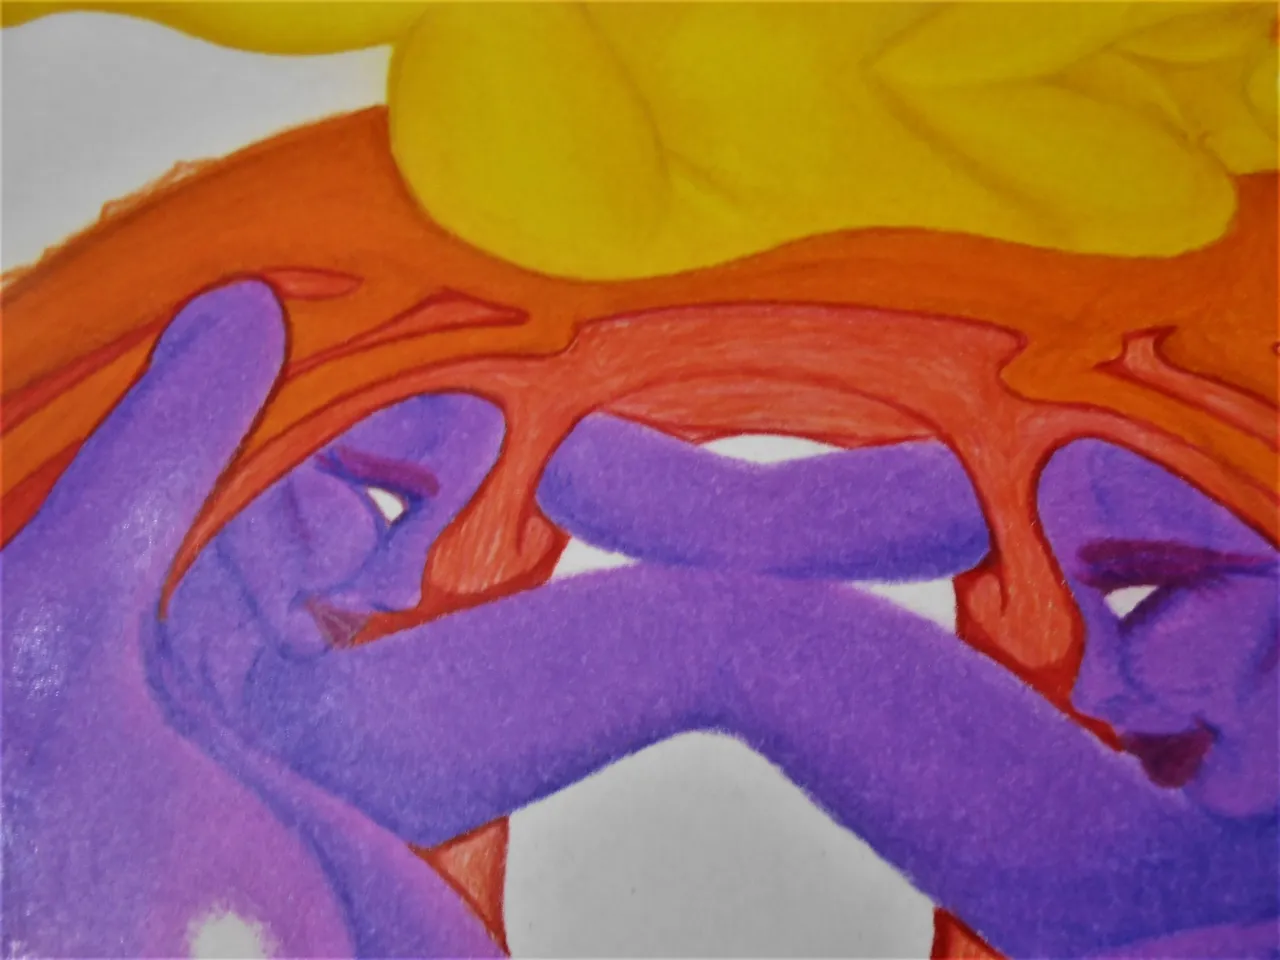
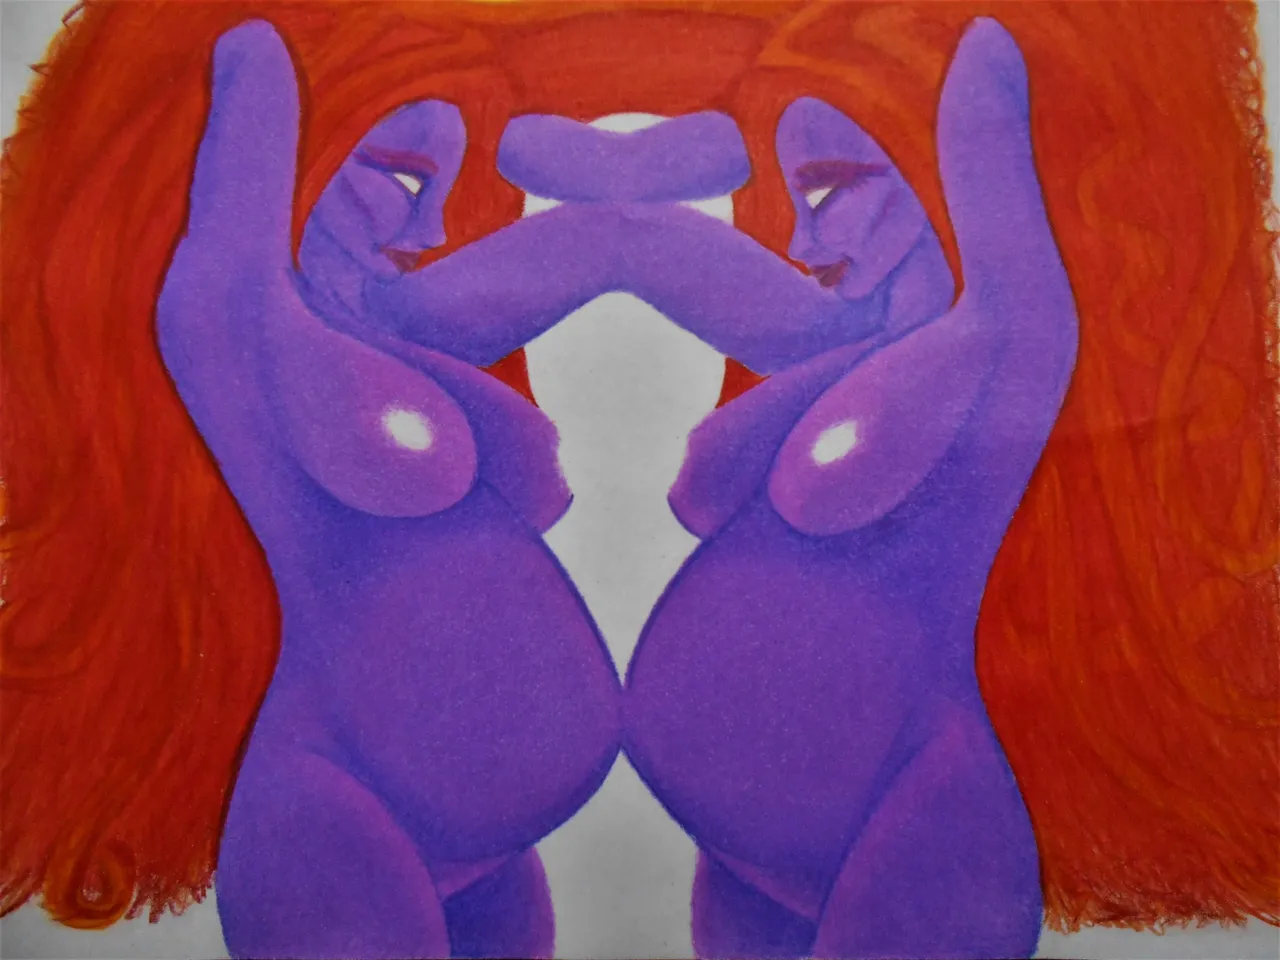
Seeing how this darker red began to make this hair come to life, more in line with what i had imagined, i really started to get excited and enjoy the process.
In the back of my mind the orange hair is still haunting me. Here i am 3, 4, or 5 layers into the red and back there i left that orange with only a couple.
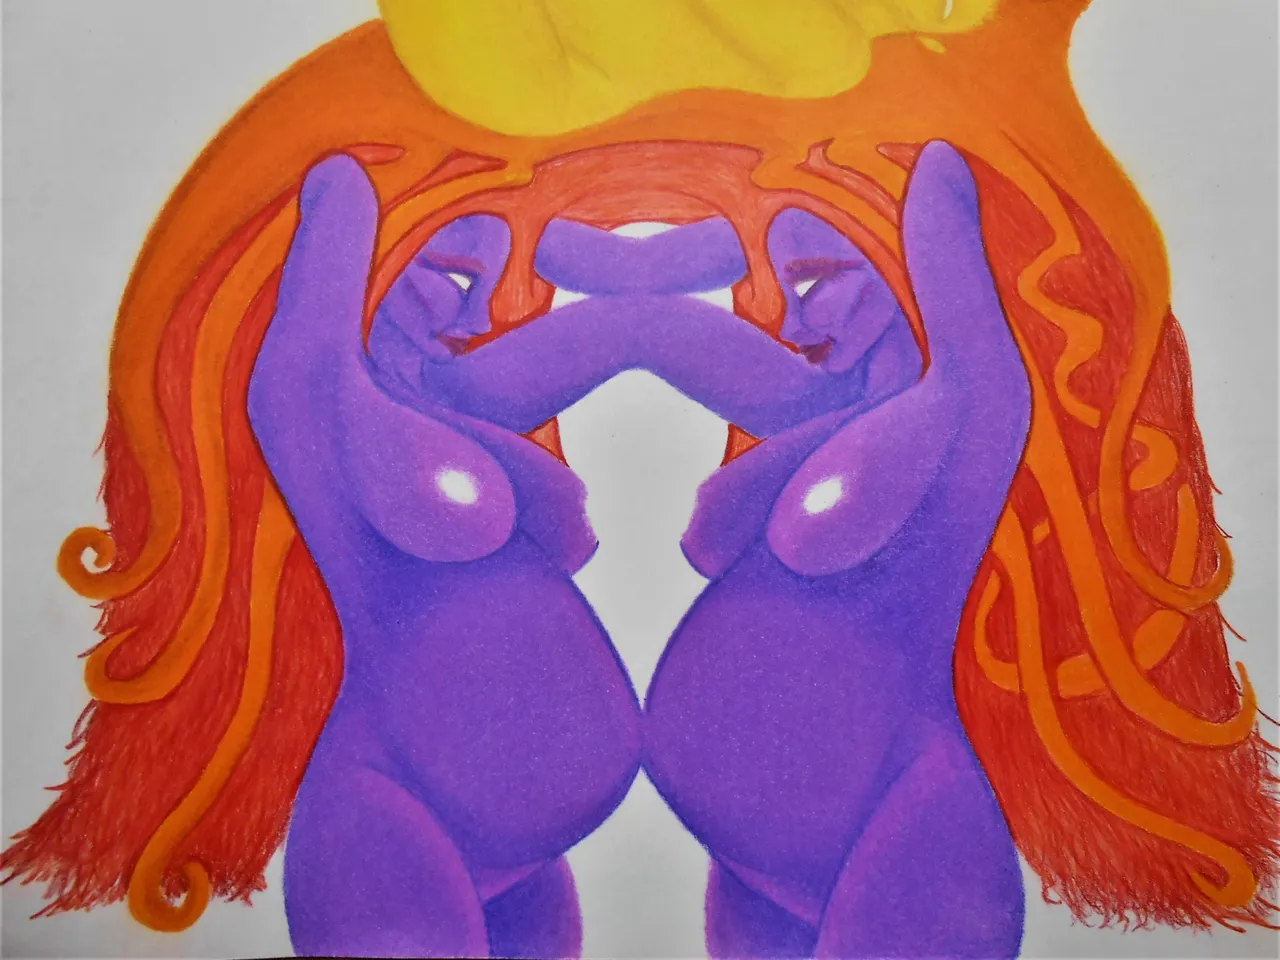
I can feel this layer of red wrapping up as i get closer to the crowns of the heads. Meanwhile, i keep seeing all these areas i need to go back to and pick up on or finish off with some details!
Either way the more i see to do... the more excited i get to get it done. At this point in the process of creating this artwork the momentum seems to finall be kicking in!

There's still a long way to go and a lot to do in order to finish this art piece... but i know clearly, now, that i am up for the challenge.
Even if the hair don't care... i'm starting to. Usually, i am always ready to abandon an artwork if i don't like how it's going. On this one, i am fully committed to making it turn out to the best of my ability.

Almost To The Finish
~ The Final Countdown ~
If you made it this far... i appreciate your time reading and checking out my artistic venture here. I will try and wrap this up swiftly. Like i said, i have a lot more work to do on the art itself... but first, we gotta finish this post! hahaha
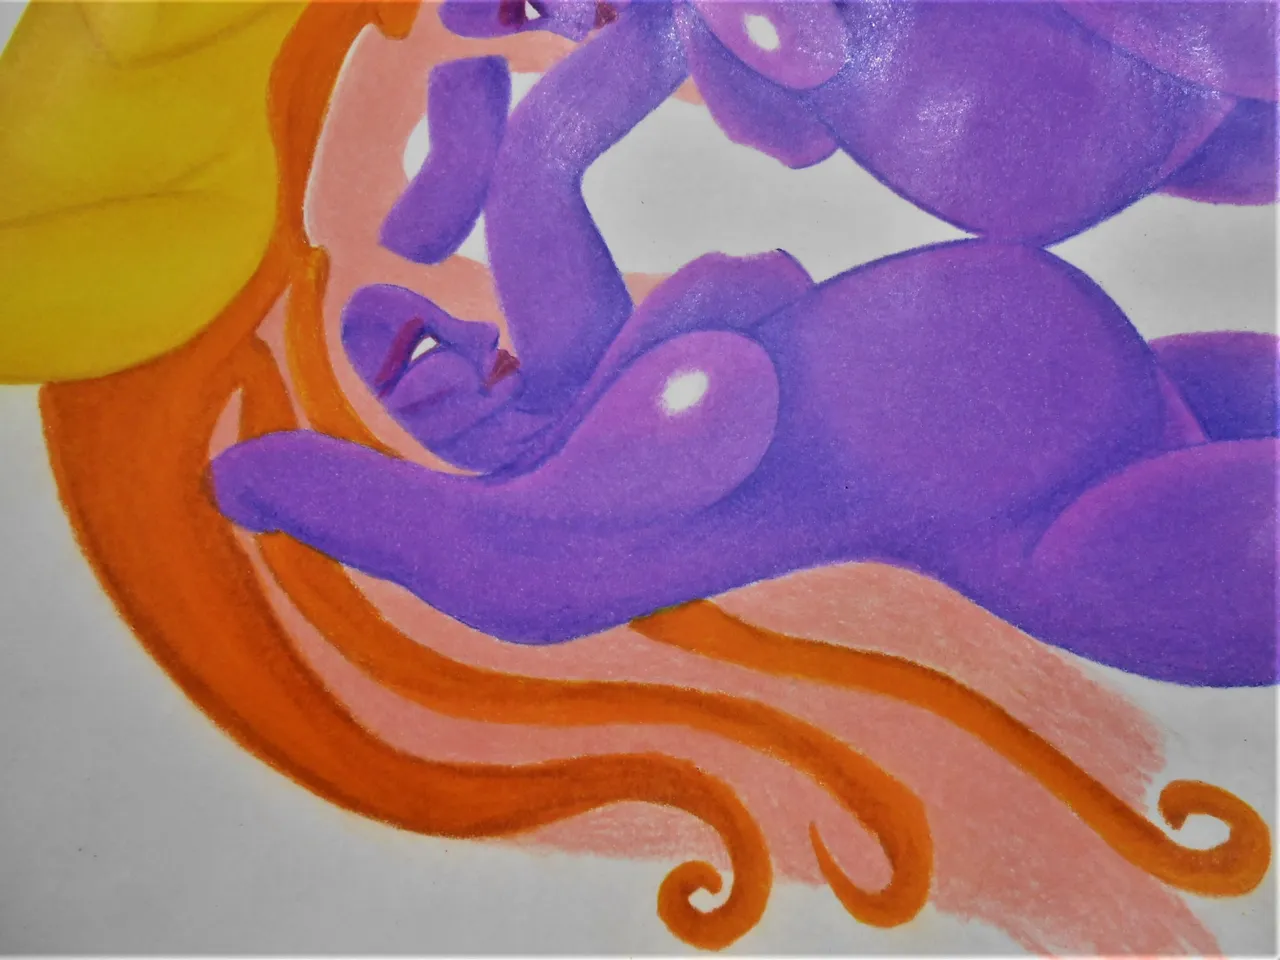
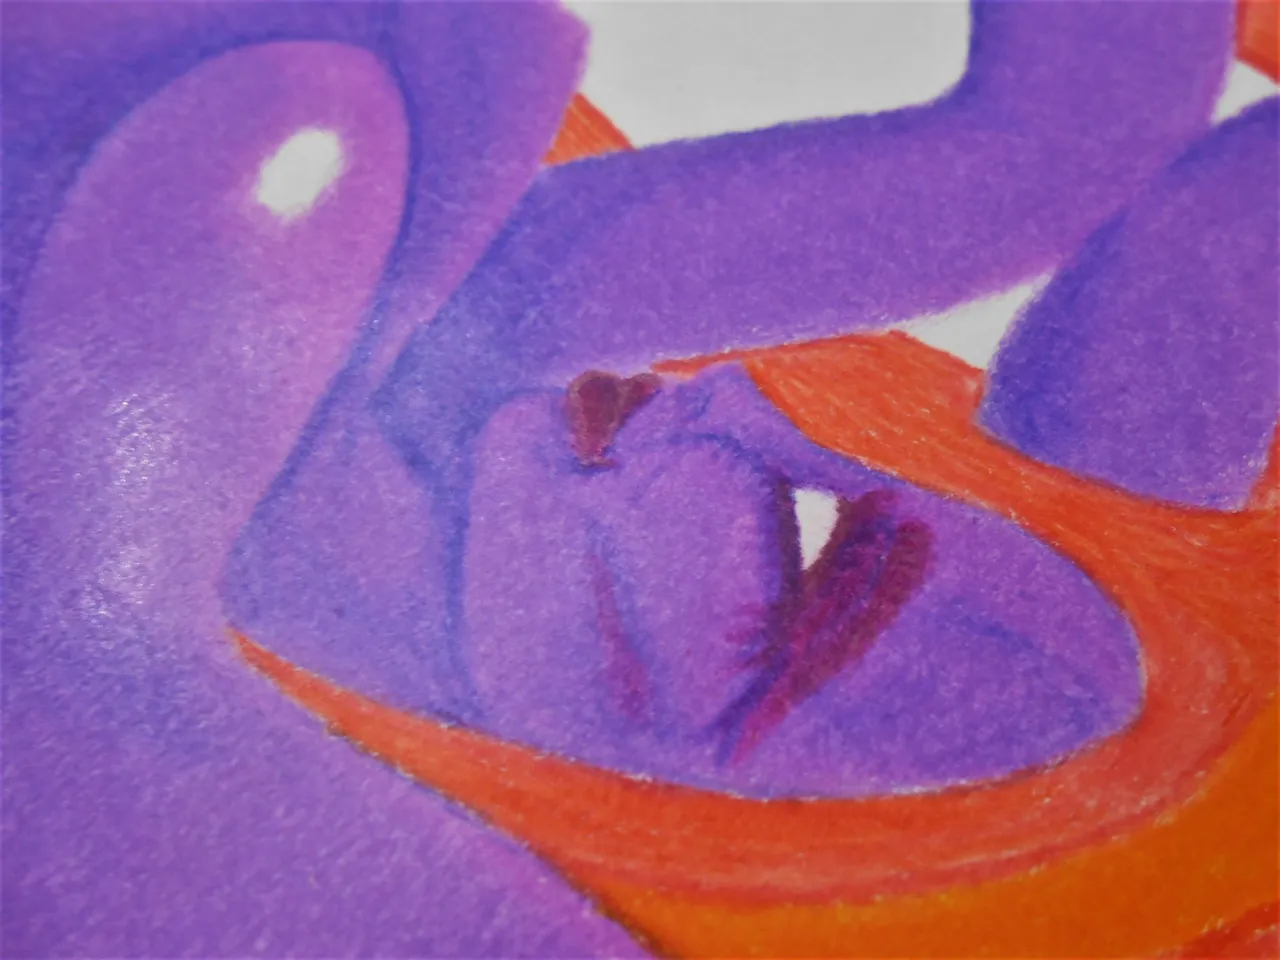
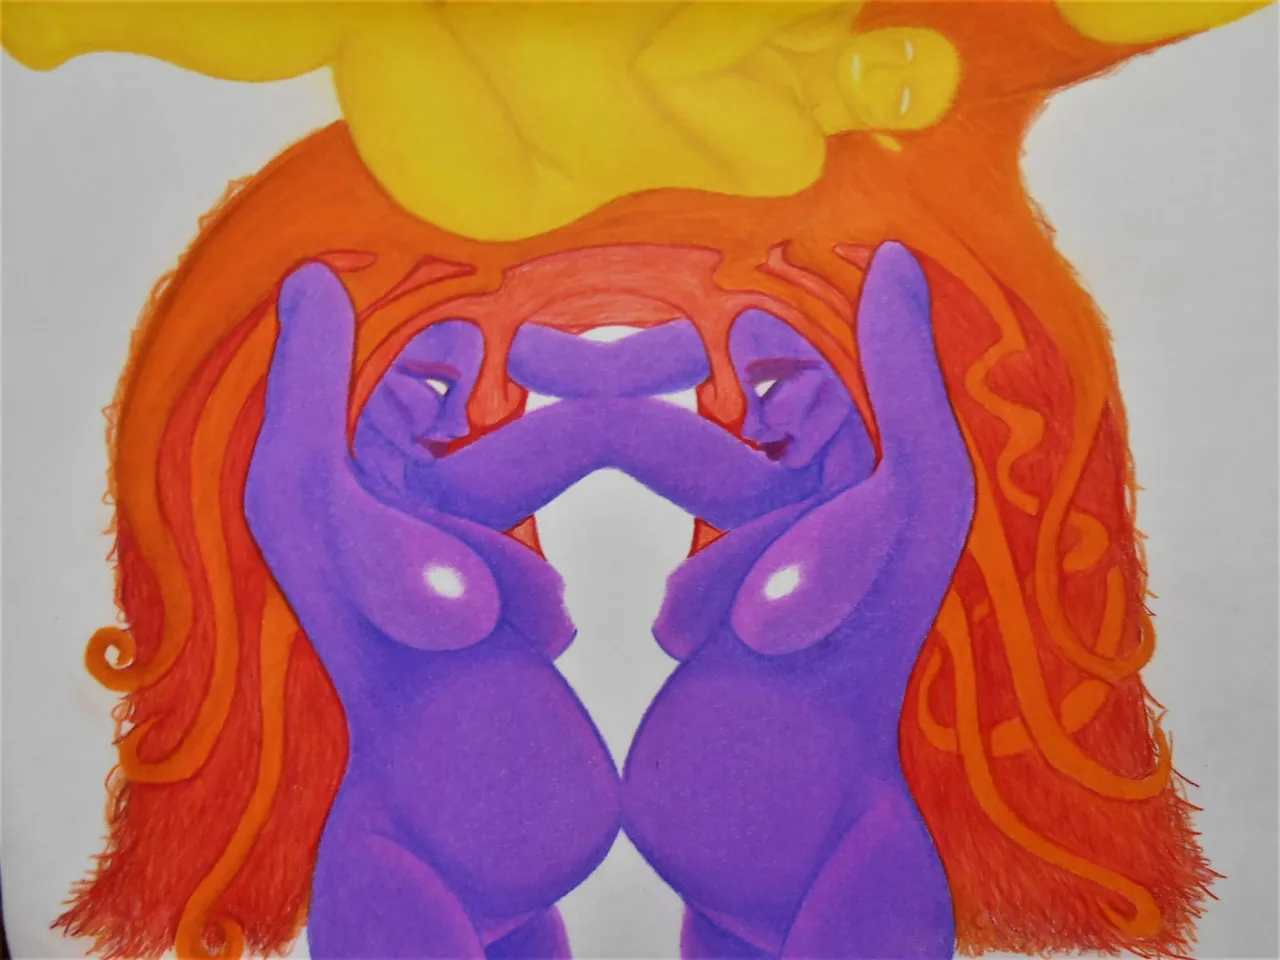
One of the last steps i did before getting to my stopping point was to blend some of the hair fibers of the red atop the orange tedril like furled hair strands. This really seemed to obfiscute things in a cohesive way to create quite a bit of depth if you observe the details.
In order to get these last shots i noticed that a lot of the last layers of orance and red had quite a bit of color dust. This dust had gotten on the white of the paper so i needed to use the eraser quite a bit to clean it up.
I've been using cover sheets to rest my rist on and to mask the yellow and purple from getting color cross-contaminated. Apparently those papers had moved around some of the color dust onto the white though.
As i mentioned in my last post, i have been getting high resolution scans of this process along the way. I will share those in the final post for your viewing pleasure.

I did crinkle the paper a little here and there in the erasing process. I had damaged paper or any defects in the texture of the surface. It's glaringly obvious to me since i have this extreme aversion.
It's even more noticible to me since my photos reveal this based on my lighting as i shoot this. Oh well, i will have to try and fix it after the work is done. The main thing is to just not make it any worse! hahaha
The body and volume of the hair is really coming together at this stage to my liking. However, a friend pointed out to me that the arms look like they have now been amputated. So, i will have to try and do a bit more blending and layering to get that to feel a bit more natural to the eye.
So, as i finish off this post to end this April Fool's Day... i have to admit... this art piece has been no joke. I look forward to grinding this one out! I look forward to seeing how it finishes up and i also look forward to sharing it with you all. Hopefully, sooner rather than later.
Thanks again for joining me on this art adventure. I do appreciate your time and interest in my content. I do plan on selling this as a limited mint in my Expectant Series Collection at NFT Showroom. I will include the high resolution scan as an unlockable as well.
I wish you all the best and look forward to hearing your feedback and constructive criticisms or ideas and suggestions in the comments below. Y'all take care and i will see you soon for the Grand Finale!
Much Love To You ALL!
