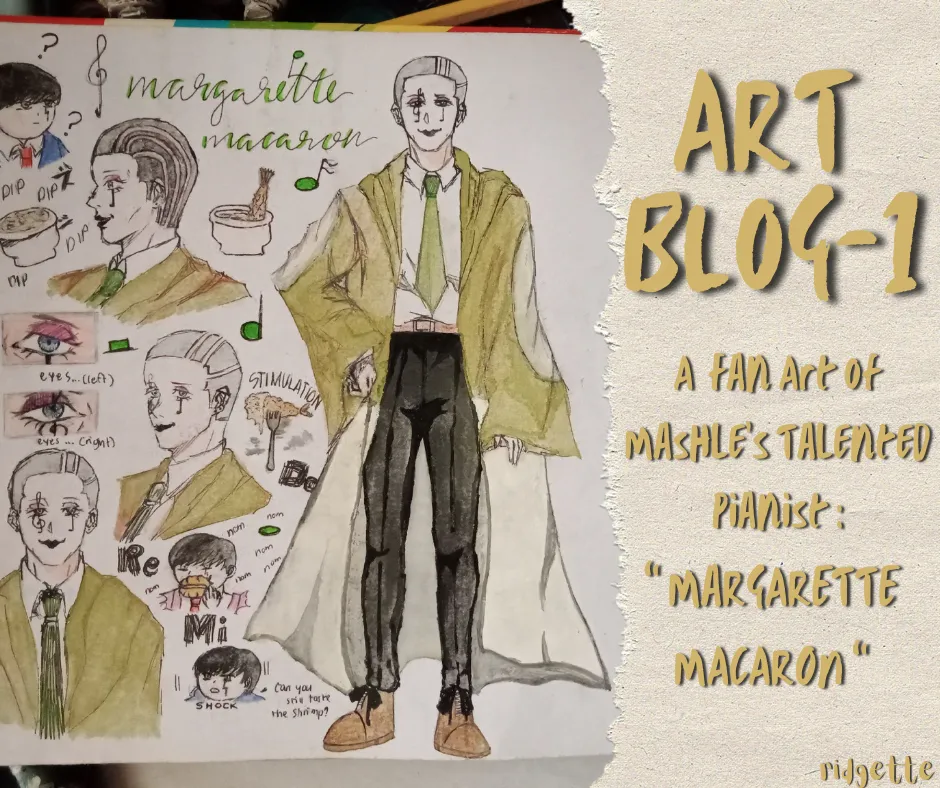
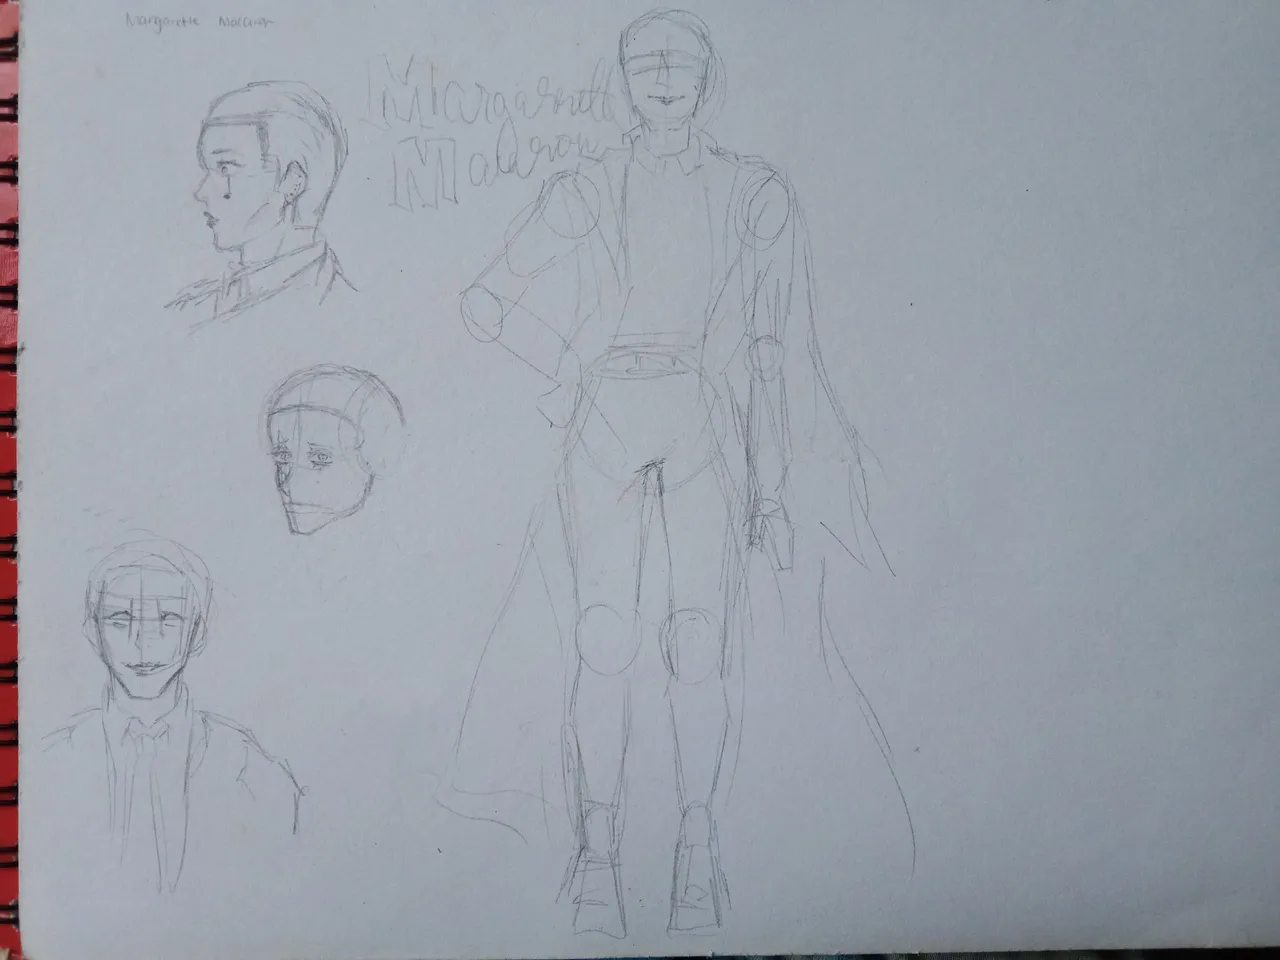
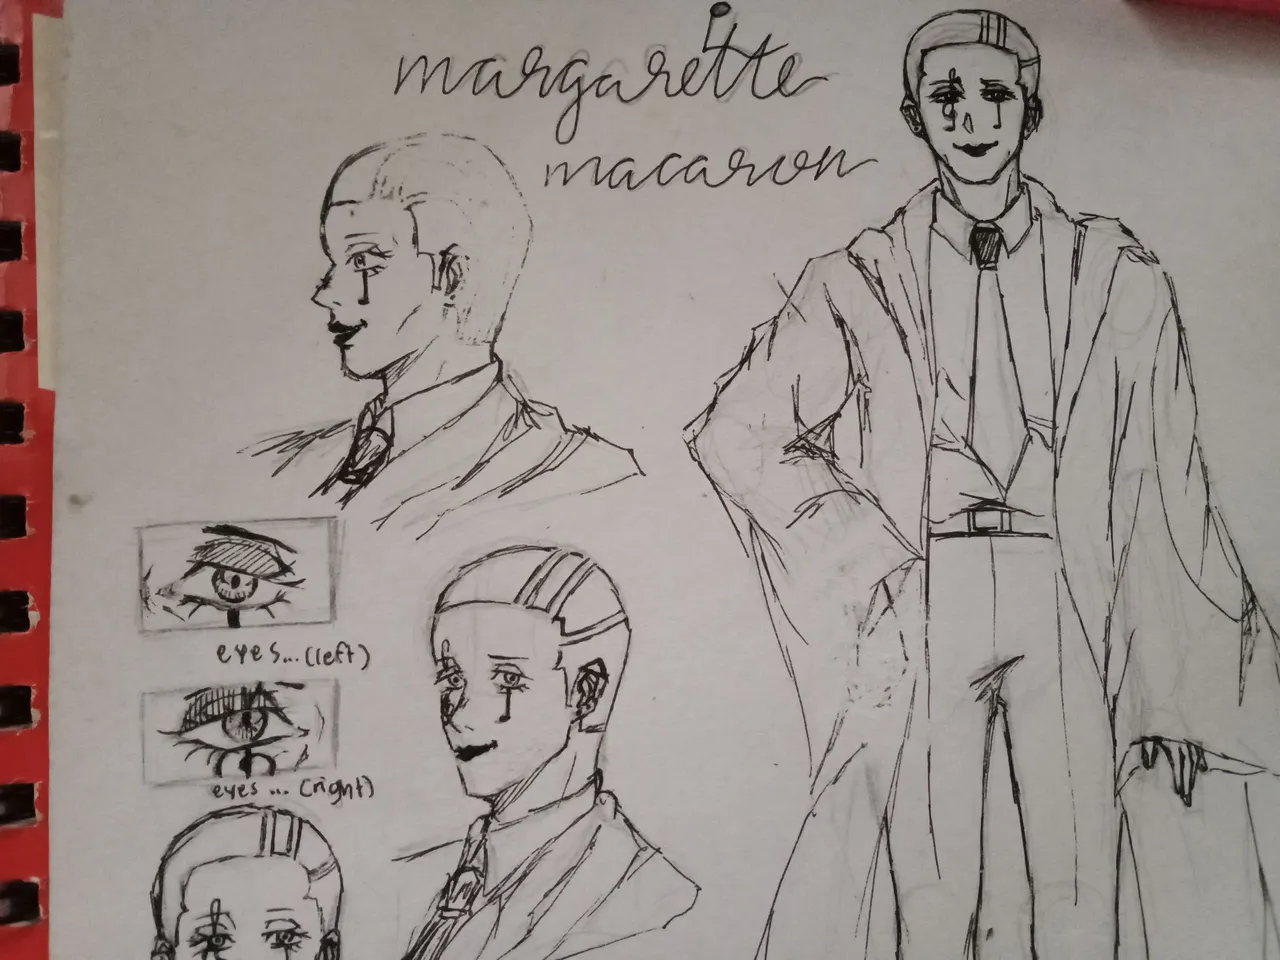
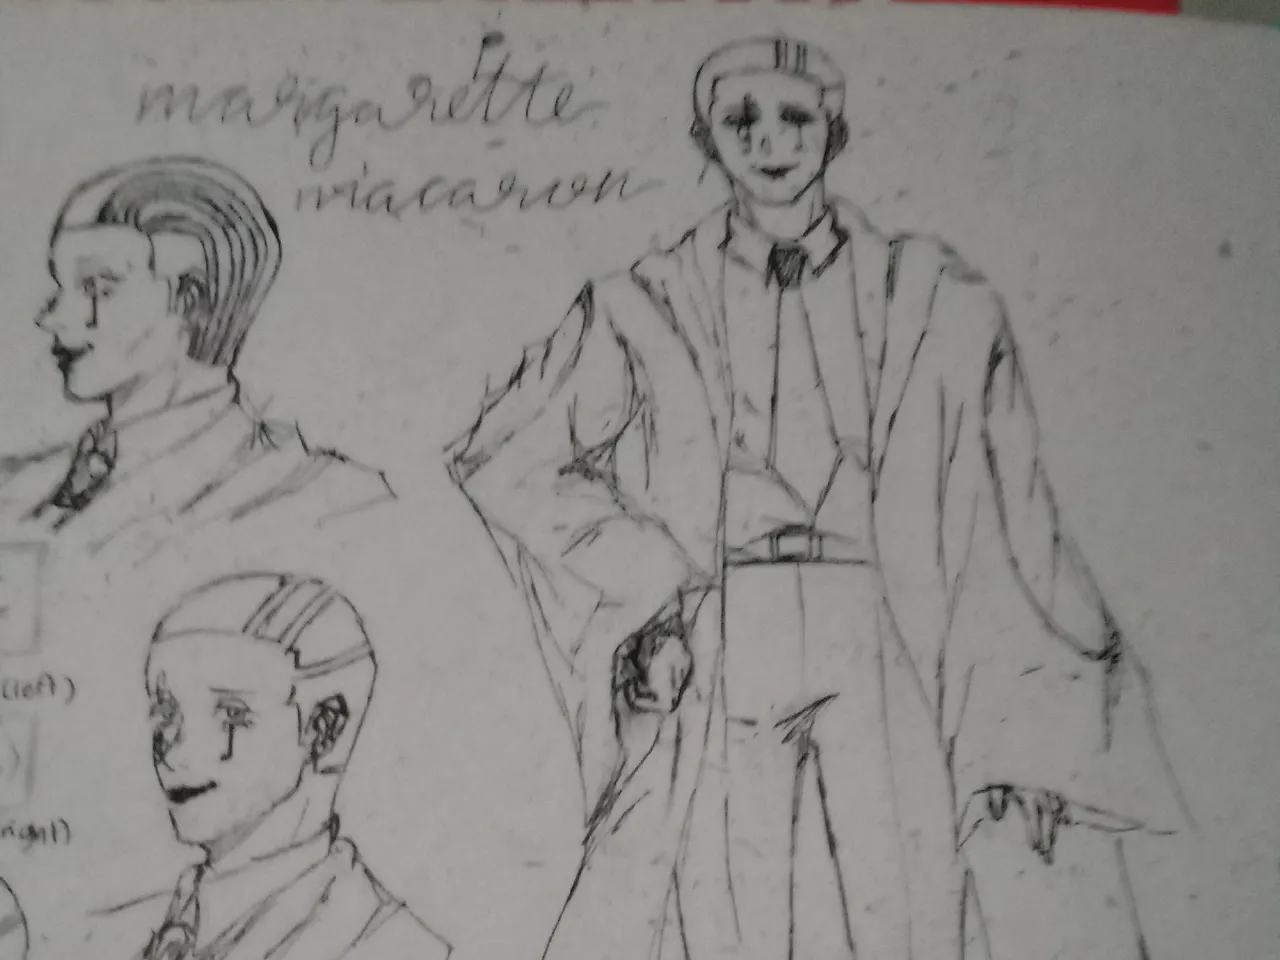
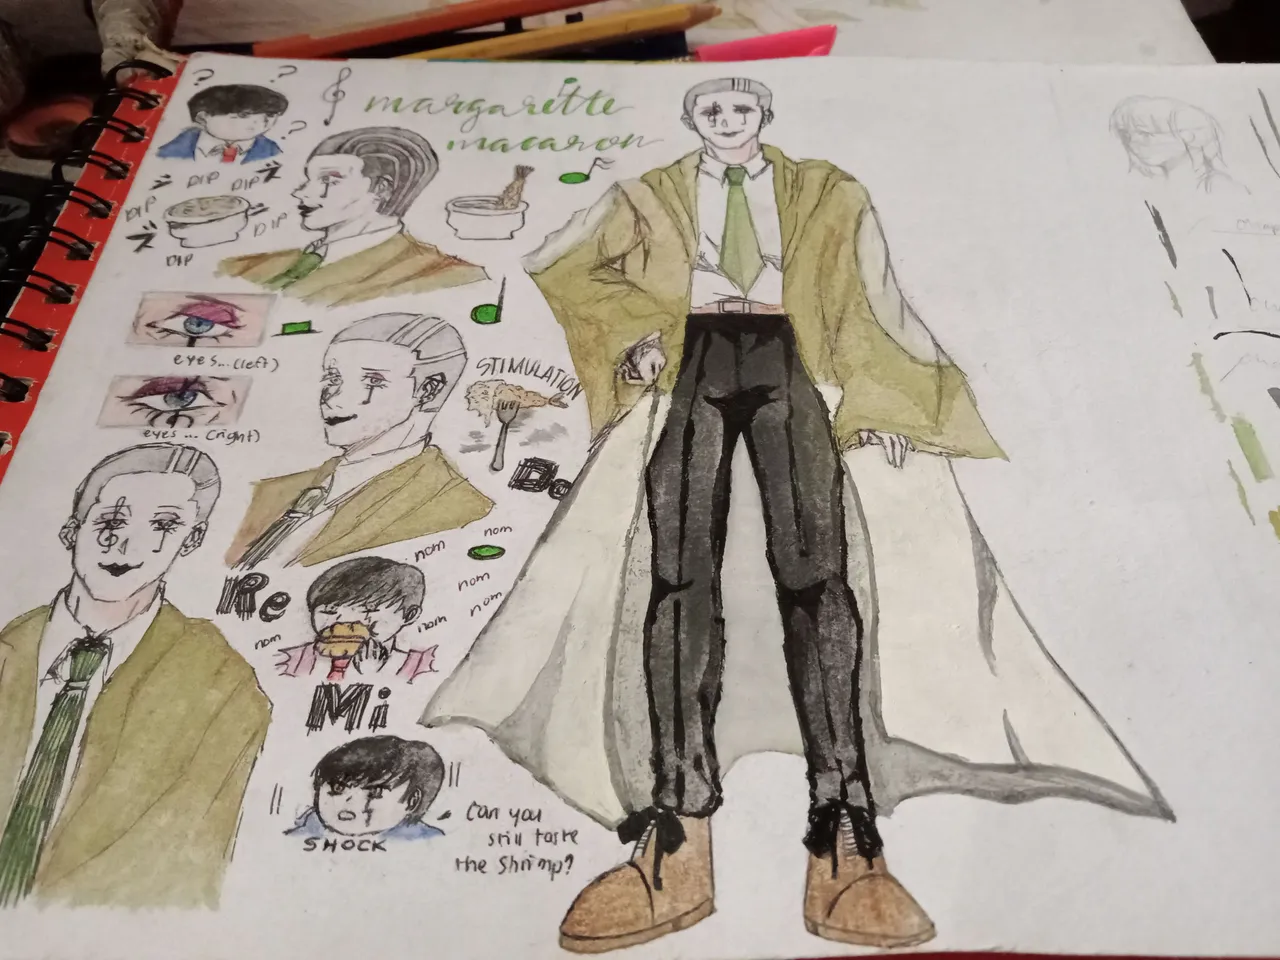
Konnichiwa Hivers! It's me, your ridgette again. For today, I'm going to share with you all my very first art blog. I'm really excited to show the fan art I've made for my latest husbando from Mashle (kyaaaaahhhhh), Margarette Macaron.
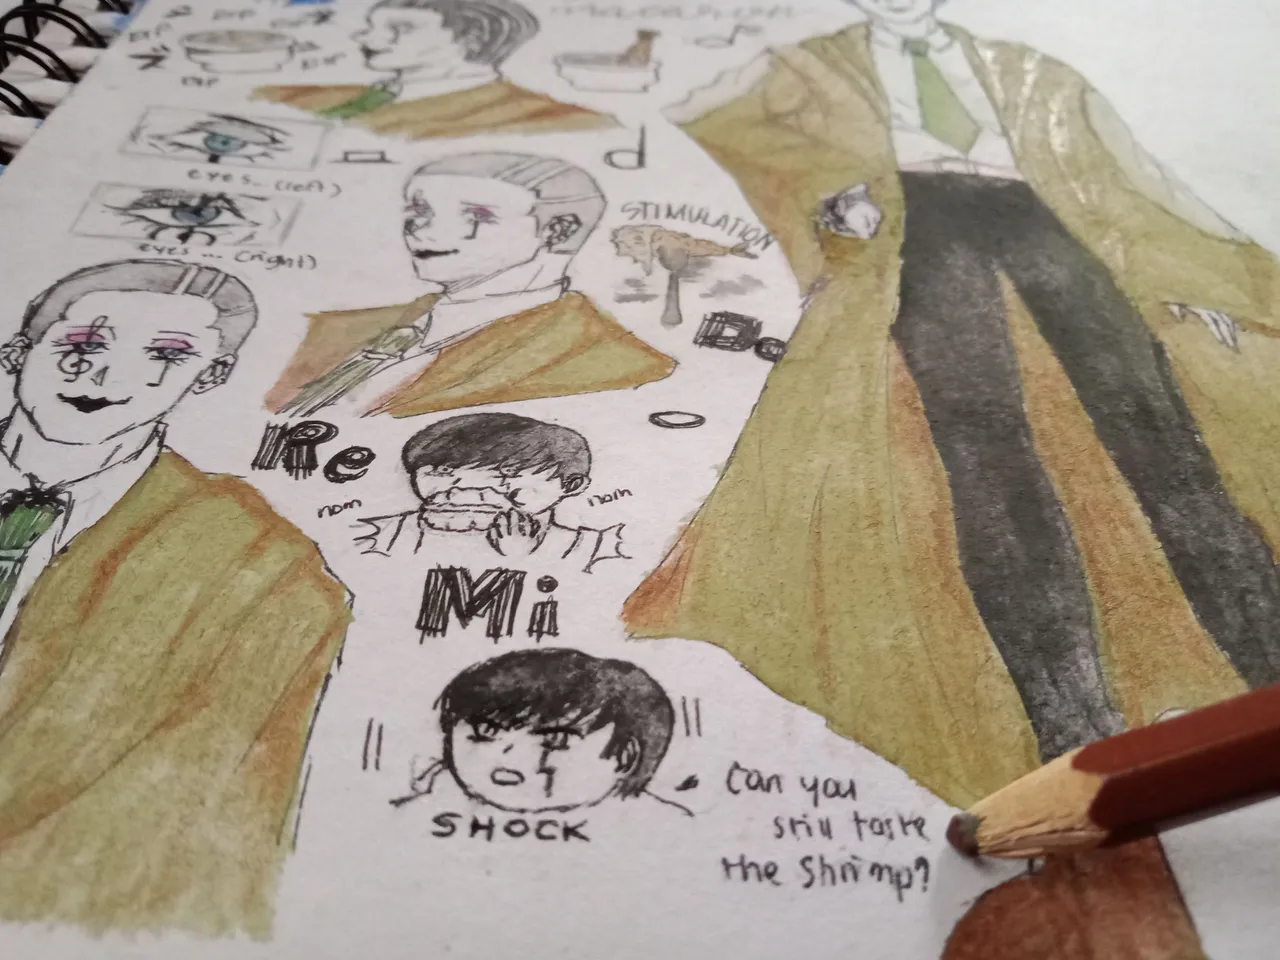
It was really fun drawing him, but everything became a challenge when I started coloring him. It took me awhile to ponder whether I would really color him or not because I always messed up my drawings when I colored them. Anyway, my intrusive thoughts won, and I really colored him. It was emotionally draining because it took me a lot of trying to somehow finish it the way I wanted it to be.
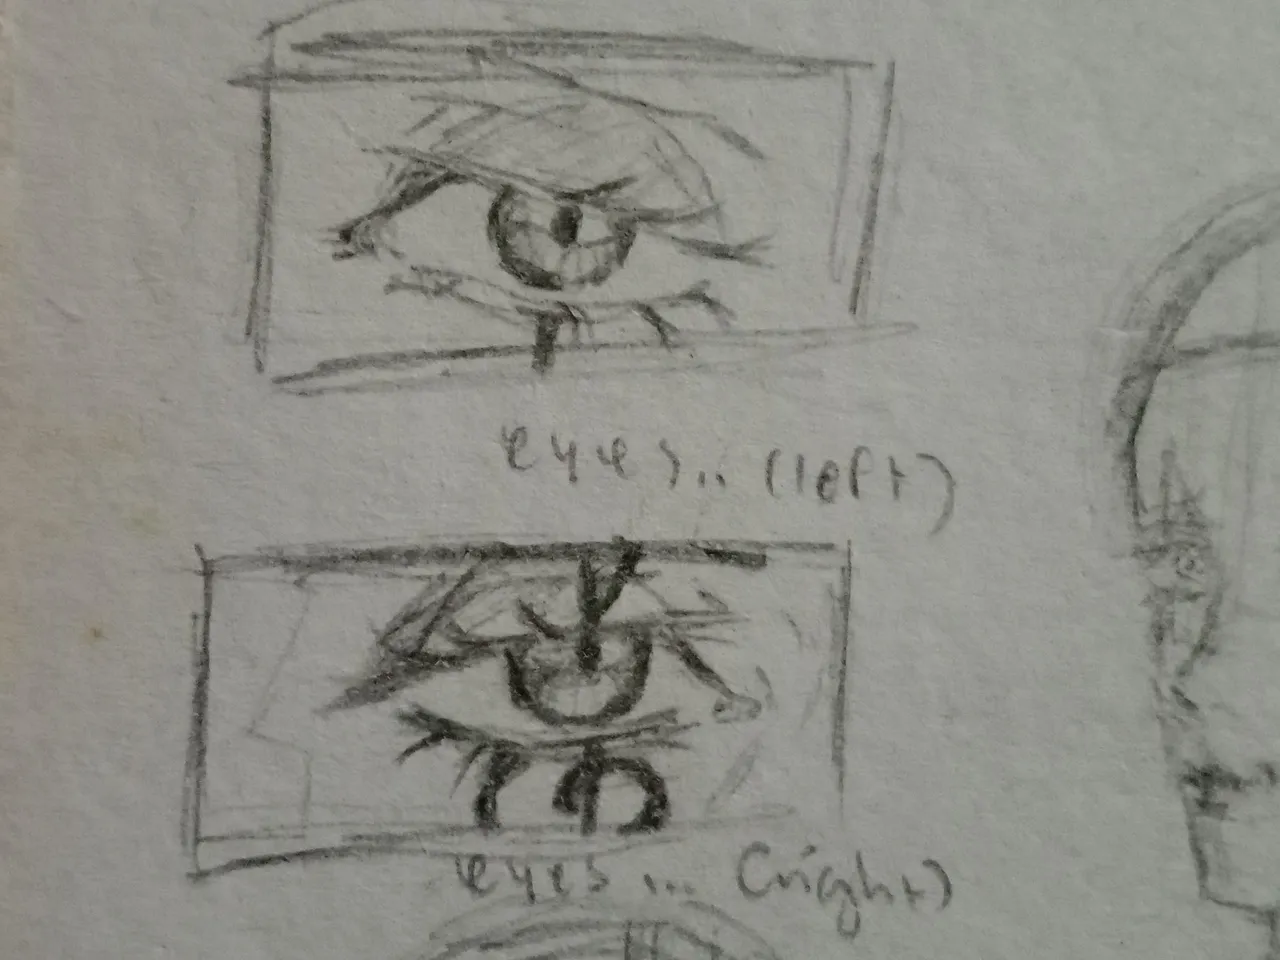
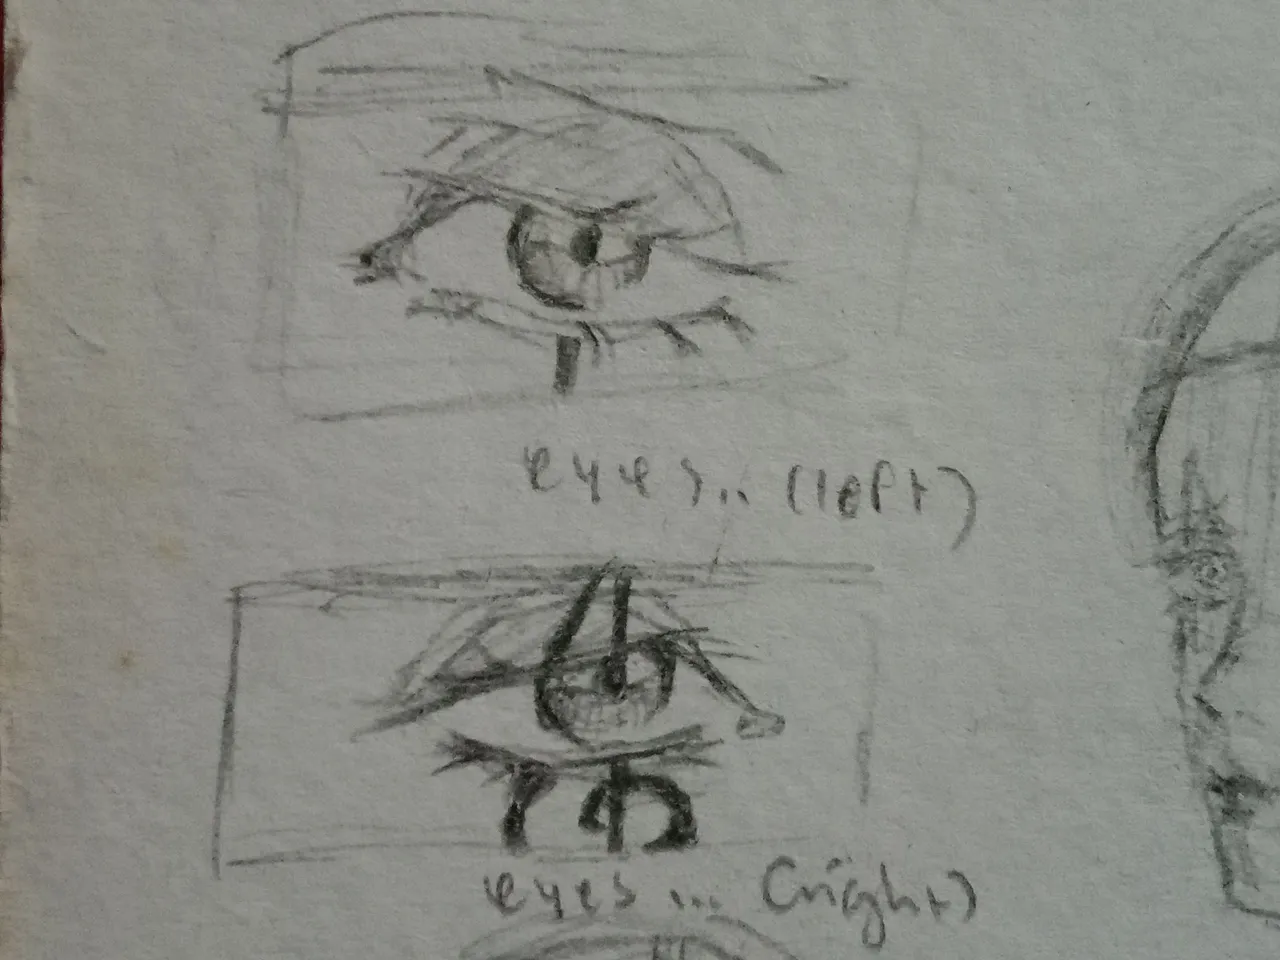
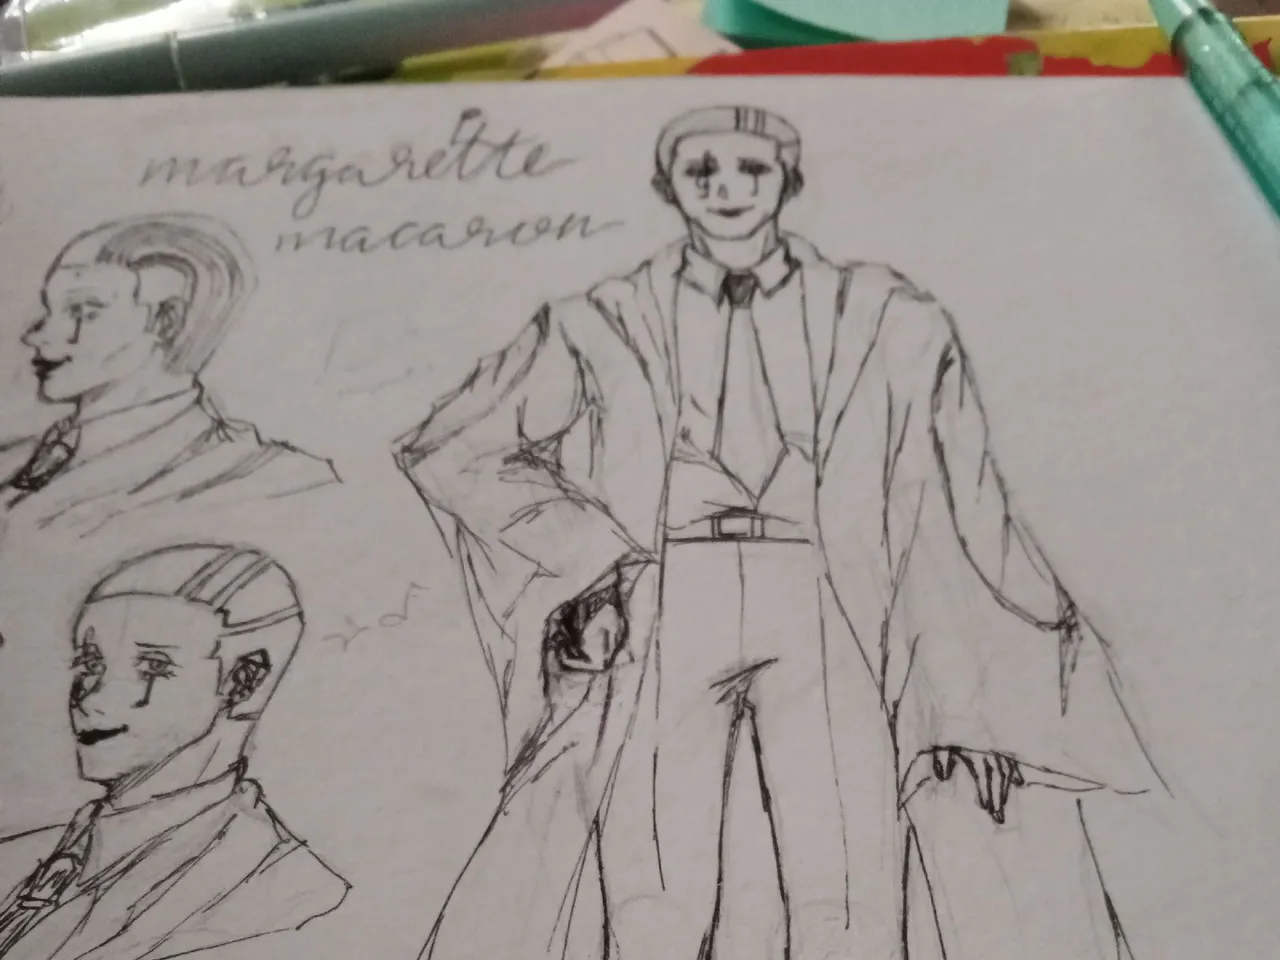
Further, I knew that it would be time-consuming to draw him from more than one perspective. I really enjoyed drawing characters from one or more perspectives, and it is kind of practice for me. Drawing him wasn't easy, for I really needed to use references because I'm not really familiar with all of his character details. I'm really particular about drawing the details because they make up the character's identity. So in this part, I'll share the process and also the materials that I've used while making my fan art!
Materials Needed:
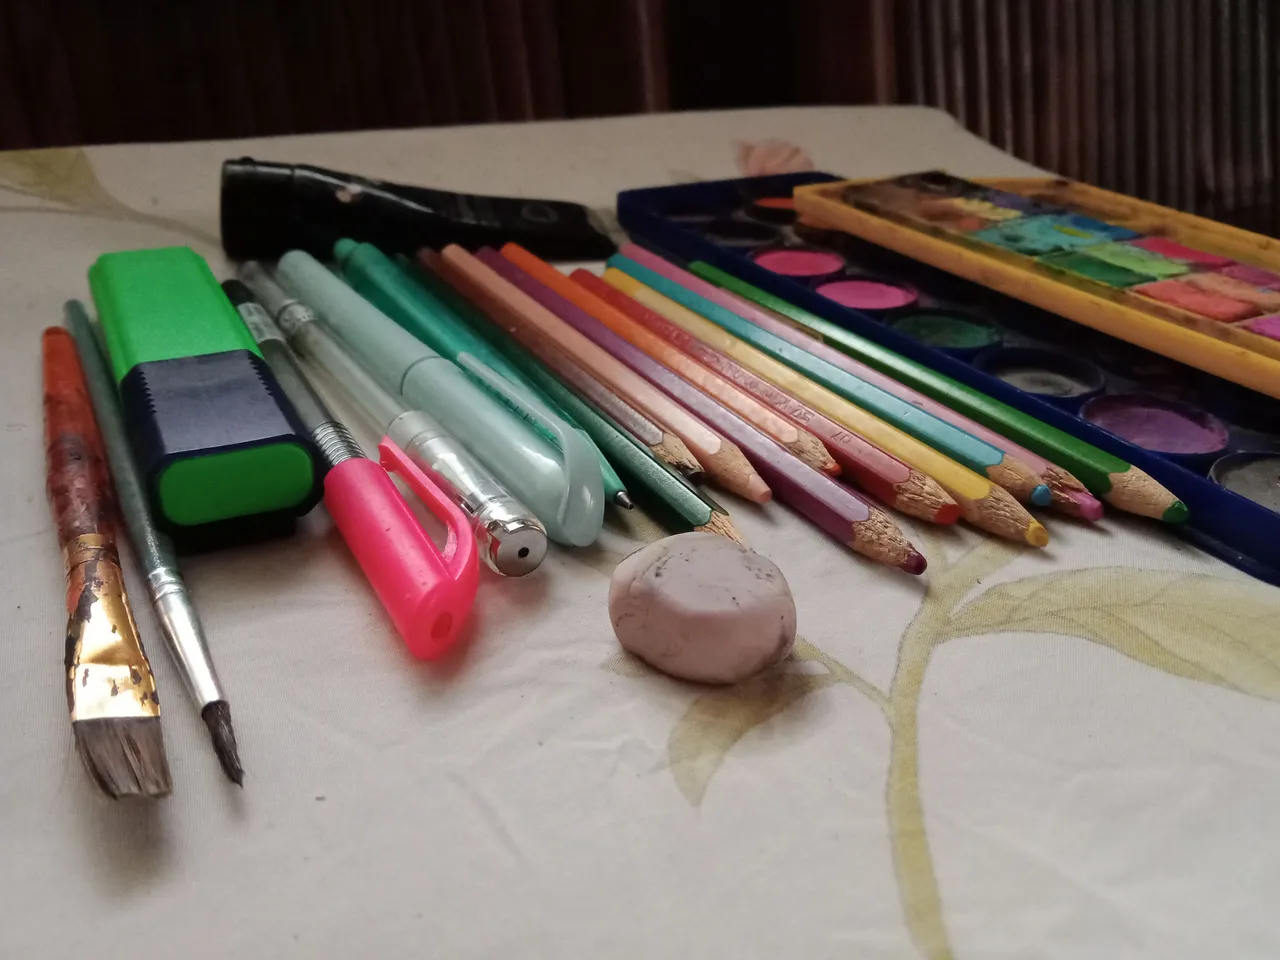
- Watercolor (which I borrowed from my younger brother)
- Watercolor Pencils
- Acrylic Paint (black)
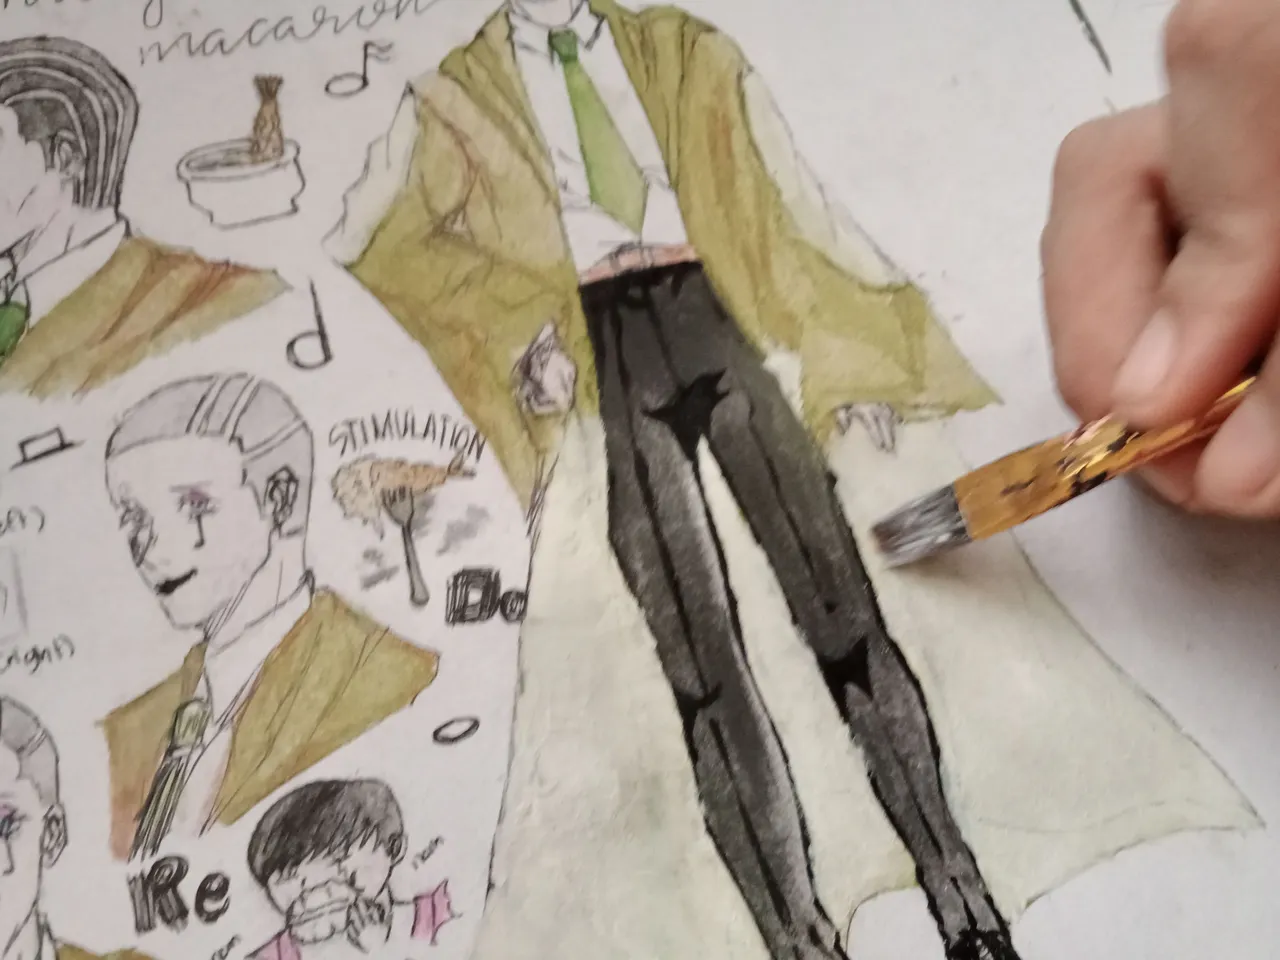
- Brush
- Ballpen
- Highlighter (green)
- Mechanic Pencil (a pencil will do)
- Eraser ( my savior! )
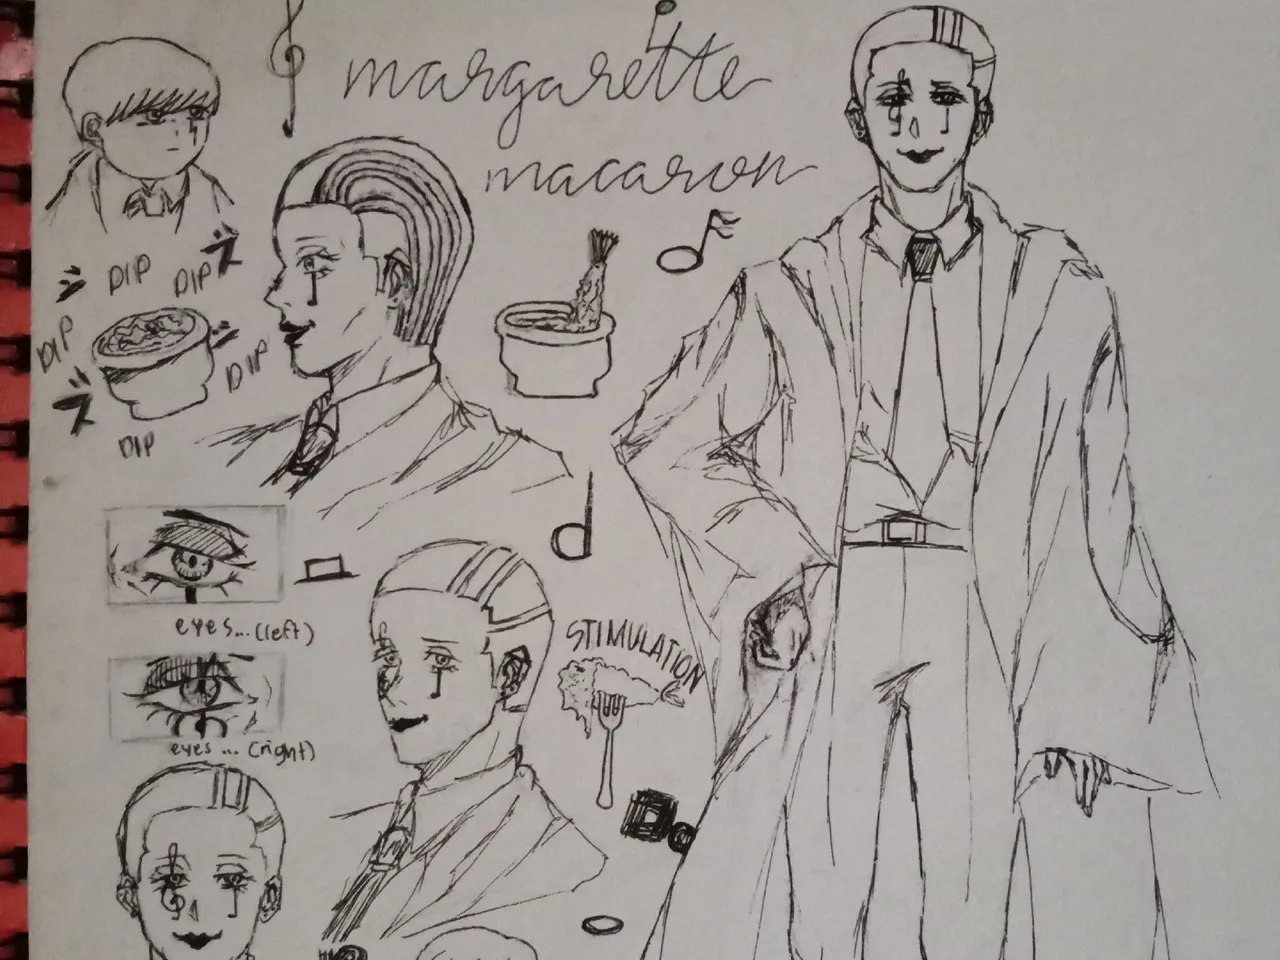
The Process:
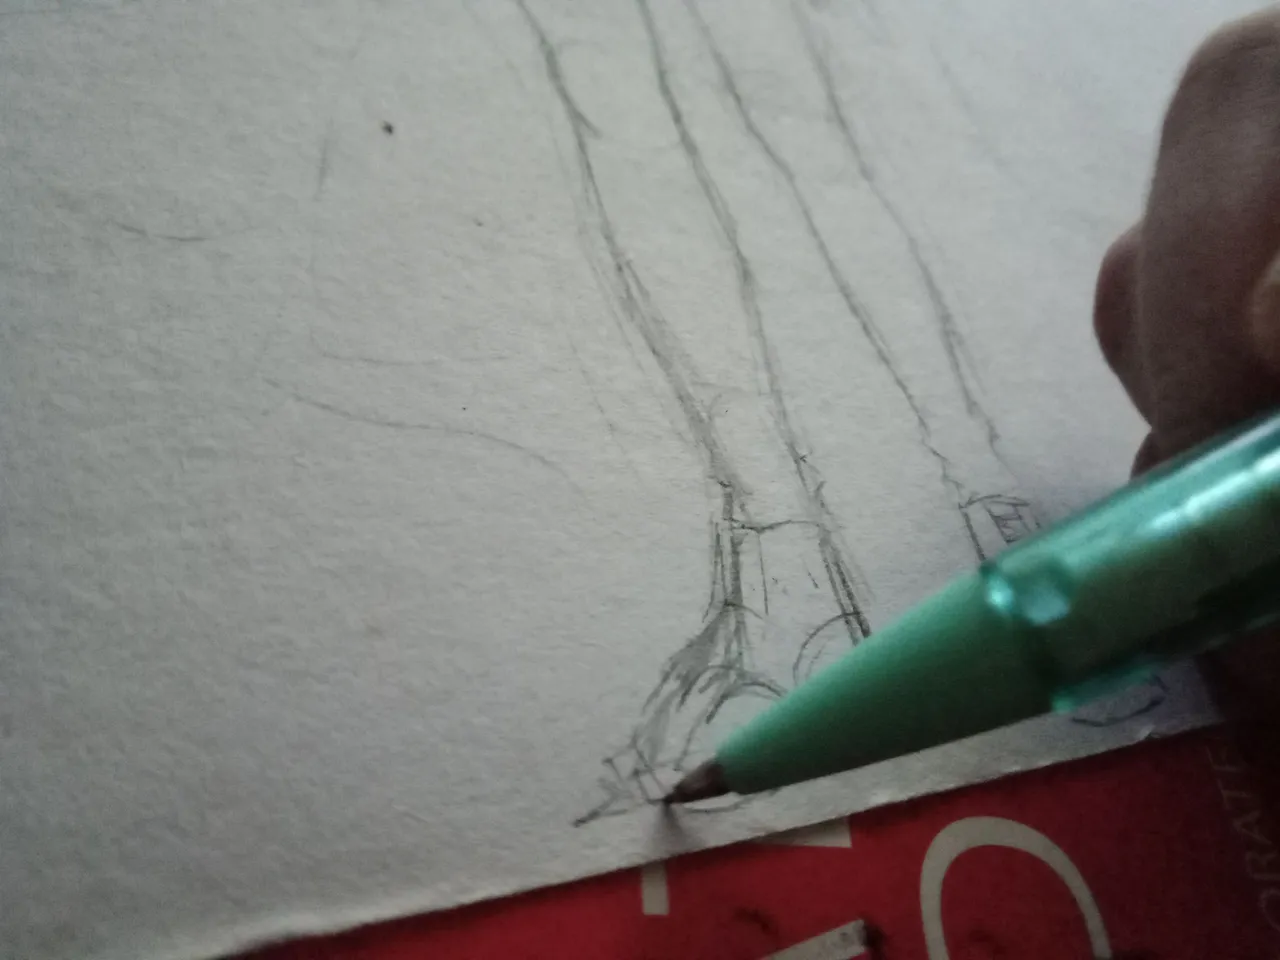
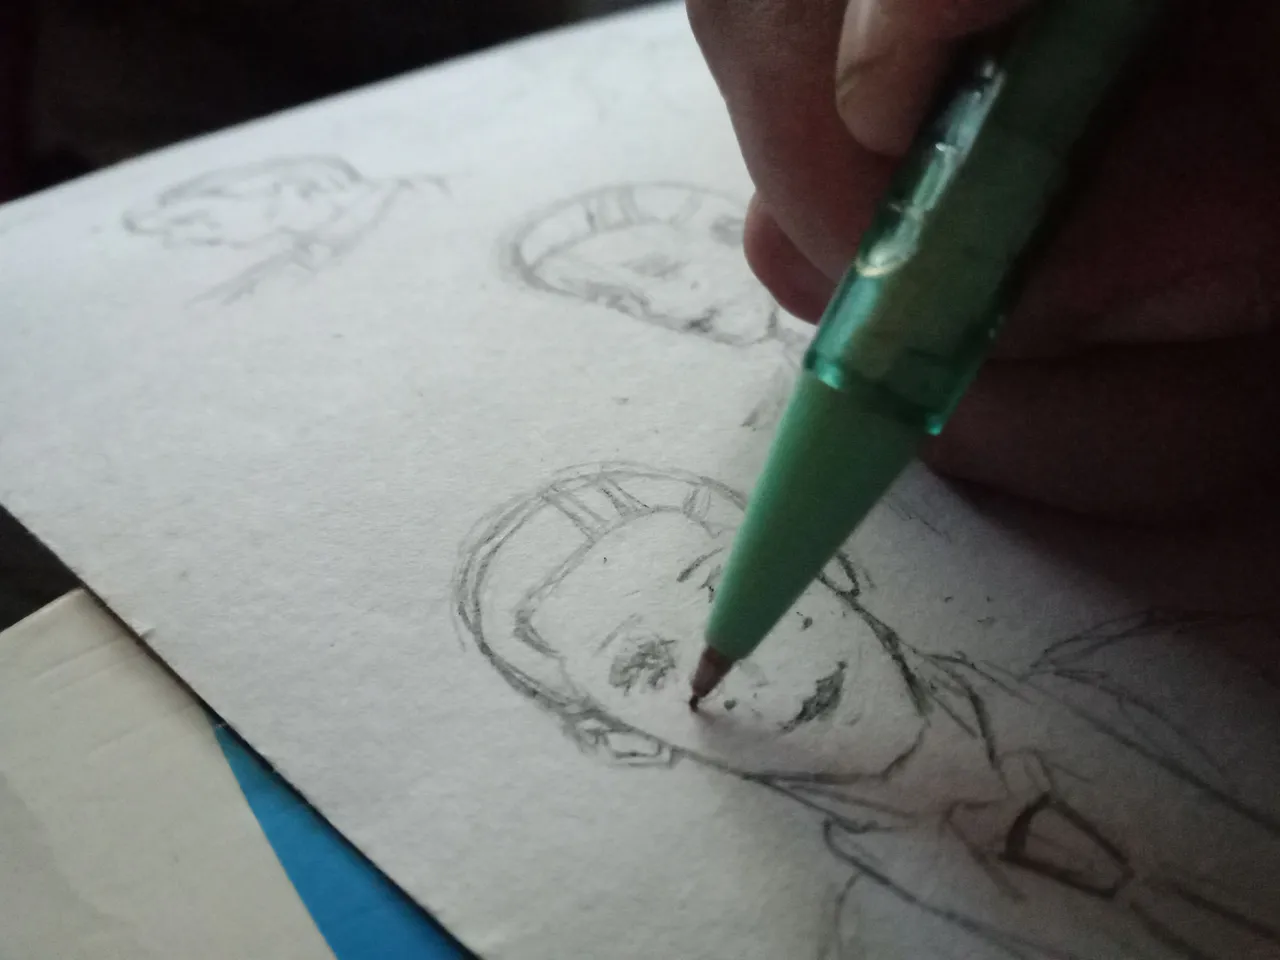
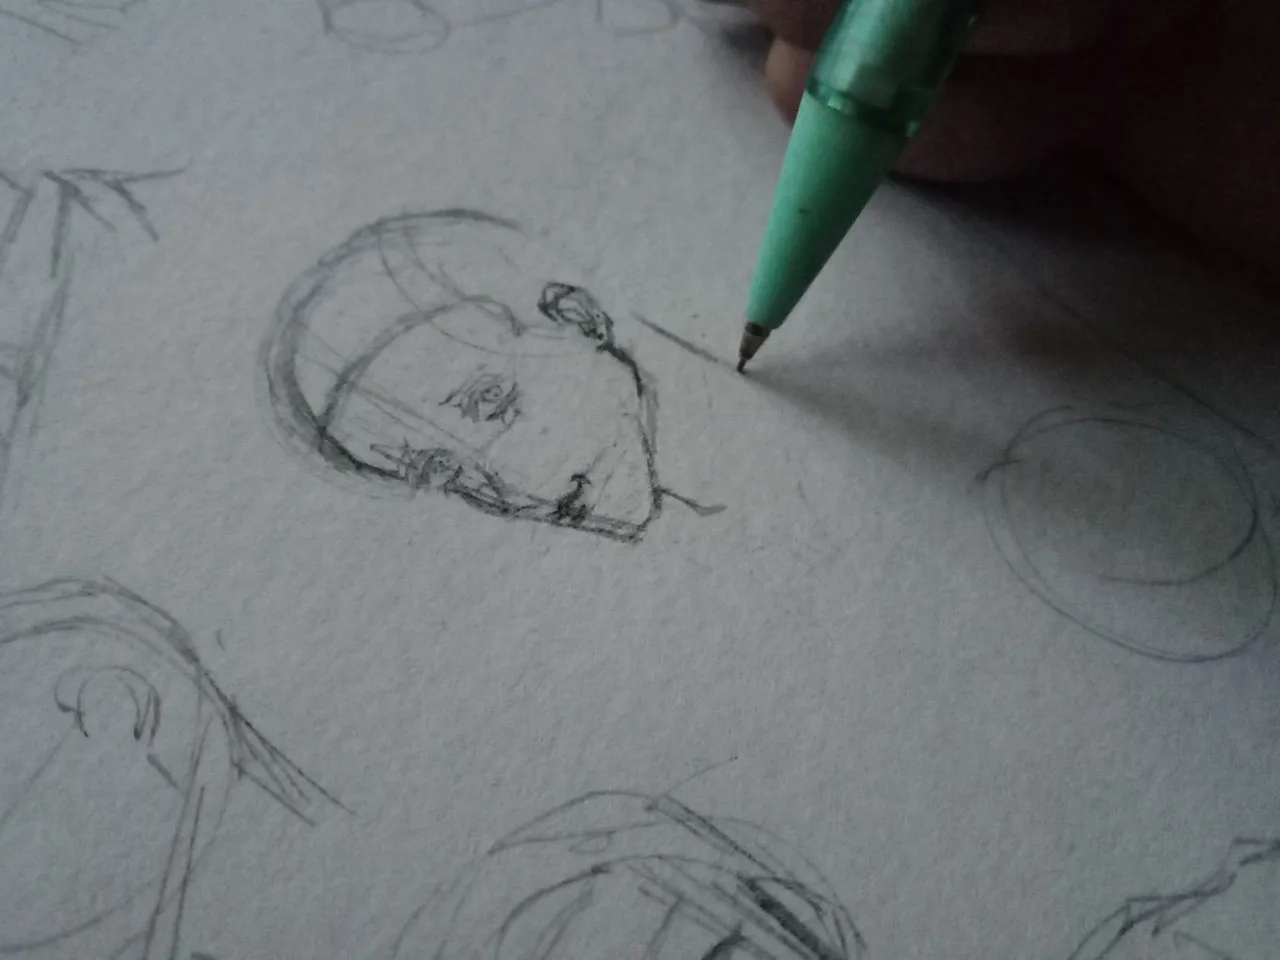
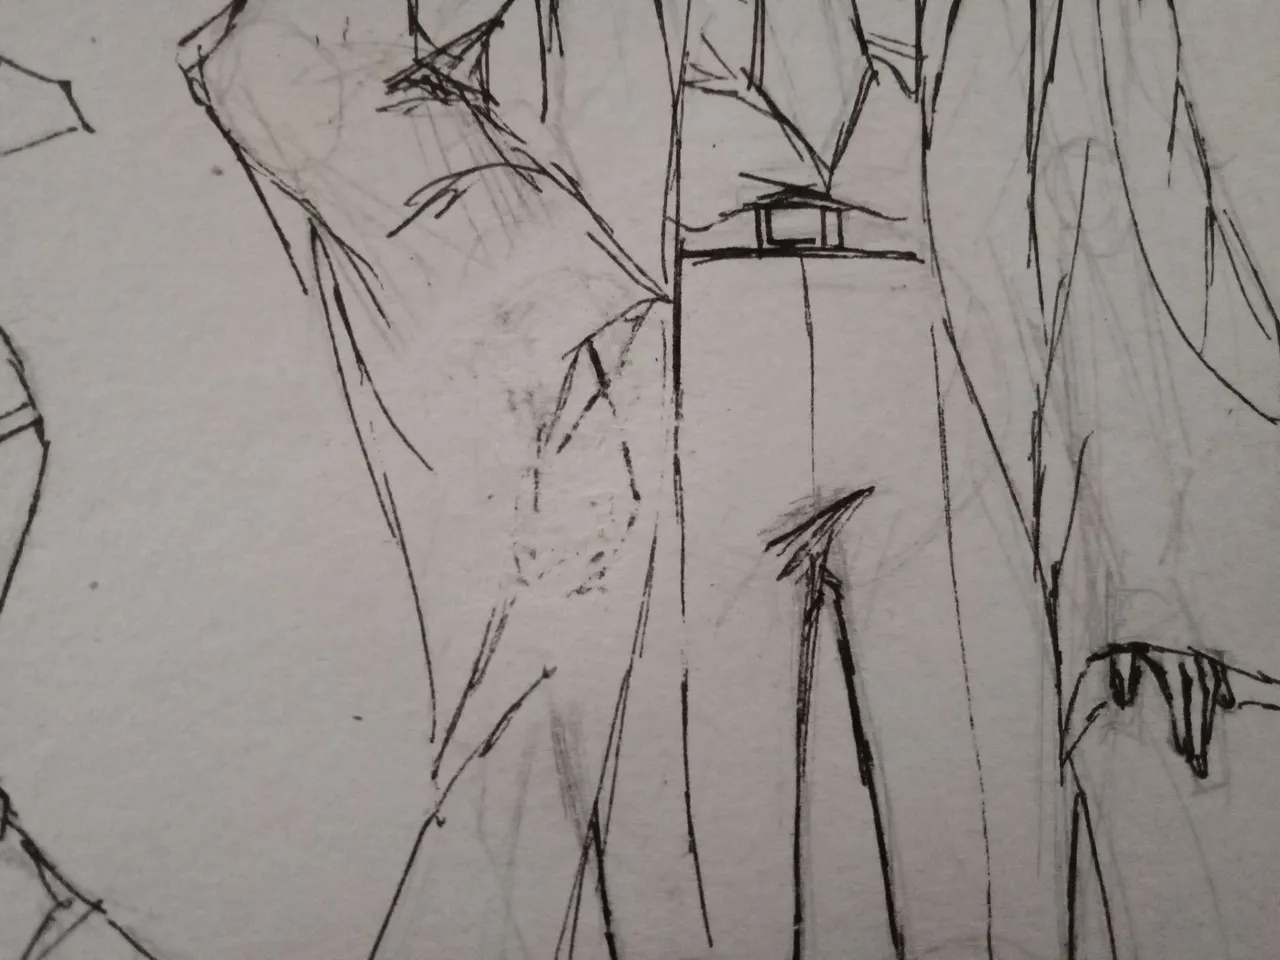
1. Outline or sketch from the reference used.
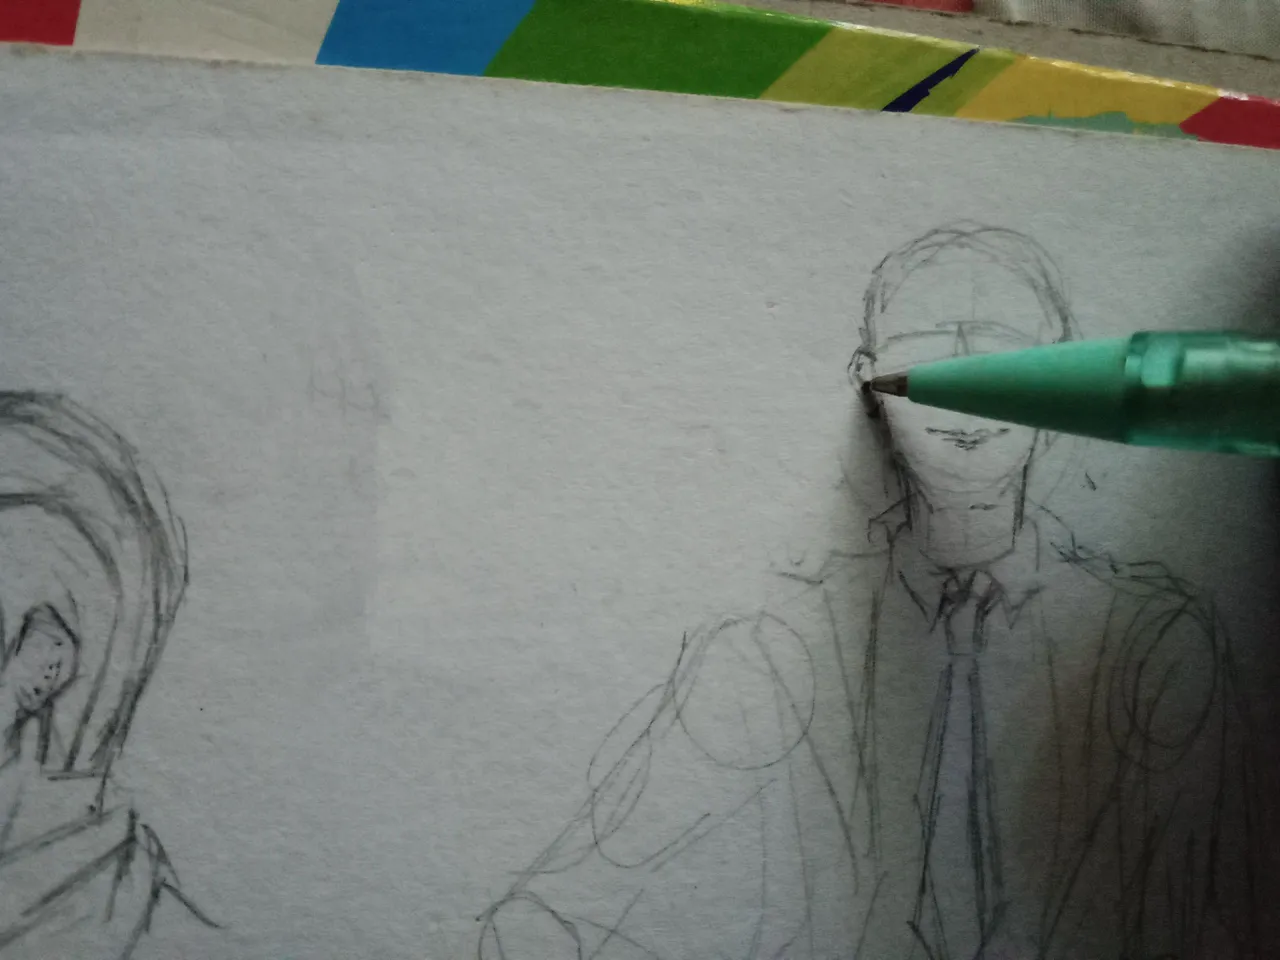
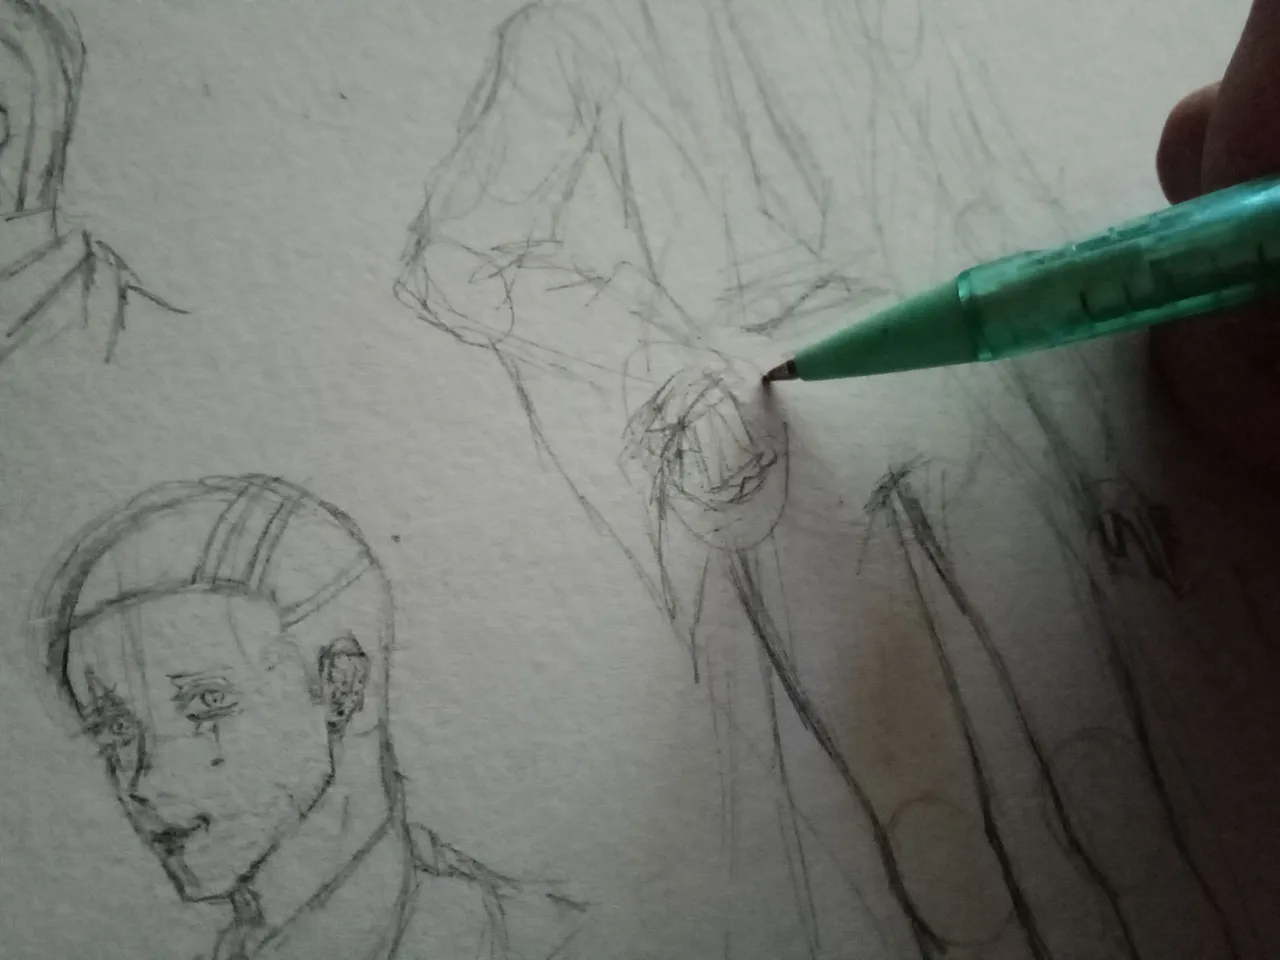
2. Trace the sketches.
3. Erase the sketches and other outlines.

4. Color it.
5. Add some more details.
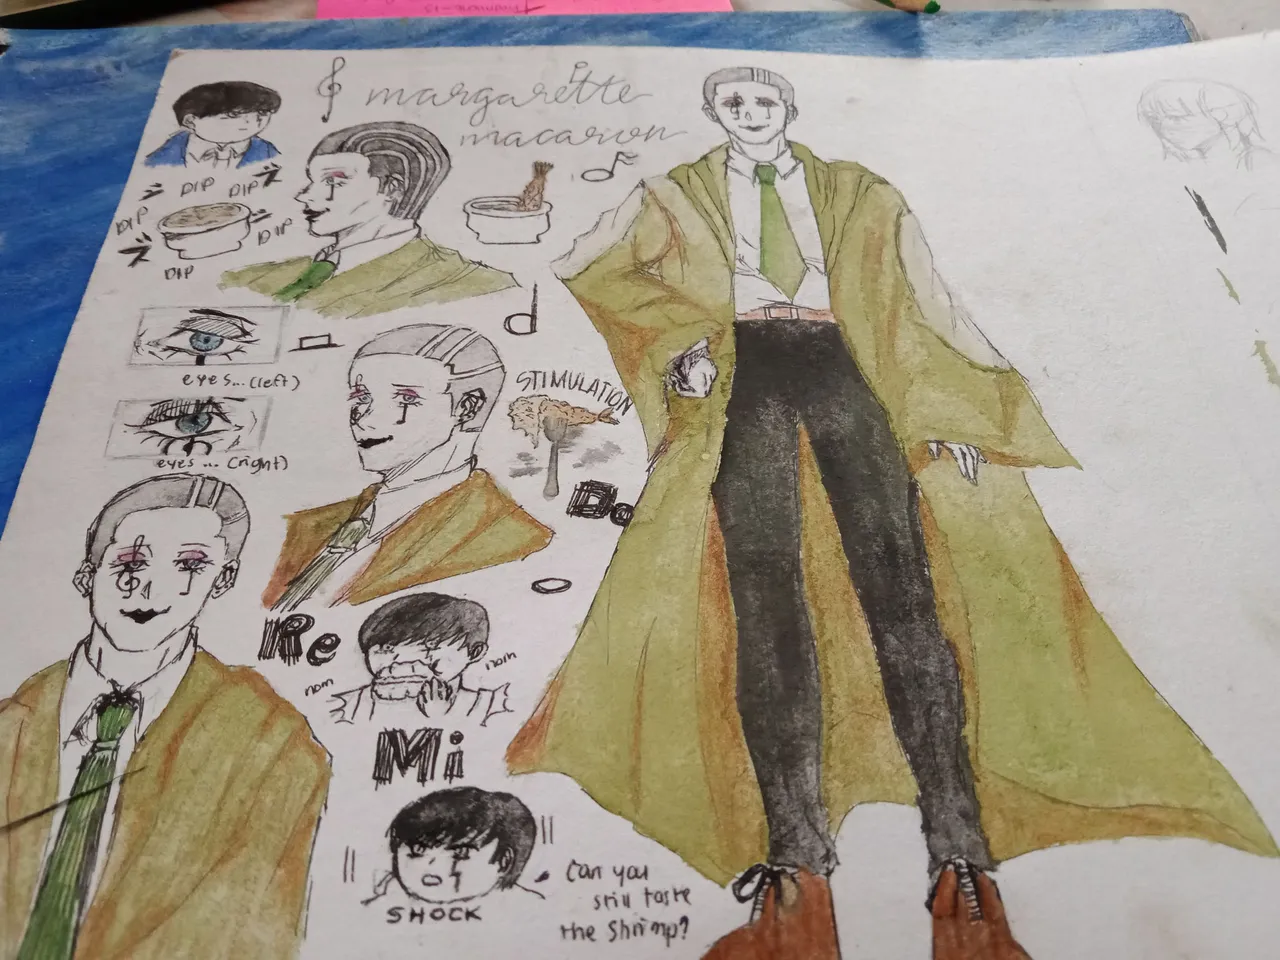
6. Add some finishing details.
7. Tada! It's done!
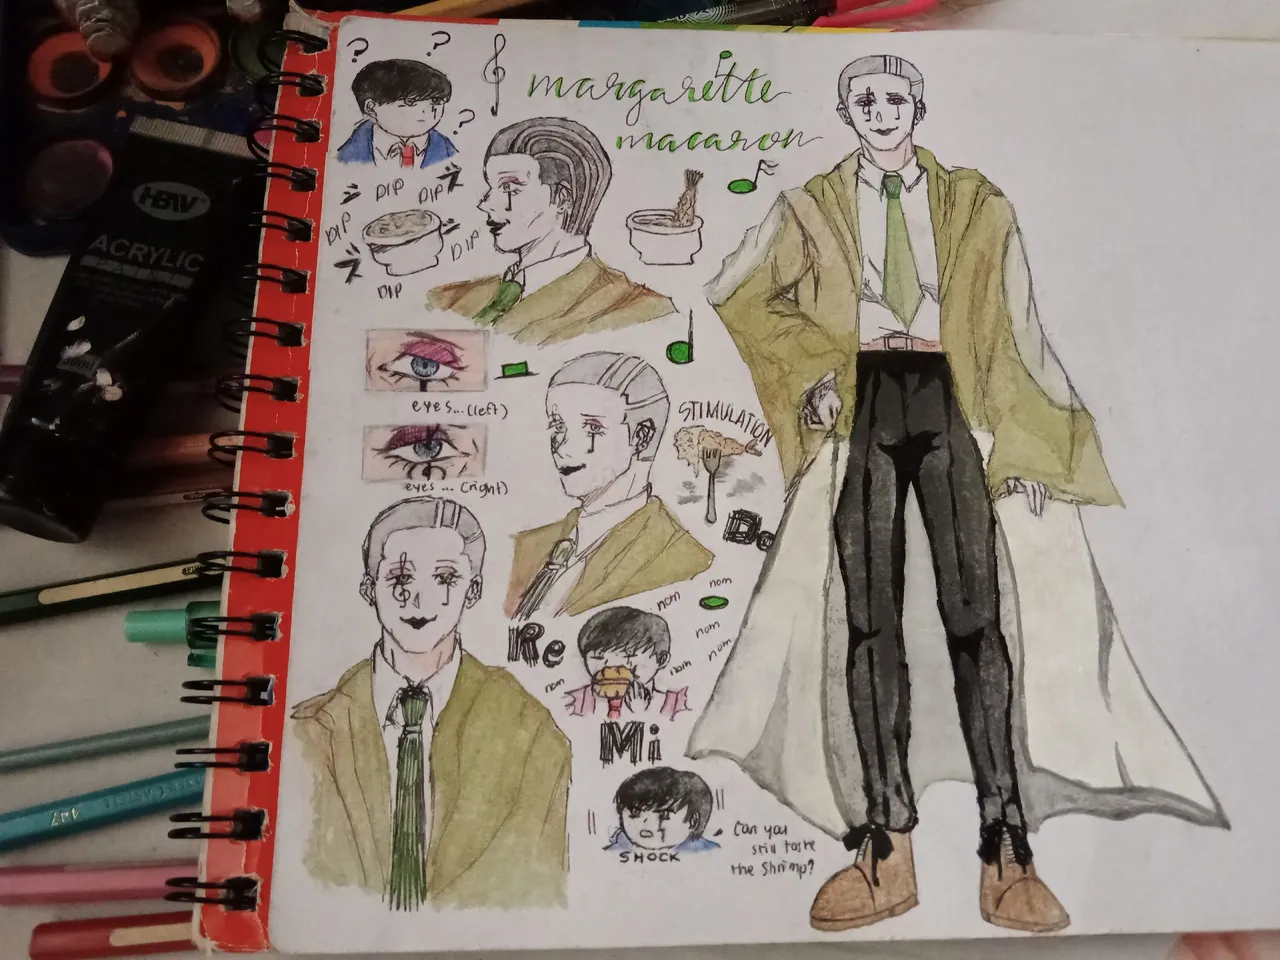
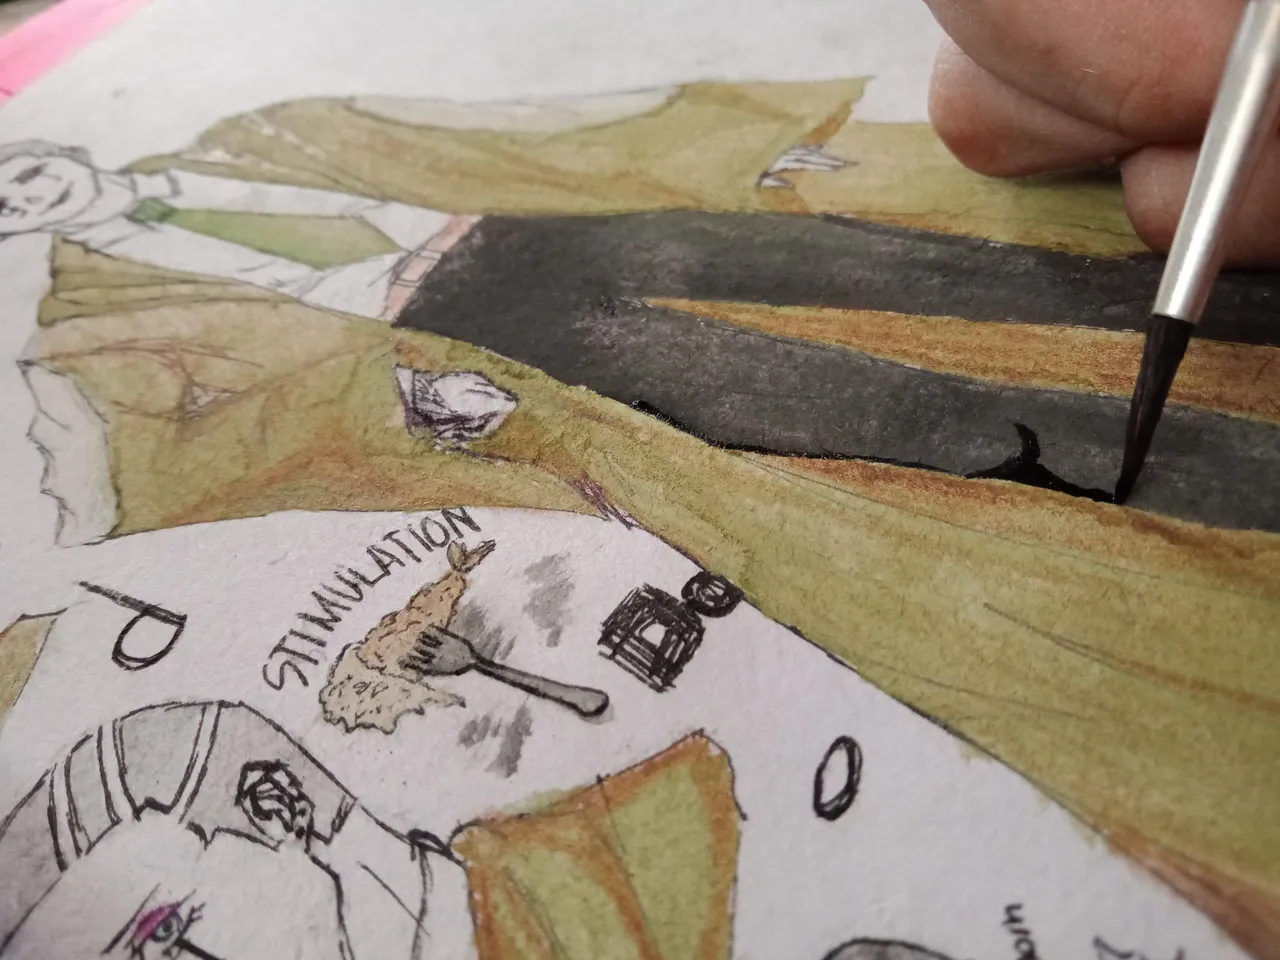
In this drawing process, I'm reminded to really trust the process. As you've seen, my drawing process was rather filled with errors, which were due to my own passiveness. It's really important to be aware of every action you take in coloring because there's no ctrl z in traditional art. The presence of mind in making fanart is really crucial since you're dealing with a certain character and not an original character of your own. I really learned the hard way while coloring Margarette's robe because I unconsciously colored it the wrong way.
Mending it was really tedious. I even got to the point that I'm tempted to redraw it all, but upon looking at what I've already drawn, regret really filled me. It got me frustrated because I'm almost done, and then that's the only time I discovered my error (lol huhuhu). I had no choice but to think of a way to cover up my mistake. So if you make a mistake, it's really important to not lose your cool because there will always be a way to make that mistake a part of your art (or if you can't, just redraw it, there's always a room for improvement).
That's all for now, Hivers! See you in my next art blog! I hope you'll be there when I share another art experience!
Arigatou minna-san!