Painter On The Dime! || How to make cheap underpaitings

podwojne pioro zlote gradient.png

I have not painted for a very long time. No really. I often like to underpaint the backgrounds, to use a solvent to change the ink something like watercolours. Also, I often find in the course of my work that it would be a good idea to paint here and there, but even good quality paper can became deformed and wavy if it gets wet enough.

podwojne pioro zlote gradient.png

For this reason, I have dug up some tricks for cheap underpainting, that I would like to share with you! This time I used ordinary cardboard, which I always have too much of at home.
For some reason I find it hard to part with them:)

gold gradient pojedyncze pioro.png

I personally recommend hard pasteboard for this purpose - the hard back of a sketchbook is usually perfect for this. I myself used to buy hard, thick pasteboard from DIY shop when I was still at school. Their undoubted advantage is not only the price, but the great freedom to create any format you need. What's more, you can use this technique on plywood or board as well.

gold gradient pojedyncze pioro.png

One important note: these underlays are not as durable as classical painting underlays, so they are unlikely to last for you know - centuries (especially the humidity does not do them much good), but it is an excellent way of making cheap stuff for training. The great advantage of painting is that a given picture can always be repainted, started again. Plus it can be fun to do with kids for instance:)
However - professional underpaintings cost a lot.

gold gradient pojedyncze pioro.png

Today I would like to encourage you to make your own painting bases. They are suitable for both acrylic and oil paints. They are good for drawing with pencil, charcoal. They are suitable for inks and pastels. And they are definitely more durable and resistant to ageing than paper:)

SEPARATOR DIAMENT GOLD.png

So let's get to work!

Shopping list:


  • food grade gelatine, I used pork (animal ones work better, you can use powdered or one that come in sheets- it doesn't really matter);
  • acrylic or silicone paint (wall paint will suffice);
  • pasteboard (as I said before the back of a sketchbook is best, I used cardboard as I have it in tons at home);
  • sponge painting roll and/or wide, soft painting brush;

extra:


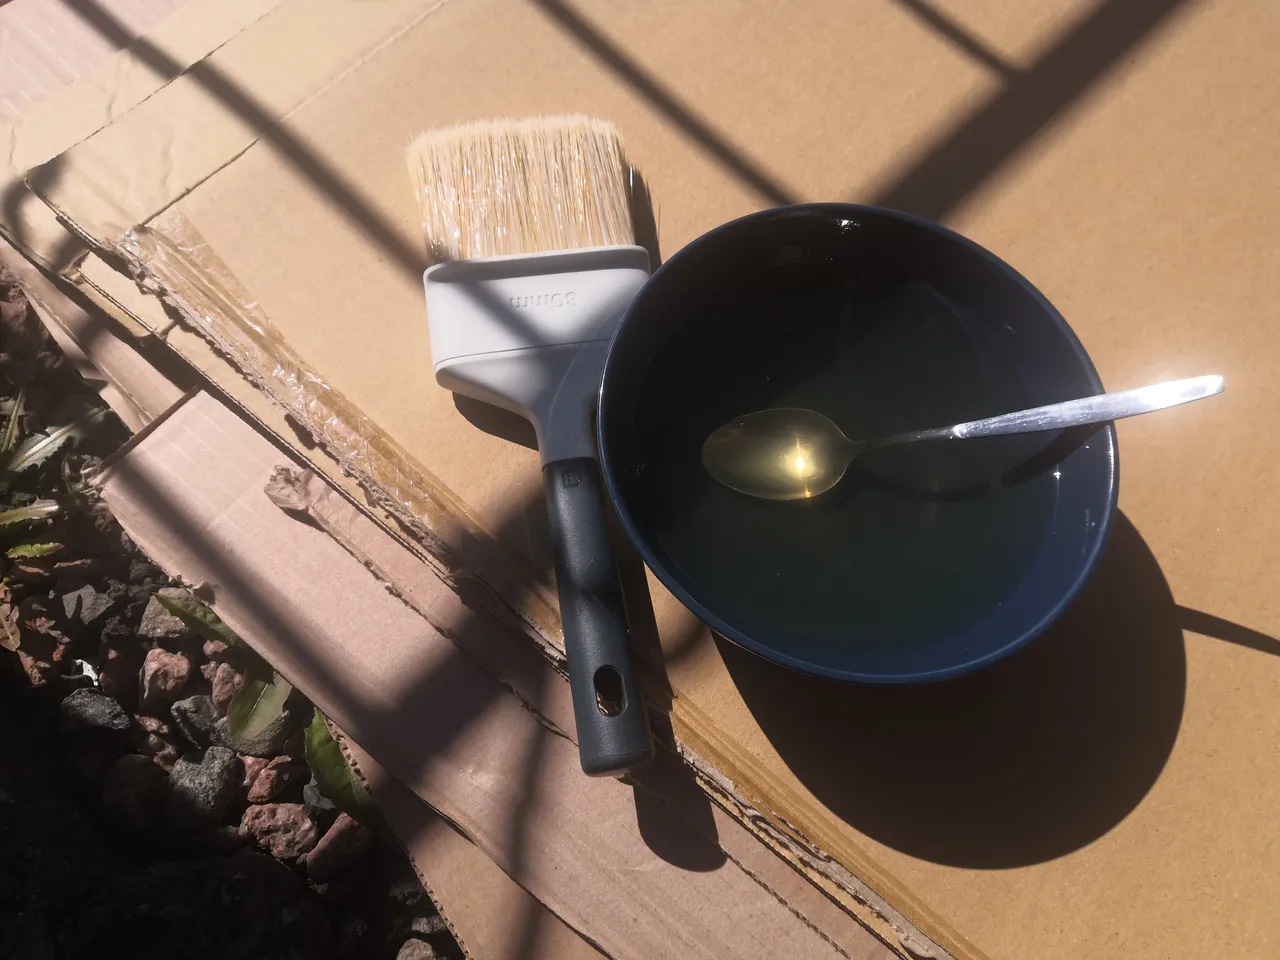
  • glass bowl for dissolving the gelatine,
  • spoon,
  • paint tray,

optional: - sand paper.

We start with the gelatine. I used the gelatine sheets because I found it at the bottom of a cupboard - it was already out of date (that's actually the reason for my post;), so I can't use it for cooking, but it's still good for that. So I soaked the gelatine flakes in cold water. I let it soak for at least 20 minutes until it swell. This is the result:

SEPARATOR DIAMENT GRAFIT.png

SEPARATOR DIAMENT GRAFIT.png

Then I pour off the cold water. I boiled the water and cooled it down a bit (the water mustn't be hot!) and slowly poured it into the bowl with the swollen gelatine. I stirred until the gelatine dissolved completely. The gelatine should be quite fluid so that it spreads well. If it is too thick, simply add more water.

SEPARATOR DIAMENT GRAFIT.png

SEPARATOR DIAMENT GRAFIT.png

Let's get started!

SEPARATOR DIAMENT GRAFIT.png

SEPARATOR DIAMENT GRAFIT.png

I recommend you work outside. The ideal weather is a sunny but not hot afternoon. This way you can enjoy your undercoats on the same day. To much sun doesn't work either – it will dry gelatine before you will be able to put in on the pasteboard.
Use a wide brush or roller to apply the first coat. Apply the gelatine in one direction, I started horizontally. The layer should be thin but even. Wait for it to dry.

SEPARATOR DIAMENT GRAFIT.png

SEPARATOR DIAMENT GRAFIT.png

Then apply the layer vertically. Wait for it to dry.

Repeat the process with the left (other) side of the cardboard. Repeat the process on the other side of the cardboard, so that the backing is even and will not get all wavy. Remember to wash the brush/roller well after working with the gelatine - otherwise it will be useless after.

When both sides are covered with gelatine and completely dry, proceed with the application of the paint. I recommend that you dilute the paint with water to make it flow and easy to work with - this avoids streaks and unwanted brush marks.

SEPARATOR DIAMENT GRAFIT.png

SEPARATOR DIAMENT GRAFIT.png

SEPARATOR DIAMENT GRAFIT.png

Work in the same way as with gelatine - first apply horizontally, leave to dry and then work vertically. Layers should be thin, but even. If our cardboard is very thin I would recommend doing the same with the other side of our pasteboard. This is not absolutely necessary, but with thin pasteboard/cardboard it prevents it from bending.

SEPARATOR DIAMENT GRAFIT.png

SEPARATOR DIAMENT GRAFIT.png

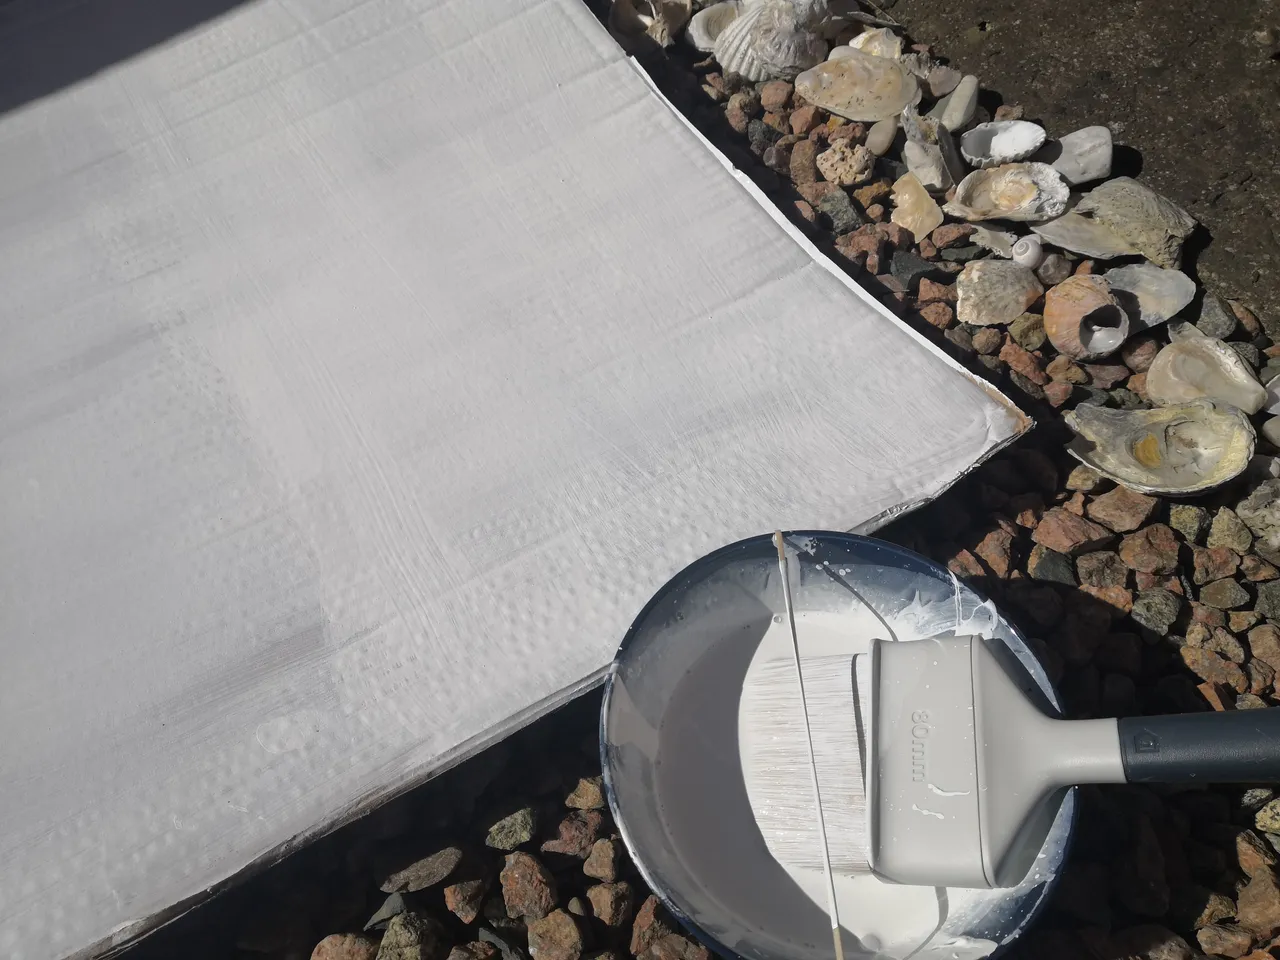
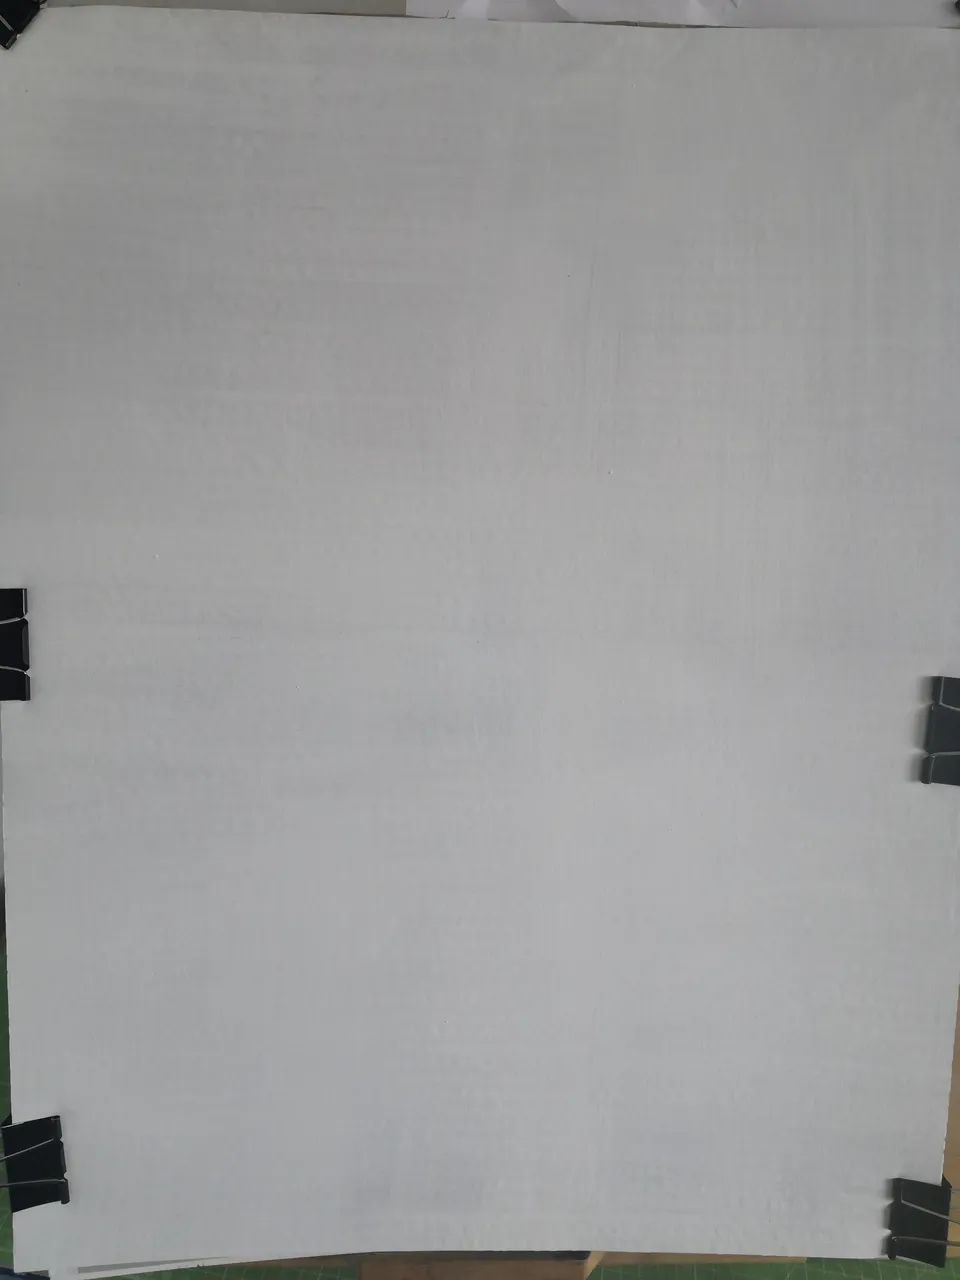
Once dry, the undercoat is ready to work with!

SEPARATOR DIAMENT GRAFIT.png

SEPARATOR DIAMENT GRAFIT.png


Next time I will show how to do professional underlay with leather hide glue and gesso.


PRO TIP:

If you want your undercoat to be perfectly smooth and even - after the paint has dried, use very fine sandpaper to even out the paint surface. I like the texture though:)

podwojne pioro zlote gradient.png

Below you will find my first use of my new, freshly made underlays. As always - looking forward to see some comments!

podwojne pioro zlote gradient.png

Have a lovely Tuesday,
Yours,
Strega Azure

SEPARATOR DIAMENT GOLD.png

SEPARATOR DIAMENT GRAFIT.png

SEPARATOR DIAMENT GRAFIT.png

SEPARATOR DIAMENT GRAFIT.png

SEPARATOR DIAMENT GRAFIT.png

SEPARATOR DIAMENT GRAFIT.png

SEPARATOR DIAMENT GRAFIT.png

SEPARATOR DIAMENT GRAFIT.png

SEPARATOR DIAMENT GRAFIT.png

SEPARATOR DIAMENT GRAFIT.png

SEPARATOR DIAMENT GRAFIT.png

SEPARATOR DIAMENT GRAFIT.png

SEPARATOR DIAMENT GRAFIT.png

SEPARATOR DIAMENT GRAFIT.png

SEPARATOR DIAMENT GRAFIT.png

SEPARATOR DIAMENT GRAFIT.png

SEPARATOR DIAMENT GRAFIT.png

SEPARATOR DIAMENT GRAFIT.png

SEPARATOR DIAMENT GRAFIT.png

SEPARATOR DIAMENT GRAFIT.png

SEPARATOR DIAMENT GRAFIT.png

SEPARATOR DIAMENT GRAFIT.png

SEPARATOR DIAMENT GOLD.png

SEPARATOR DIAMENT GOLD.png

SEPARATOR DIAMENT GOLD.png

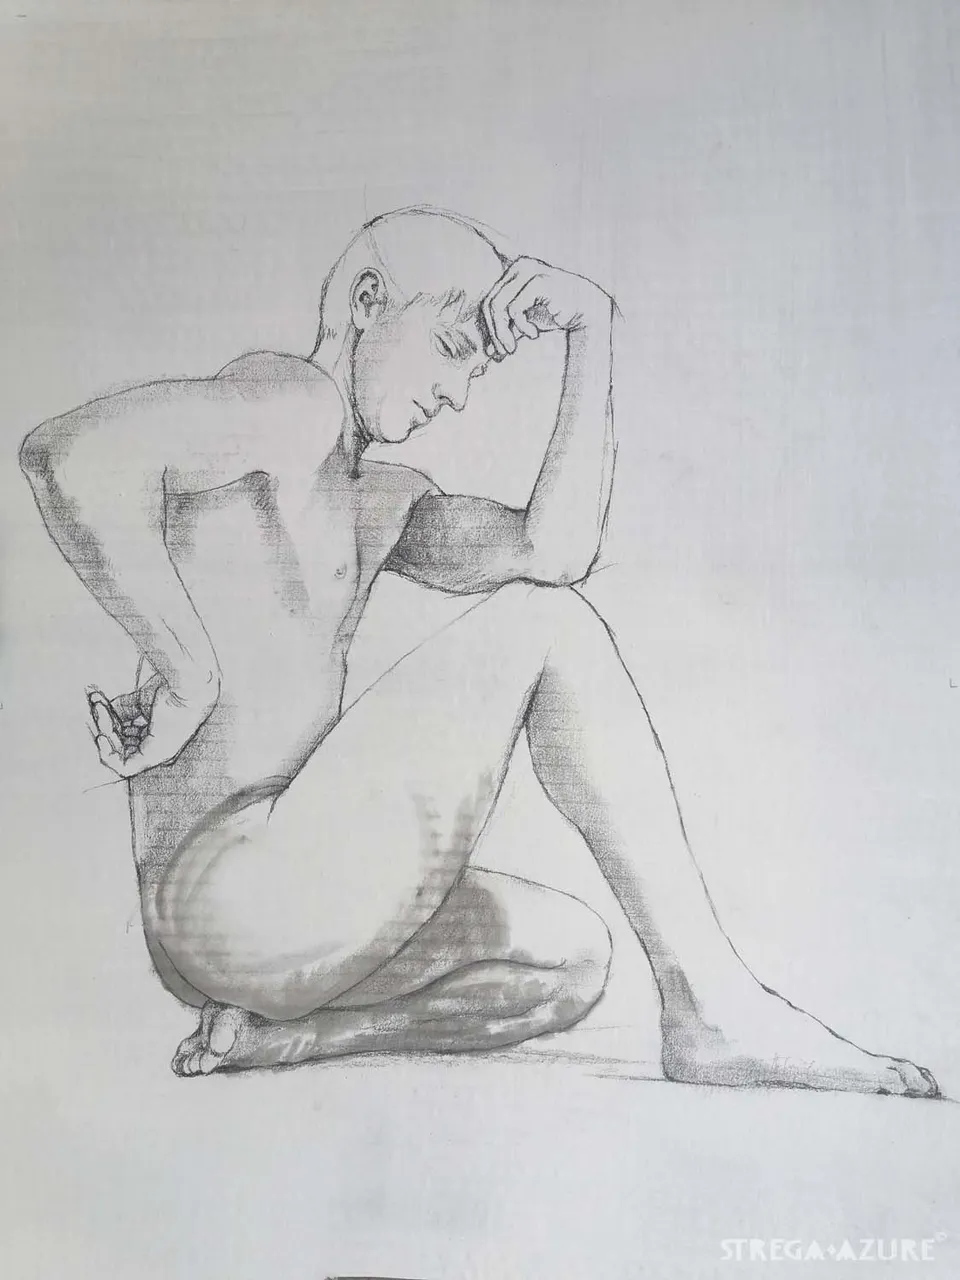
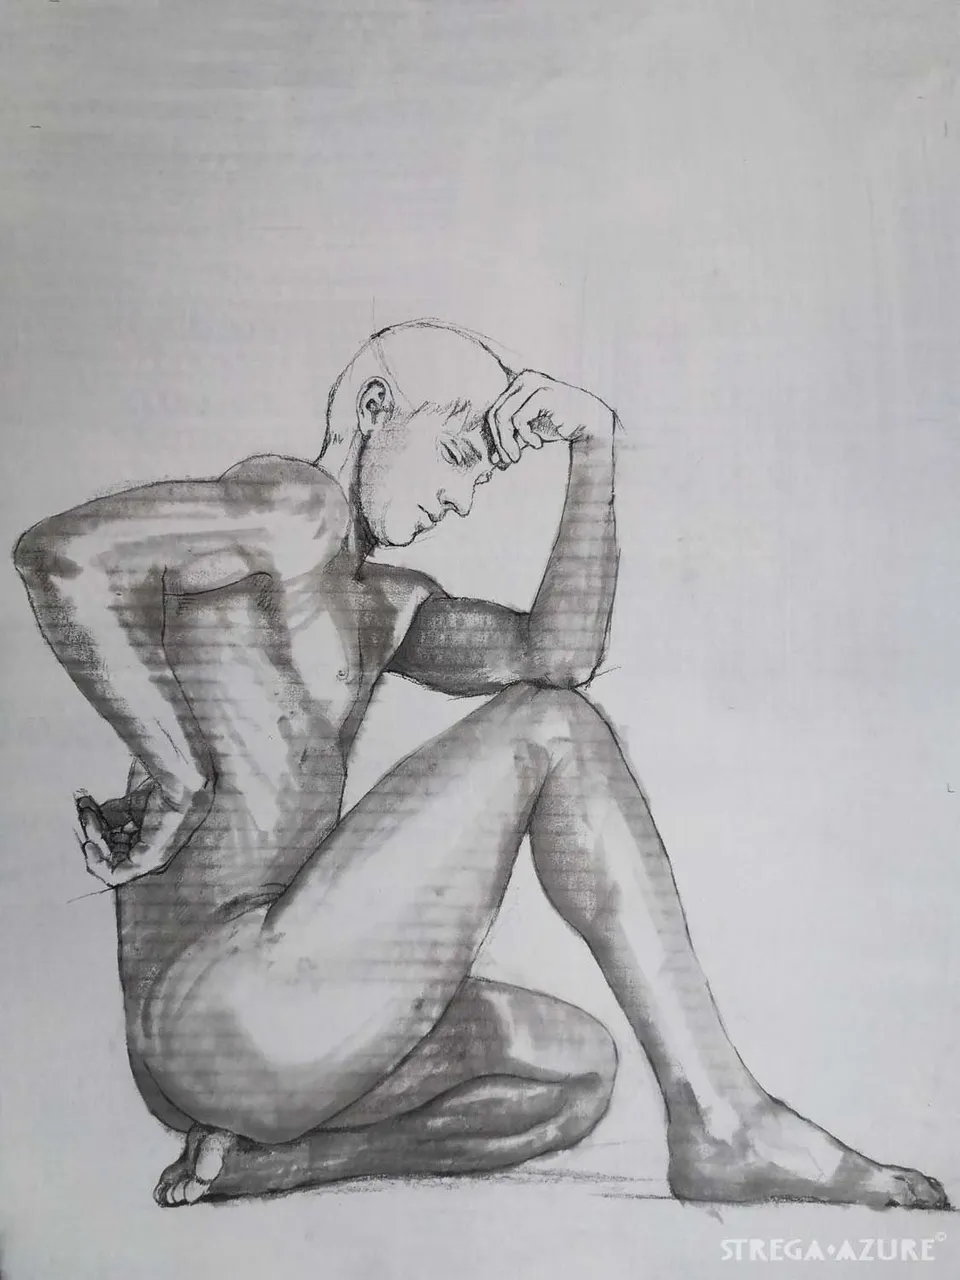
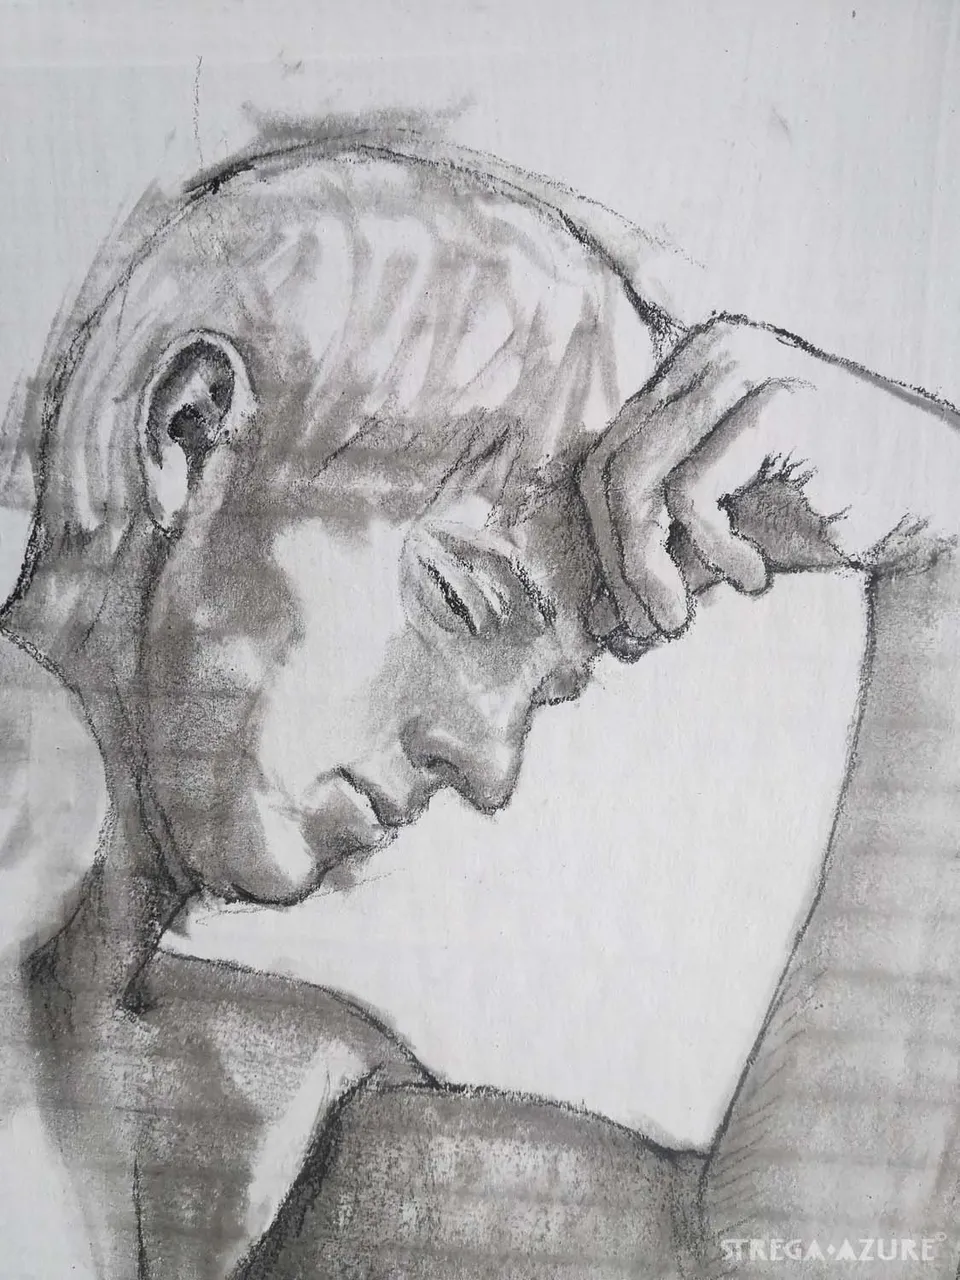
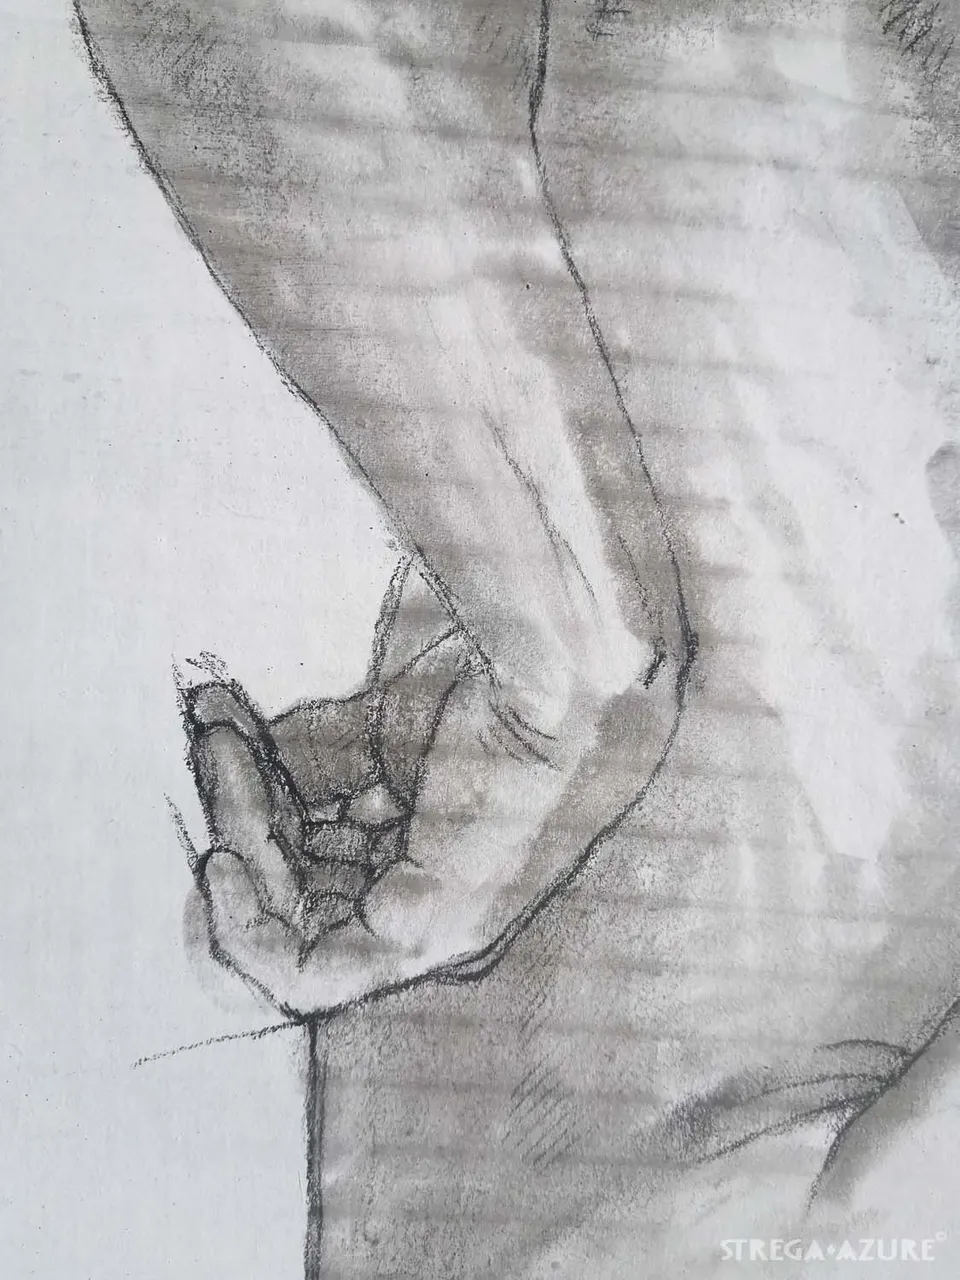
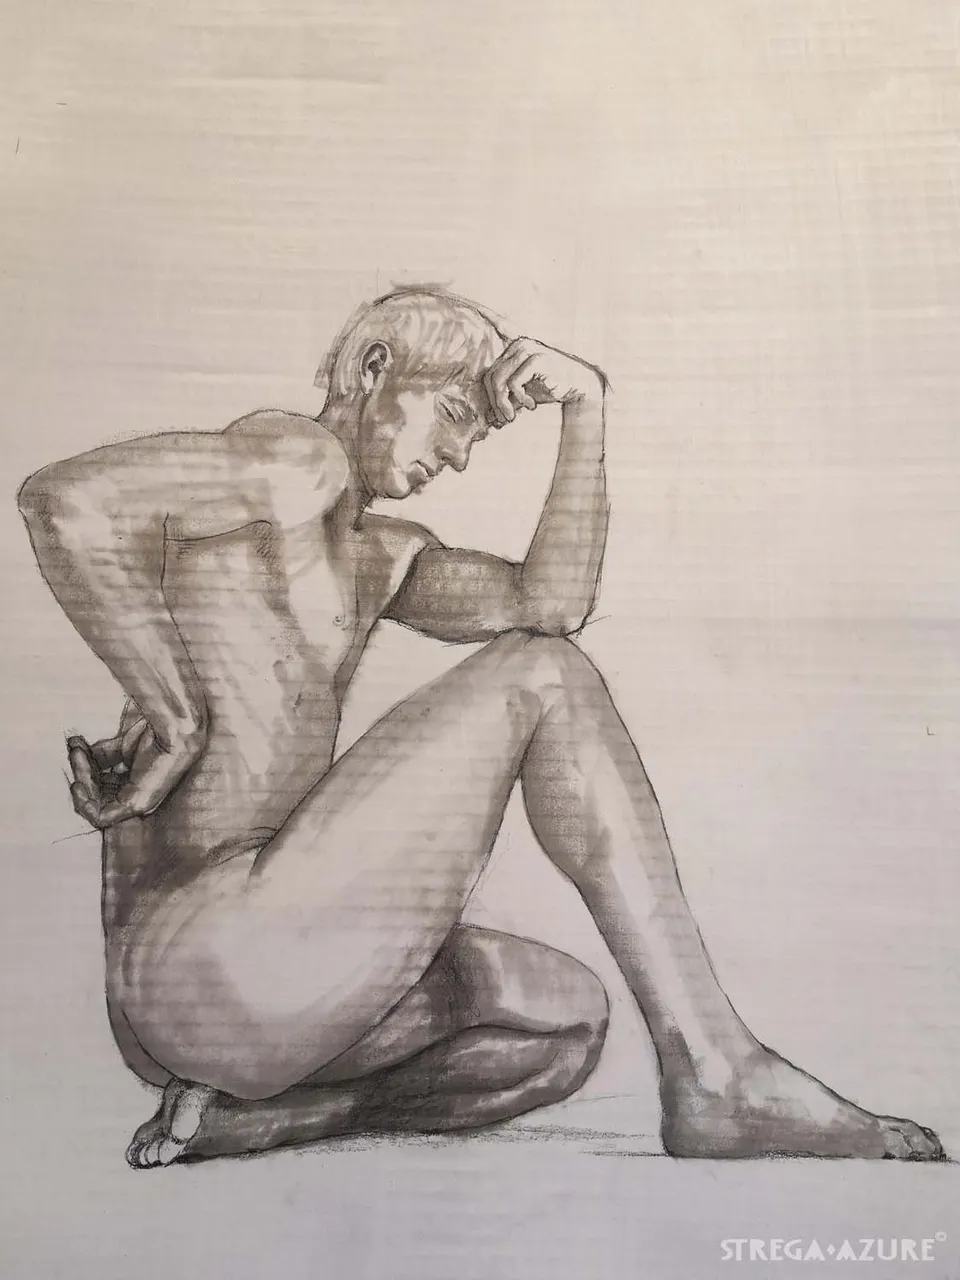
I used charcoal in pencil, regular drawing charcoal, acrylic ink

Drawing' dimensions: 55cm x 33cm (21.7 'x 13')

SEPARATOR DIAMENT GOLD.png

Drawing & pictures are my authorship if not stated otherwise, all rights reserved @strega.azure ©

hive gold.png

Stopka-druga-proba.jpg

Posted via Ecency

H2
H3
H4
3 columns
2 columns
1 column
51 Comments
Ecency