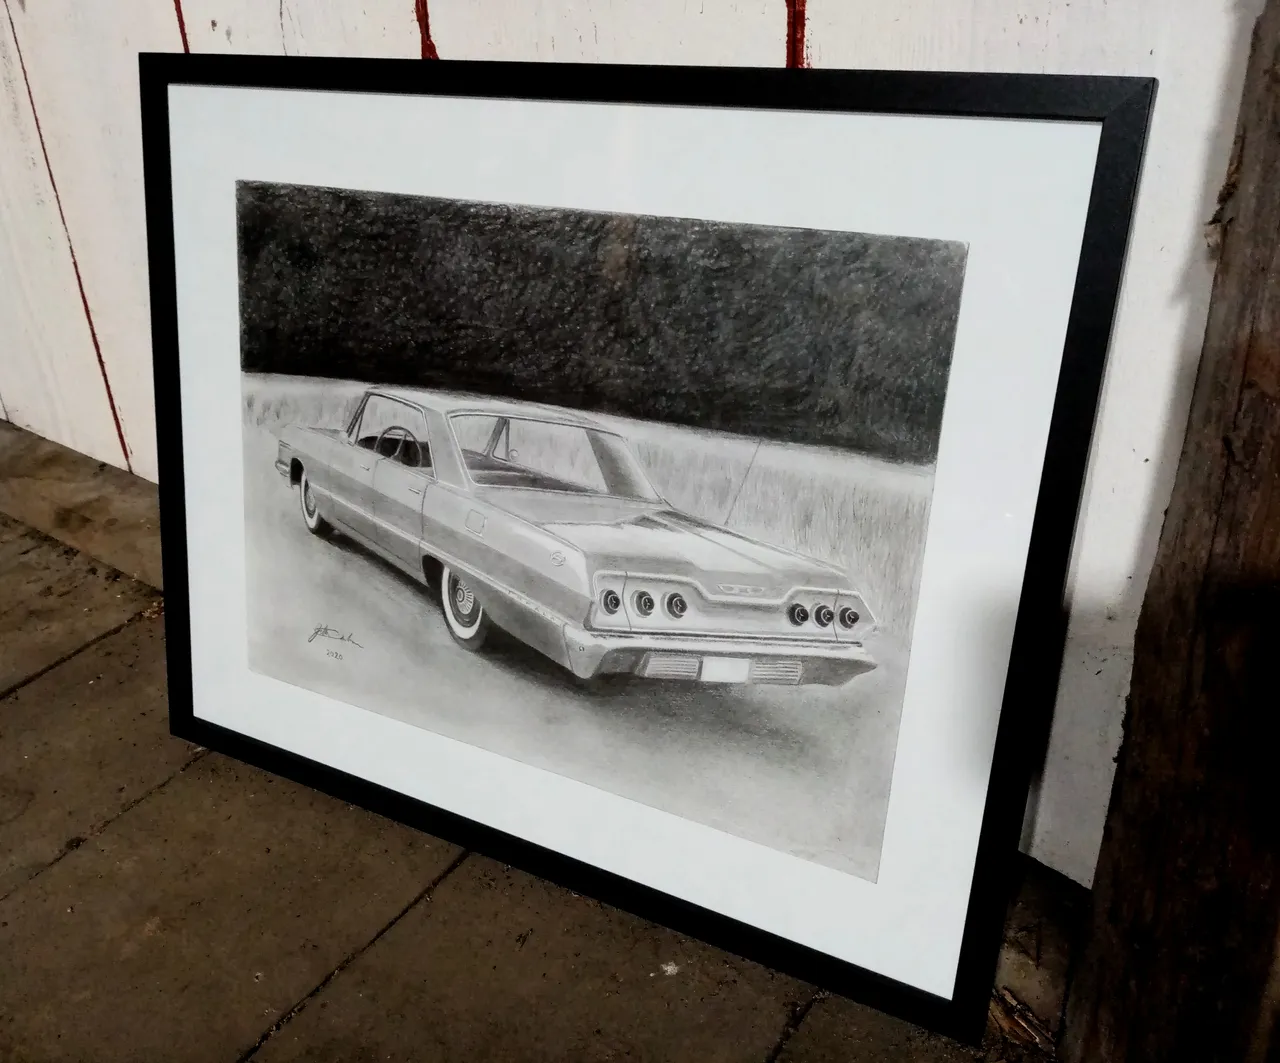
I did however get a new commission that I've finished so I figured I could post that one. It is of a 1963 Chevrolet Impala, a very cool looking car in my opinion.
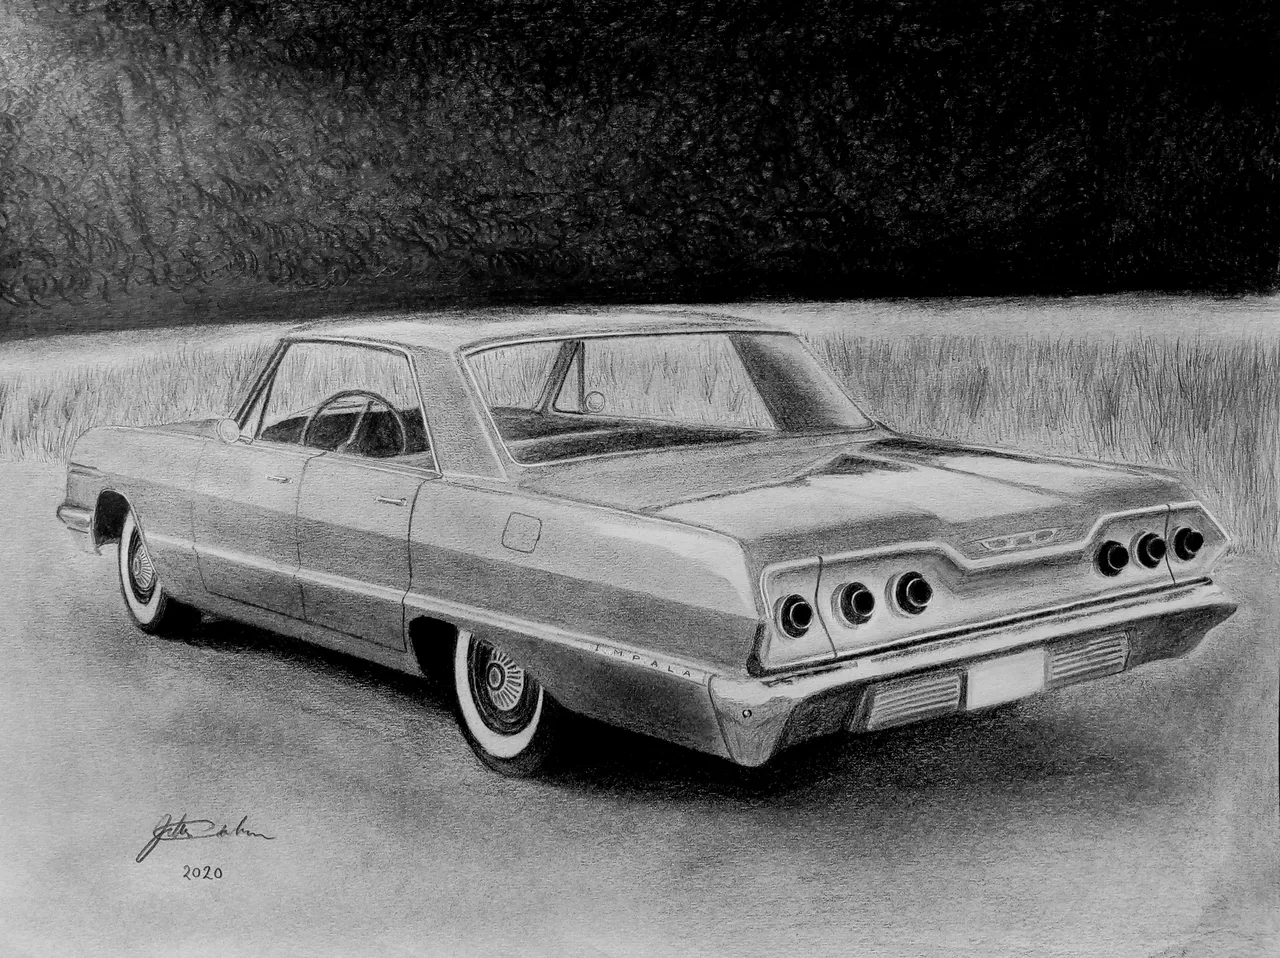
Cars are very easy for me to draw because I've done it for about 20 years. It isn't until recently I have been drawing portraits and animals. I like the reflection that you can create in the windows and body of the car. It comes to life when you get the contrast just right.
In this post I want to explain a little of how I work when I'm drawing a car, a mini tutorial you could almost call it. In the future I'm going to post more detailed tutorials so stay tuned for those

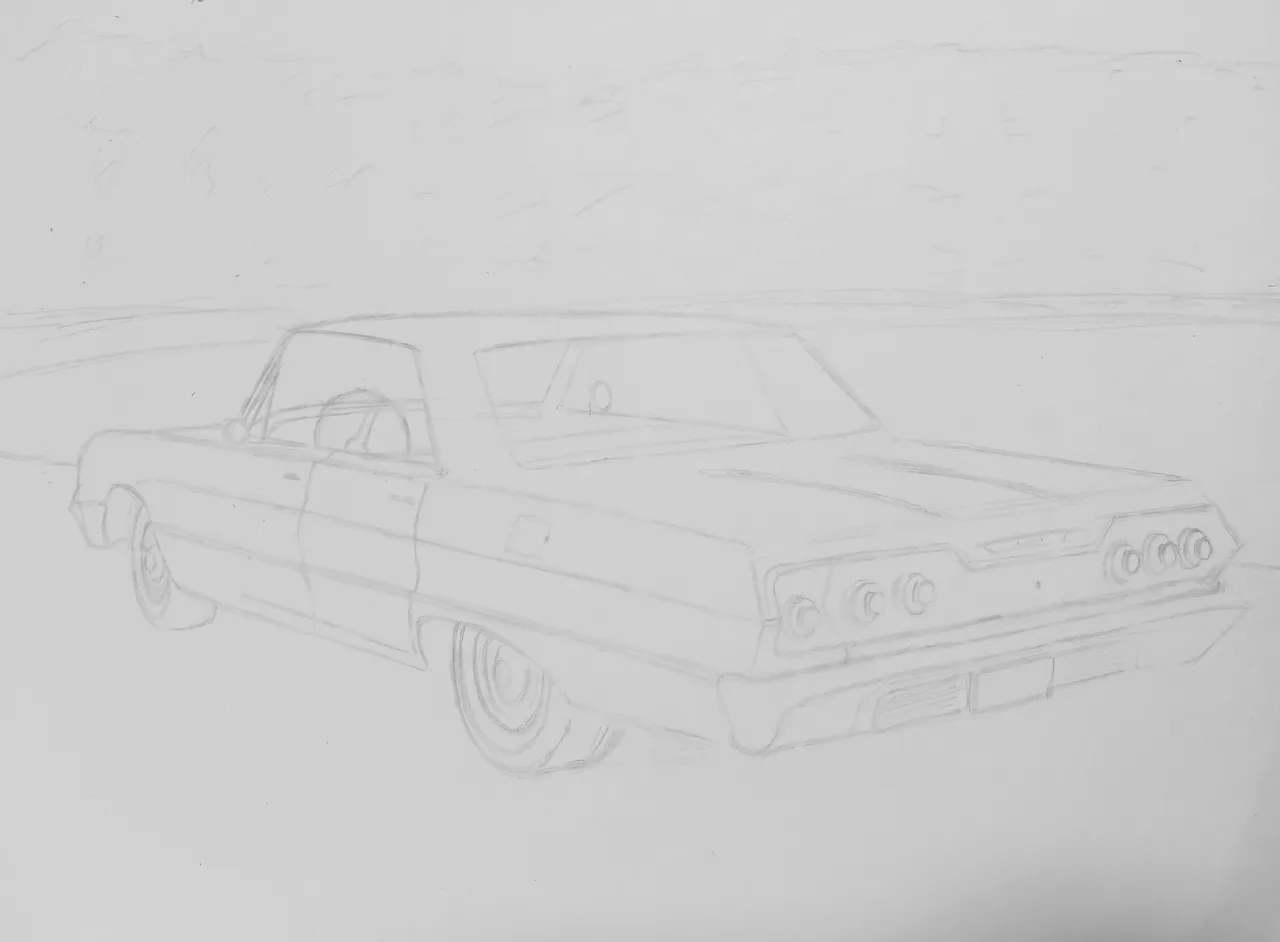
First I make a rough sketch of the car. This time I used the grid method where you divide the paper in squares to get the proportions right. Sometimes I just draw it by free hand but this way is much easier. I press gently and use a 2H graphite pen because I want to be able to erase without leaving any marks.
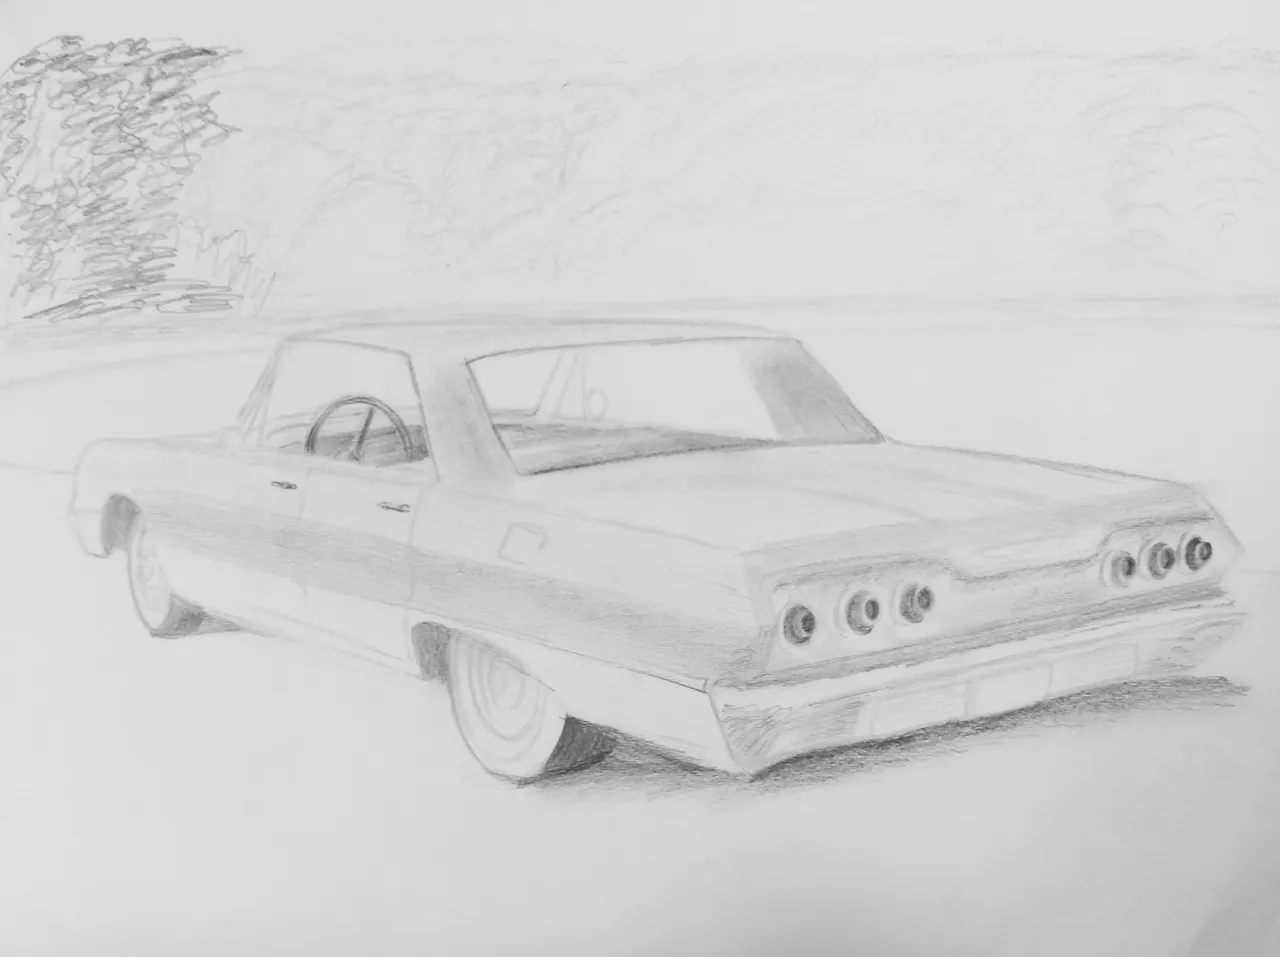
Then I start shading to get a base shade I can work from. I think it's easier when you start to see the shape instead of drawing one part at the time. I usually work with the whole drawing at once and let the drawing transform. But everyone draws different and you should do what suits you best.
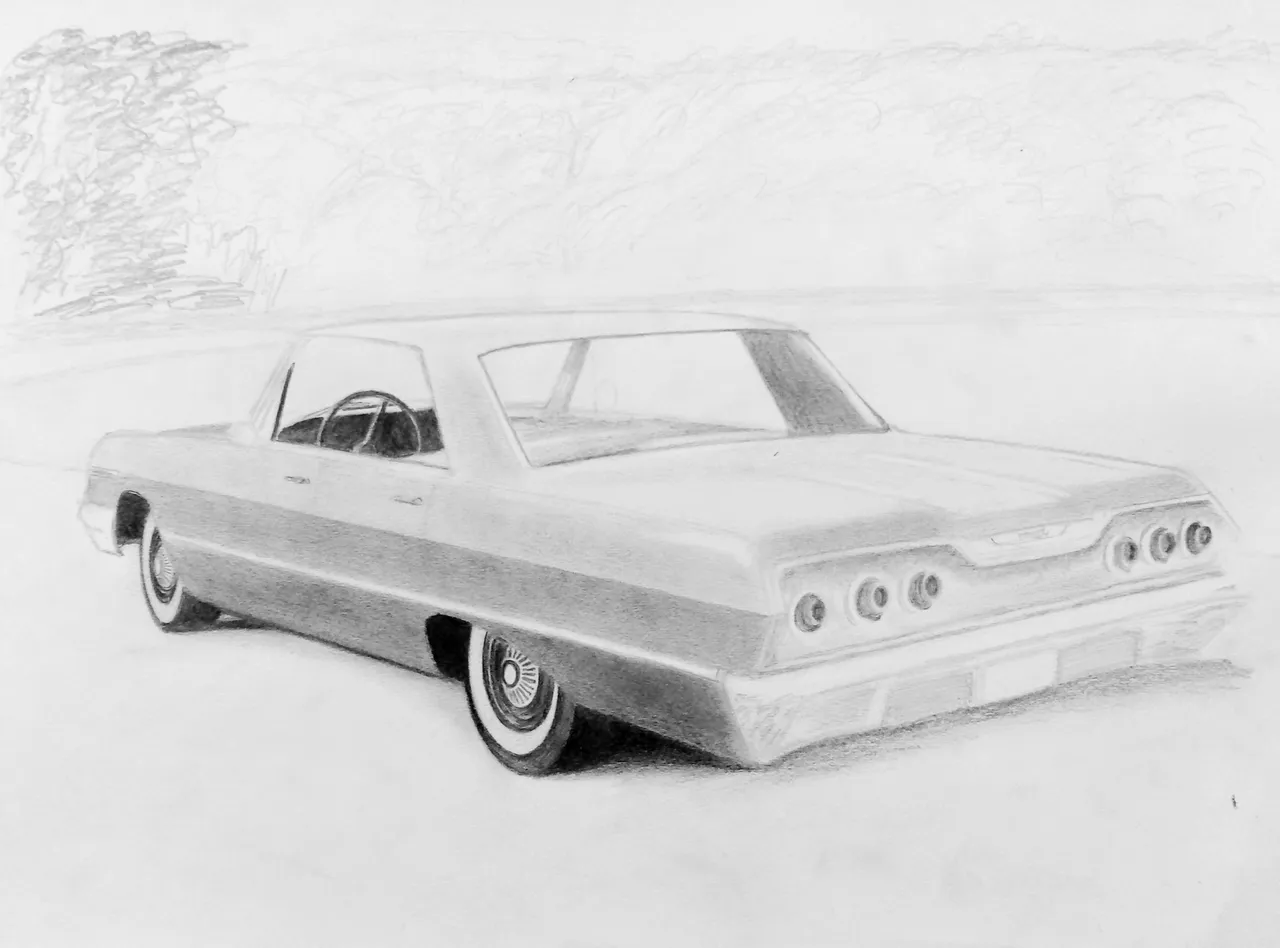
After the basic shades I start with the darker areas like tires and shadow beneath the car. I do this to easier get a feel of how I should work with the contrast to get the result I want. I use a 4B and a 6B graphite pen for this and I make it black where it should be black.
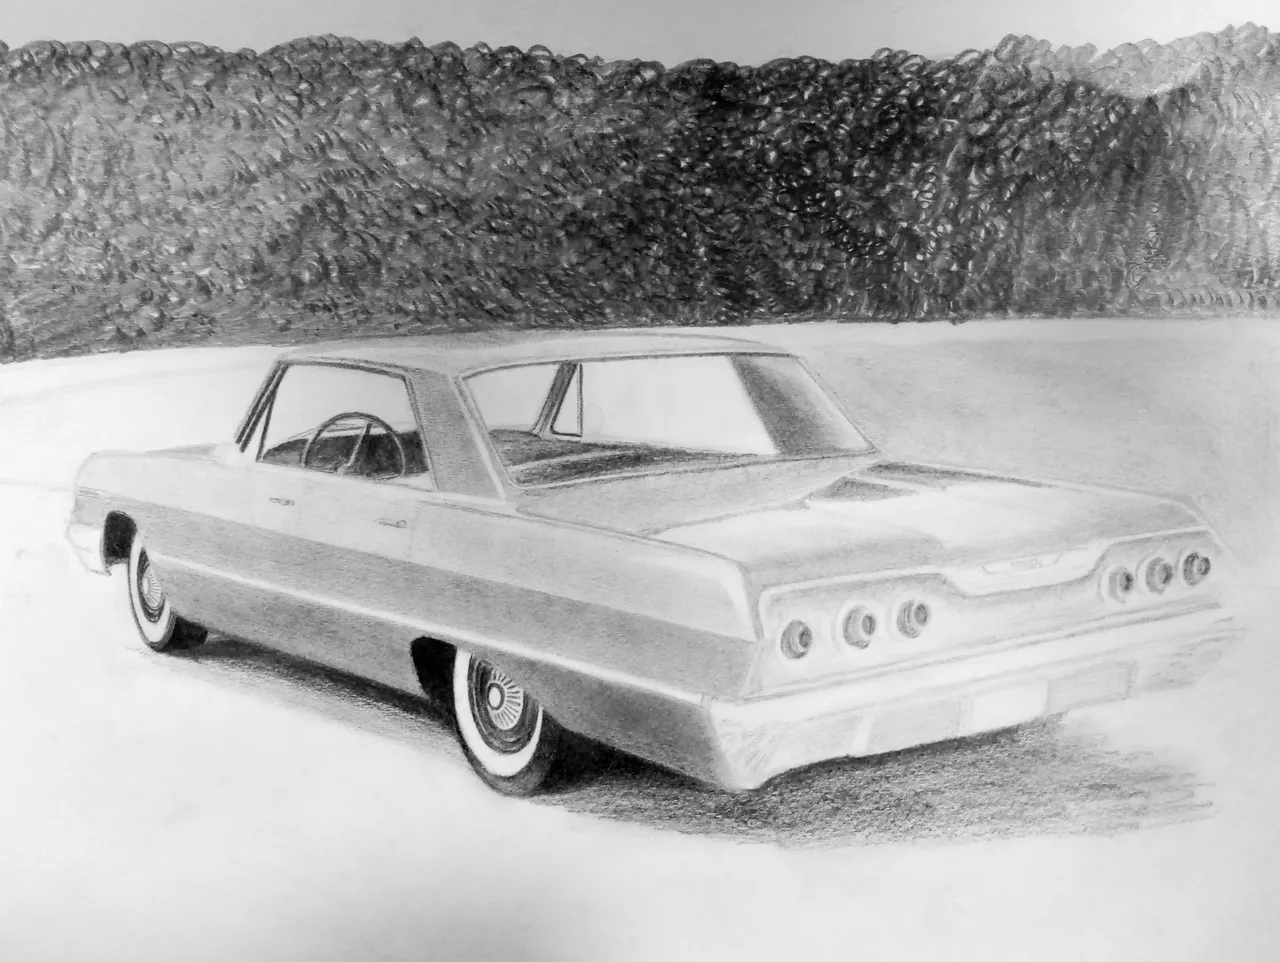
Here I started to fill in the background and started shading the reflections. Like I mentioned before I often work with the whole picture to get it right. I always compare my reference photo with the drawing as often as possible.
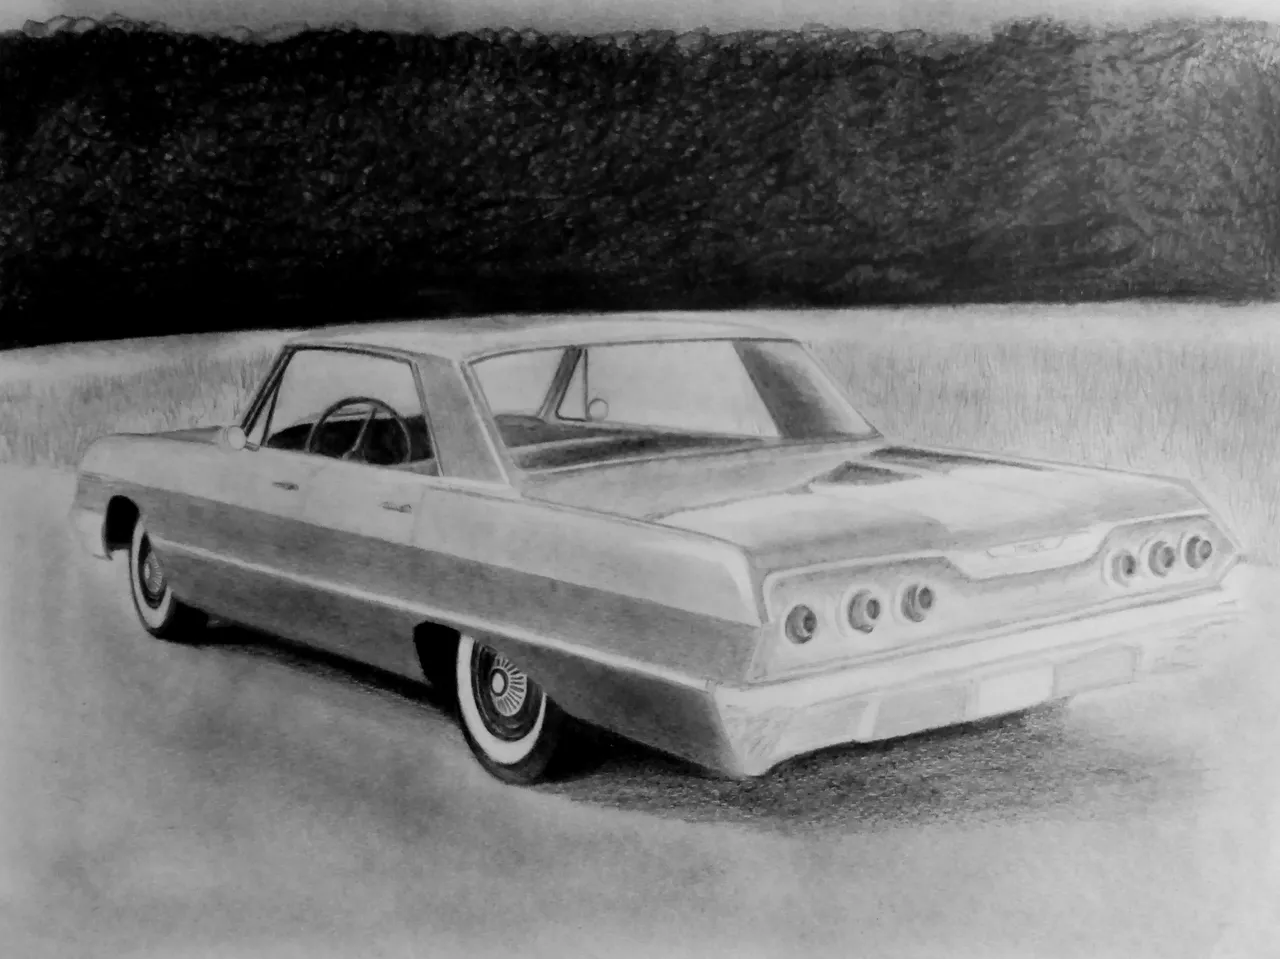
At this point I start to get a feeling of how it's going to look when it's finished. I get a image in my head and I try to replicate it. I also start to fill in the details to make the drawing pop. I use a mechanical 0.3 mm for the really small details and compare with my reference photo. You can see the finished drawing below. The customer of this drawing wanted it to look like a drawing and not a photo so I tried to create that appearance.

