Hello creators, learners and Hivians, welcome to another edition of #creative-sunday with @sam9999 👇
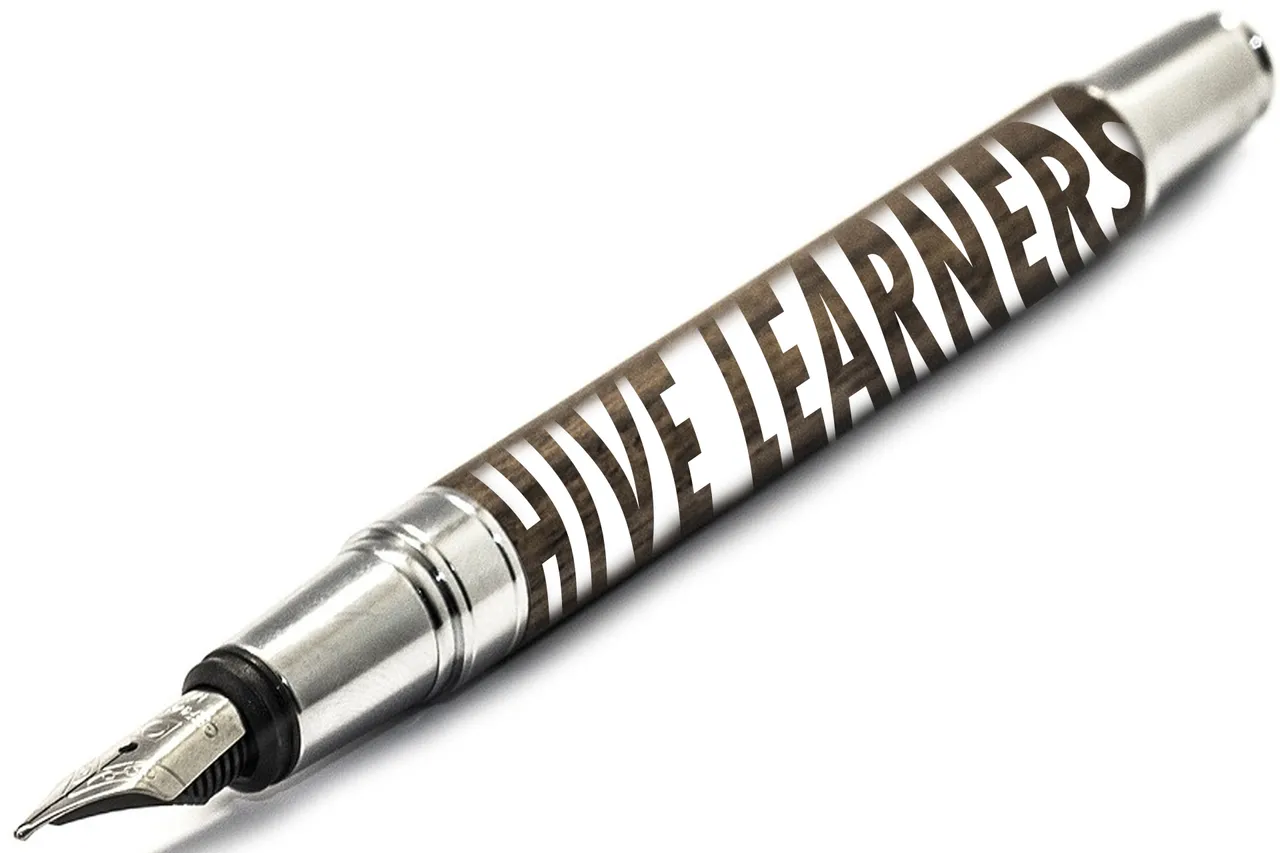
The design you see above is known as typography design, done exclusively in Photoshop
Now what is Typography in Graphic Design
Typography in graphic design is basically, in simple terms, the use of text either to convey or pass a purposeful meaning within a design or an image, but at the same still embodying perfectly the role of a design. Now the use of text for the purpose of designing in Photoshop involves font change and adjustment, adjustment of text size and color as well as alignment and application of effect for the purpose of enhancing the design
Typography in Photoshop is very crucial in graphic design, Photoshop from my experience allows for manipulation and customization of text to produce the desired graphical result.
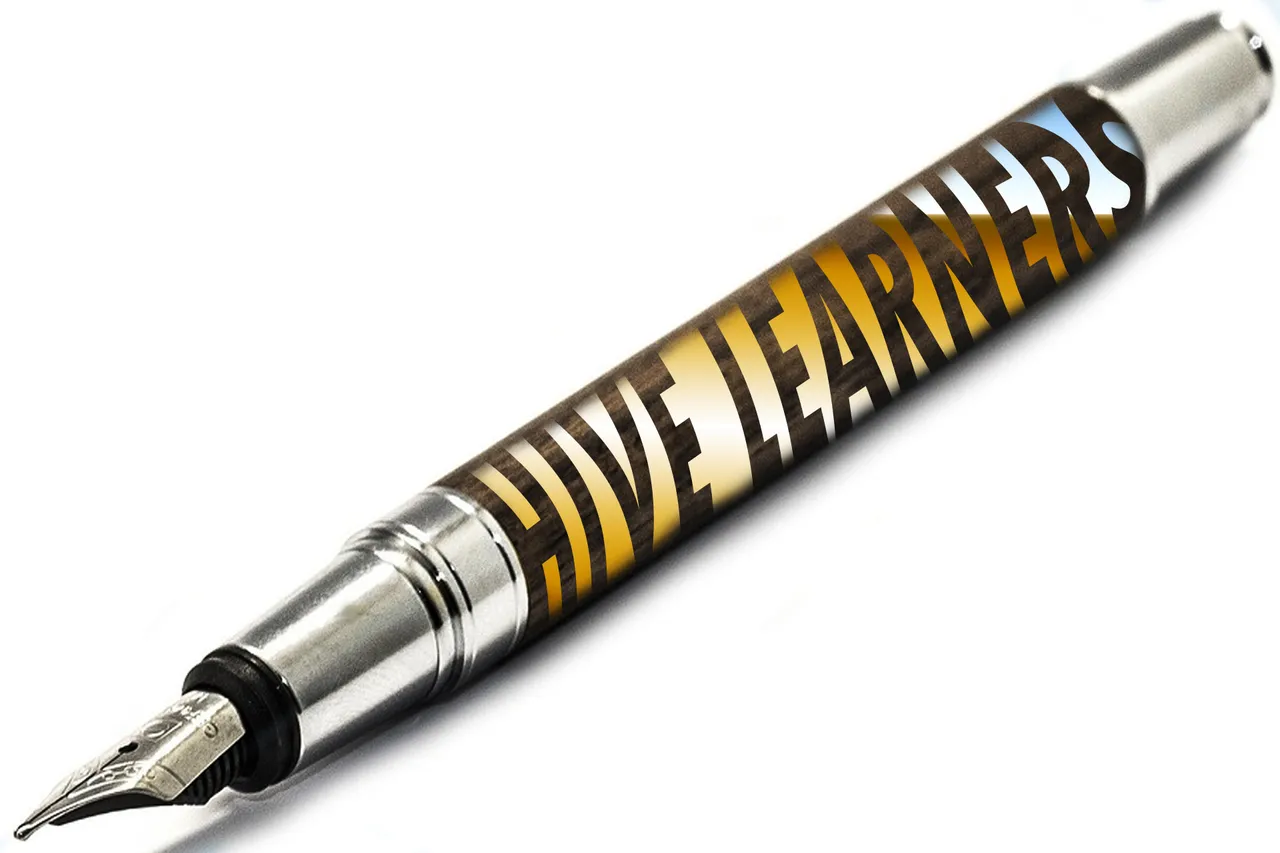
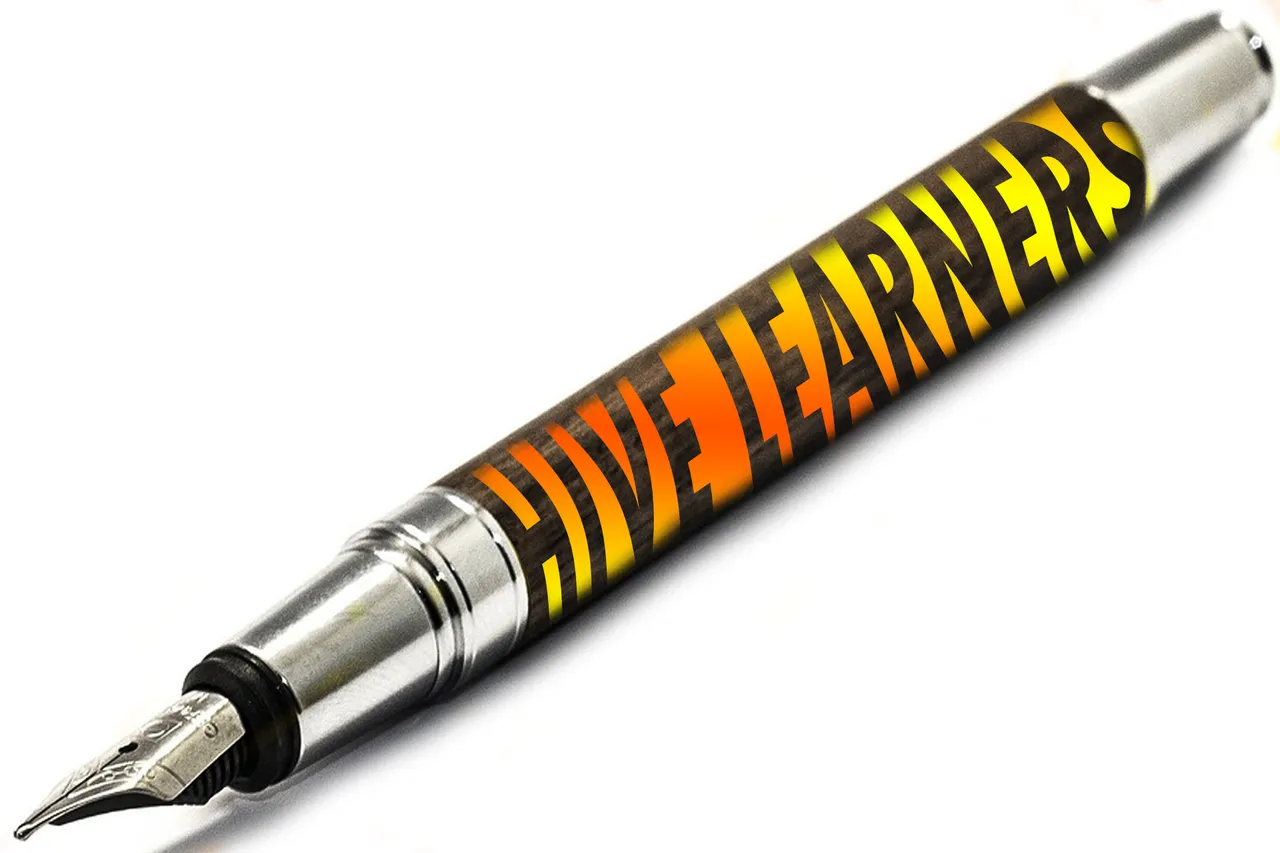
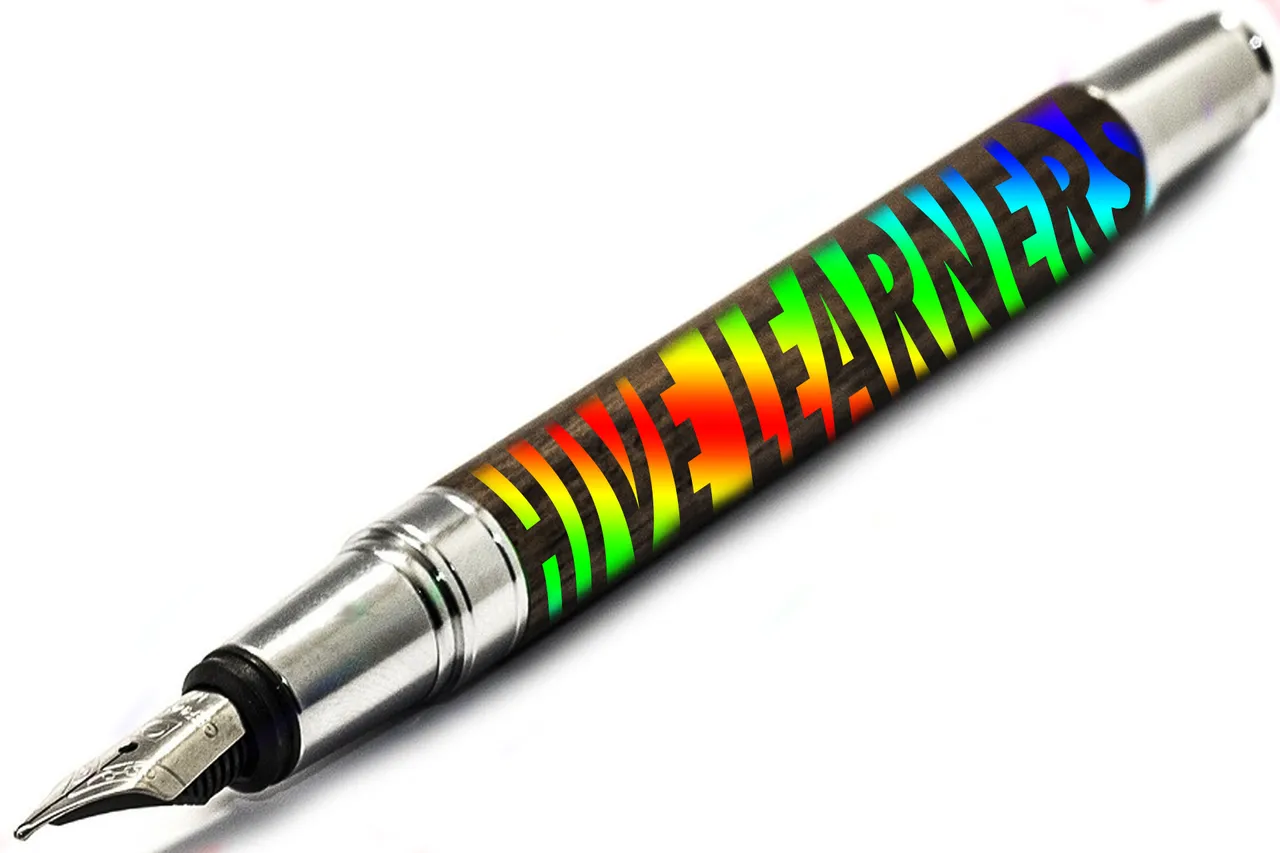
Judging from the above, I decided to generate various color variations for the pen using the gradient tool allowing for varying degrees of opacity and transparency but still taking advantage of vibrant colors.
The Process
The above typographic design was created from the image of a fountain pen gotten from Pixabay and letters using the text tool in Photoshop 👇

Process outlined
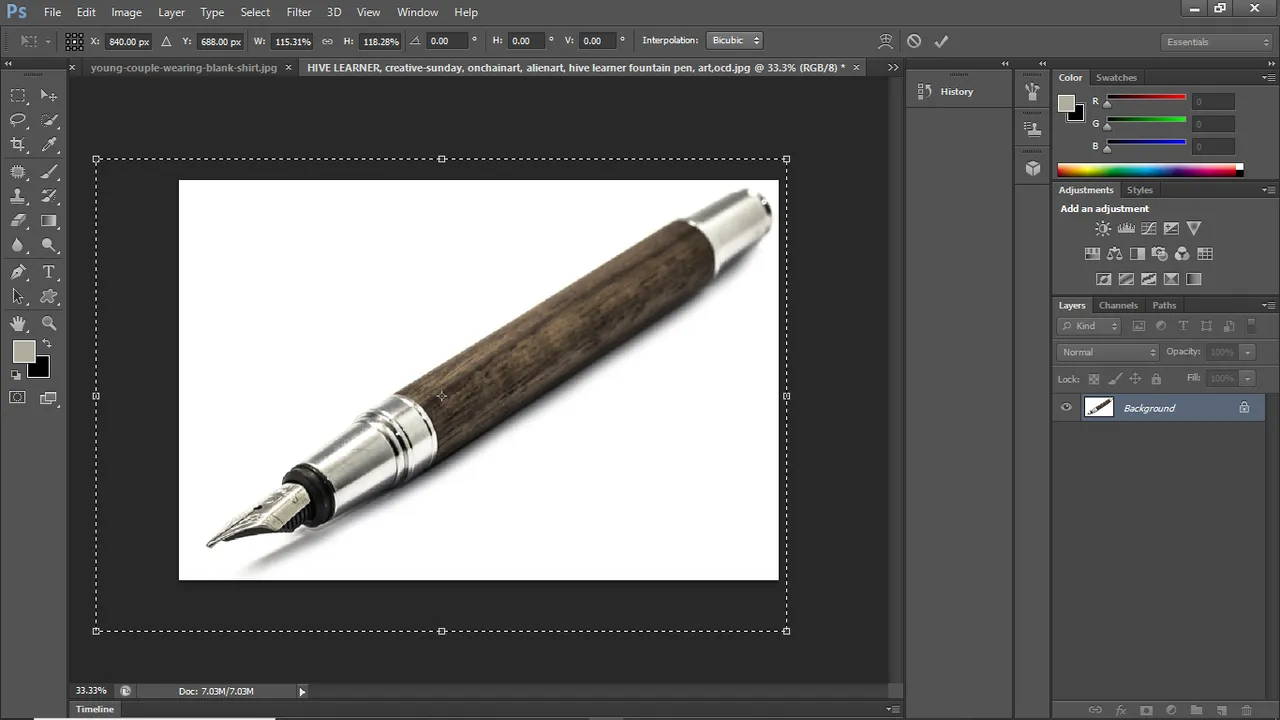
- Okay first you want to go ahead and download the image of a suitable fountain pen from any free image site. You can get any that you feel catches your eye but you want to make sure that it is a complete image of a fountain pen alright.
- The fountain I used was gotten from Pixabay 👇

- Next, open the image of the fountain pen in photoshop by clicking file in the top left-hand corner of the Photoshop interface, then locate the image of the fountain pen you just downloaded, select it then click open. OR better still you can just drag and drop the image in Photoshop

- Adjust the size using the size adjustment tool in Photoshop. The aim is to enlarge thus creating enough space and visibility for the text
Form a layer mask for the image of the pen, this will allow us to conceal and reveal areas of the pen we don't want and areas we want respectively, that the main purpose of a layer mask
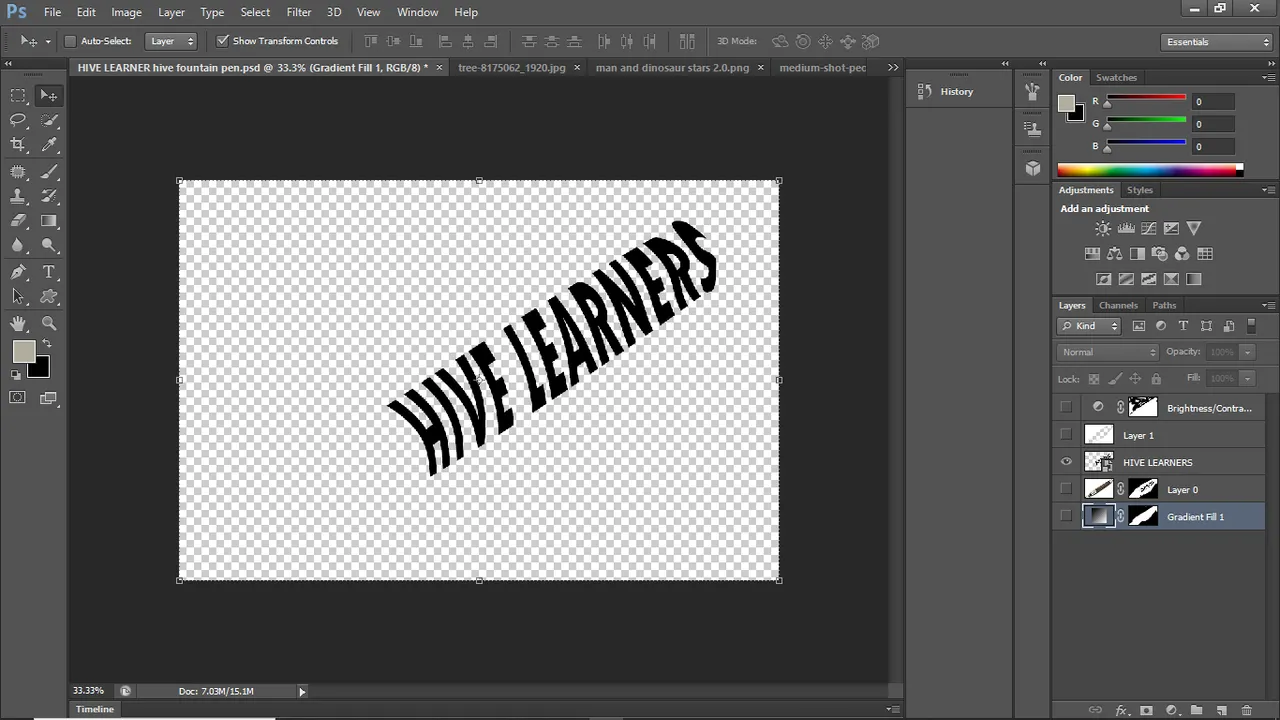
What you do next is to type the required text, in this case ''HIVE LEARNER" using the text tool in Photoshop marked as "T", then align it with the pen, then warp using the warp tool under transform once you select EDIT, this allows it to assume the curvy orientation of the pen and feel like it was printed on the pen rather than pasted on it. Screenshot below for reference

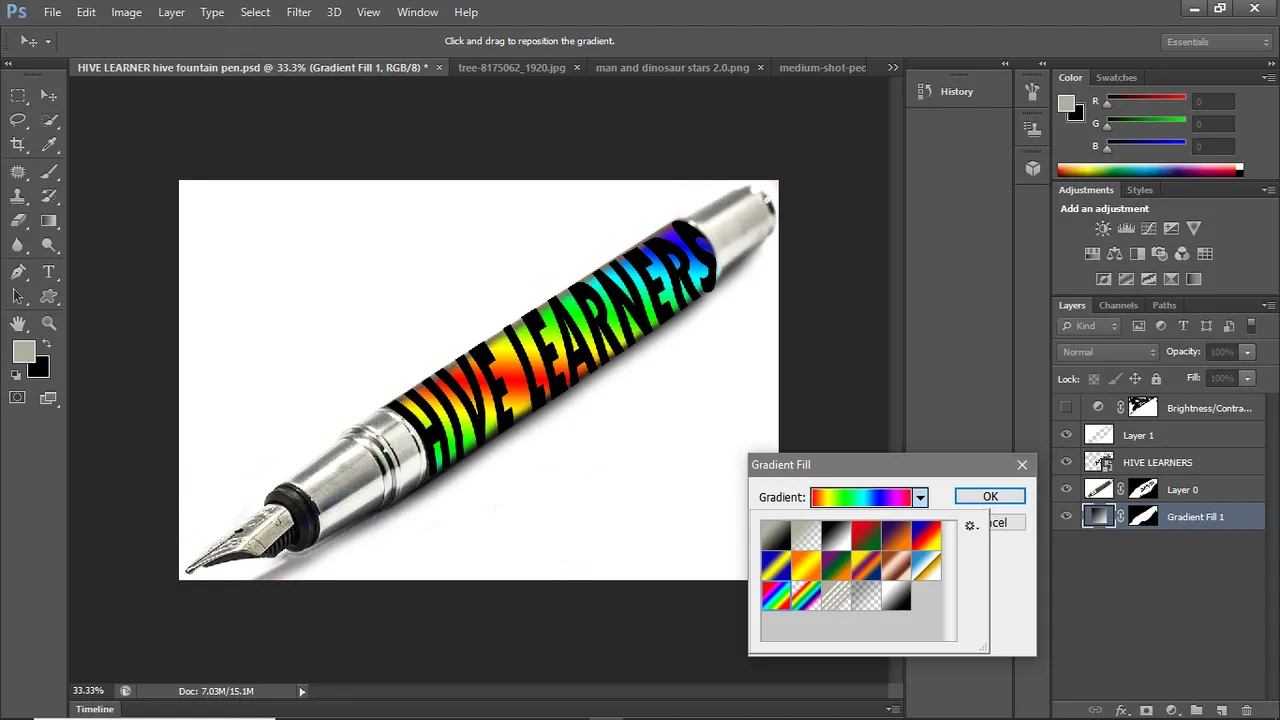
- Okay the next we do is that we want to add some colors using various variations of color gradients. We can select from white and black gradients to more vibrant color patterns as shown in the screenshot below

A series of colors are shown in the screenshot
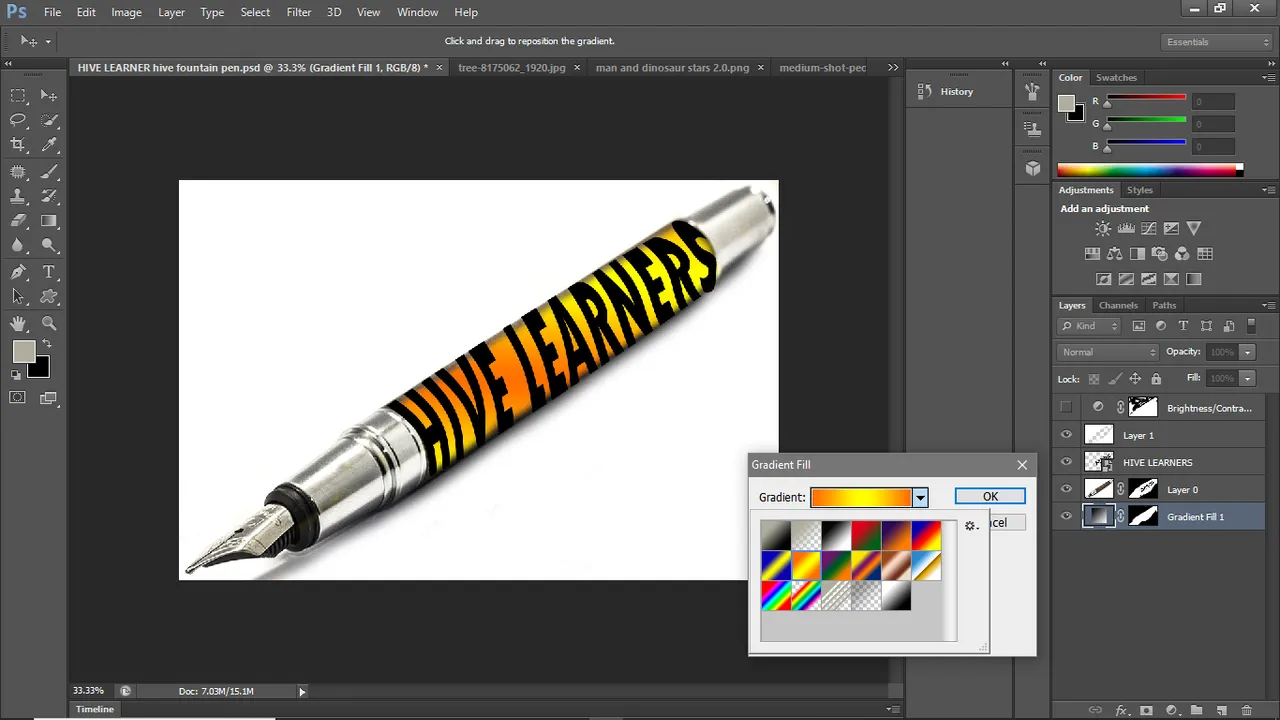

- Once you have generated the required results using various color gradients, proceed to save your file in JPEG or PNG format
Final results 👇