Hello hive learners community members, trust we are having a relaxing weekend 😎.
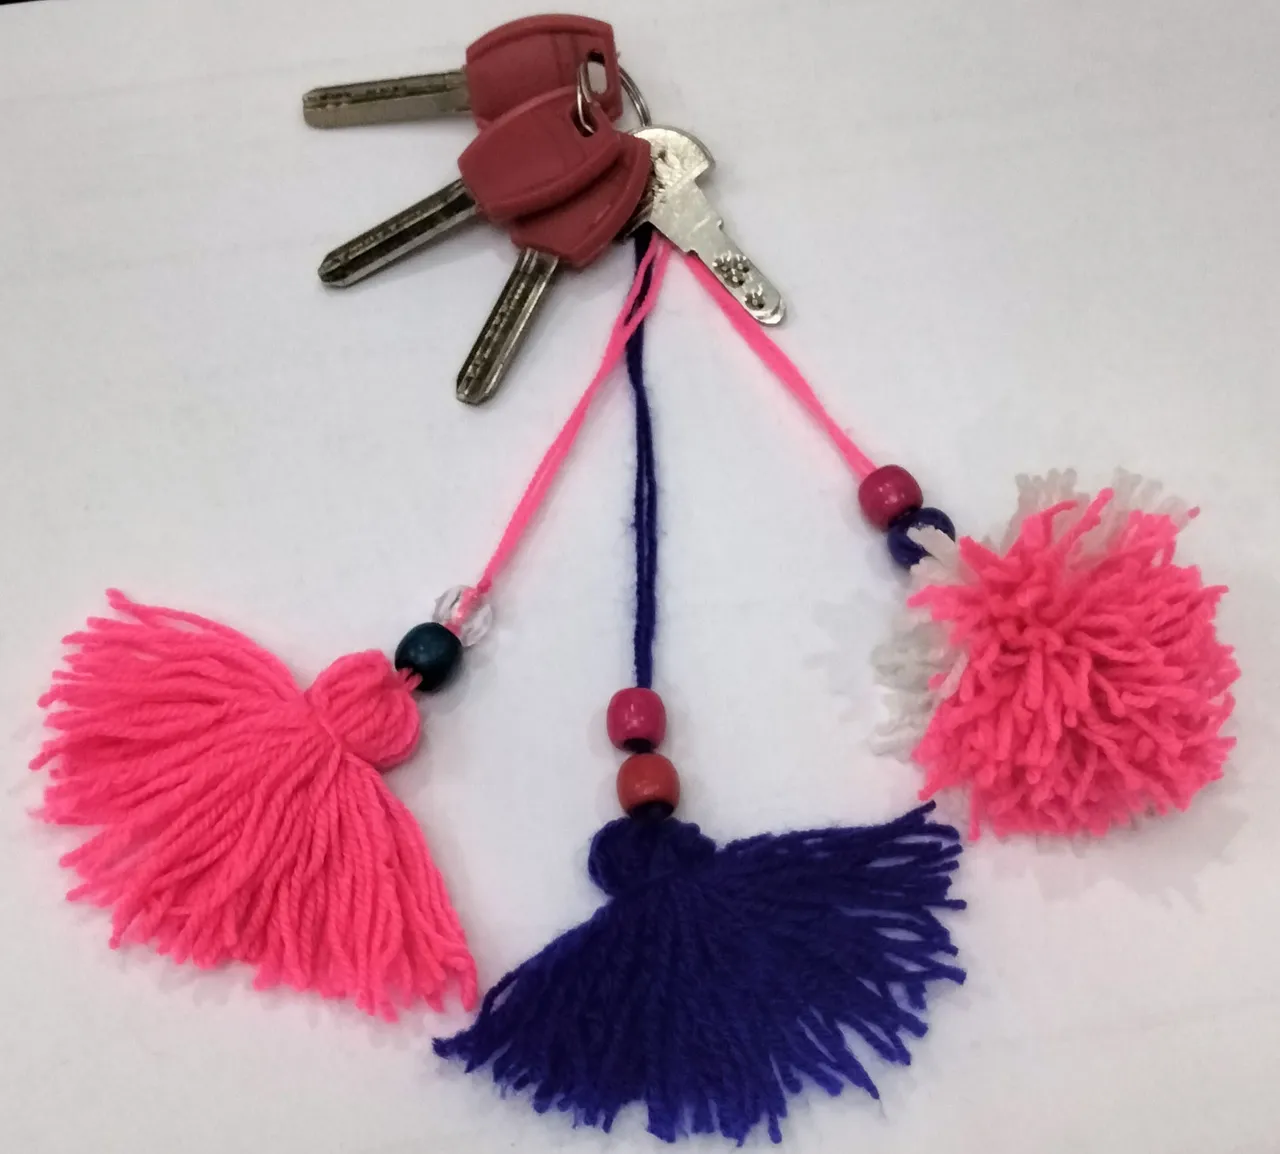
It's another edition of our creative Sunday and today I would love to show you how I made this keychain below 👇
Everyone can comfortably buy a keychain in the market, that I believe! But then, I thought of how I can make one for my personal use instead of buying from the market. Buying a keychain from the market may not cost me up to $1 depending on the type though but then, I feel fulfilled and happy using my handmade keychain instead. Isn't that amazing?🥰😍..... this is not a hive keychain oo 😂😂, but your regular key holder for your home keys 🤗.

Okay, let's get started on the steps I applied while making the keychain.....
MATERIALS USED
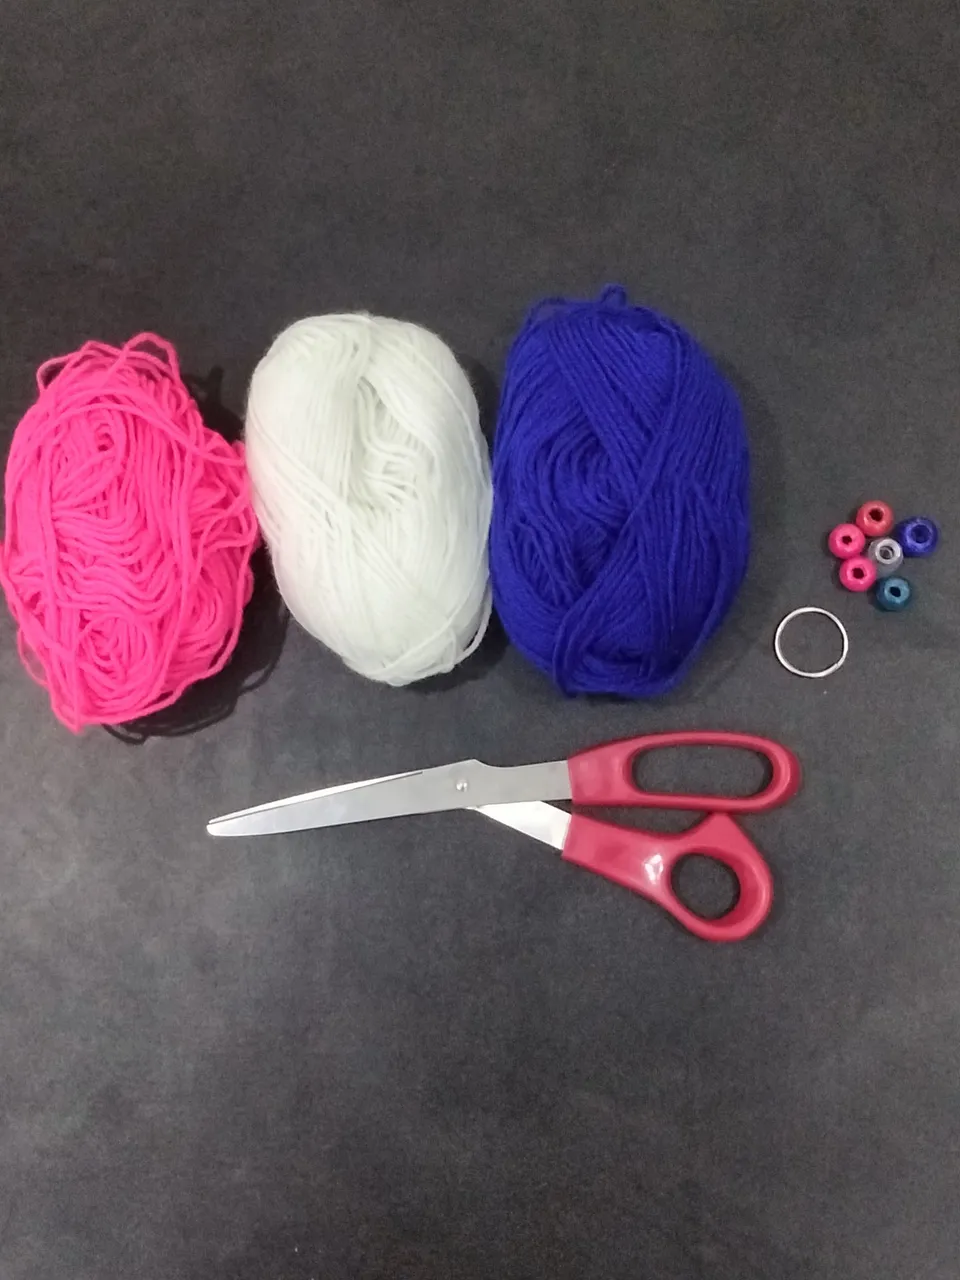
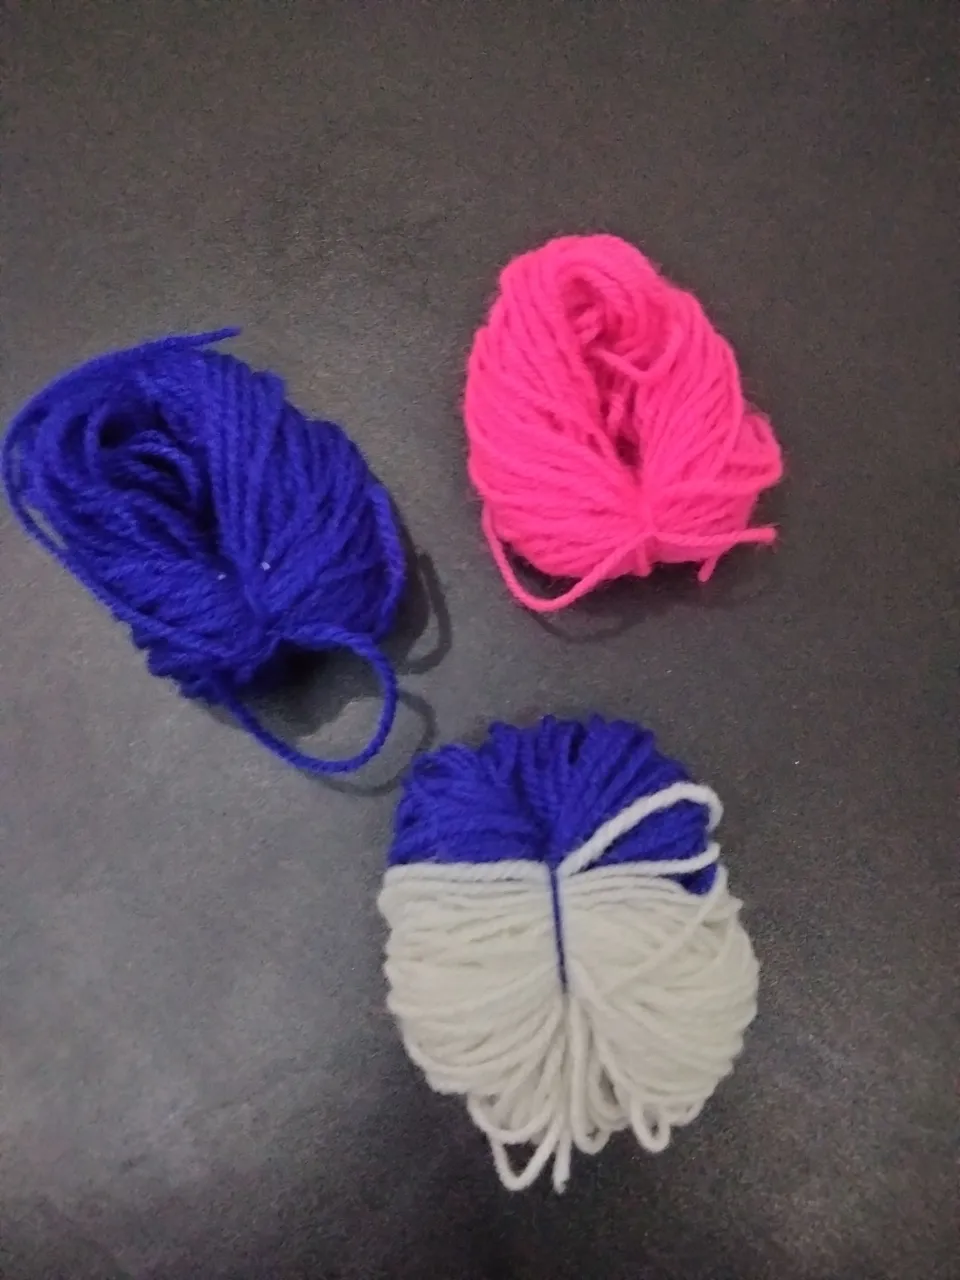
- wool of different colors
- a scissors
- beads
- a round key hook as seen above.
STEPS
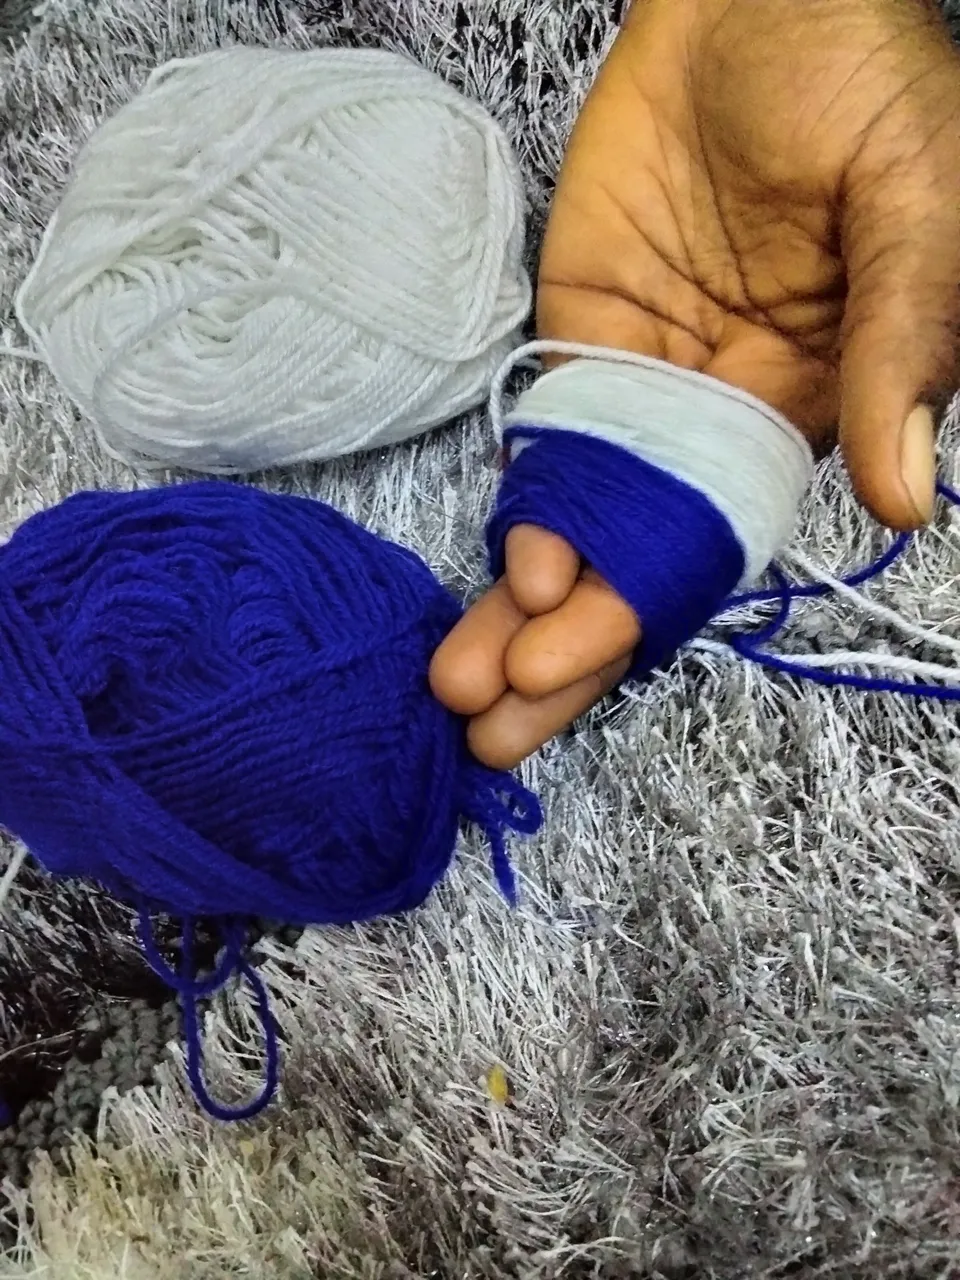
- Roll the wool over your fingers as many times as possible but you can decide to count up to a particular number to have an equal shape with each other.

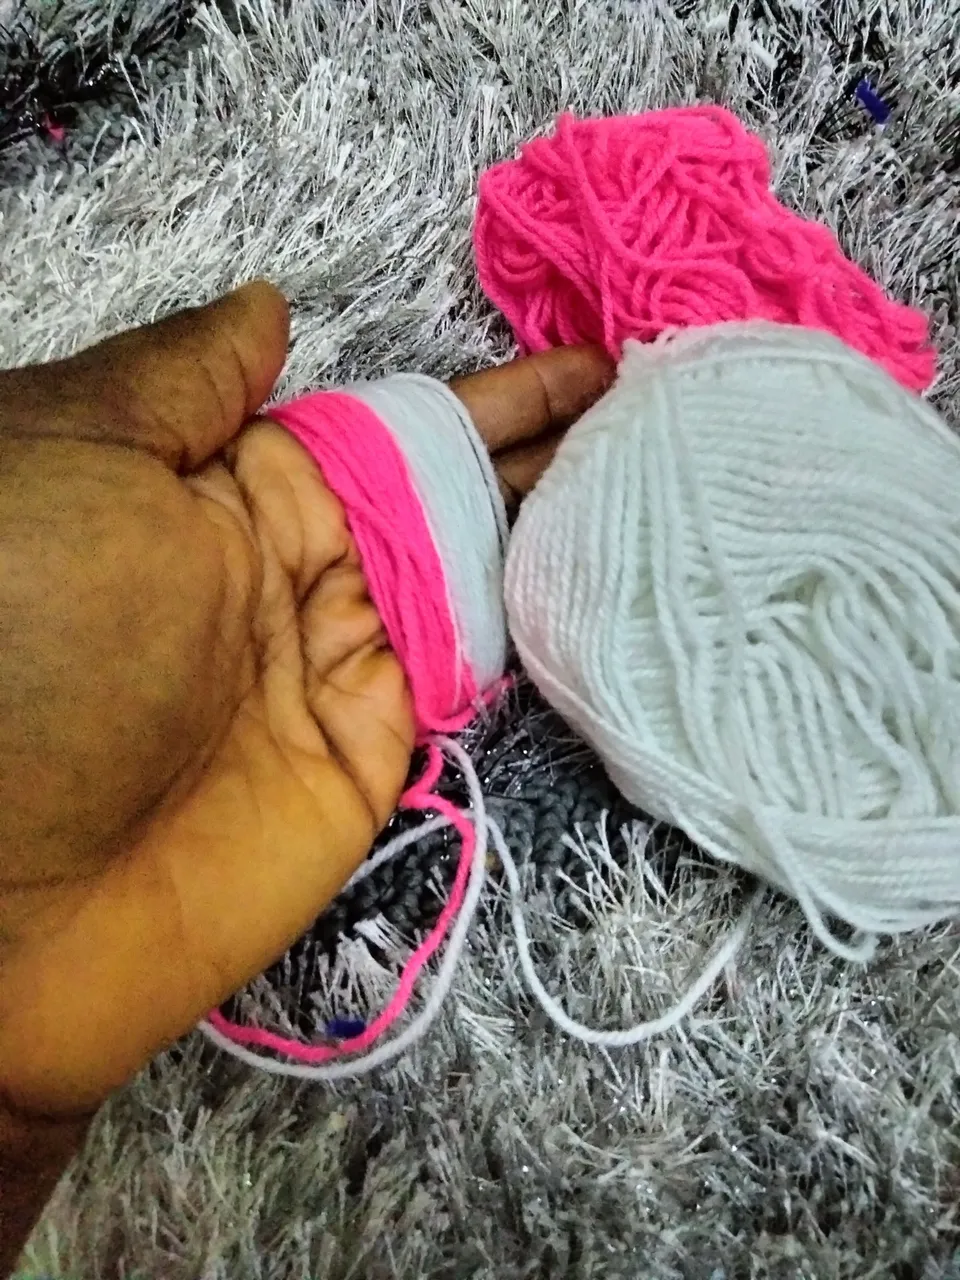
- For mixed colors, just roll the two at the same time before the next step.
I made two different mixed colors but choose the lady's color (pink) here💕
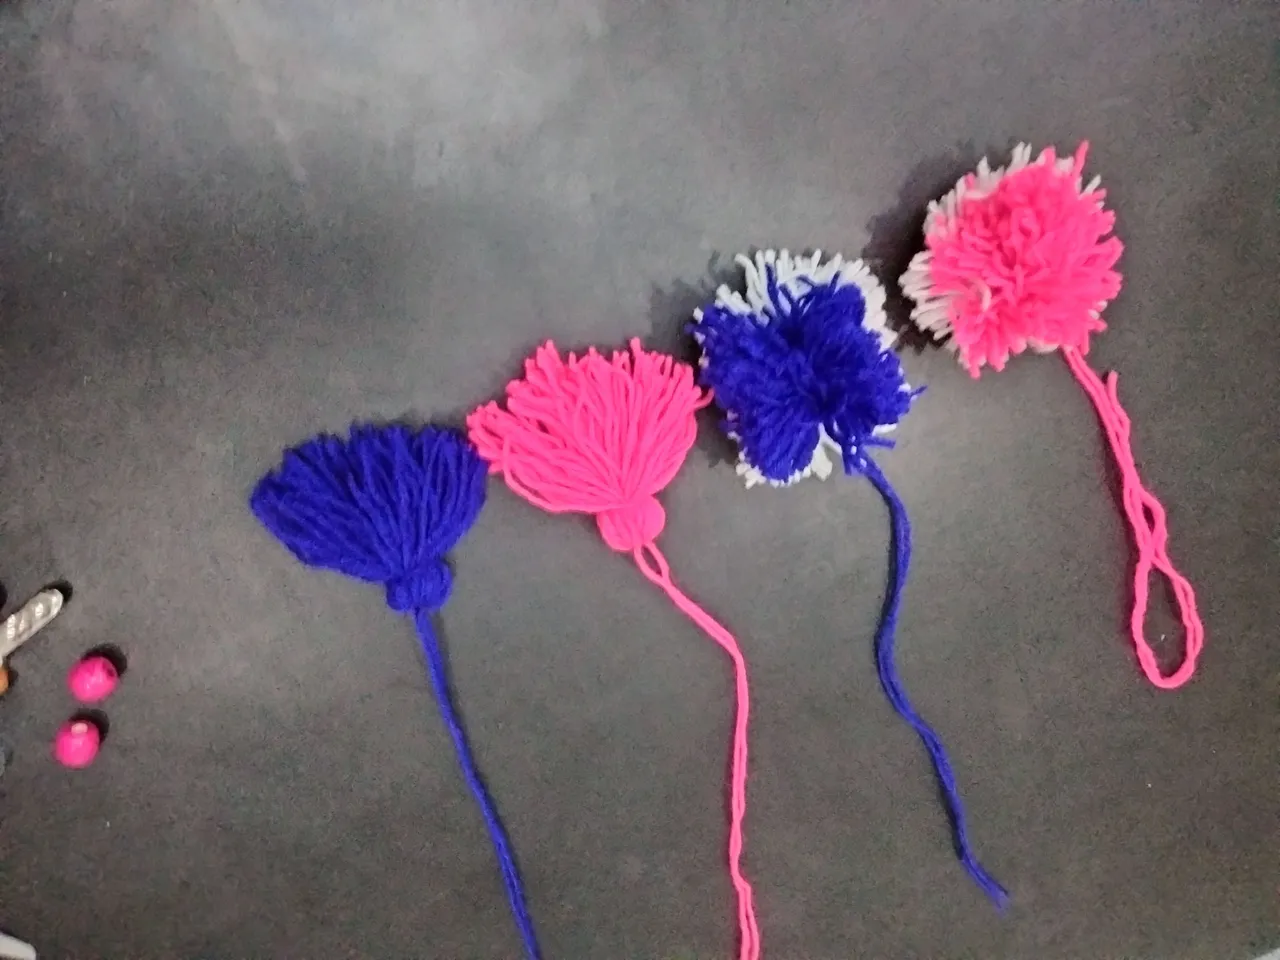
- Gently remove the rolled wool from your fingers, cut the excess and use long wool to get it tied.
- Hold the part that you tied just a little bit below the top, use an extra tiny strand of wool to tie it again given a demarcation, and then cut the down part to make it open. Then, for the pom pom type which are the ones with mixed colors, get two ends tied very tight, and then cut from the hole created in the center. If you follow the steps, you will have something like this 👇
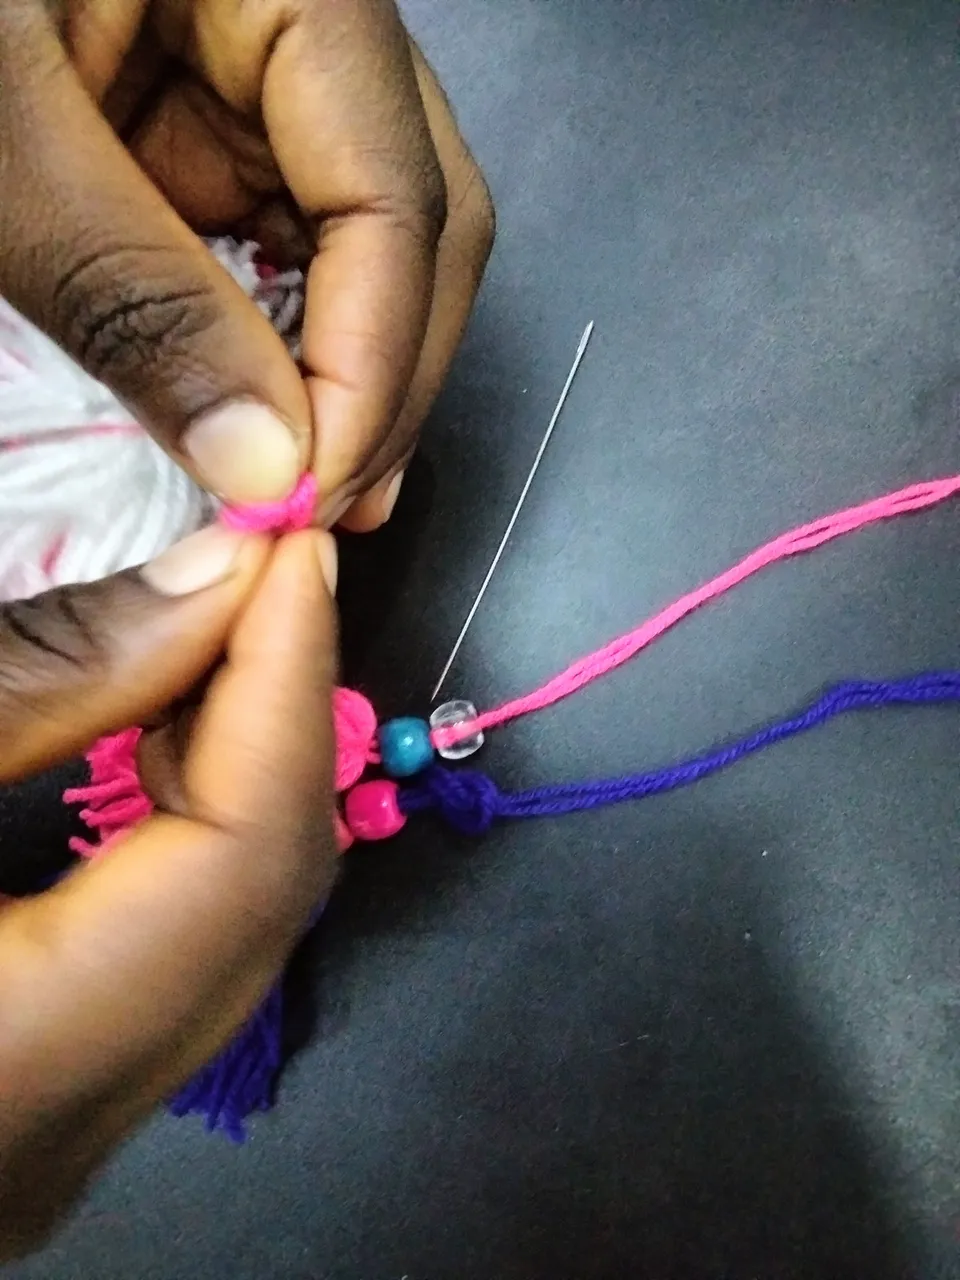
- Now, put your beads in all the holders, hold each of them and tie the extended handle to create a bridge that will hold your beads from falling.
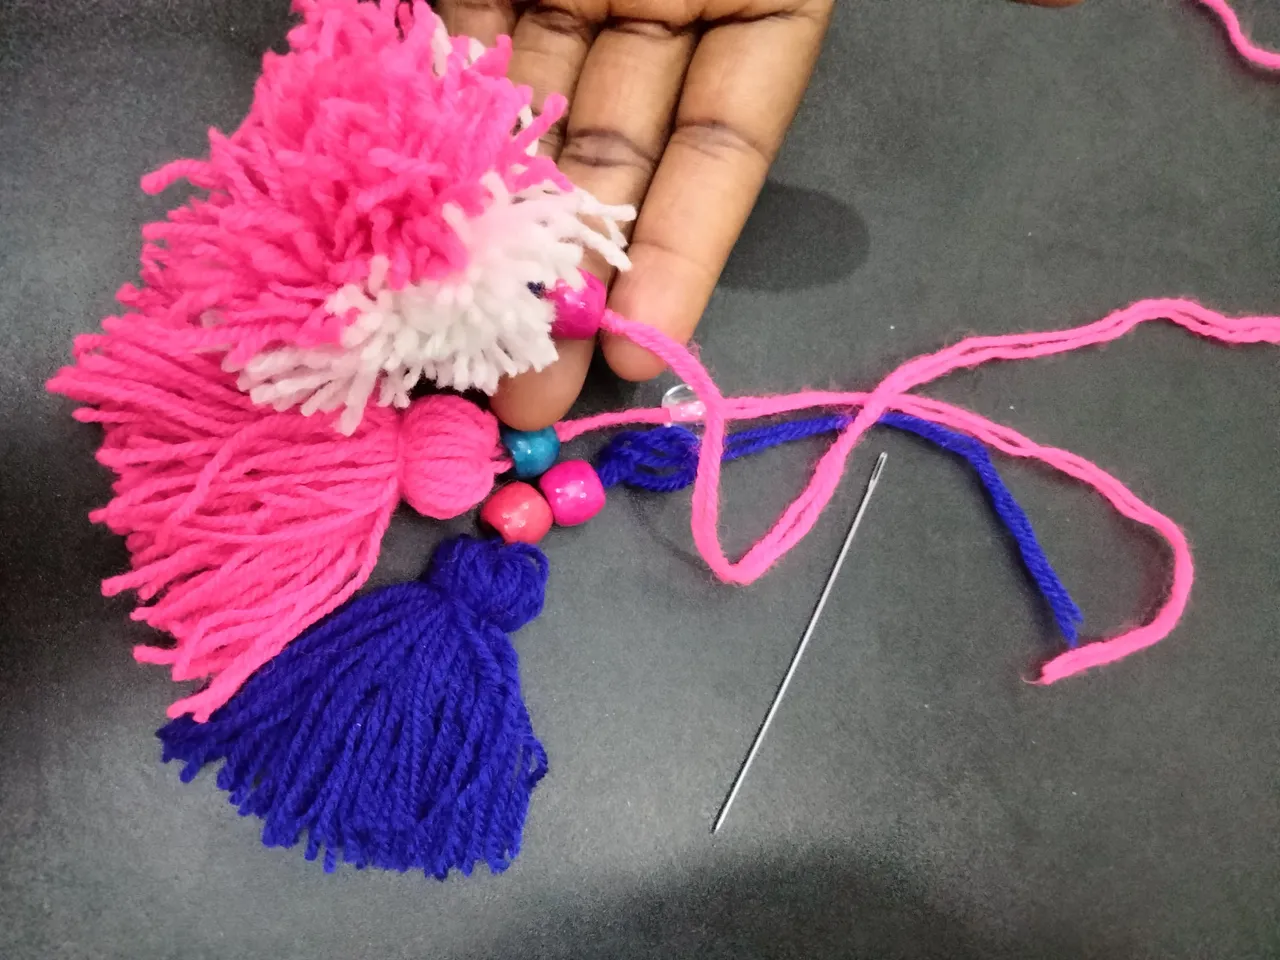
- Hold the three ends of your keychain and tie them together at a particular length of your choice, cut off the excess and gently attach your round key 🗝️ hook as seen below.
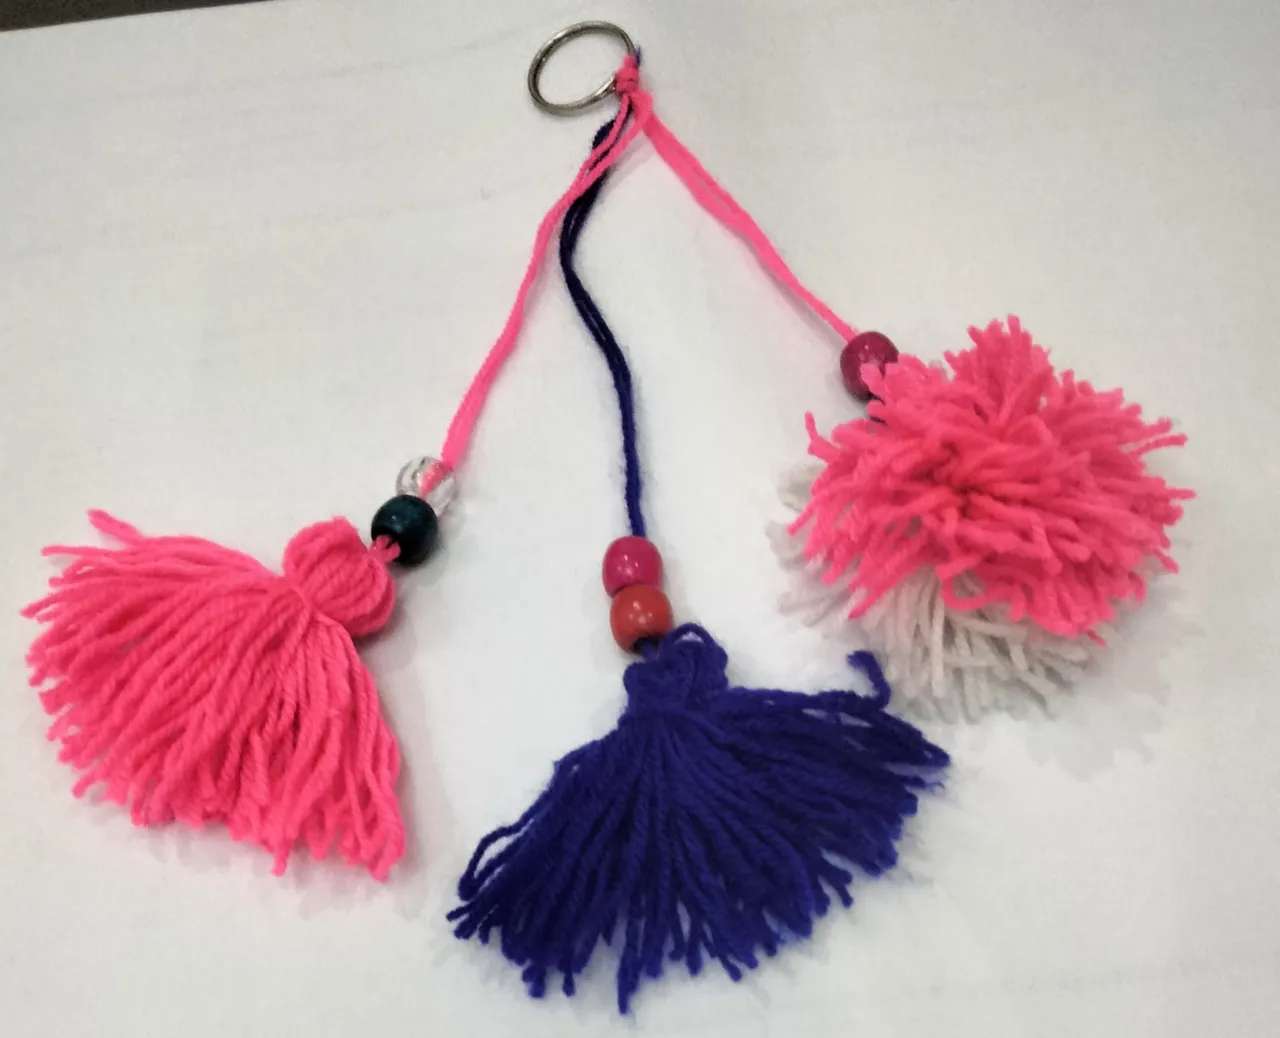
- Finally, trim your work to appear very neat and devoid of excesses, and then attach your home keys 🤗
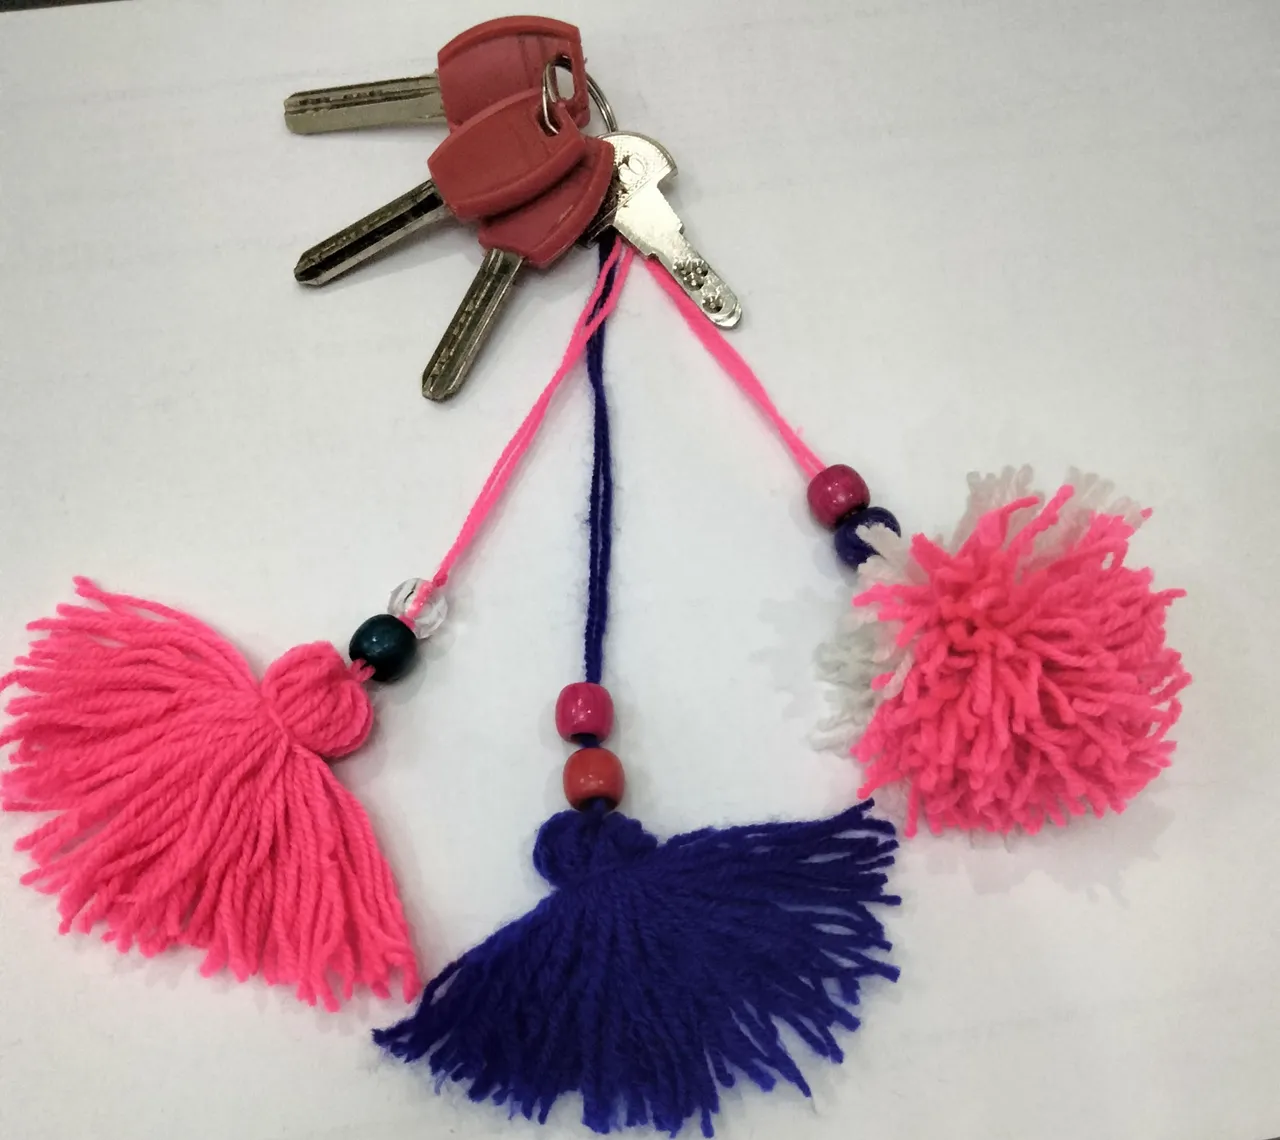
At this stage, your keychain is ready for use, ready to protect your home keys from getting lost 😂👍
Thanks for checking out my blog 👍😎
Remember to keep staying positive and be happy 😊♥️😘🥰😇
PLEASE NOTE, ALL PICTURES ARE MINE TAKEN WITH MY CELL PHONE