Hello everyone in the wonderful hive family. Happy Sunday. The hive learners’ community has introduced a new initiative, where we can all showcase our creativity. I’m so glad to be taking part in the first-ever #creative-sunday.
Are you tired of dull and lifeless photos? Are you tired of paying professionals to make your photos brighter? Or you’re tired of paying for editing apps? Say no more, because today, in this episode of creative Sunday, I’ll be teaching you how to edit your pictures by yourself using your iPhone.
Tools
You don’t have to download any special apps or visit any websites. I’ll be editing from the “photos” app.
So all you need is an iPhone (Anytime iPhone) and a picture to edit.
DIY process
Today, I’m going to be editing with my iPhone X.
The first thing to do is to take a picture. You’d see the picture in your photos app.
This is the picture I snapped today. See how dull and lifeless it is. Watch as I transform it.

At the top right corner, you’d see an edit sign, click on it.
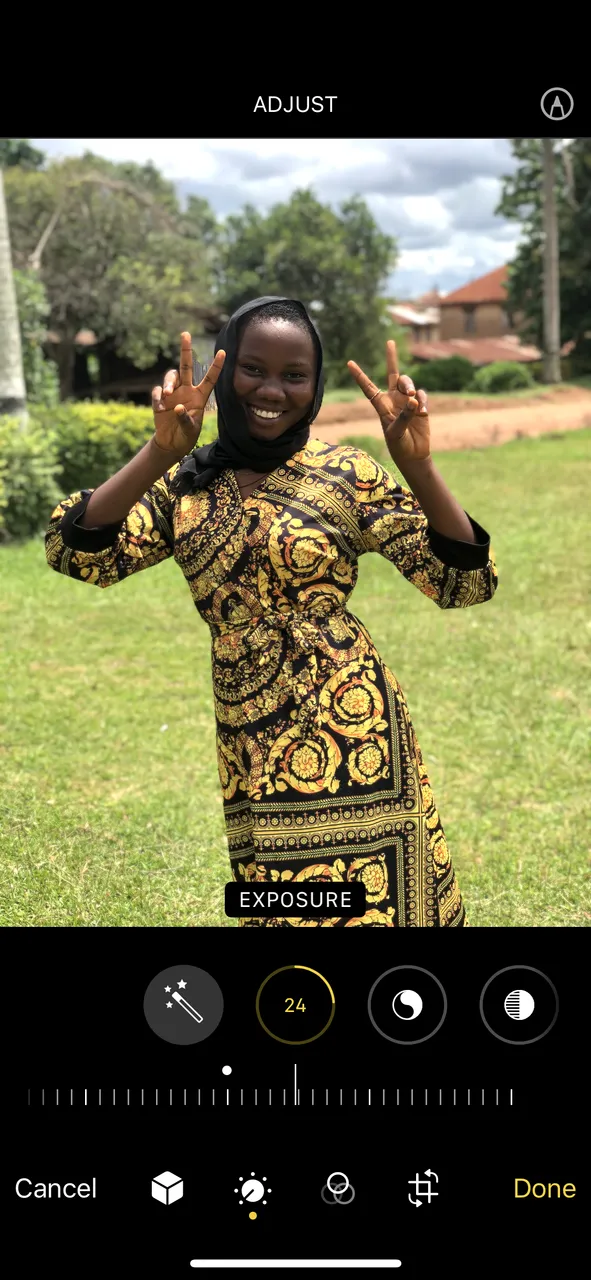
You’d be doing a lot of increasing and reducing. So the first thing you’d touch after you’ve pressed the edit sign is Exposure
My exposure rule; Don’t go past 25. So, I'll increase mine to 24.
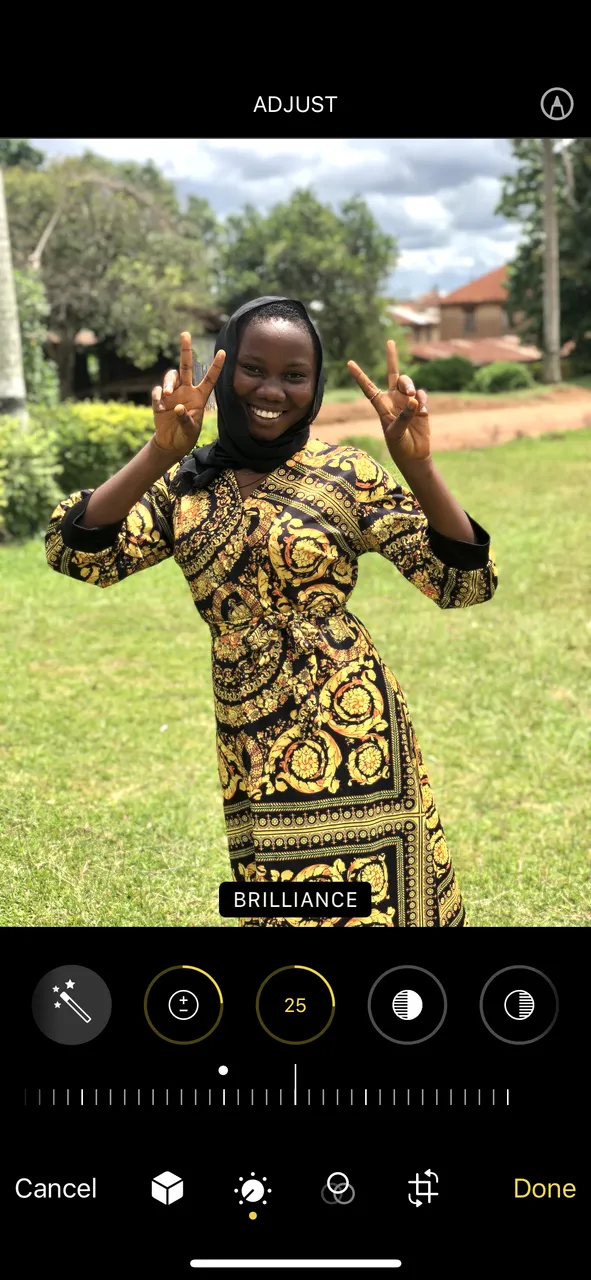
The next thing is brilliance.
My brilliance rule; don’t go past 25
I’ll increase mine to 25
My highlight rule; don’t go past 20
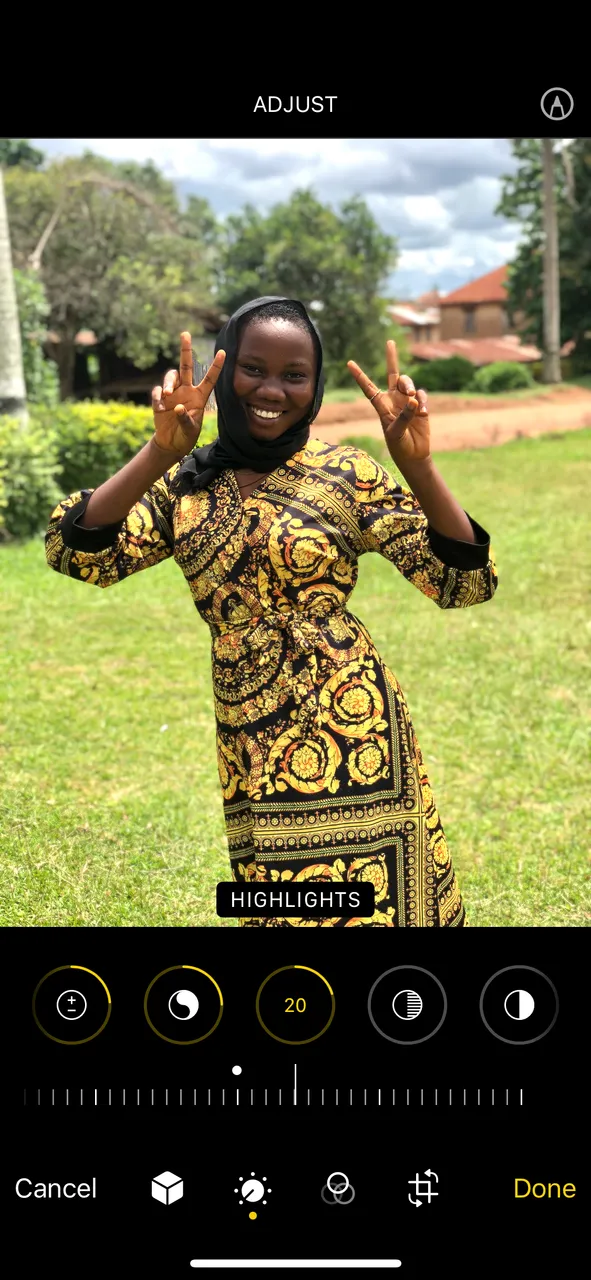
The next thing is shadows, but I prefer leaving shadows at 0.
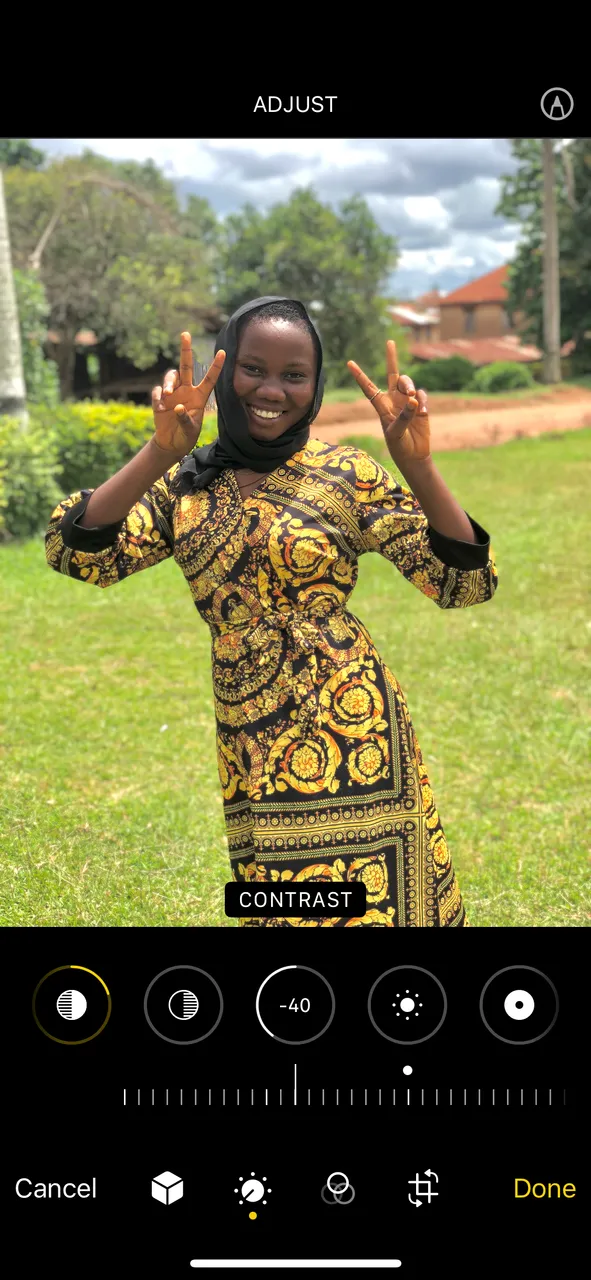
The next thing is contrast.
My contrast rule; don’t go past -40
The next is brightness and black point. I don’t mess with these two. If you have a picture with a lot of blacks in it. I’d advise you not to go past 5 black points.
For this picture, I’m going to leave brightness and black point at 0
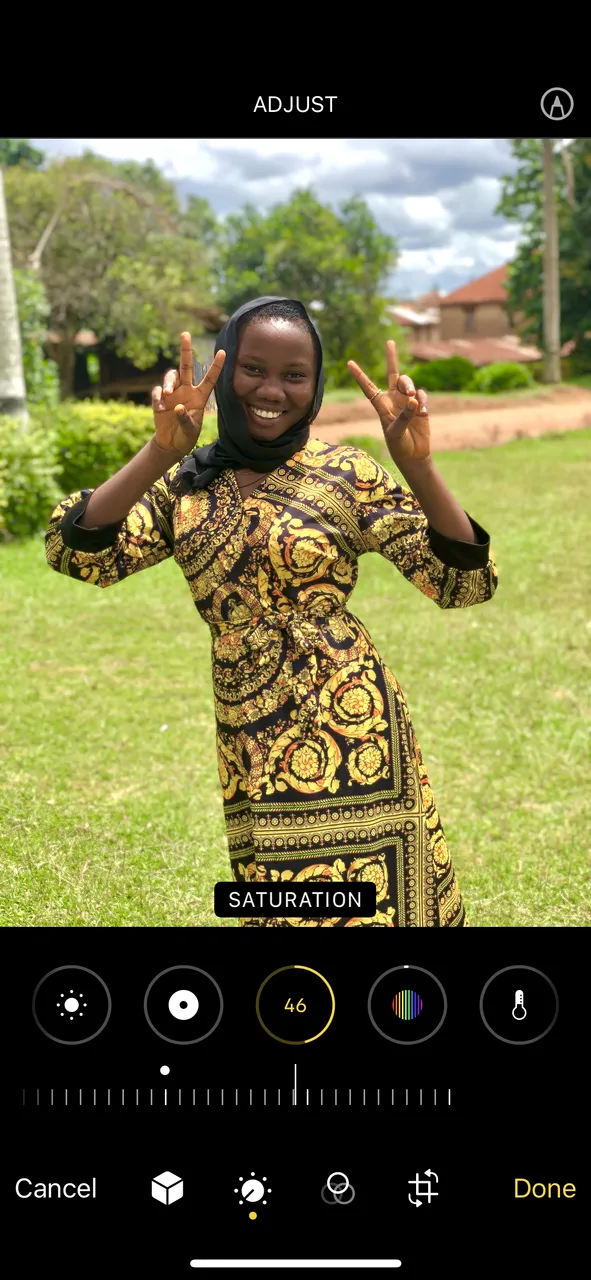
The next is saturation and vibrancy. These two are my favorites. They make the pictures pop.
My saturation rule; don’t go past 45
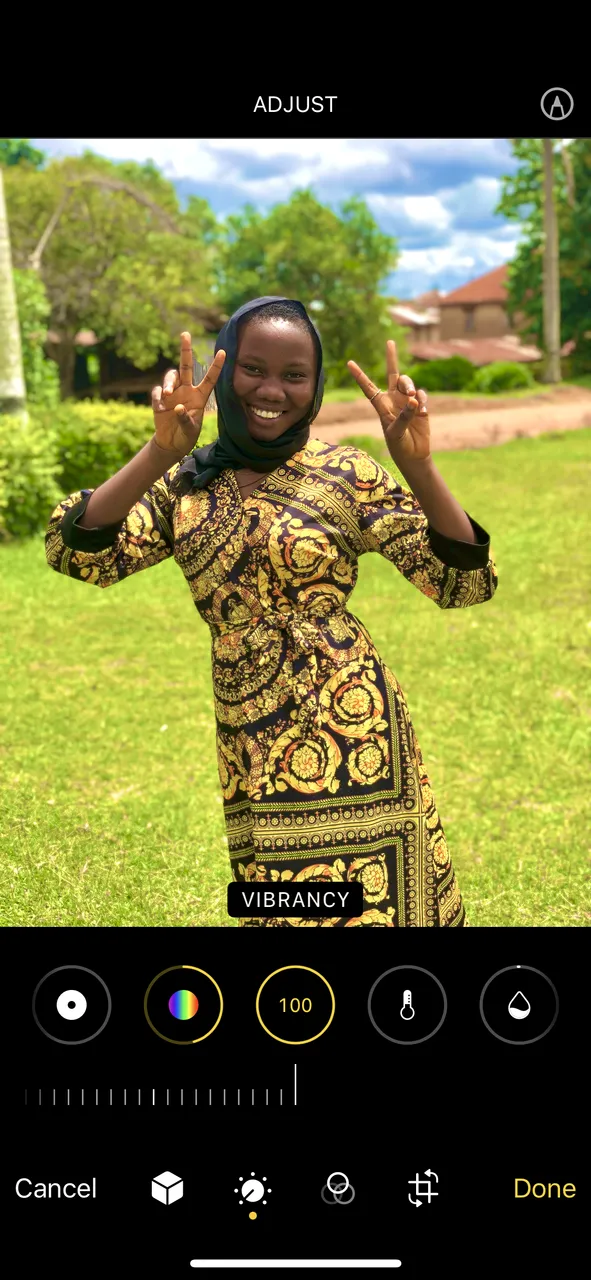
My vibrancy rule; I usually increase vibrancy to 100. But if you’re picture is already very bright, don’t go past 80.
Important things to note
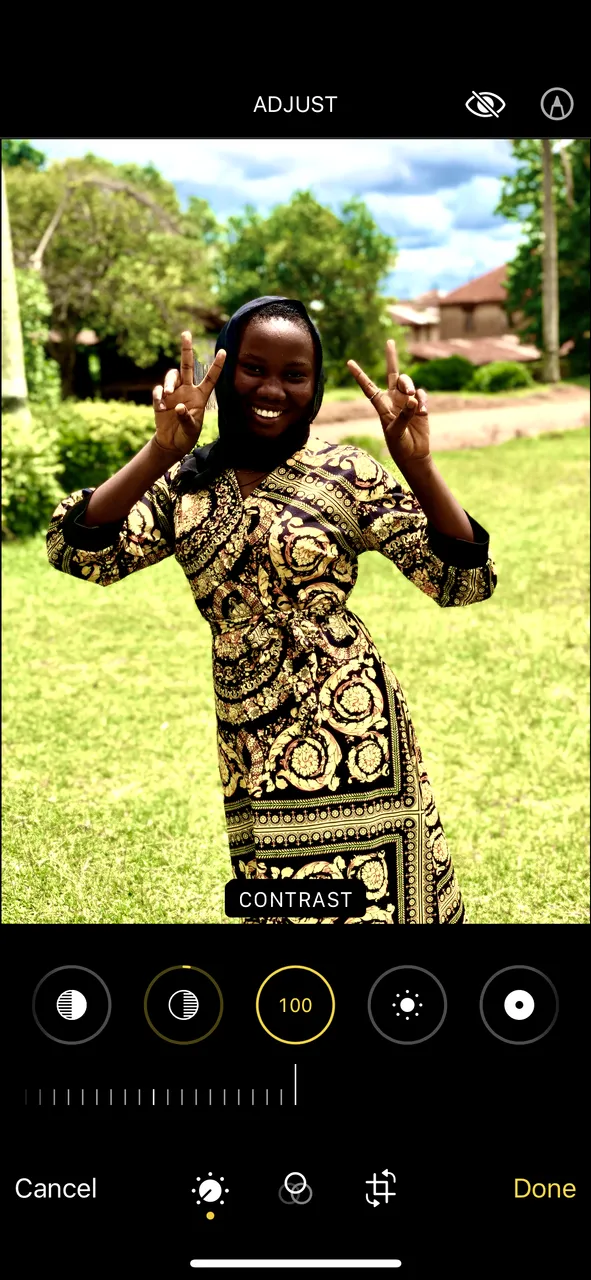
Tampering with other things could make your picture look ugly, and that’s something you don’t want to happen.
If I had increased the contrast to 100, the picture would look like this
 .
.
You don’t want your picture to look like that, right?
The last thing to do to make your picture brighter is to change it to vivid. However, if you like it in the original state, then leave it like that.
For this picture, I’d be changing it to vivid

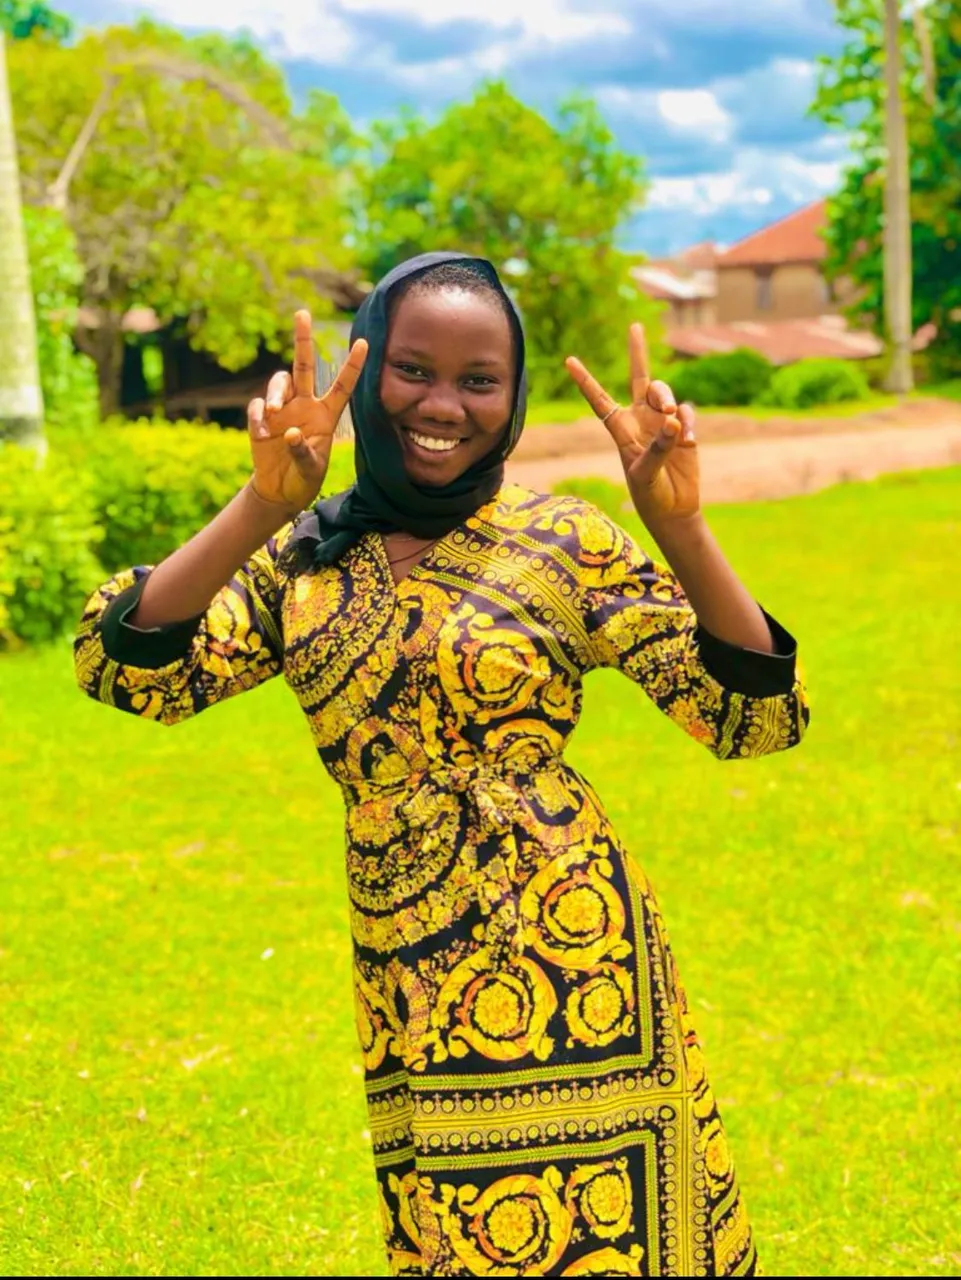
Final product
How has this helped me
It has made me a star in my church😂😂😂. Every Sunday, people come to me to snap them and edit them. Including those using iPhones too.
Also, I don’t have to download any apps which would cost me data.
Note: all images are mine.