Greetings everyone and welcome to my blog.
Putting together different colours of paper makes it colourful but creating a shape to make art is creativity.
MAKING A COLOURFUL UMBRELLA ☂️
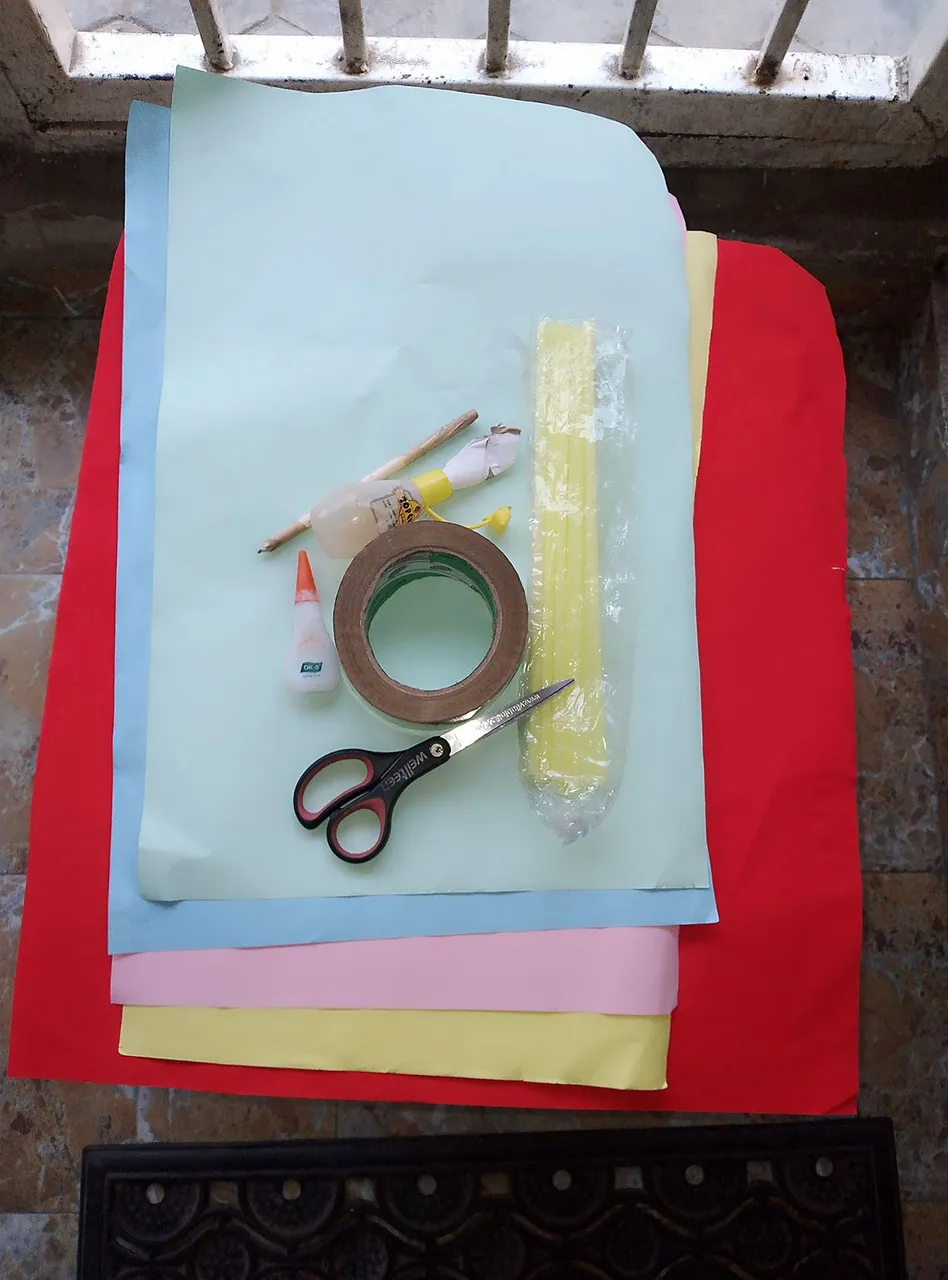
LIST OF THINGS I USED
- CARDBOARD PAPER
- STRAWS
- PENCIL
- PAPER GUM
- A ROUND OBJECT TO MAKE A CIRCLE
- SCISSORS
THE MAKING
By getting different colours of cardboard paper from a stationary shop in the market which would be cheaper or around your neighbourhood, you could also get it in a supermarket. I got colours green, yellow, red and blue. I have straws from my leftover creative works of art. Pencils are always available in my home because I have kids who use them for school. Paper gum to give a grip on the paper when put together. We need a round object to make a circle and scissors for cutting the paper and straw.
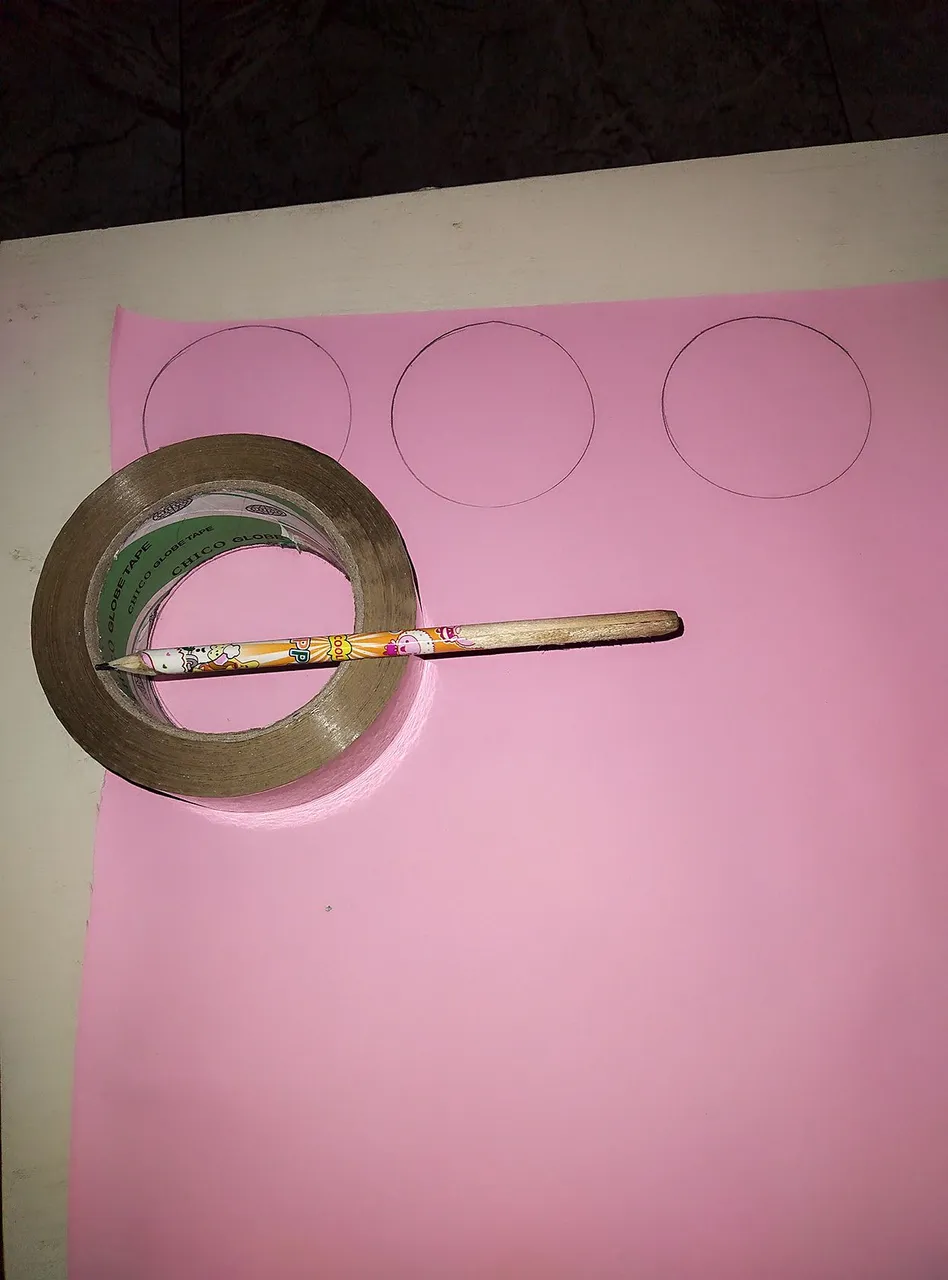
Place the cardboard paper on a table and make a circle shape with the round object.
This would be done on different colour cardboard paper.
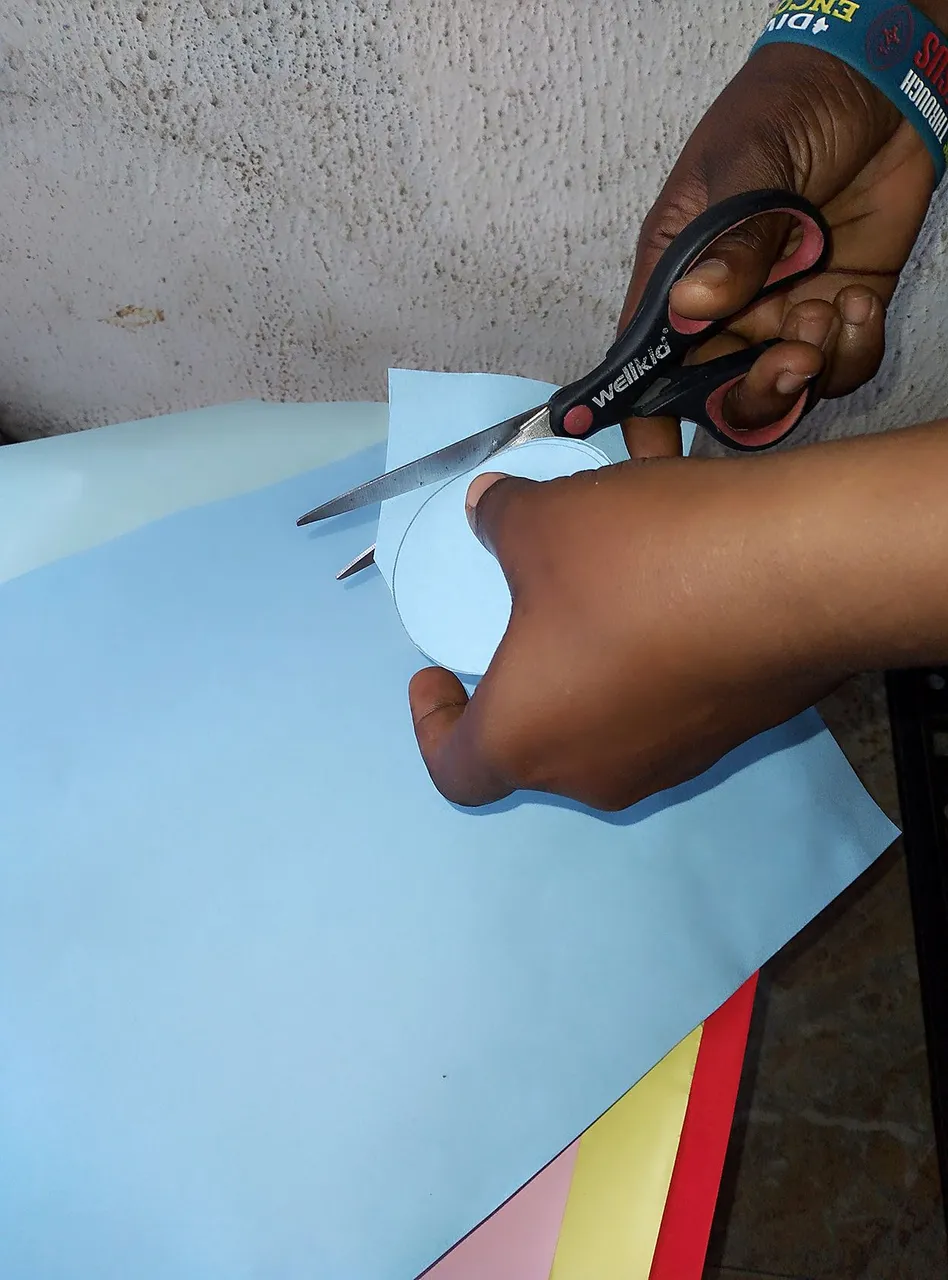
When this is done you get your scissors to cut out the circle shape of all the cardboard paper.
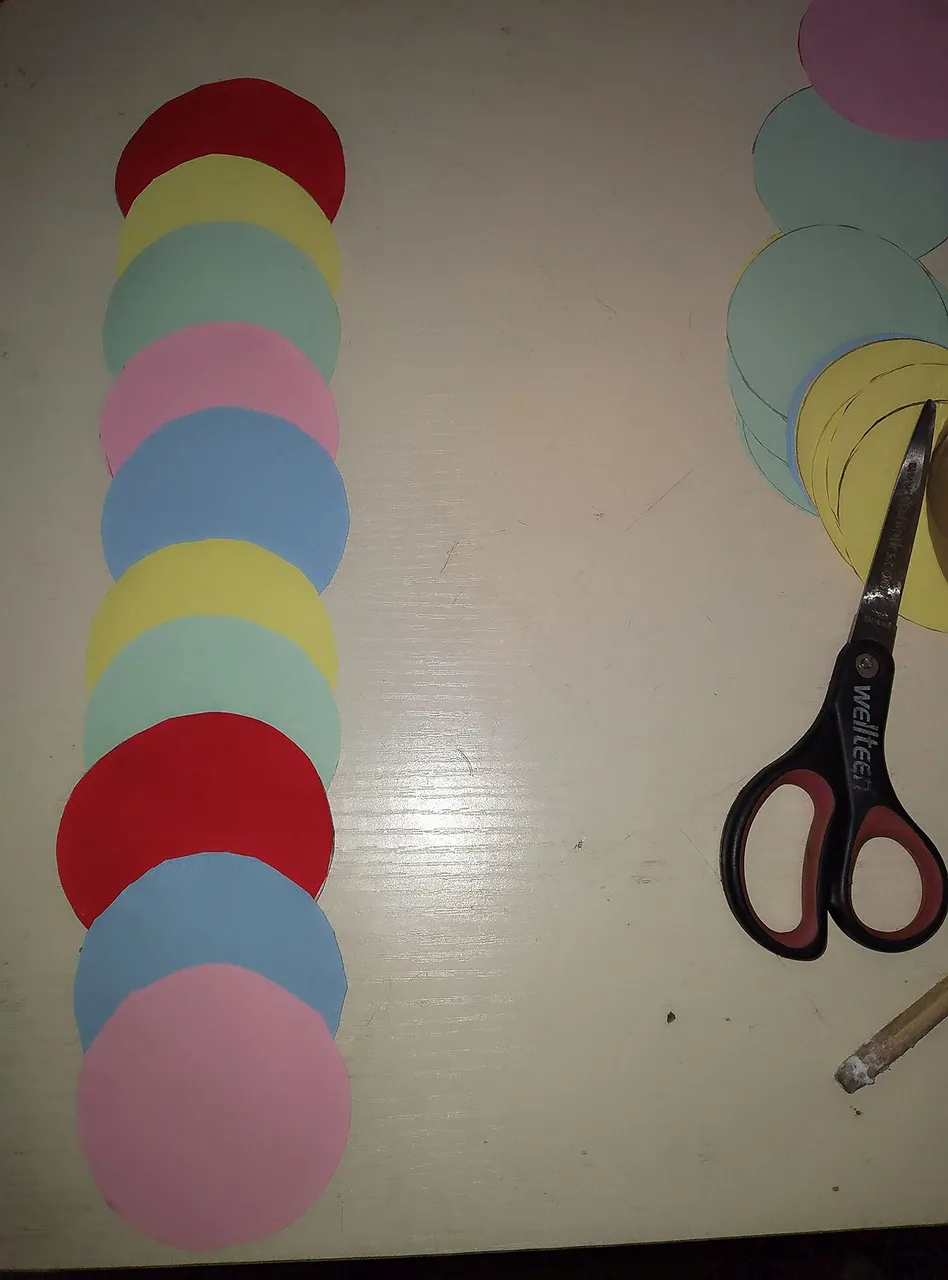
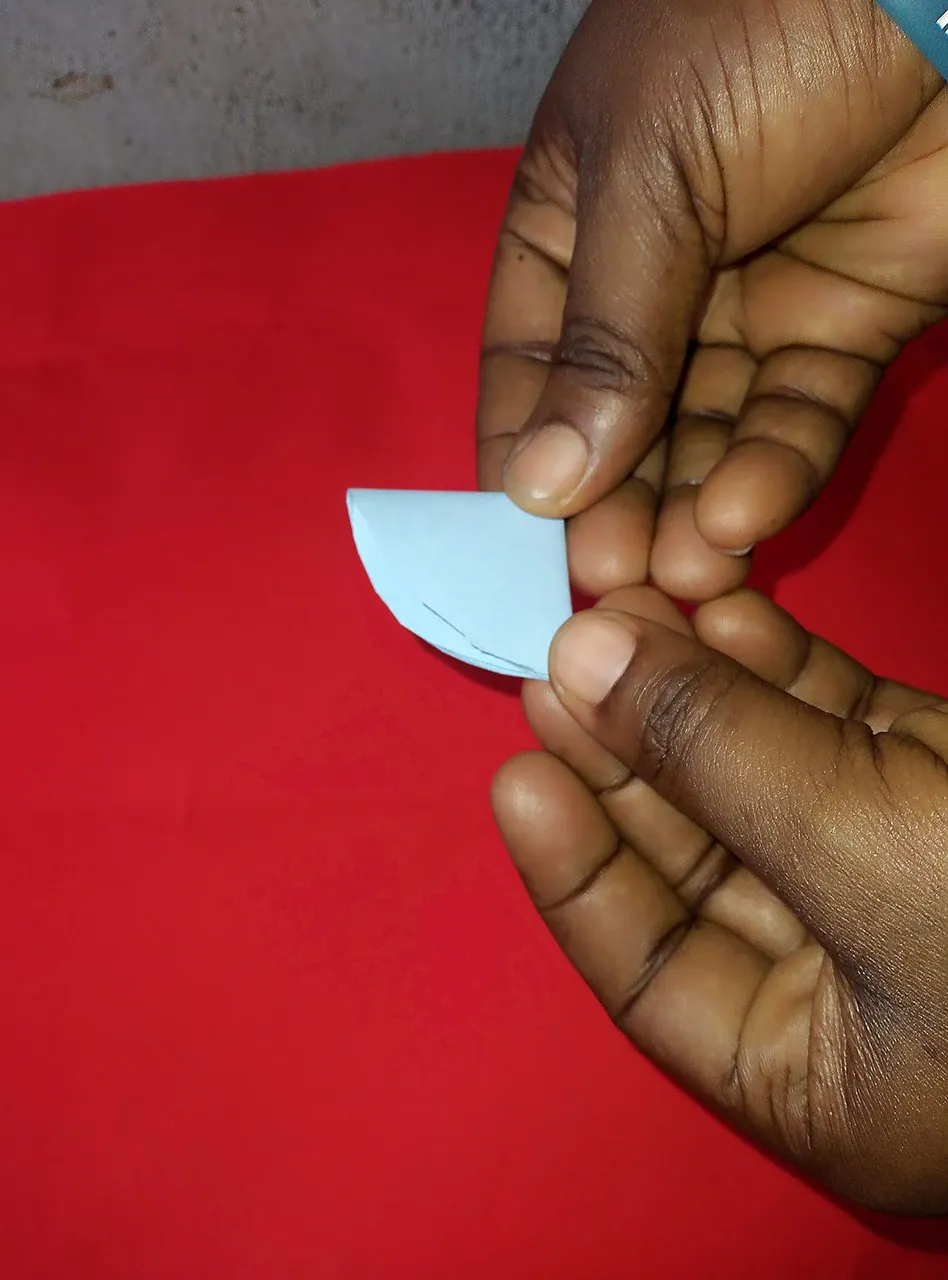
Place them in a roll and start folding them to equal half. The first half and second half. On all the cutout circled shape paper.
First Half
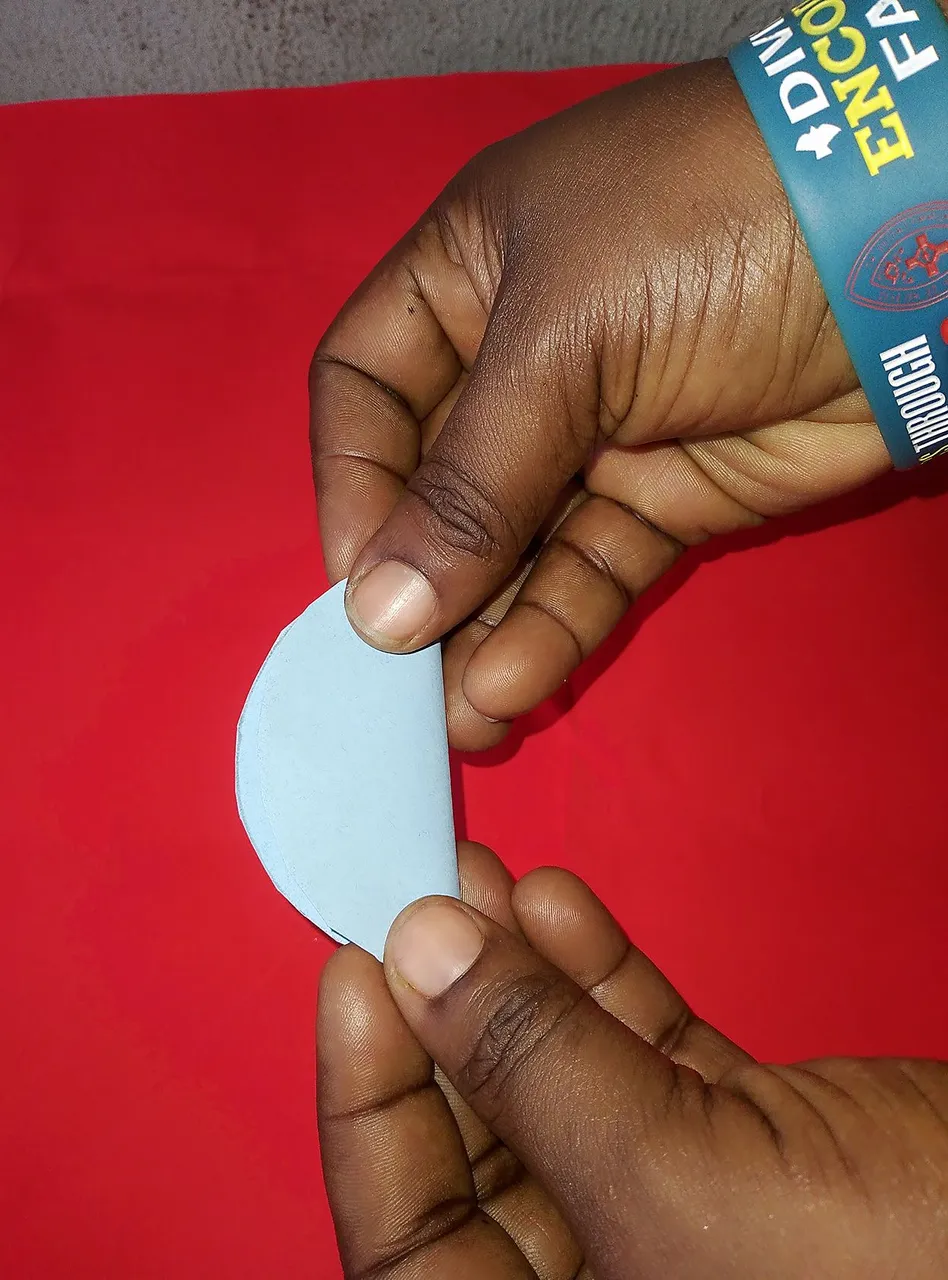
Second Half
When this is done you put a little gum on the side of all the folded paper.
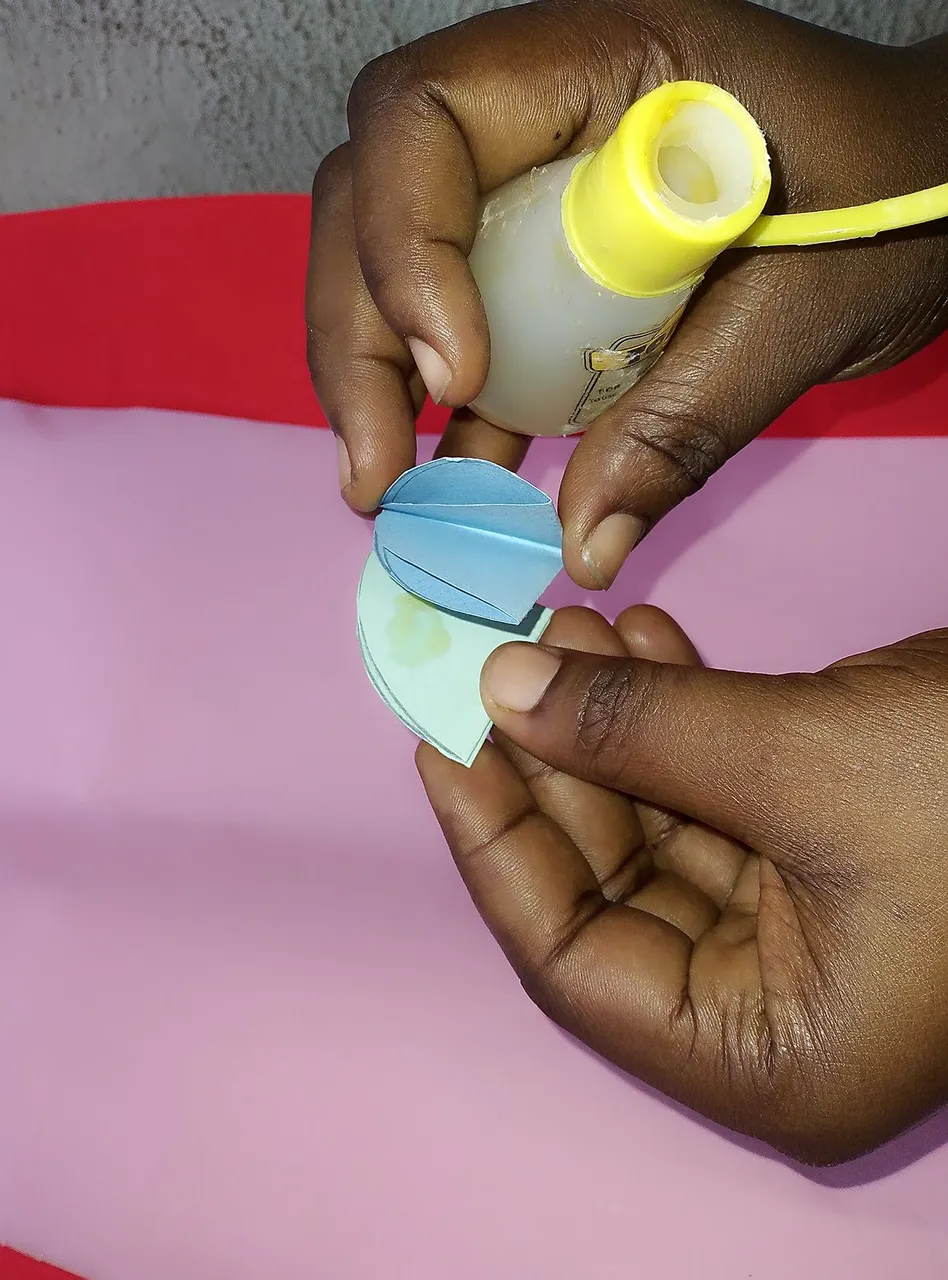
Place them together until you get your desired quantity for a perfect umbrella cover and allow the gum to dry.
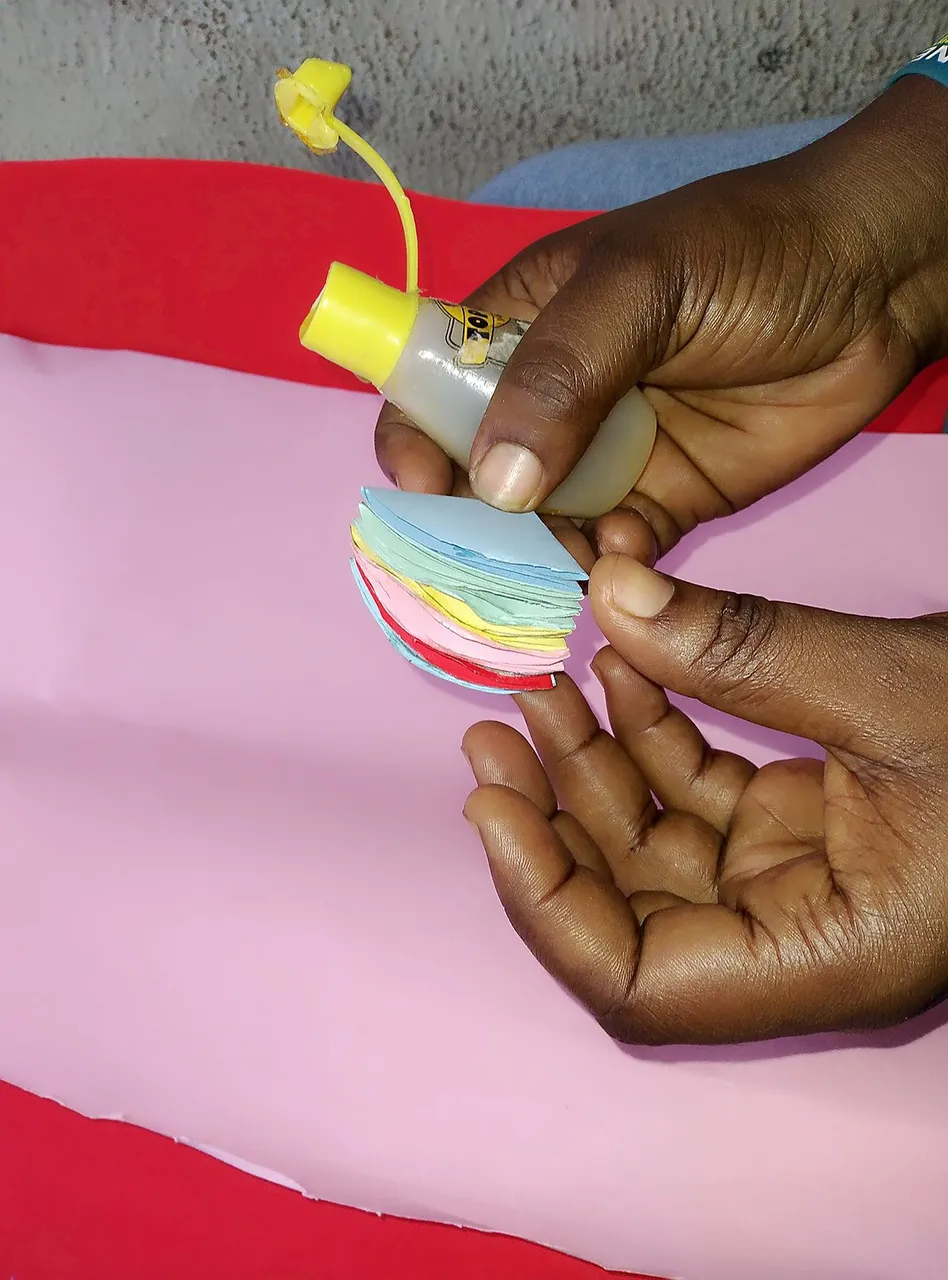
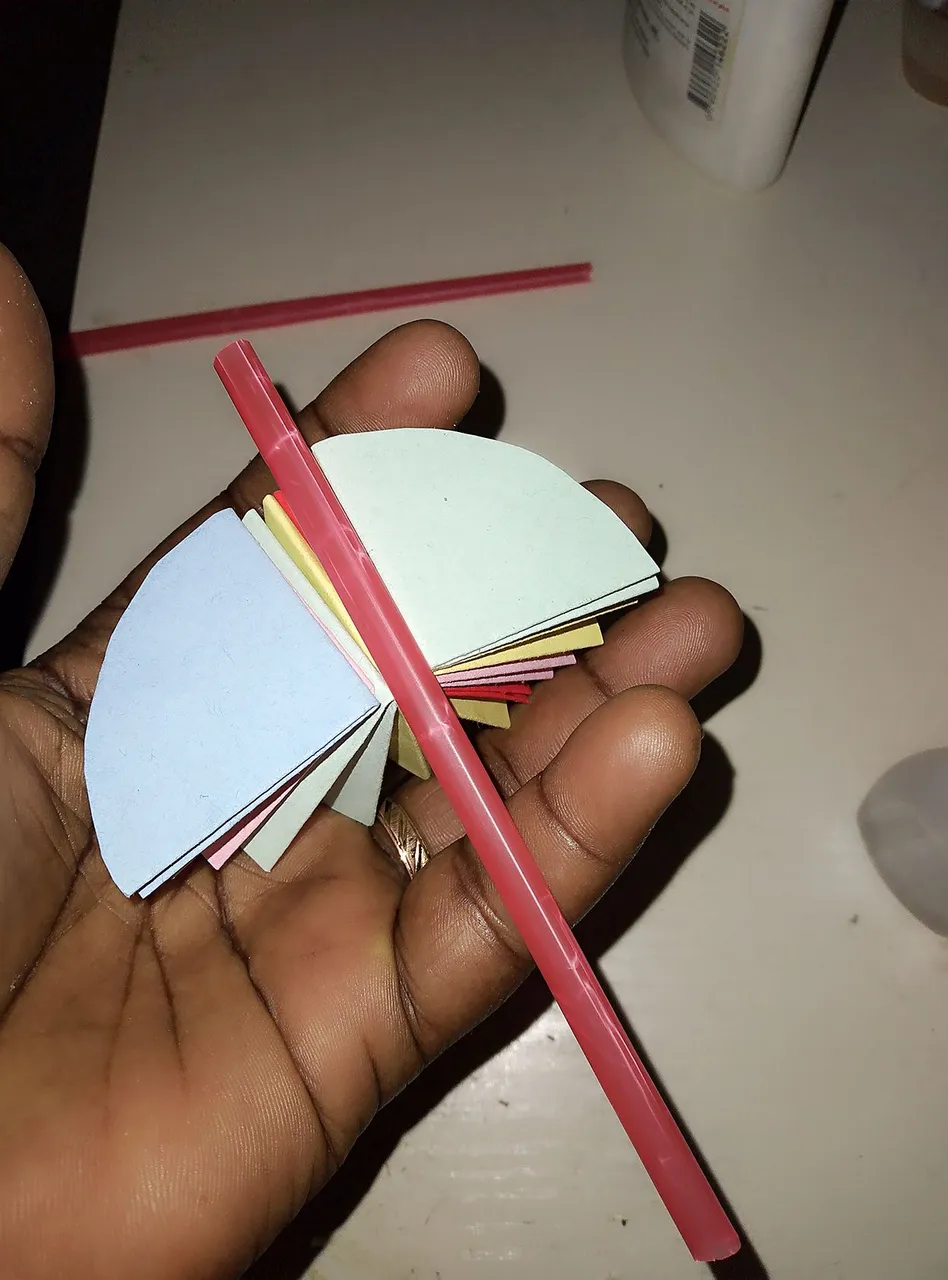
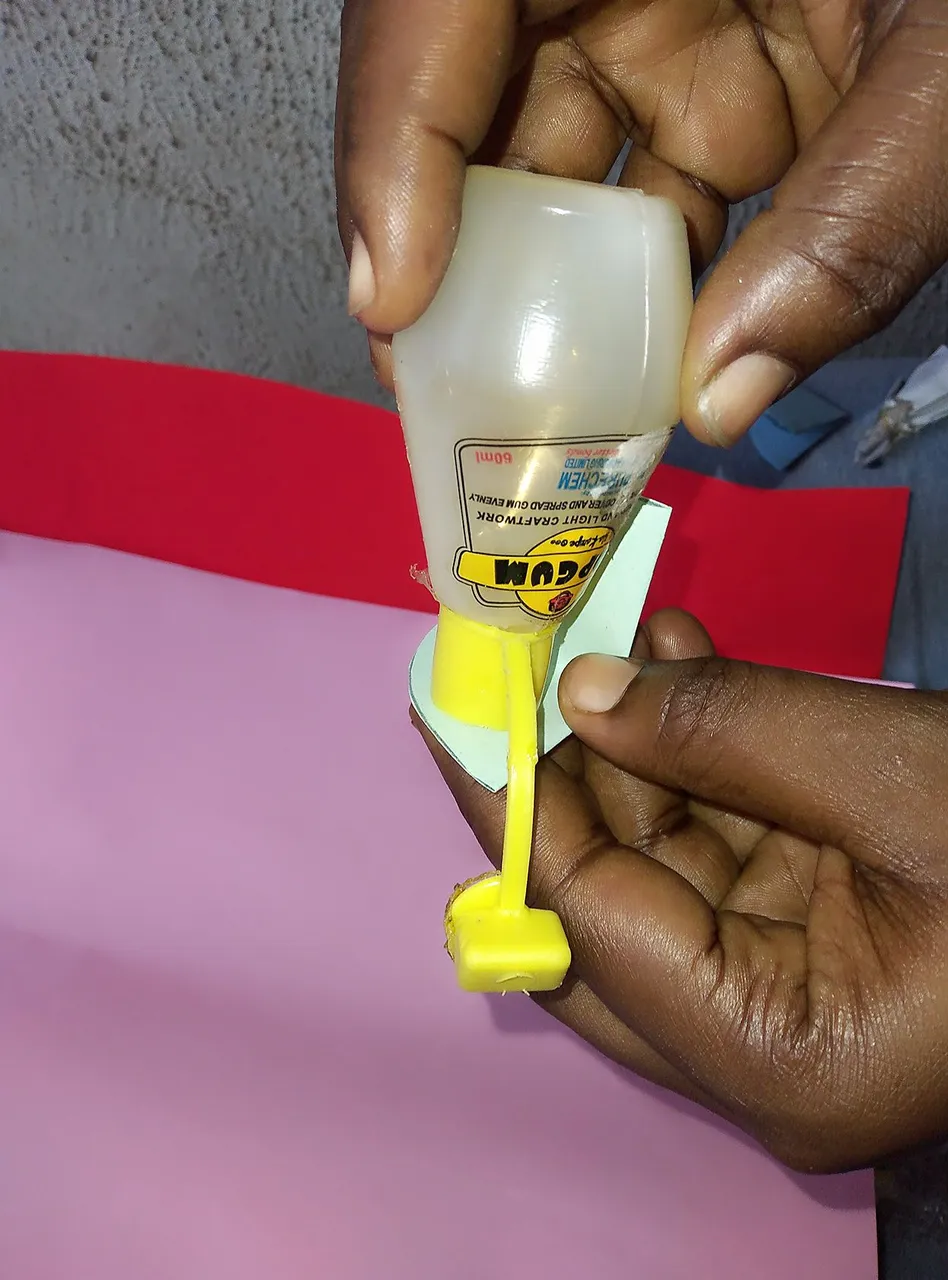
In the middle of all the paper you put together, we place our straw to serve as a handle for the umbrella. To give a hold of the paper and straw, we use an all-purpose glue.
After placing the straw on the paper, cut the straw to your desired size and allow it to dry.
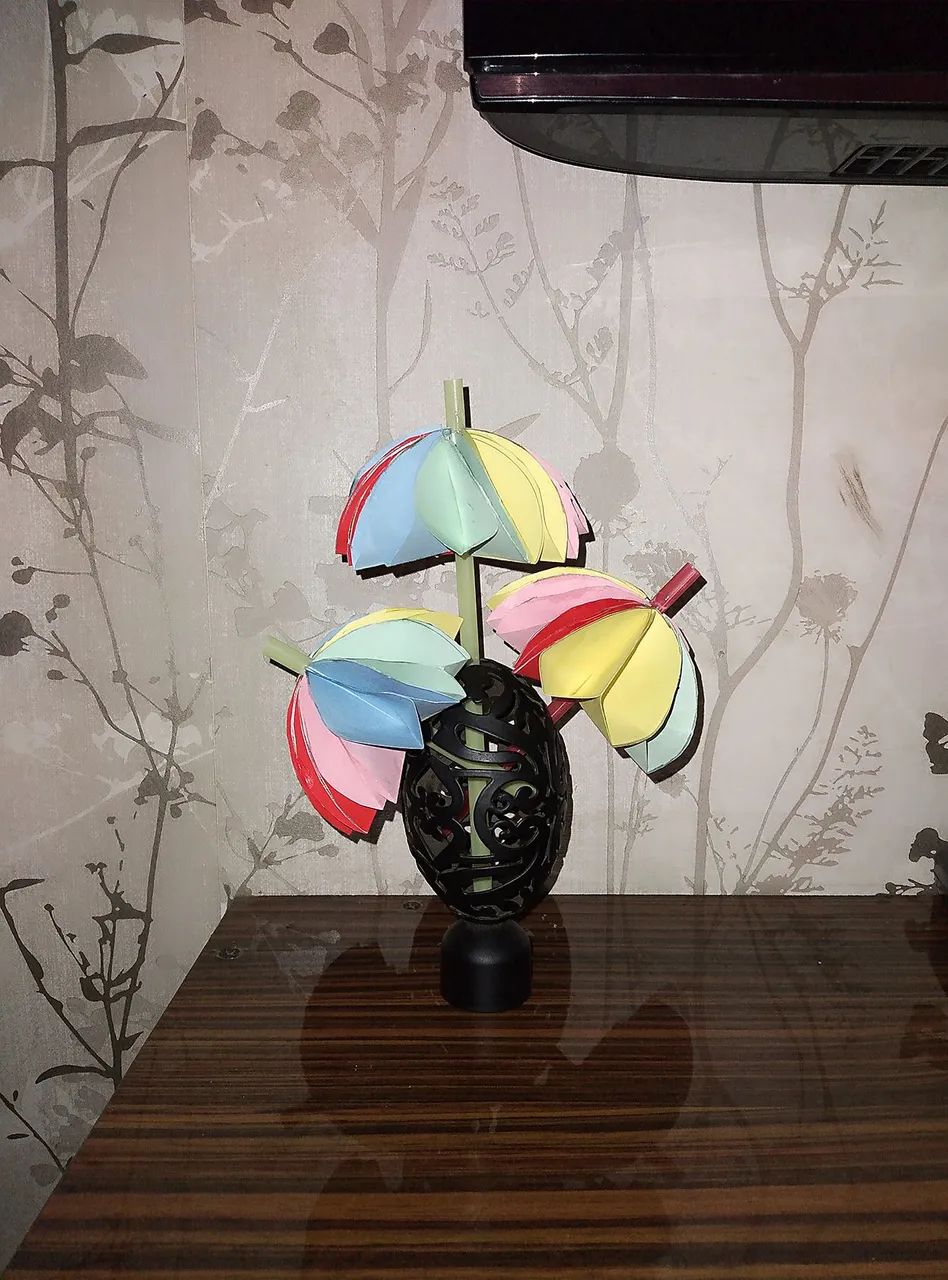
OUR UMBRELLA ☂️ IS READY TO DECORATE OUR HOMES.
I love this beauty, so beautiful and colourful. It could be packaged in a box and sent to a loved one as a gift, or you could place it on a shelf in your home, office, art gallery and in an open space where a lot of people come together.
As a class teacher, you could also try it out and show your kids how to create art with cardboard paper and straw.
After I paced it on my shelf and took a picture, my kids re-arranged it to create another look which I loved at first sight.
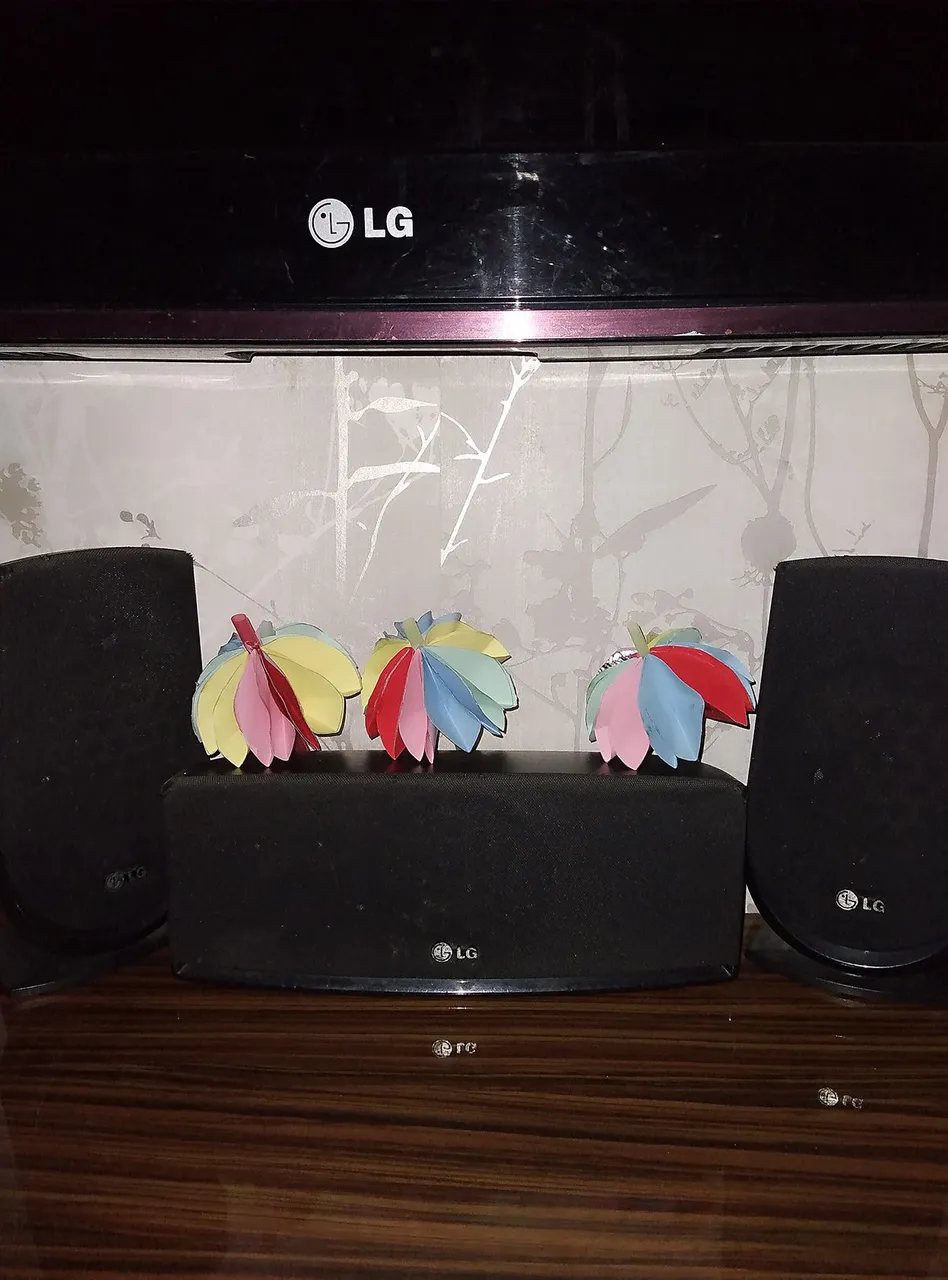
My son so loved the cardboard paper art of an umbrella that he promised to make some for his class teacher and his friends at school. Am so glad he is doing this art and am not worried because it's not expensive to make. With less than N1,000 (a thousand naira) you can purchase all the materials you need.
Thank you for reading I know you loved it as I did. More to come with cardboard.
This is in response to the #Hivelearners creative Sunday contest