
How I did it
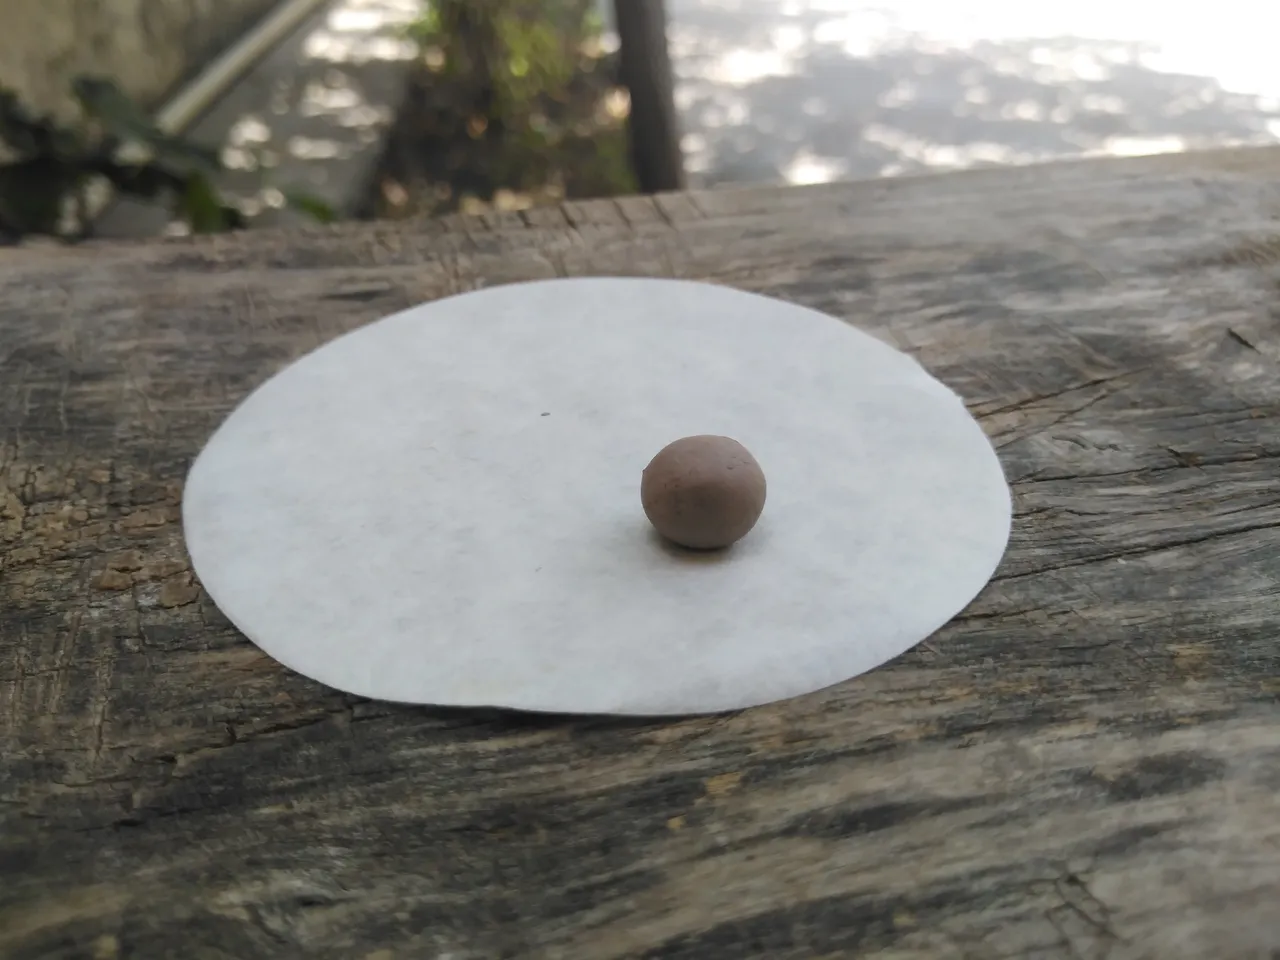
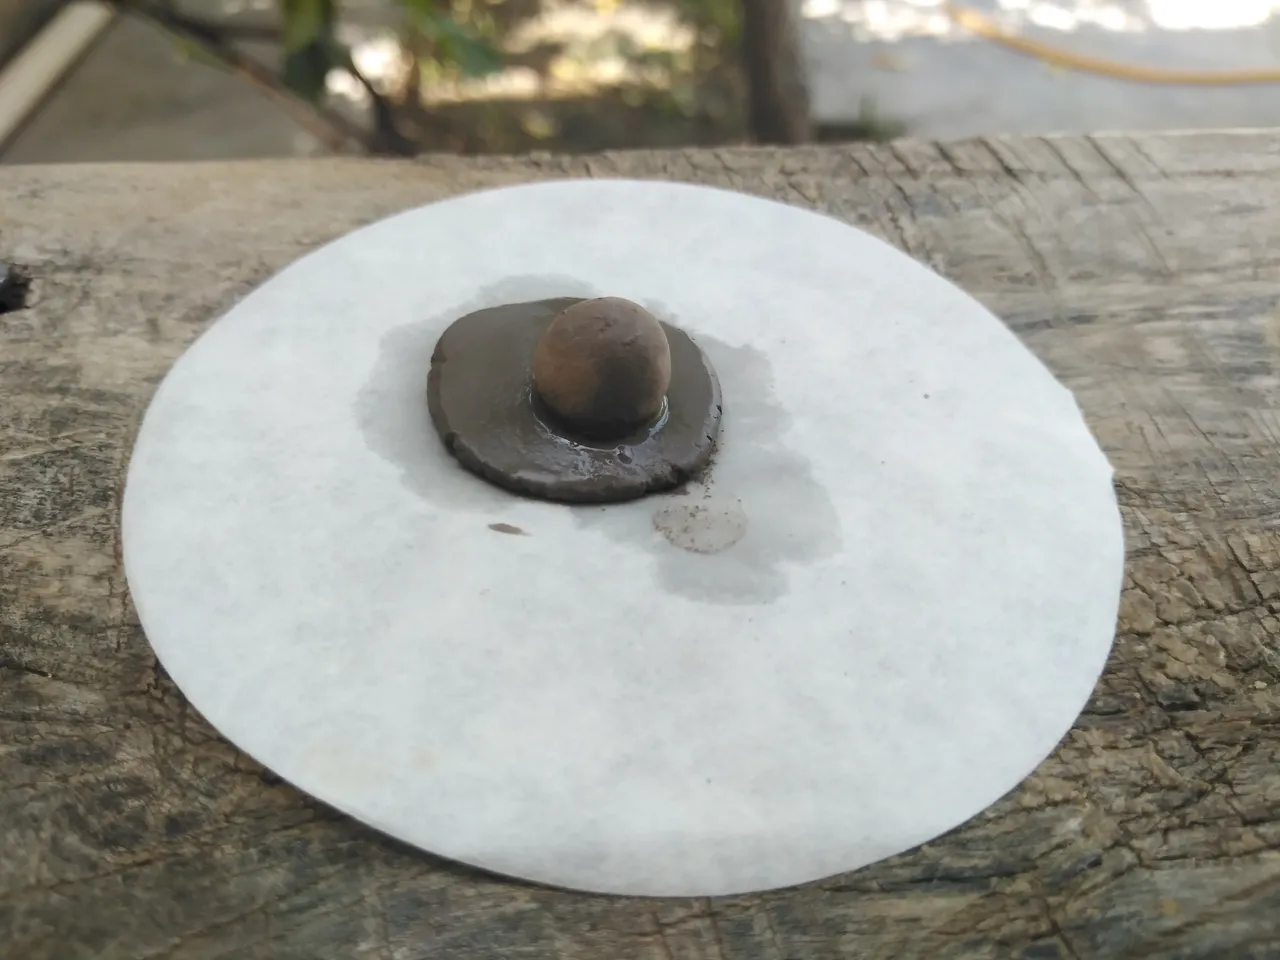
- In the first step with the help of your palm make a round ball of clay it will be the eye of the character after that make a tiny little smooth plate of clay and then place the ball on top of it.
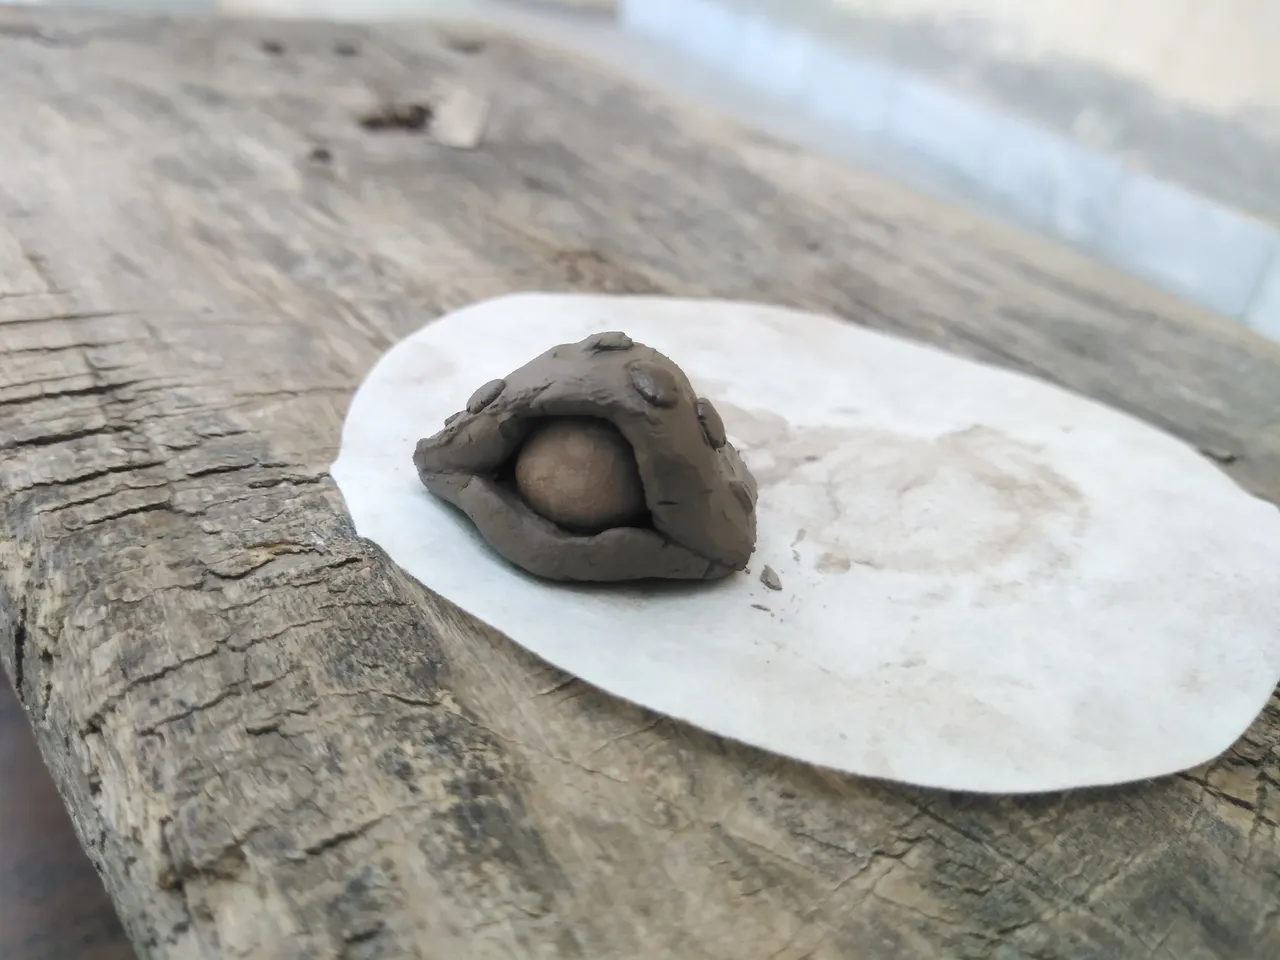
- After that make one more smooth clay plate and then cover the top of the eye ball as well now we have made the cap of the fungus in the next step we will make this support or lower bottom part of the fungi.
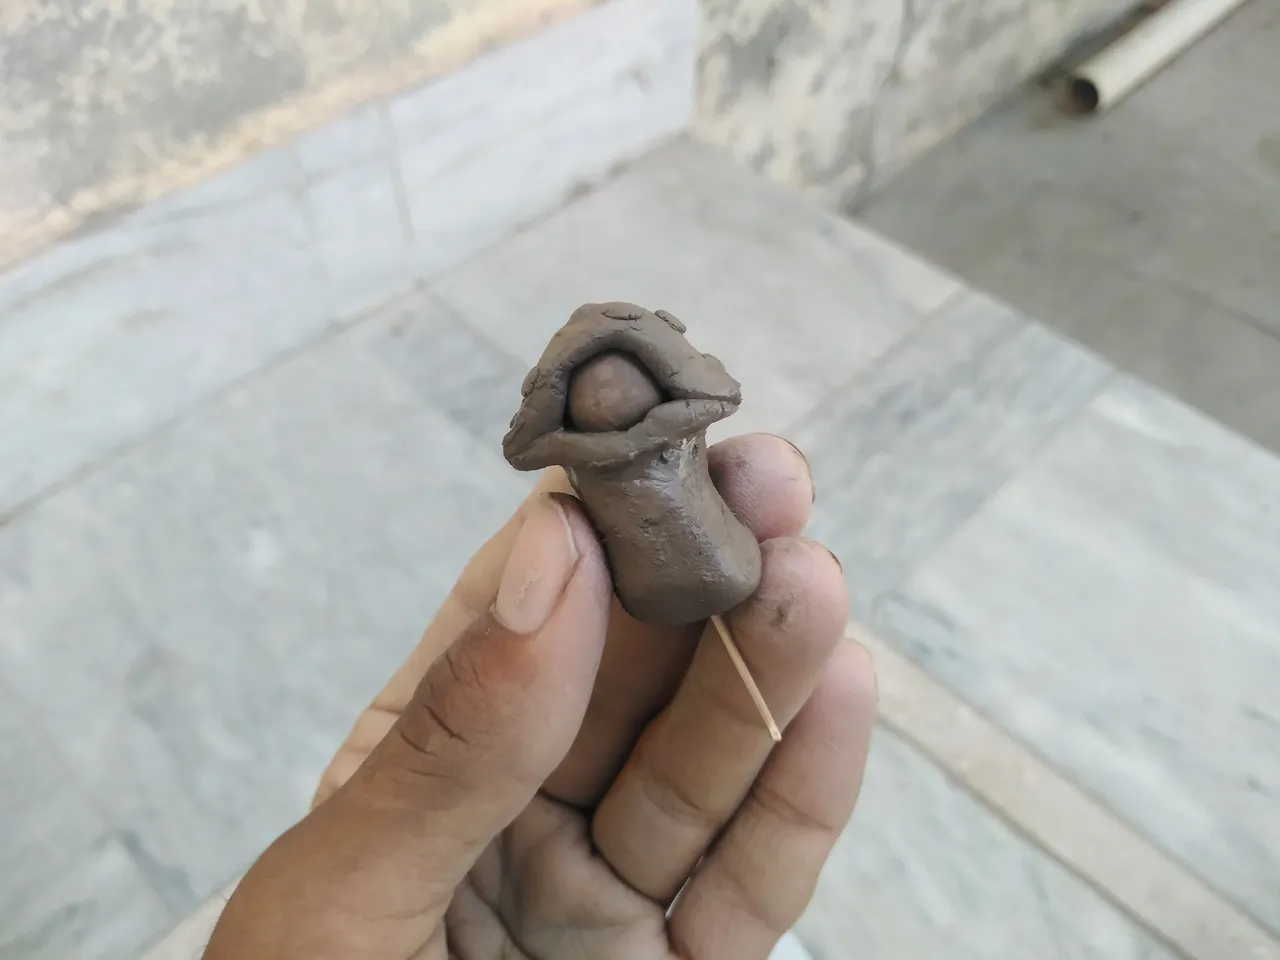
- In the next step make a round cylindrical shape of clay and attach it to the bottom of the eye with the help of water and clay as well as make tiny round balls of clay and stuck them on the cap of the fungus as well as for making a support I have stuck a thin stick to the bottom as well.

- Now come the main part of colouring which will blow life to this lifeless clay object first of all whitewash the whole figure before colouring it with other paints and detailing.
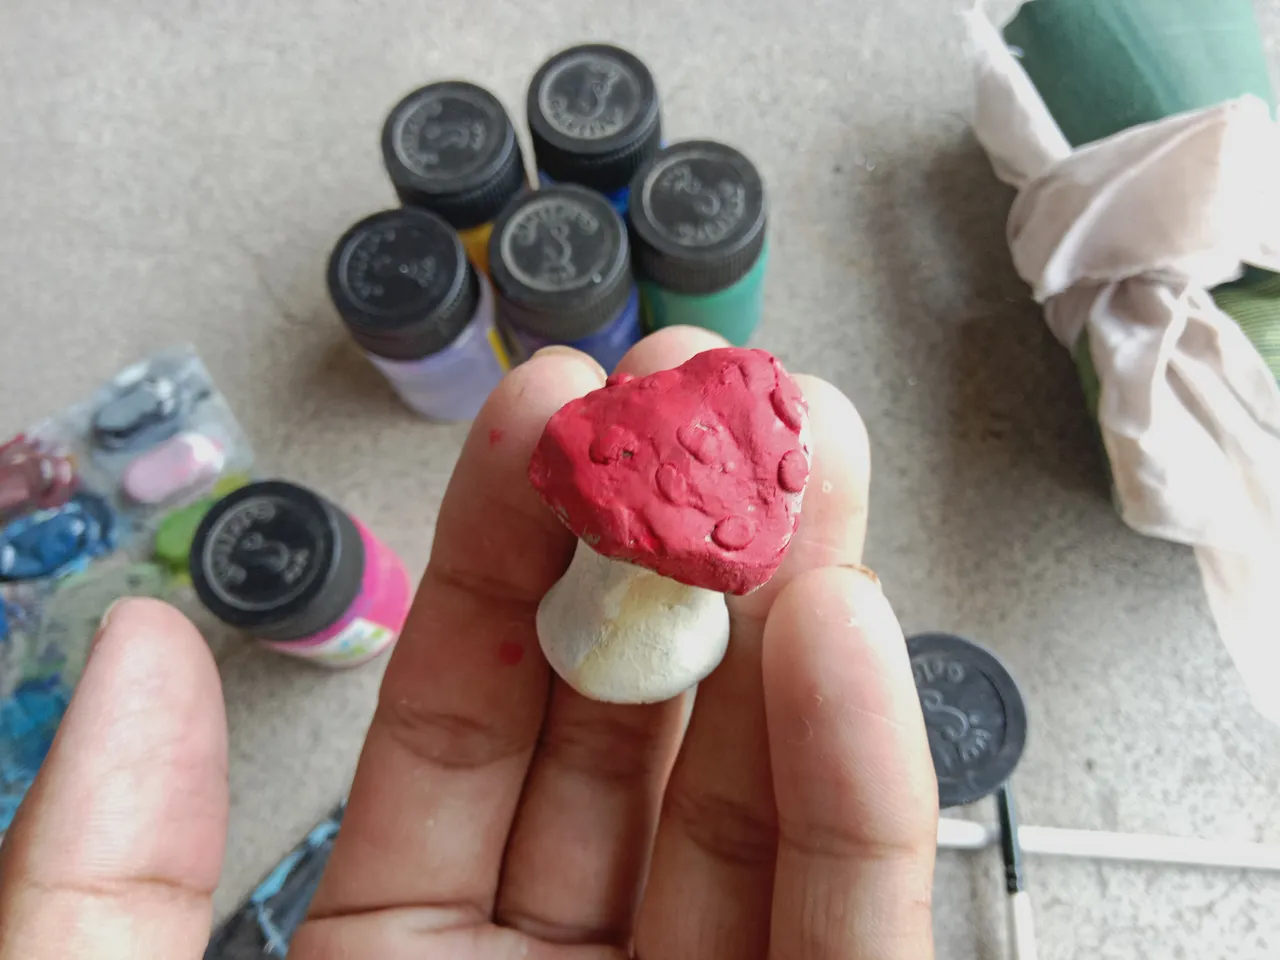
- For making the cap I used raw red colour as we can see in the original figure art I attached below.
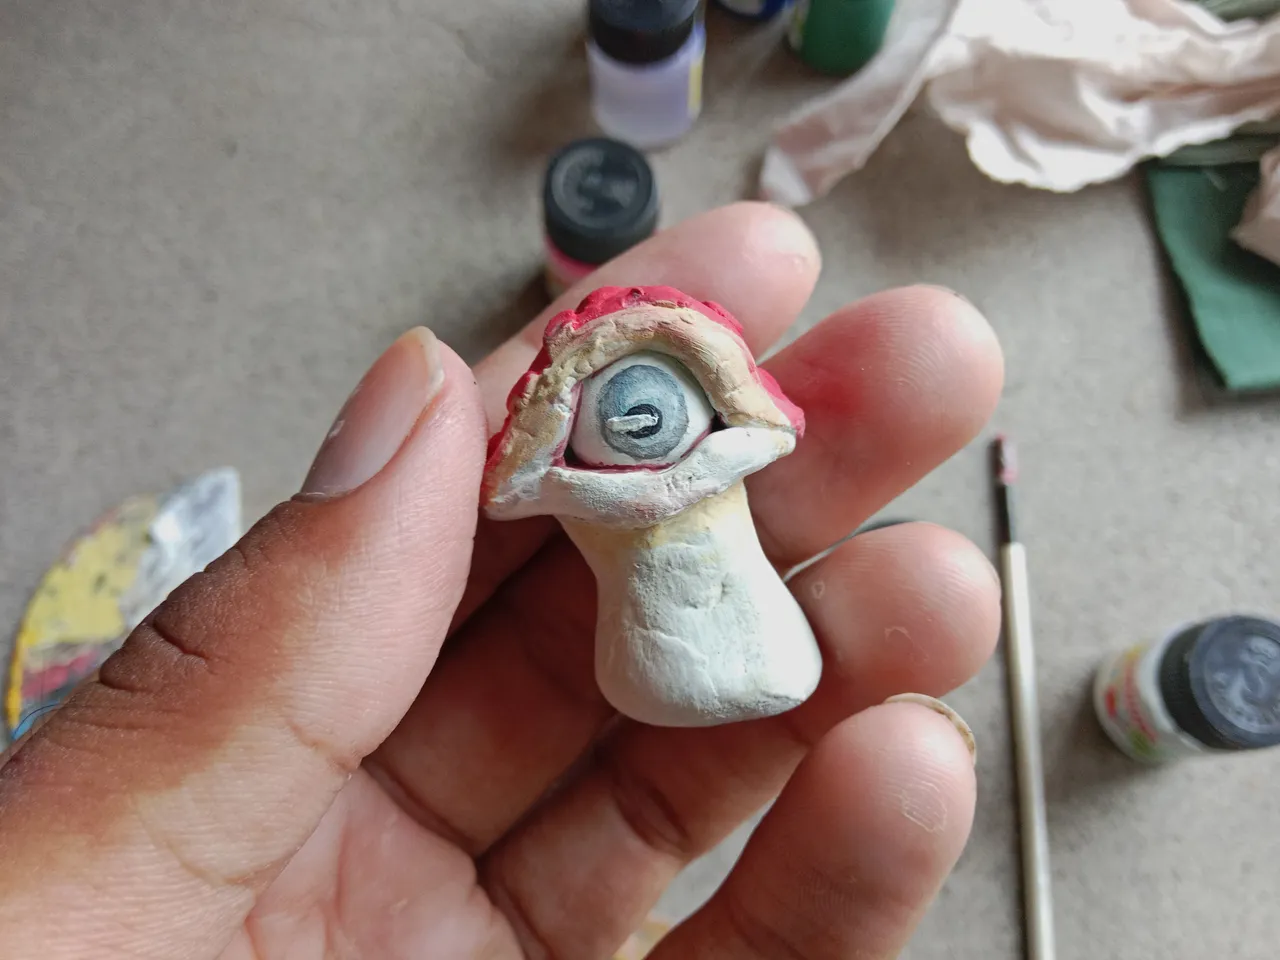
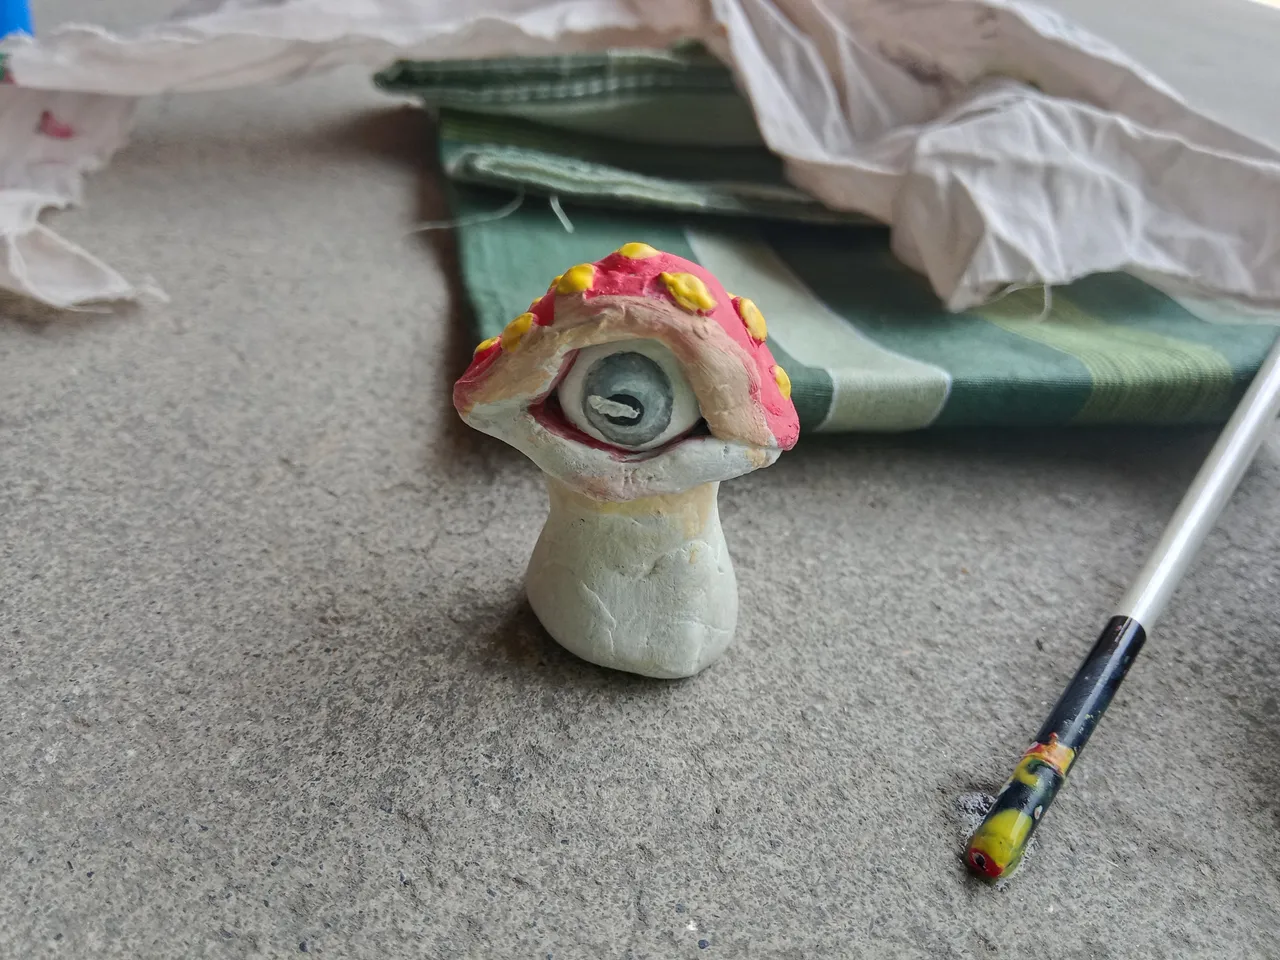
- I am making this pores on the cap of the fungus I used yellow colour as we can see in the original art as well as for making the eyelid more transparent and realistic I used transparent paint wax.

Final look
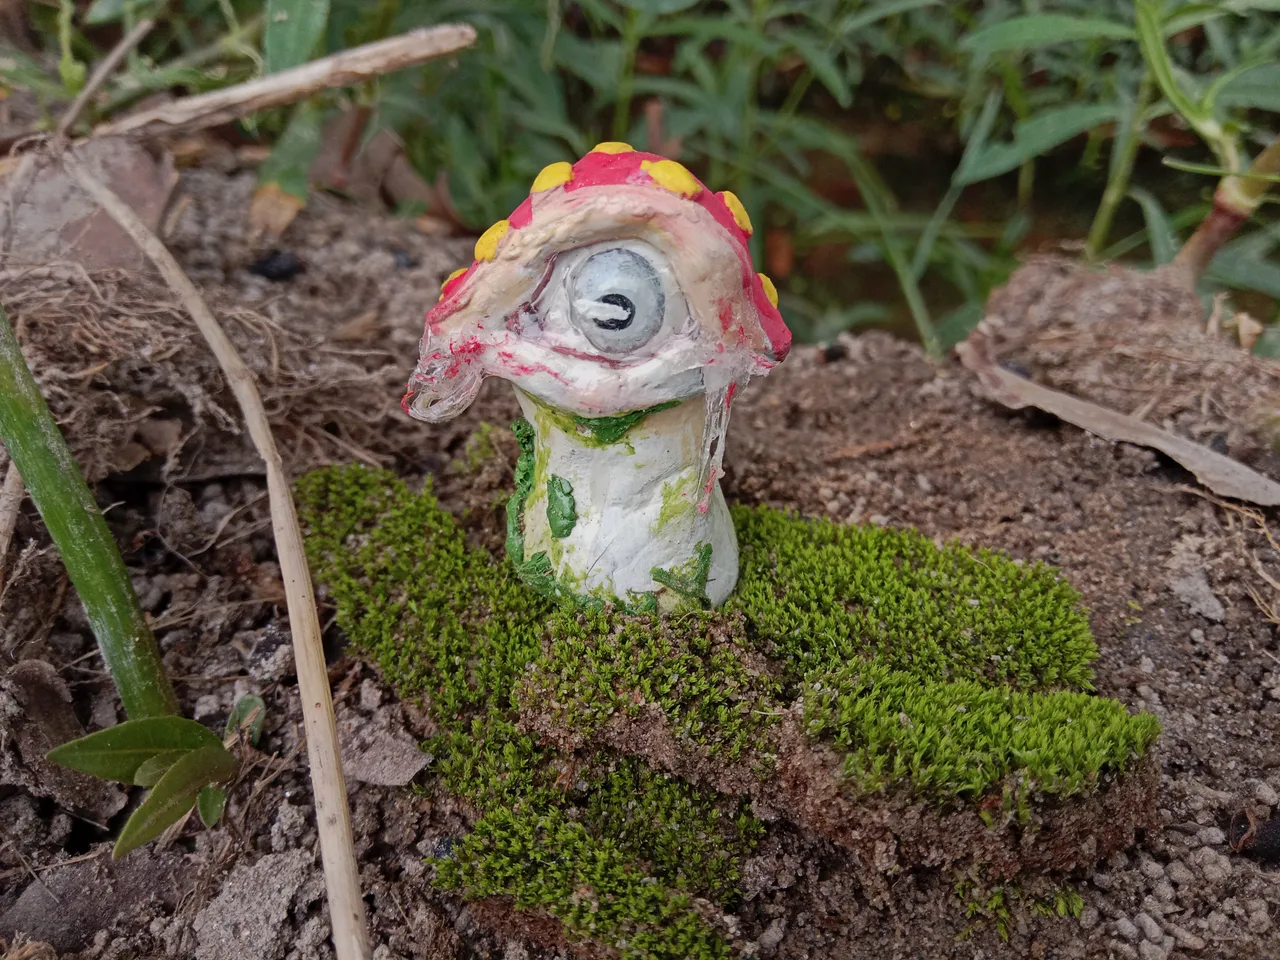
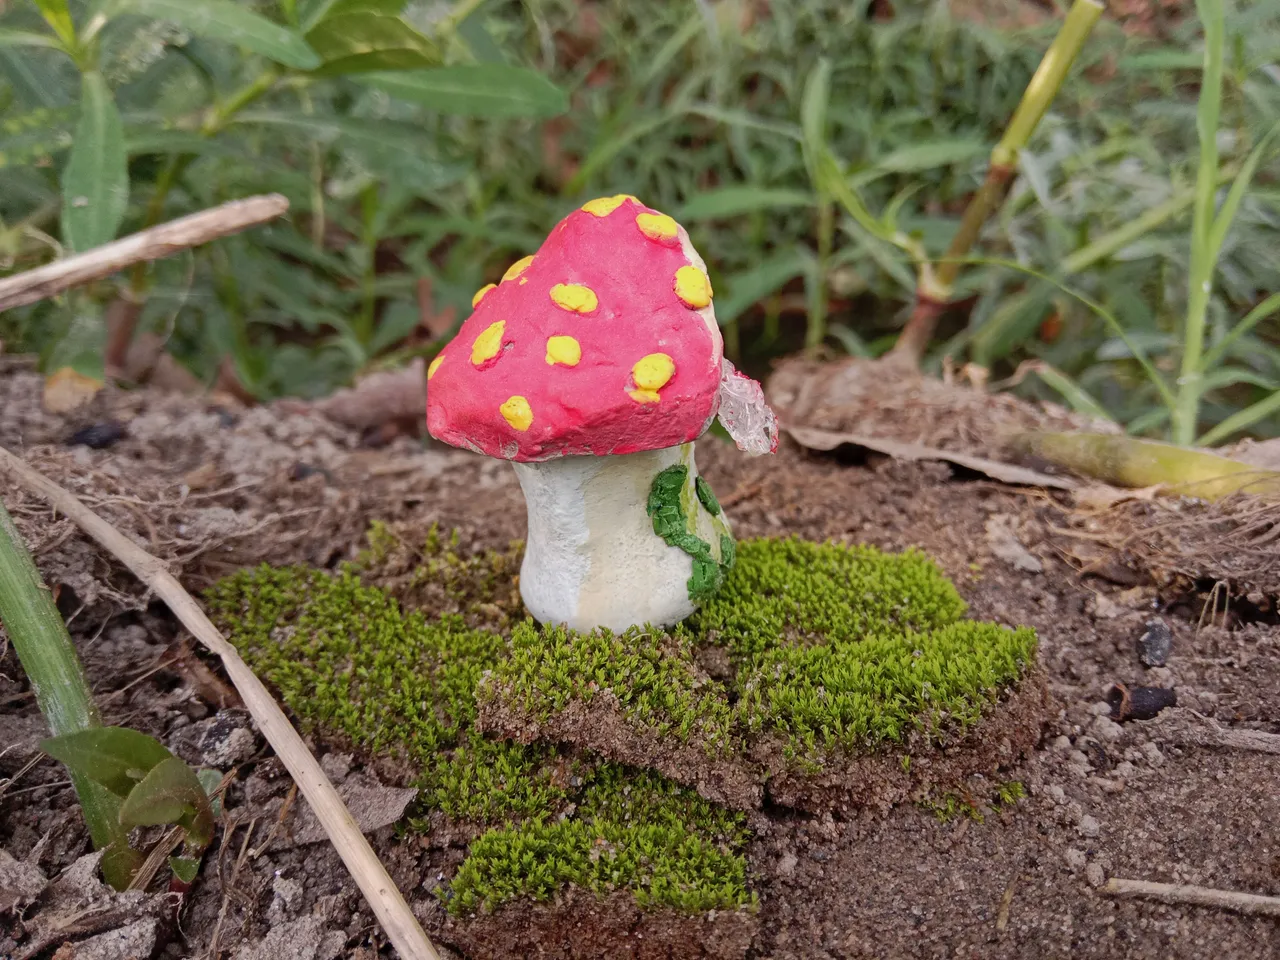
A side view of fungi seer
That's it guys this is all for this week I hope you guys would like it like always don't forget to give your suggestions below that what should I do or not have done see you next time. This isy entry for FungiFriday by @ewkaw.

Original Splinterlands art
