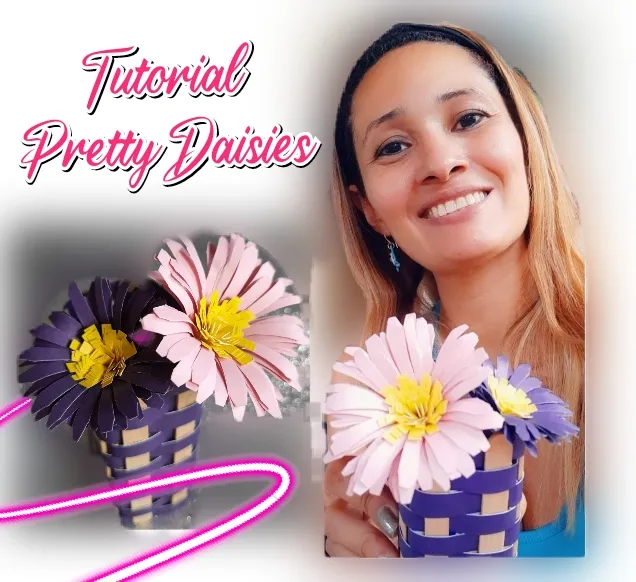


Bienvenidos a mi blog, hoy es un lindo martes, algo que me encantan son las flores y las margaritas son muy lindas, por ello hoy les he traído una manualidad de unas lindas margaritas, espero que les guste, manos a la obra.

Welcome to my blog, today is a nice Tuesday, something I love are flowers and daisies are very nice, so today I brought you a craft of some pretty daisies, I hope you like it, hands to work.
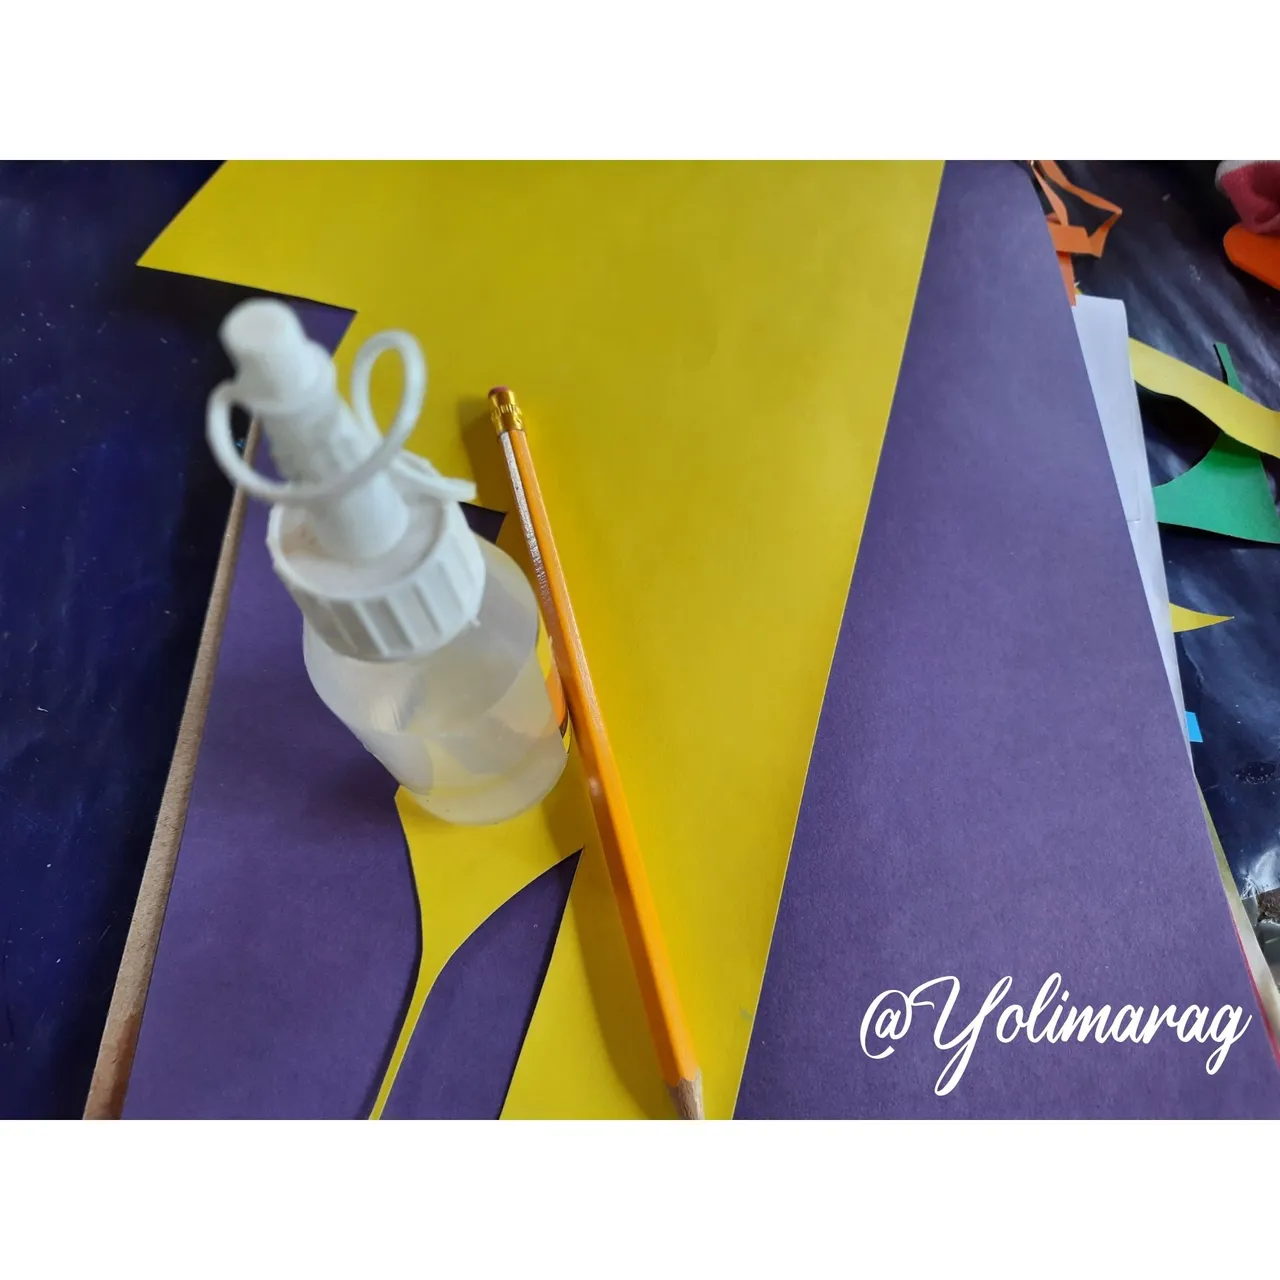
Materiales:
🌸 Cartulina Rosa, amarilla y morada
🌸 Pega escolar
🌸 Silicón
🌸 Tijera
Materials:
🌸 Pink, yellow and purple cardstock.
🌸 School glue
🌸 Silicone
🌸 Scissors
Paso a Paso / Step by Step
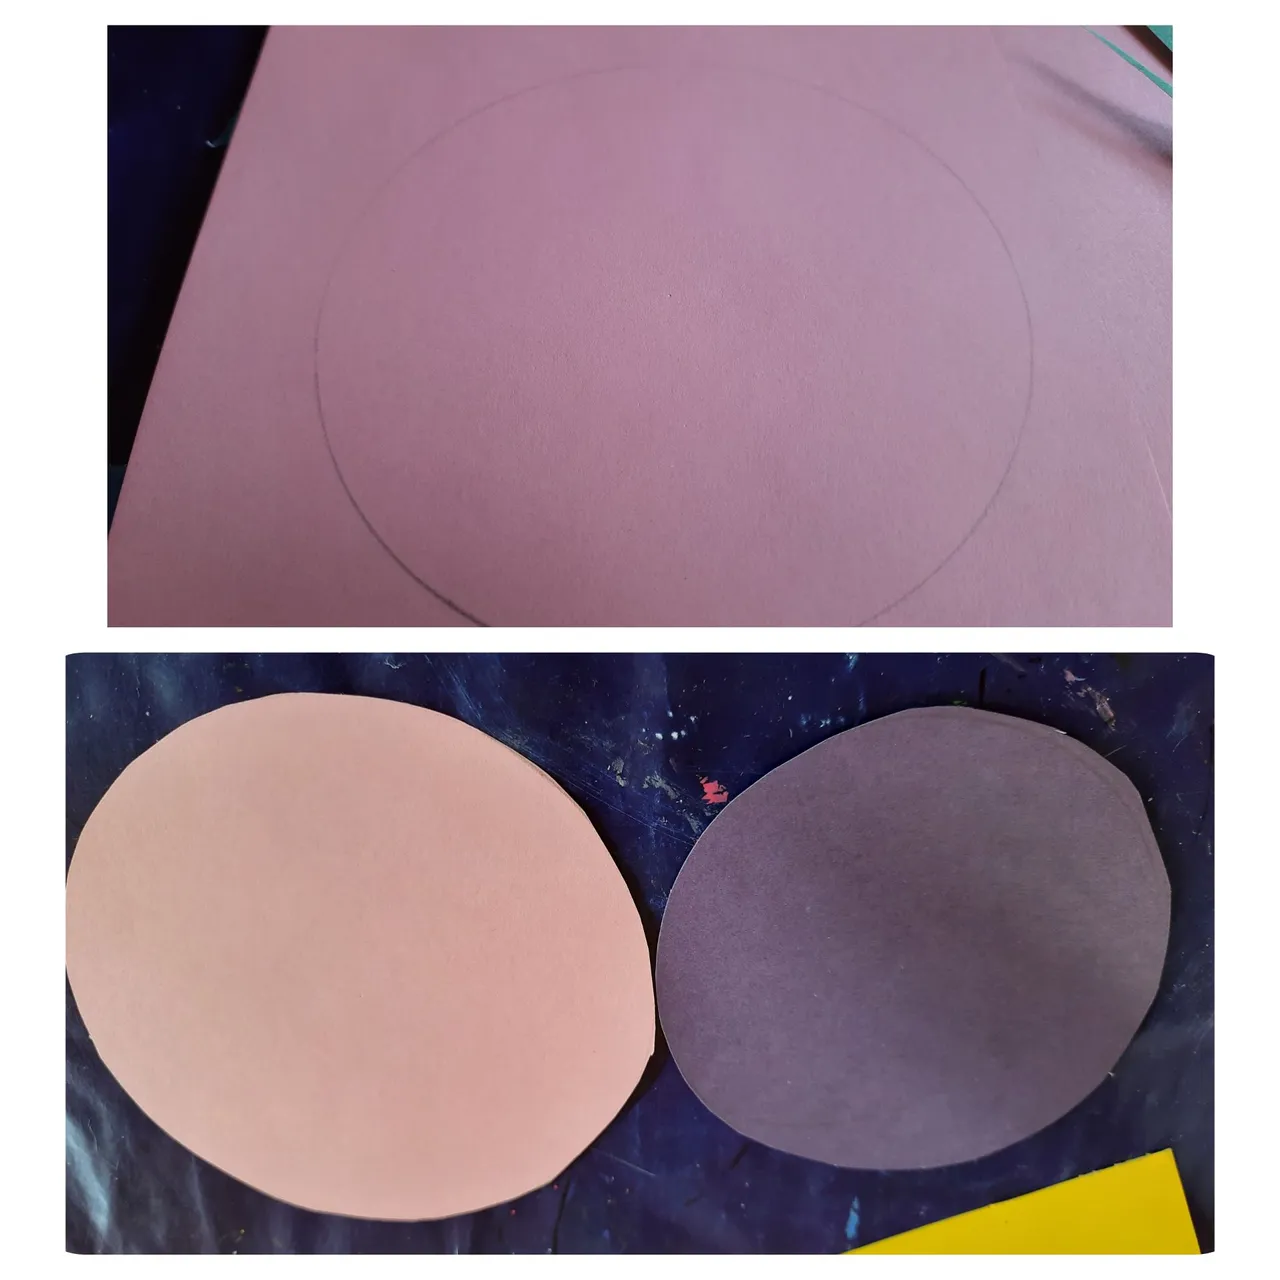
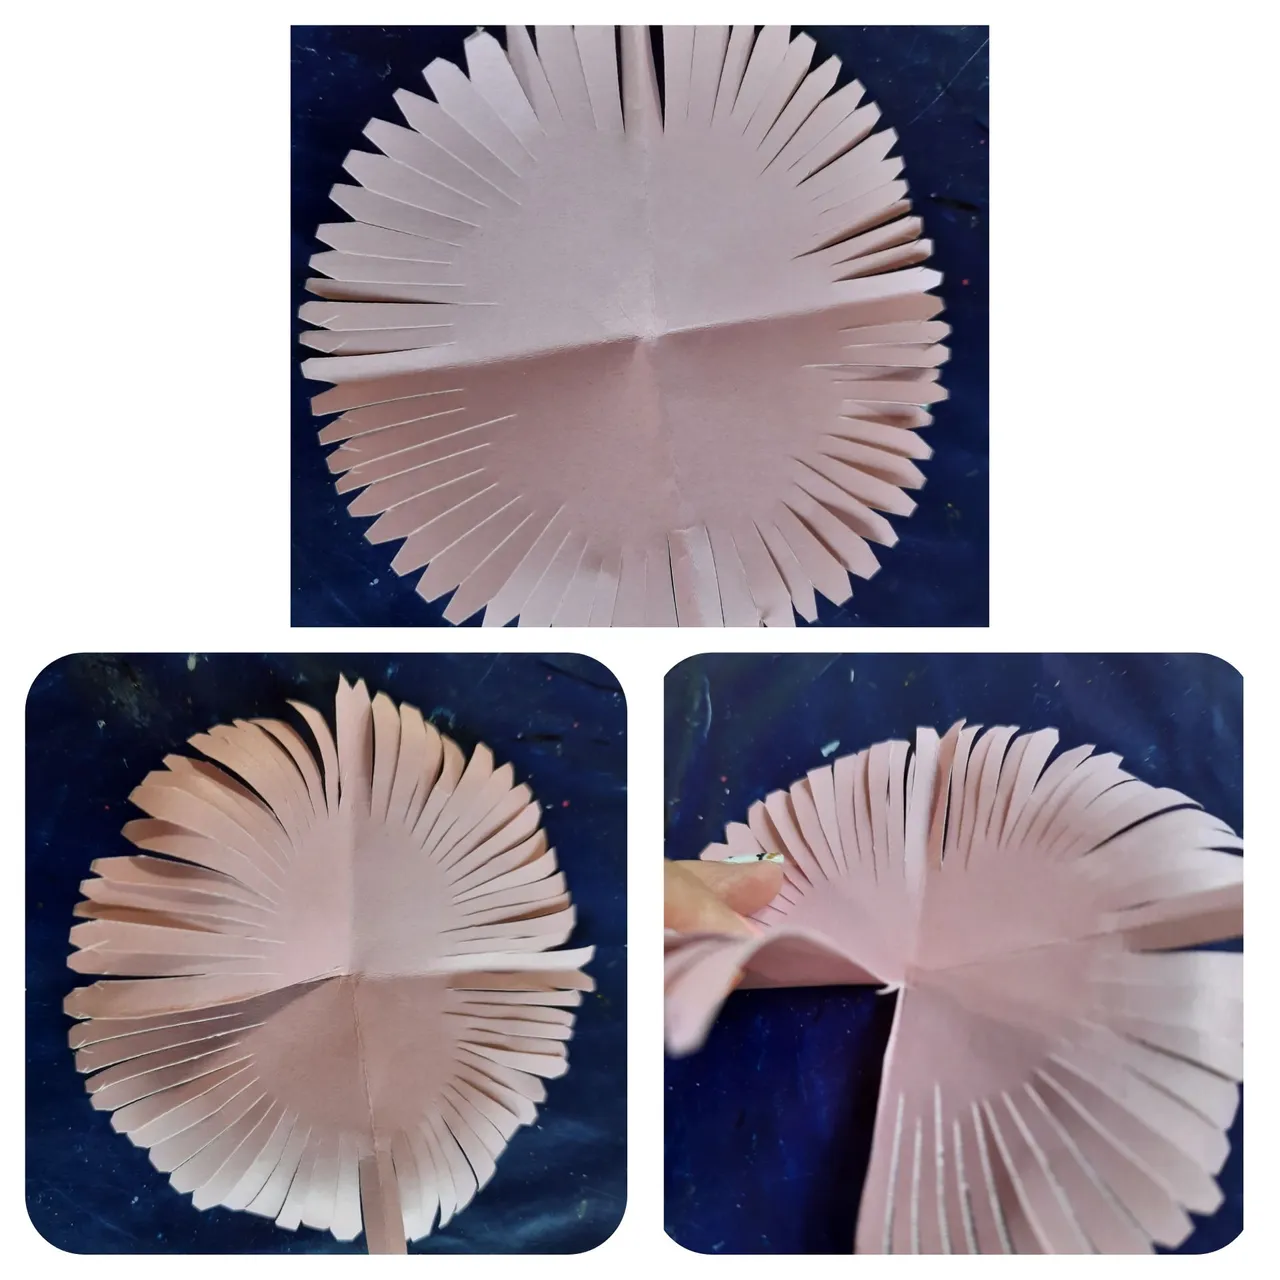
The first thing we will do is to make a circle, the size of the circle will depend on the size of the flower you want to make.
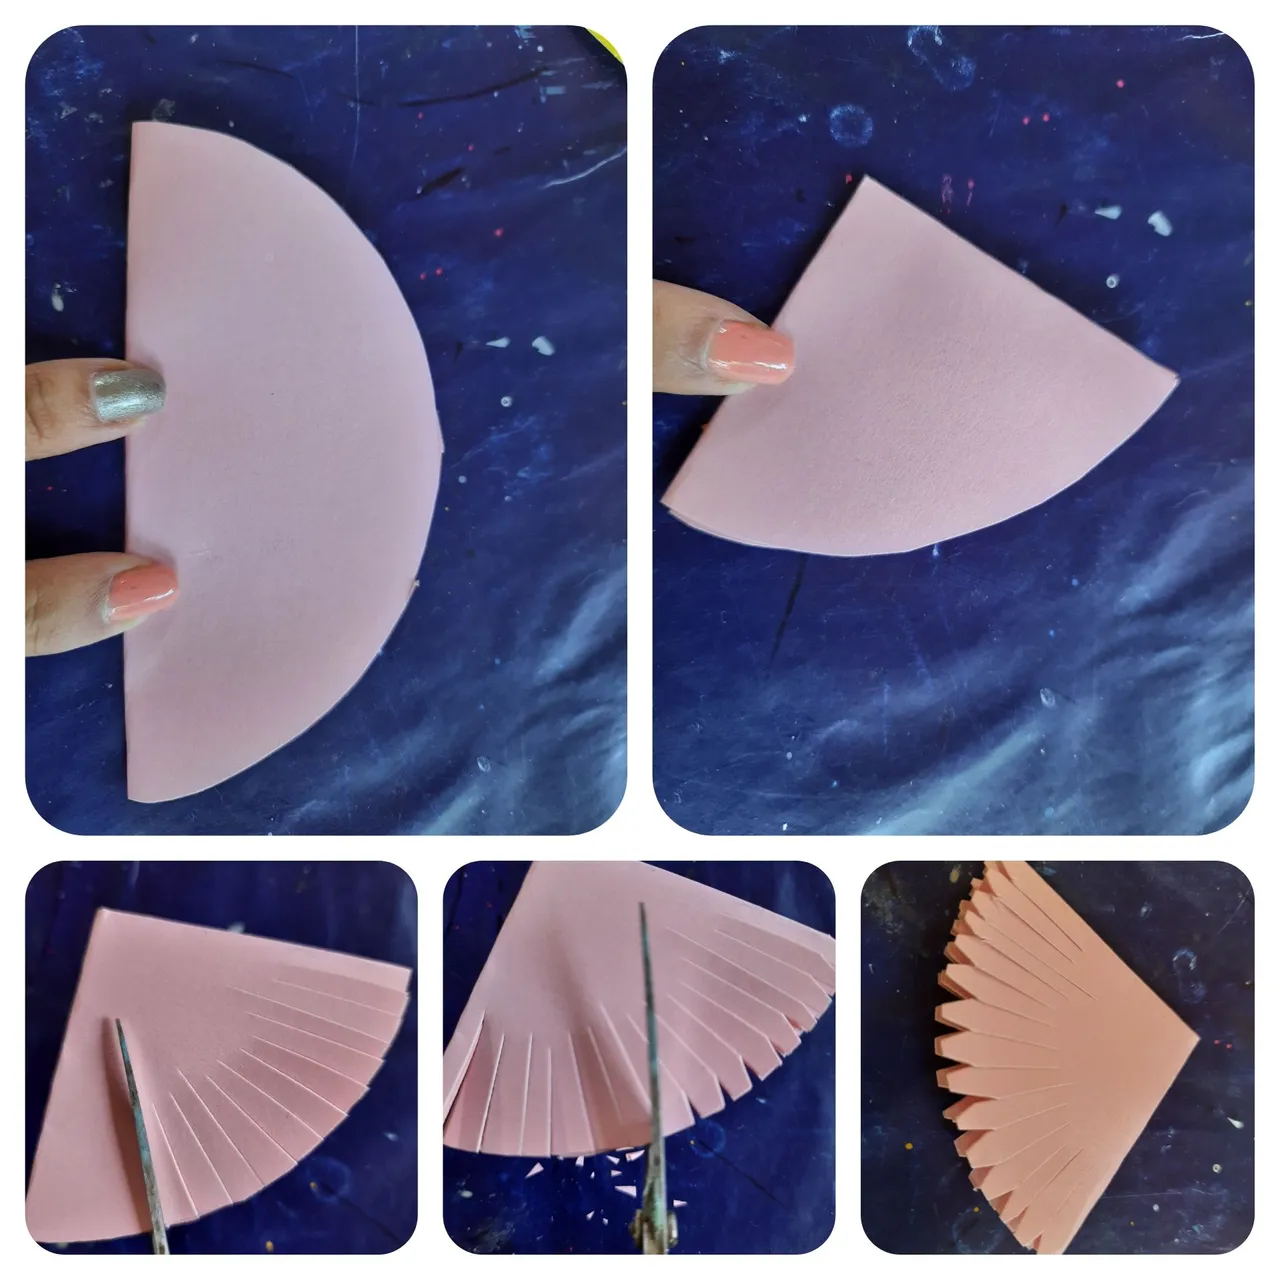
Doblaremos el círculo a la mitad y luego a la mitad nuevamente, cortaremos entonces de la circunferencia para abajo varias tiras sin llegar al final y luego vamos a cortar los picos en forma de v hacia arriba, tal como se muestra en la foto.
We will fold the circle in half and then in half again, we will then cut from the circumference down several strips without reaching the end and then we will cut the v-shaped peaks upwards, as shown in the photo.
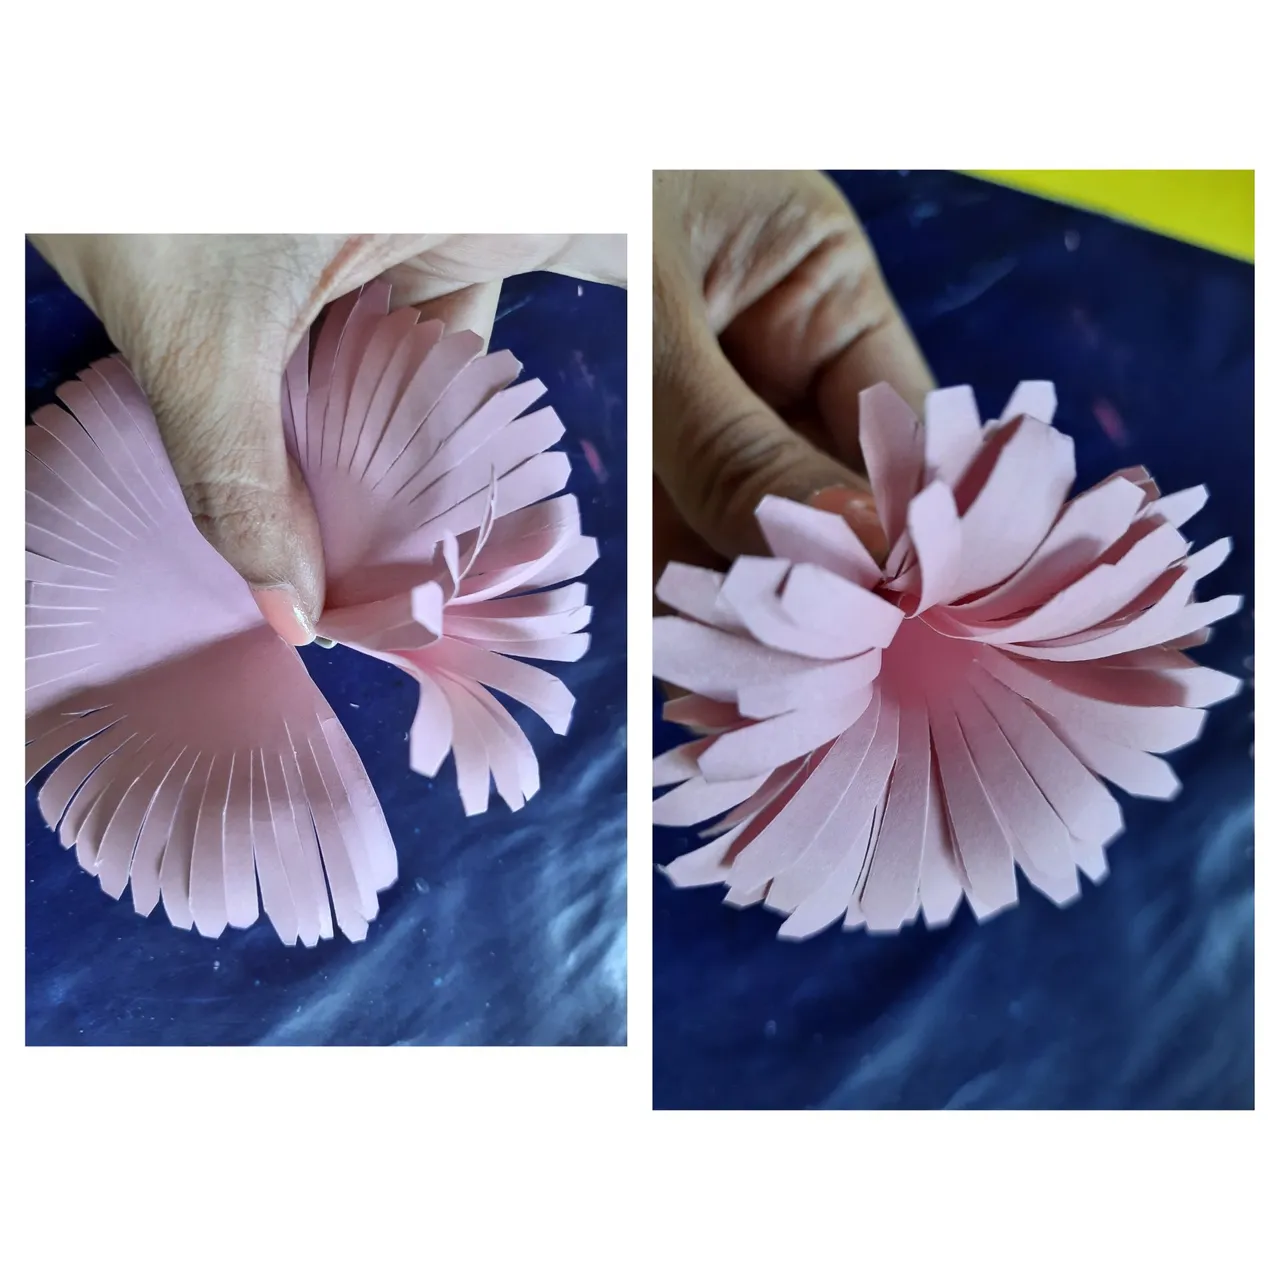
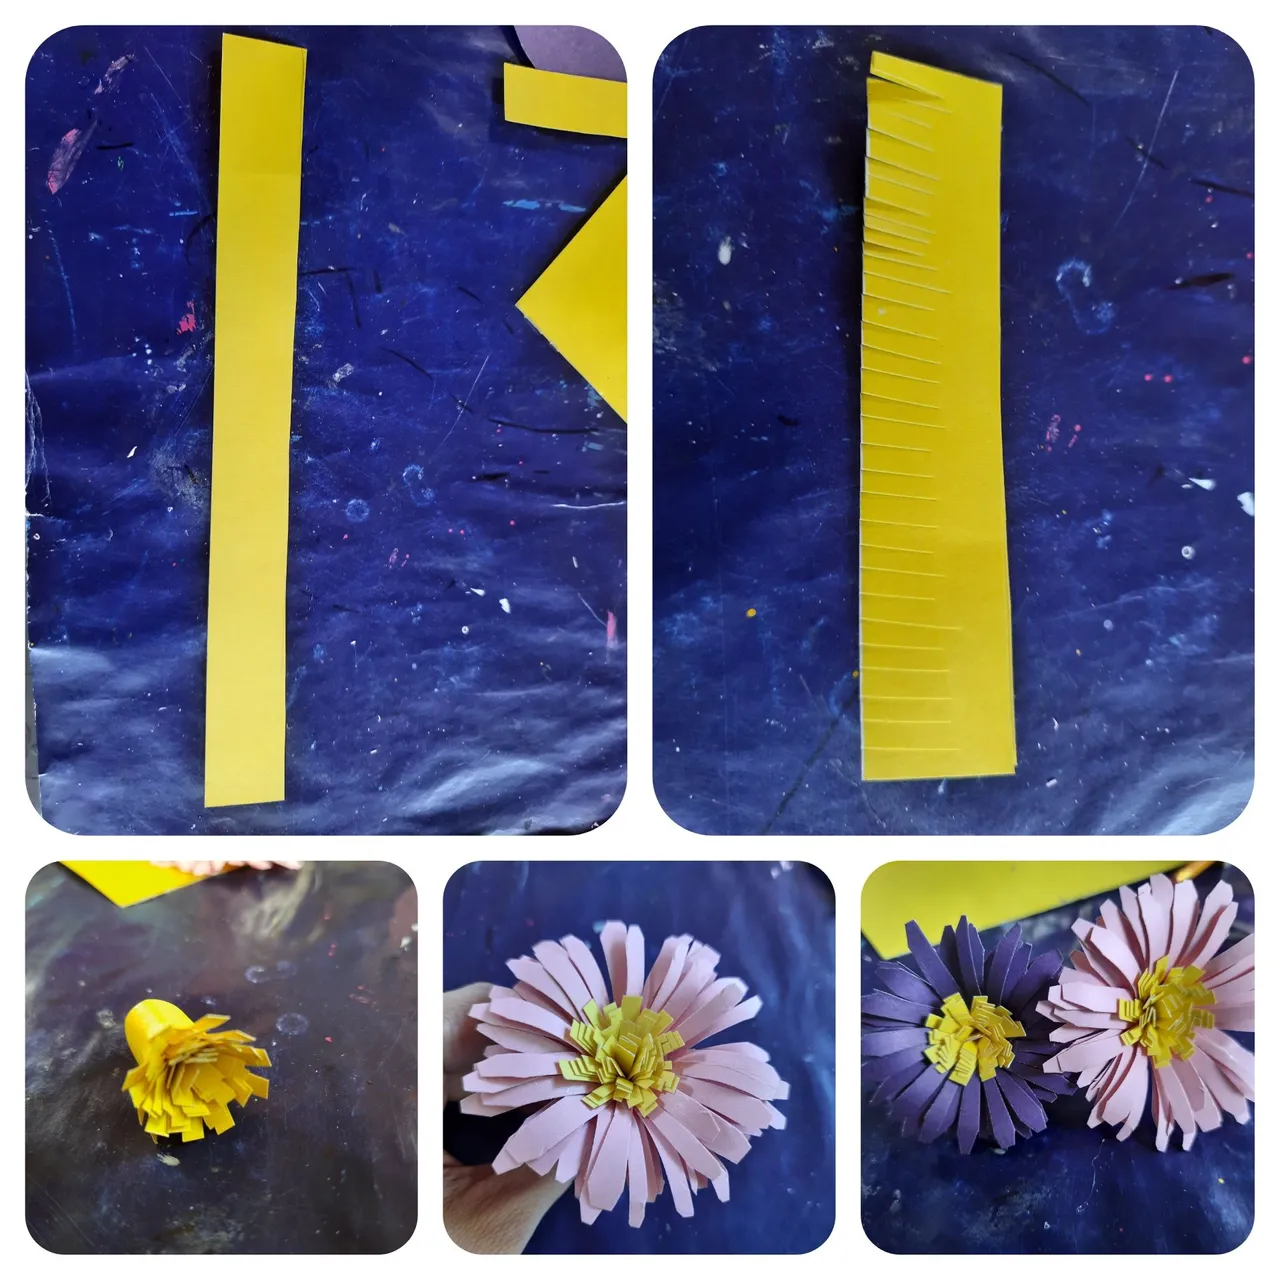
Enrollamos nuestra flor y pegamos al final.
We roll up our flower and glue at the end.
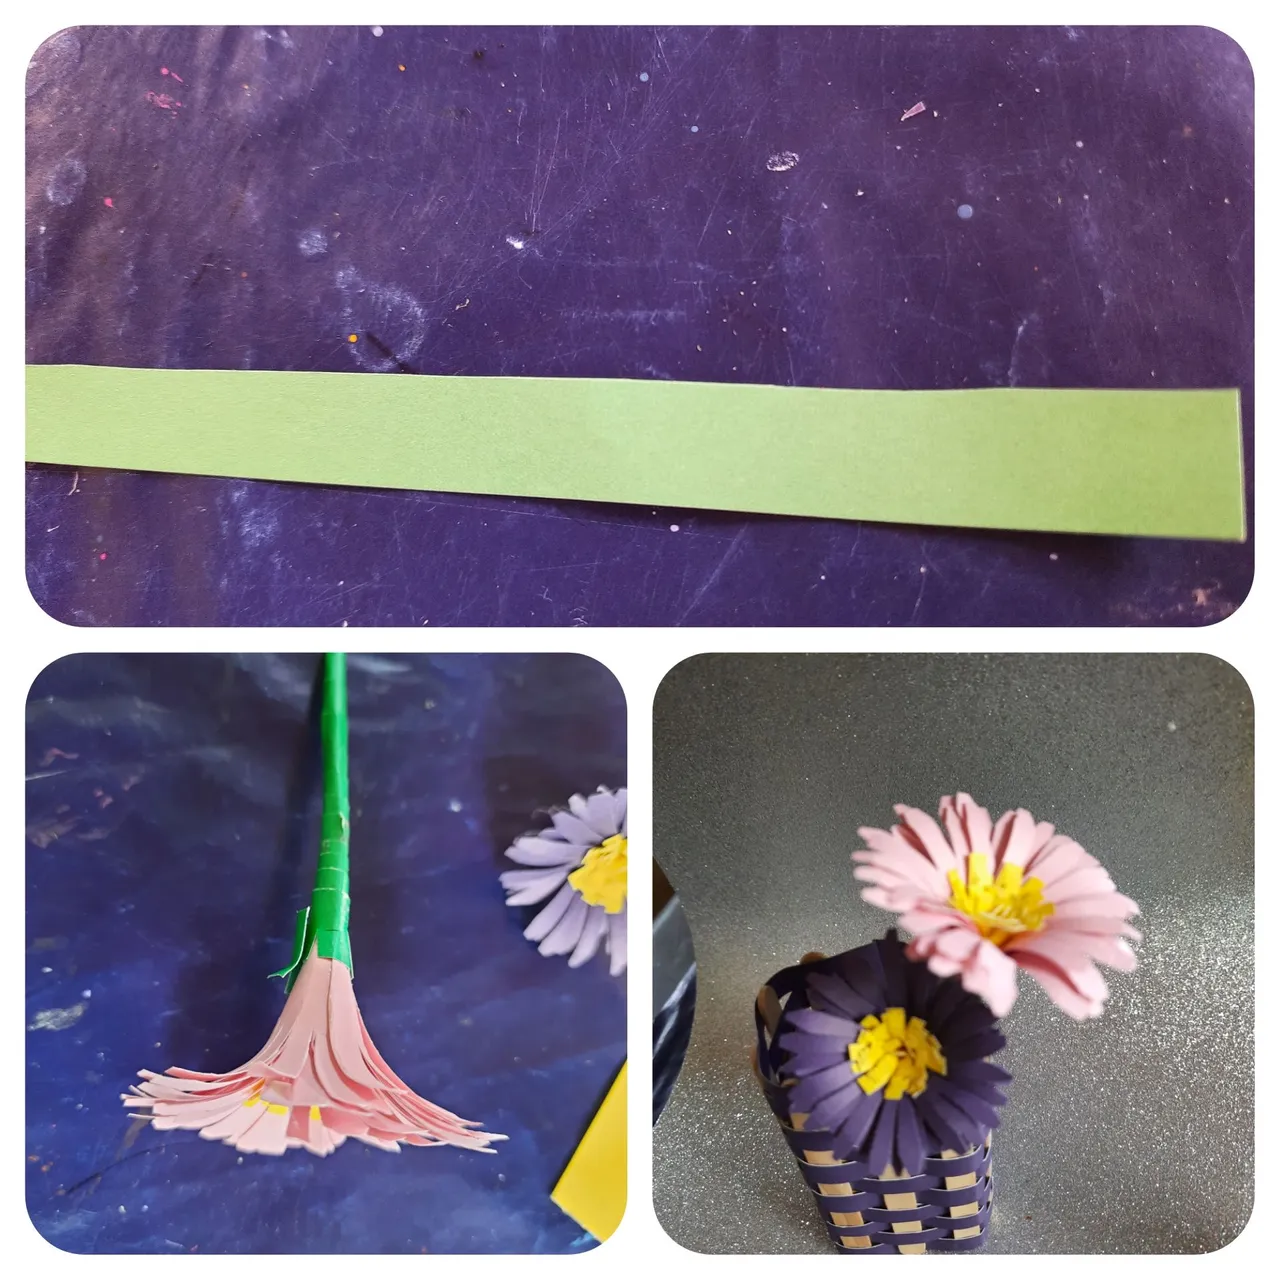
With a green cardboard we are going to make our stick, we are going to roll it up and form the stick of the flower, and we glue it.
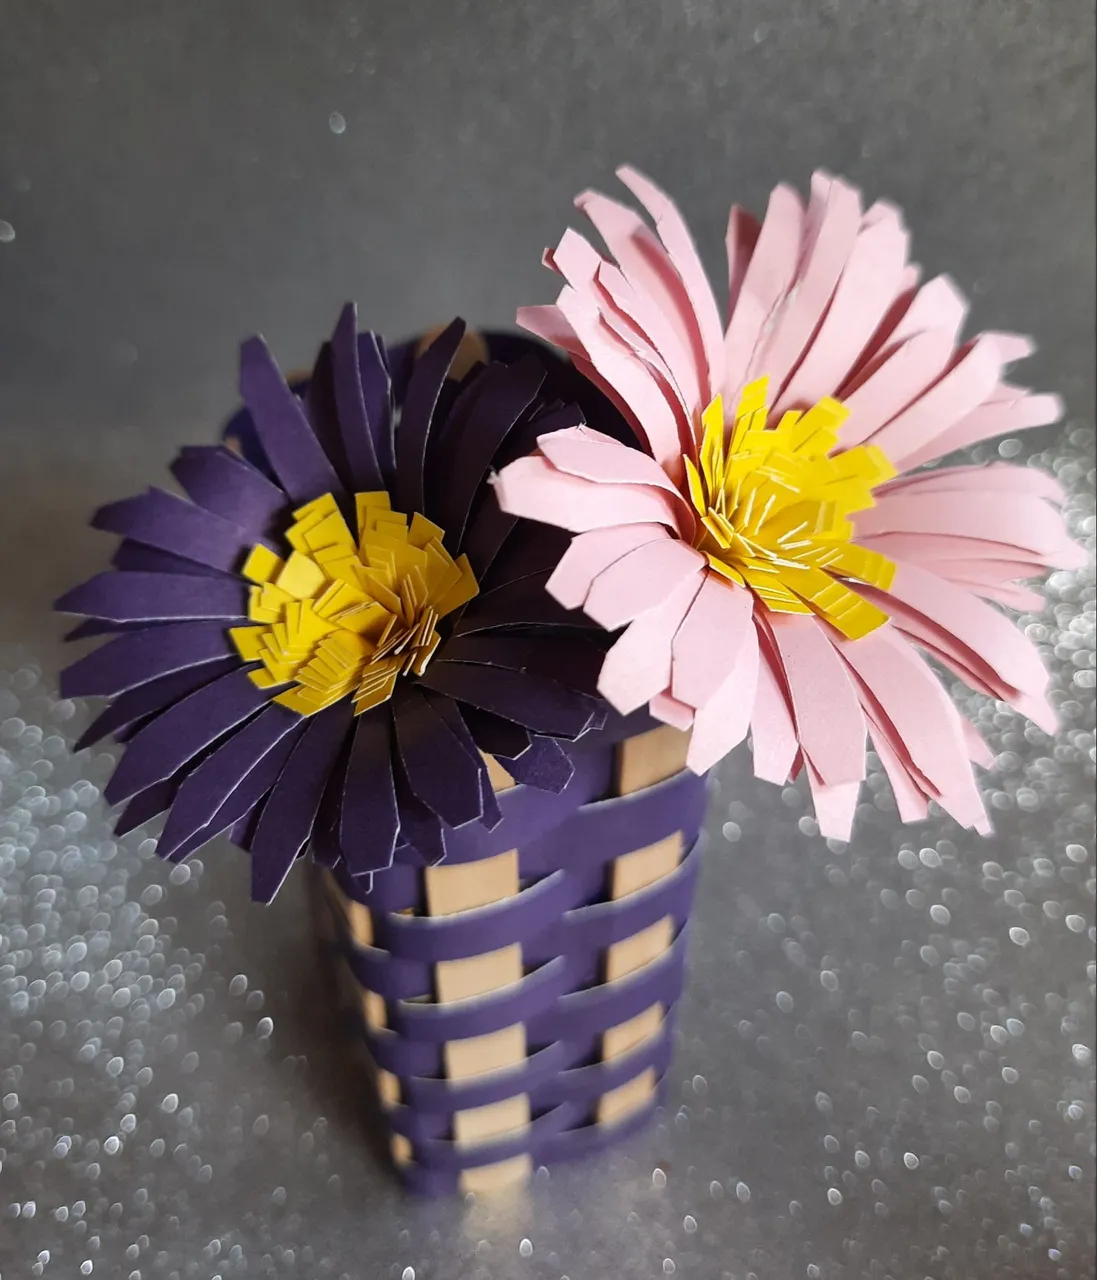
Luego que tenemos nuestras flores las podemos colocar en cualquier florero, mientras más flores 💐 más bonito se ve.
Gracias por estar aquí y ser parte de mi blog, nos vemos en una próxima publicación, muchas bendiciones 😘 para todos.
After we have our flowers we can place them in any vase, the more flowers 💐 the prettier it looks.
Thanks for being here and being part of my blog, see you in a next post, many blessings 😘 to all.
Fotos principal editada con Canva.
Fotos de mi Autoría derechos reservados
Separadores Link
Cámara: Samsung A20S
Banner por @danelvehe
Traducido con www.DeepL.com/Translator (versión gratuita)
Photos edited with Canva
Photos by me Author's rights reserved
Banner by @danelvehe
Separators Link
Quote> Camera: Samsung A20S
Translated with www.DeepL.com/Translator (free version)


