Hello friends ✋
I'm going to tell you about a recycling project today.
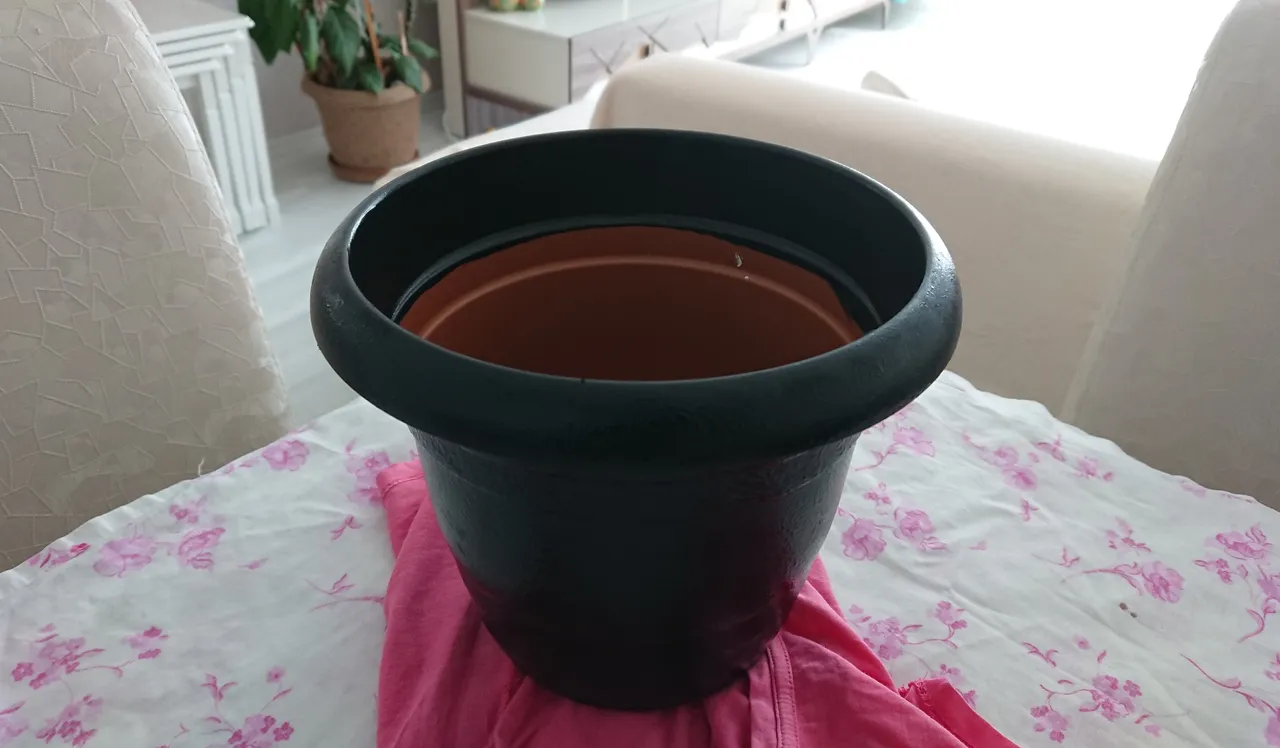
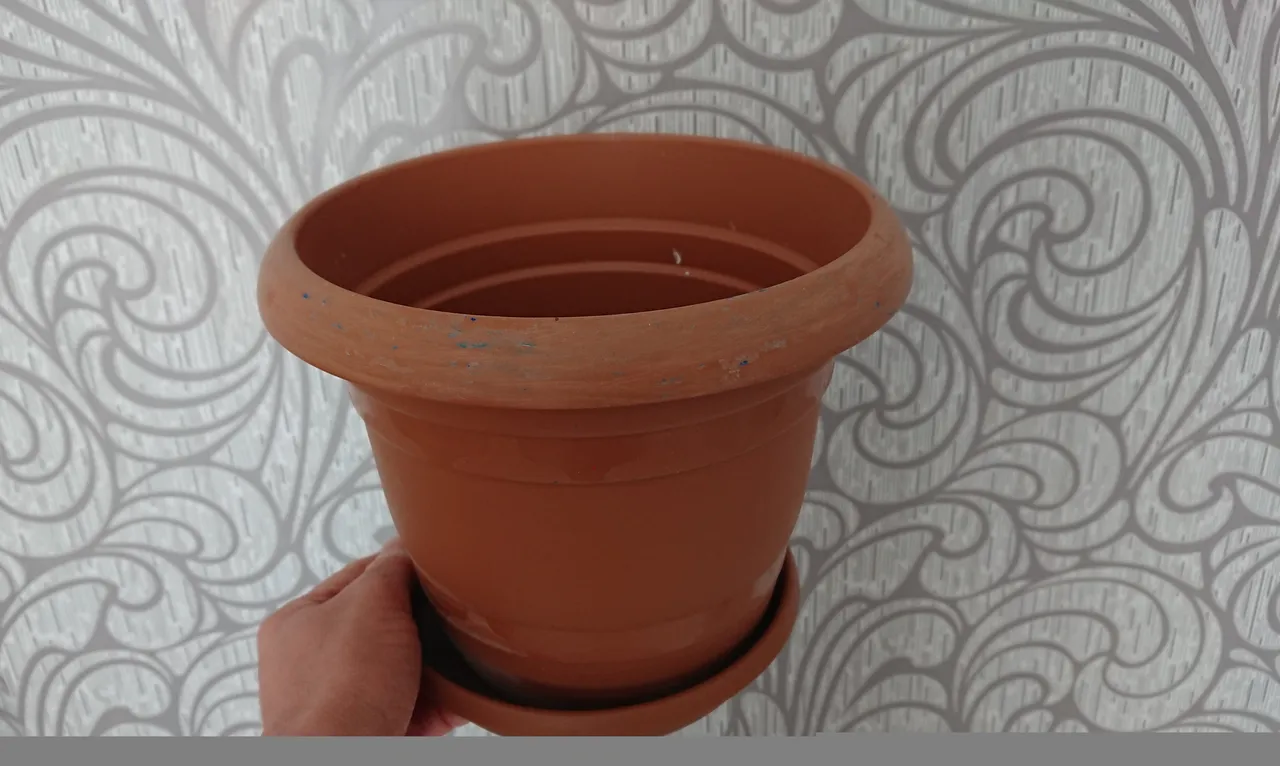
I'd say a project to bring a flower pot I don't like its color to a new look
With this process, the object has a more aesthetic appearance, while I would say it is also an excellent activity for human psychology.
I think my brain needs different preoccupations these days.
Materials needed for recycling:
Black and white acrylic paint, varnish, contour brush and time.
At the first stage, we decide what color to paint the flower pot.
This may be the most difficult stage.
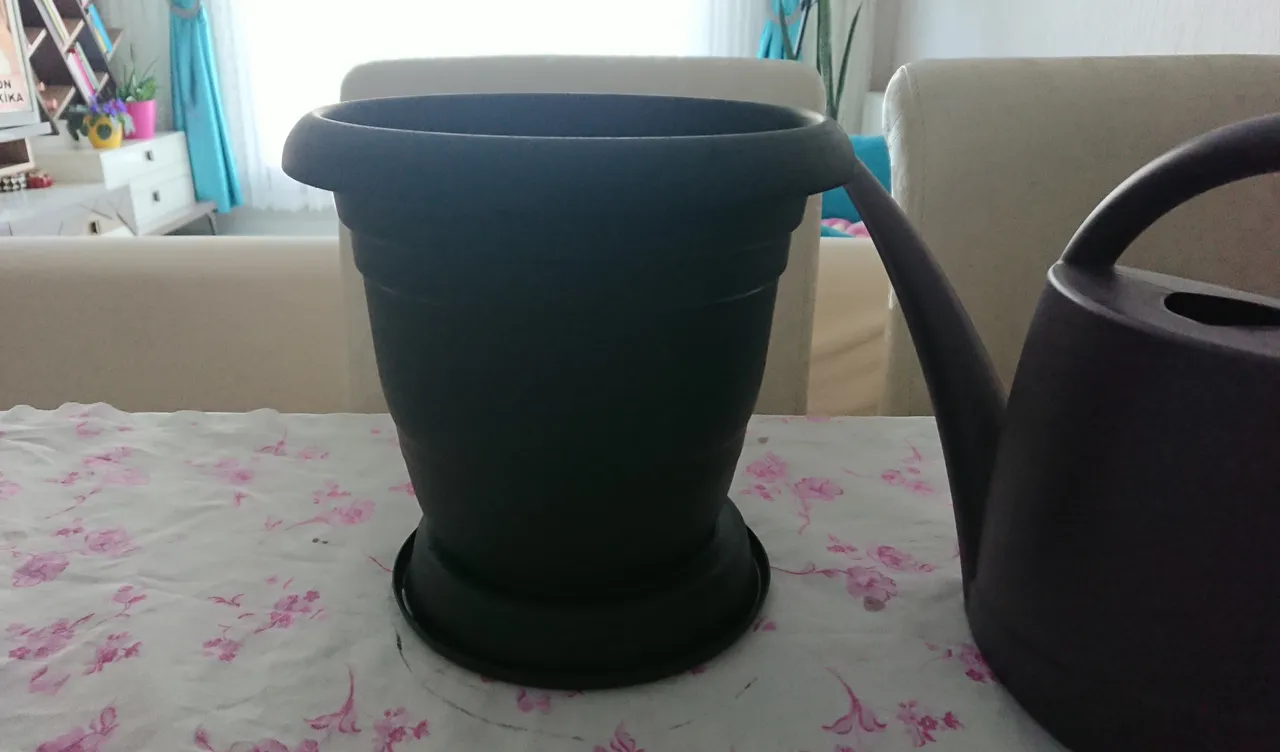
Then we paint the entire flower pot with 2 or 3 layers of black color.
And we're waiting for the paint to dry.
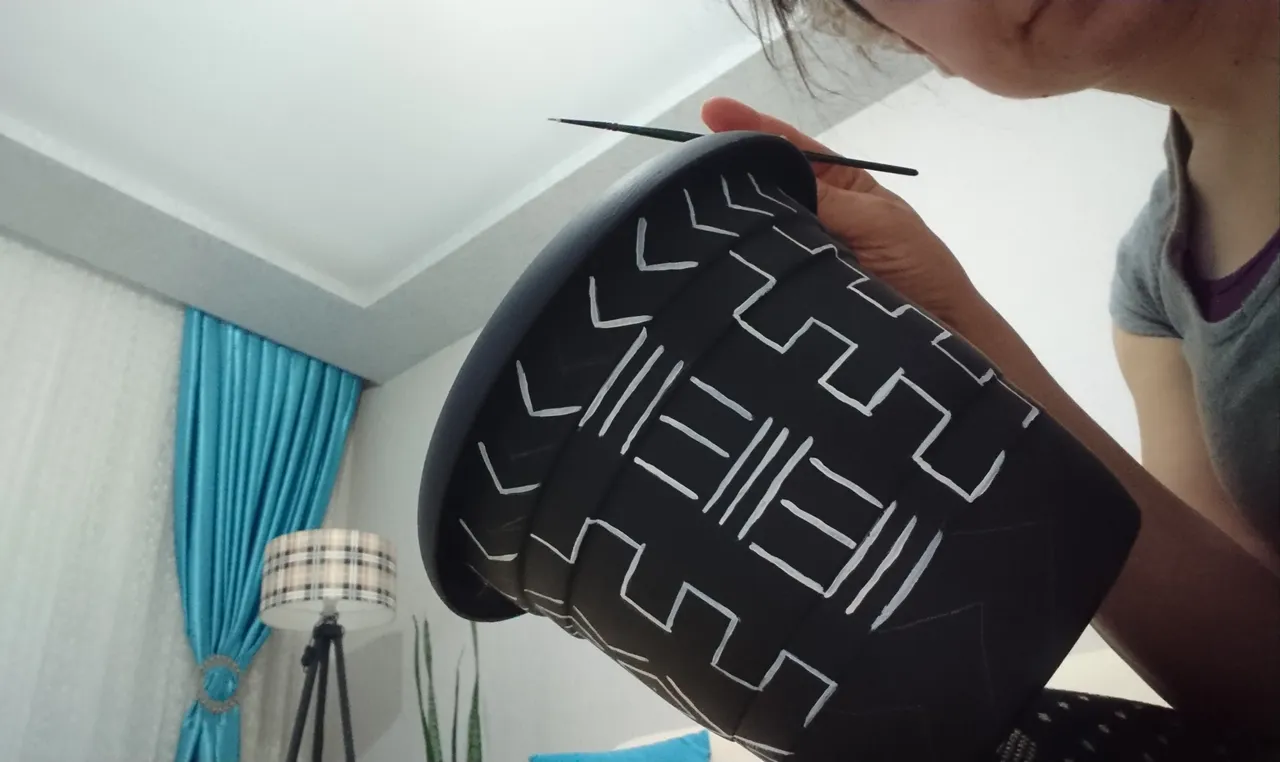
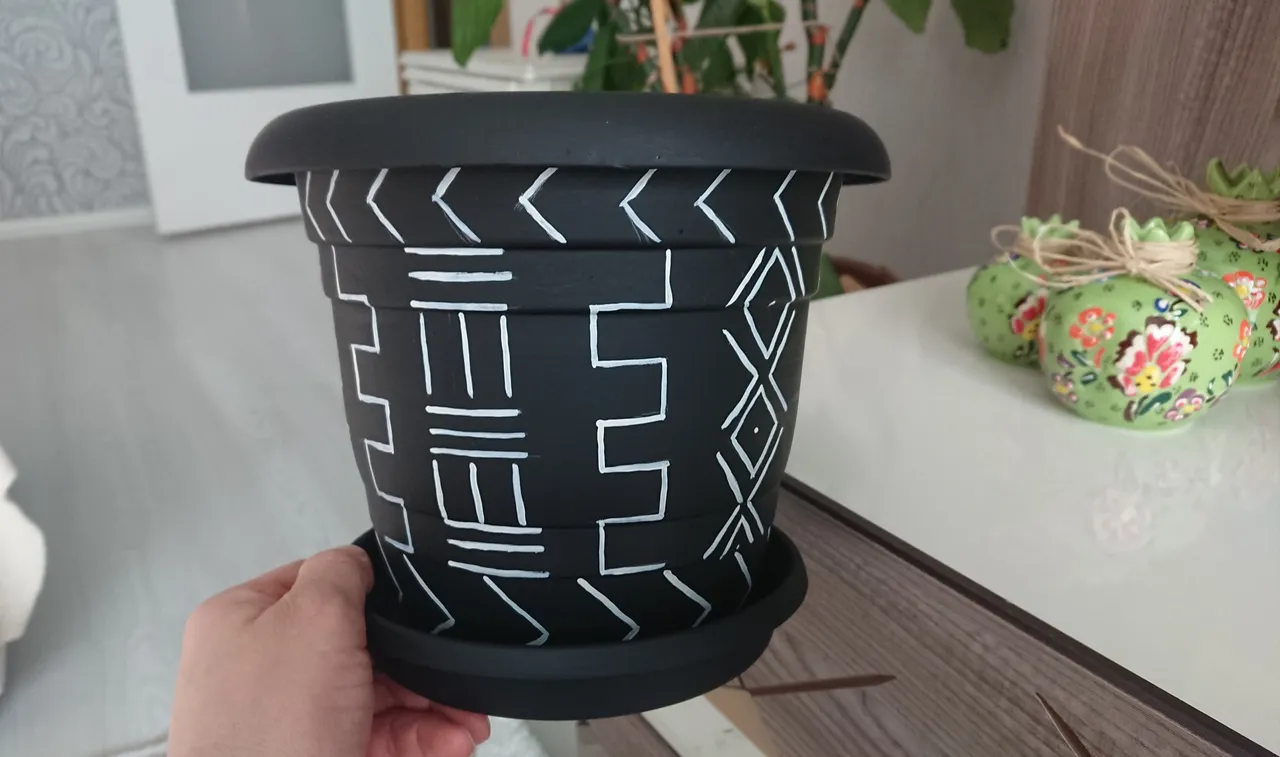
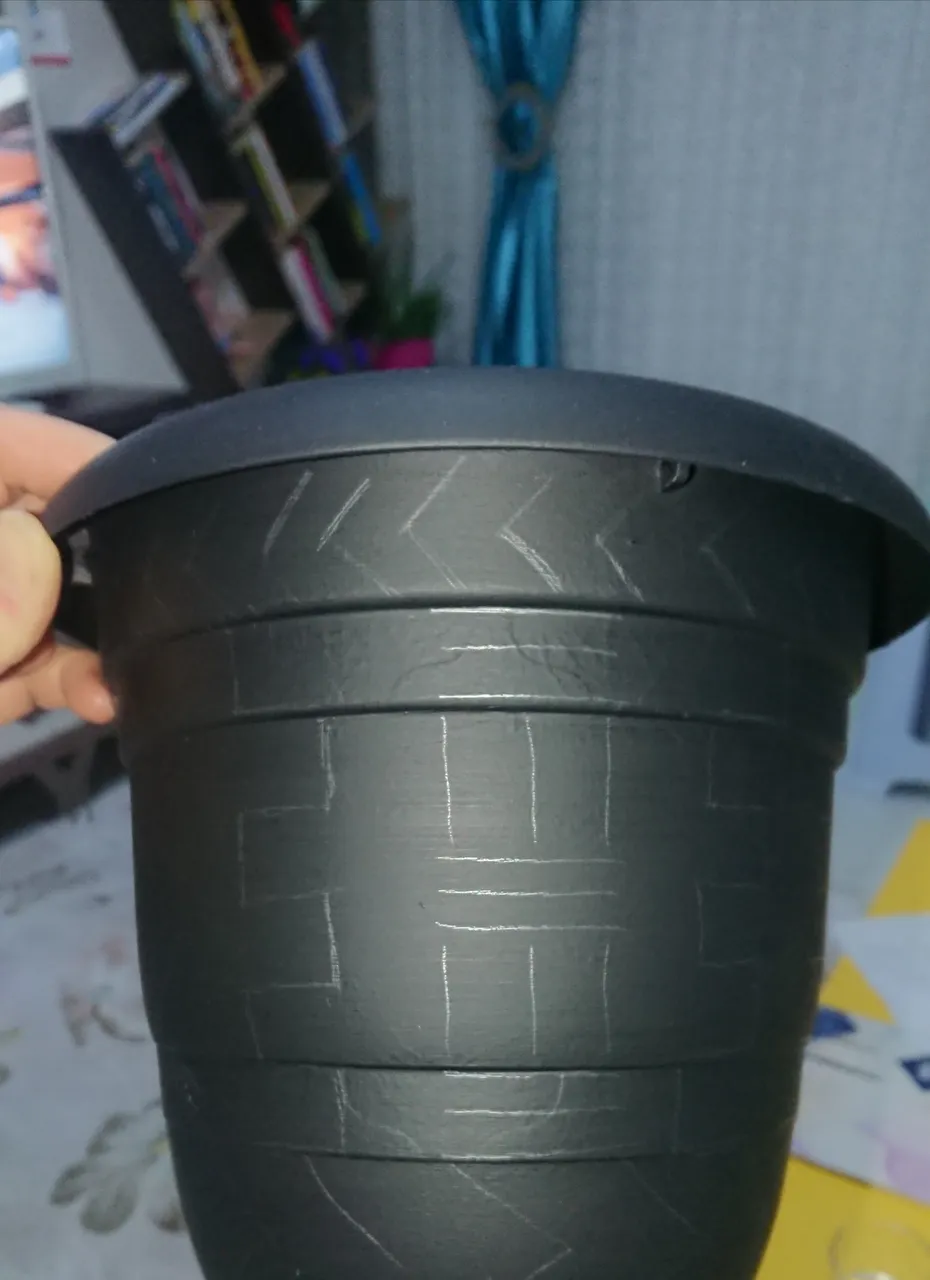
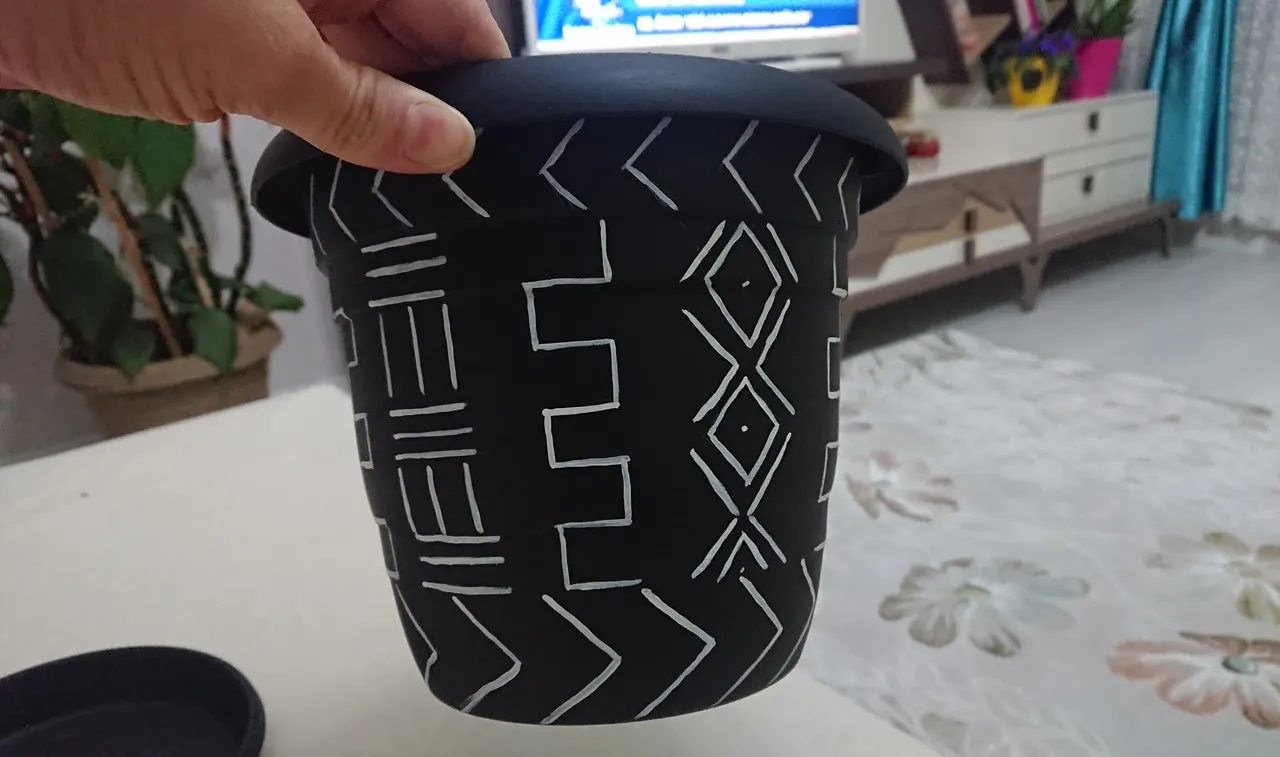
In the second stage, we decide on the pattern or drawing that we will apply to the flower pot.
Here I preferred mixed-method drawings.
For convenience, I drew the drawings on a flower pot with a pencil.
I drew again with white paint using a contour brush over the drawings.
And the pattern begins to emerge.
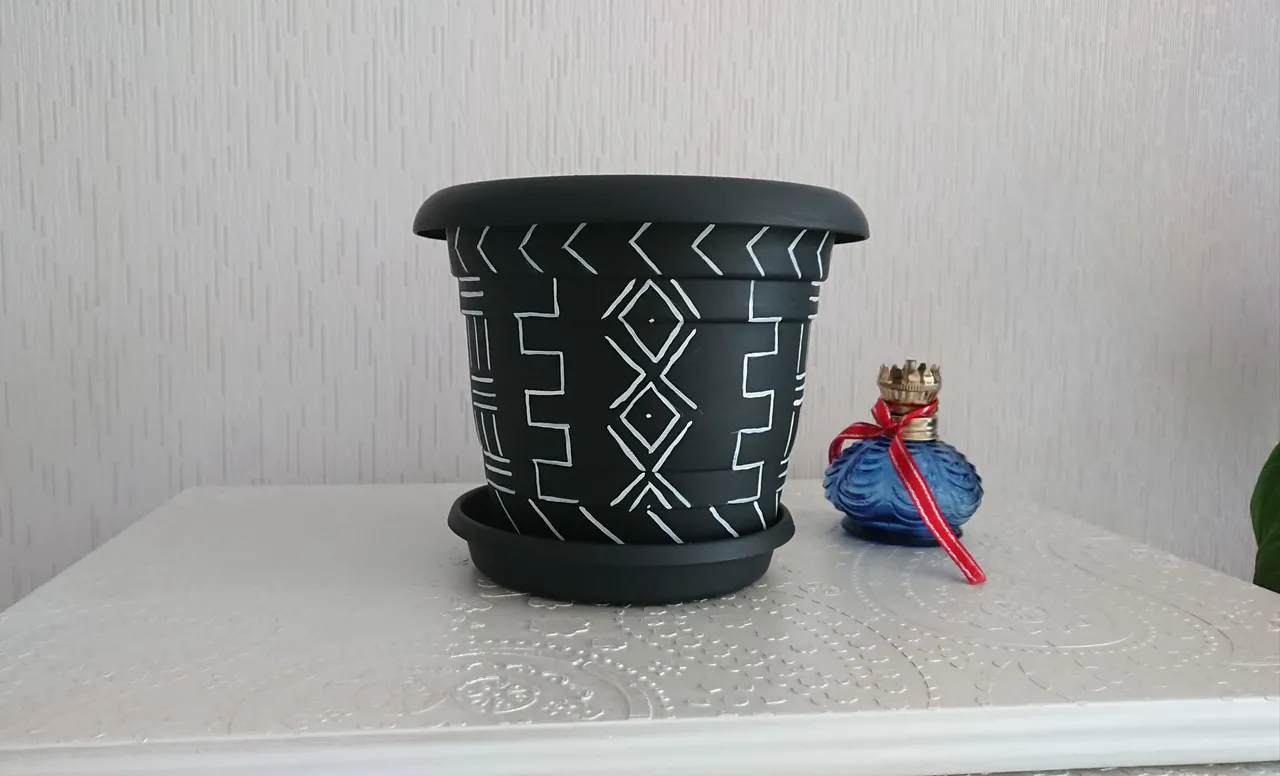
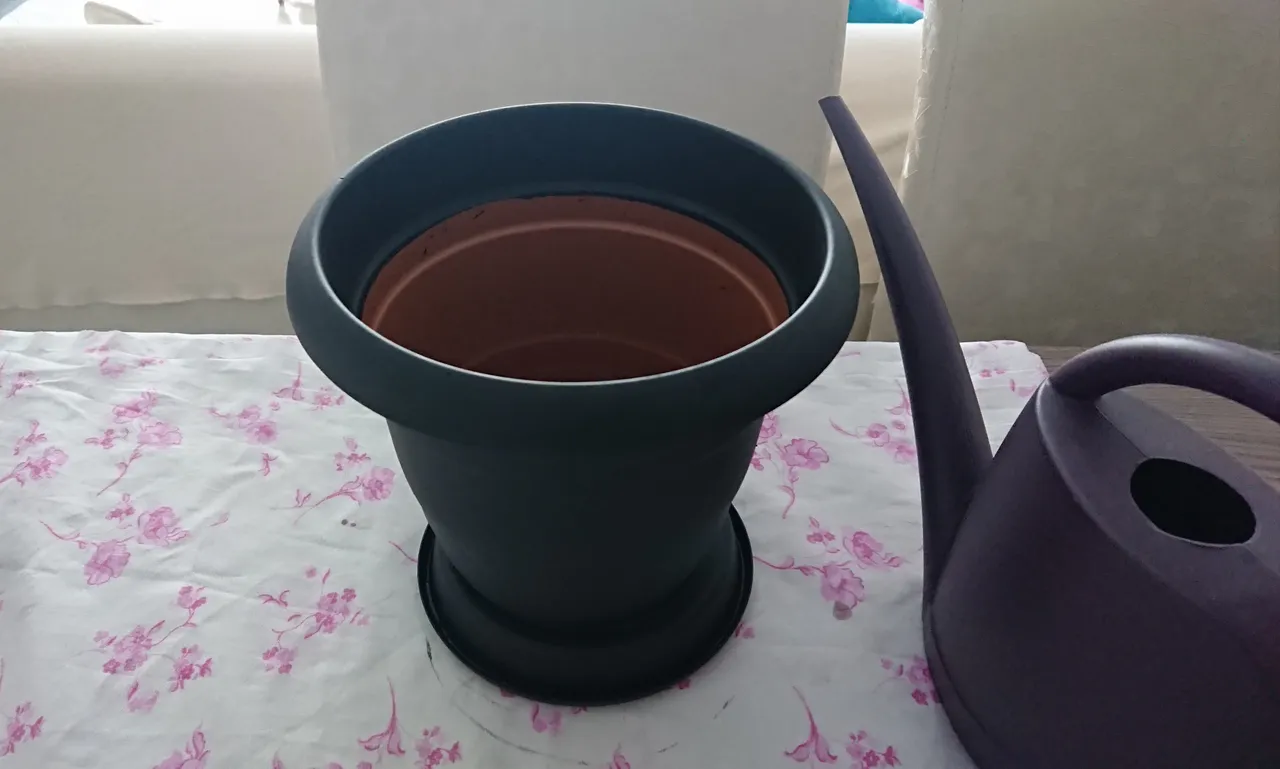
Finally, we throw 2 layers of varnish into the pot, which reaches a new look so that there are no artifacts left from the first state.
Thus, the paint and pattern of the flower pot became permanent.
A little sports, a little mixed and geometric patterned pot is ready for use.
I wish everyone health 🙏
Merhabalar .
Bugün size bir geri dönüşüm projesinden bahsedeceğim.
Rengini beğenmediğim bir saksıyı yeni bir görünüme kavuşturma projesi de diyebilirim.
Bu işlem ile obje daha estetik bir görünüme sahip olurken, insan psikolojisi için de mükemmel bir etkinlik diyebilirim.
Bu aralar beynimin farklı meşguliyetlere ihtiyacı olduğunu düşünüyorum.
Geri dönüşüm için gerekli malzemeler
Siyah boya, vernik, kontür fırçası ve zaman.
İlk aşamada saksıyı hangi renge boyayacağımıza karar veriyoruz.
Bu en zor aşama olabilir.🙆
Daha sonra saksının tamamını 2 veya 3 kat siyah renk ile boyuyoruz.
Ve boyanın kurumasını bekliyoruz.
İkinci aşamada saksı üzerine uygulayacağımız desen veya çizime karar veriyoruz.
Burada karışık metotlu çizimleri tercih ettim. Tamamen içimden geldiği gibi.
Kolaylık olsun diye çizimleri kurşun kalem ile saksı üzerine çizdim.
Çizimlerin üzerinden kontür fırçası kullanarak beyaz boya ile tekrar çizdim.
Ve desenim ortaya çıkmaya başladı.
İlk halinden eser kalmayacak şekilde yeni bir görünüme ulaşan saksıya son olarak 2 kat vernik atıyoruz .
Böylece saksının boyası ve deseni kalıcı hale geldi.
Biraz spor, biraz karışık, geometeik desenli saksı kullanım için hazır.
Herkese sağlık dilerim 🙏