Intro
Hello again with the part 2 of the Boss arena build for Dungeons & Dragons. Me , my girlfriend and 5 other friend are playing D&D every friday and sturday evenings. Unfortunately we play via discord because of the covid19 situation going on face to face gaming is not an option right now. But this does not mean I should stop making terrain pieces for our future plans. I wont bere here for at least 6 month starting from next month. I'll be going mandatory military service. So anything I do for the time being is a practice work for future games when I return.
If you haven't read already here is the Part 1 of the boss arena build. I use XPS foam and simple box cutter to make this.
Part 1 of the build
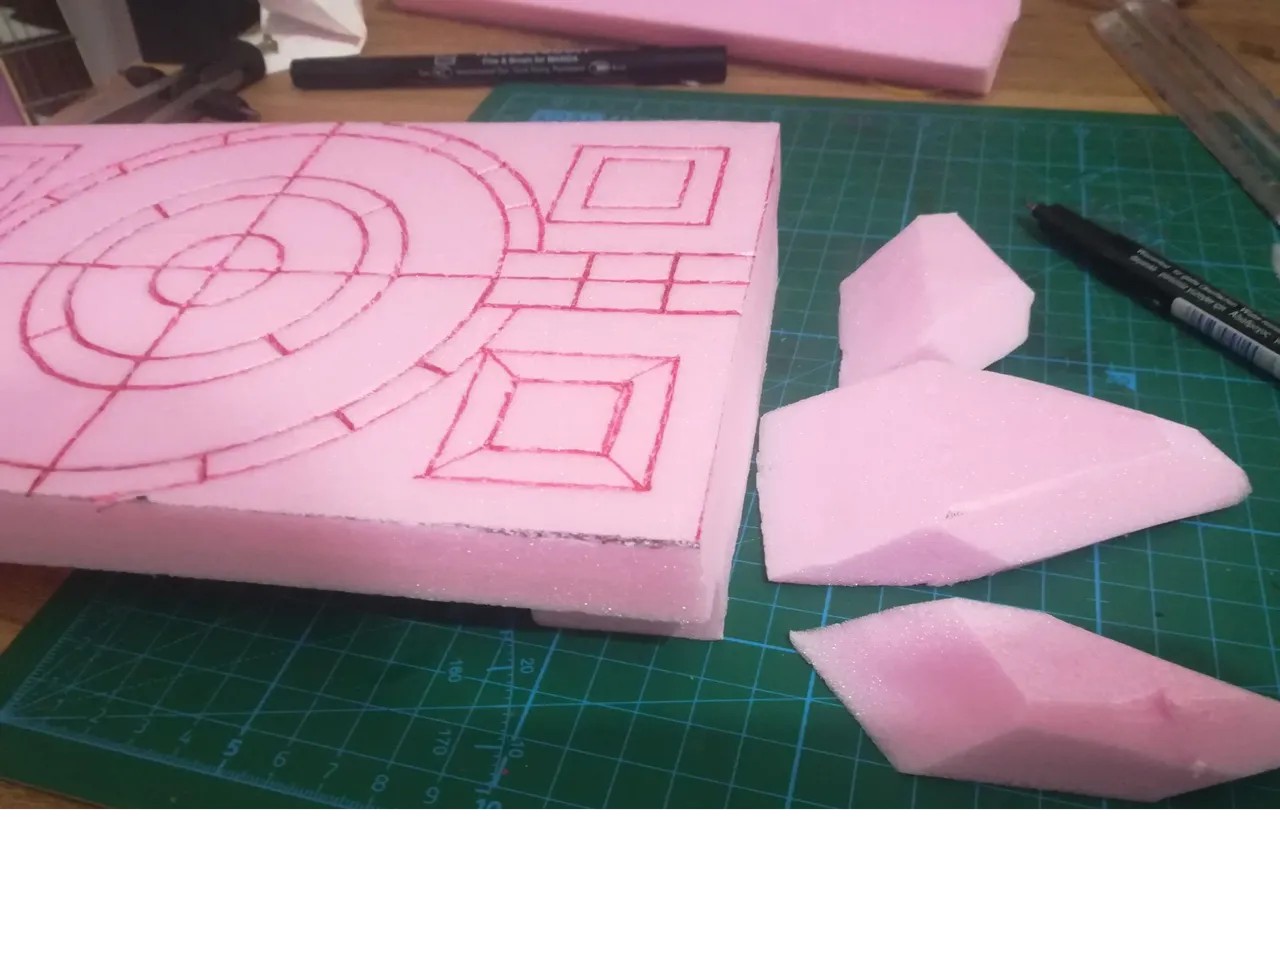
If you want to see the first part of the build click the link above. Part 1 covers the XPS foam cutting and building the general shapes. I am really suprised the amount of votes that post received. I've never seen such thing before. I've been blogging since 2018 ( joined late 2017 ) this is exciting for me ^^
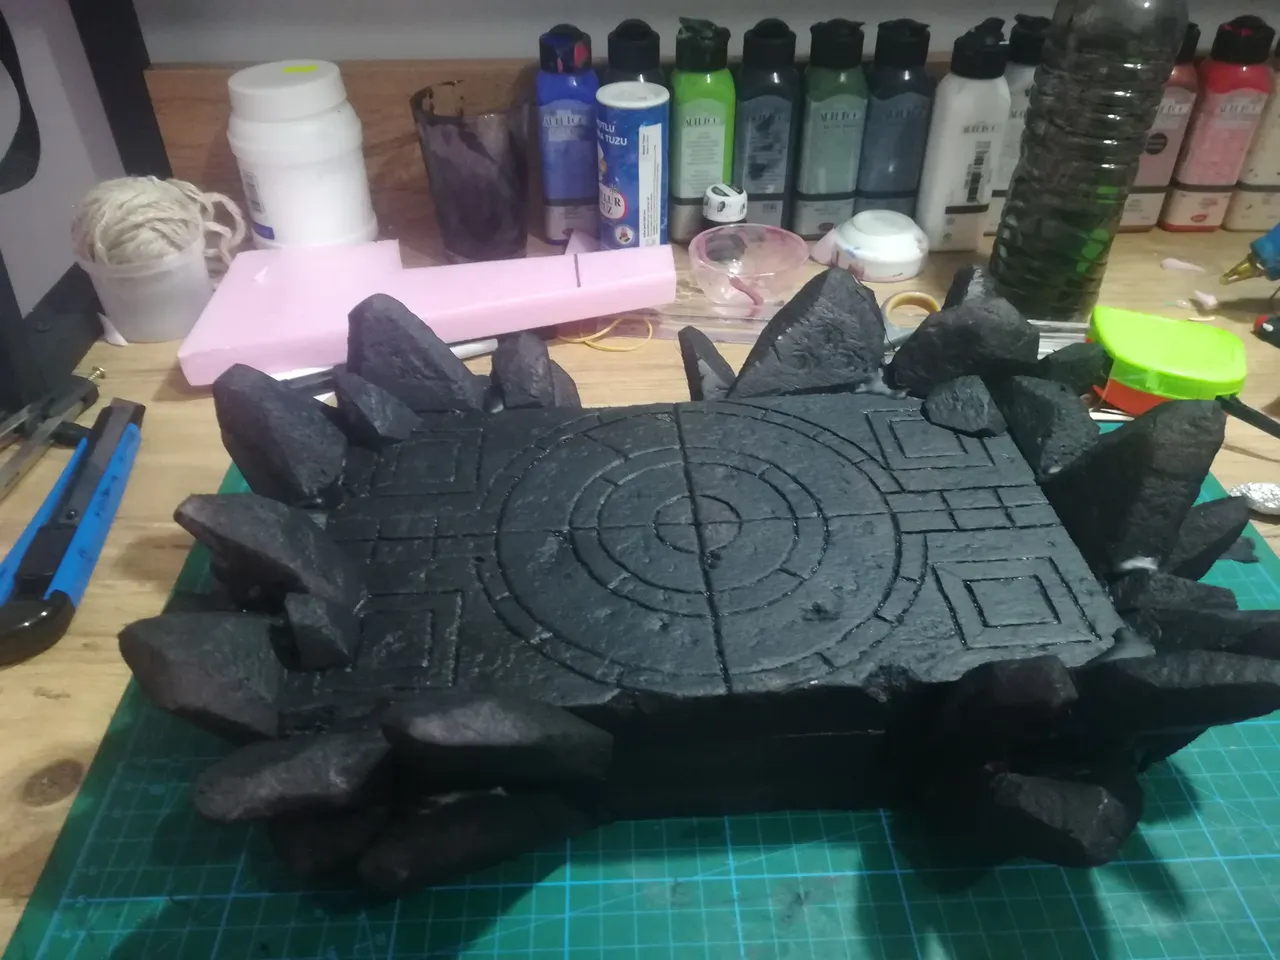
Painting Process
The Recipe I am using for the initial black coat is PVE Glue + Black Acrylic Paint + Drop of dish soap + Water The mixture is little with thinner then the acrylic paint. I am storing it in a water bottle. Its good idea to mix more then you need and store. Lets see the progress shots.
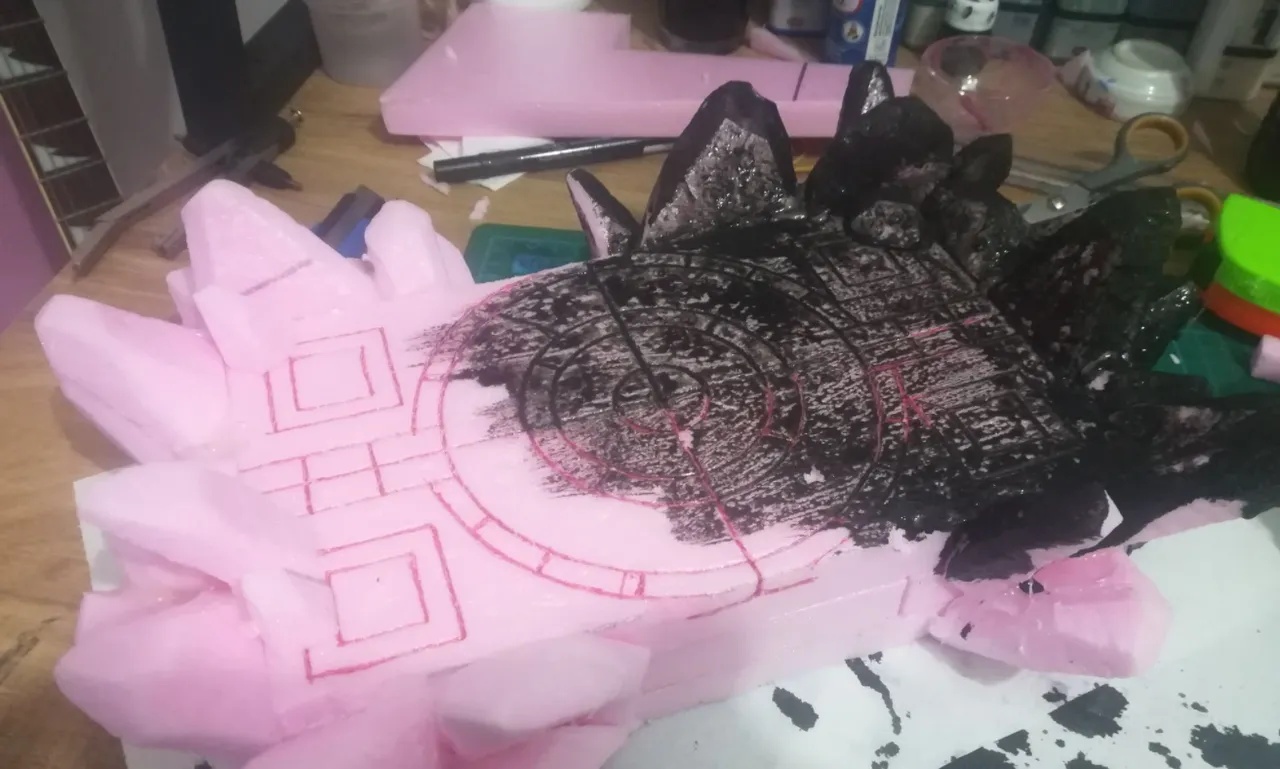
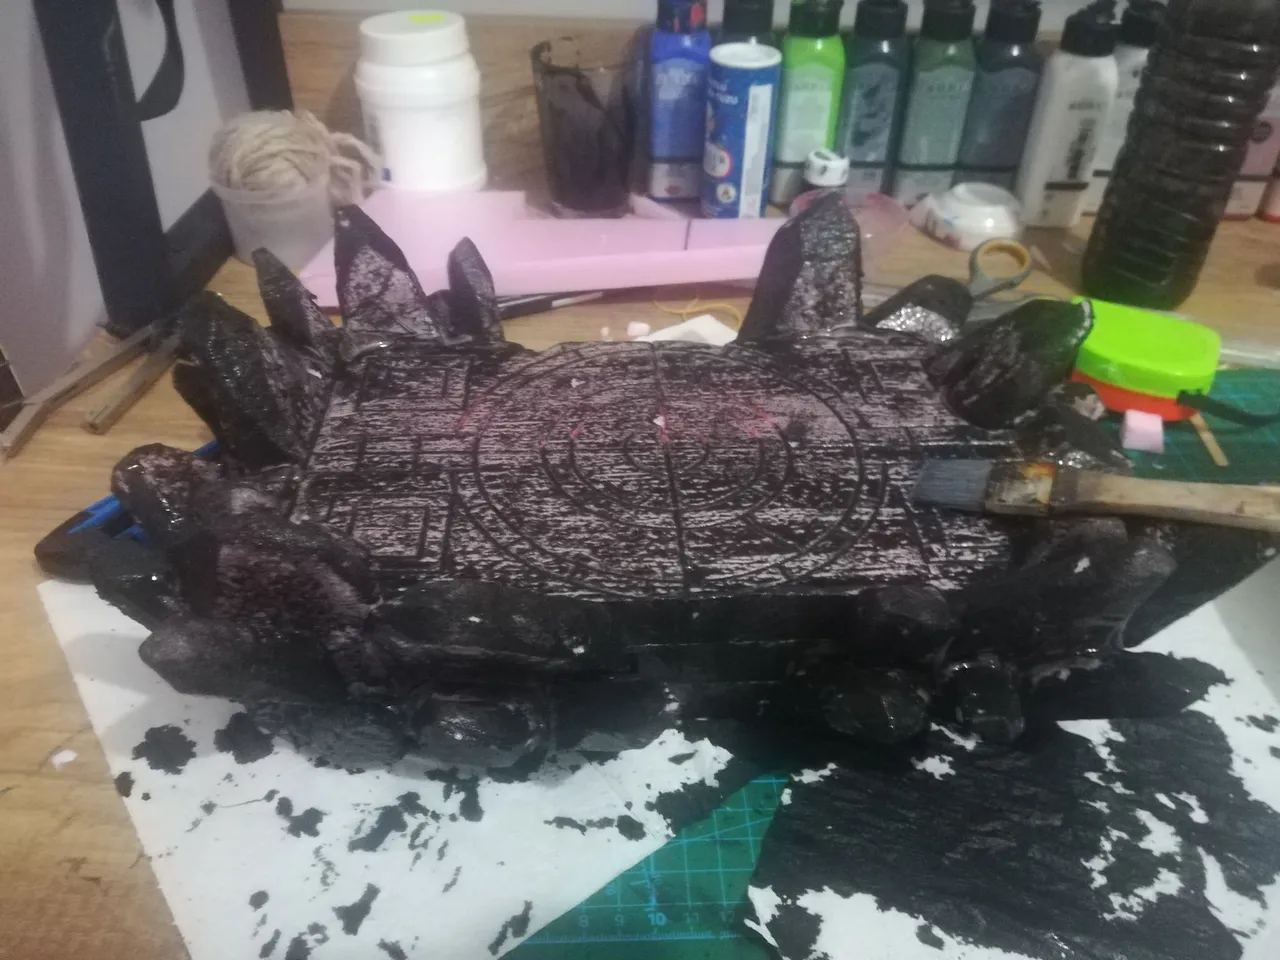
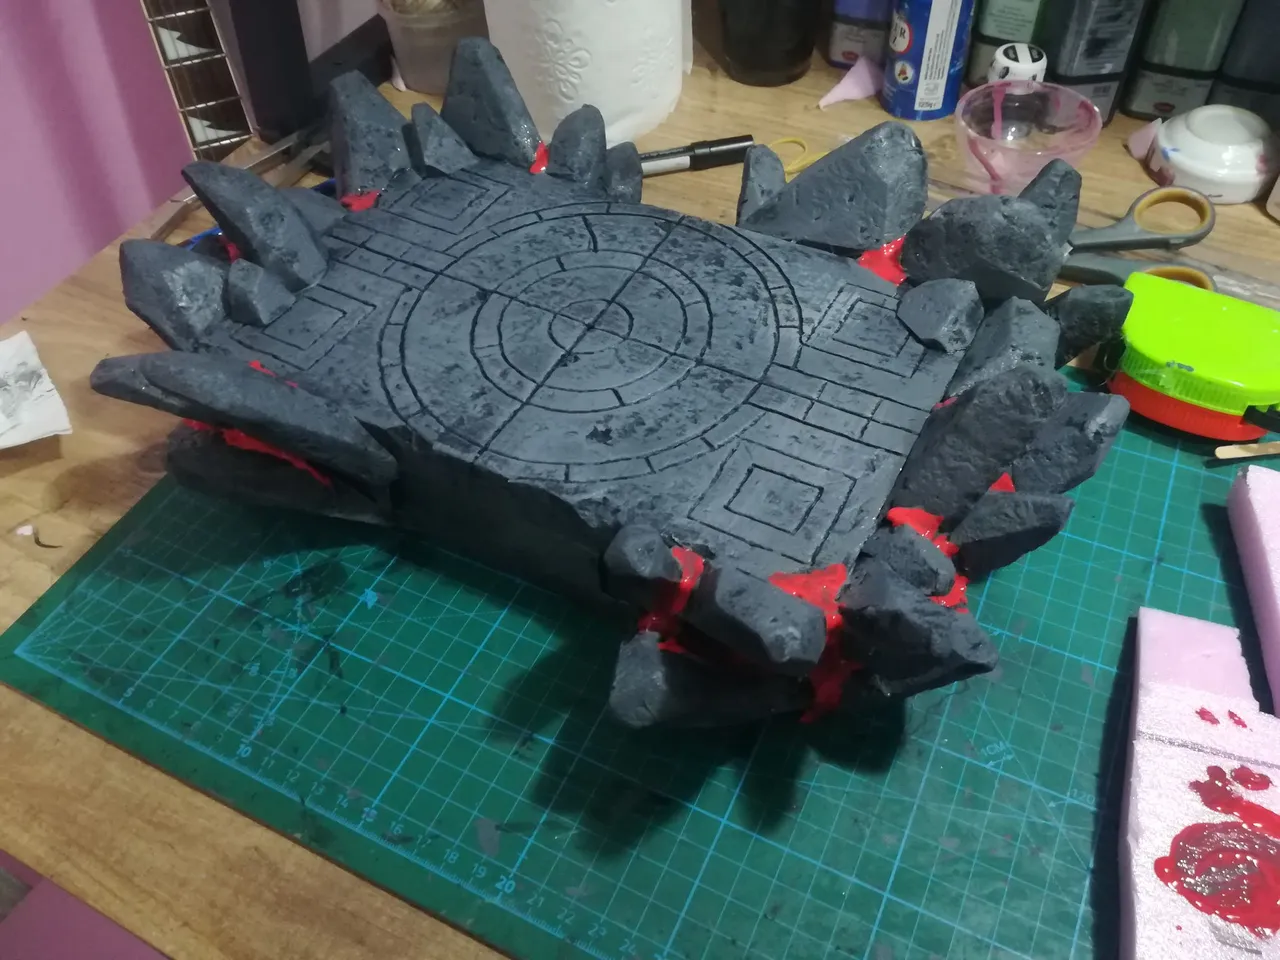
Black... Black everywhere.. This step is messy as much as it is important. Cut surfaces are better at receiving the paint then original uncut faces. The paint doesnt want to stick o it. I had to wait it to dry and apply a thin second coat. But it not that really important to cover every bit of space. Because the mixture has PVE clue in it, it will seal the foam and make it more strong.
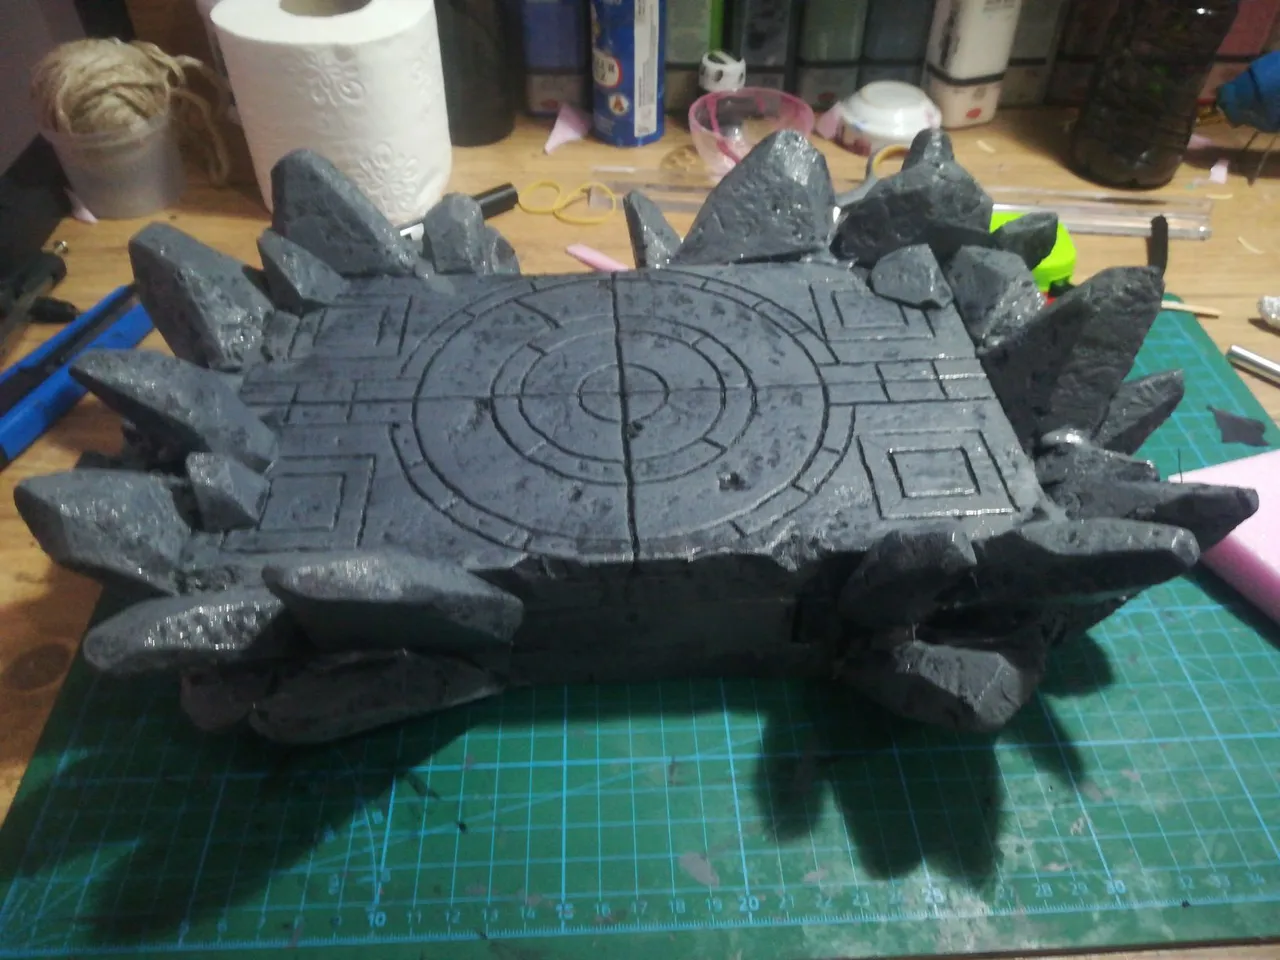
The main reason I am using this type of mixture to coat the build is , I want to use spray paint to have a even layer matt paint surface. The spray paint will melt the XPS foam without anything protecting it. This way when I apply the black spray paint, it wont melt and give me a beautiful finish. See Below.
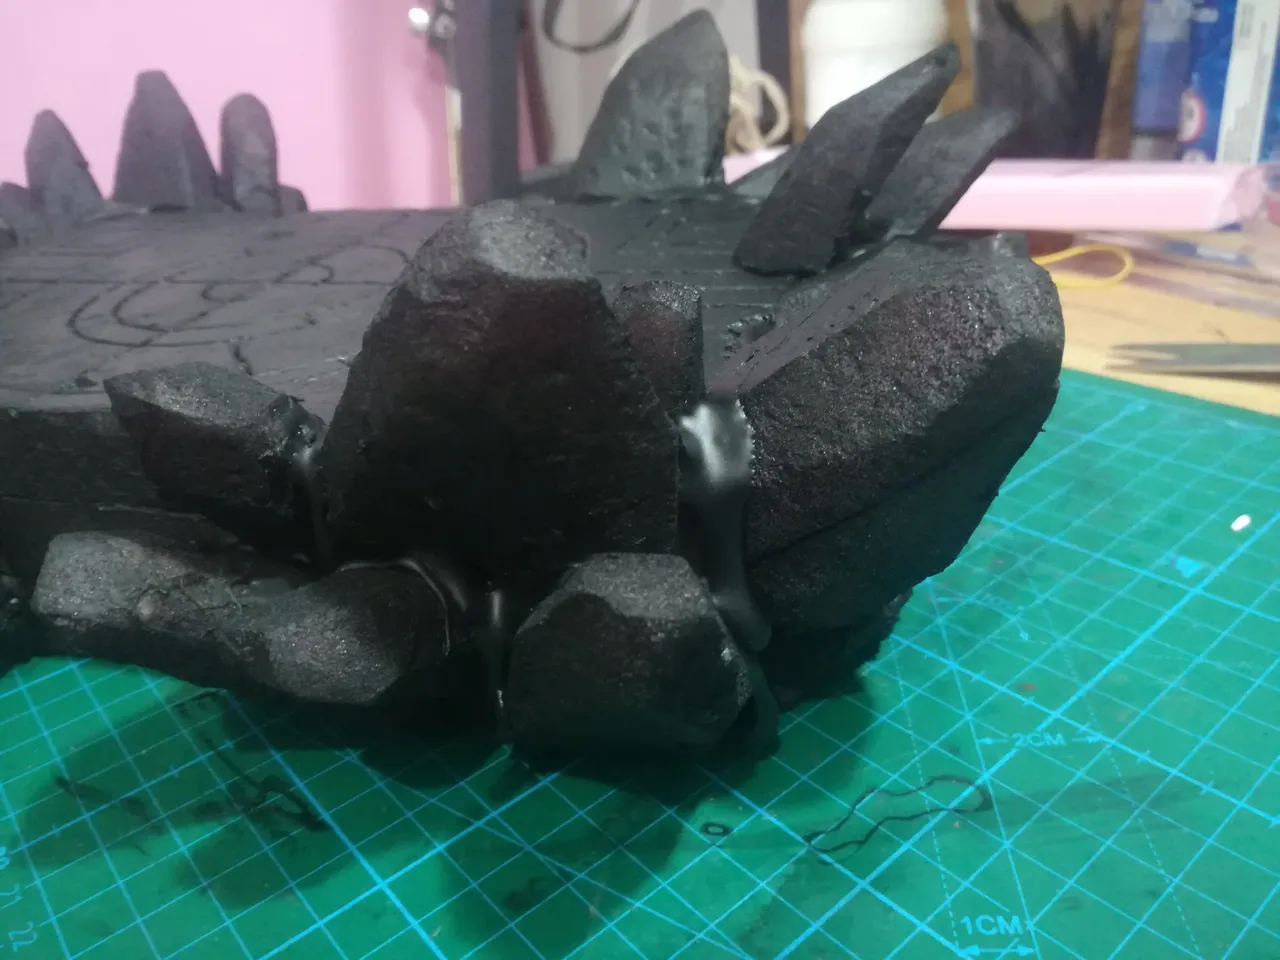
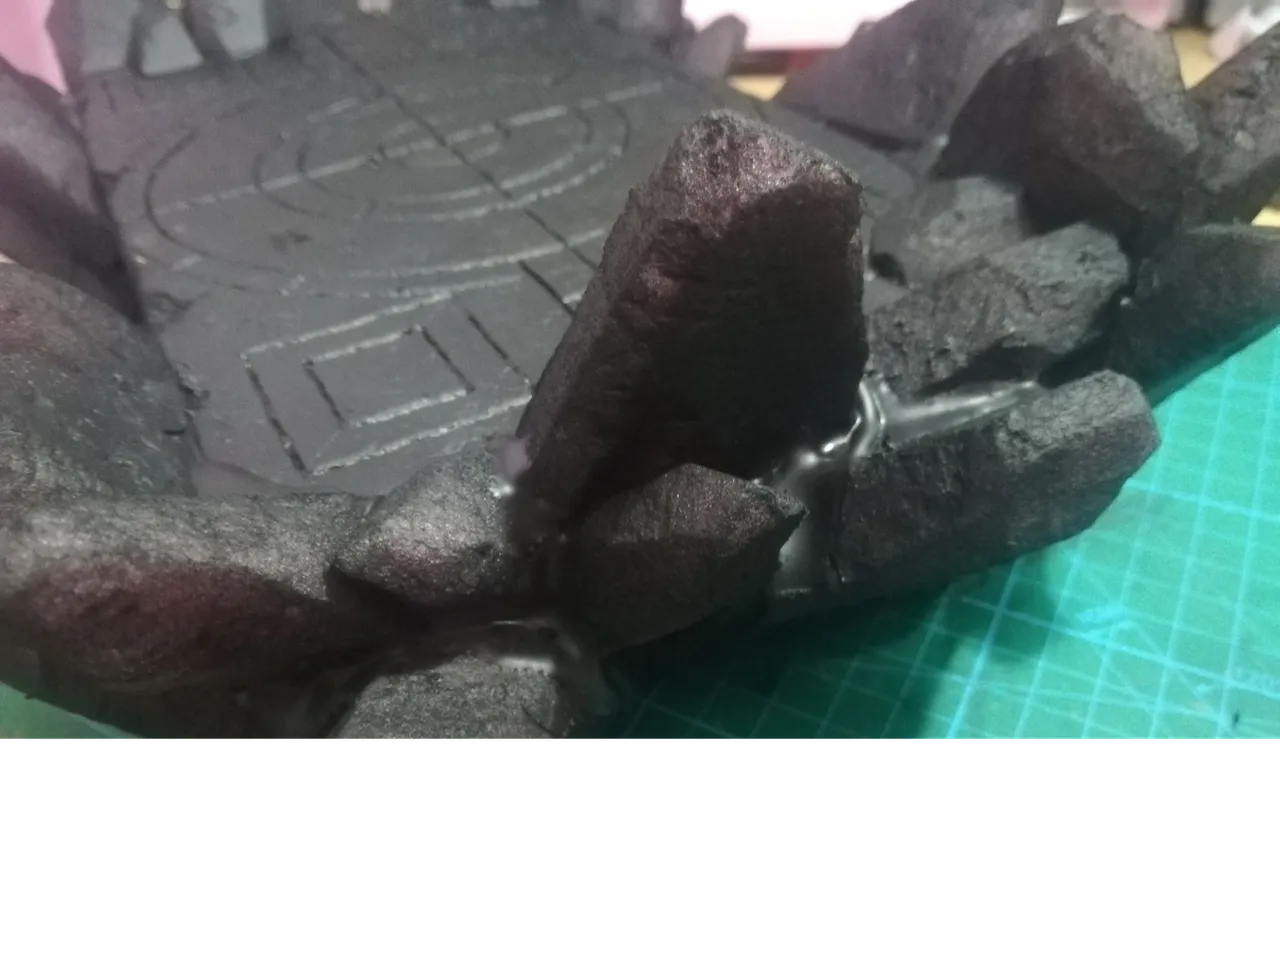
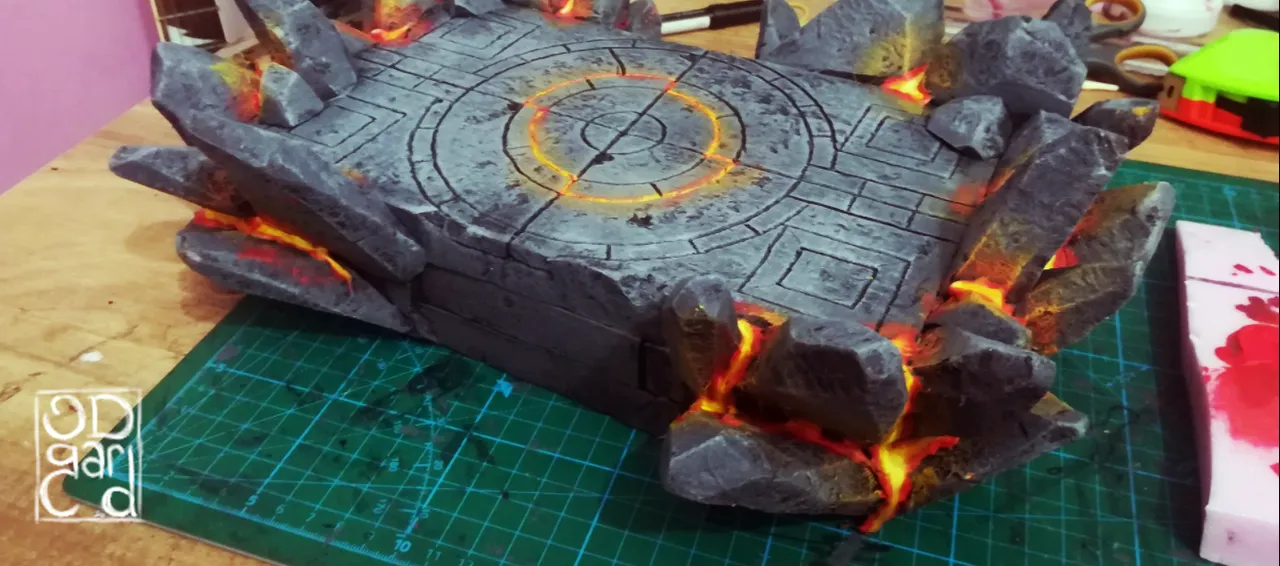
I had no idea how to make lava dripping from the rocks but I knew I'll figure it out as I go. I watched couple of youtube videos about lava making , ended up chosing the hot glue method because its what I have in hand. The thing with hot glue is if its too hot it'll melt the foam and create a huge hole. My hotglue gun does not have any settings for heat. So I plug it in and plug it out when its too hot to work with ^^ its pain.. I know.. I apply generous amount of hot glue in the cracks and stayed in one stop and let it drip to create liquid effect.
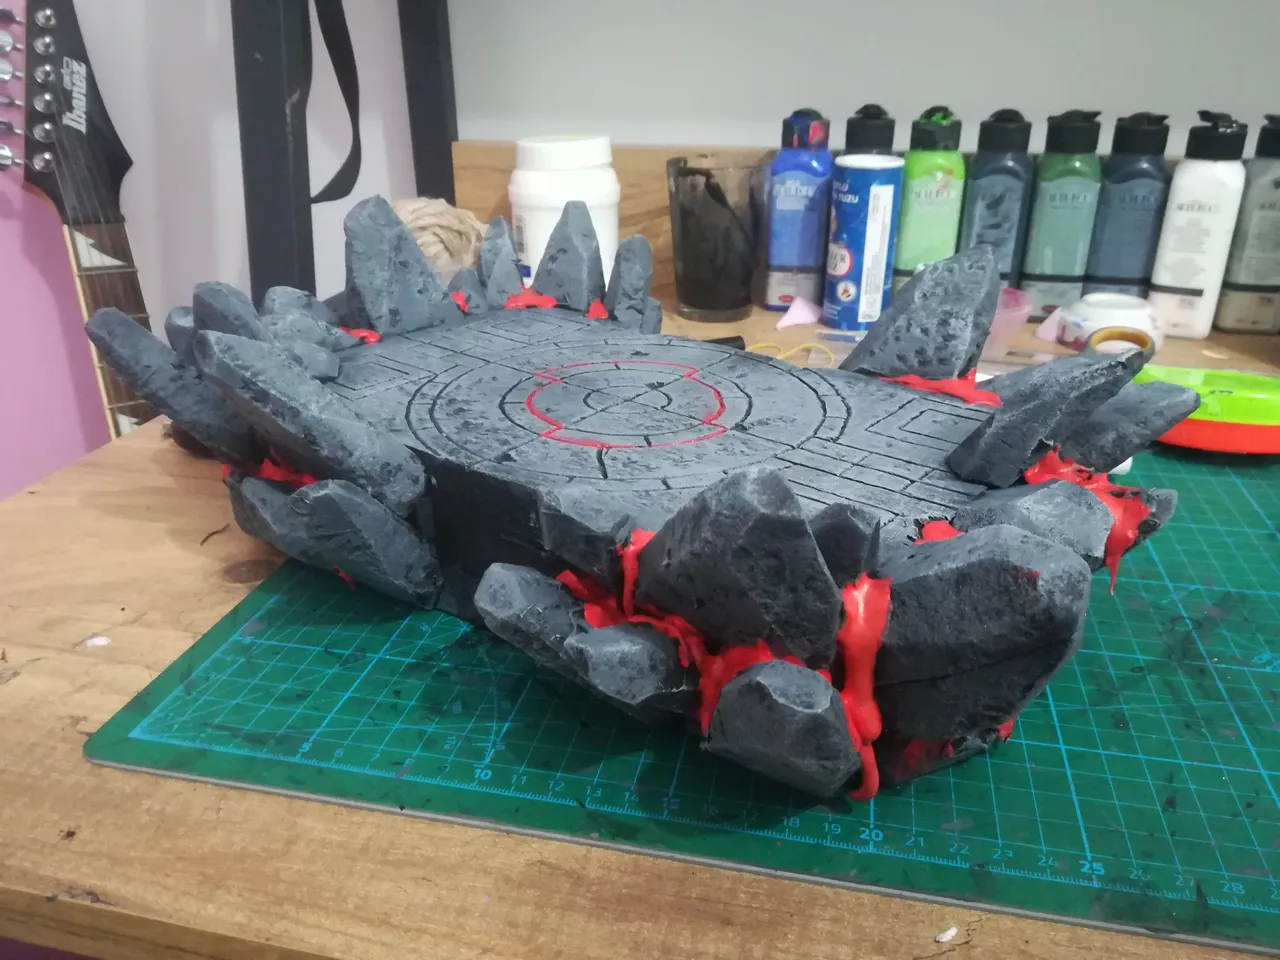

As you may know if you are a long follower, I am Strong Proton colorblind. My eyes cant detect enough red color. So this lava at the beginning looked like more of a green or brown to me. I finish this paint job depending on the labels of the paint bottles I have ^^ This is my first time painting lava and it turned out better then I expected. I apply some lighter version of the lava paint mixture to the rocks as a light.
Part 3 : The Bridge

See you next time .