Also a Wire Plane / Tambien un Avion de Alambre ✈✈✈
Hello Friends, This time I hope if you like this scale model of the Red Baron Fearsome plane. This model is very particular because we have seen it in movies, magazines, and even in college or high school history.
It seemed like a good idea to me, trying to replicate it with my hobby of assembling things and structures with copper wire.
This time he did not start from a sketch of his own, but looked for an image referring to the plane and from there he started with his preparation and design of pieces.
Without further ado, I leave you the step by step of how this process was, which took me at least 12 hours to manufacture. I hope you like it.
Hola Amigos, Esta vez espero si les guste este modelo a escala del avión del Temible Barón Rojo. Este modelo es muy particular pues lo hemos visto en películas, revistas, y hasta en historia de la universidad o la secundaria.
Me pareció buena Idea, tratar de Replicarlo con mi Pasatiempo de armar cosas y estructuras con alambre de cobre.
Esta vez no parti de un boceto propio, sino que busque una imagen referente al avion y de alli inicie con su confección y diseño de piezas.
Sin mas preámbulo, le dejo el paso a paso de como fue este proceso que me tomo al menos 12 horas en su fabricación. Espero les guste.
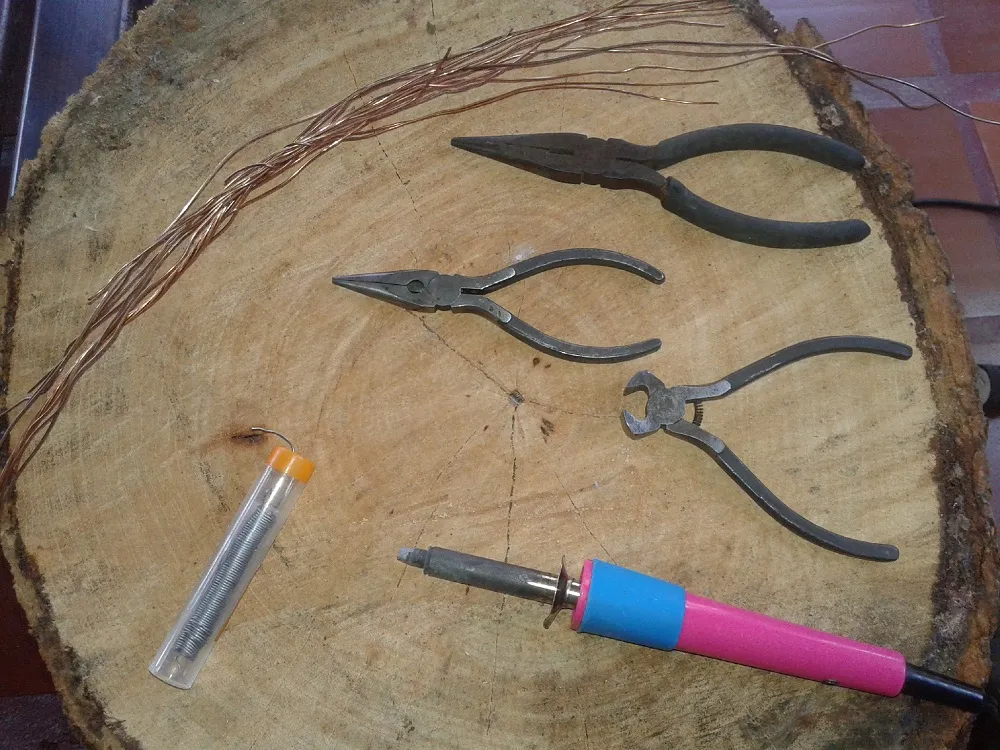
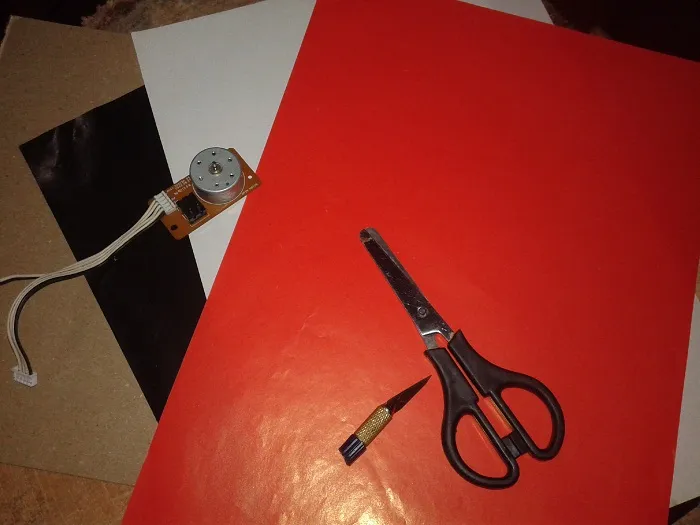
Materials to use:As always, COPPER WIRE.. Tin and soldering iron. Pliers and tweezers. For the ornament: Colored glossy paper, white, black and red. A thin cardboard to assemble the body of the plane. Glue and scissors. For the Motor, use a 5 Vlt motor from an Old DVD Player, with a 3.7 Vlt battery. The propeller was built from a Plastic Sheet from the Case of a movie. | Materiales a usar:Como siempre , ALAMBRE DE COBRE. Estaño y soldadora. Alicates y pinzas. Para el adorno: Papel lustrillo de Colores, blanco negro y rojo. Una cartulina delgadda para armar el cuerpo del avion. Pegamento y tijeras. Para el Motor, utilice un motor de 5 Vlt de un Reproductor dvd Viejo, con una bateria de 3.7 Vlts. La helice se contruyo de una Lamina de Platstico del Estuche de una pelicula. |
Step by Step: / Paso a Paso
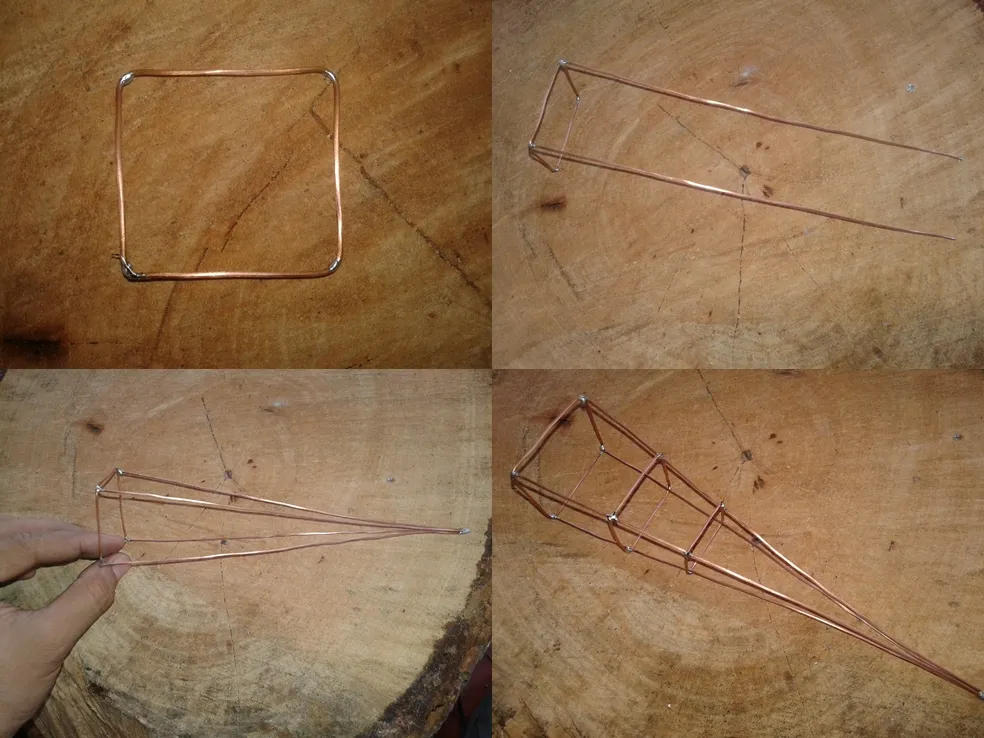
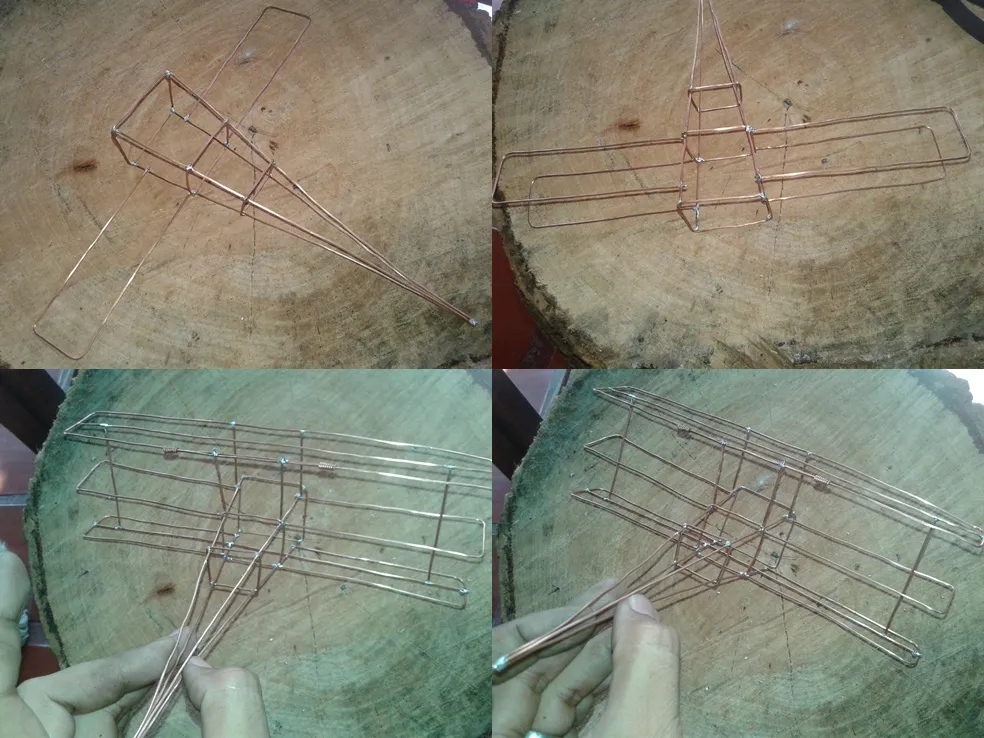
The first thing that must be done is the structure of the center of the plane: A 4cm square on all its sides and joined to some 20cm long joints would make the body of the plane.
Lo primero que se debe hacer es la estructura del centro del avión: Un Cuadro de 4cm en todos sus lados y unido a unas uniones largas de 20 cm harían el cuerpo del avion.
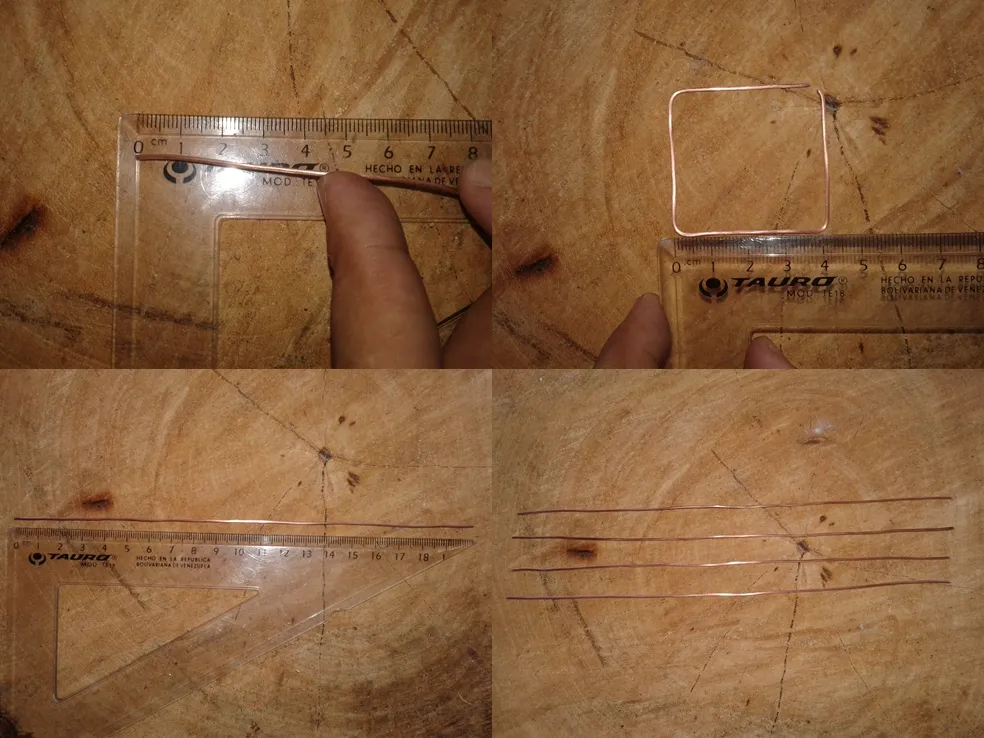
For the wings take a make a rectangle 3cm wide by 10 long. I made 4 of this, but the one above is a bit longer because it includes the width of the plane's body.
Para las alas tome un fabrique un rectángulo de 3cm de ancho por 10 de largo. De este hice 4, pero la de arriba es un poco mas larga porque incluye el ancho del cuerpo del avión.
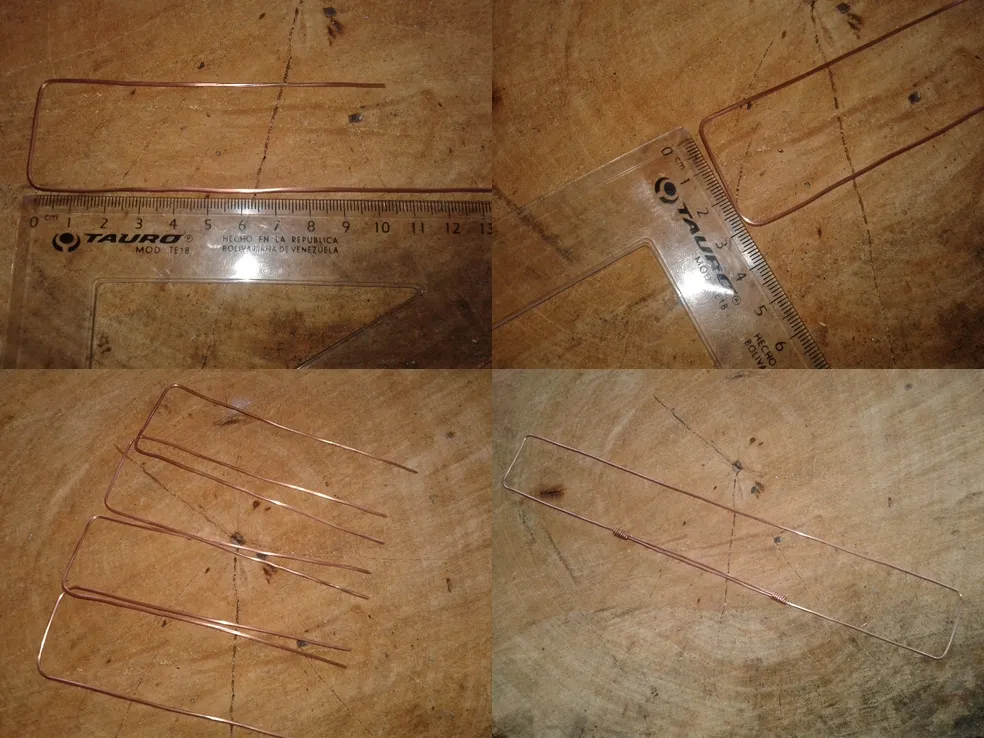
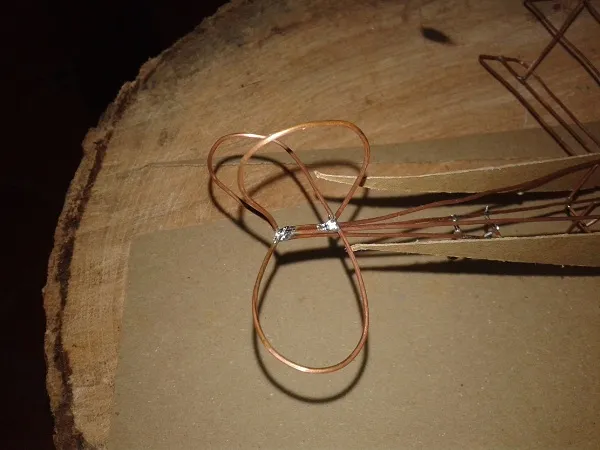
I joined the wings and the fuselage of the plane and proceeded to make it its tail.
Uní la alas y el fuselaje del avión y procedí a hacerle su cola.
For the Exterior I will use glossy papers in the colors white, black and red. But before this step I will join the motor and battery to the fuselage.
Para el Exterior utilizare los papeles lustrillo de los colores blanco, negro y rojo. Pero antes de esta paso uniré al fuselaje el motor y la batería.

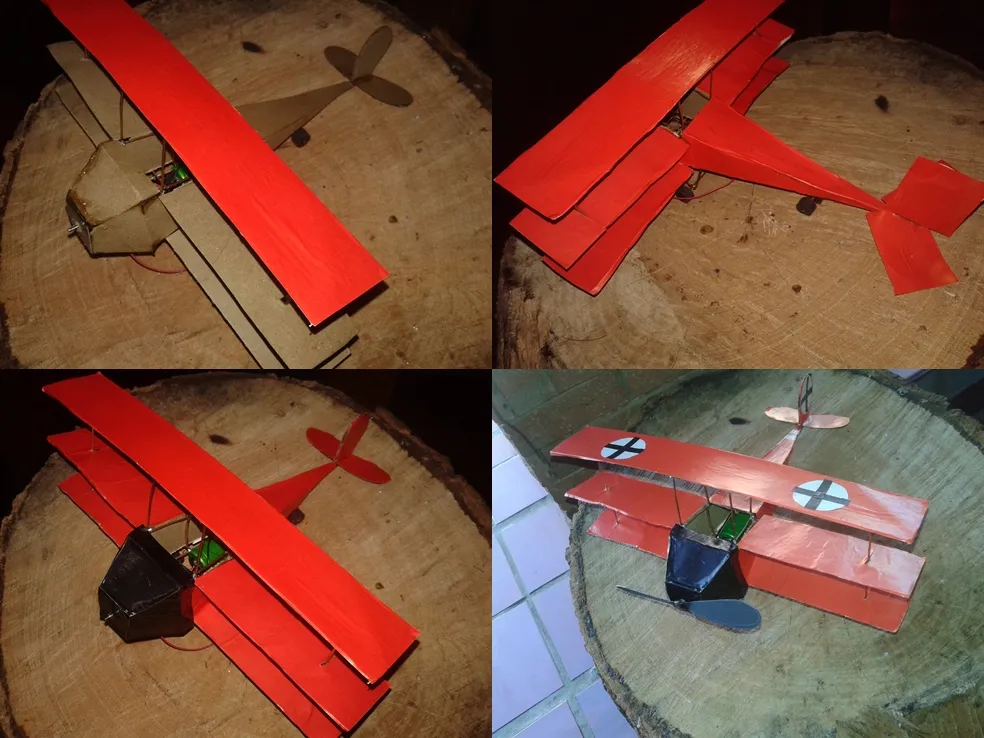
Joined the batteries and the engine, begins the process of Reinforcing the skeleton of the plane with its respective exterior finish (in a serious car, the brass)
Unida las batería y el motor, comienza el proceso de Reforzar el esqueleto del avión con sus respectivo acabado exterior ( en un carro seria, la latoneria).
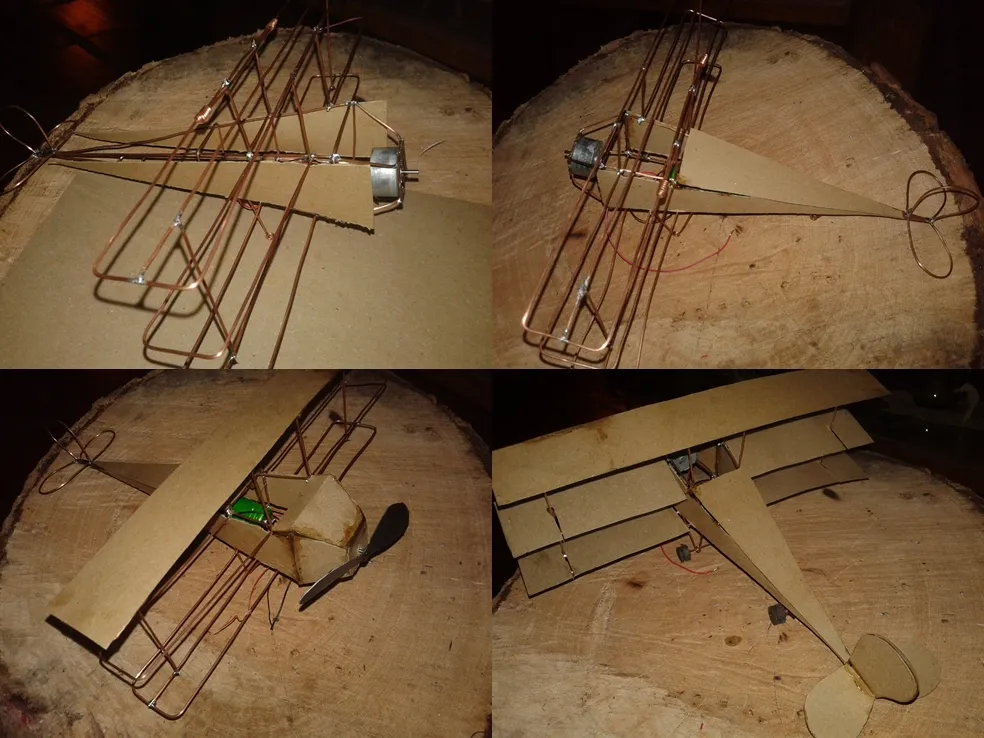
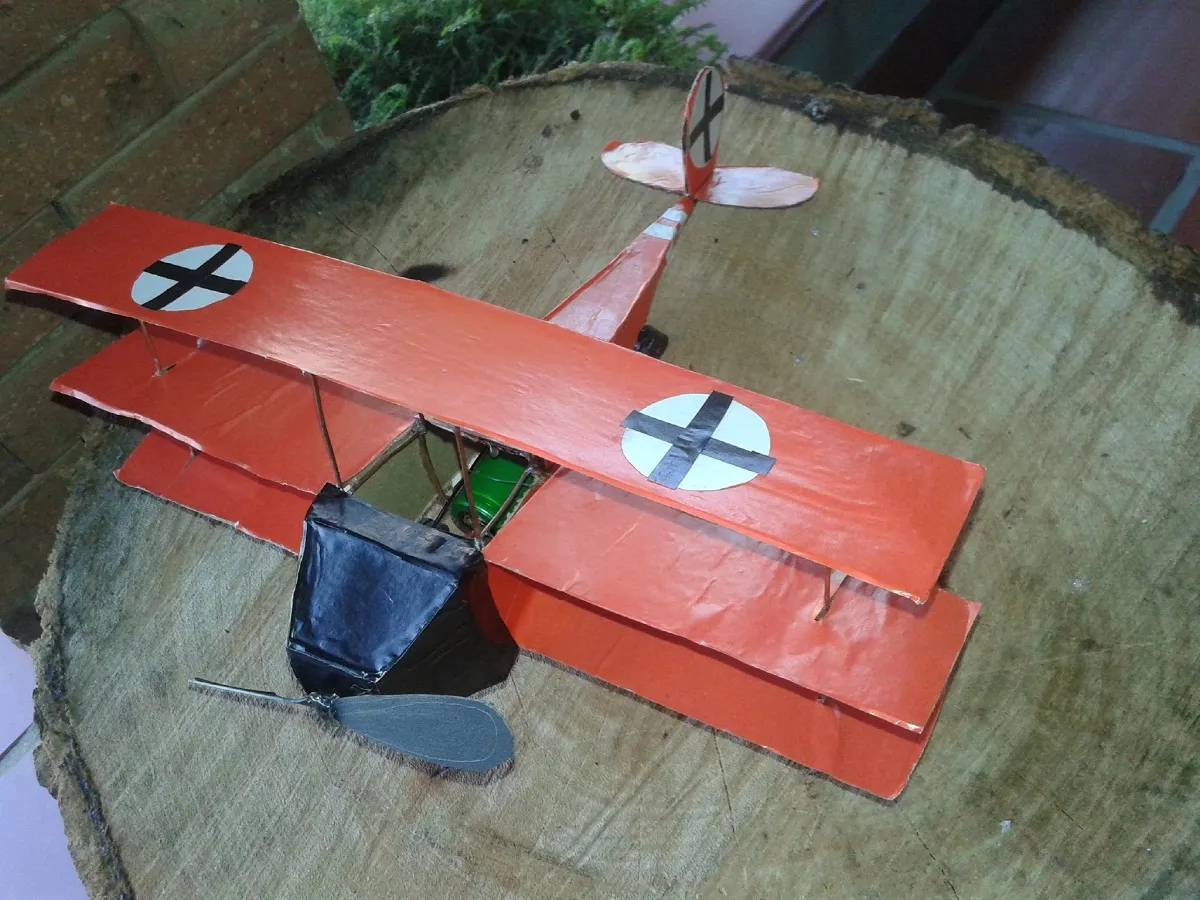
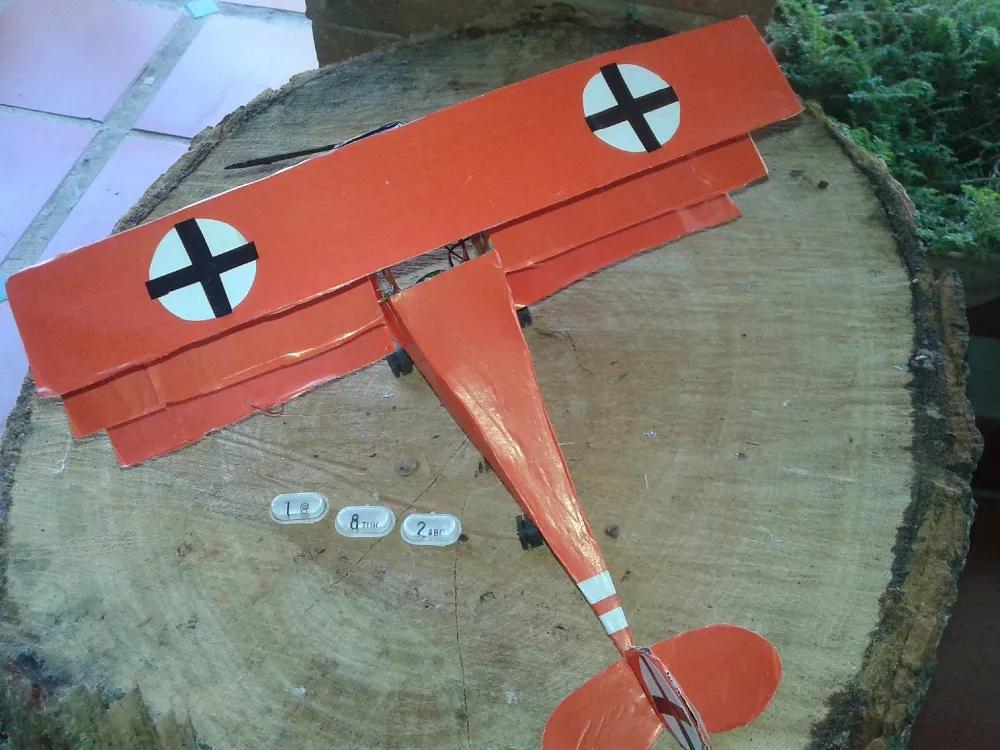
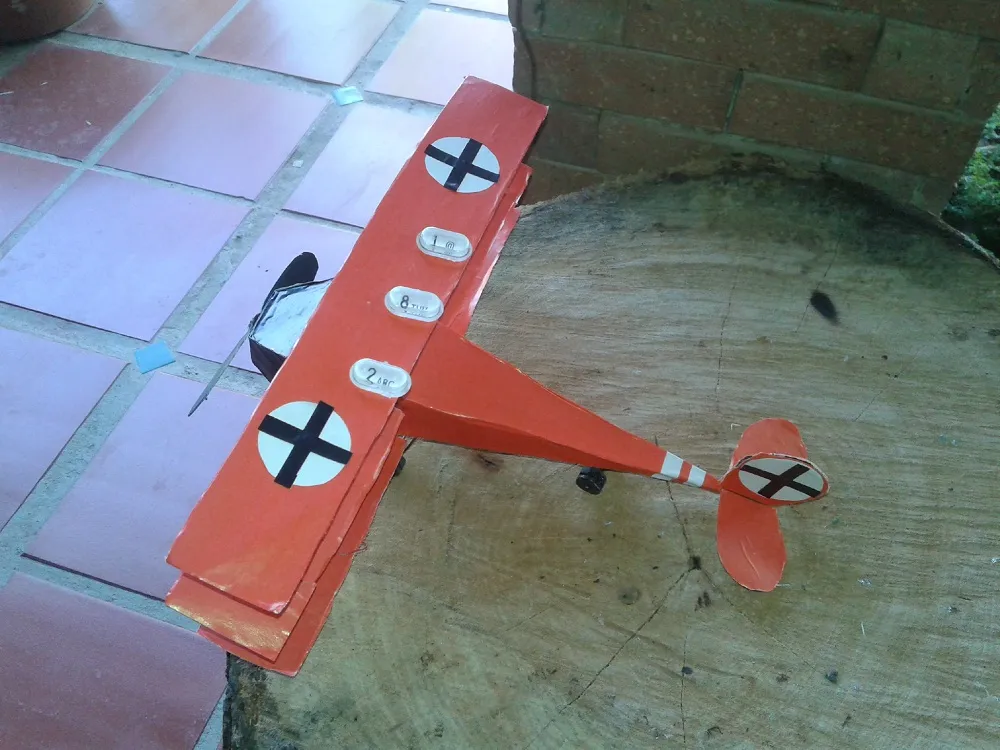
Once the process of the outer layers with the soft cardboard is finished, the gluing of the colors and the final details, such as the shields, begins and color the entire plane.
Terminado el proceso de las capas exteriores con el cartón suave, empieza el pegado de los colores y de los detalles finales, como los escudos, y poner color a todo el avión.
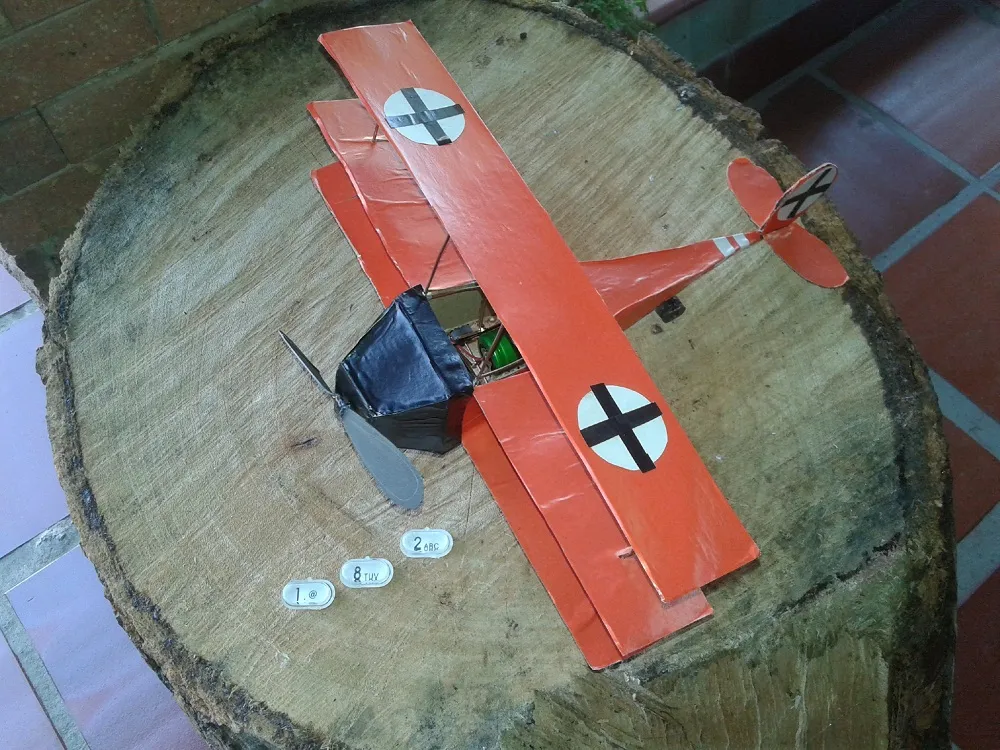
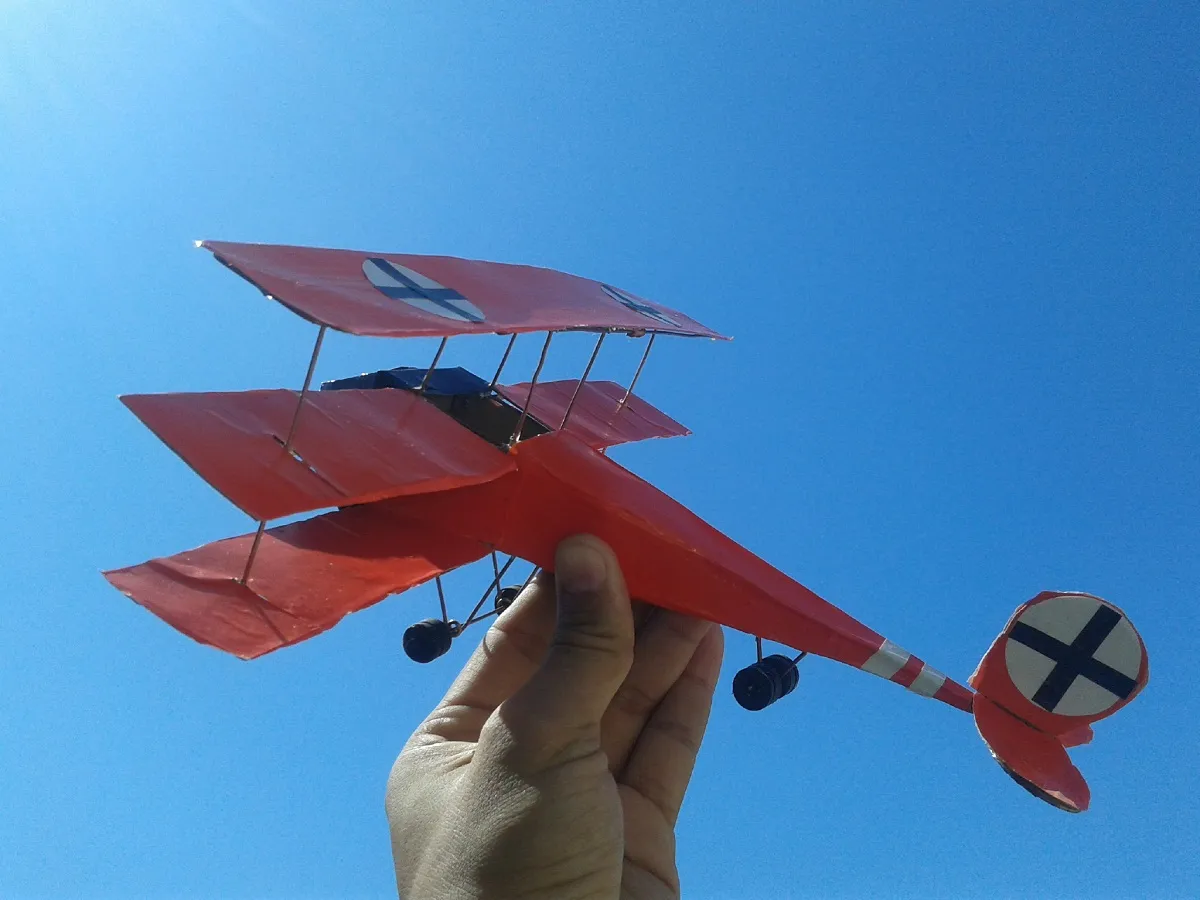
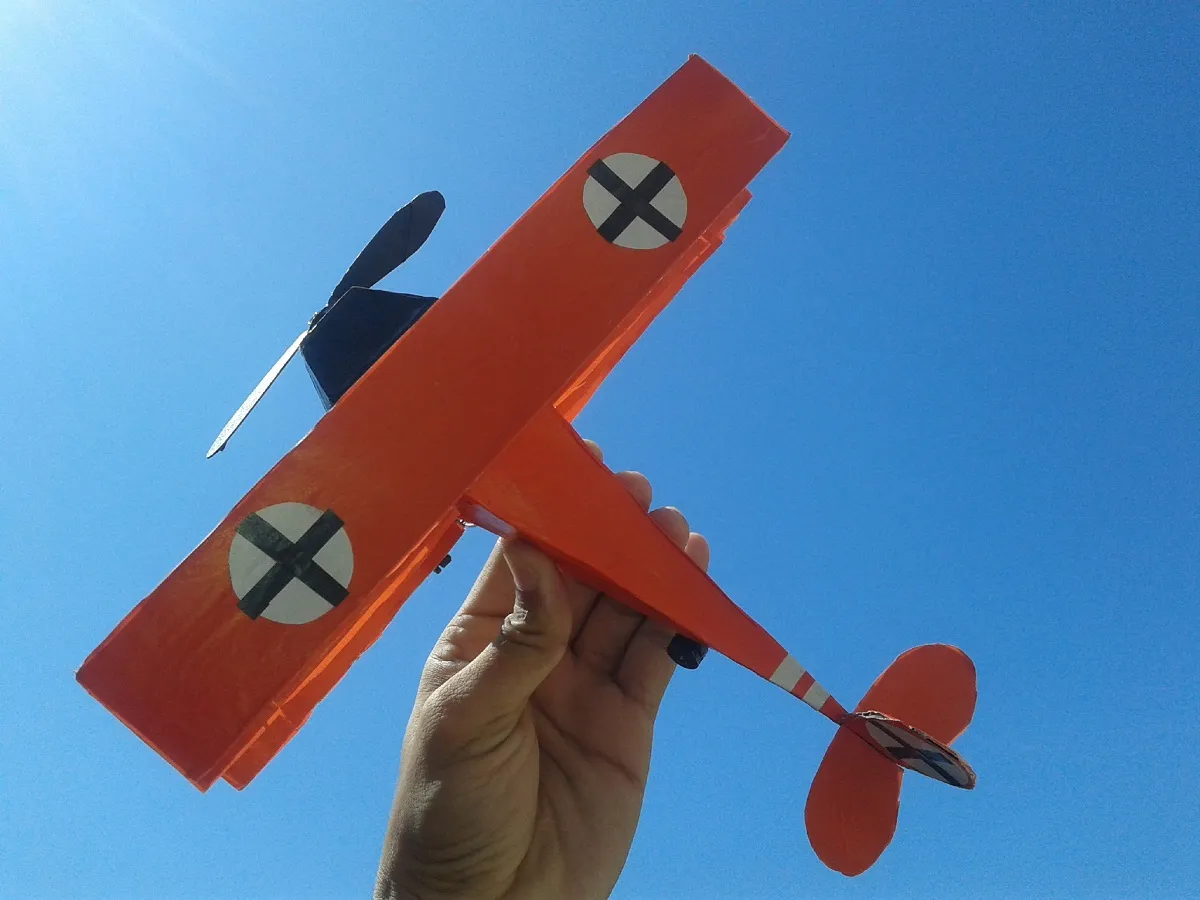
Once the entire plane is assembled and with its respective details, you can put a small switch inside the fuselage, assemble your circuit and turn on the engine of your plane and take to the skies.
Ya armado todo el avión y con sus respectivos detalles puedes poner un interruptor pequeño por dentro del fuselaje, armar tu circuito y encender el motor de tu avión y surcar los cielos.
Note for the wheels of the plane use four cylindrical rubbers, recycled from the suspensions of the dvd player and join them to make a system of wheels to the fuselage of the plane
Nota para las ruedas del avión utilice Cuatro gomas cilíndricas, recicladas de las suspensiones del reproductor de dvd y las uní haciendo un sistema de ruedas al fuselaje del avión
I hope you like this Design, it is humble and the first one I do, but I tried to make the best possible thing to be able to share it.
Espero les guste este Diseño, es humilde y el primero que hago, pero trate de que quedara lo mejor posible para poder compartirselas.
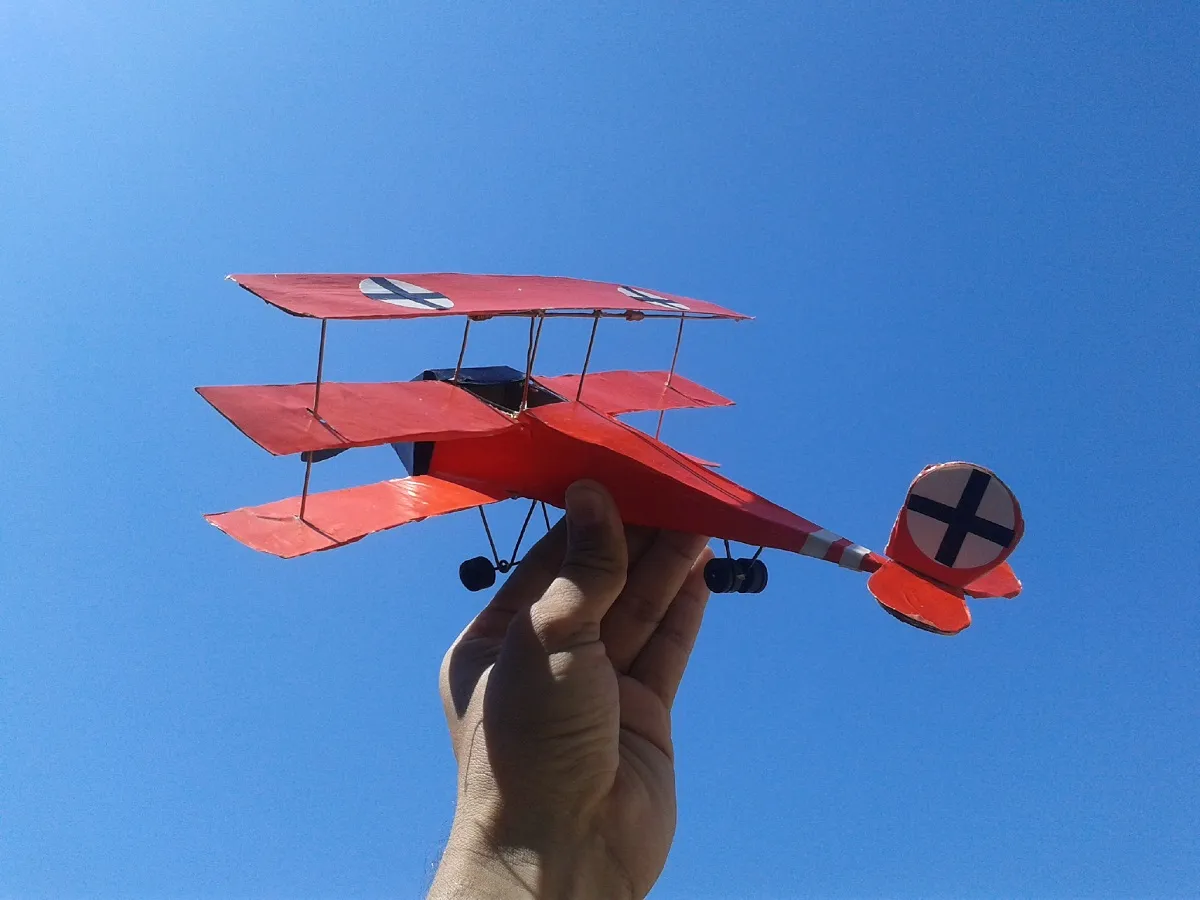
Take care Baron, Mac Artur is coming for you !!!!!
Cuidadon Baron , Mac Artur Viene por ti!!!!!
All photos are my property, taken with my Samsung GT-I9063T phone.
Todas las fotos son de mi propiedad, tomadas con mi Teléfono Samsung GT-I9063T.