❣️ Bienvenidos a mi blog!❣️
Hola mis hivers amigos! Bendiciones para todos! Cómo la están pasando el día de hoy? Hoy les traigo el tutorial de cómo elaborar un hermoso y llamativo recipiente para guardar huevos hecho con material de provecho. Acompáñame hasta el final! 😇
Hello my hivers friends! Blessings for all! How are you doing today? Today I bring you the tutorial on how to make a beautiful and eye-catching egg storage container made with useful material. Join me until the end! 😇
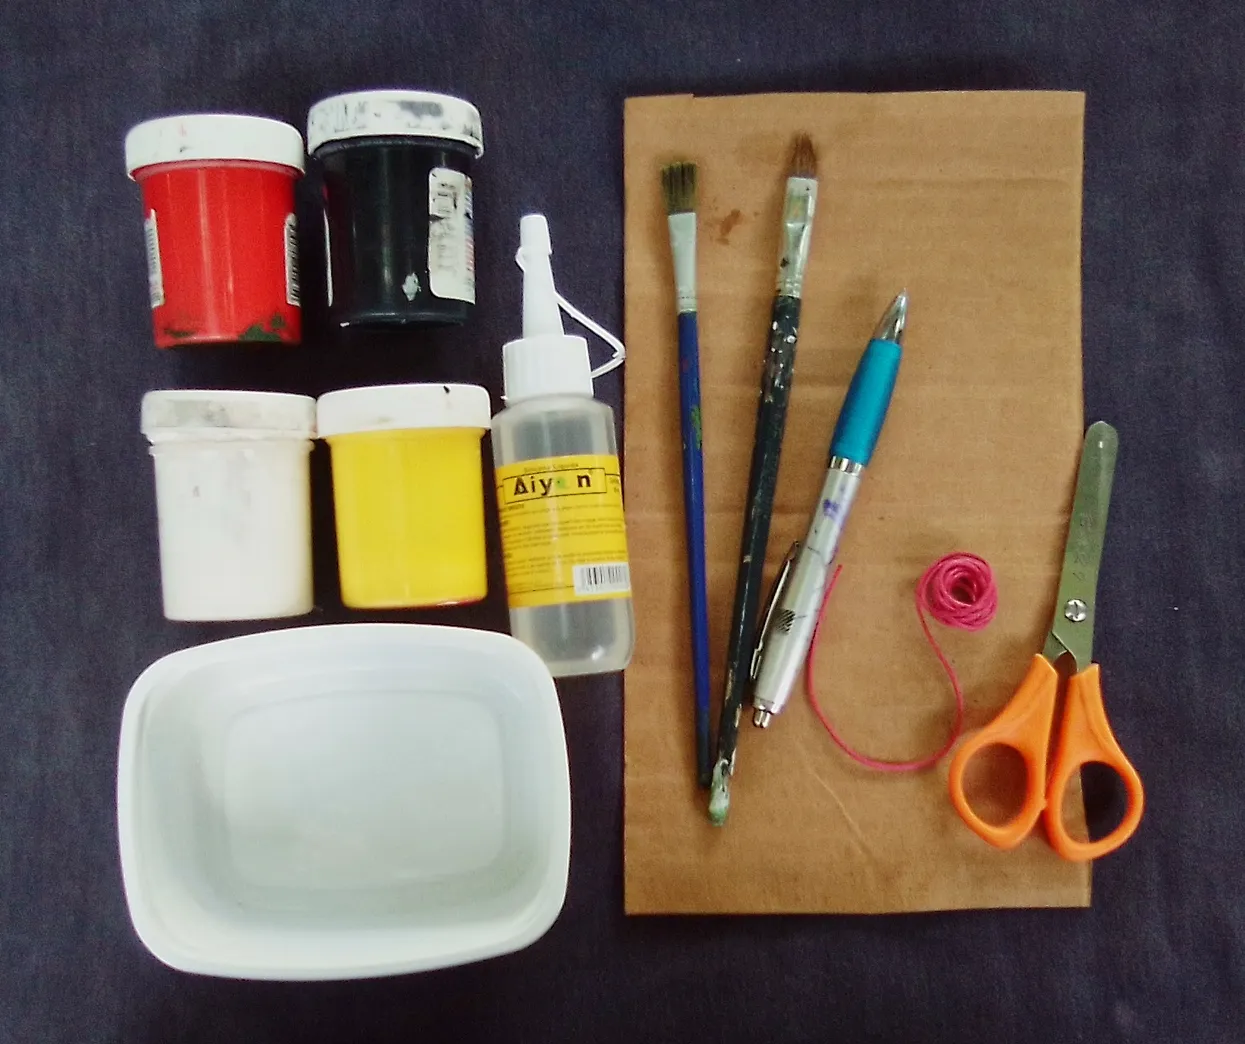
Materiales: // Materials:
- Papel cartón
- Envase plástico de margarina
- Hilo rosa
- Pintura blanca, negra, roja y amarilla
- Pincel
- Bolígrafo
- Silicón
- Tijera
- Cardboard paper
- Plastic container of margarine
- Pink thread
- White, black, red and yellow paint
- Brush
- Ballpoint
- Silicone
- Scissors
Manos a la Obra! // Let's do it!
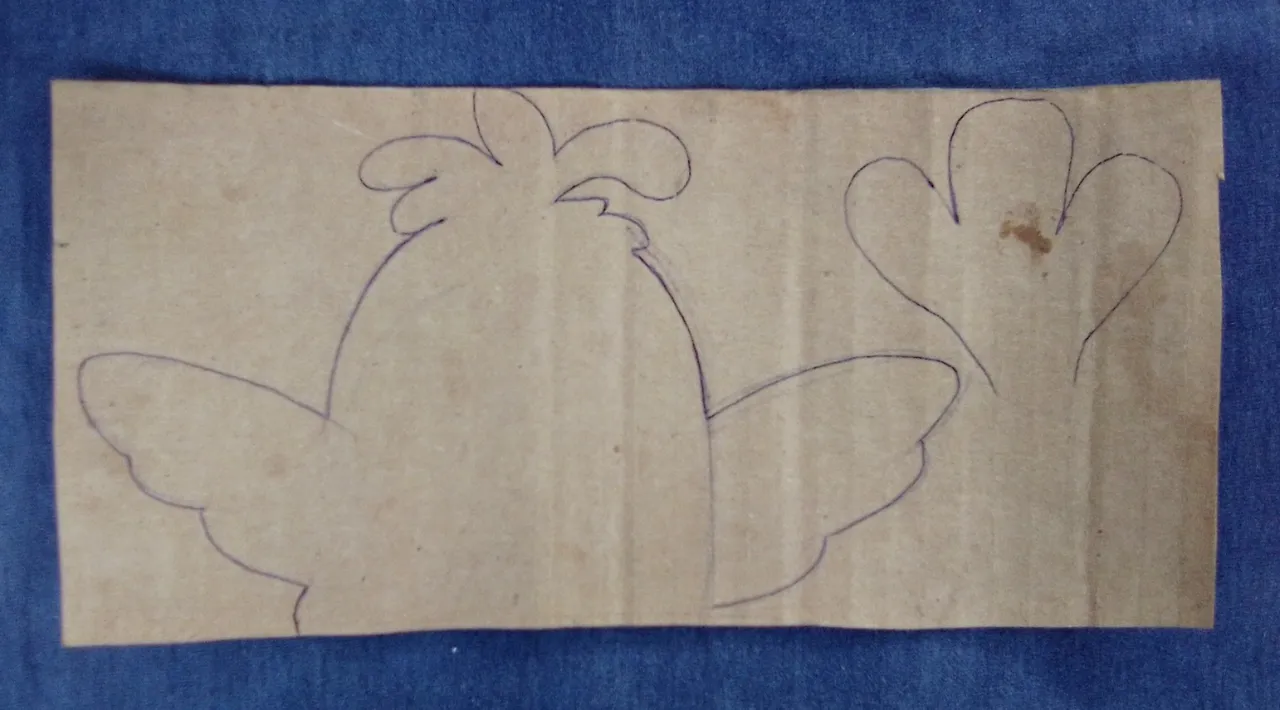
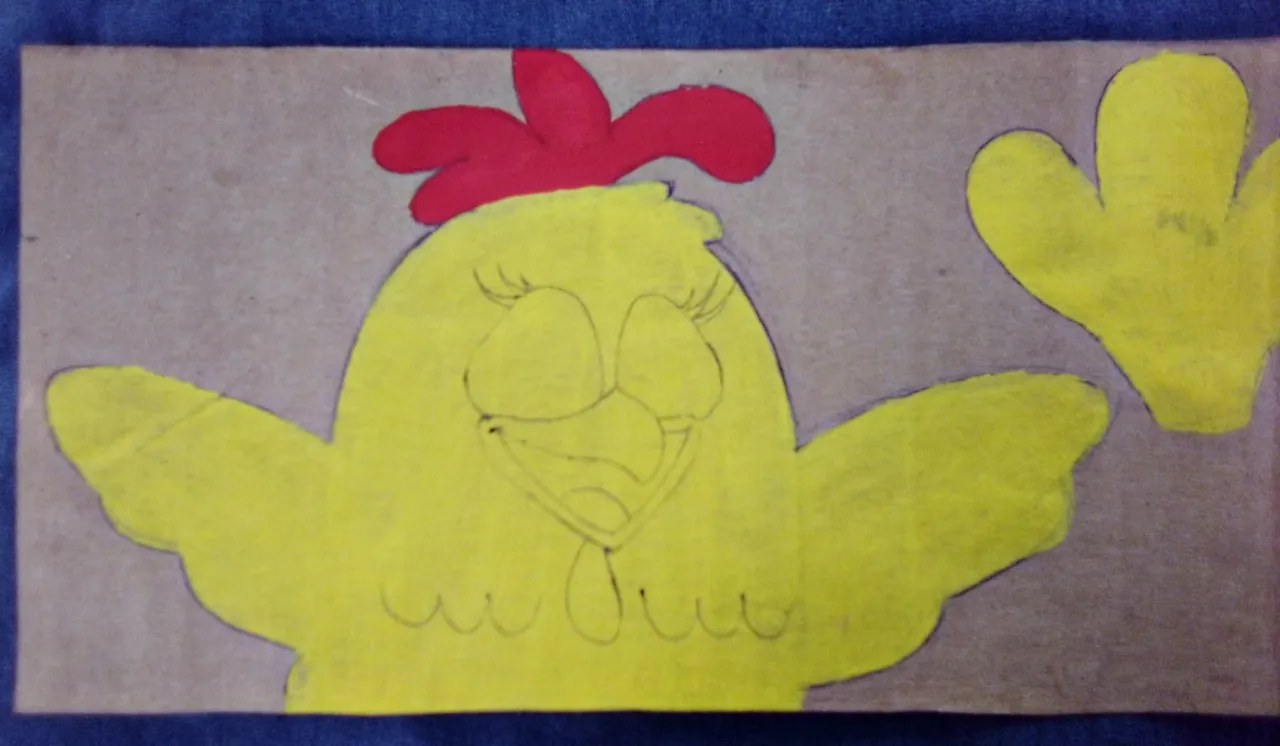
Paso 01: Trazaremos en el papel cartón la silueta y la cola de una linda gallina.
Step 01: We will trace on the cardboard the silhouette and the tail of a cute hen.
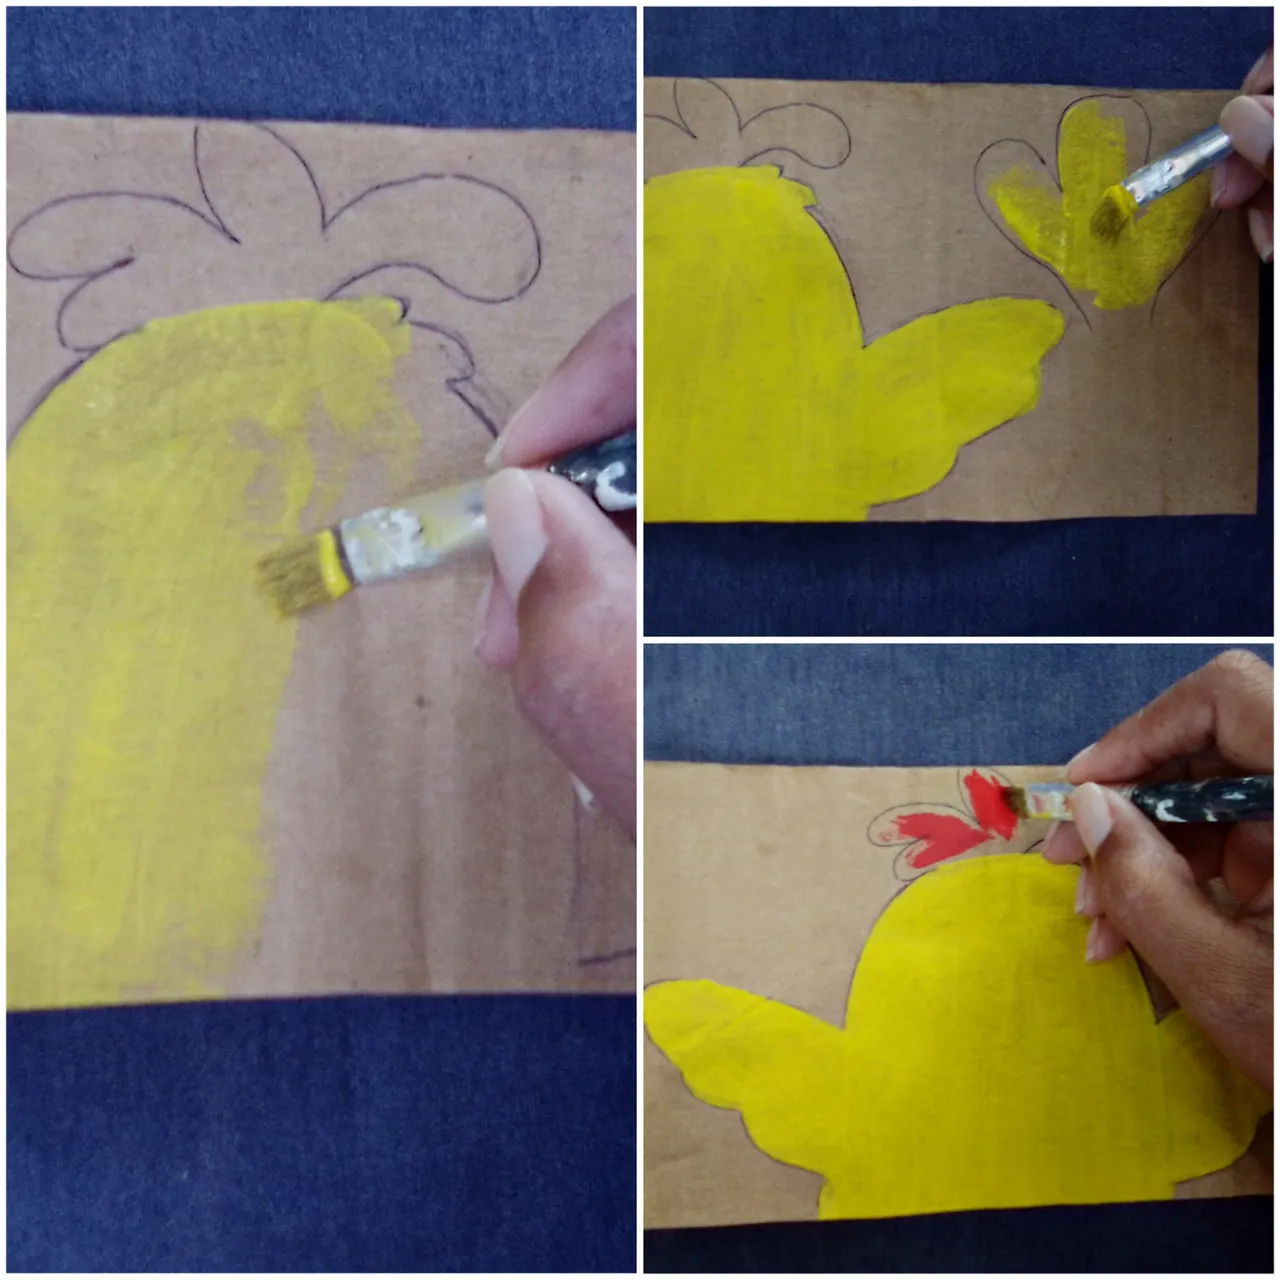
Paso 02: Comenzamos a pintar la linda gallina y su cola de color amarillo, la cresta de rojo.
Step 02: We begin to paint the cute hen and her tail yellow, the crest red.
Paso 03: Luego de haber pintado, dibujamos las expresiones de la linda gallina.
Step 03: After we have painted, we draw the expressions of the cute hen.
Paso 04: Pintaremos sus ojos y haremos detalles.
Step 04: We will paint your eyes and make details.
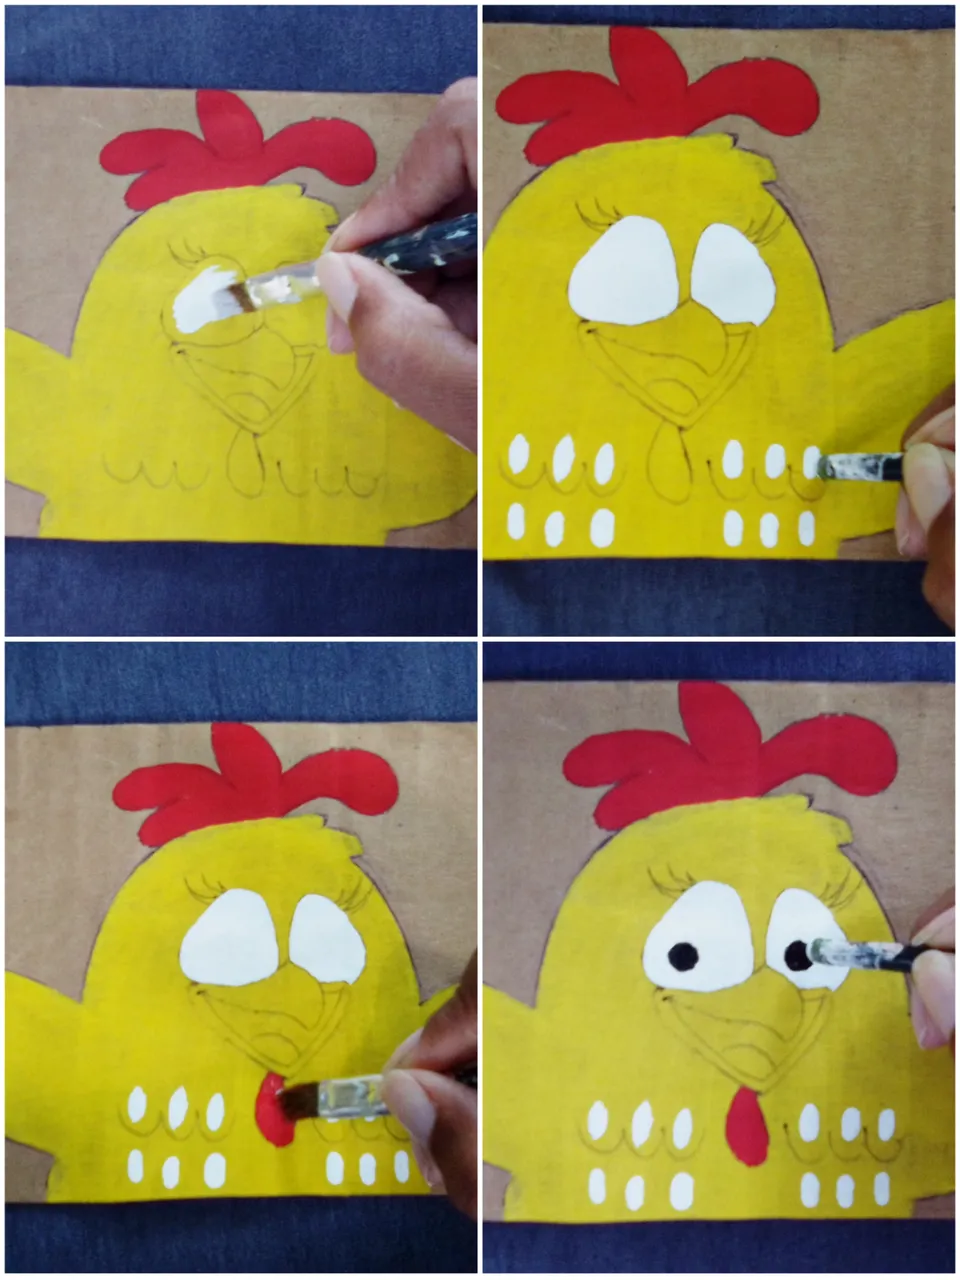
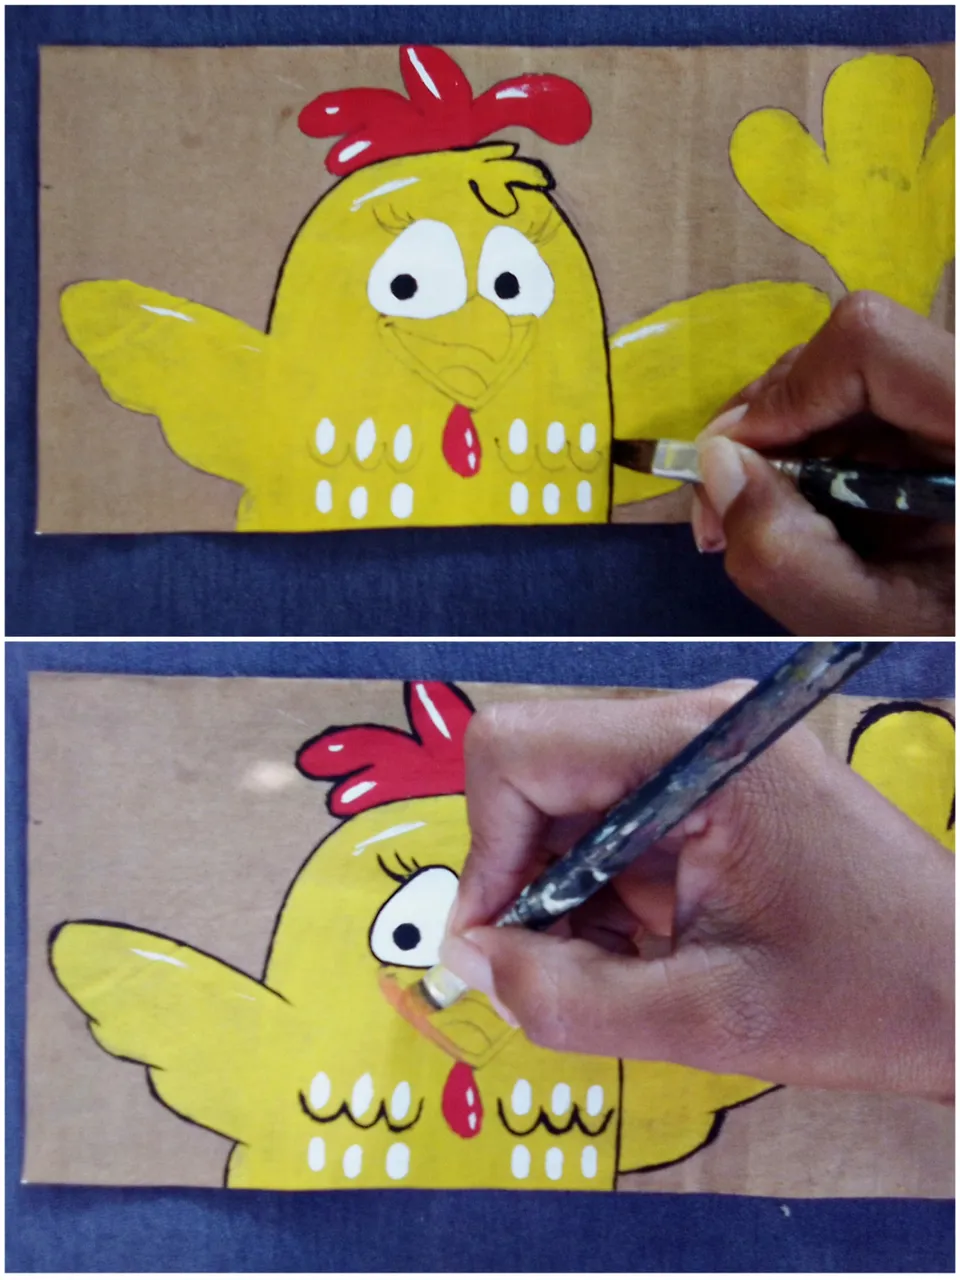
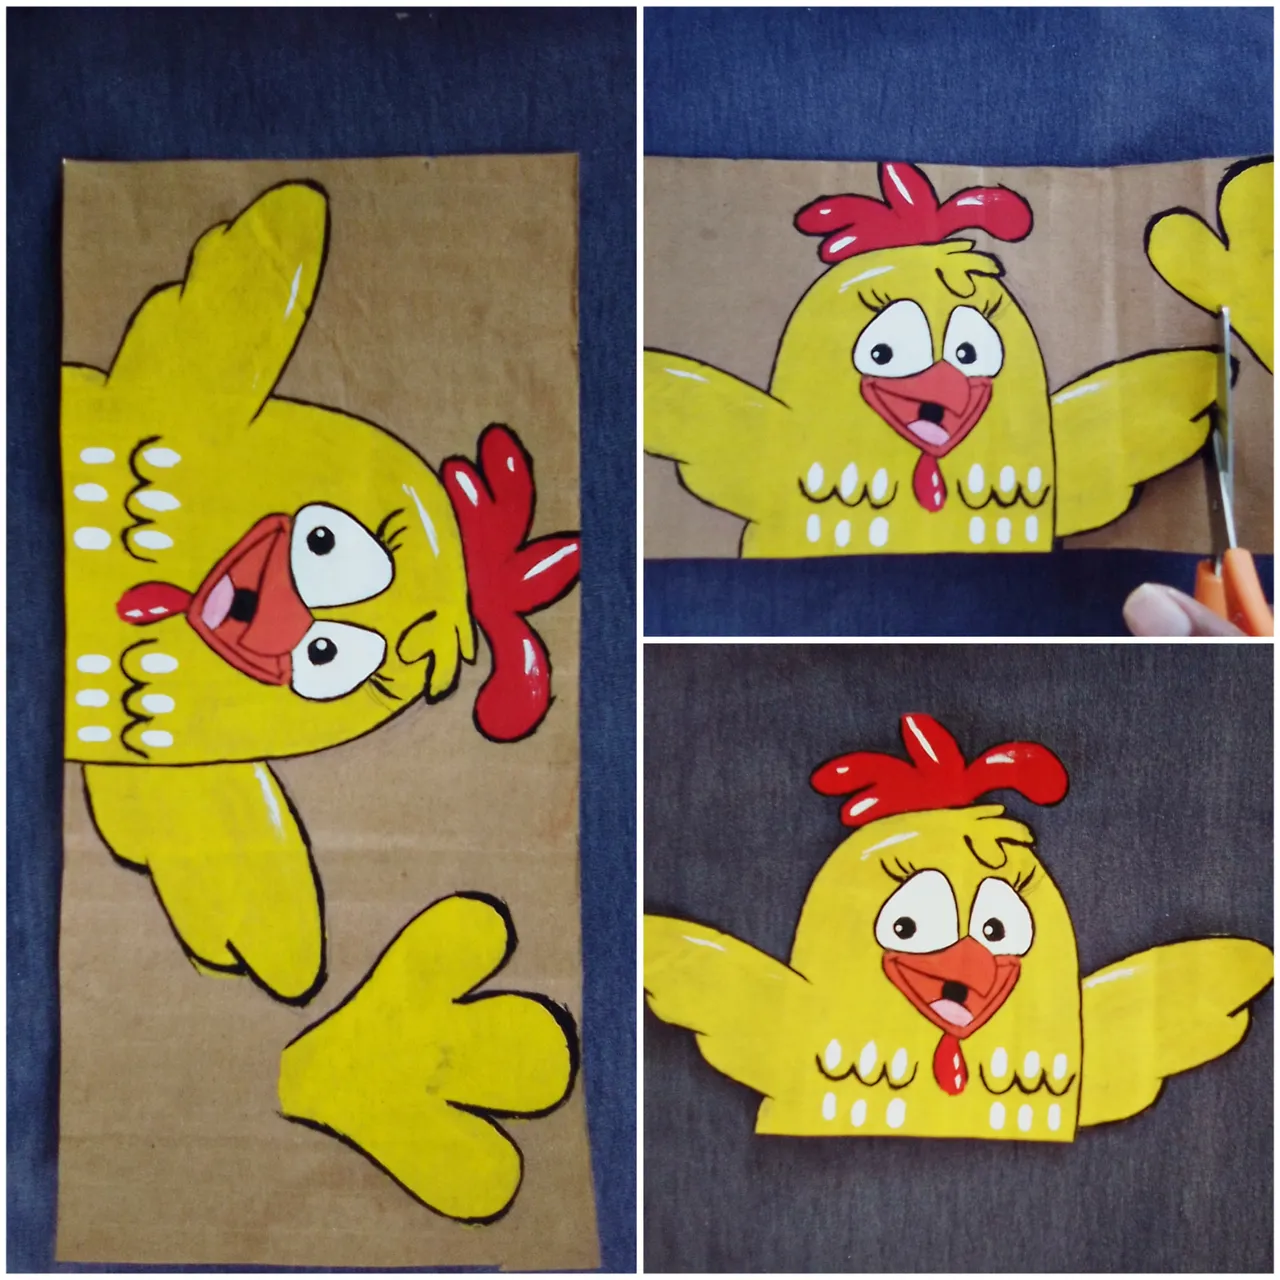
Paso 05: Delineamos la linda gallina con pintura negra y pintamos su pico.
Step 05: We outline the cute hen with black paint and paint its beak.
Luego recortamos!
Then we cut!
Paso 06: Pintamos los laterales del envase plástico de blanco y pegamos en la parte delantera la linda gallina y en la parte trasera la cola.
Step 06: We paint the sides of the plastic container white and stick the cute hen on the front and the tail on the back.
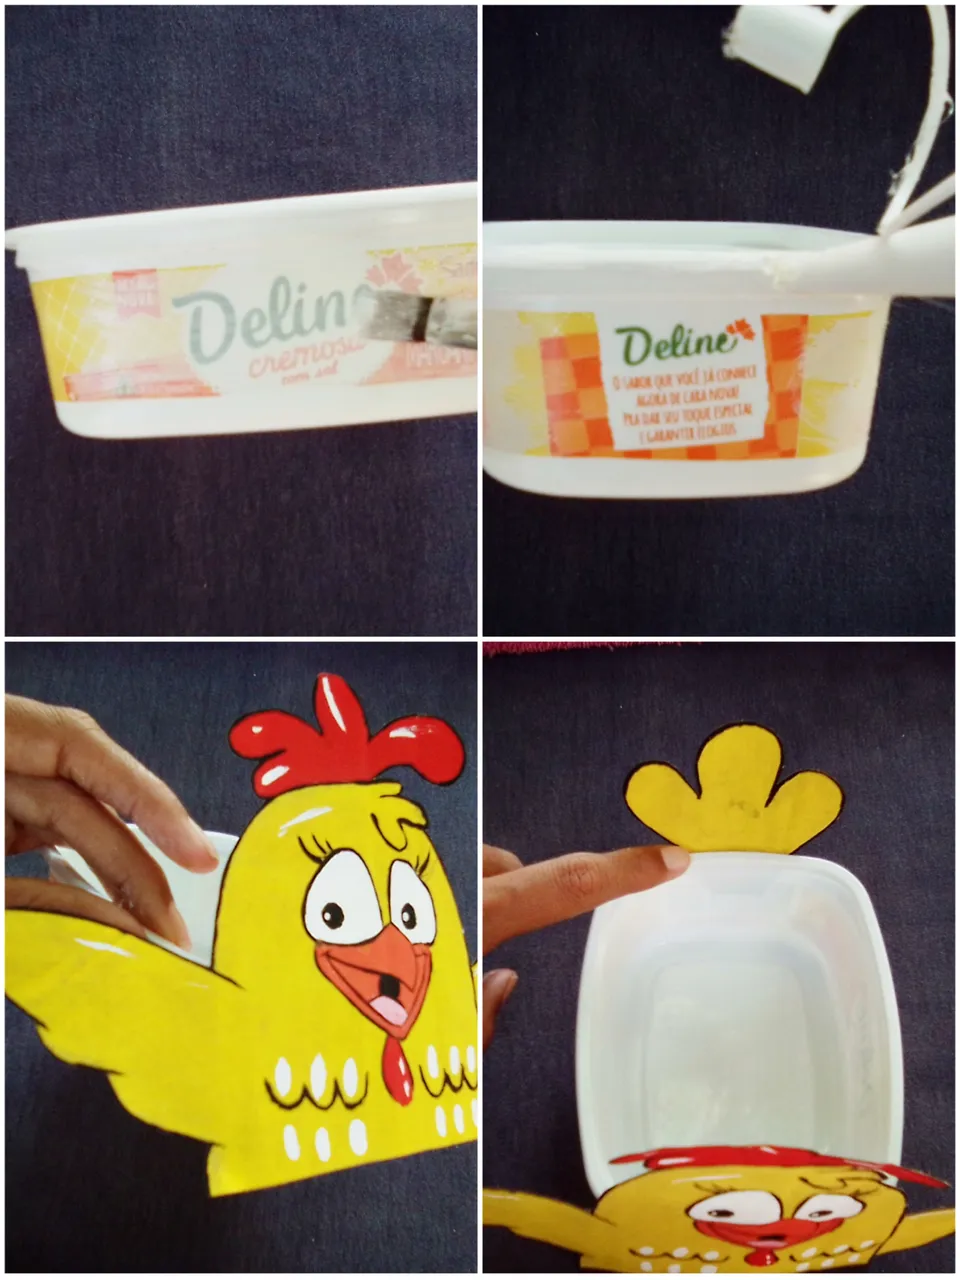
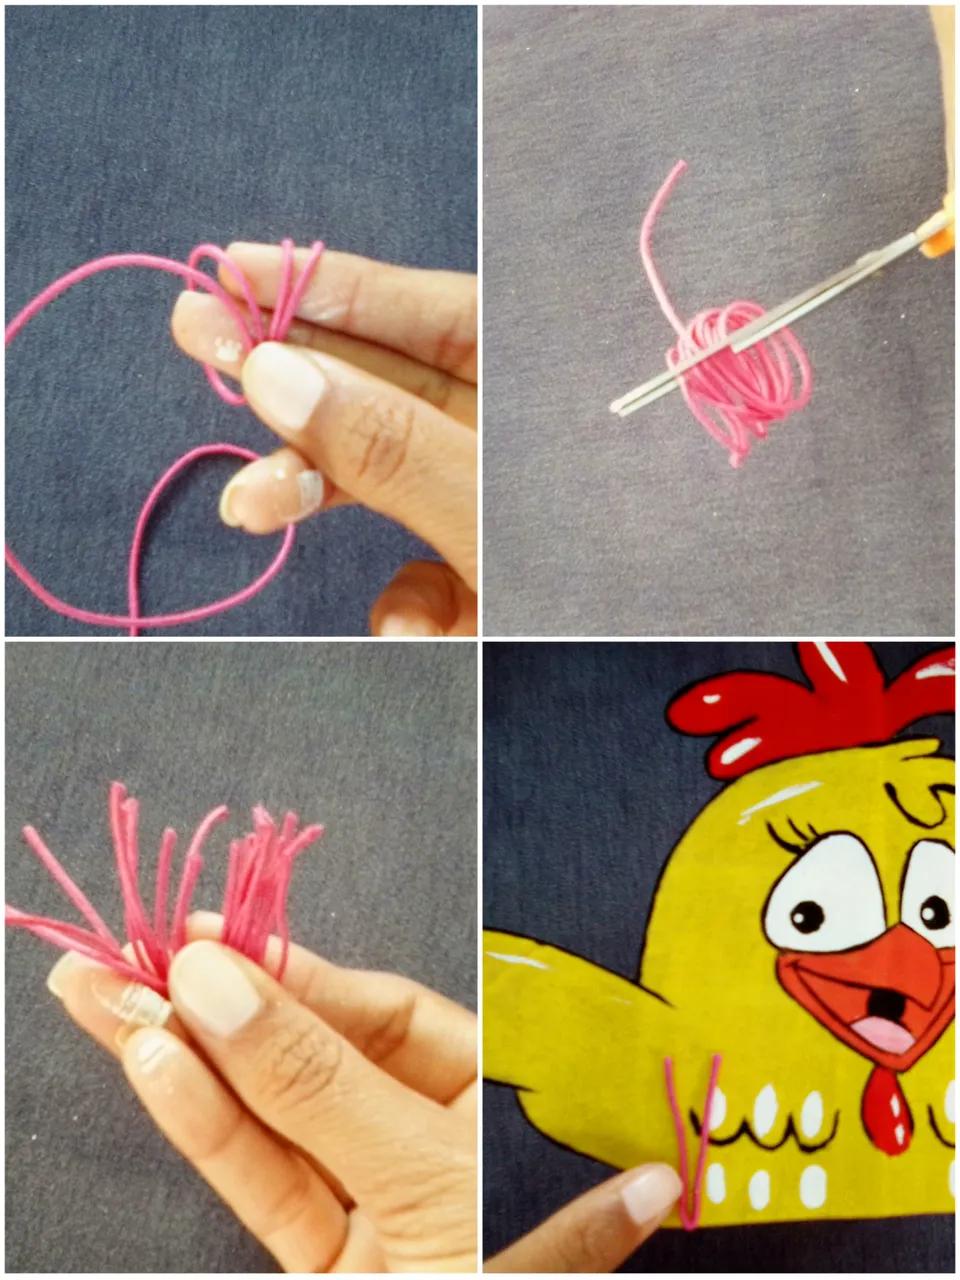
Paso 07: Lo último que harás será tomar el hilo rosa y lo enrollamos en nuestros dedos, con la tijera picaremos. Lo usaremos para decorar la parte delantera.
Step 07: The last thing you will do is take the pink thread and wrap it around our fingers, with the scissors we will chop. We will use it to decorate the front.
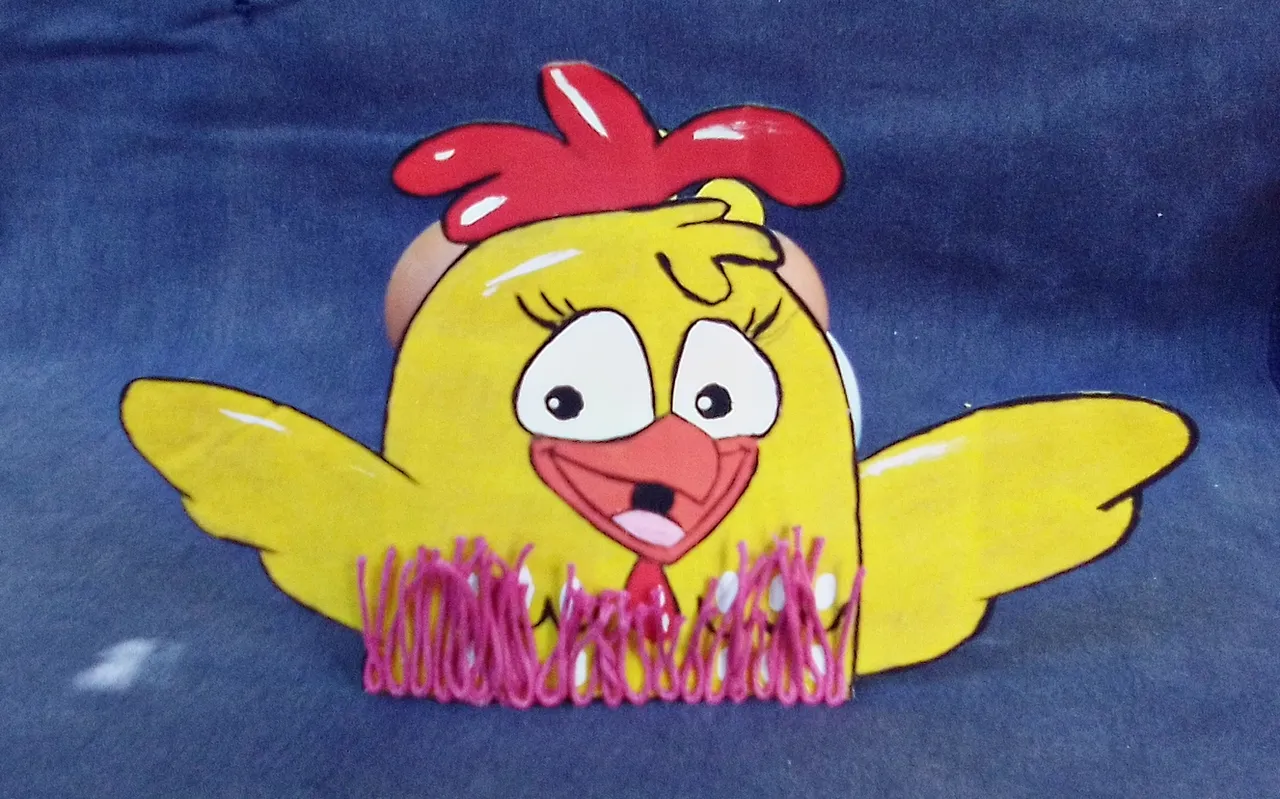
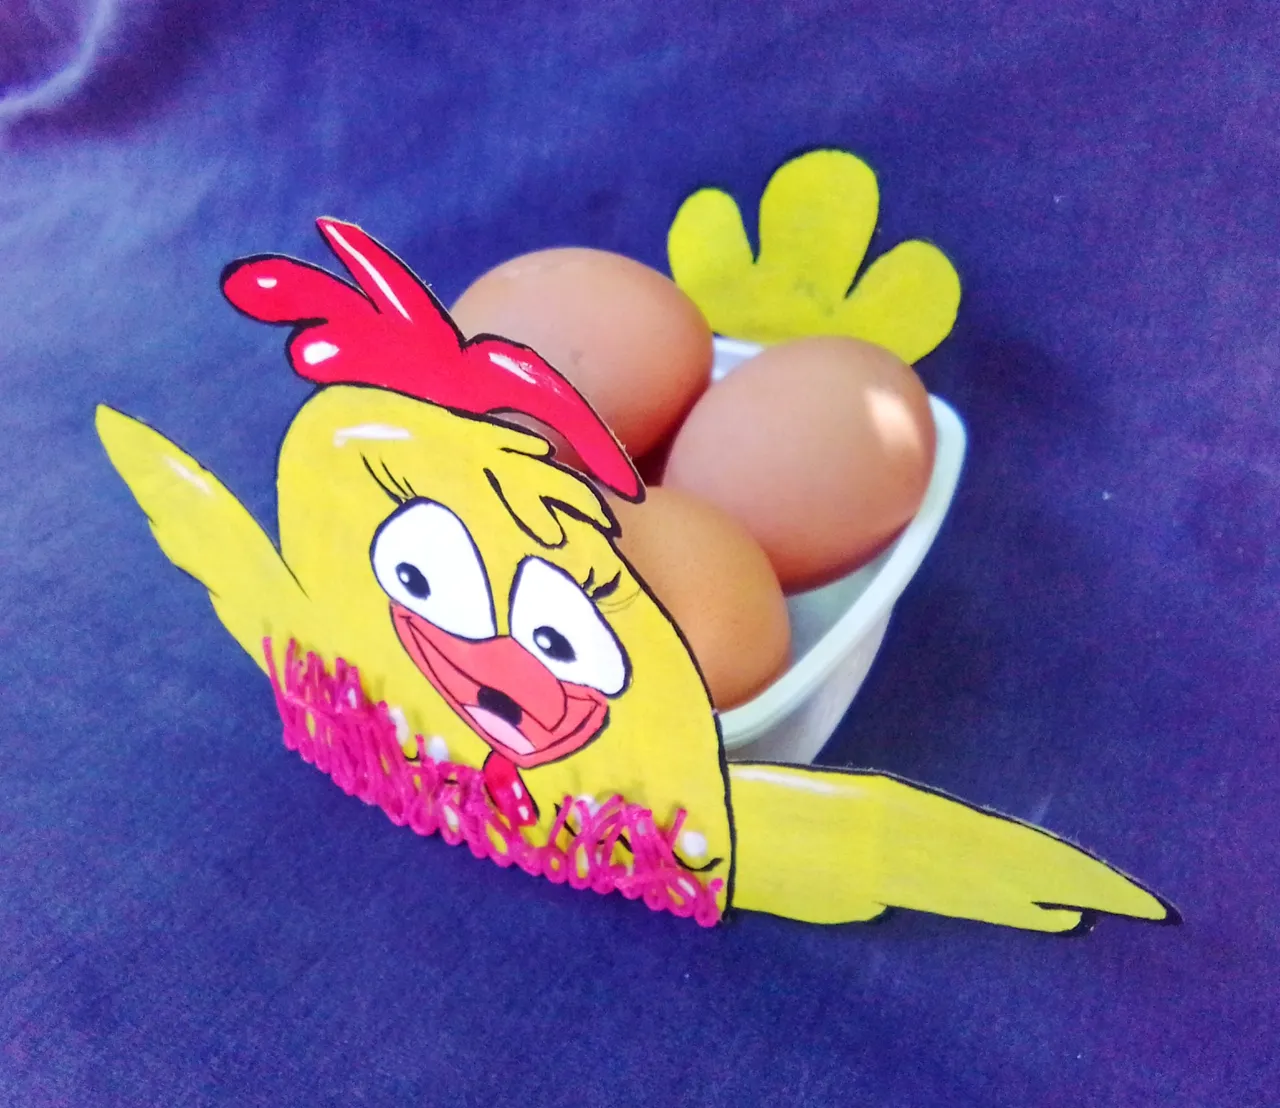
😍 Resultado: // Outcome! 😍
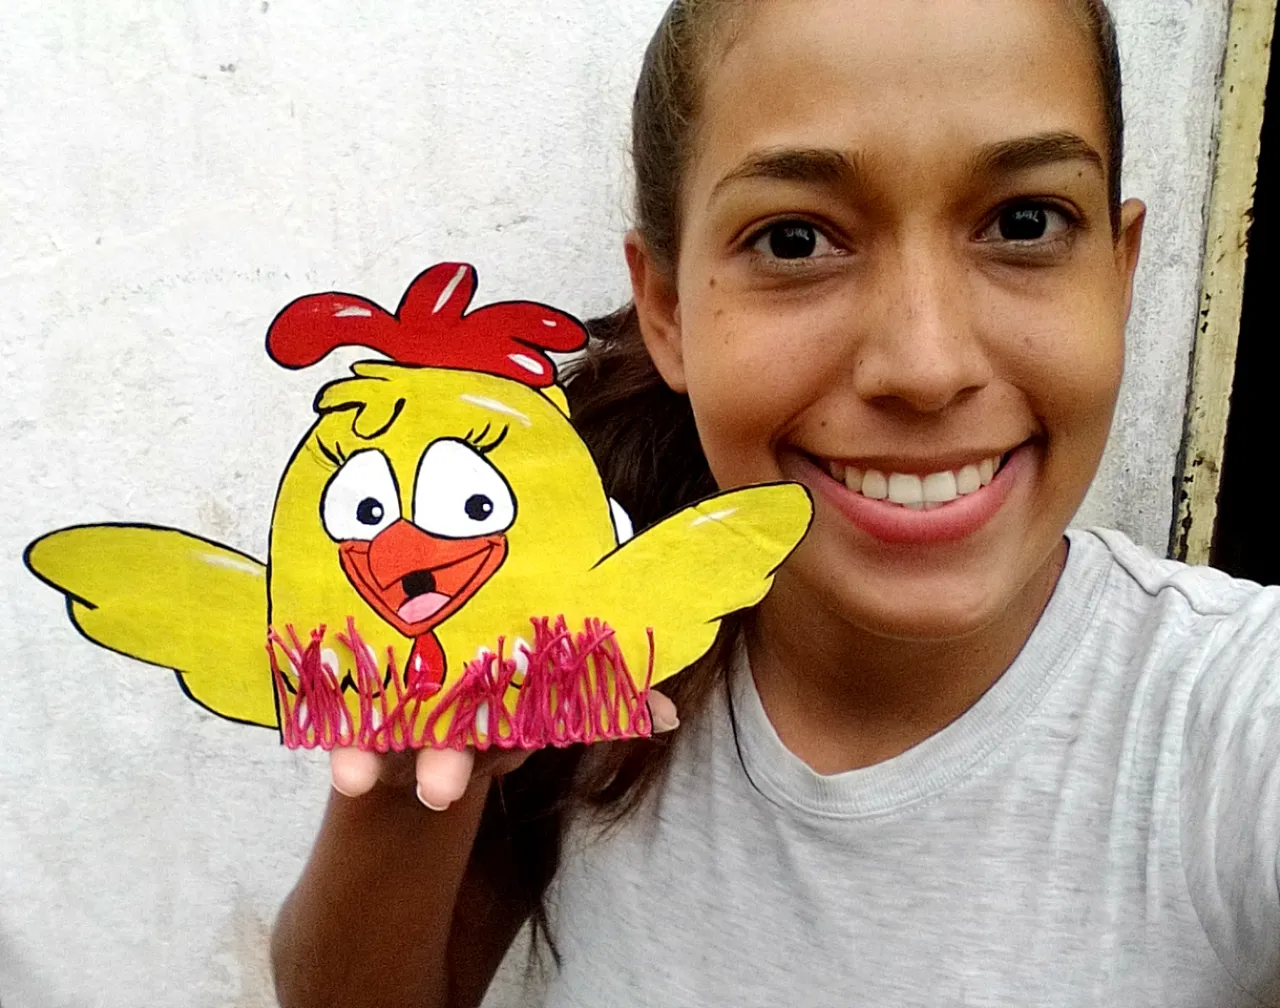
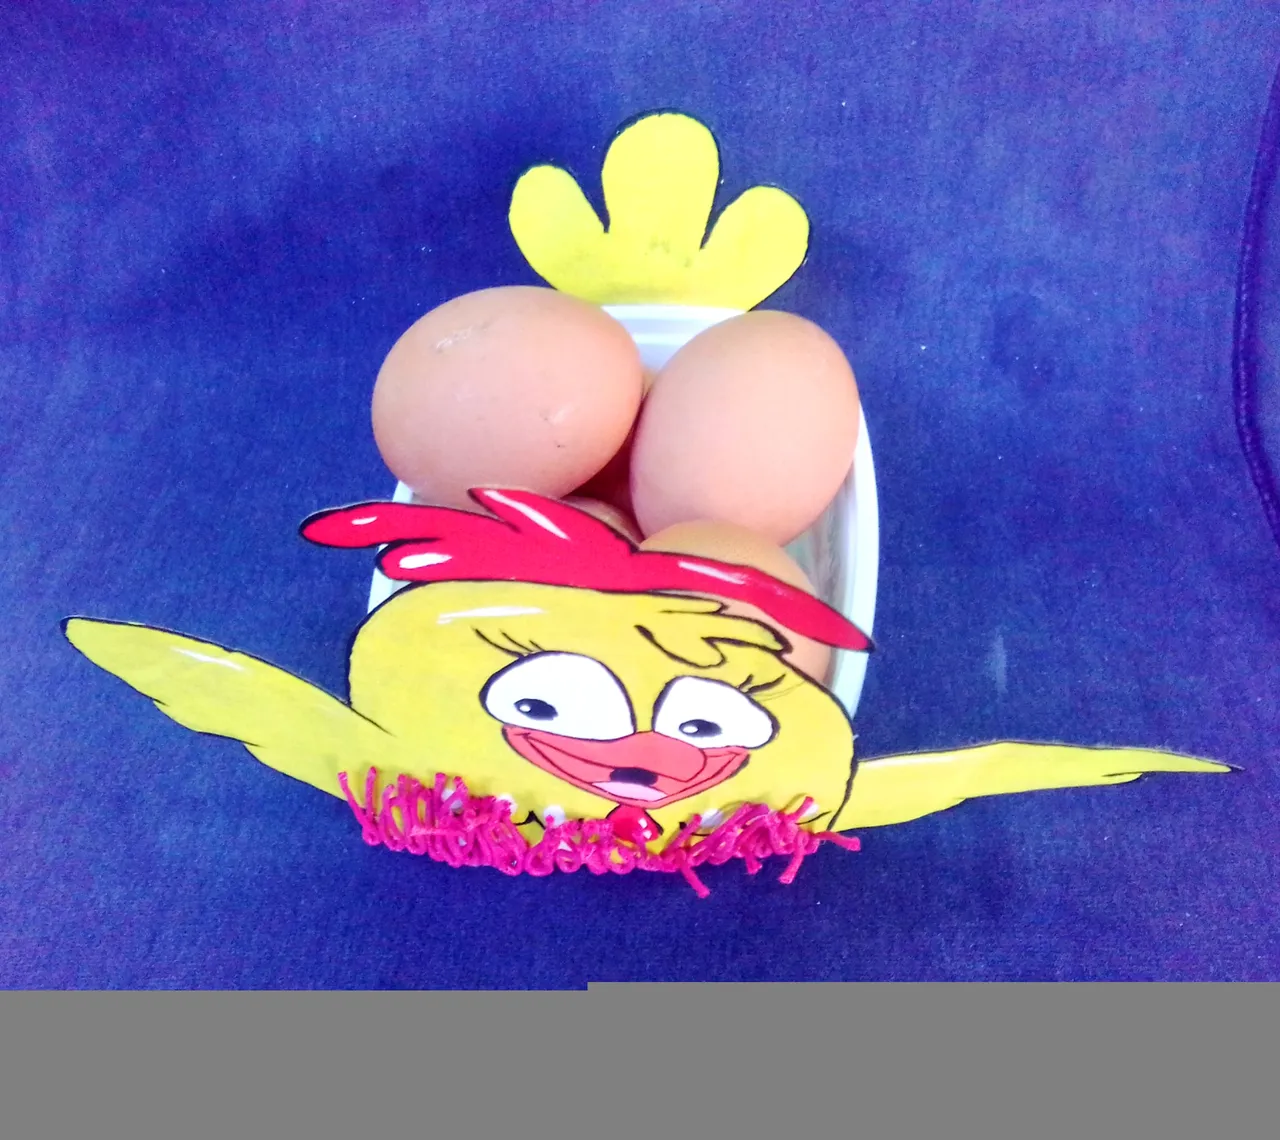
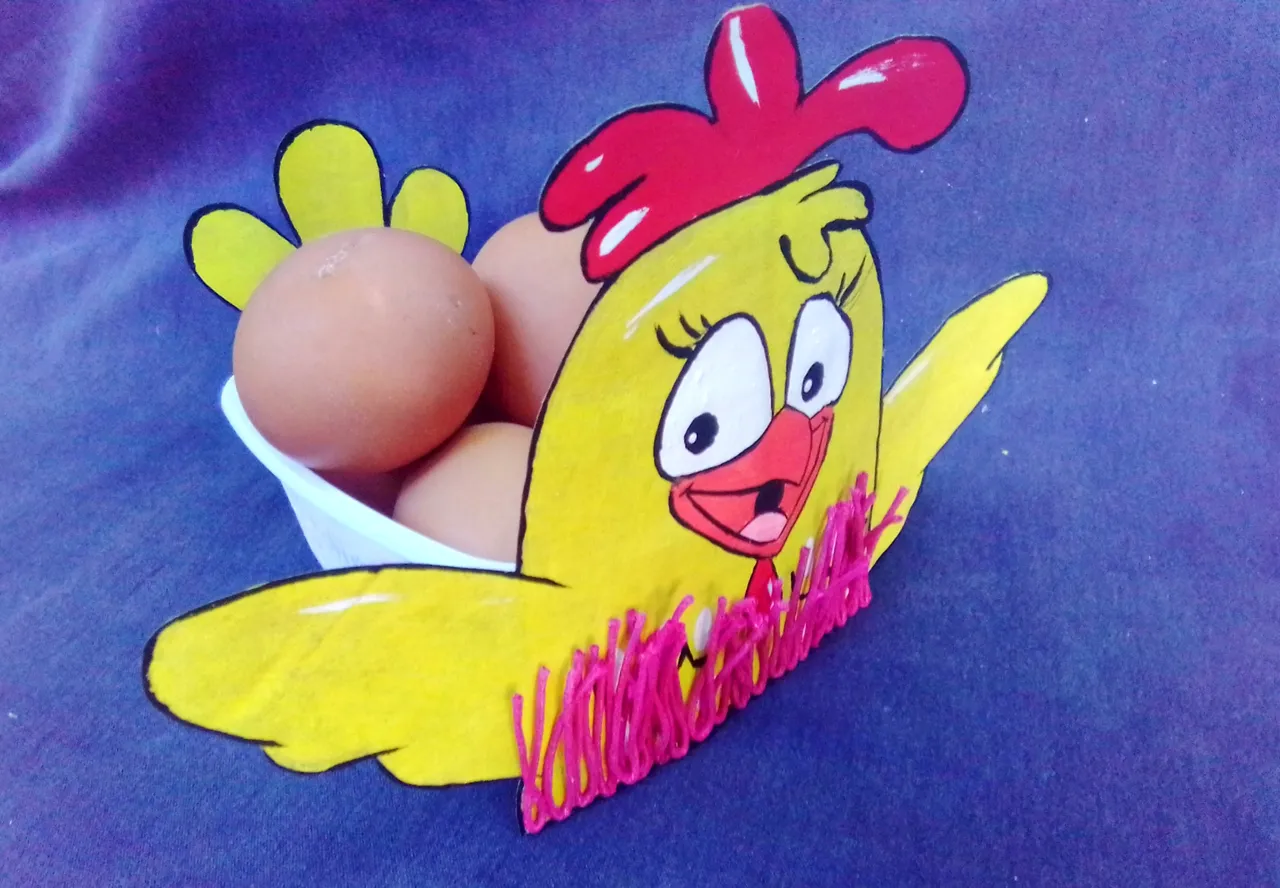
Mis amores, aquí les muestro el hermoso resultado de éste recipiente decorativo para guardar huevos. Espero te haya gustado!
My loves, here I show you the beautiful result of this decorative container to store eggs. I hope you liked it!
🥰Gracias por leerme hasta el final! 🥰
Un fuerte abrazo desde la distancia! Dios te bendiga y te guarde! Hasta el próximo post! @riversmm95
A big hug from a distance! God bless you and guard you! Until the next post! @riversmm95