Everyone who grows their own veg have different favourite recipes they turn to when they experience that first world problem of a glut 😂
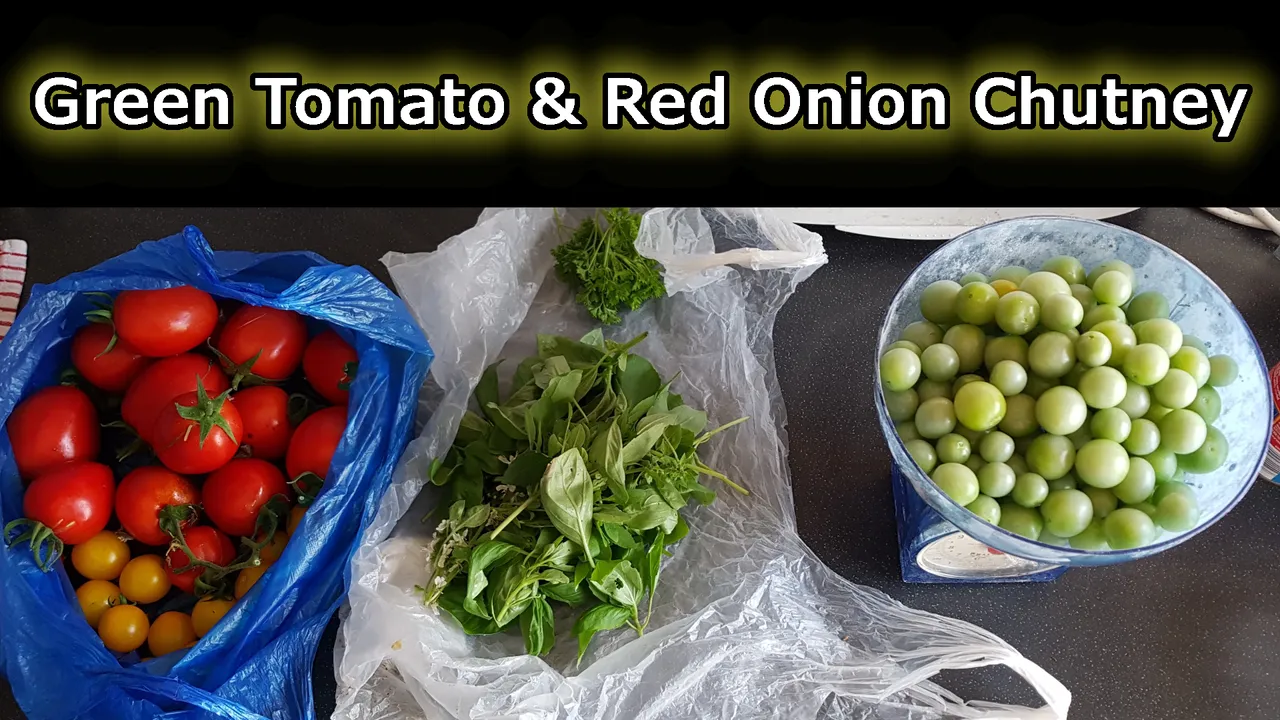
Many allotment keepers and homesteaders know the disappointment of planting their tomato plants too late and ending up with a glut of green tomatoes at the end of the season.
Last week I discovered one of my hanging basket tomato plants had blight, so I had to cull it from the greenhouse to prevent the blight from spreading. This left me with an overabundance of un-ripe green tomatoes.
Some people can stomach green tomatoes in a salad as a crunchy addition to their favourite leafy greens, but they are rather acidic compared to ripe tomatoes, and with my chronic gut condition they actually cause stomach cramping if I try to eat them raw.
So, one of my favourite ways to make sure I don't waste these green tomatoes is to make a rich and tangy Green Tomato & Red Onion Chutney.
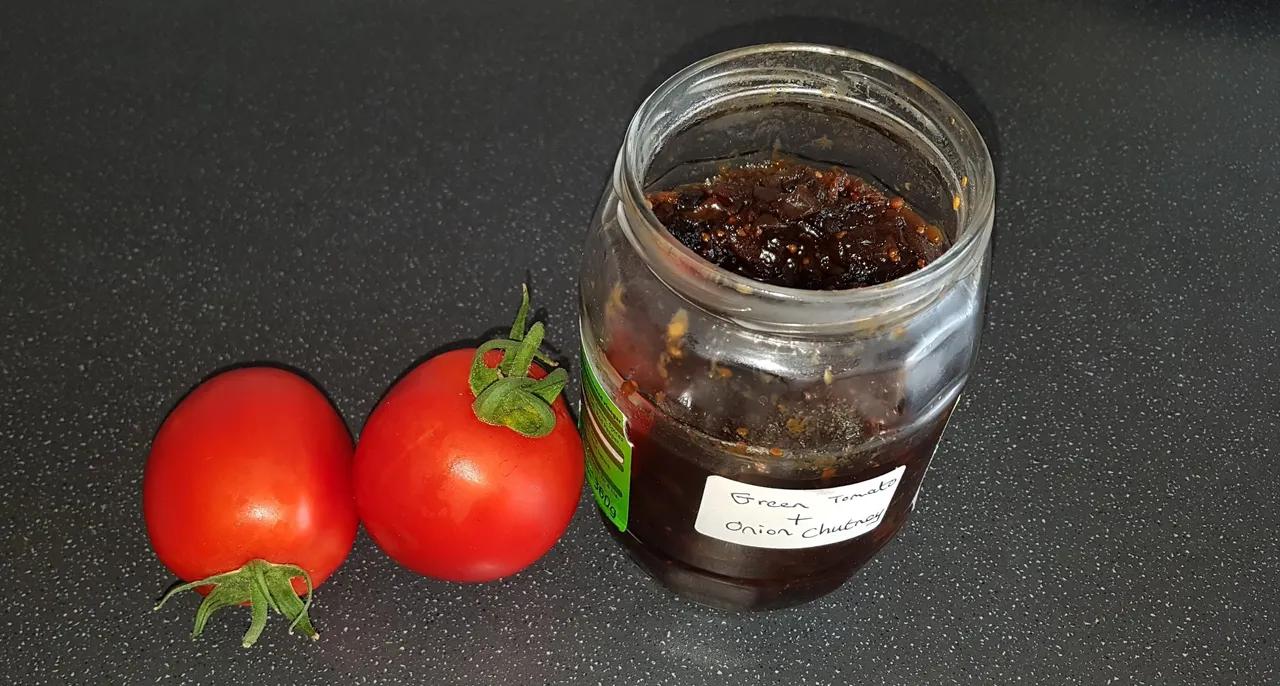
Green Tomato & Red Onion Chutney
This is an easy recipe, with most variants including apples. I personally prefer to leave out the apples, instead including a few extra spicy ingredients to make a more dark and oniony chutney.
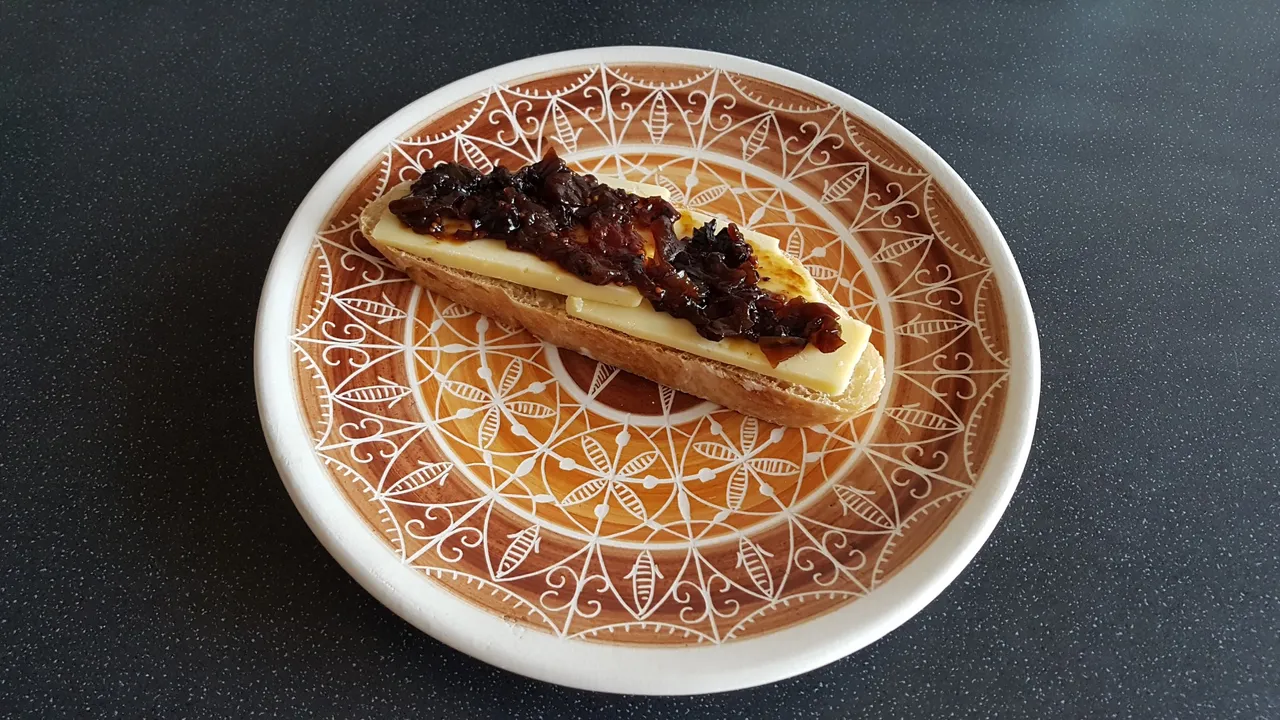
This chutney really is tasty, sweet and very similar to caramelized red onion chutney you can buy at the supermarket. It goes well with cheese and crackers or as an addition to any tomato based sauce.
EQUIPMENT
Stainless steel pan
Clean and sterilized jars
INGREDIENTS
Makes One Large 500g Jar of Chutney
- 500g Green Tomatoes (1.1 lbs) skinning is optional
- 500g Red Onions (1.1 lbs)
- 75g of Dried Mixed Fruit (2.6 oz)
- 3 Garlic cloves
- 1/8 tsp Chilli Powder or Cayenne pepper
- 1 tsp white mustard seeds
- 1/8 tsp Black pepper
- 1 tsp Sea salt
- 250 g Brown sugar
- 500 ml Malt Vinegar

INSTRUCTIONS ☝️
Chop the tomatoes, onions, and dried fruit roughly and mince the garlic.
Place all wet and dry ingredients into a stainless steel pan and bring to a boil. Reduce heat to low and then simmer uncovered for between 1-3 hours. Depending on batch size and heat level, it can take up to three hours. Keep an eye on the mix and stir occasionally.
Once the chutney has reduced down and appears thick and brown it is ready. It took around 3 hours for me but the time can vary according to quantities and size of pan used.
Spoon the chutney into warm, sterilized jars and seal with lids. I reuse supermarket jars for the preserve and water-bath the jars after they're filled.
Water-bath the jars (see video below) to ensure that they're fully sterilized. The lids will seal as the chutney cools – you’ll hear a pop as the seal closes. It may take twelve or more hours for the seal to take.
 Tutorial from official Kilner Channel
NUTRITION
Serving: 1Tbsp Calories: 35kcal Carbohydrates: 9g Fat: 0.1g Fiber: 2g
Enjoy with cheese and freshly baked bread 🙂


If You Have Found Value From this Post and Want to tip extra, Crypto Donations Are Welcomed:
►Donate Ether and ERC20 Tokens: 0x32321615174AF3Da6074Cf79DED8269cA7a8eB24
►Donate Bitcoin: bc1q8wutj8u6ush7s8mucphfxf7gzrexeywmuqm8g3
►Donate Bitcoin Cash: qzt7c0czw0q988h93jvcz2rq5gy0s3h9pg2pk700ev
►Donate Litecoin: Lfsnz3pbT5V9N6WWGRaBsgKs9EvFeqzcPm
►Donate BNB: bnb1xeu94exteel9w3g8g44e6g595kvrqlgzm0crq4
►Donate Monero: 49PovXGcM9Y7JYeRJ35W9xZGrdivvLaMbVtGc3WDv6amCm5wqA854SvJNWxaEqjTz18K5YVPj5D6619C3bvNHsrG7oD1whb
►Donate Tezos: tz1SJUkpeznKE6bEhbX81YFdUQS5BprA4ot8
►Donate XRP: r35quYTThThN7yNvkJxyhLFAPyju3tsT35