Imagen editada en picsArt
Buenas tardes hive!!
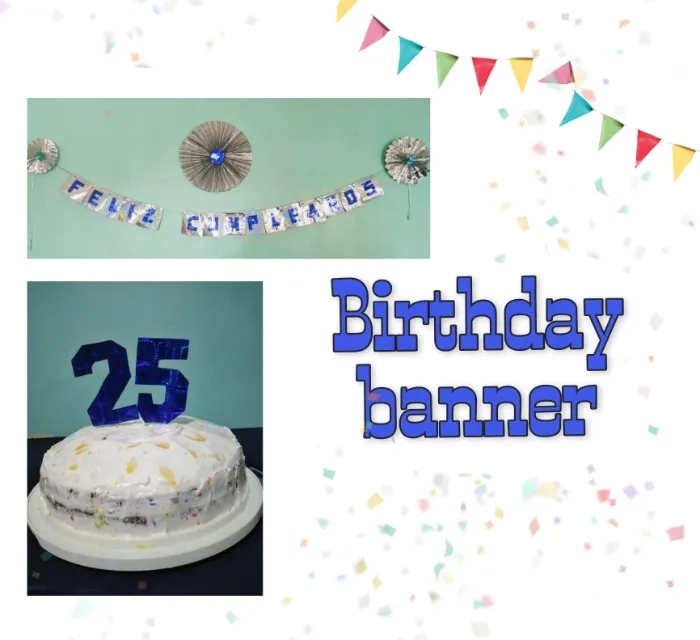
Hace unos días cumplió años mi hermano y para resolver rapidamente, le hicimos un banderín de feliz cumpleaños para adornar un poco la celebración. Verán, les mostraré rápidamente como se puede resolver en apuros, y con materiales que tenemos en casa!!
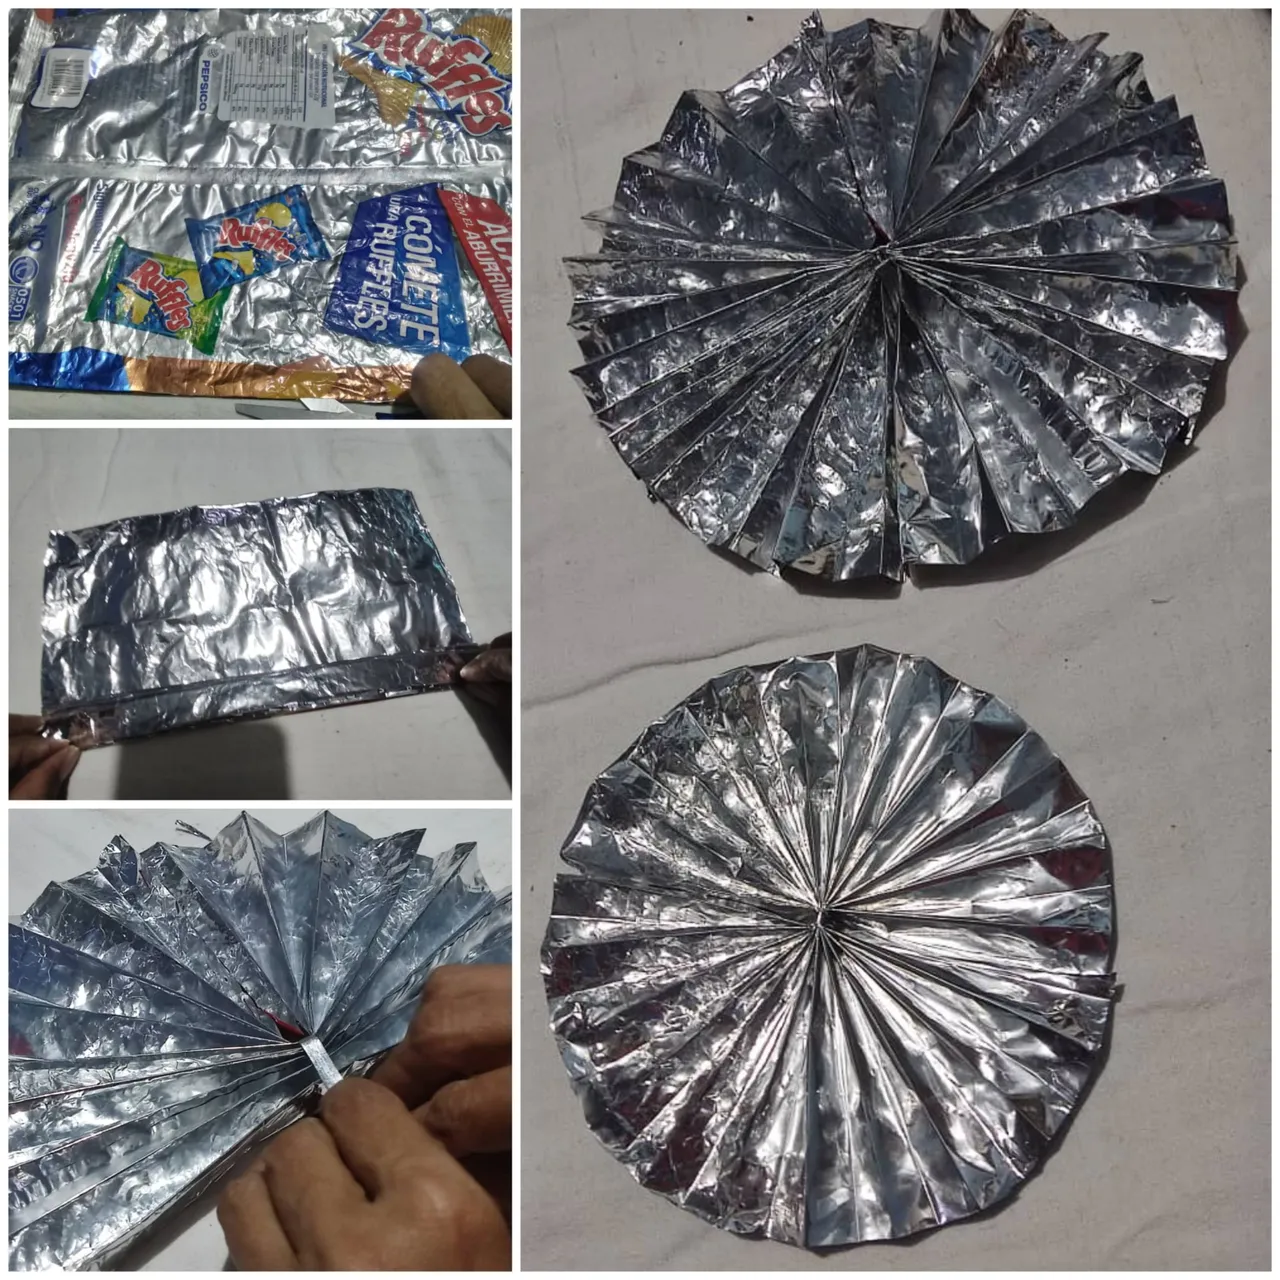
Primeramente, usé las bolsas de chucherías vacías y previamente limpias y secas. Las recorté obteniendo dos caras, y empecé a doblarlas tal cual un abanico, doblez delgados hacia adelante y hacia atrás. Una vez listas las dos caras, las uní con un poco de cinta.
Good afternoon hive!!!
A few days ago my brother had his birthday and to solve quickly, we made him a happy birthday pennant to decorate a little celebration. You'll see, I'll show you quickly how you can solve in a hurry, and with materials we have at home!!!
First of all, I used the empty candy bags, previously cleaned and dried. I cut them out obtaining two sides, and started to fold them like a fan, thin folds back and forth. Once the two sides were ready, I joined them together with some tape.
Ahora bien, para el banderín como tal, usé una bolsa de regalo ya que estas tienen un material fuerte y firme. Recorté de tal forma la Bolsa que pudiese quedar plana. Una vez estirada, la coloqué por el lado inverso y comencé a hacer las letras de feliz cumpleaños. En esto hay que estar muy pendientes, pues cada letra se tiene que hacer al revés, para que así al recortarlas quede del lado correcto de la bolsa de regalo, es decir, el lado de la cara externa.
Así hice, y recorté.
Now, for the pennant as such, I used a gift bag as these have a strong and firm material. I cut the bag in such a way that it could lay flat. Once stretched, I placed it on the reverse side and began to make the happy birthday letters. In this you have to be very careful, because each letter has to be made upside down, so that when you cut them out they are on the right side of the gift bag, that is, the side of the outer side.
This is what I did, and I cut them out.
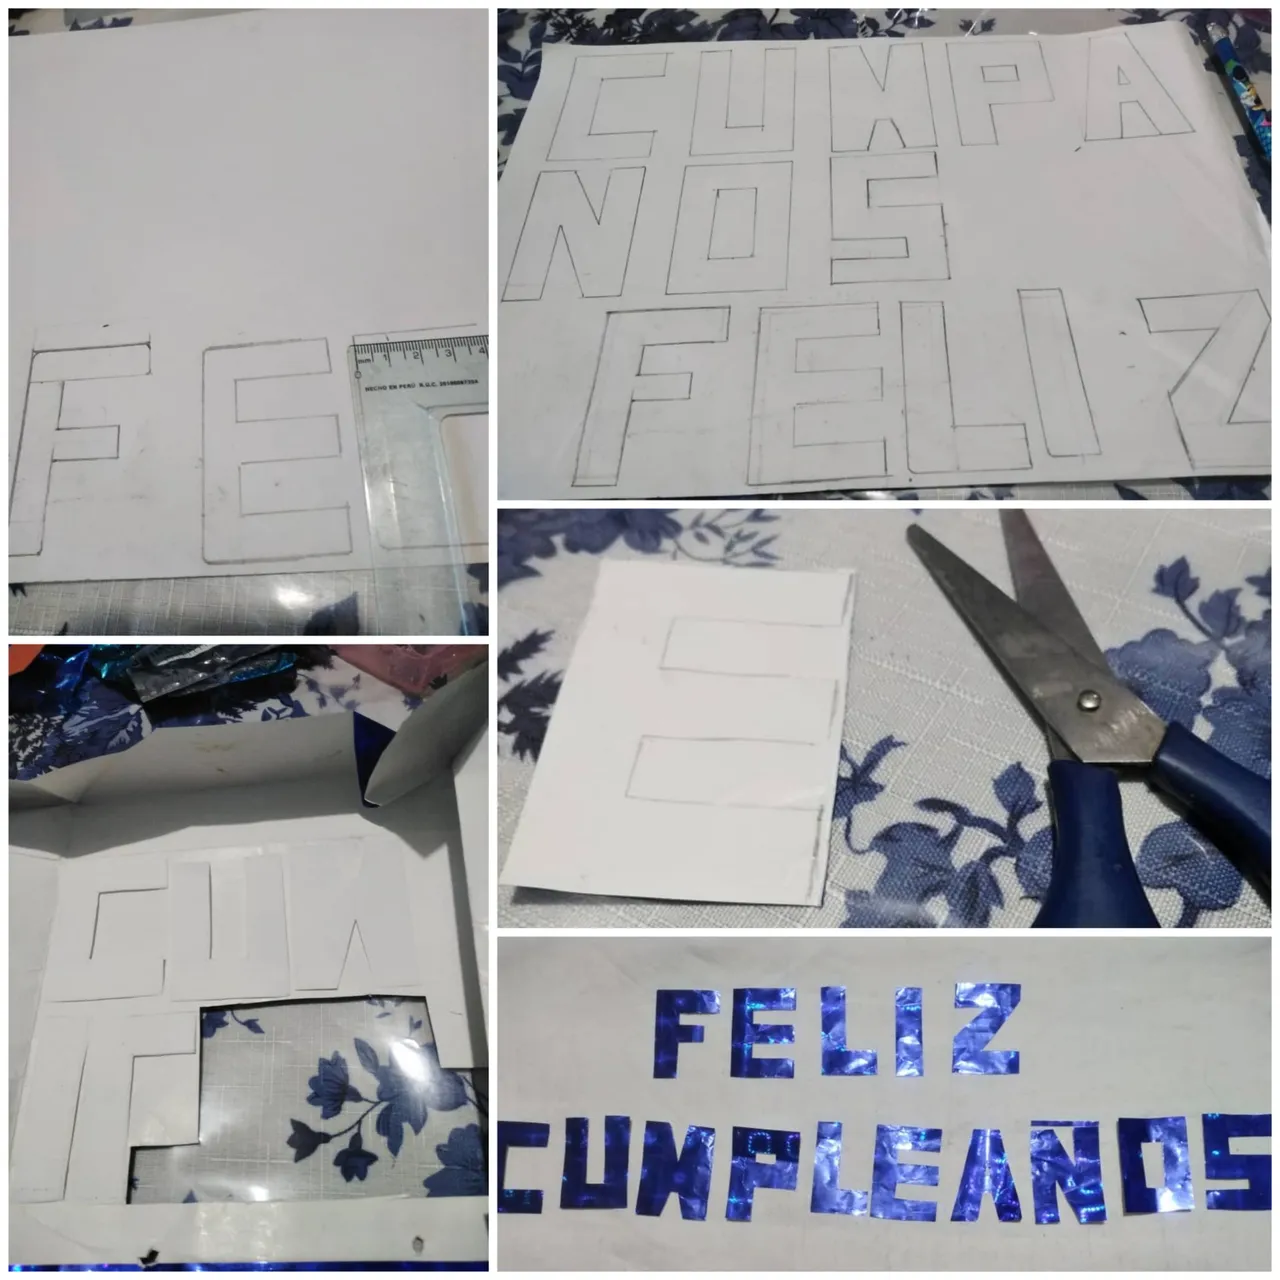
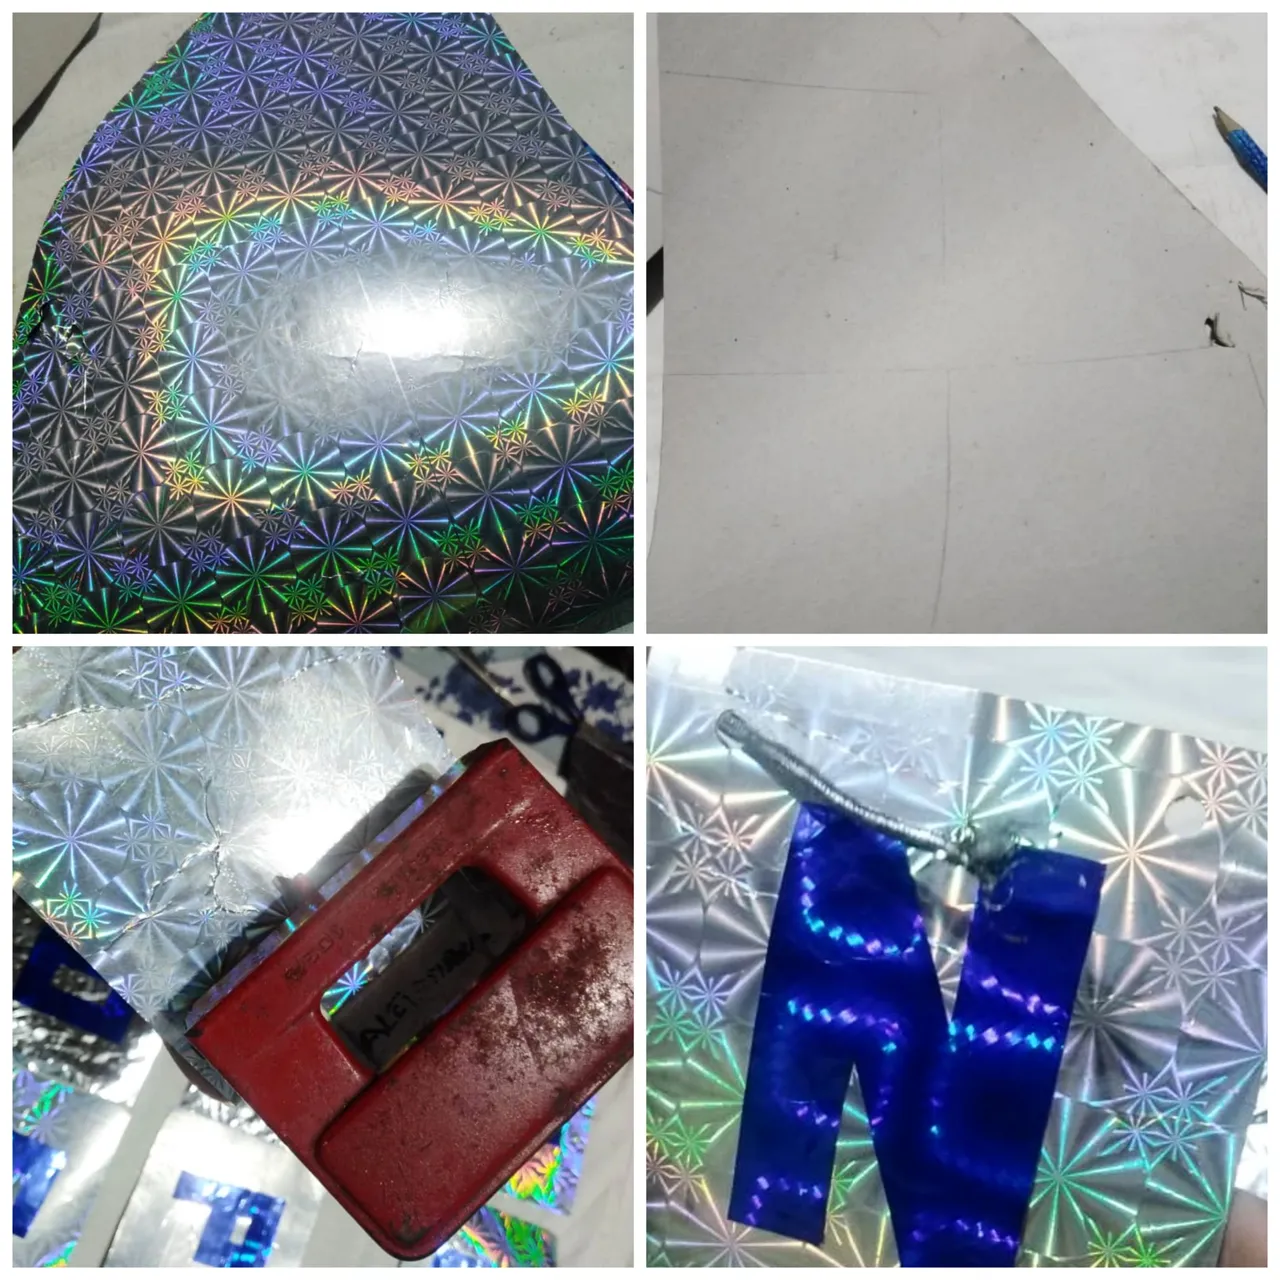
Por otra parte, en otra bolsa de regalo de distinto color, hice lo mismo, recorté para que quedase plano, y marqué rectángulos donde irían las letras... Solo quedo recortar, y pegar. Seguidamente, con un sacahuecos realice dos huecos en la parte superior por donde pasaría la cinta para colgar.
On the other hand, in another gift bag of a different color, I did the same, I cut it so that it would be flat, and I marked rectangles where the letters would go... All that was left to do was to cut out and glue. Then, with a hole punch I made two holes in the upper part where the ribbon would go through for hanging.
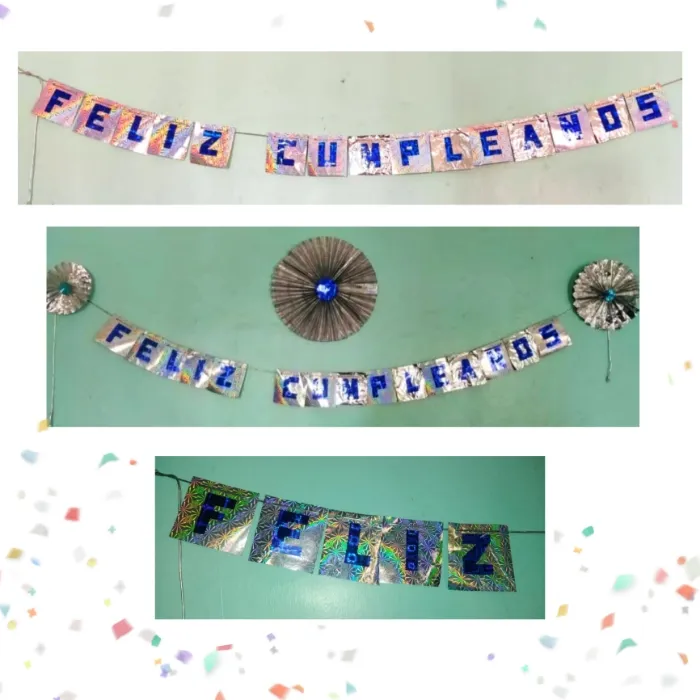
Y listo!! Este fue el resultado final en la celebración 🎉🎊🎁
Lo mejor de todo es que, además de obtener una linda decoración y disfrutar en familia, también ayudamos un poco al ambiente y reciclamos!!
And done!!! This was the final result in celebration 🎉🎊🎁.
The best of all is that, besides getting a nice decoration and enjoying with the family, we also helped the environment a little bit and recycled!!!
Todas las fotos son de mi propiedad