En este hermoso día quiero compartir con ustedes un peuqeño tutorial paso a paso para elaborar un mini árbol de navidad en foami que podría servir para colgar en nuestro árbol o hacer un lindo topper navideño. Este tutorial está conformado en 3 partes, ya que les enseñaré 2 formas de hacer un mini árbol de navidad y luego de hacerlo les mostraré como convertirlo en un topper.
On this beautiful day I want to share with you a small step-by-step tutorial to make a mini foami Christmas tree that could be used to hang on our tree or make a cute Christmas topper. This tutorial is made up of 3 parts, since I will teach you 2 ways to make a mini Christmas tree and after doing it I will show you how to turn it into a topper.

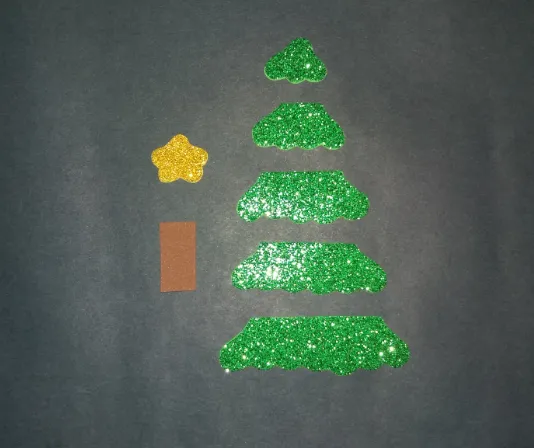
Acá te dejo los moldes de cada arbolito y también por si deseas hacer el topper, seguidamente debajo de cada imagen te indico los colores de cada pieza.
Here I leave you the molds of each tree and also in case you want to make the topper, then below each image I indicate the colors of each piece.
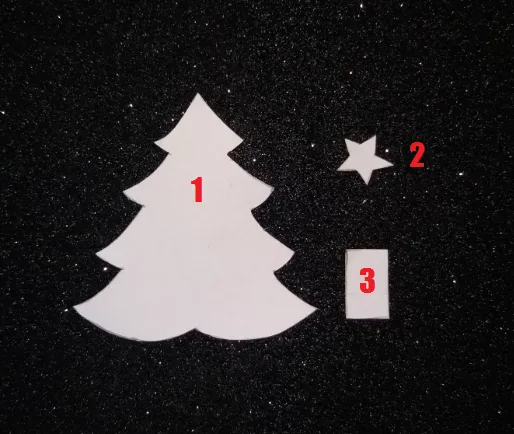
- Cuerpo del árbol/Foami verde escarchado.
- Estrella superior del árbol/Foami escarchado dorado.
- Tronco del árbol/Foami marrón.
- Tree body / Frosty green foam.
- Tree Top Star / Golden Frosty Foami.
- Tree trunk / Brown Foami.
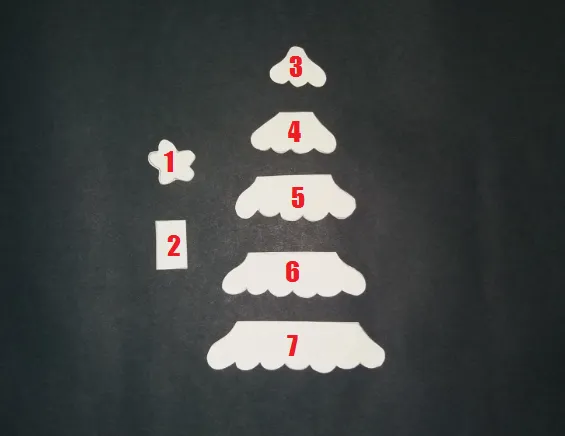
- Estrella superior del árbol/Foami escarchado dorado.
- Tronco del árbol/Foami marrón.
3-7. Cuerpo del árbol/Foami verde escarchado.
- Tree Top Star / Golden Frosty Foami.
- Tree trunk / Brown Foami.
3-7. Tree Body / Frosty Green Foami.

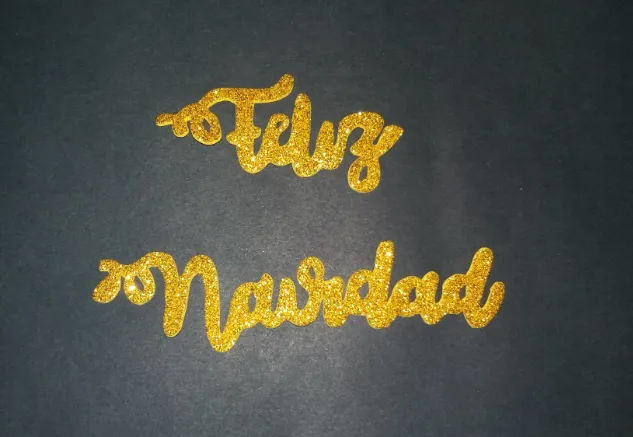
Letras: Foami dorado escarchado.
Letters: Frosty golden foam.
◉Materiales: / Materials:
•Foami escarchado verde.
•Foami escarchado dorado.
•Foami marrón.
•Foami de diferentes colores (pueden ser retazos o sobras)
•Cartulina blanca.
•Palito de altura.
•Silicon.
•Sacabocados.
•Tijera.
•Lápiz.
•Cinta delgada.
• Green frosted foam.
• Golden frosted foam.
• Brown foam.
• Foam of different colors (can be scraps or leftovers)
•White cardboard.
• Height stick.
• Silicon.
•Punch.
•Scissors.
•Pencil.
• Thin tape.
Arbolito #1:🎄
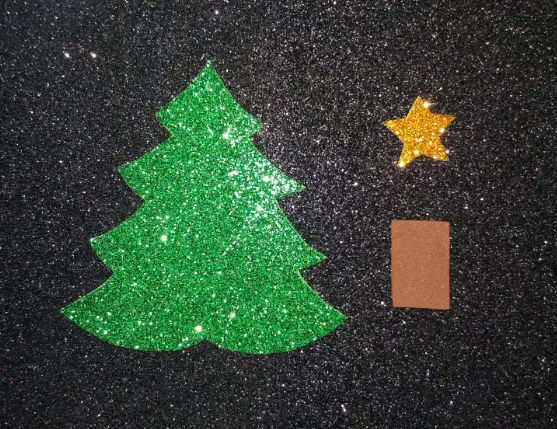
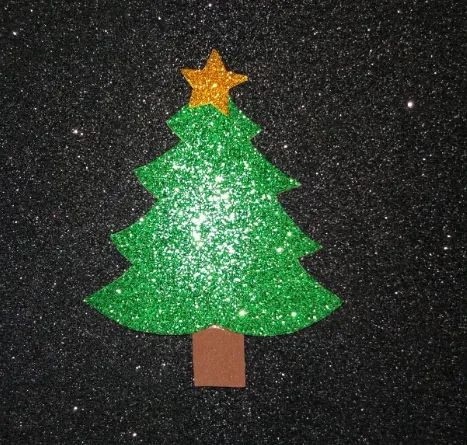
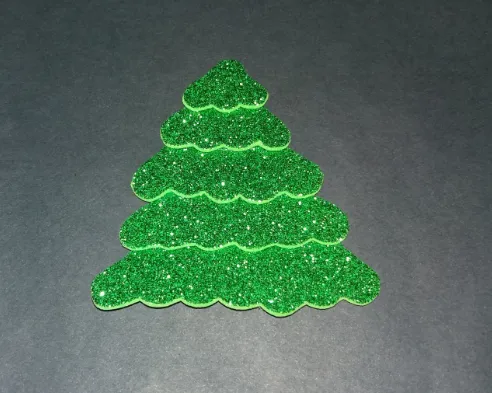
◉PASO 1. Hacemos las piezas en su color correspondiente y recortamos.
◉STEP 1. We make the pieces in their corresponding color and cut.
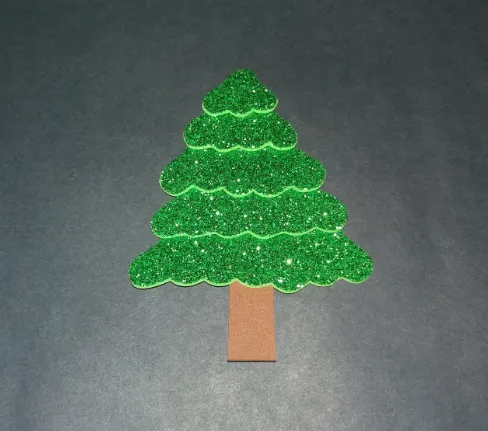
◉PASO 2. Pegamos el tronco en la parte inferior trasera del árbol.
◉ STEP 2. We glue the trunk to the lower back of the tree.
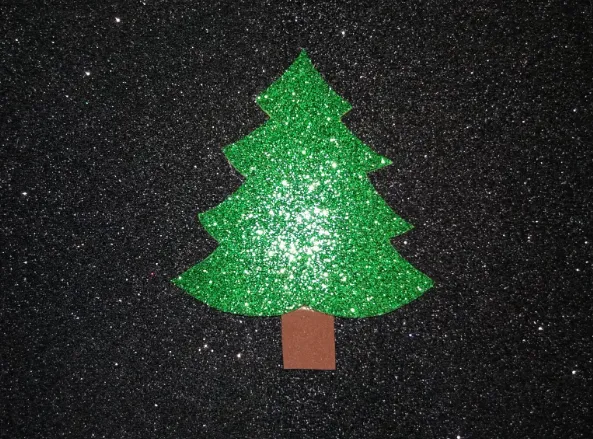
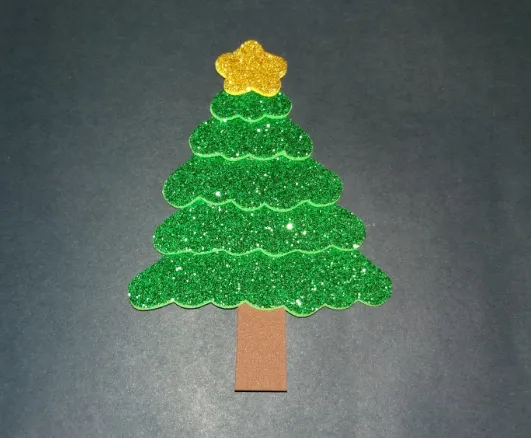
◉PASO 3. Pegamos la estrella sobre la punta superior del árbol.
◉ STEP 3. We glue the star on the top point of the tree.
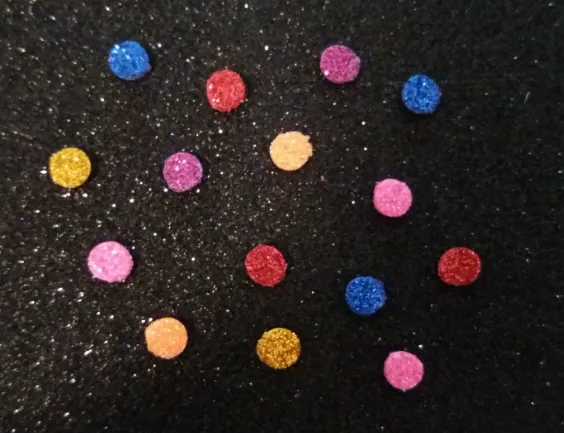
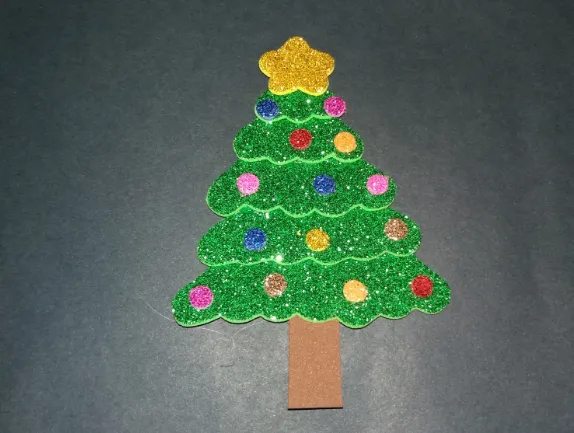
◉PASO 4. Con el sacabocados hacemos varios círculos de foami escarchado de diferentes colores.
◉ STEP 4. With the punch we make several circles of frosted foam of different colors.
◉PASO 5. Pegamos un círculo de foami en cada una de las puntas laterales del árbol.
◉ STEP 5. We glue a circle of foam on each of the lateral points of the tree.
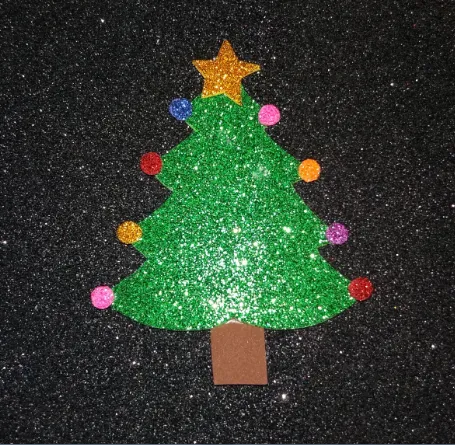
◉PASO 6. Pegamos el resto de los círculos de foami de colores sobre el árbol para decorarlo, asegúrate de variar los colores.
◉ STEP 6. We glue the rest of the colored foam circles on the tree to decorate it, make sure to vary the colors.
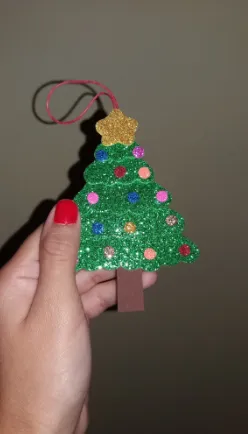
Ya tenemos listo nuestro primer mini árbol de navidad.
We have our first mini Christmas tree ready.

Arbolito #2:🎄
◉PASO 1. ◉ Hacemos todas las piezas en su color correspondiente y recortamos.
◉ STEP 1. ◉ We make all the pieces in their corresponding color and cut.
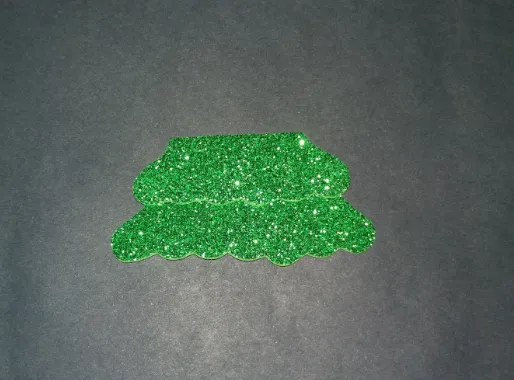
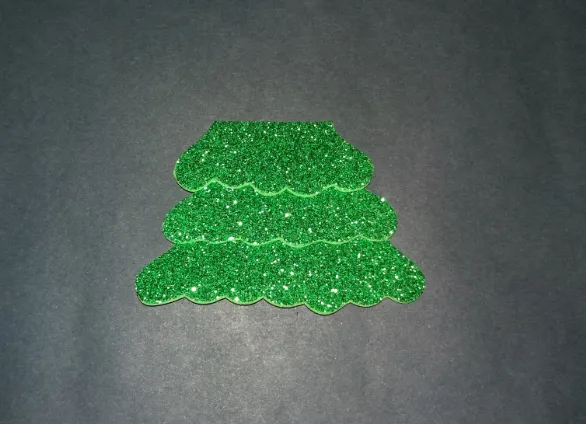
◉PASO 2. Como notarás este arbolito se compone de varias capas mientras que el anterior era una sola pieza. Vamos a pegar una pieza sobre otra, comenzamos de abajo hacia arriba, colocamos la pieza mas larga al final y sobre ella pegamos la que le sigue en tamaño.
◉ STEP 2. As you will notice, this tree is made up of several layers while the previous one was a single piece. We are going to glue one piece over another, we start from the bottom up, we place the longest piece at the end and on it we glue the next in size.
◉PASO 3. Pegamos el tronco en la parte inferior trasera del árbol, justo en el centro.
◉ STEP 3. We glue the trunk to the lower back of the tree, right in the center.
◉PASO 4. Pegamos la estrella en la punta superior del árbol.
◉ STEP 4. We glue the star on the top of the tree.
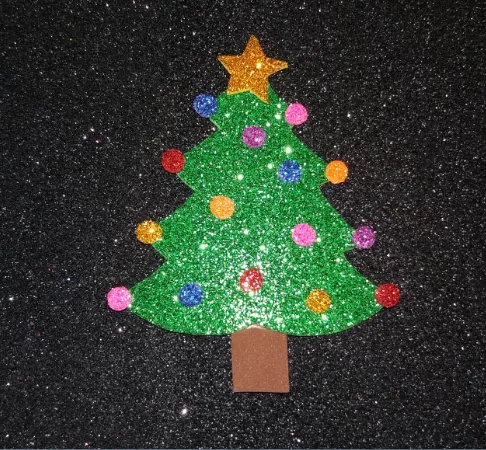
◉PASO 5. Al igual que en el árbol anterior vamos a decorar este pegando sobre el varios círculos de foami escarchado de diferentes colores.
◉ STEP 5. As in the previous tree, we are going to decorate this one by pasting several circles of frosted foam of different colors.
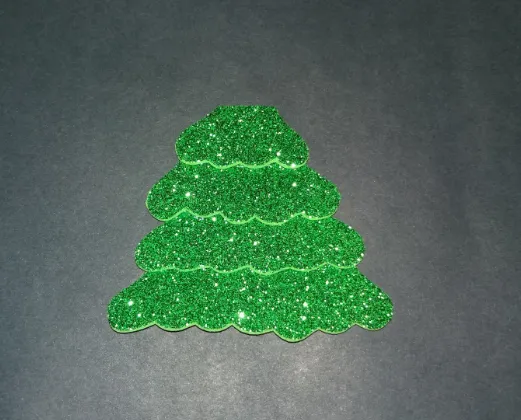
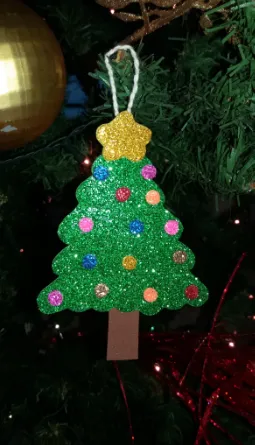
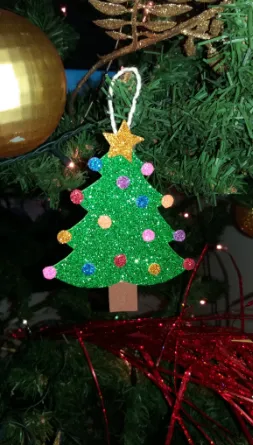
Ya tenemos listo nuestro segundo arbolito.
We already have our second tree ready.
Acá decidimos que uso le queremos dar a nuestro arbolito, si quieres colgarlo en tu árbol de navidad solo debes hacer lo siguiente:
Here we decide what use we want to give our tree, if you want to hang it on your Christmas tree you just have to do the following:
◉Toma un pedazo pequeño de cinta, doblala a la mitad y une sus extemos, pega la cinta en la parte superior trasera del arbolito y listo, puedes ponerlo en tu arbolito.
◉Take a small piece of tape, fold it in half and join its ends, stick the tape on the top back of the tree and voila, you can put it on your tree.

Ahora, para hacer el topper navideño debemos seguir estos pasos:
Now, to make the Christmas topper we must follow these steps:
◉PASO 1. Hacemos la frase "Feliz Navidad" en foami dorado escarchado y recortamos.
◉STEP 1. We make the phrase "Merry Christmas" in frosted golden foami and cut it out.
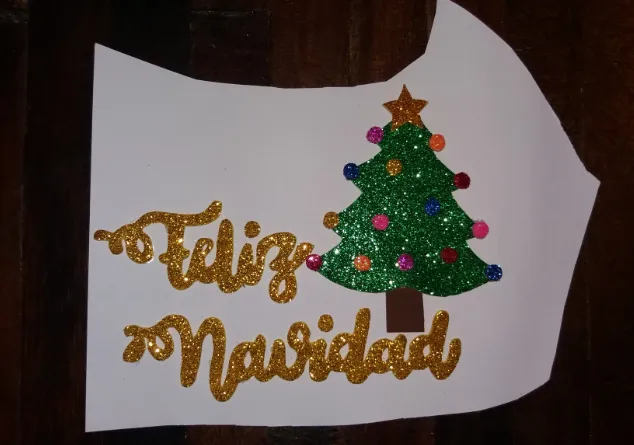
◉PASO 2. Pegamos la frase y el arbolito sobre la cartulina blanca, puedes colocarlo de la manera que más te guste.
◉STEP 2. We paste the phrase and the tree on the white cardboard, you can place it in the way you like the most.
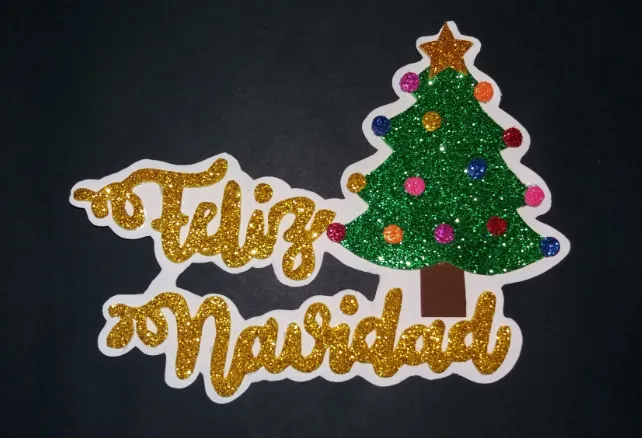
◉PASO 3. Recortamos el exceso de cartulina dejando sólo un delgado borde alrededor de la frase y el arbolito.
◉STEP 3. We cut the excess cardboard leaving only a thin border around the phrase and the tree.
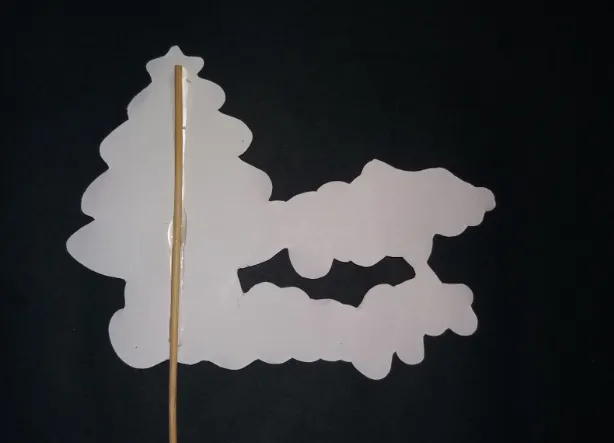
◉PASO 4. Pegamos el palito de altura en la parte trasera de la cartulina.
◉STEP 4. We glue the height stick on the back of the cardboard.
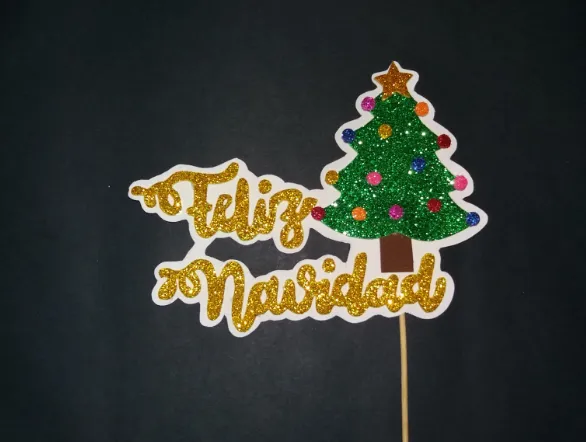
Ya tenemos listo nuestro lindo topper navideño.
We already have our cute Christmas topper ready.


Eso fue todo el tutorial, el proceso es super fácil y rápido y de esta forma podremos tener un lindo adorno para nuestro árbol de navidad. Espero que les haya gustado y se animen a hacer su propio mini arbolito para decorar. Nos vemos en el siguiente tutorial.
That was the whole tutorial, the process is super easy and fast and in this way we can have a nice ornament for our Christmas tree. I hope you liked it and are encouraged to make your own mini tree to decorate. See you in the next tutorial.
Todas las fotografías son de mi propiedad.
Nos vemos en mi próxima publicación.
Tengan un feliz día.
All photographs are my property.
See you in my next post.
Have a happy day.