¡Feliz Noche queridos lectores de Hive!
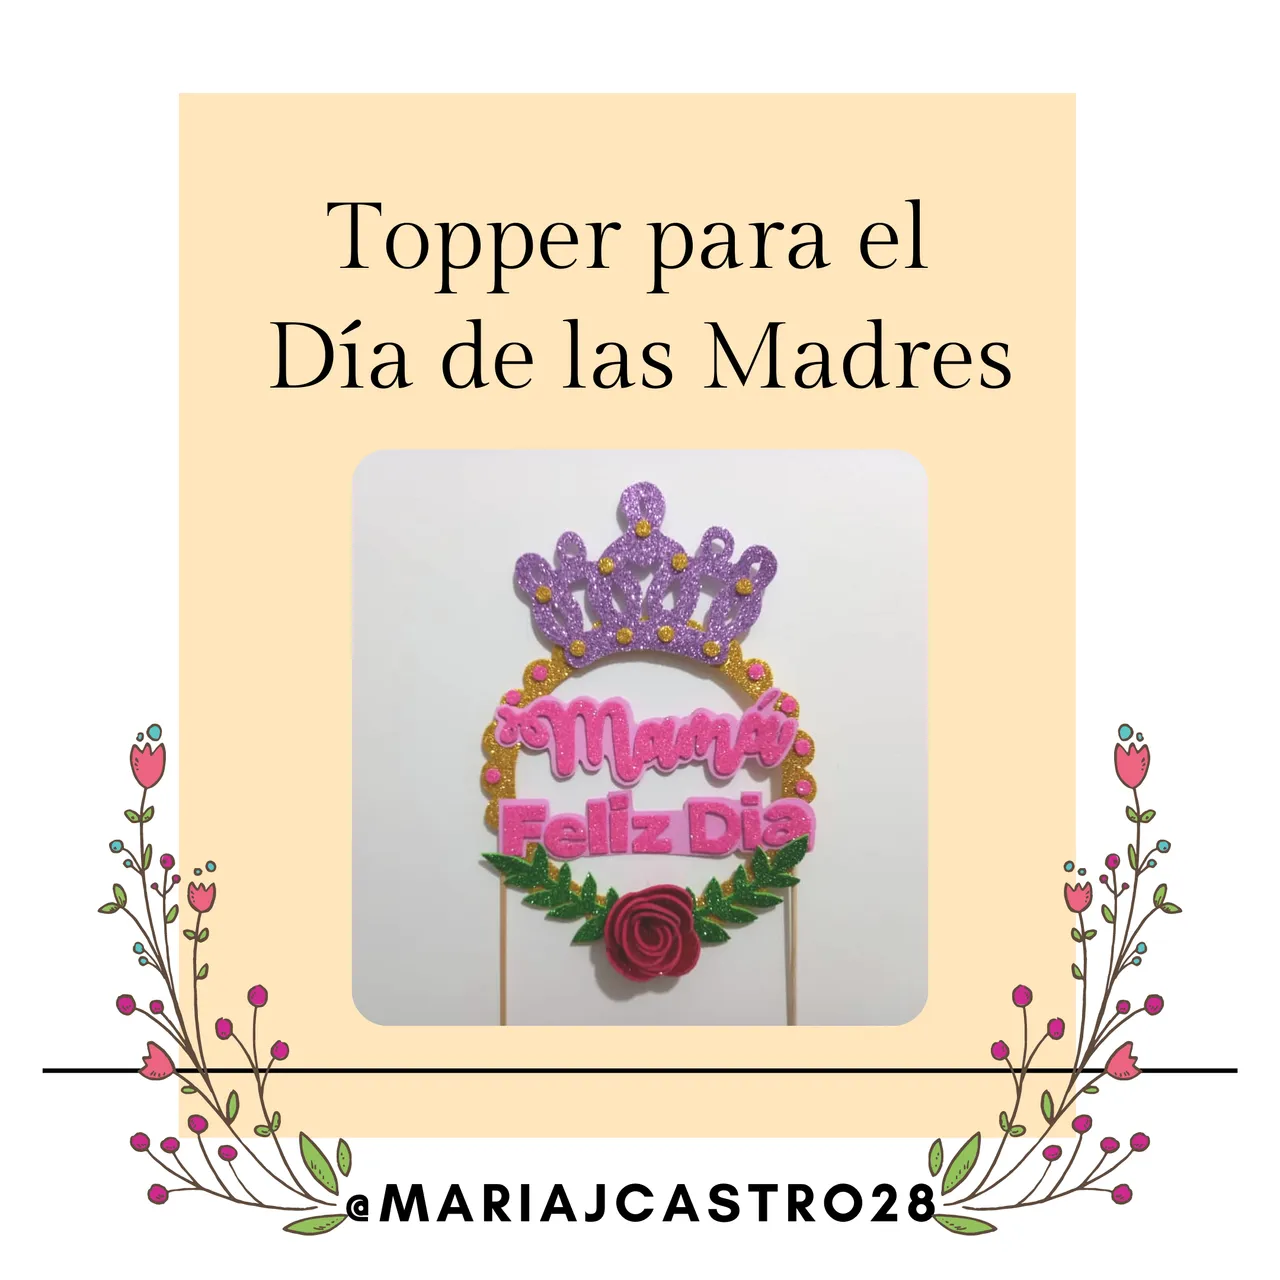
Como todos ya saben se acerca el Día de las Madres , por tal motivo hoy les traigo una linda idea para elaborar un topper alusivo a esta celebración, ideal para regalar a una linda mami en su día. El procedimiento es muy fácil y toma muy poco tiempo, sigue los pasos que te dejo a continuación y tendrás un lindo detalle para obsequiar a esa persona especial.
¡Happy evening dear Hive readers!
As everyone knows, Mother's Day is approaching, for this reason today I bring you a nice idea to make a topper allusive to this celebration, ideal to give to a cute mommy on her day. The procedure is very easy and takes very little time, follow the steps that I leave below and you will have a nice detail to give to that special person.

Materiales || Materials
- Foami escarchado dorado.
- Foami escarchado rosado.
- Foami escarchado rojo.
- Foami escarchado verde.
- Foami escarchado morado.
- Cartulina escolar rosada.
- Silicon.
- Palitos de altura.
- Tijeras.
- Cutter.
- Sacabocados.
- Hoja de papel.
- Lápiz.
- Golden frosted foam.
- Pink frosty foam.
- Red frosted foam.
- Green frosted foam.
- Purple frosted foam.
- Pink school card.
- Silicon.
- Height sticks.
- Pair of scissors.
- Cutter.
- Punch.
- Paper sheet.
- Pencil.
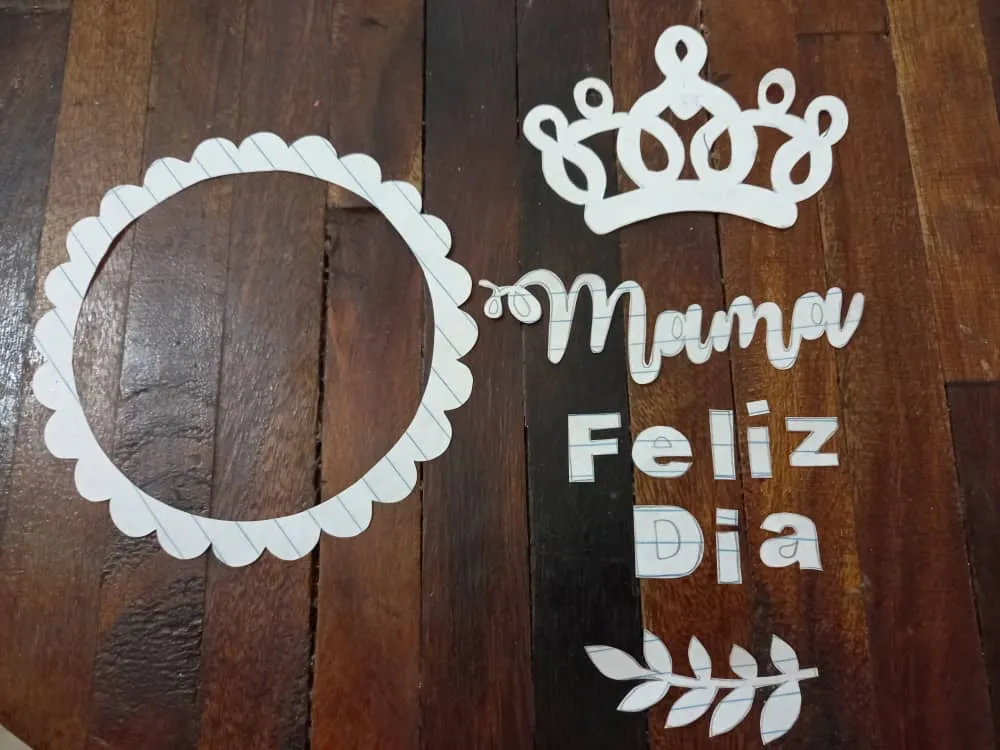
Moldes a utilizar || Molds to use

Procedimiento ✂ || Procedure ✂
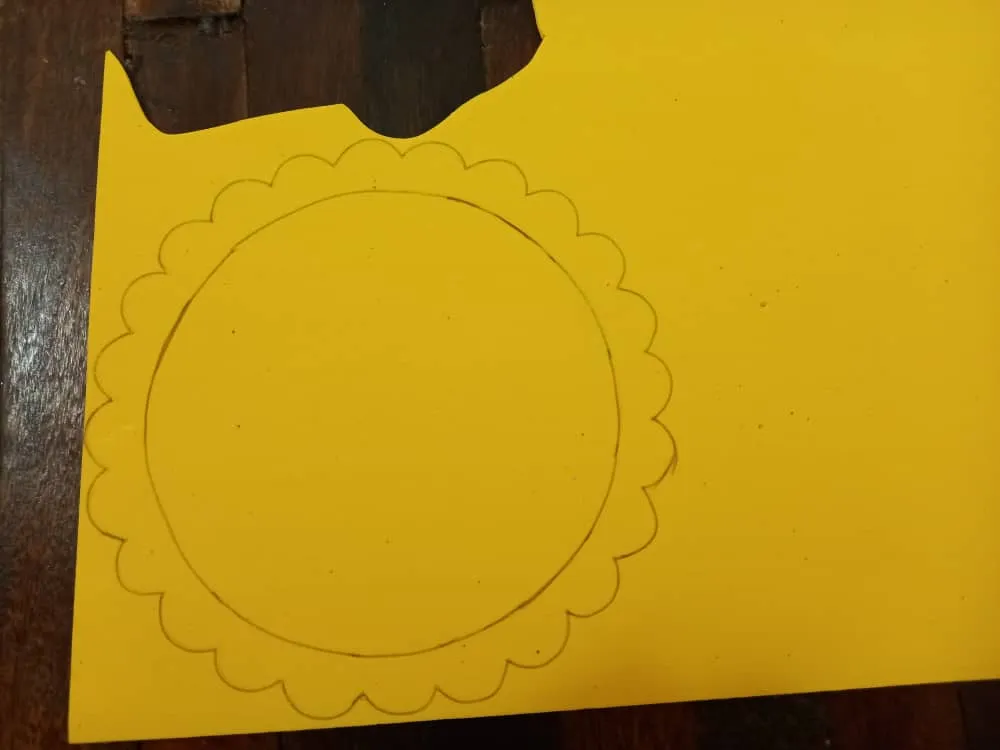
❥ PASO 1. Lo primero que vamos a hacer es pasar todos los moldes a la hoja de papel y luego recortar. El tamaño es el que prefieran, solo deben asegurarse de que la frase entre bien dentro del círculo.
❥ STEP 1. The first thing we are going to do is pass all the molds to the sheet of paper and then cut out. The size is the one they prefer, they just have to make sure that the phrase fits well within the circle.
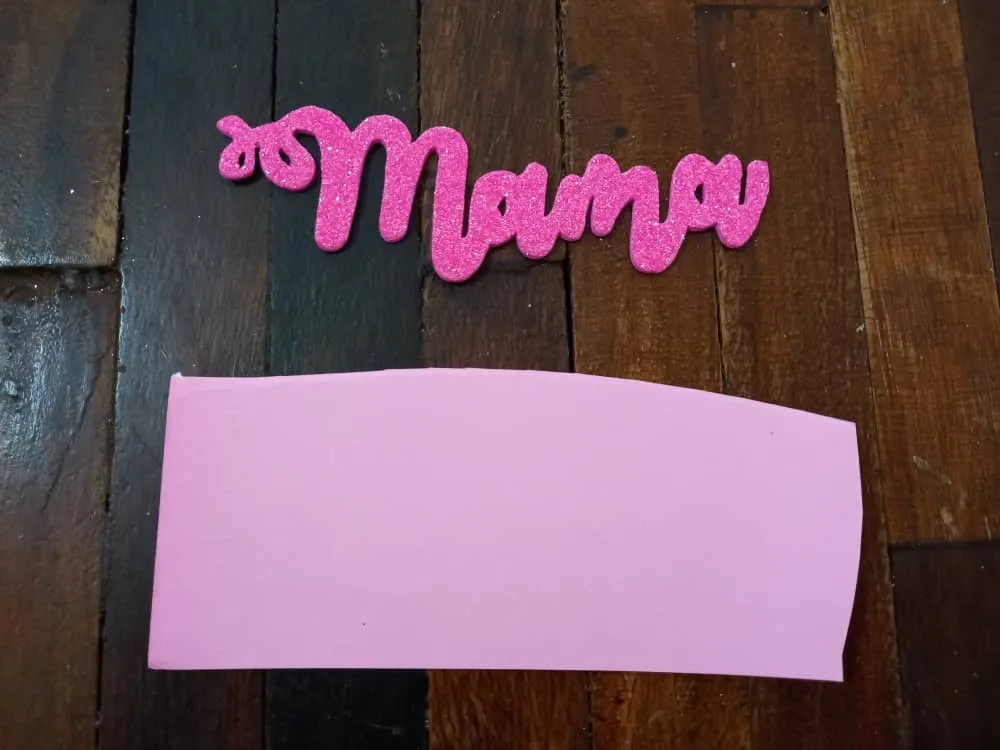
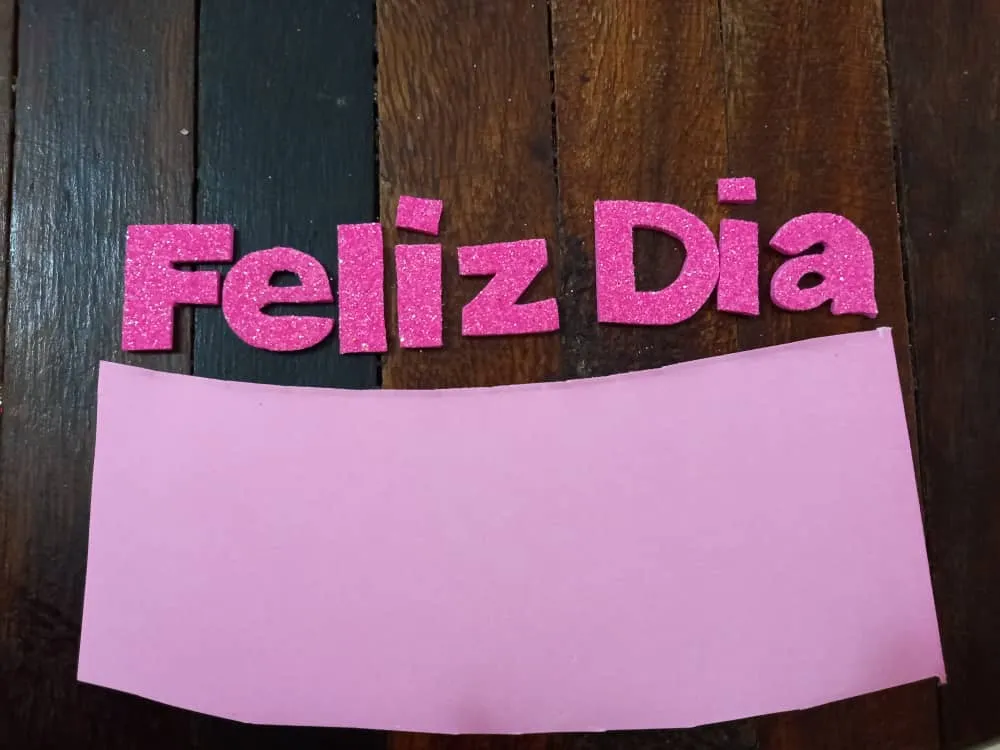
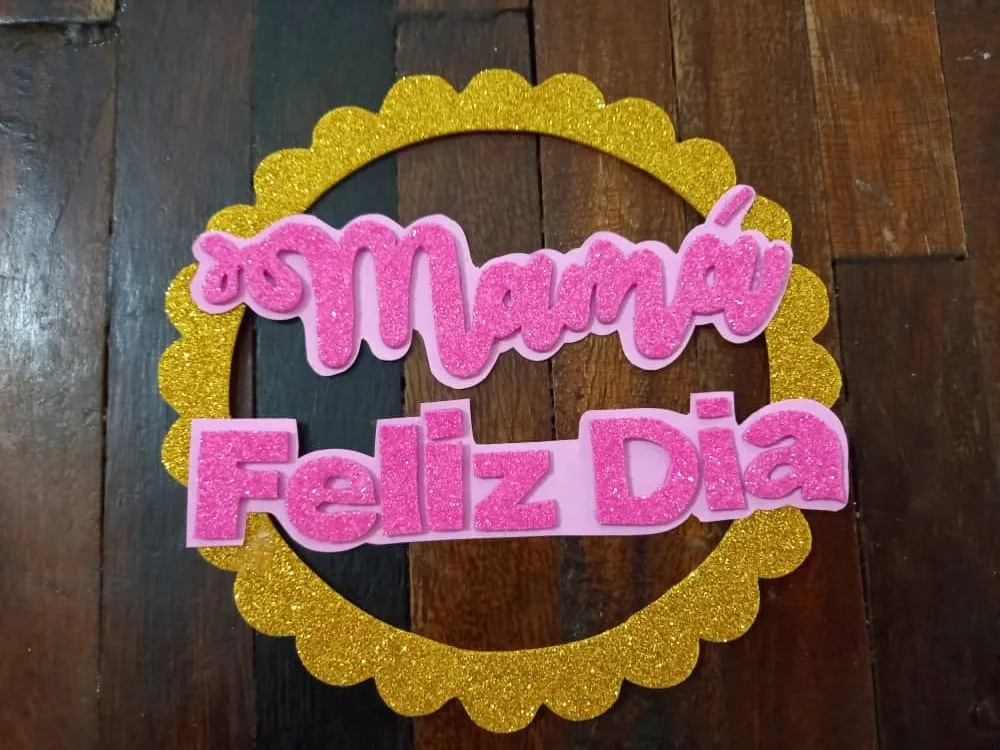
❥ PASO 2. Pasamos la frase “Mamá Feliz Día” al foami rosado escarchado y recortamos, con ayuda del cutter recortamos el relleno interno de las letras como la A.
❥ STEP 2. We pass the phrase "Happy Mommy Day" to the frosted pink foami and cut out, with the help of the cutter, we cut out the internal filling of the letters like A.

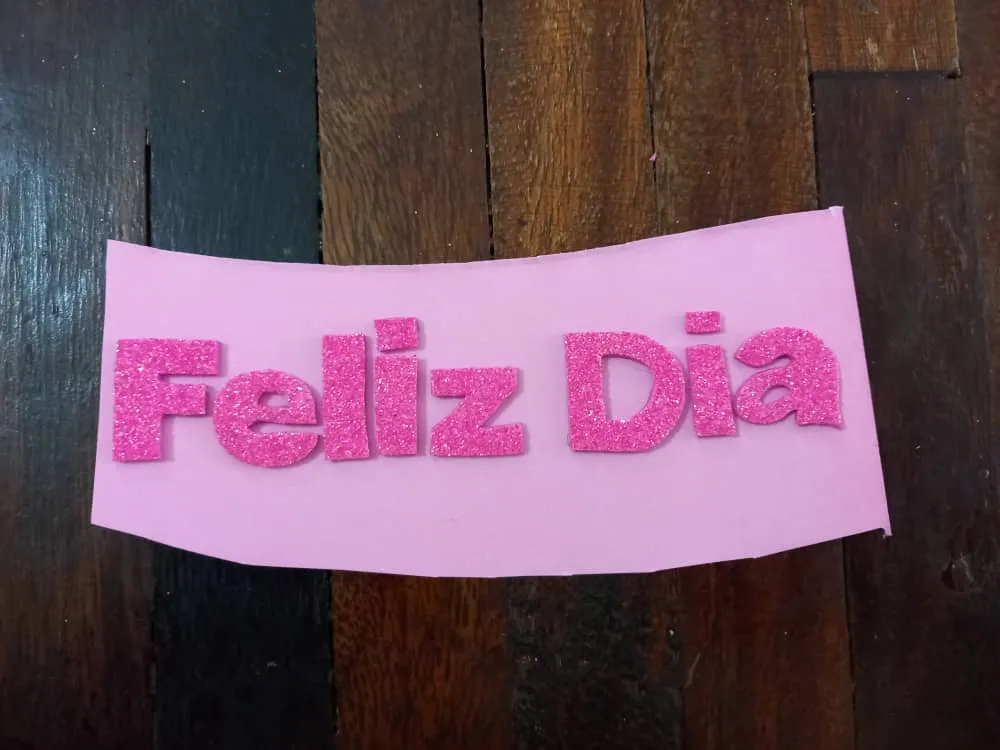
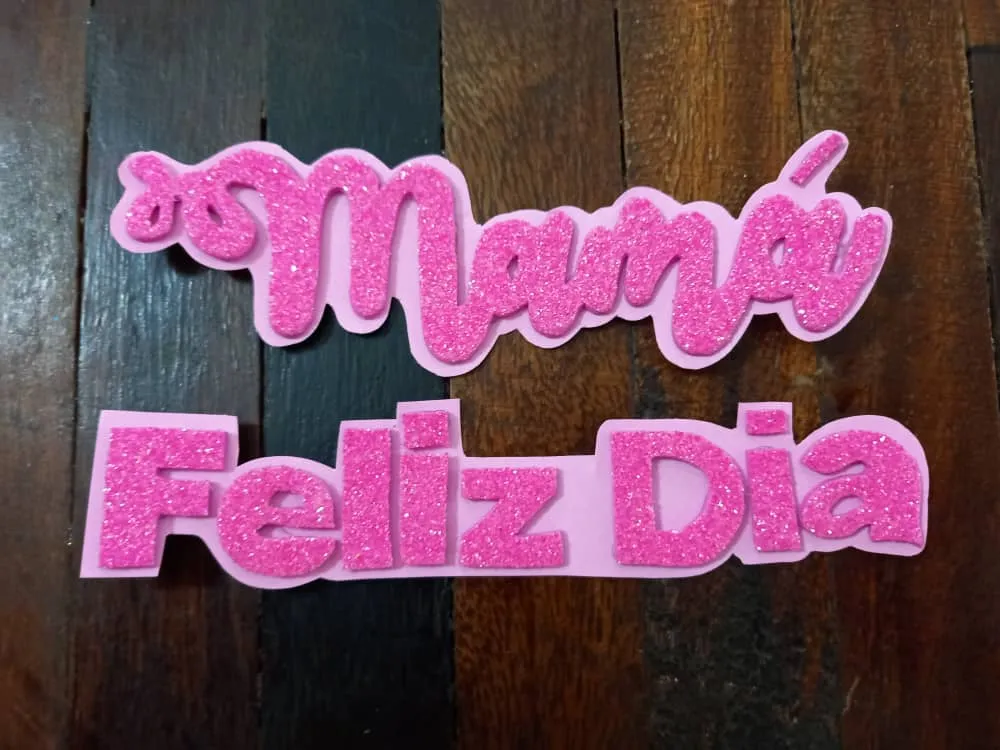
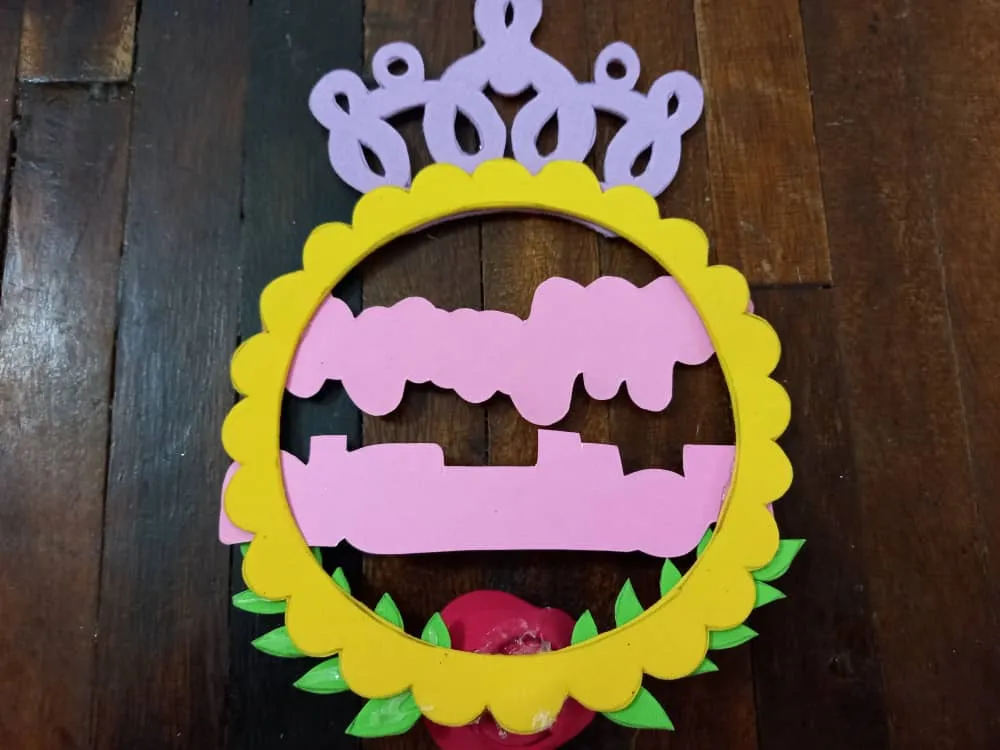
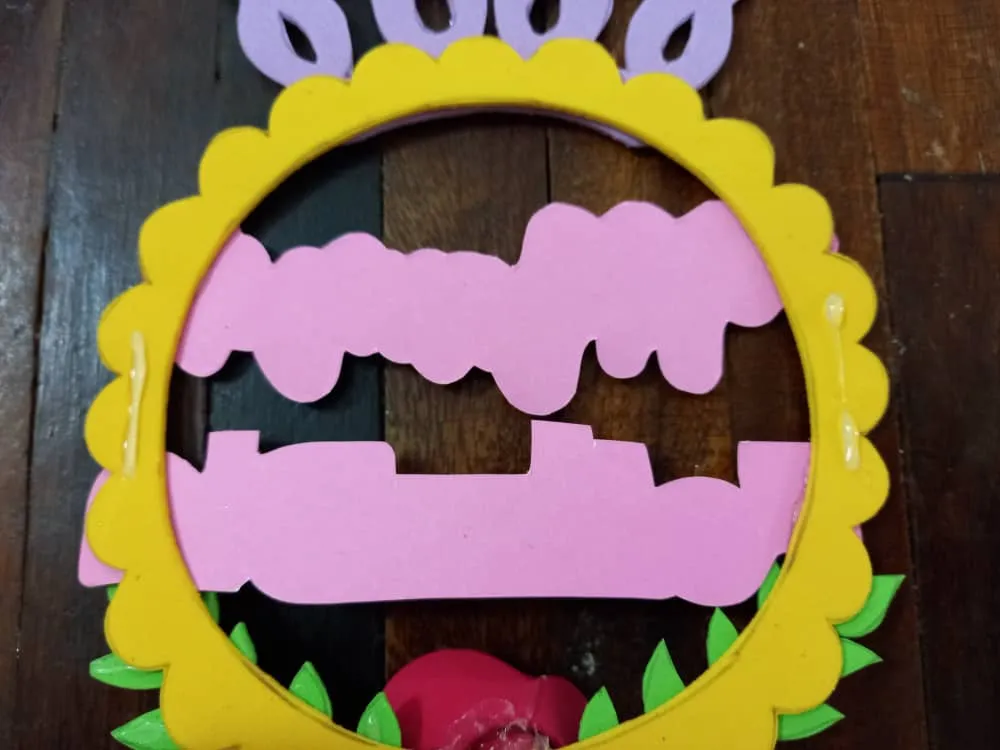
❥ PASO 3. Pegamos con silicon las frases sobre la cartulina escolar rosada y recortamos el exceso de cartulina dejando solo un delgado borde de esta alrededor de las frases, esto lo hacemos de manera separada, es decir, “mamá” va a parte de “feliz día”.
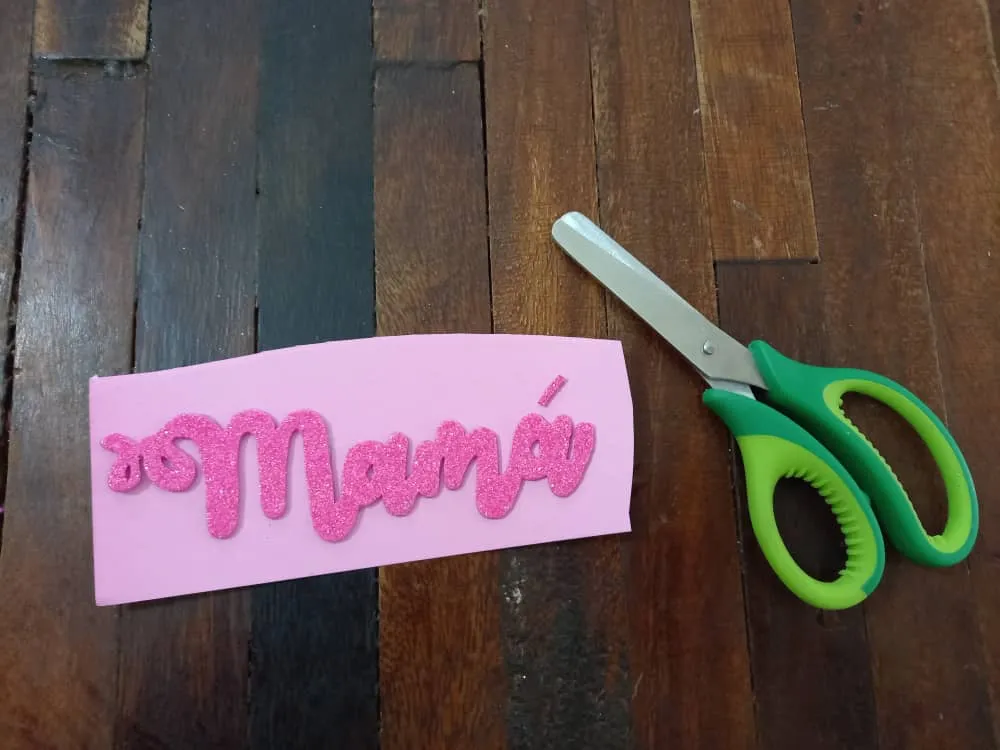
❥ STEP 3. We glue the sentences on the pink school cardboard with silicone and cut the excess cardboard leaving only a thin edge of it around the sentences, we do this separately, that is, "Mom" goes apart from "happy day".
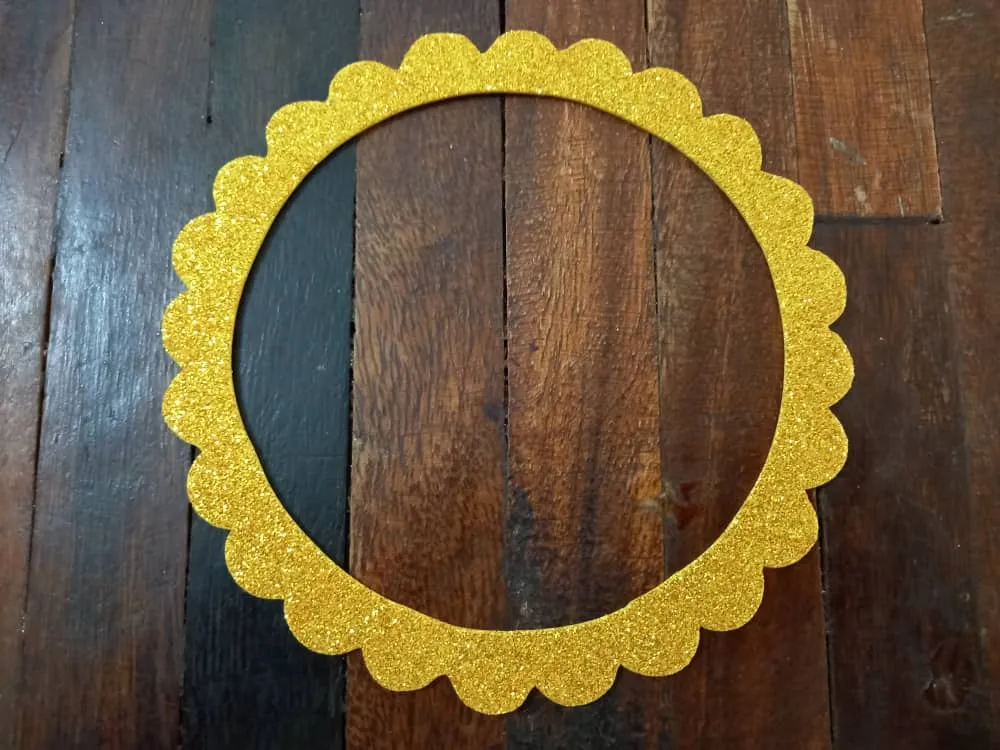
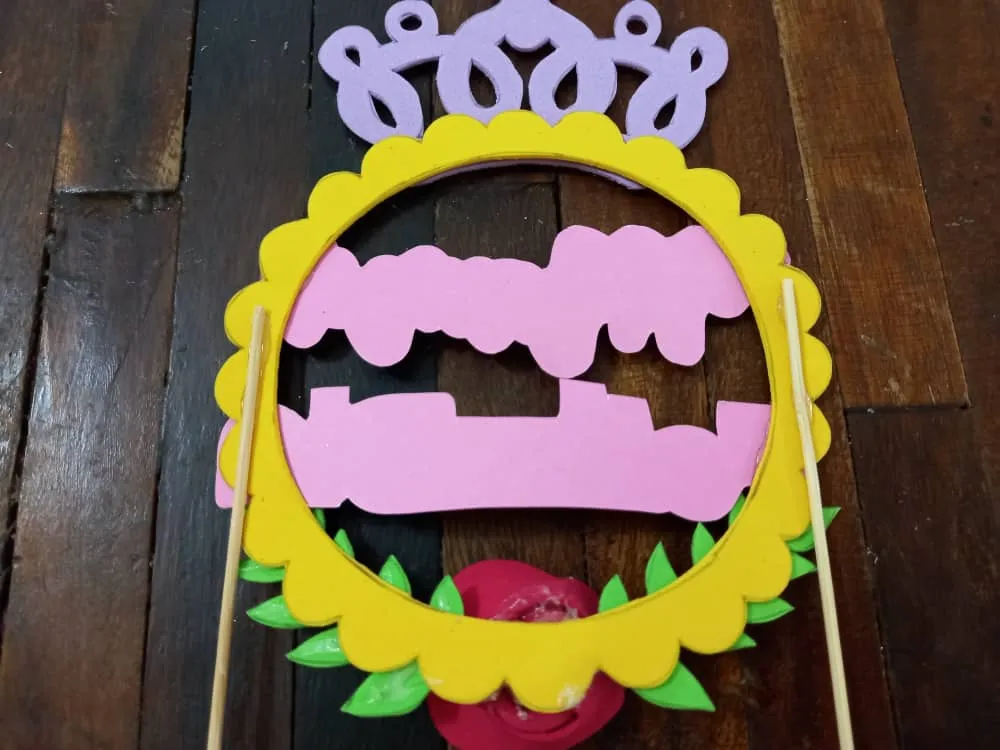
❥PASO 4. Ahora hacemos el círculo del último molde en foami dorado escarchado y recortamos, será la base de nuestro topper.
❥ STEP 4. Now we make the circle of the last mold in frosted golden foami and we cut, it will be the base of our topper.
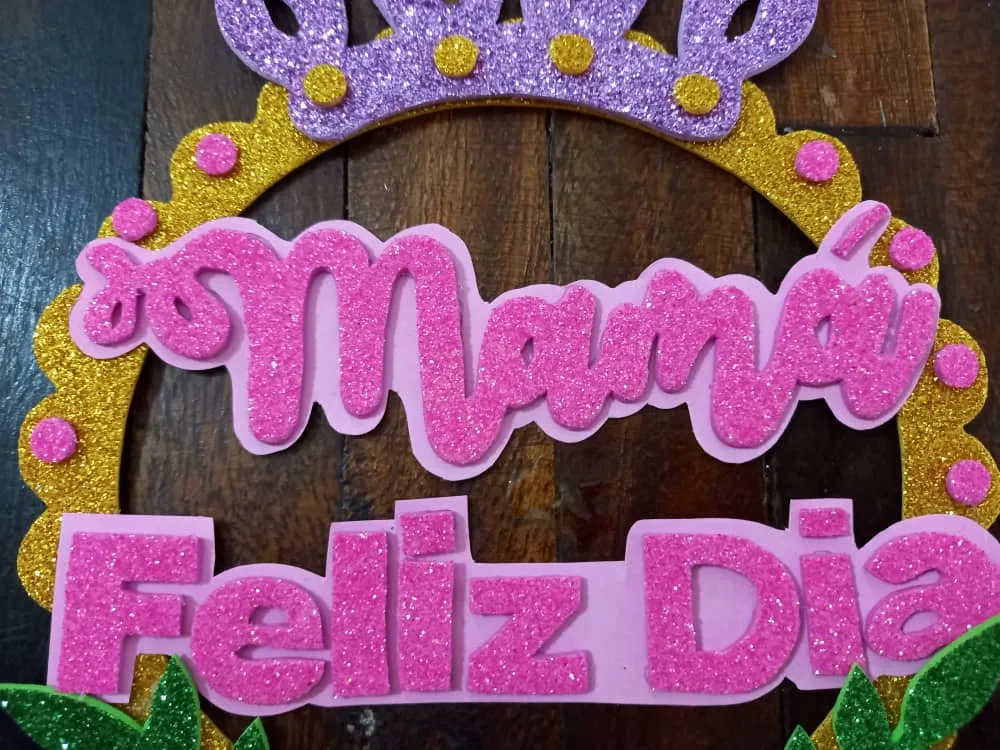
❥PASO 5. Pegamos la frase sobre el circulo dorado con silicon, colocando arriba “mamá” y debajo de esta el “feliz día”, dejando una pequeña separación entre ambas.
❥ STEP 5. We paste the phrase on the golden circle with silicone, placing "mom" above and below it the "happy day", leaving a small gap between the two.
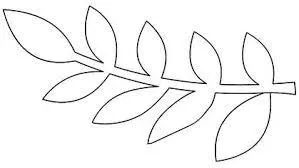
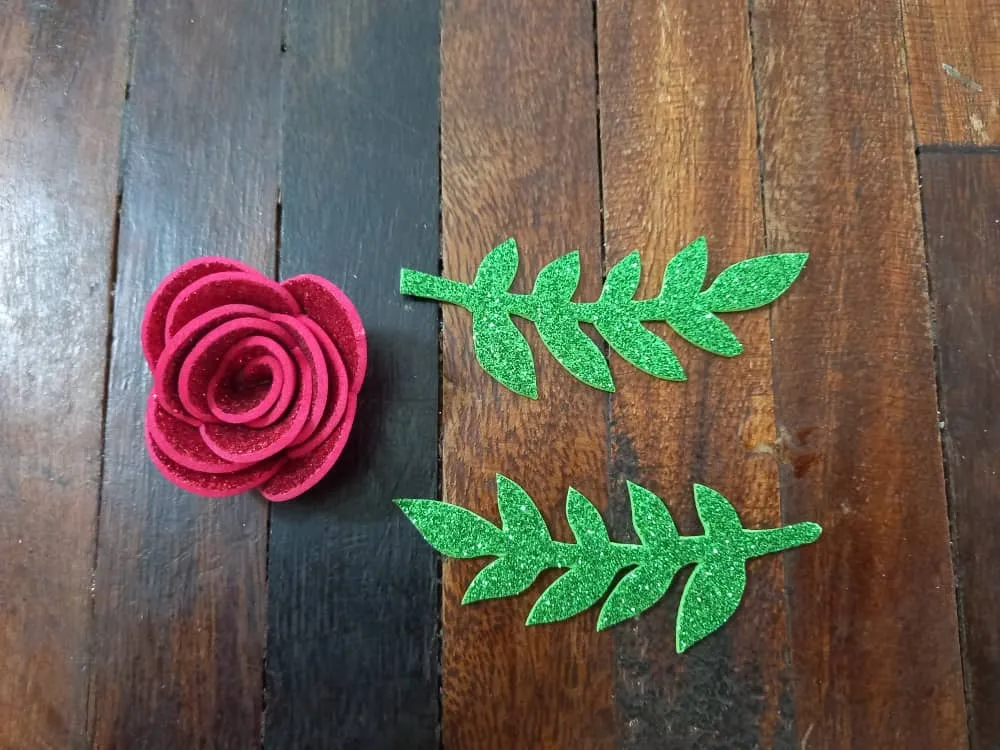
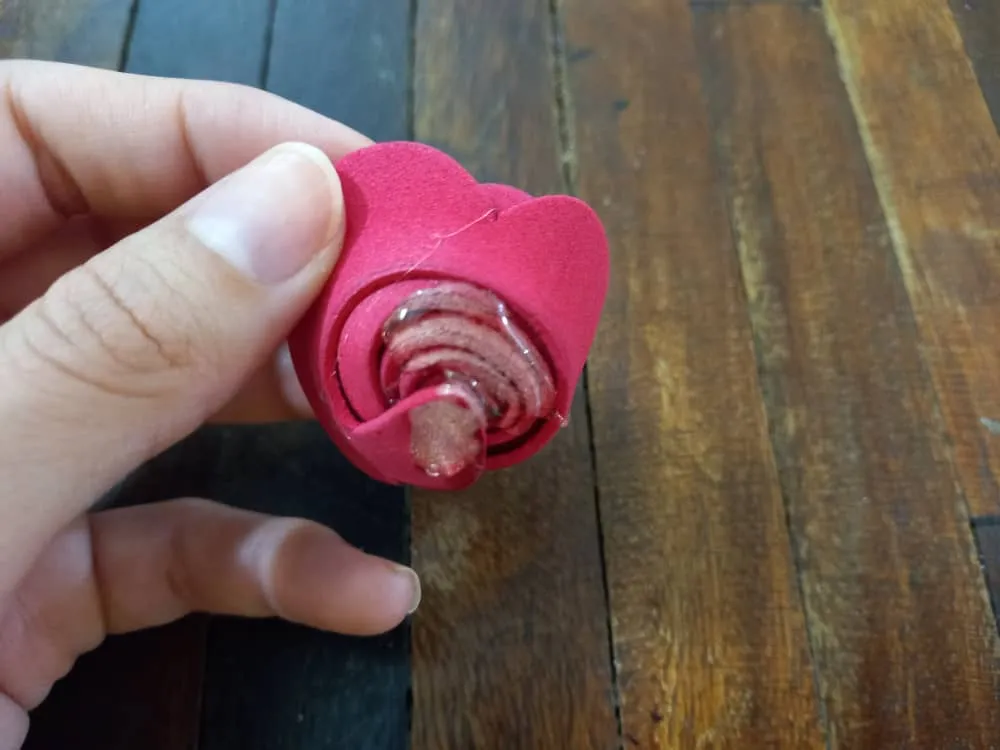
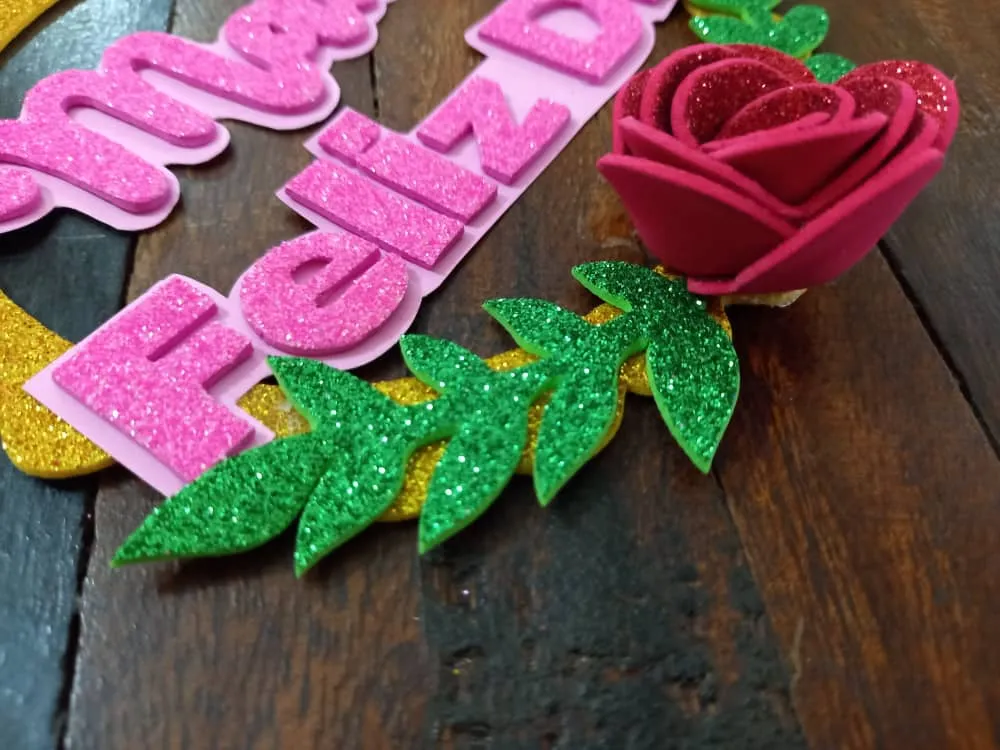
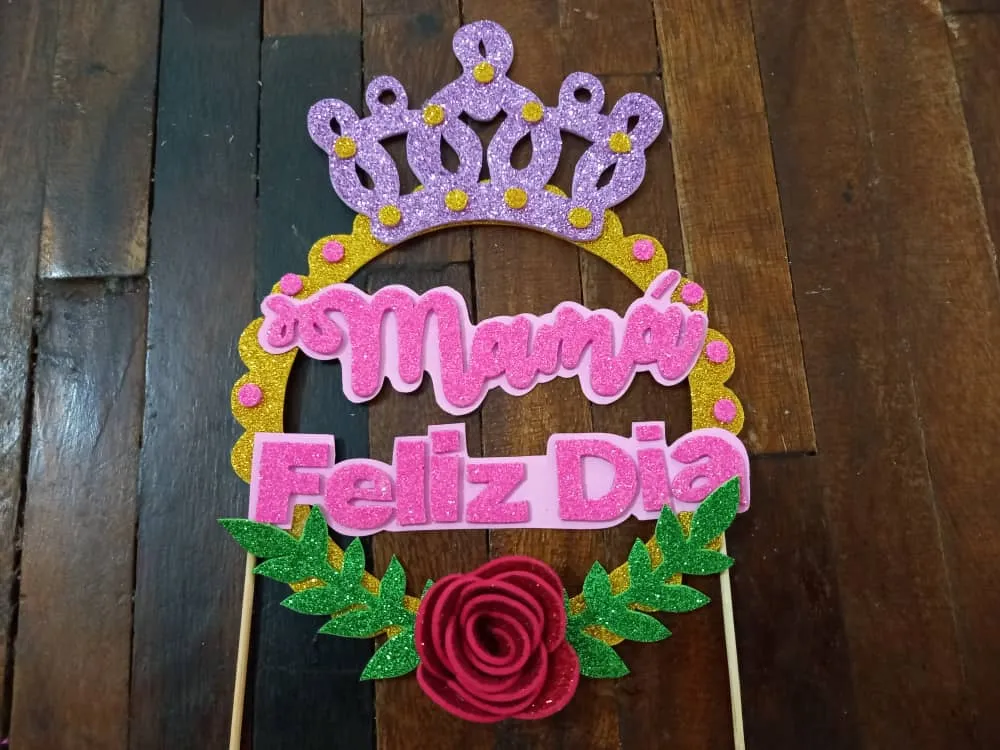
❥ PASO 6. Ahora hacemos 2 ramitas con foami verde escarchado (una derecha y una izquierda) y una pequeña rosa con foami rojo escarchado, en este post te explico como hacerla, es muy fácil.
❥ STEP 6. Now we make 2 twigs with frosted green foami (one right and one left) and a small rose with frosted red foami, in this post I'll explain how to do it, it's very easy.
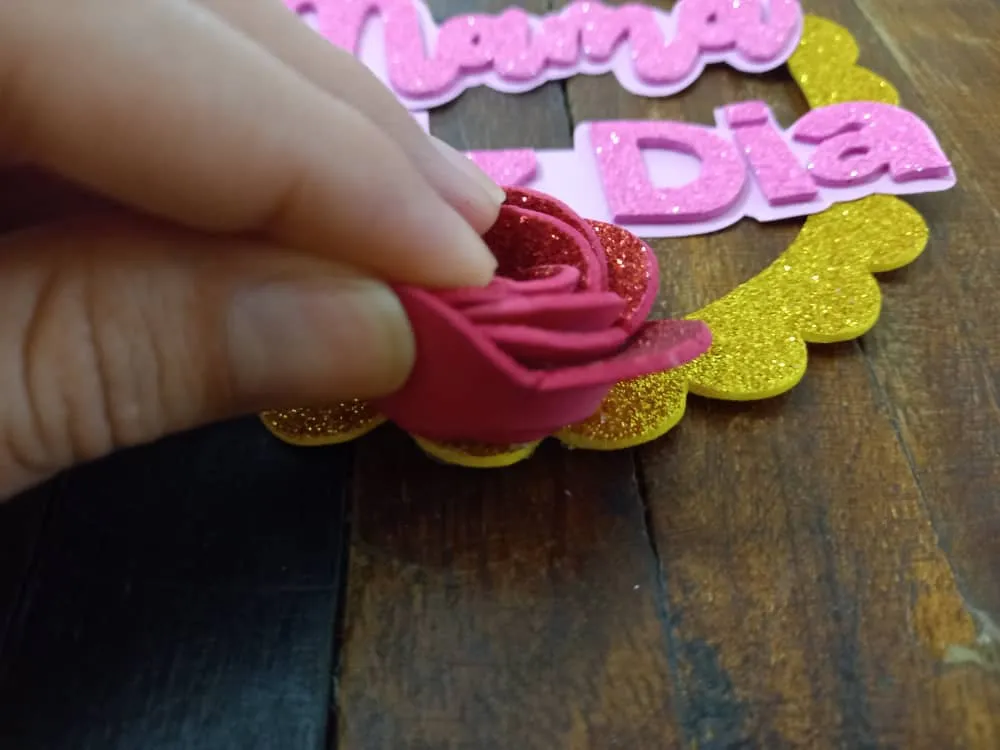
❥ PASO 7. Agregamos silicon debajo de la rosa y la pegamos en el borde inferior del círculo base, justo en el centro.
❥ STEP 7. We add silicone underneath the rose and glue it on the bottom edge of the base circle, right in the center.
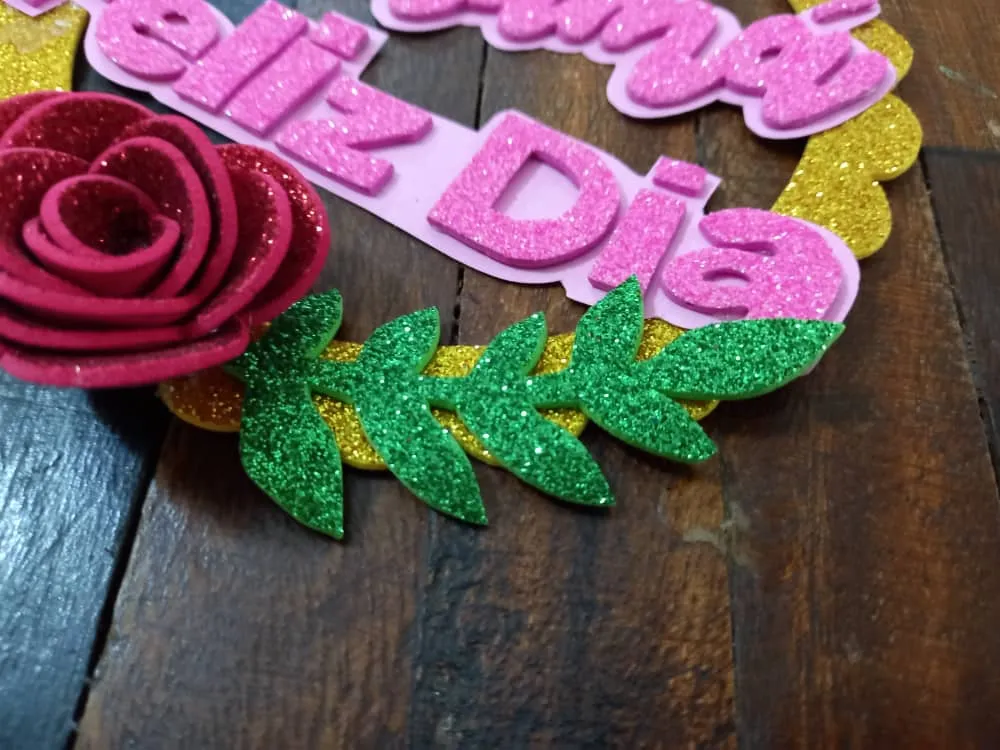
❥PASO 8. Ahora pegamos una ramita de cada lado de la rosa.
❥ STEP 8. Now we glue a twig on each side of the rose.
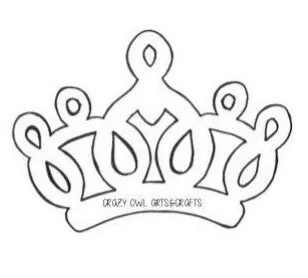
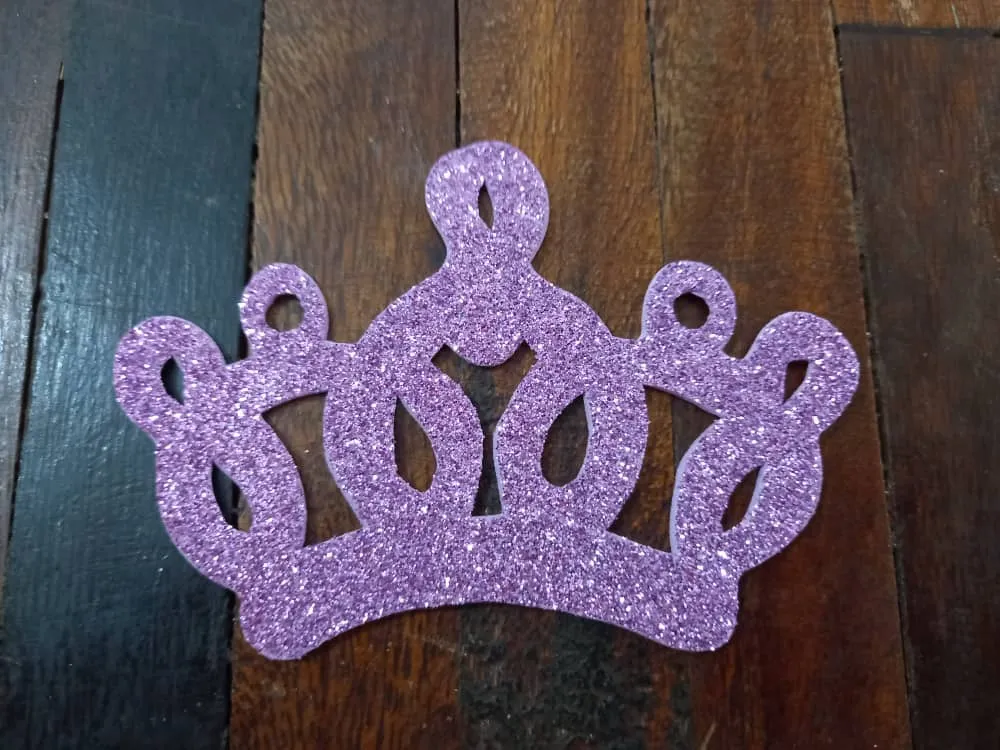
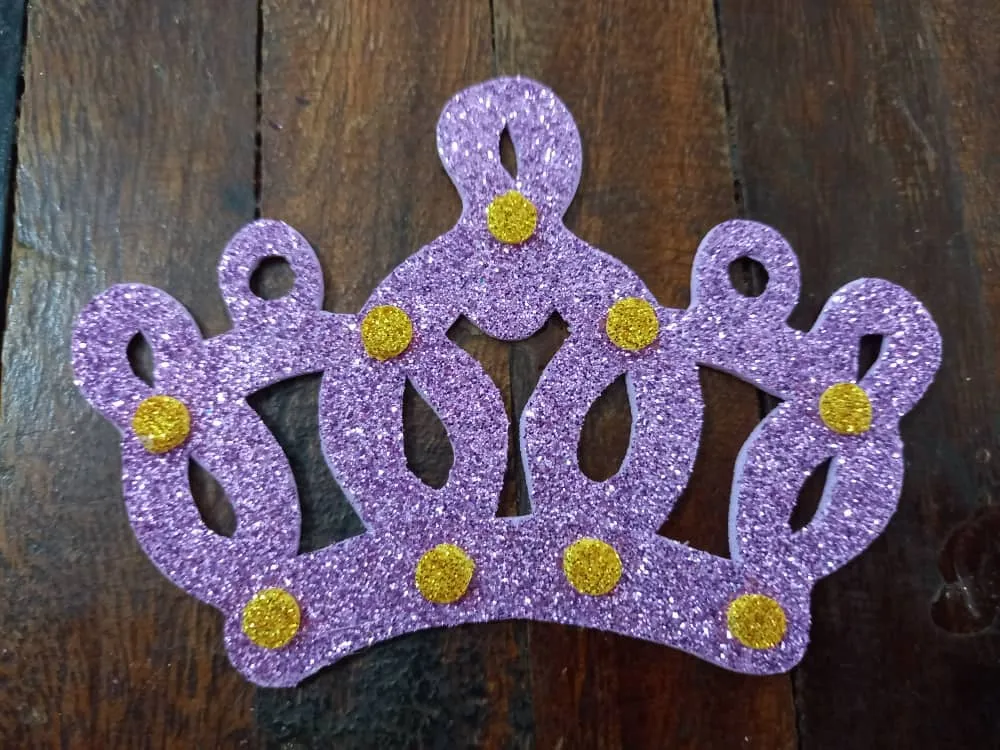
❥ PASO 9. Hacemos la corona en foami morado escarchado y recortamos.
❥ STEP 9. We make the crown in frosted purple foami and cut.
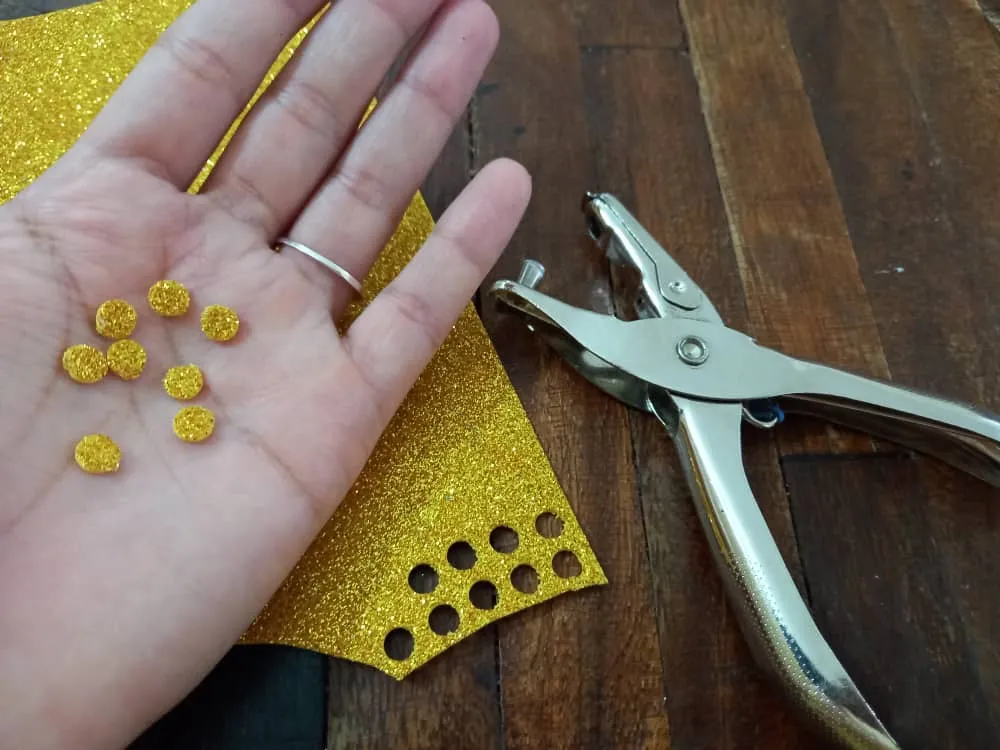
❥PASO 10. Con el sacabocados hacemos 9 círculos en foami dorado escarchado, y los pegamos sobre la corona en este orden:
❥ STEP 10. With the punch we make 9 circles in frosted golden foami, and glue them on the crown in this order:
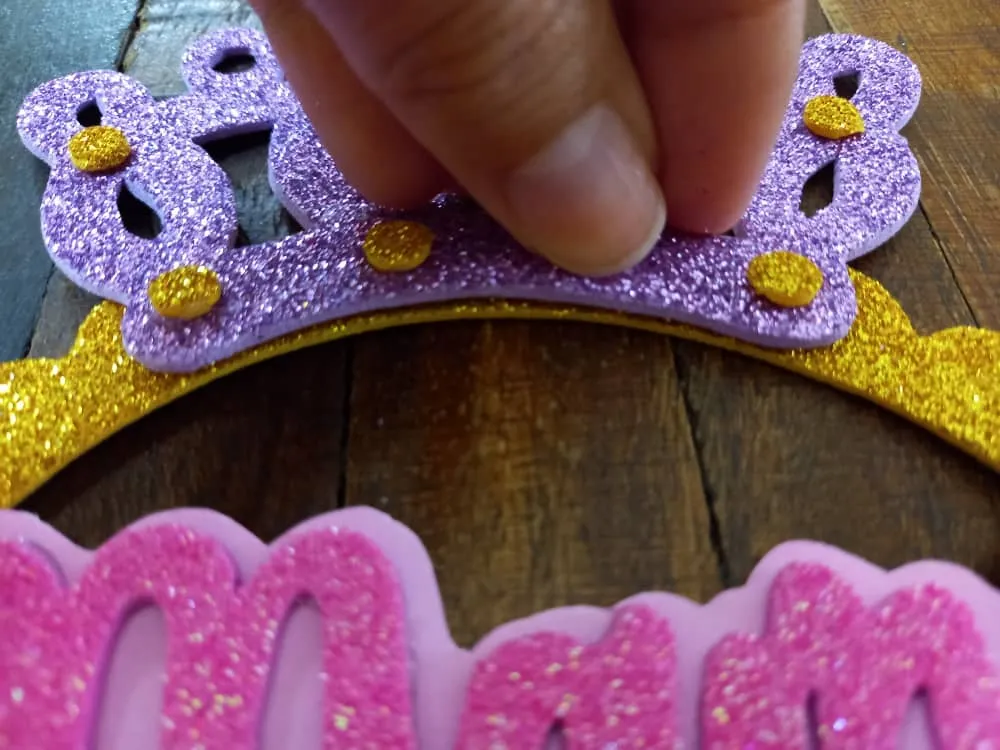
❥ PASO 11. Aplicamos silicon en el borde inferior trasero de la corona y la pegamos en el borde superior del circulo base del topper.
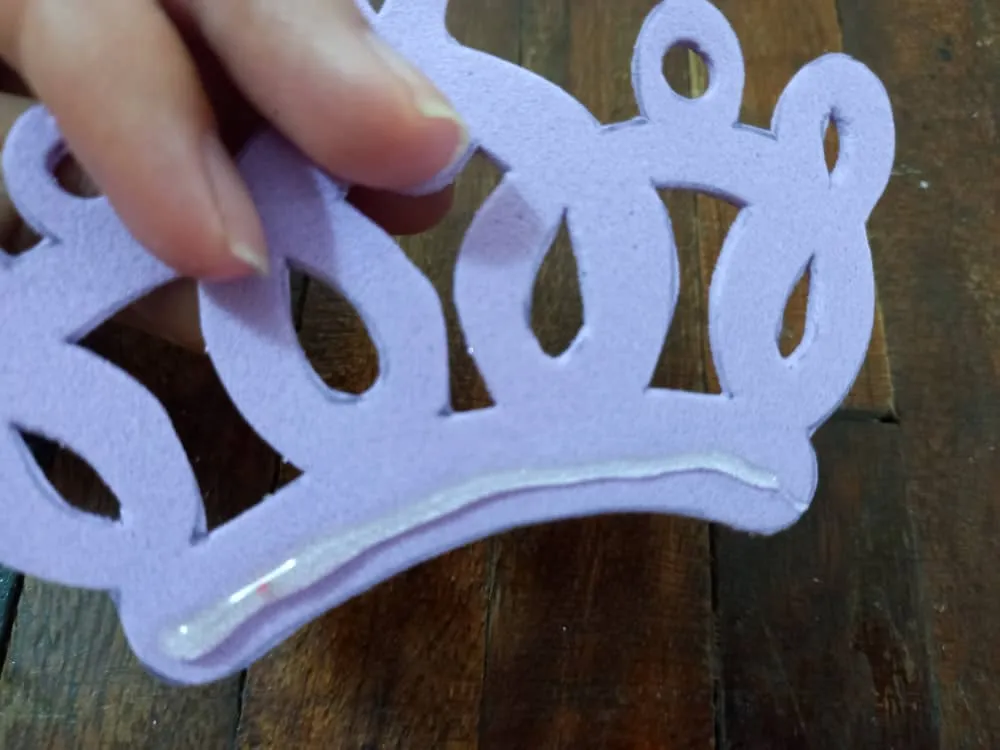
❥ STEP 11. We apply silicone to the lower rear edge of the crown and glue it to the upper edge of the base circle of the topper.

❥PASO 12. Con el sacabocados hacemos unos circulos de foami rosado escarchado y los pegamos a los lados del circulo del topper, solo donde quede espacio libre.
❥ STEP 12. With the punch we make some frosted pink foam circles and glue them to the sides of the topper circle, only where there is free space.
❥PASO 13. Ahora volteamos el topper y aplicamos silicon en ambos lados de los bordes del circulo base, seguidamente pegamos un palito de altura en cada lado.
❥ STEP 13. Now we turn the topper over and apply silicone on both sides of the edges of the base circle, then we glue a height stick on each side.
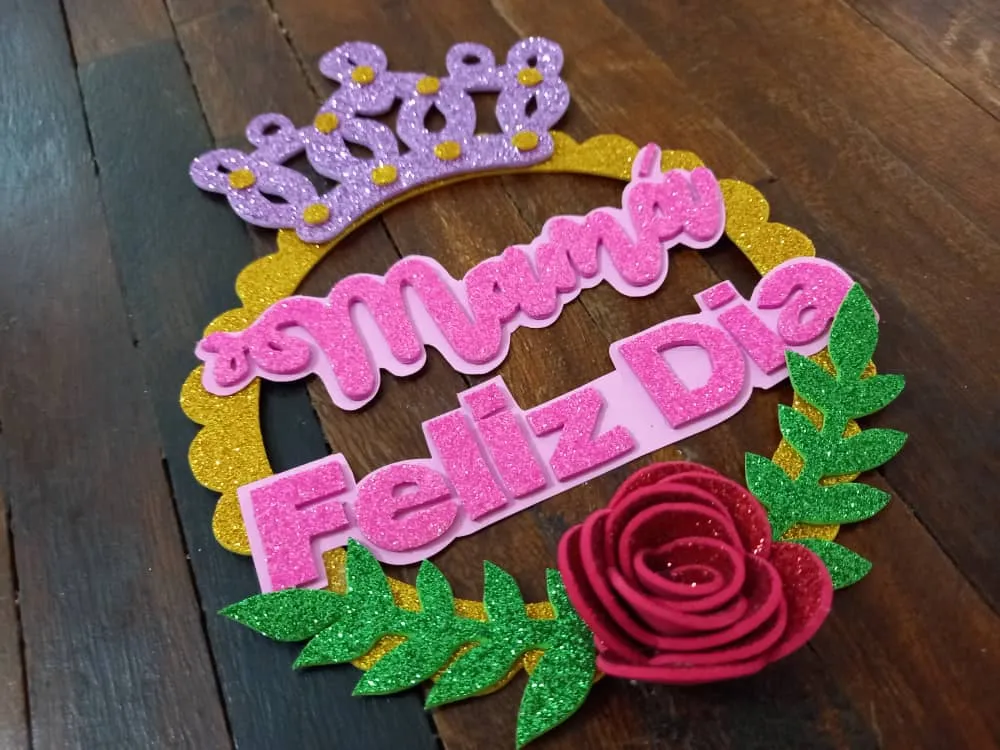
Y finalmente tenemos listo nuestro hermoso topper.
And finally we have our beautiful topper ready.
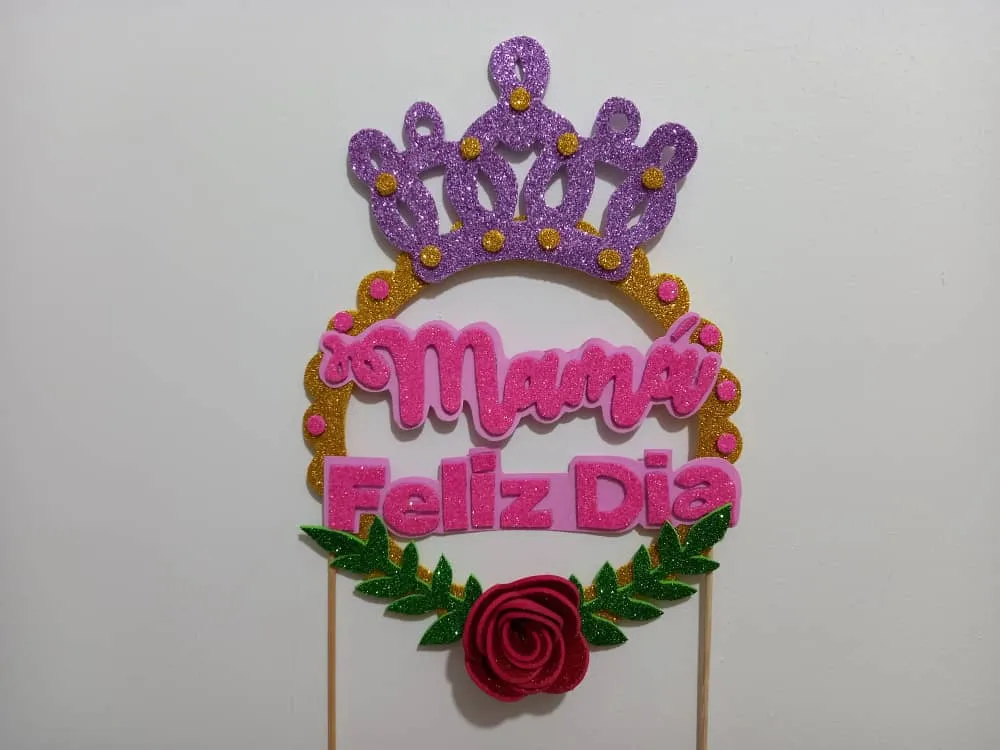
Asi queda nuestro topper, hermoso y con muchos detallitos y colores, es perfecto para regalar o complementar cualquier obsequio para mamá, espero que les haya gustado mi tutorial y el resultado final.
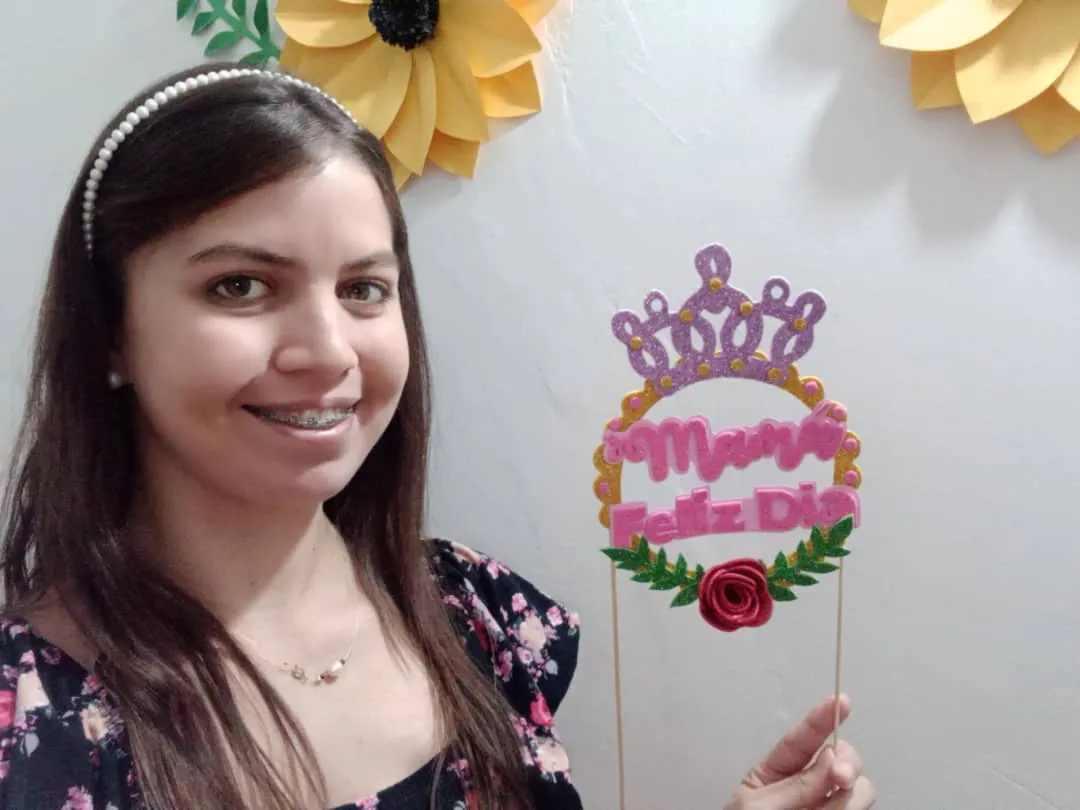
¡Anímate y haz el tuyo!
This is how our topper is, beautiful and with many details and colors, it is perfect to give or complement any gift for mom, I hope you liked my tutorial and the final result.
¡Go ahead and do yours!
Todas las fotografías del procedimiento son de mi propiedad.
Nos vemos en mi próxima publicación.
Tengan un feliz día.
All photographs of the procedure are my property.
See you in my next post.
Have a happy day.