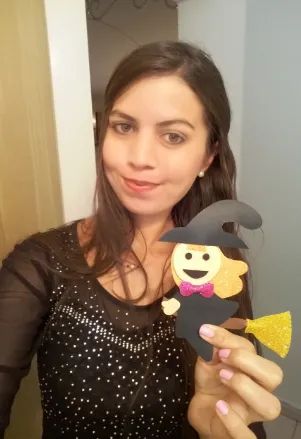
Se acerca Halloween y es por eso que el día de hoy les quiero mostrar un paso a paso muy fácil para hacer una brujita que puedes utilizar para decorar en estas fechas. La bruja es una de las principales figuras que representan esta festividad y se suelen hacer muchas decoraciones creativas con ellas.
Halloween is coming and that is why today I want to show you a very easy step by step to make a little witch that you can use to decorate on these dates. The witch is one of the main figures that represent this holiday and many creative decorations are usually made with them.
El procedimiento para elaborar la bruja es muy sencillo y los materiales muy fáciles de conseguir, aquí te dejo la lista:
Materiales:
⚫Cartulina negra.
⚫Foami naranja escarchado.
⚫Foami fucsia escarchado.
⚫Foami dorado.
⚫Foami marrón.
⚫Foami color piel.
⚫Lápiz.
⚫Tijeras.
⚫Barra de silicón.
⚫Pistola de silicón.
⚫Sacabocados.
The procedure to make the witch is very simple and the materials are very easy to get, here is the list:
Materials:
⚫Black cardboard.
⚫Frosted orange foami.
⚫Frosted fuchsia foami.
⚫Foami gold.
⚫Foami brown.
⚫Foami skin color.
⚫Pencil.
⚫Scissors.
⚫Silicone bar.
⚫Silicone gun.
⚫Punch.
Estos son los moldes de cada una de las partes que necesitamos para realizar nuestra bruja, sólo debes aumentar la imagen hasta conseguir el tamaño que desees para tu bruja.
These are the molds of each of the parts that we need to make our witch, you just have to increase the image until you get the size you want for your witch.
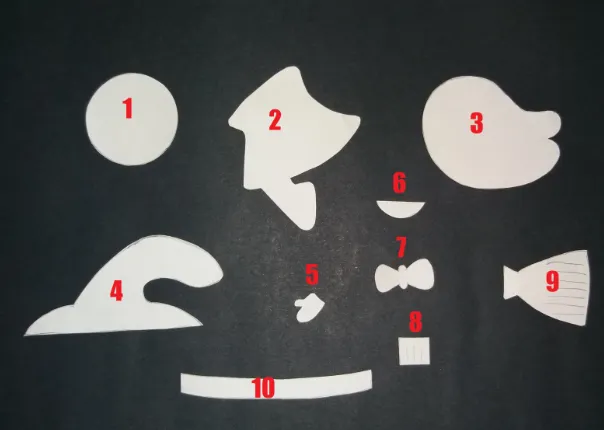
Como habrás notado cada una de las partes está identificada con un número y a continuación te muestro el nombre de cada una y cual es su color correspondiente.
- Cabeza/Color piel.
- Cuerpo/Color negro.
- Cabello/Color naranja escarchado.
- Sombrero/Color negro.
- Mano/Color piel.
- Boca/Color negro.
- Lazo/Fucsia escarchado.
- Pollina/Naranja escarchado.
- Escoba/Dorado.
- Base de la escoba/Marrón.
As you may have noticed, each of the parts is identified with a number and below I show you the name of each one and what its corresponding color is.
- Head / Skin color.
- Body / Color black.
- Frosty orange hair / color.
- Hat / Black color.
- Hand / Skin color.
- Mouth / Color black.
- Tie / Frosted Fuchsia.
- Pollina / Frosty orange.
- Broom / Gold.
- Broom base / Brown.
Procedimiento:/ Process:
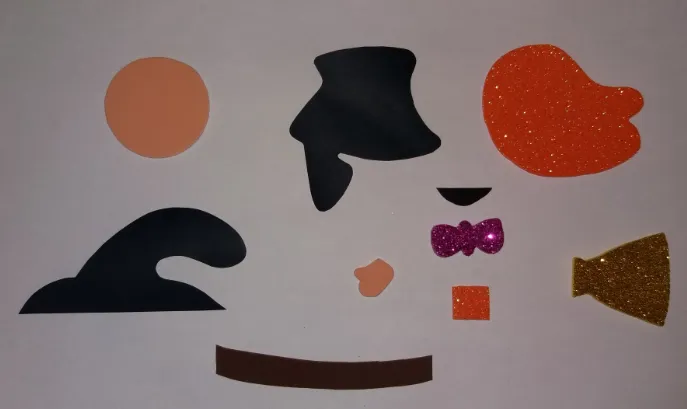
◉PASO 1. Procedemos a hacer cada una de las partes en el material y color correspondiente y recortamos.
◉ STEP 1. We proceed to make each of the parts in the corresponding material and color and cut.
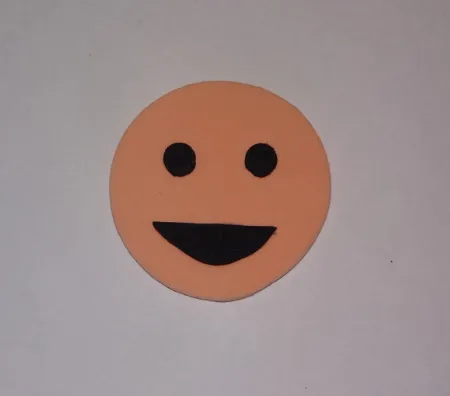
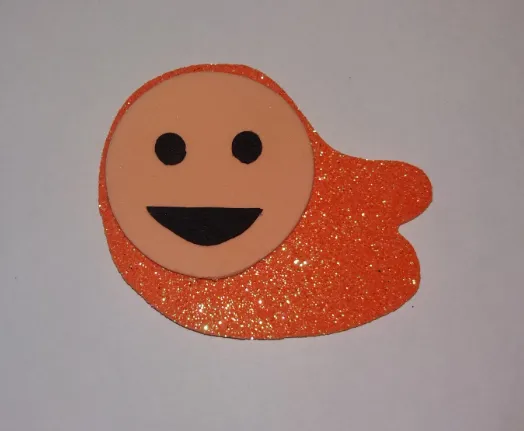
◉PASO 2. Comenzamos formando el rostro sobre la cabeza, pegamos la boca debajo de la mitad de la cabeza. Con ayuda del sacabocados hacemos 2 círculos en cartulina negra que servirán como los ojos y los pegamos.
◉ STEP 2. We start by forming the face on the head, we glue the mouth under the middle of the head. With the help of the punch we make 2 circles in black cardboard that will serve as the eyes and we glue them.
◉PASO 3. Pegamos la cabeza sobre el cabello pero sin colocar pegamento en la parte inferior de la cabeza, de la misma forma que se muestra en las siguientes fotos:
◉ STEP 3. We glue the head on the hair but without placing glue on the bottom of the head, in the same way as shown in the following photos:
◉PASO 4. Ahora pegamos la pollina justo en la medio de la parte superior de la cabeza, como muestro a continuación:
◉ STEP 4. Now we glue the chick right in the middle of the top of the head, as I show below:
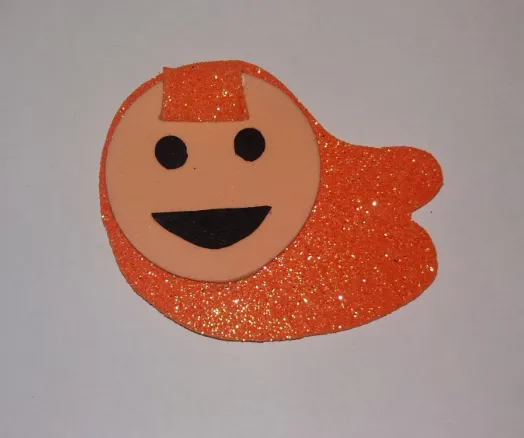
◉PASO 5. Pegamos el sombrero cubriendo justo a la mitad de la pollina, así:
◉ STEP 5. We glue the hat covering just the middle of the chick, like this:

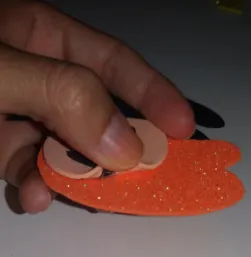
◉PASO 6. Recuerdan que no pegamos la cabeza completamente en el paso 3? Pues es momento de usar esa parte, colocamos silicon debajo de la parte inferior de la cabeza que falta y pegamos el cuerpo de la bruja de la siguiente manera:
◉ STEP 6. Remember that we did not glue the head completely in step 3? Well, it is time to use that part, we place silicon under the lower part of the missing head and glue the body of the witch as follows:
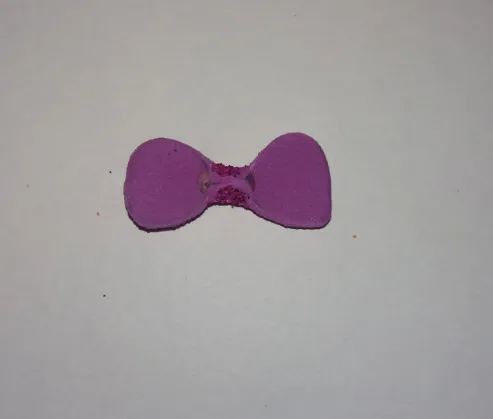
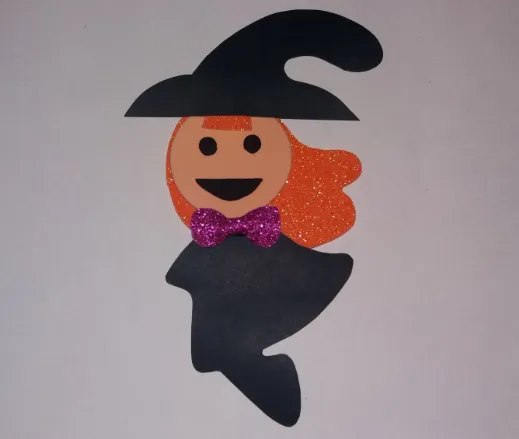
◉PASO 7. Agregamos silicon en la parte trasera de las 2 solapas del lazo (arriba y abajo) y presionamos unos segundos para que pegue bien y luego lo pegamos en el cuello de la bruja, justo debajo de su cabeza.
◉ STEP 7. We add silicon on the back of the 2 flaps of the bow (top and bottom) and press for a few seconds to make it stick well and then we stick it on the witch's neck, just below her head.
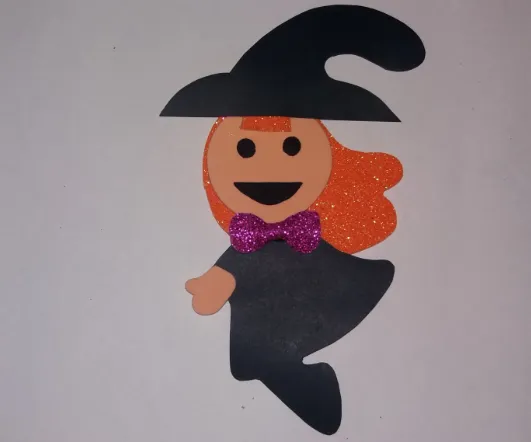
◉PASO 8. Pegamos la mano sobre la parte que se muestra en la foto:
◉ STEP 8. We stick the hand on the part shown in the photo:
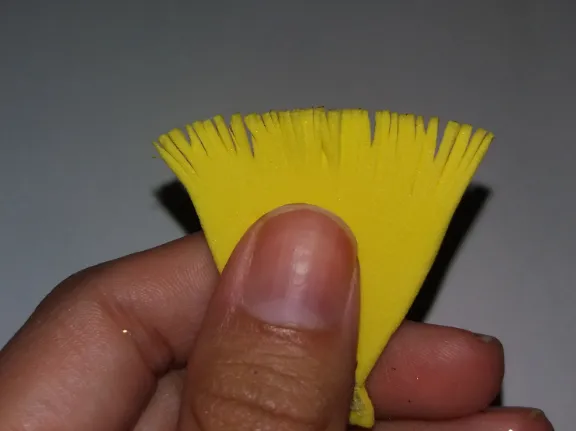
◉PASO 9. Es momento de hacer la escoba, con la tijera vamos a hacer unos pequeños cortes verticalmente en la parte inferior de la escoba pero sin llegar a cortar completamente.
◉ STEP 9. It is time to make the broom, with the scissors we are going to make some small cuts vertically in the lower part of the broom but without cutting completely.
◉PASO 10. Pegamos la punta superior de la parte dorada sobre uno de los extremos de la base de la escoba, y aplicamos silicon en la parte trasera y presionamos como hicimos con el lazo, así:
◉ STEP 10. We glue the upper point of the golden part on one of the ends of the base of the broom, and we apply silicone on the back part and press as we did with the loop, like this:


◉PASO 11. Pegamos el extremo libre de la escoba a la mano de la bruja pasando por debajo de su cuerpo y quedando el otro extremo detrás de la bruja, de esta forma queda la bruja sentada en la escoba.
◉ STEP 11. We glue the free end of the broom to the witch's hand, passing under her body and leaving the other end behind the witch, in this way the witch is sitting on the broom.
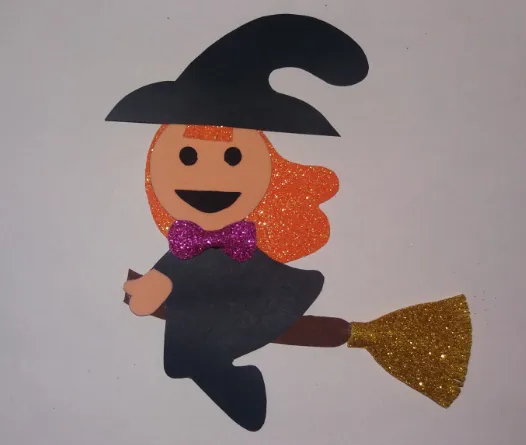
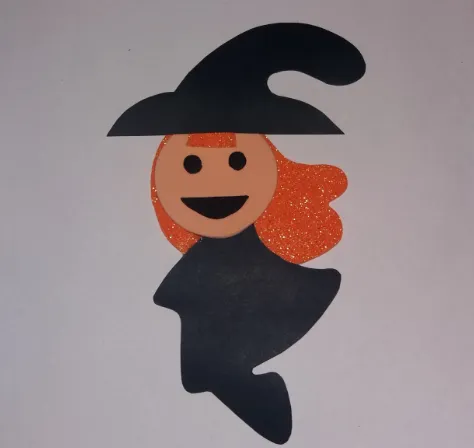
Y de esta manera terminamos con nuestra brujita y está lista para ser usada en una linda decoración de halloween o alguna idea que se te ocurra. Espero que les haya gustado este tutorial y se animaen a hacer su propia brujita de halloween.
And in this way we finish with our little witch and it is ready to be used in a cute Halloween decoration or any idea that you can think of. I hope you liked this tutorial and are encouraged to make your own halloween witch.
Todas las fotografías son de mi propiedad.
Nos vemos en mi próxima publicación.
Tengan un feliz día.
All photographs are my property.
See you in my next post.
Have a happy day.