Good morning everyone,
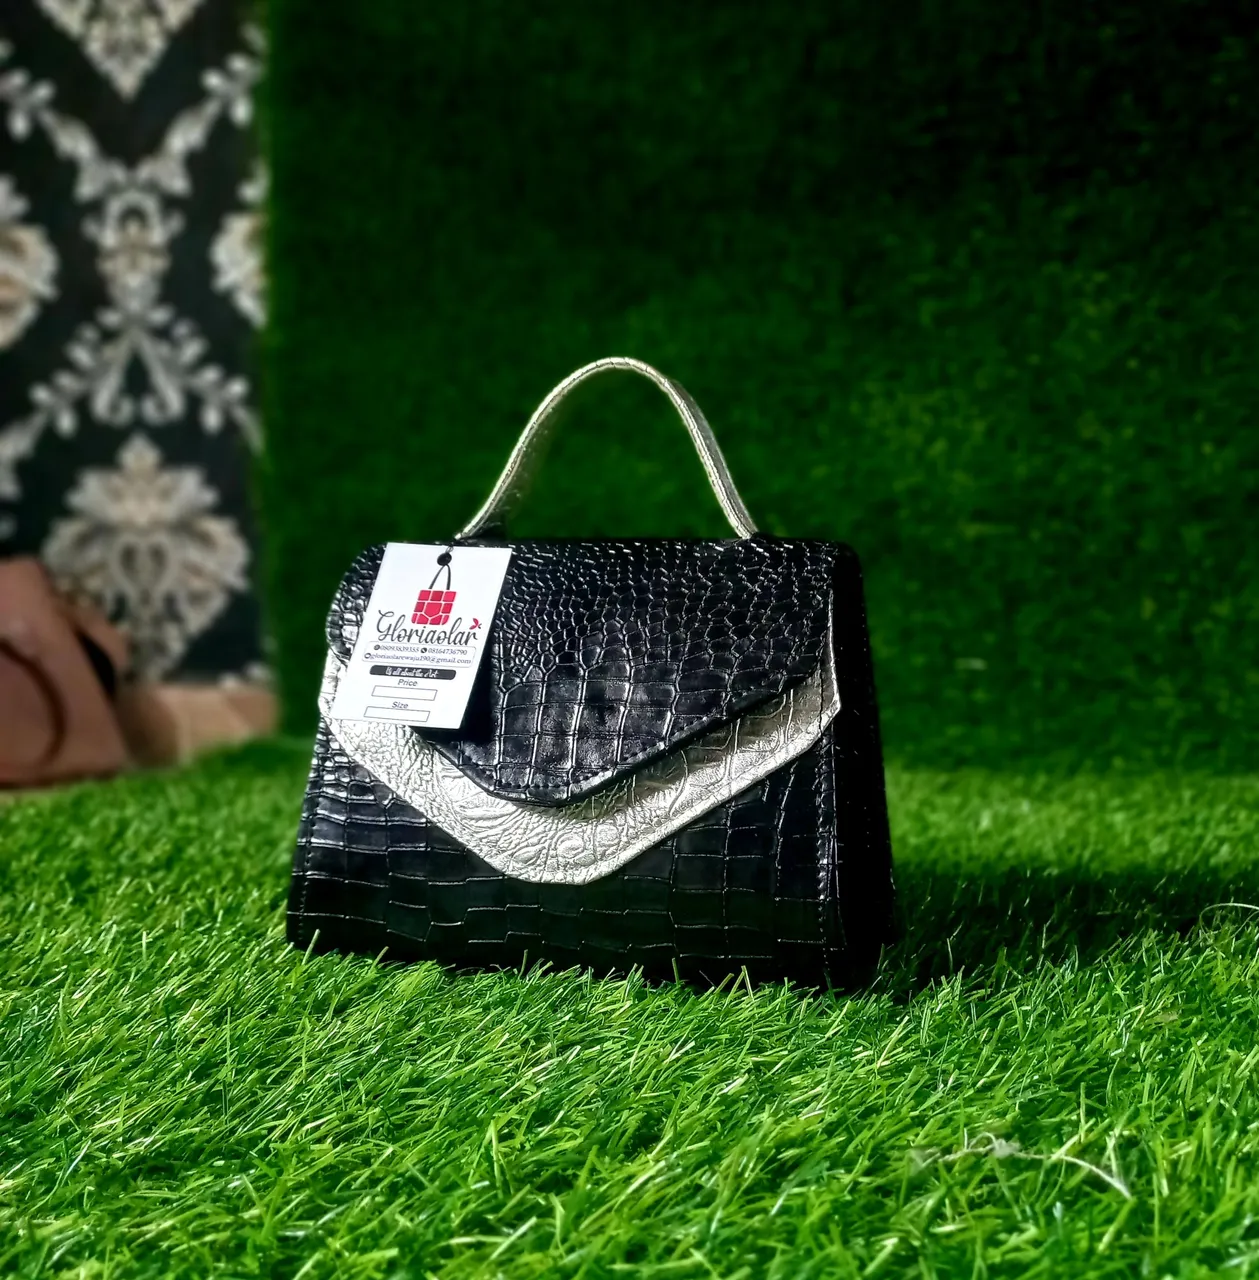
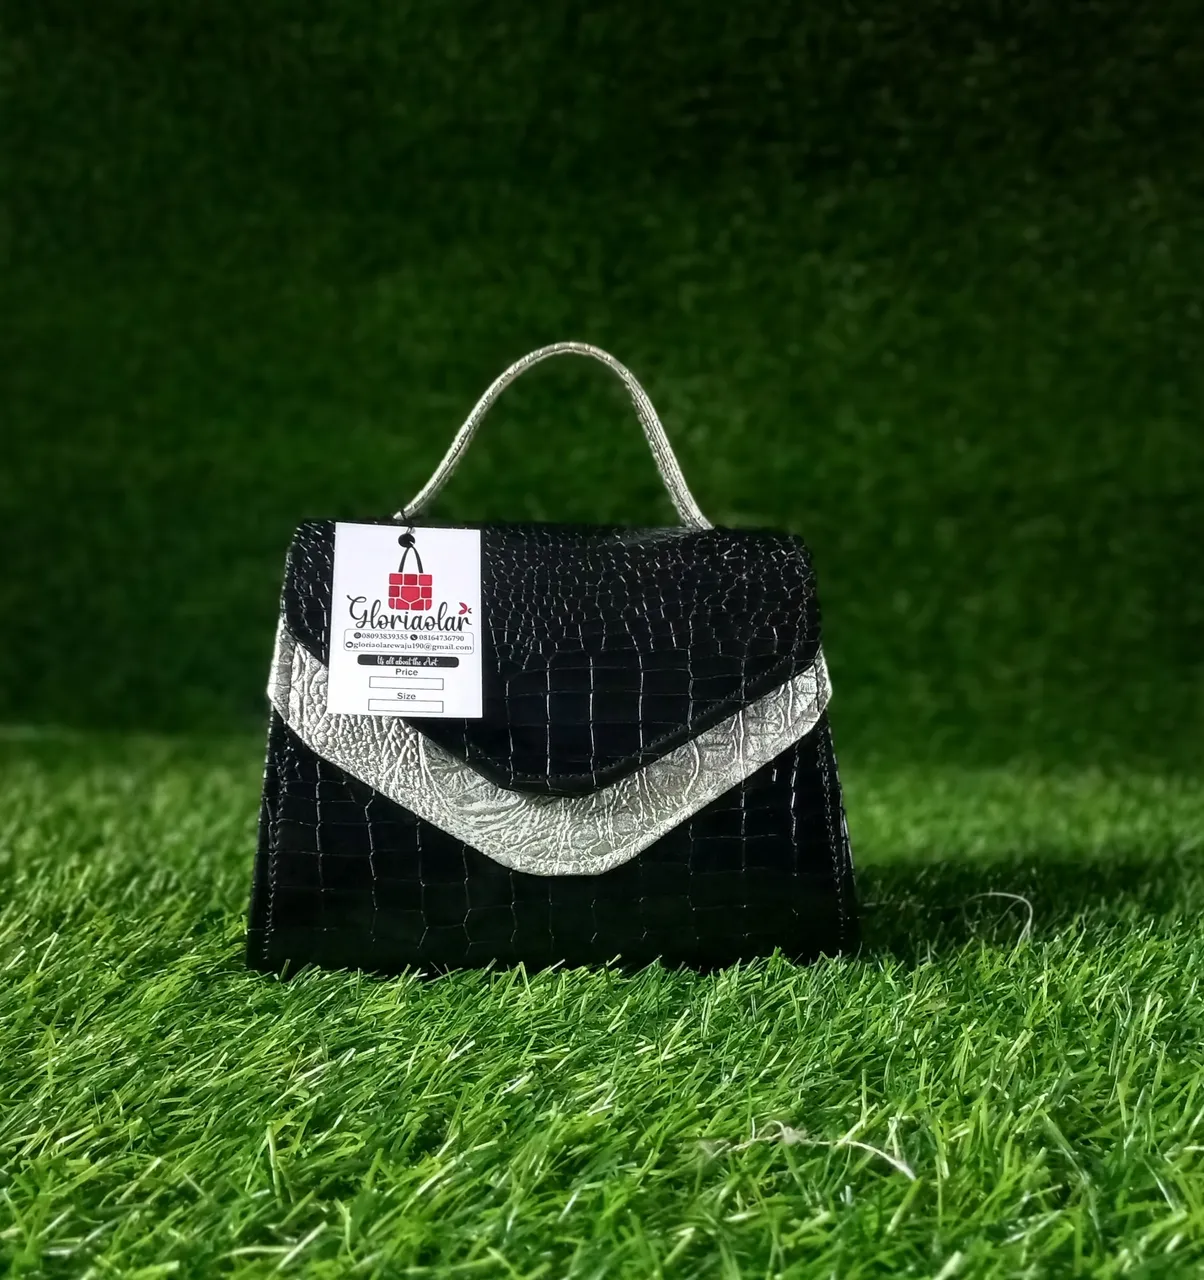
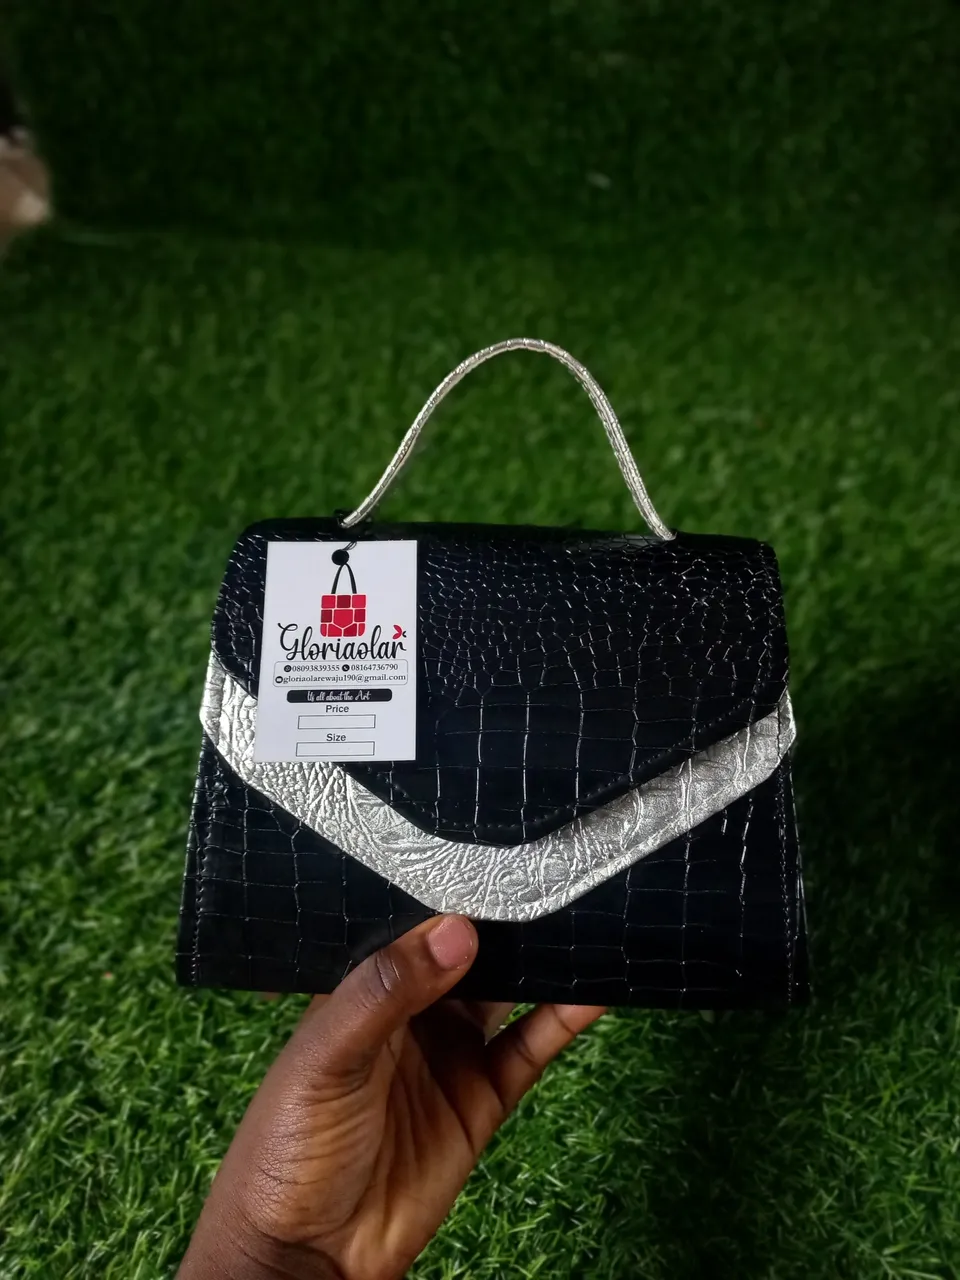
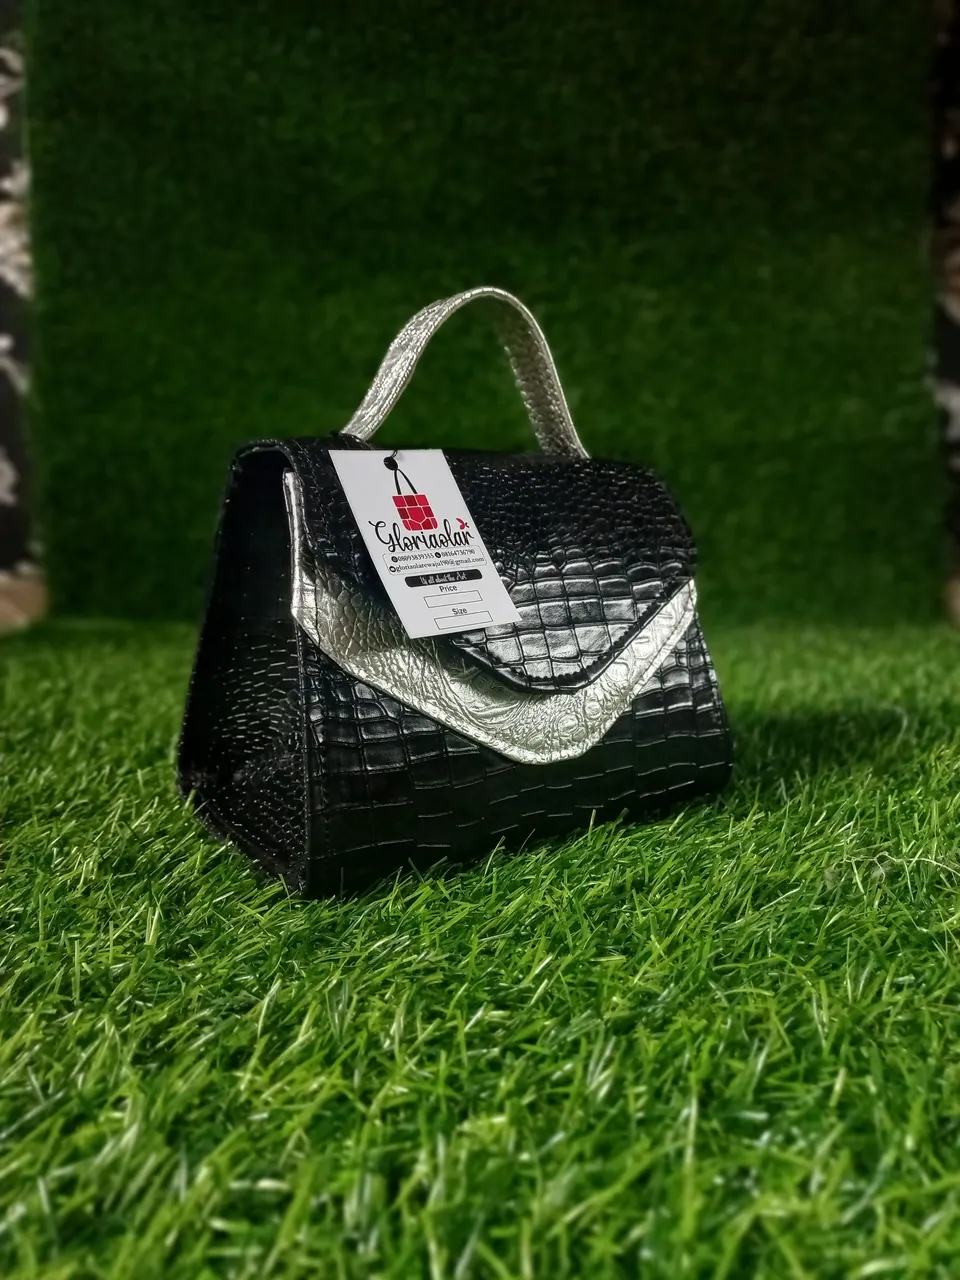
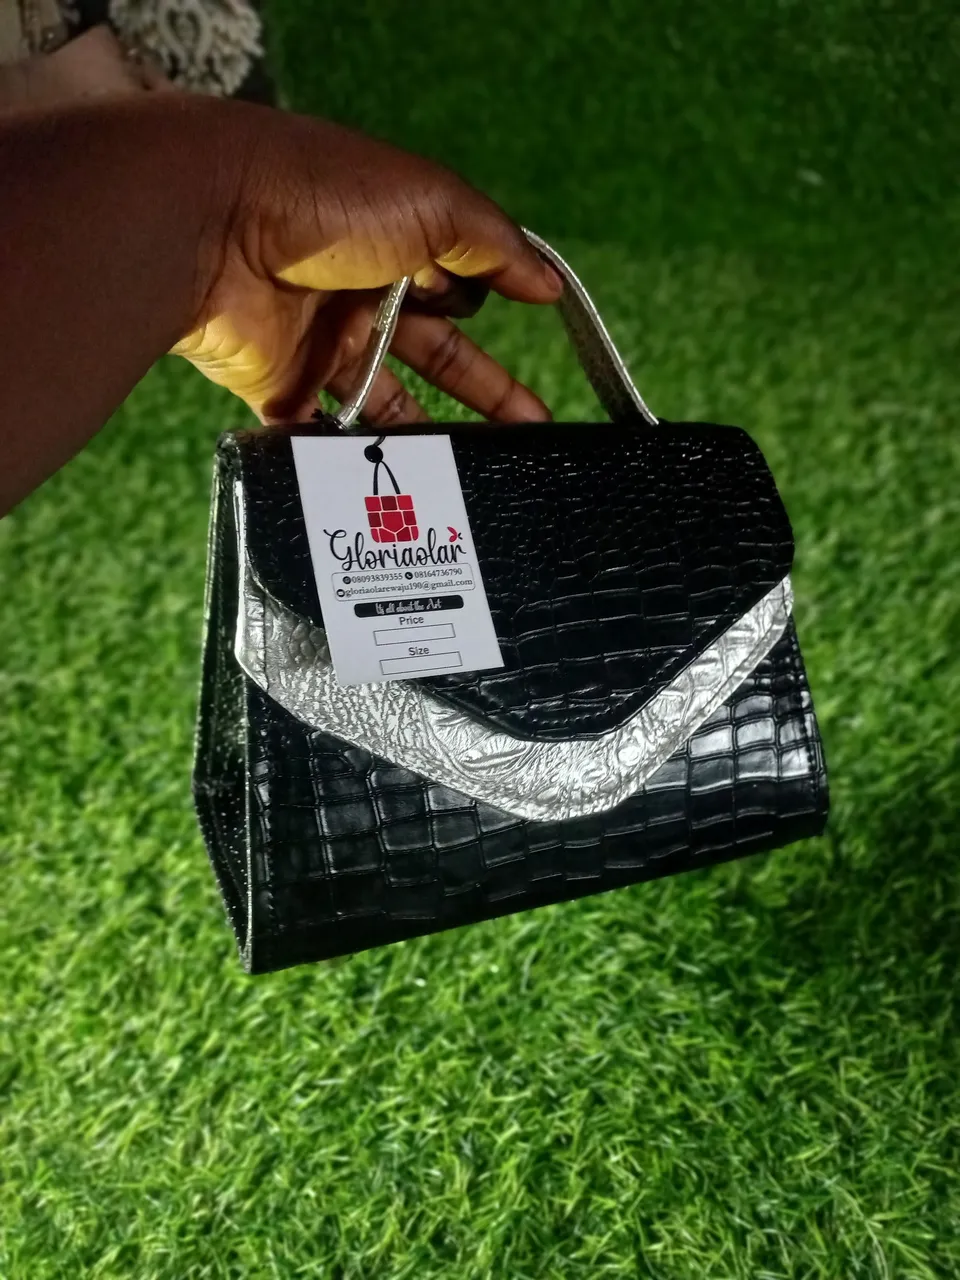
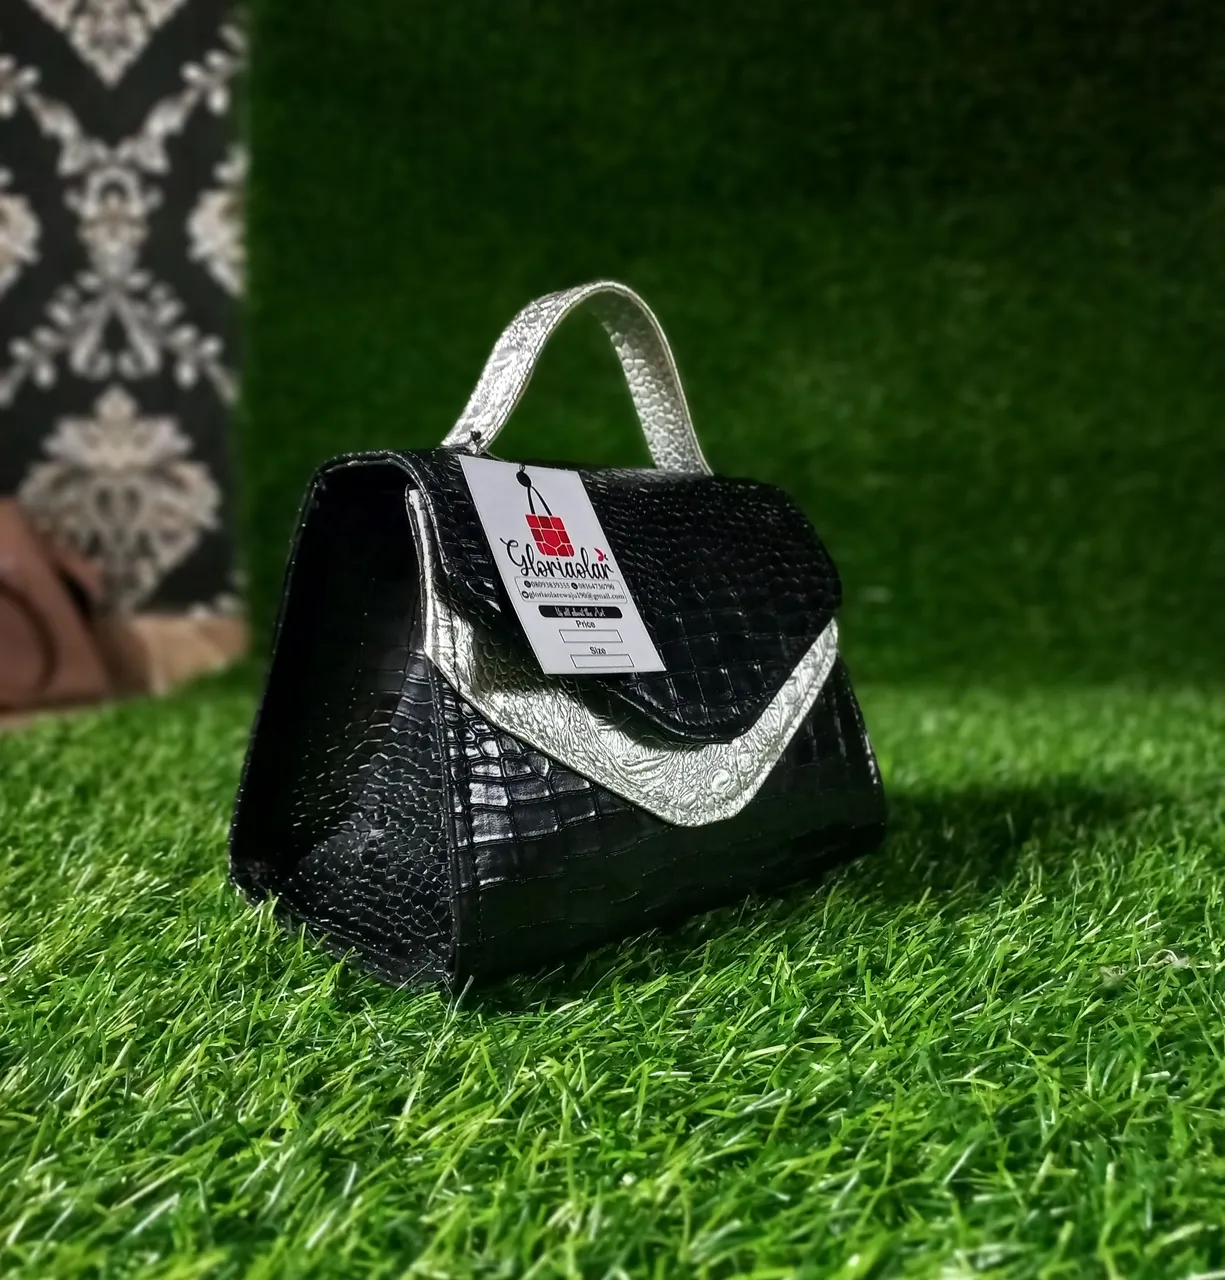
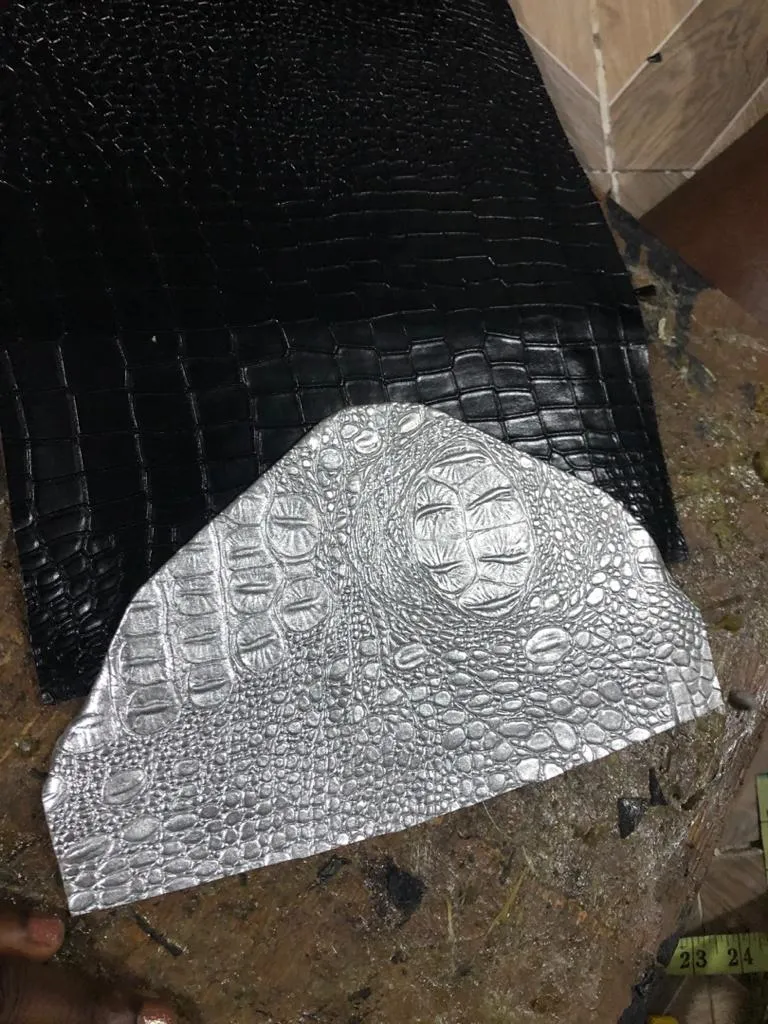
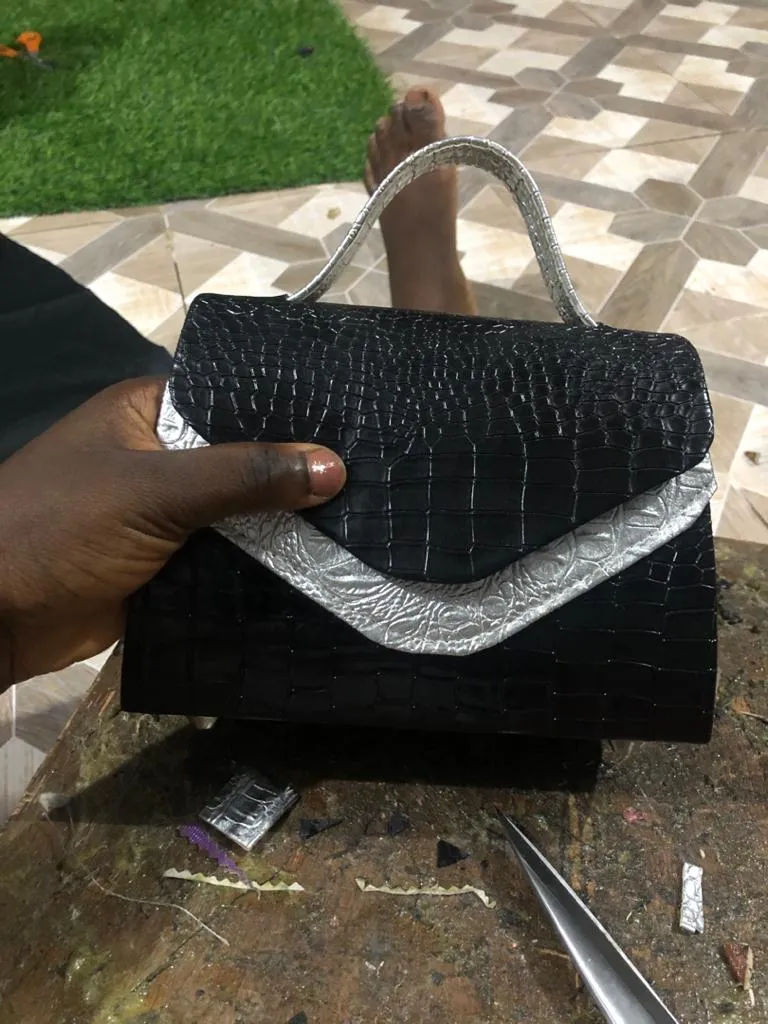
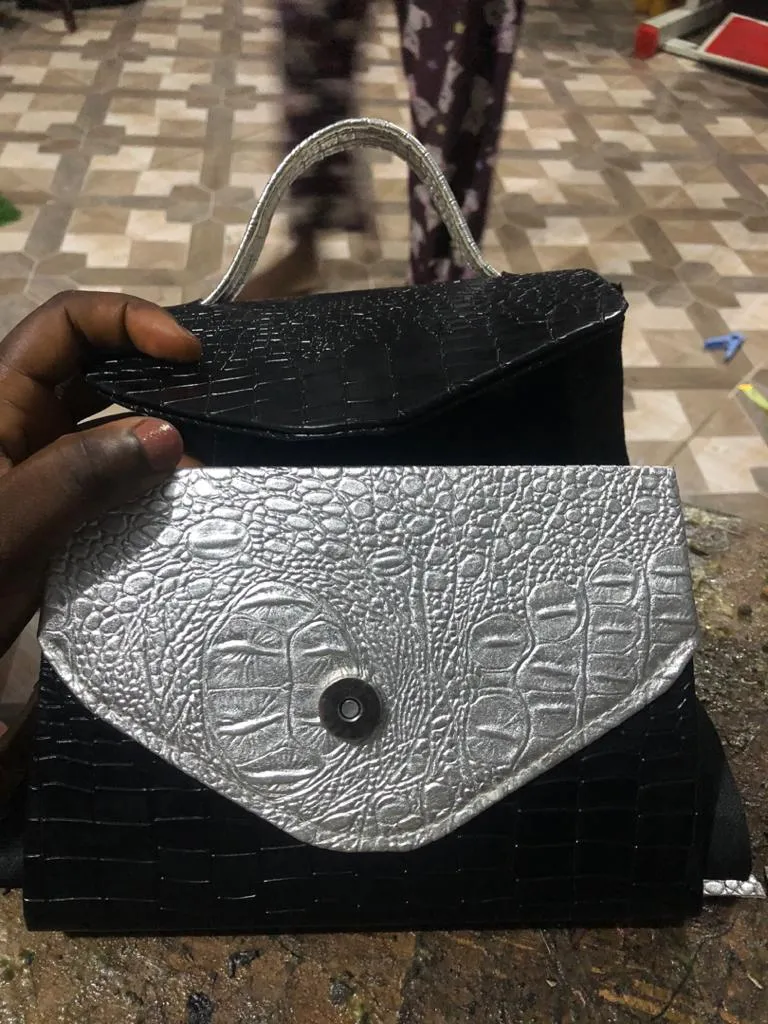
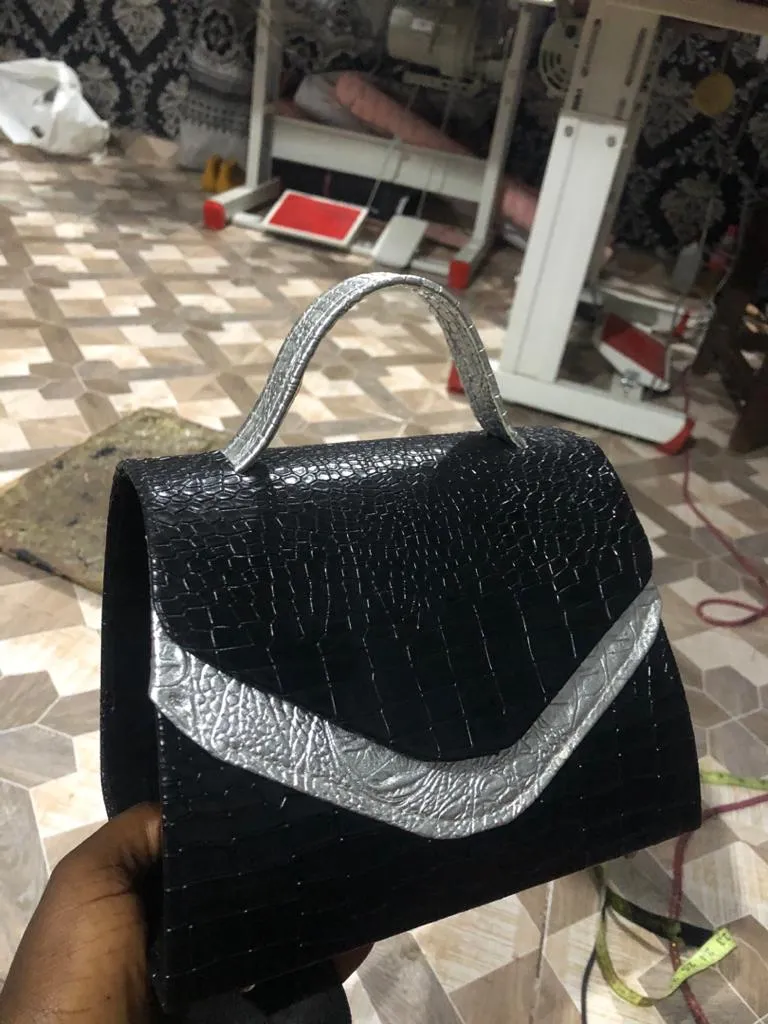
This morning I want to share with you my latest bag design which I call "Ajoke" bag. The bag is a combination of two leathers which is silver and black. The silver is for the top upper handle and as a design om the front part ofbthe bag
In order to get this design, I had to create a separate pattern for the silver which I gum and sew to the front part pfbthe bag. Subsequently I'd be making this design with different leathers. Below I'll be explaining how i got the bag created.
MATERIALS USED
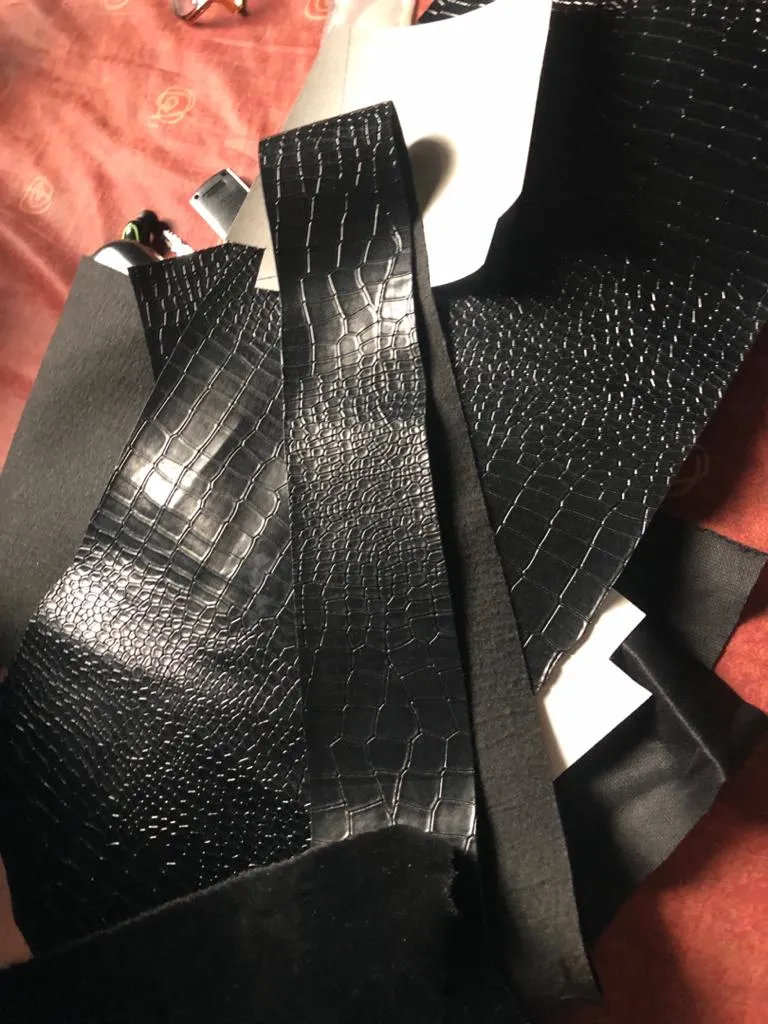
- Leather of choice (black and silver)
- Oketex fibre
- Suade lining
- Chi board
- Bottom pin
- Gum
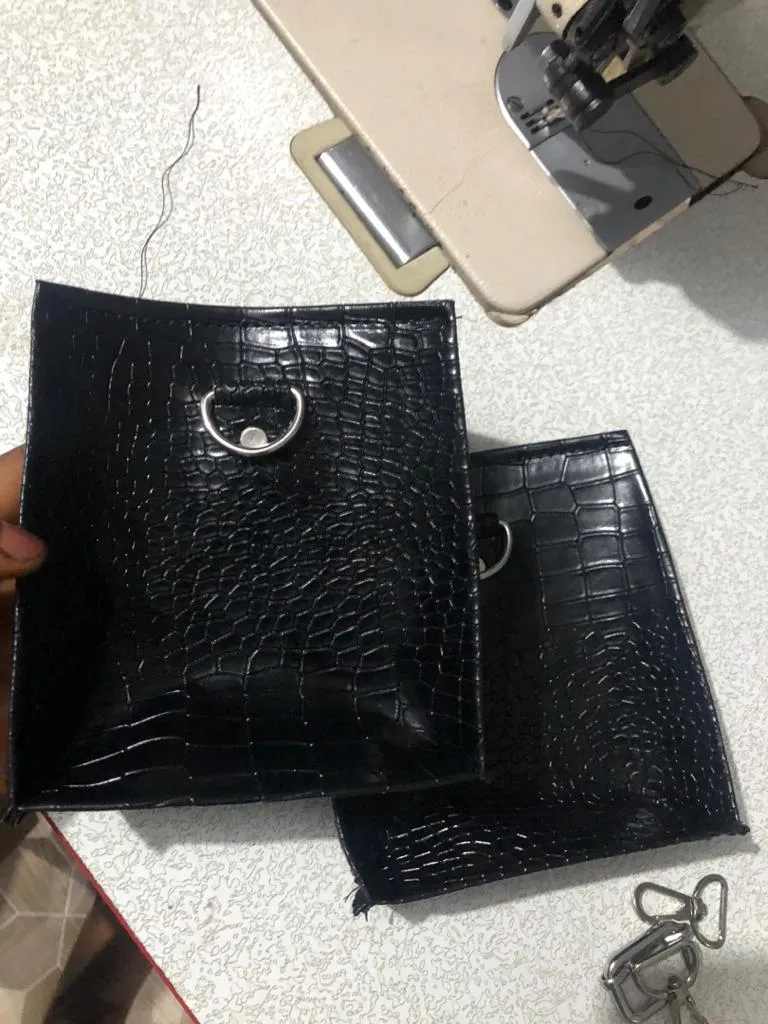
- D rings
- Bag anchor
- Adjuster
- Super glue
- Magnet
PROCESS
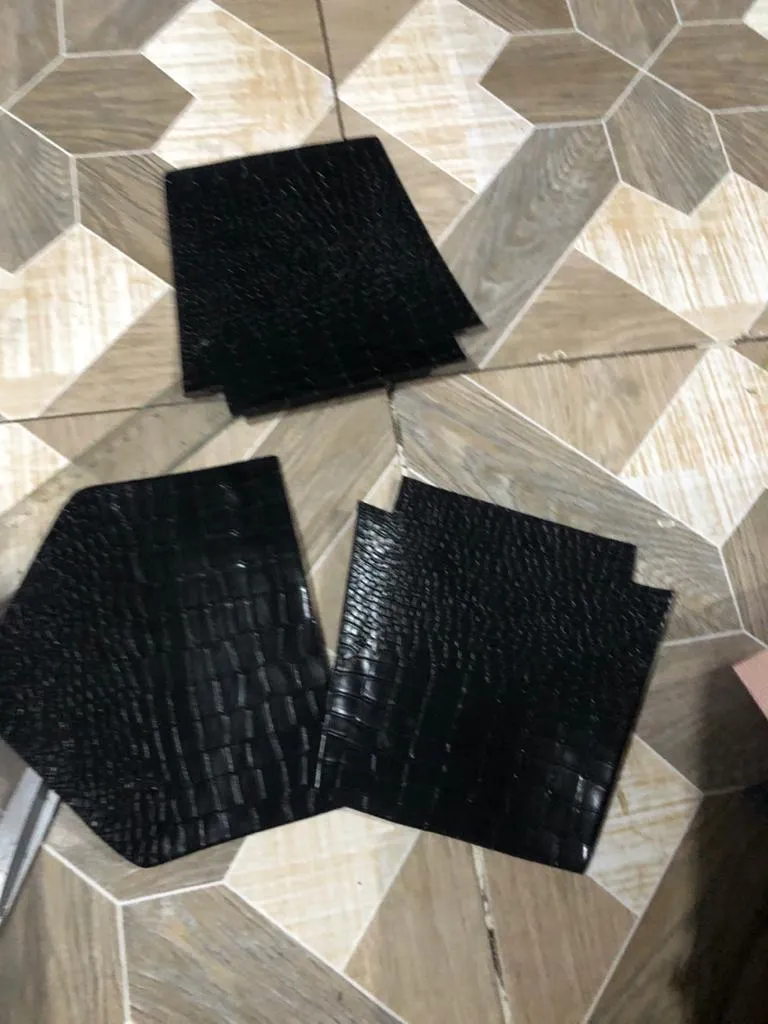
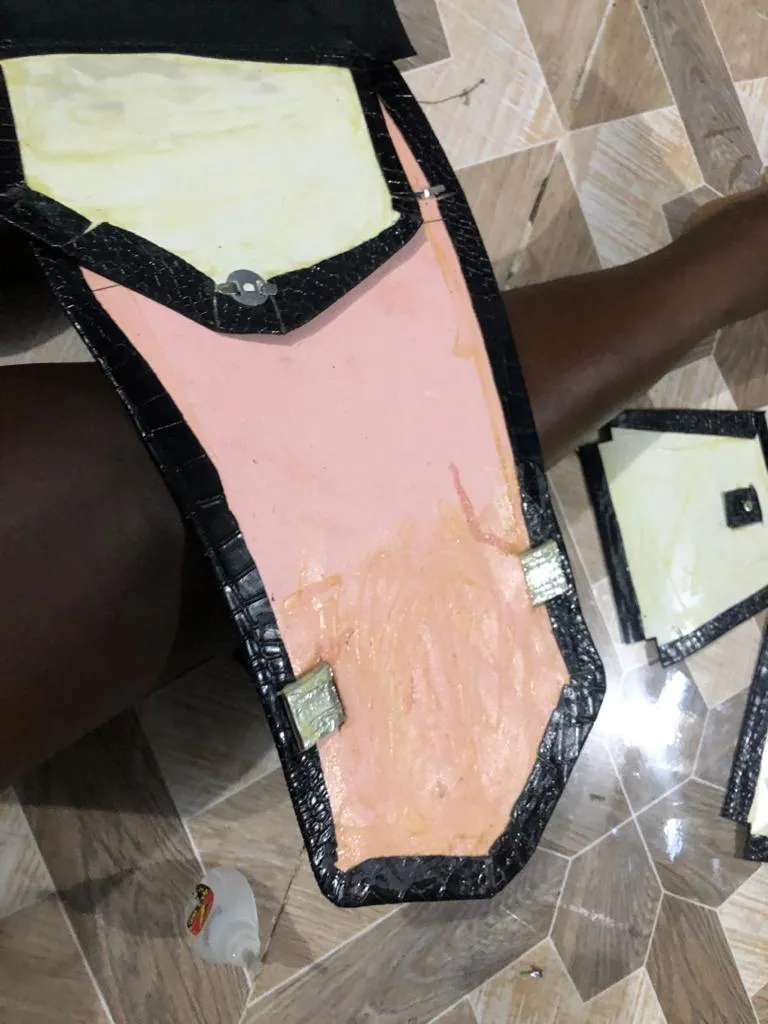
- Like I said earlier, the first thibg I did was to create the pattern for the bag because its a new design. The measurements I used was 5.5inches height, 5inches wide and 8 inches length below, 7inches length above.
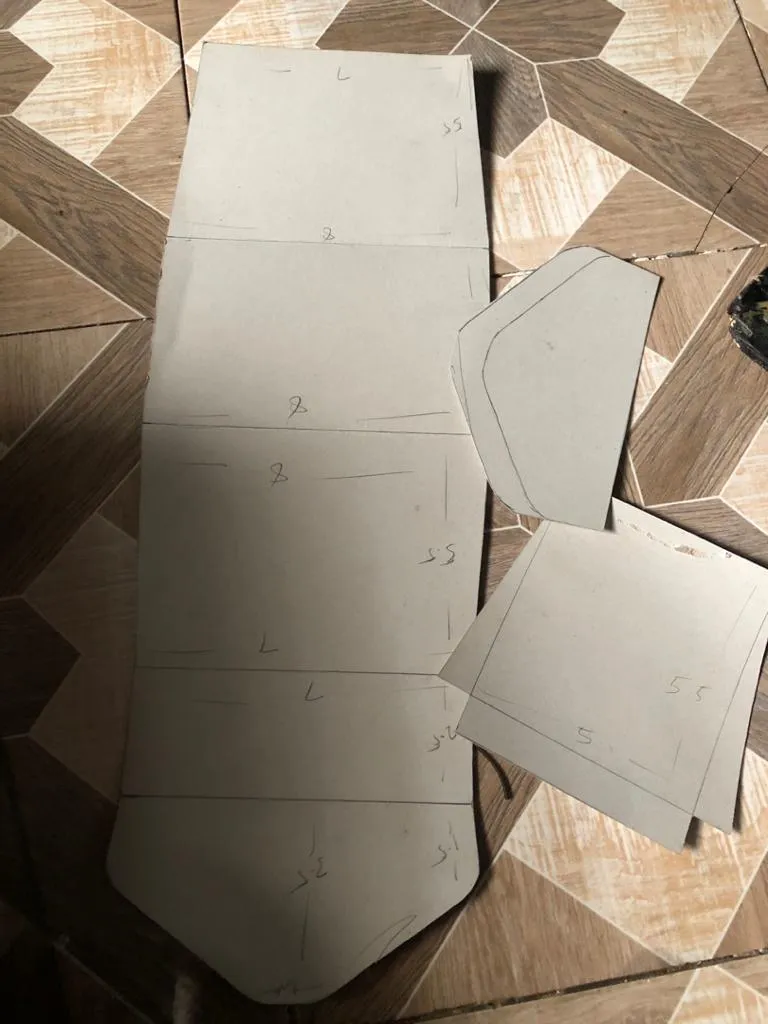
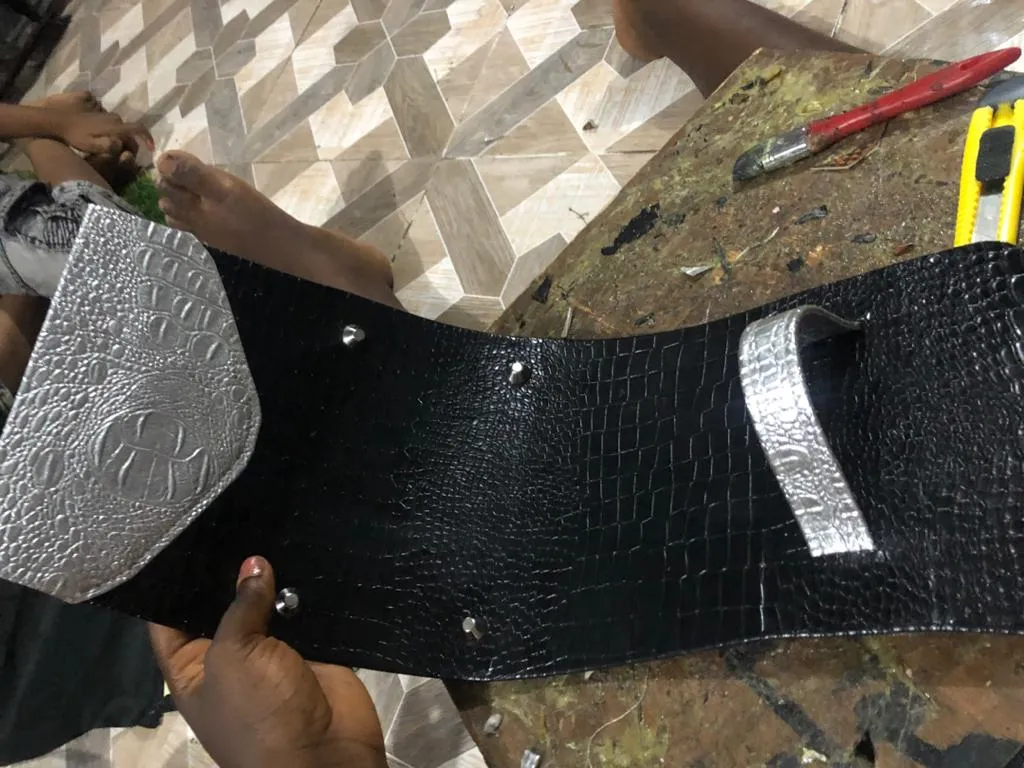
- After that, I marked it on the Fibre and chiboard. The fibre is for the main body of the bag while the chipboard is for the sides, leather lining and the outer design. Next I wrapped leather around them.
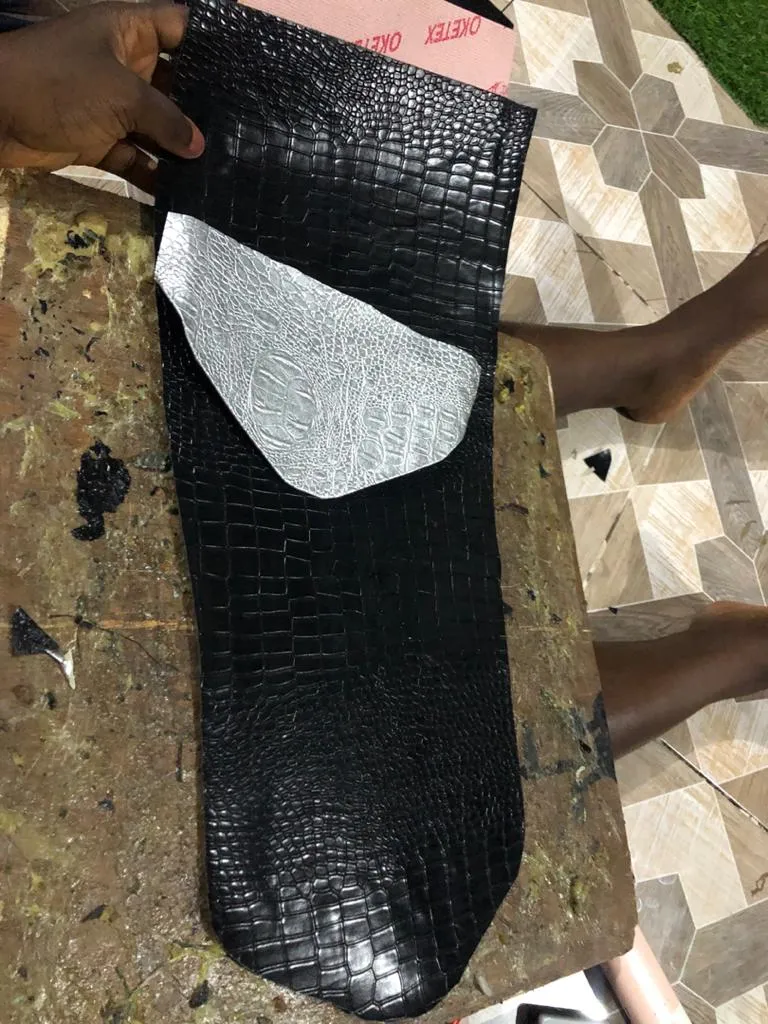
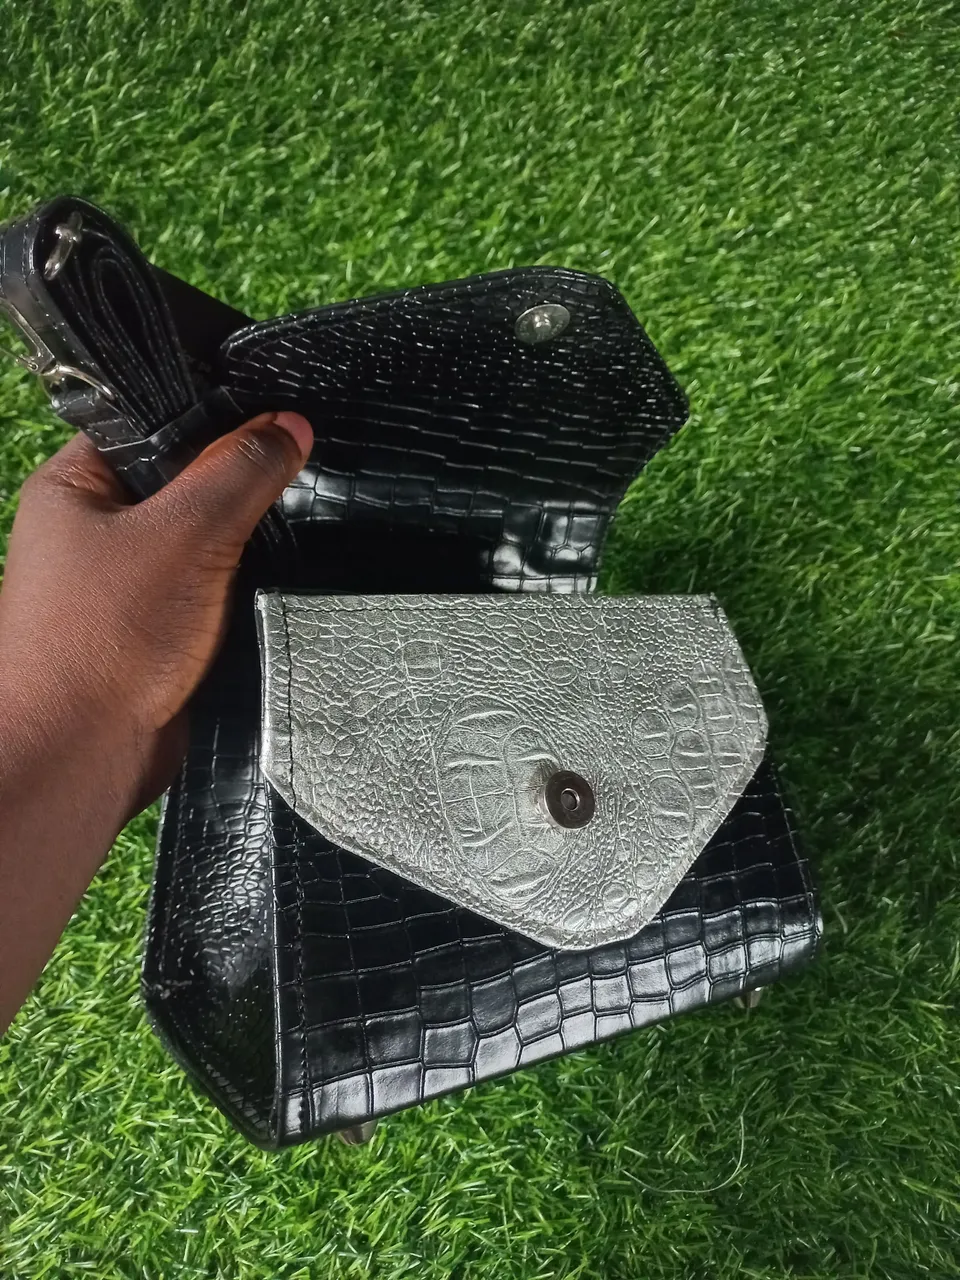
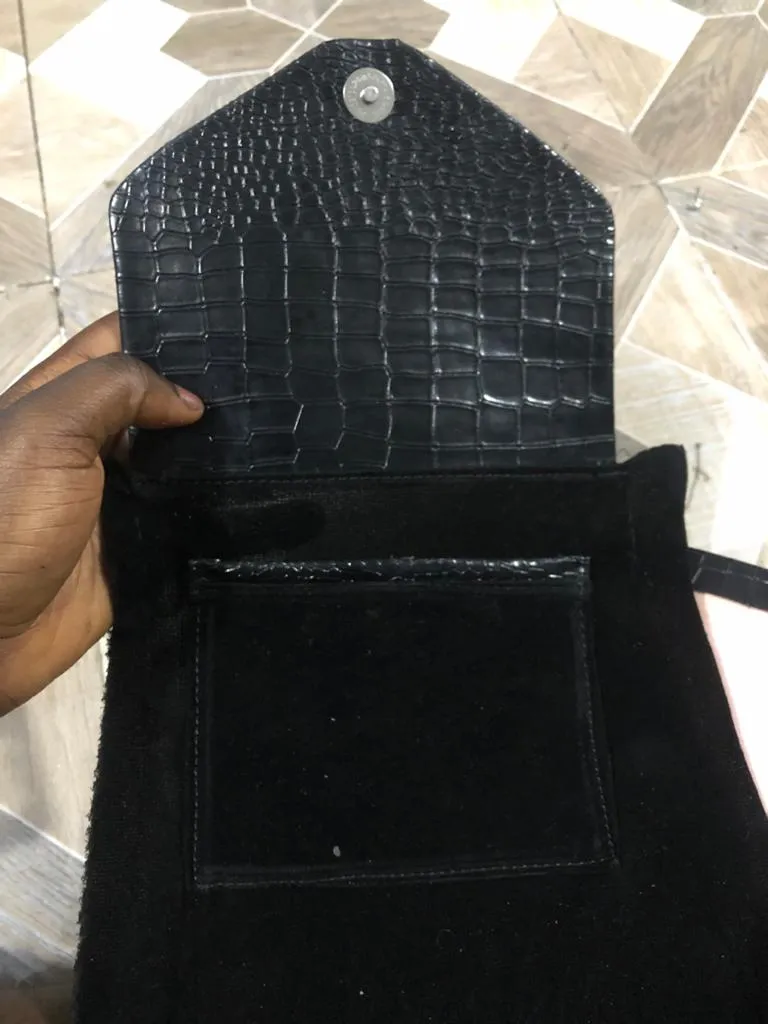
- Next thing I did was to gum and sew the silver design to the bag. I also sew the leather lining with the suade lining after which I sew the inner pocket to the suade lining 1.2inches below the leather lining.

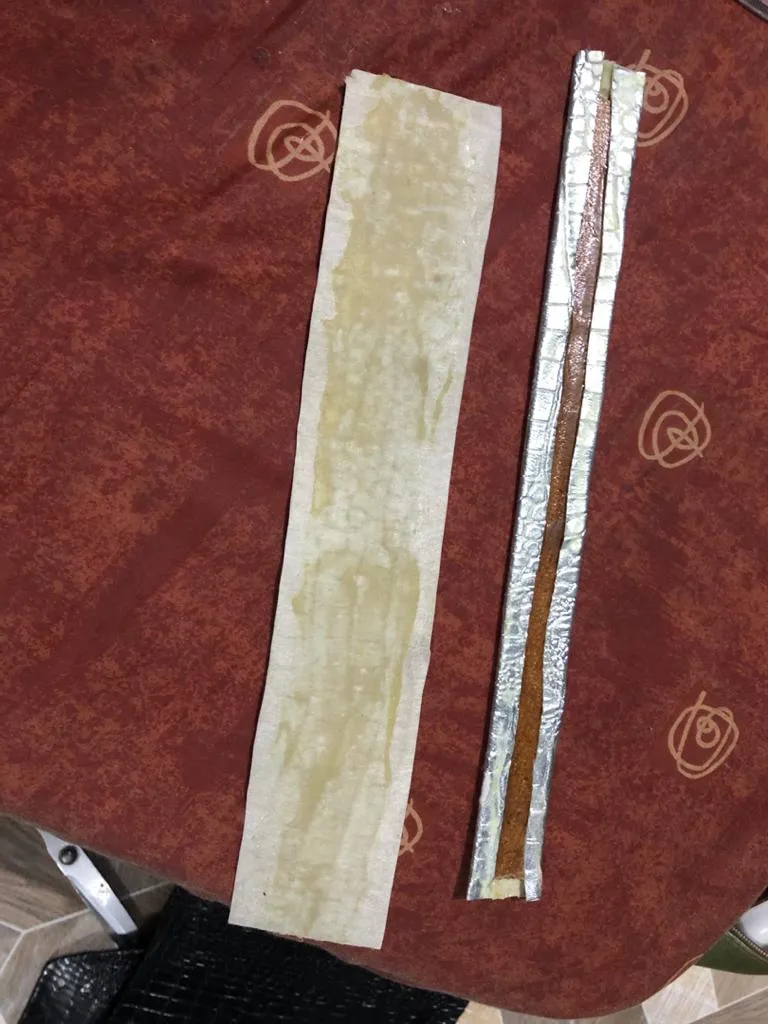
- Once that was done, I fixed in the Drings to the sides and I prepare the short handle of the bag. To do that, I wrapped leather around a Leatherboard that I've cut. Measurements is 0.9inch by 8inches. Then I gum the opened back to another leather, sew the two sides and trimmed the excess leather out.
- Next I fixed the short handle to the main body of the bag 1.2inches to the sides at the top of the bag and I tagged it down using shoe super glue.
- Here I fix in the magnet to the leather lining, gum it to the bag and I fix in the second magnet to the bag. Once those were settled I gummed the lining tonthe sides.
- Finally I sew the sides to the main body ofnthe bag using my cylinder bed machine and I sew the longer rope too attaching the anchor and adjuster to it.
FINAL LOOK