Good morning everyone,
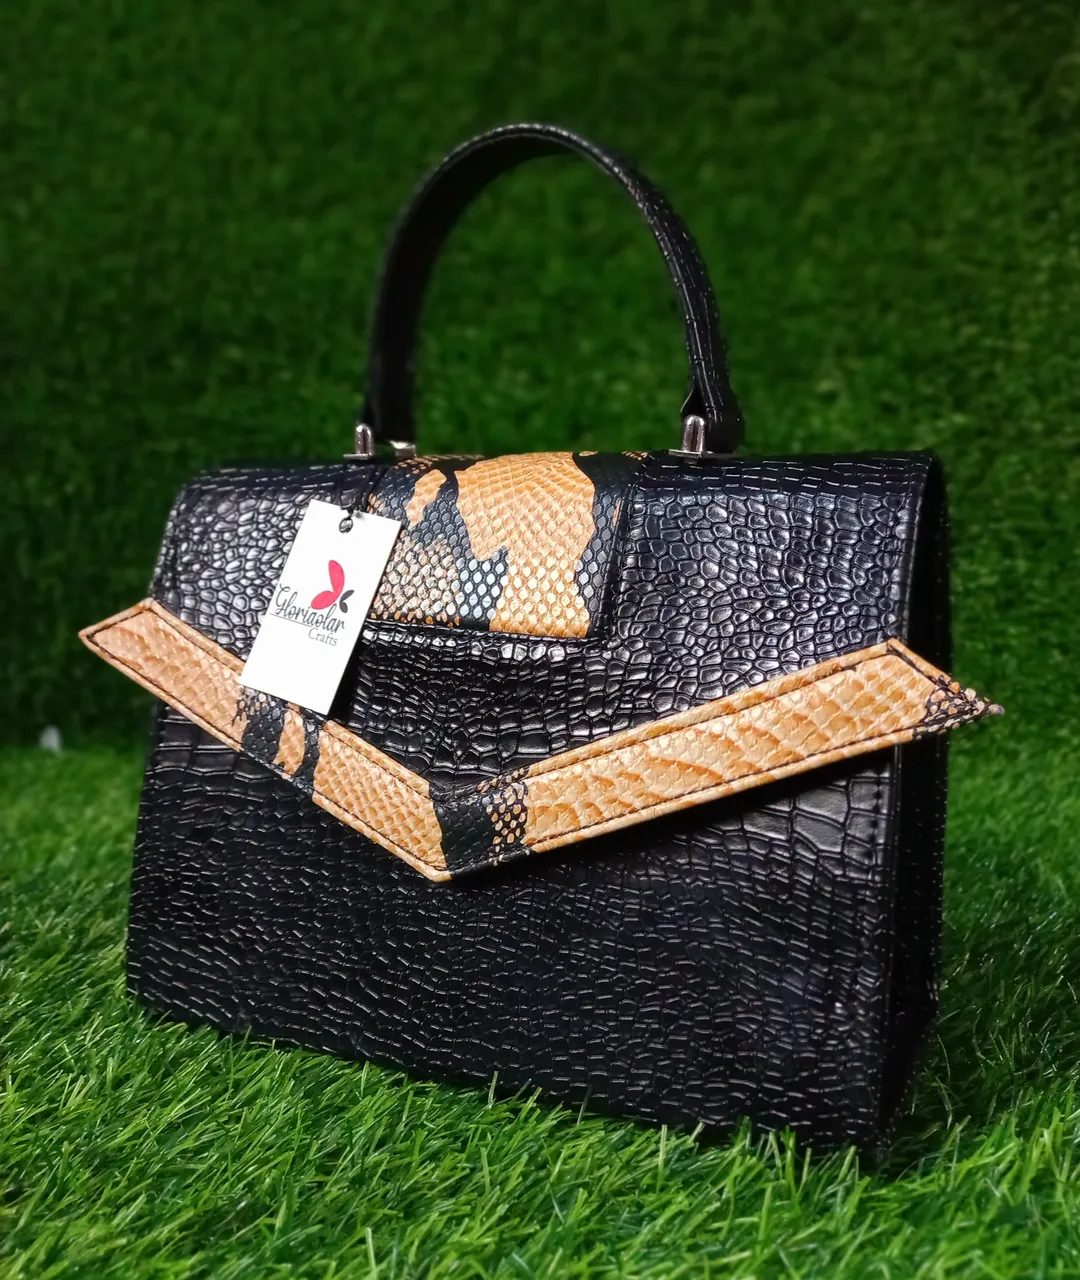
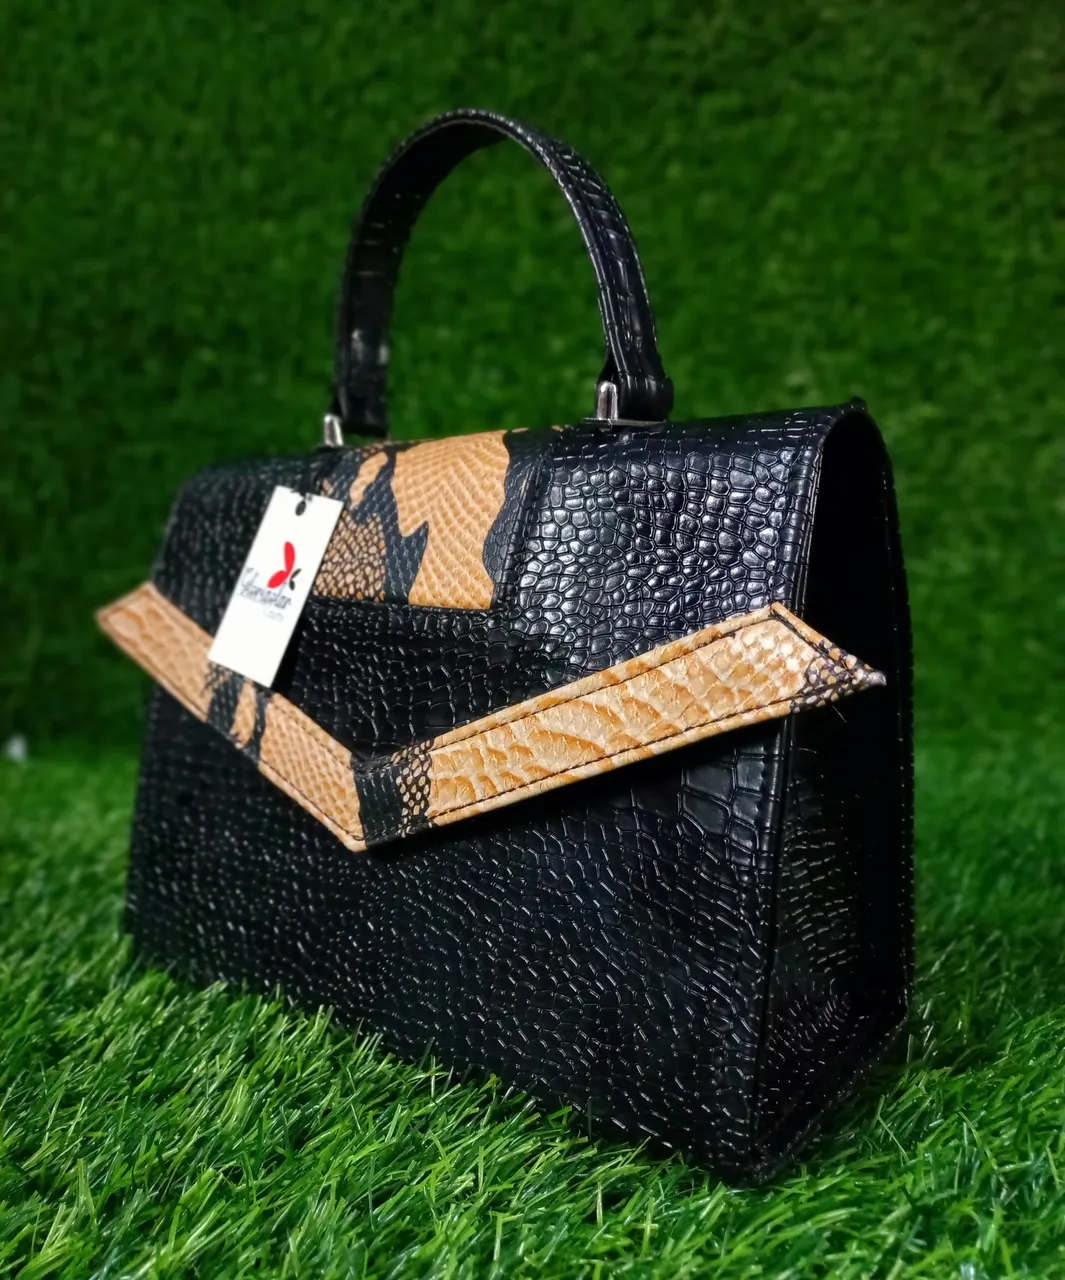
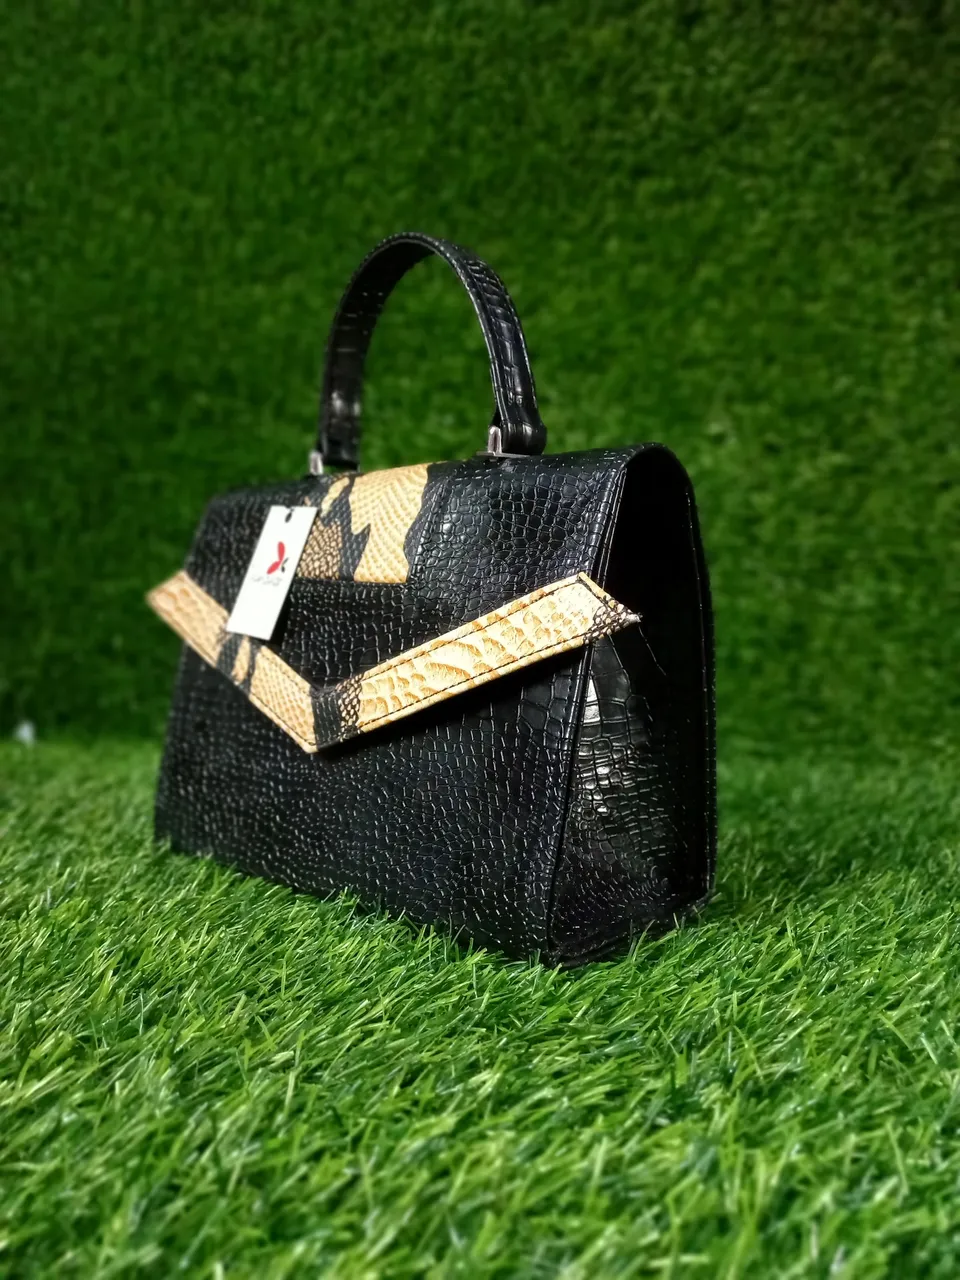
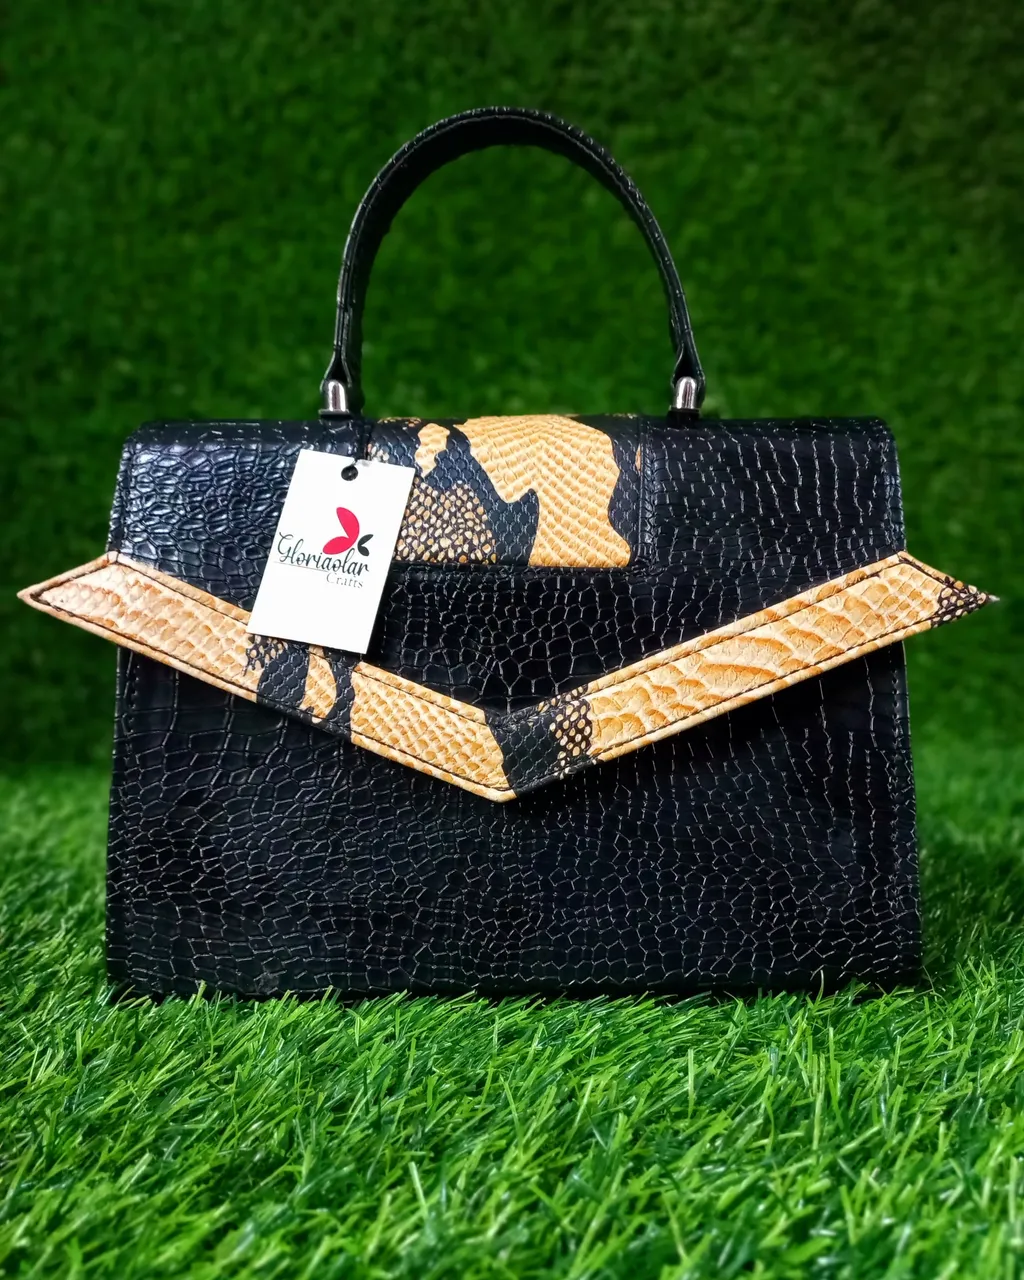
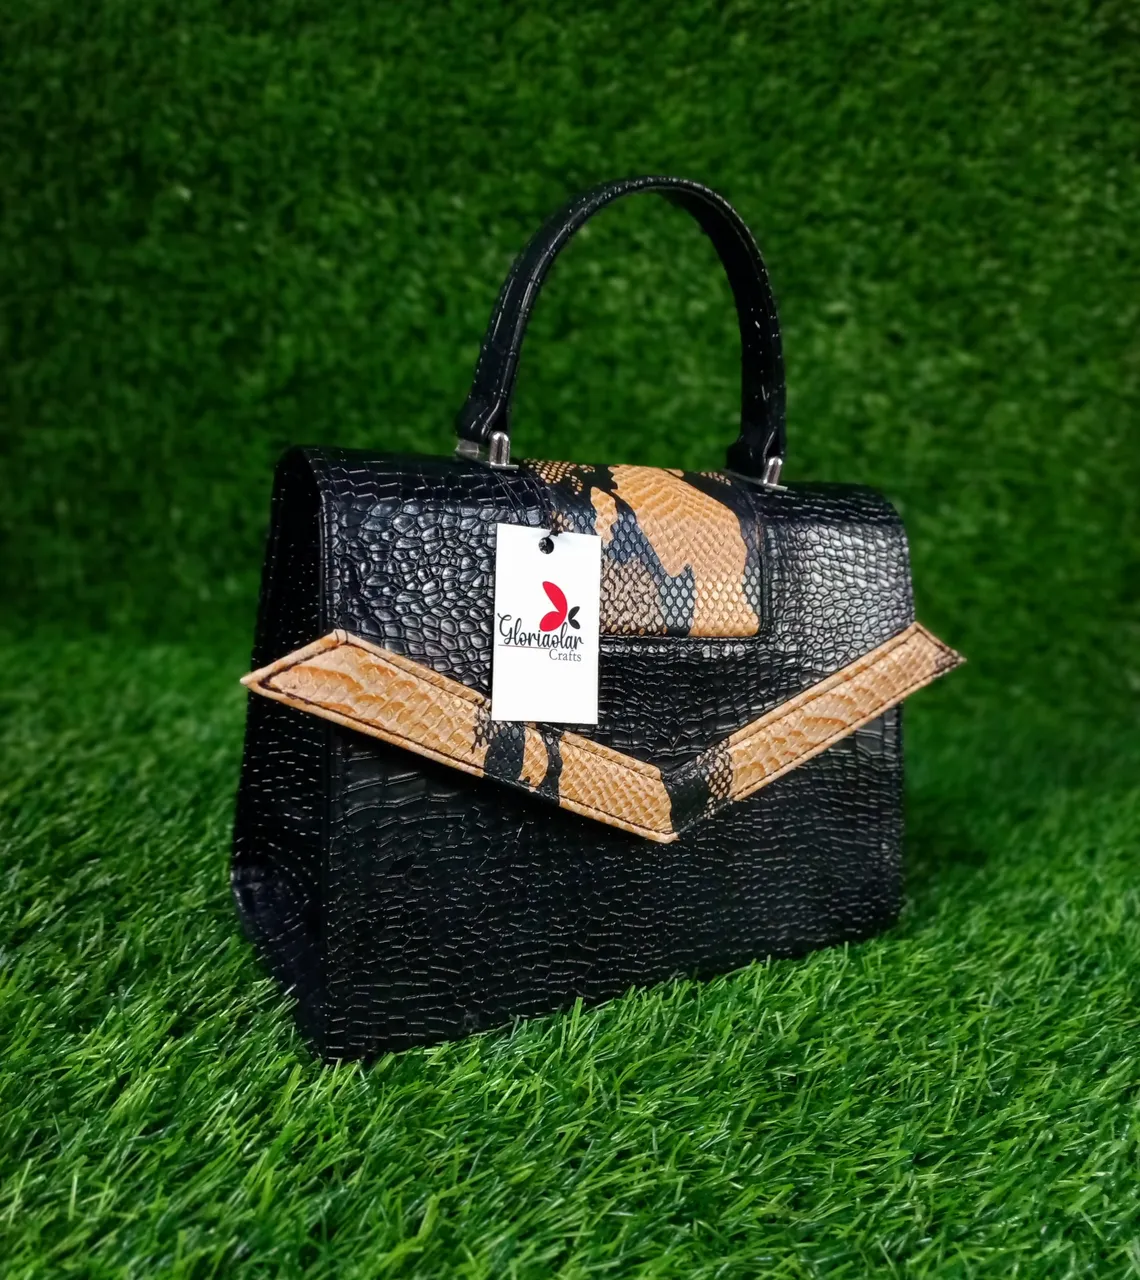
This morning I want to share with us my recent bag design which I made using a combination of two leathers. After making the bag, my little brother saw it and said the design at the front resemble a boomerang, when he said that I just smiled. Well from that I decided to name the bag "Boomy". I was working on two bags of the same designs but unfortunately I couldn't complete the second one last night but I'm close to. This one I was able to complete and it's actually my favourite of the two.
The materials I used fornthe bag include:
- Two leathers of choice
- Oketex fibre
- Soft pelican paper
- Soft black leather
- Suade material for the lining
- Bottom pins
- Magnets
- Handle holder
- Gum
- Maco 2
PROCESS
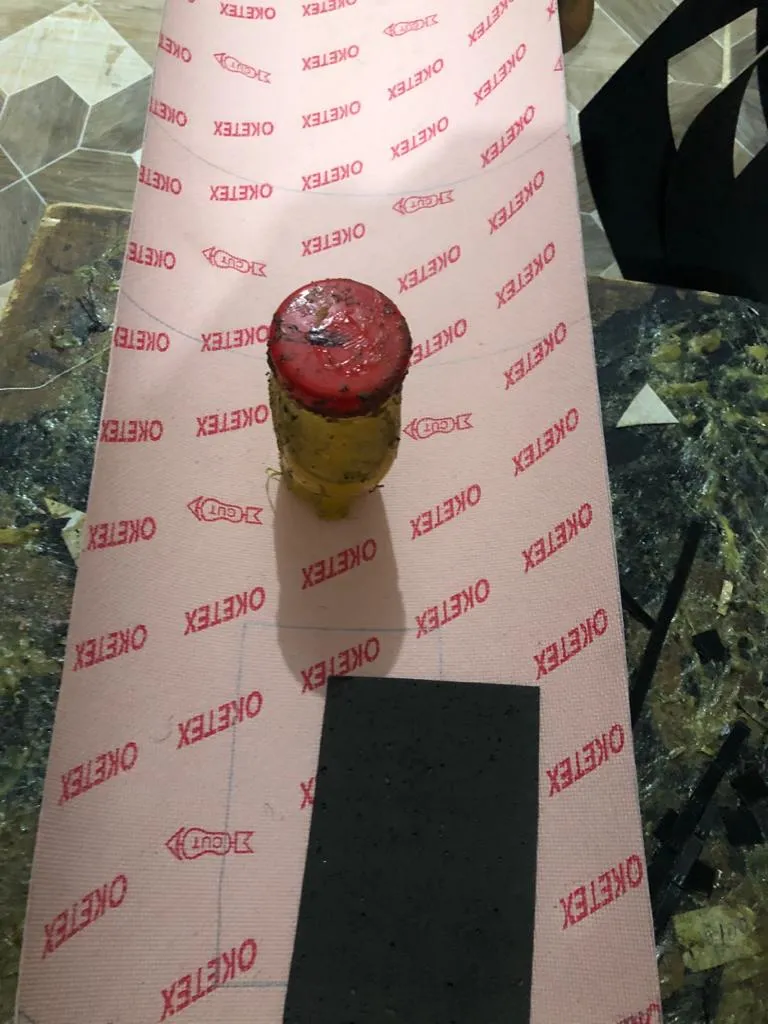
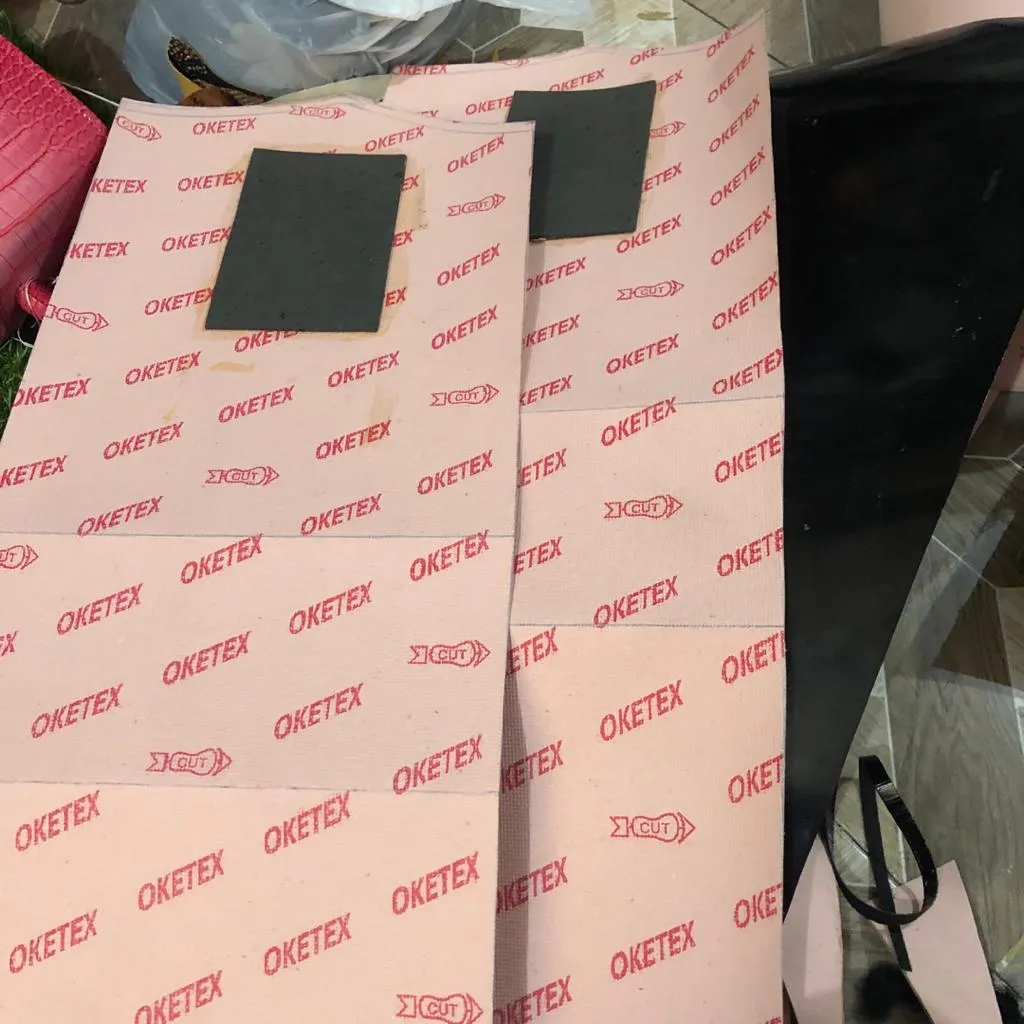
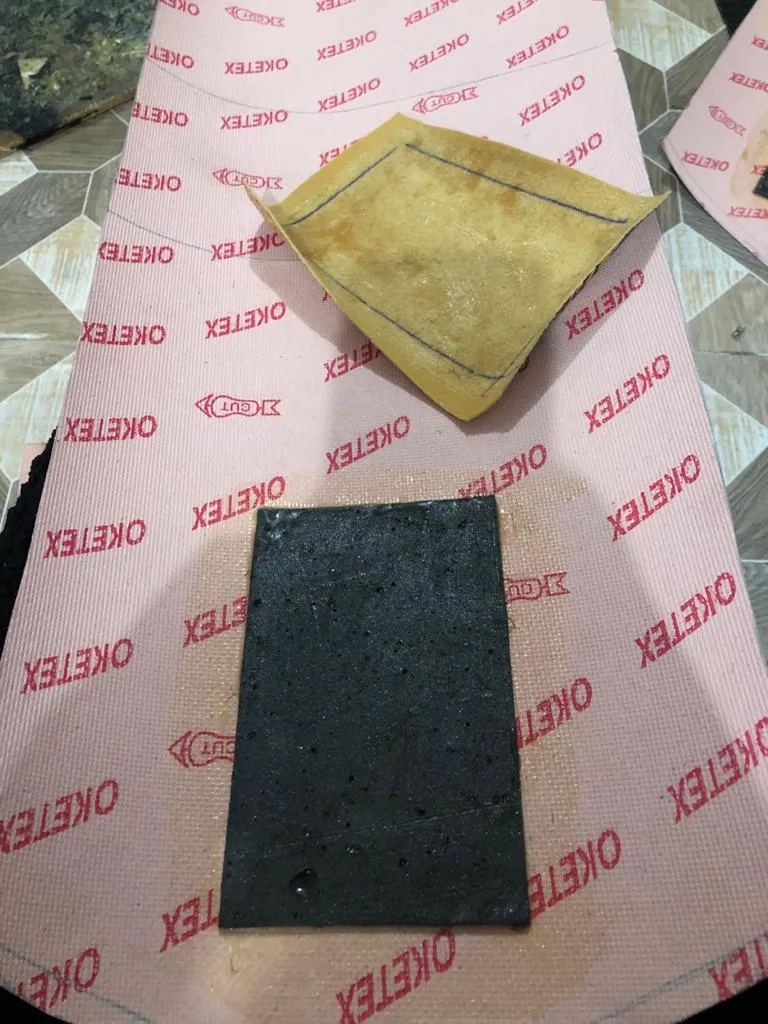
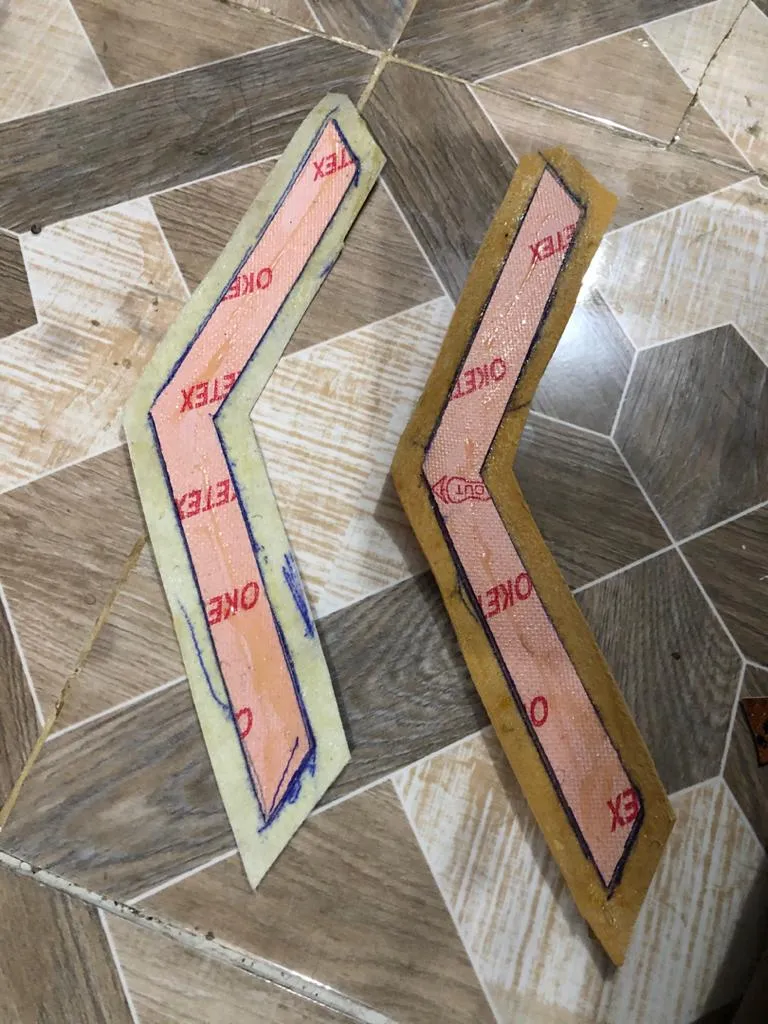
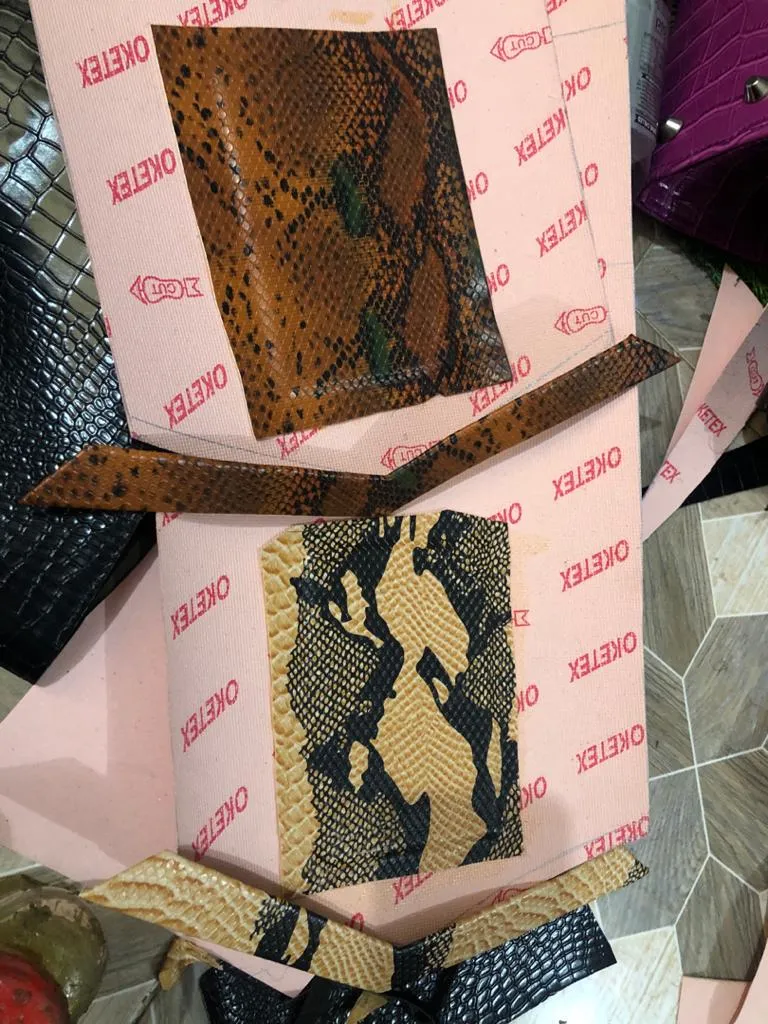
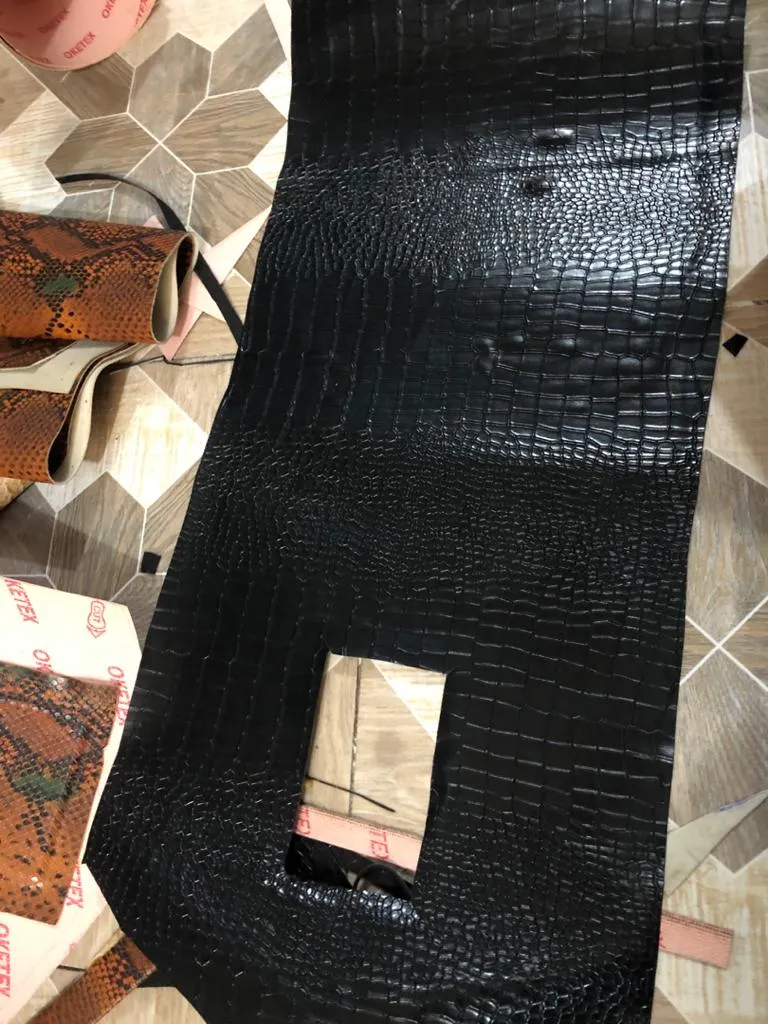
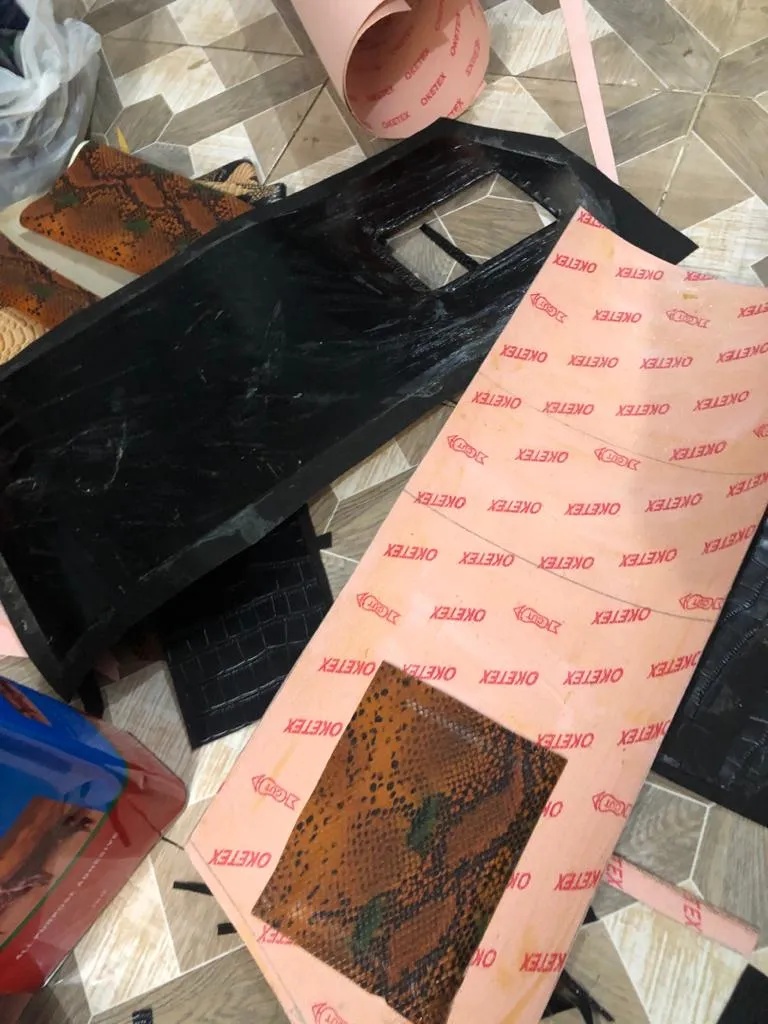
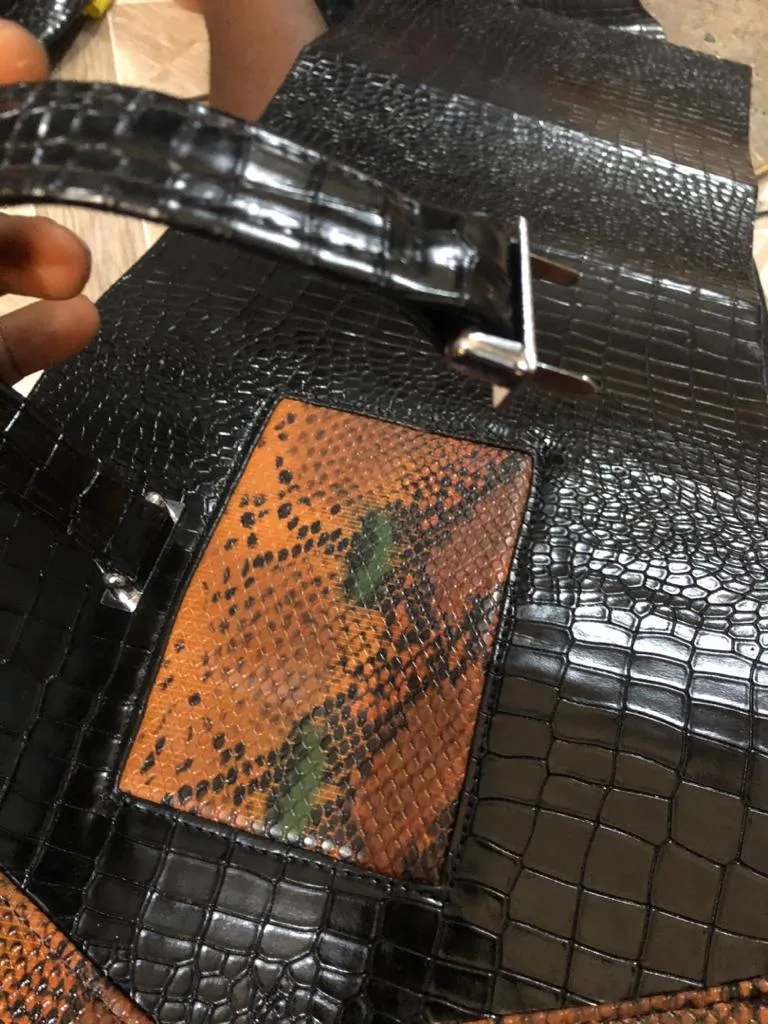
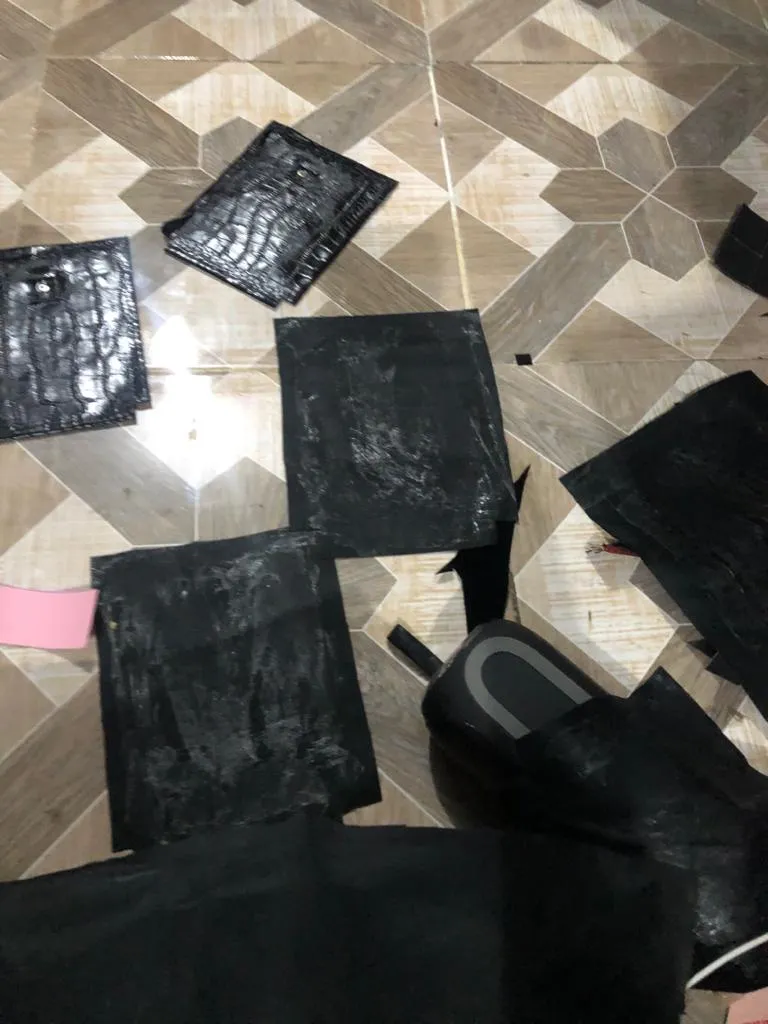
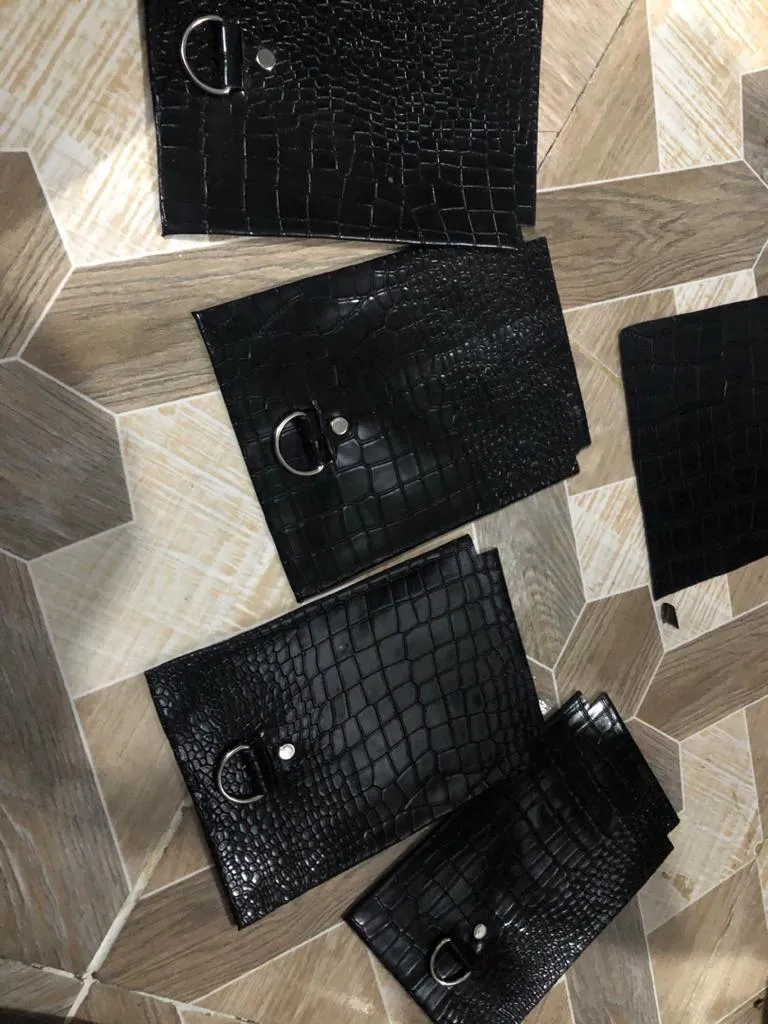
- The first thing I did was to create the pattern, mark it on the soft fibre and cut. After that I cut out a small rectangular box on the maco and gummed it on the marked part on the Fibre. After that I gummed its respective leather on it. Next I capped the pelican paper with leather and gummed it with the fibre as seen below.
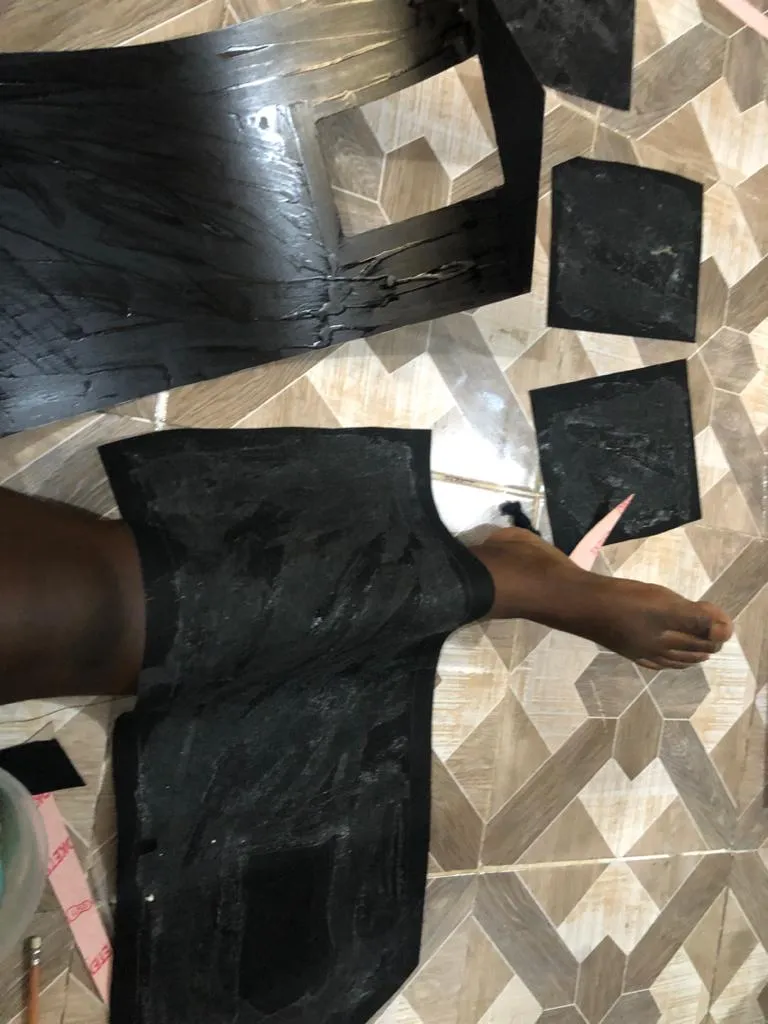
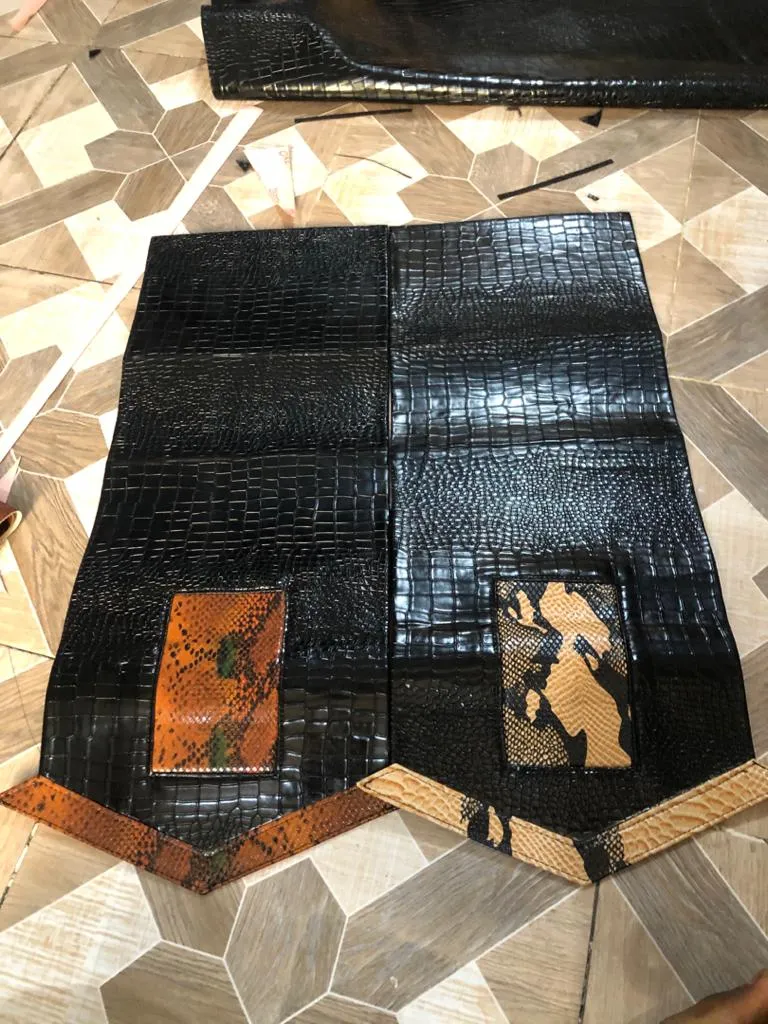
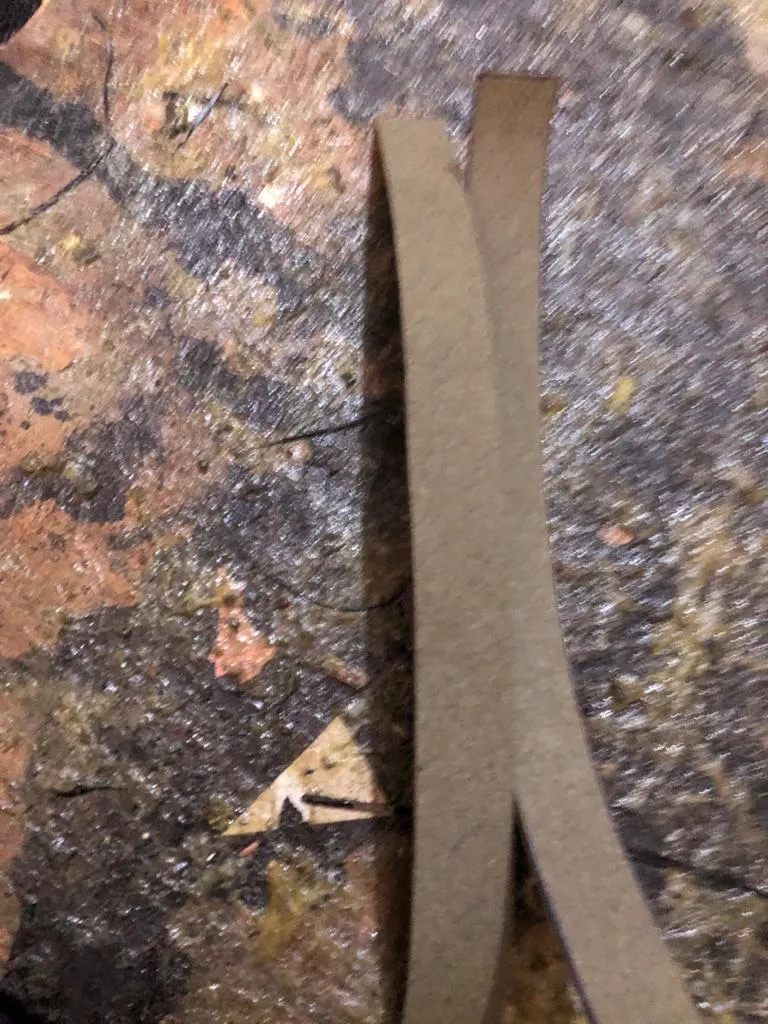
- Next I sew the designs together with the bag and it's boomerang design as my little brother called it.
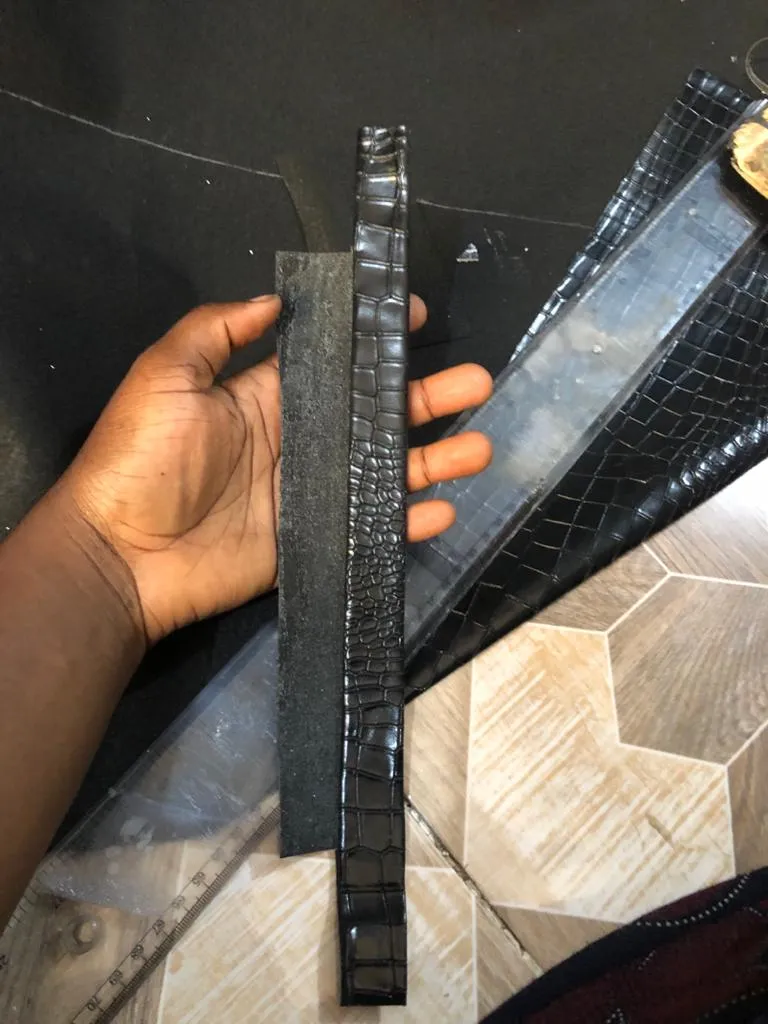
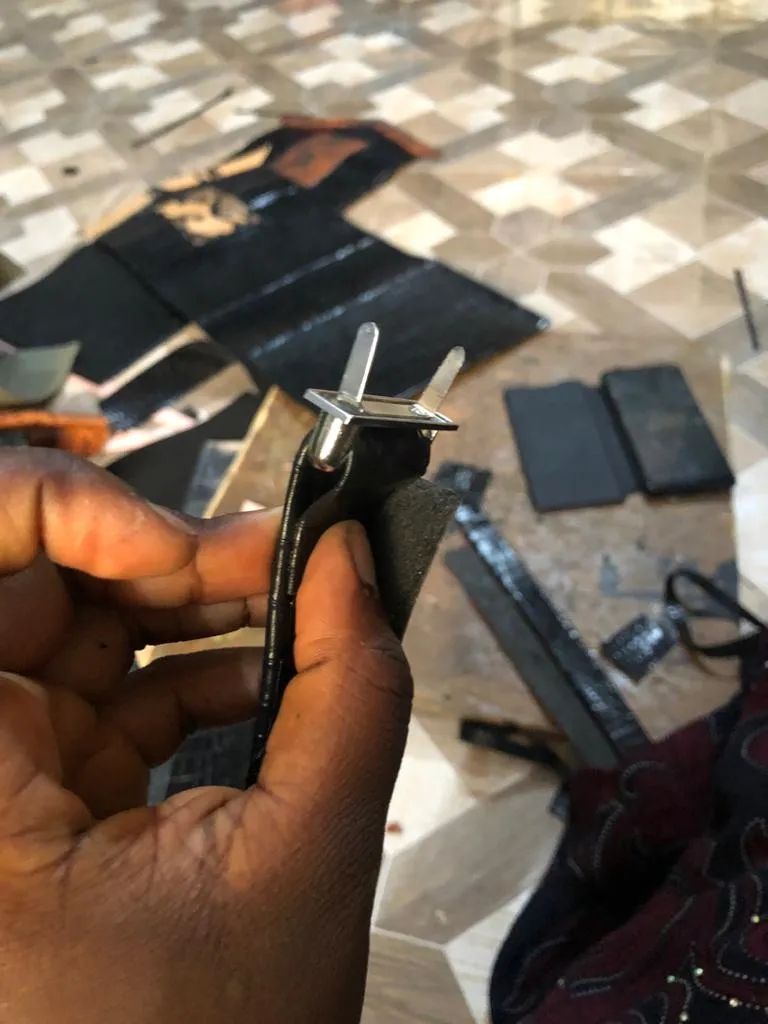
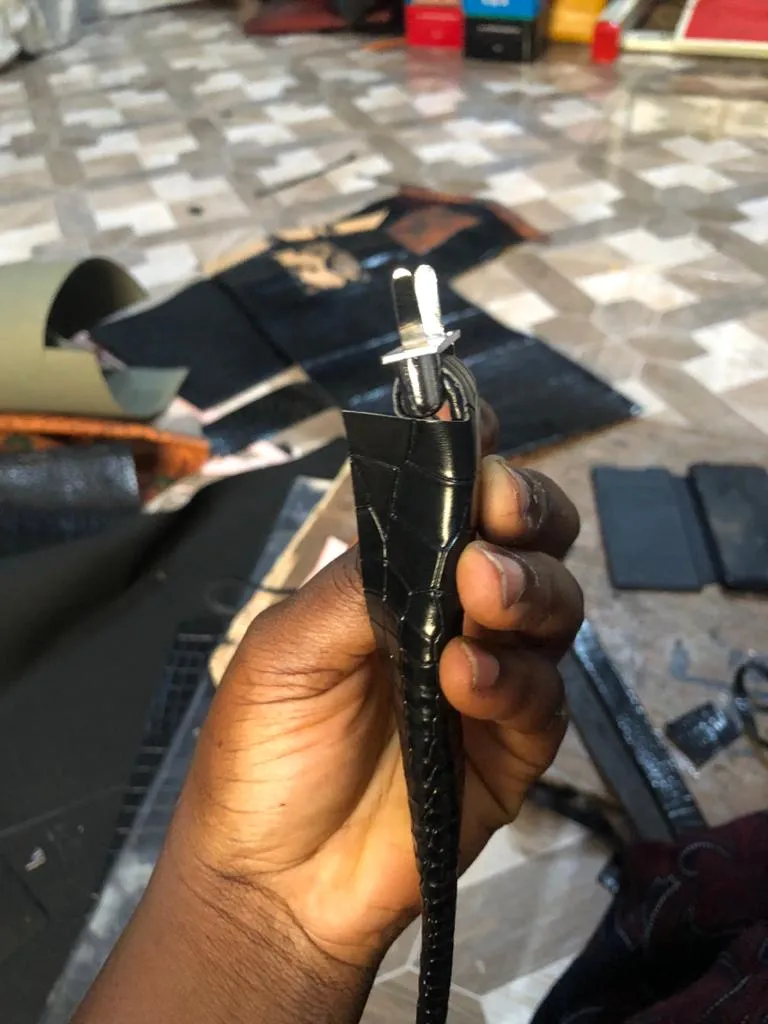
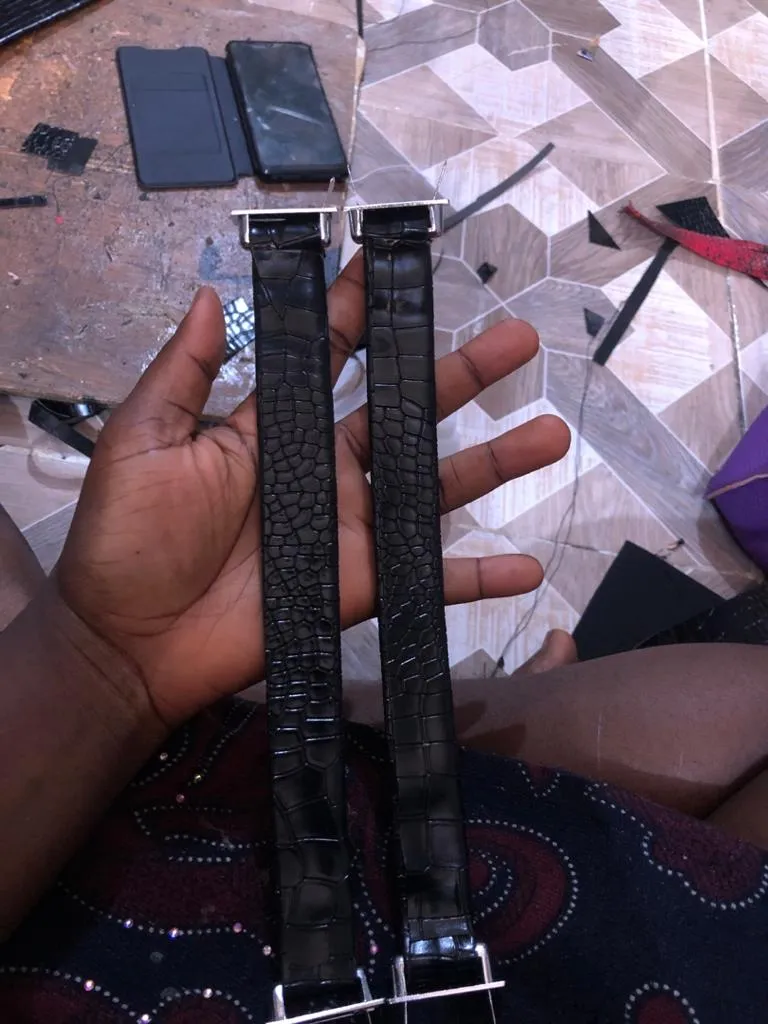
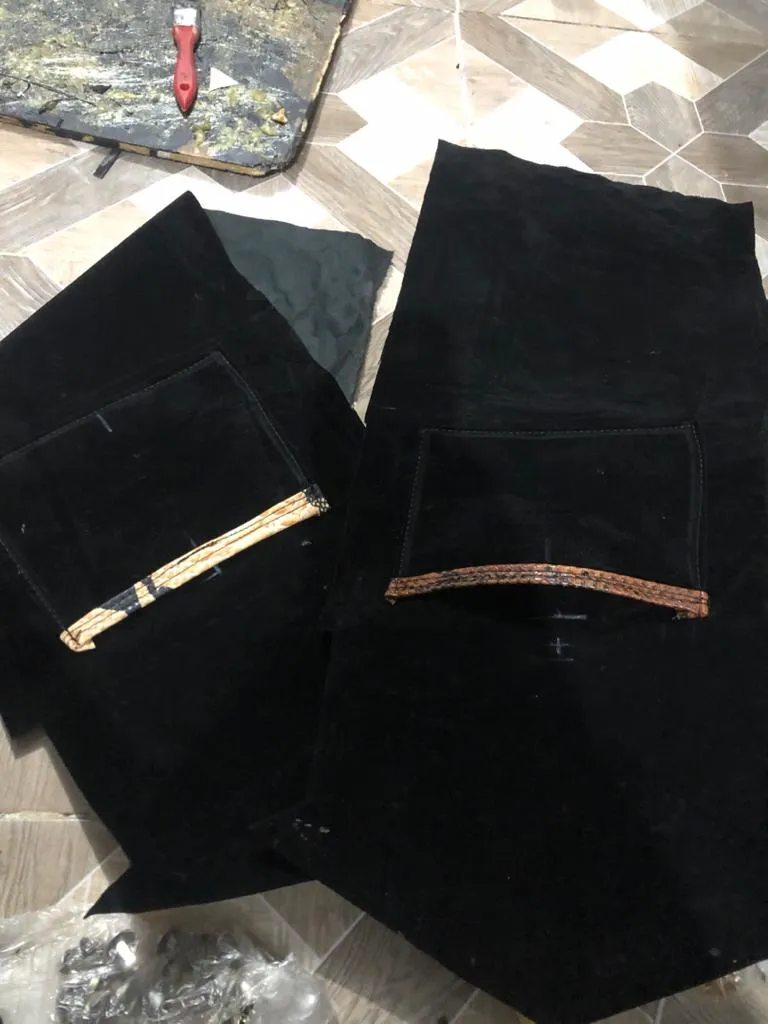
- Next I cut out 1 by 10 inches on a Leatherboard and I wrapped leather around it with the help of gum. Then I fixed it inside the handle holder and sew it.

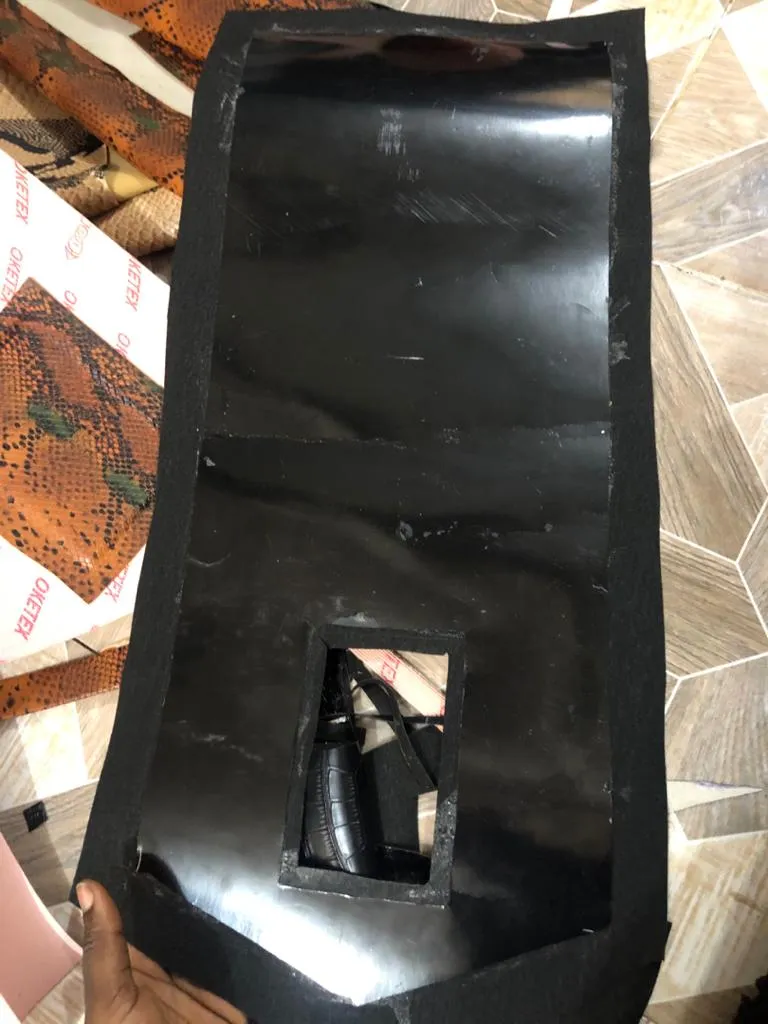
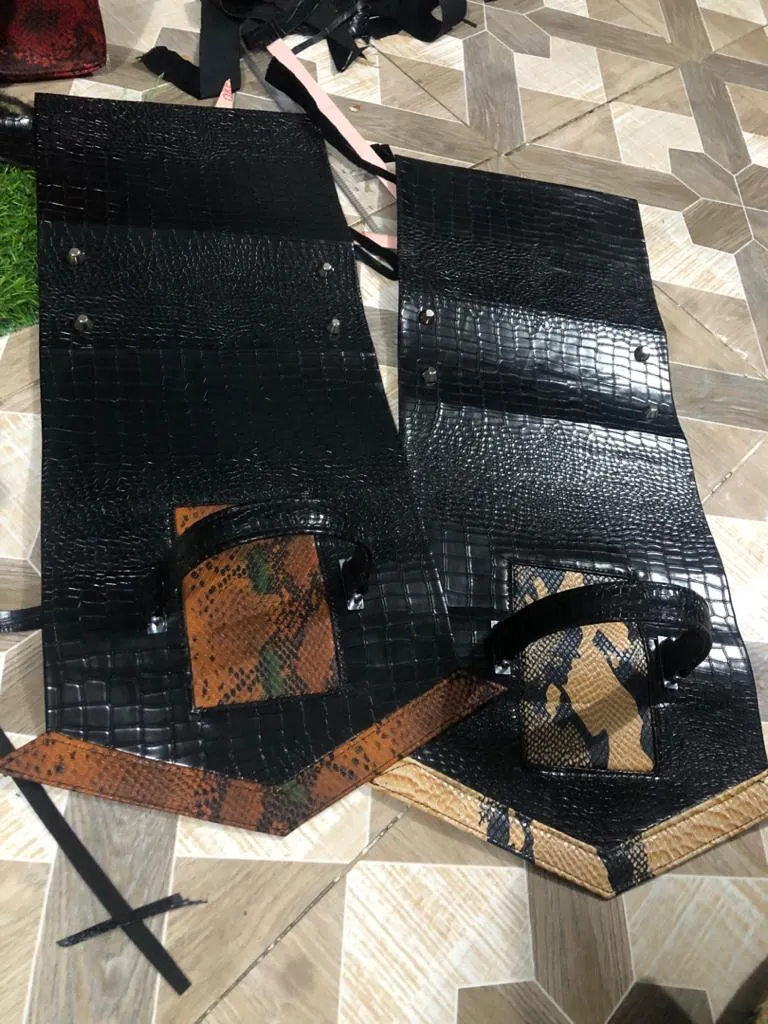
- After I gummed the lining with paper, sew then inner pocket, fixed the magnet and bottom pin on the main body other leather. I also fixed D rings to the sides of the bag and gummed lining with it. Finally, I sew the sides with the main body of the bag.

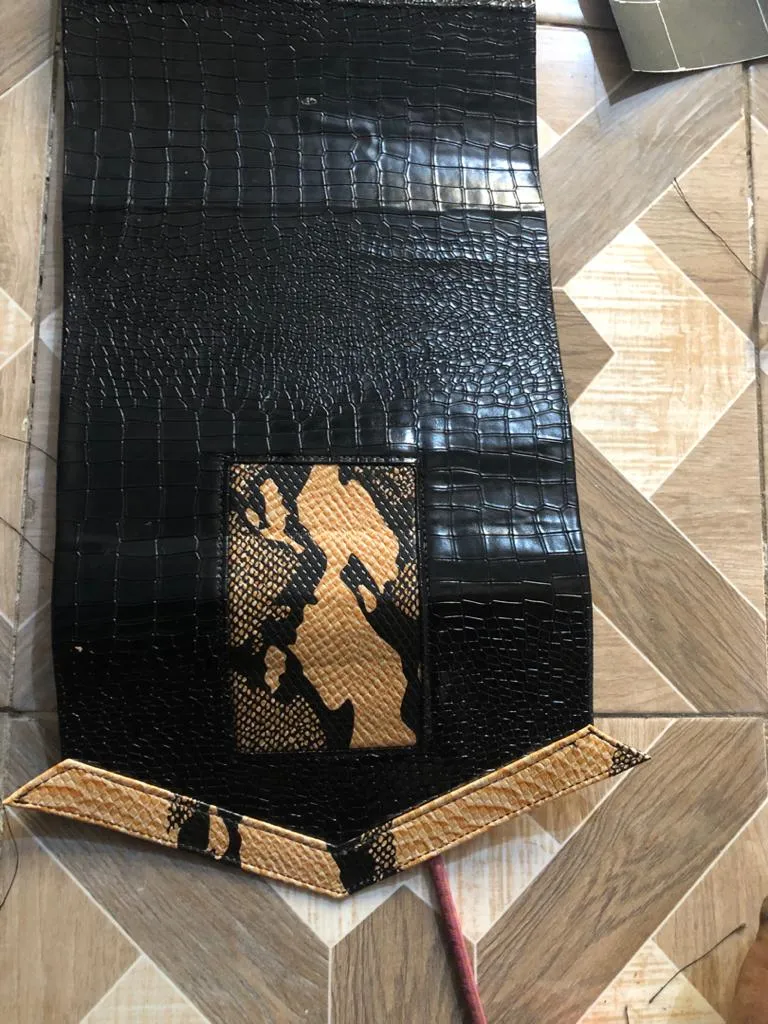
- First picture I took after making the bag.

FINAL LOOK