Como les había prometido, hoy les traigo cómo elaborar una tarjeta de cumpleaños en la técnica de pizarra que les enseñé a hacer anteriormente. Como verán es una técnica sobre la que puedes hacer muchos diseños según tu creatividad.
Si vas a dar un regalo y no tienes la tarjeta, ya no es necesario correr a la tienda para resolver, solo debes tomarte un tiempo para hacerla con tus propias manos. A mí particularmente me encanta y me divierte trabajar con ella.
Hello, friends of the #Hive community. Greetings and blessings. I hope you are feeling great.
As I had promised you, today I bring you how to make a birthday card in the chalkboard technique that I taught you how to do before. As you will see it is a technique on which you can make many designs according to your creativity.
If you are going to give a gift and you do not have the card, it is no longer necessary to run to the store to solve, just take some time to make it with your own hands. I particularly love it and have fun working with it.
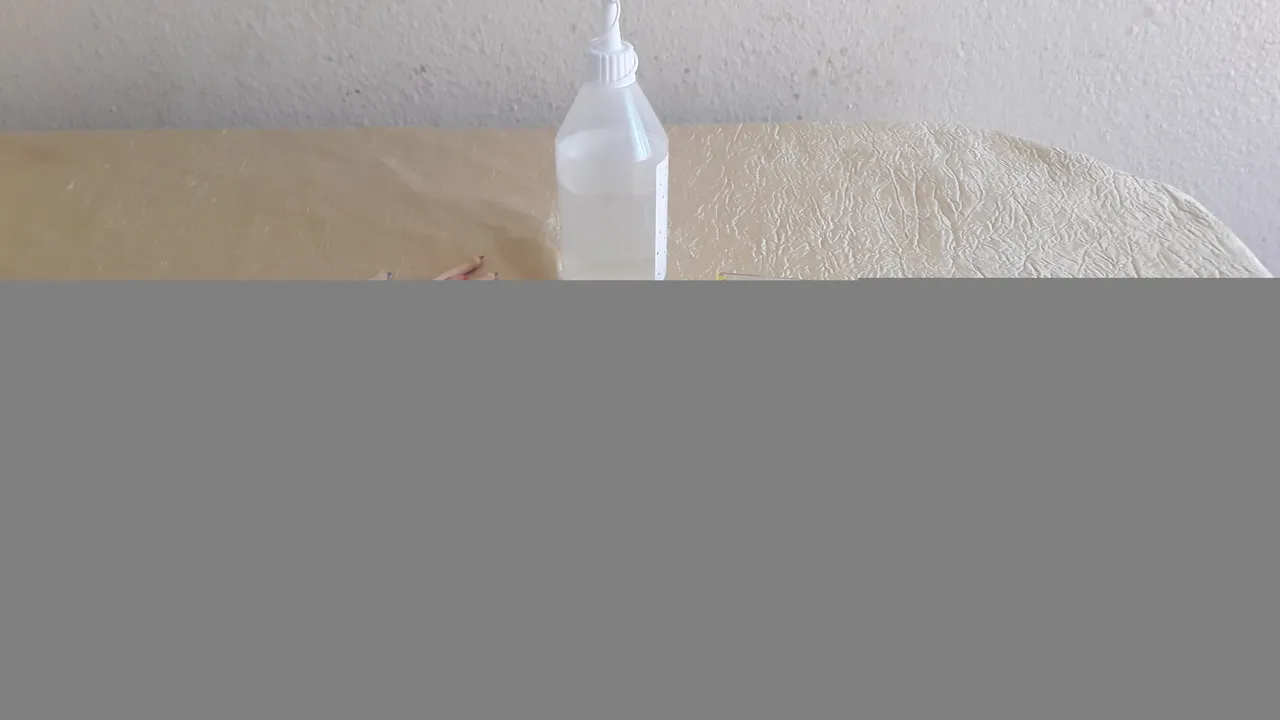
A piece of handmade slate, 13 cm wide by 10 cm high (in a previous post I explained the technique for making handmade slate). A piece of metallic cardboard 15 cm wide by 12 cm high Colored pencils Pencil sharpener Glue
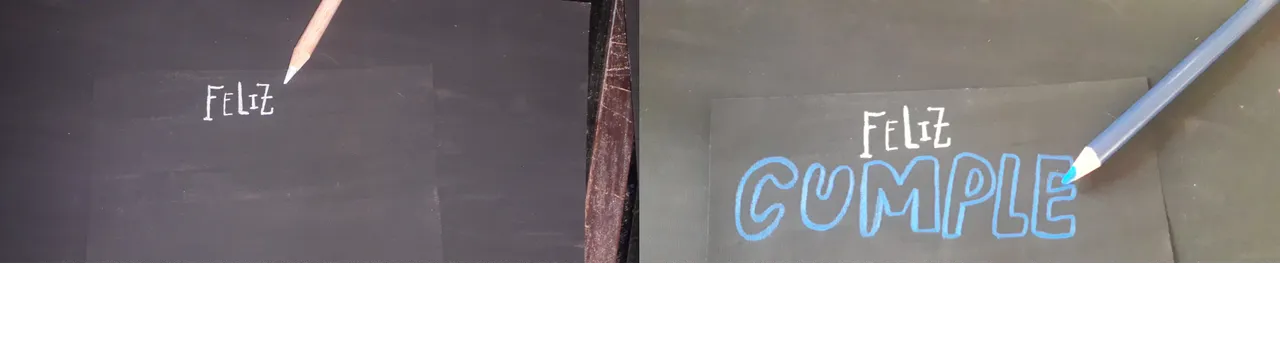
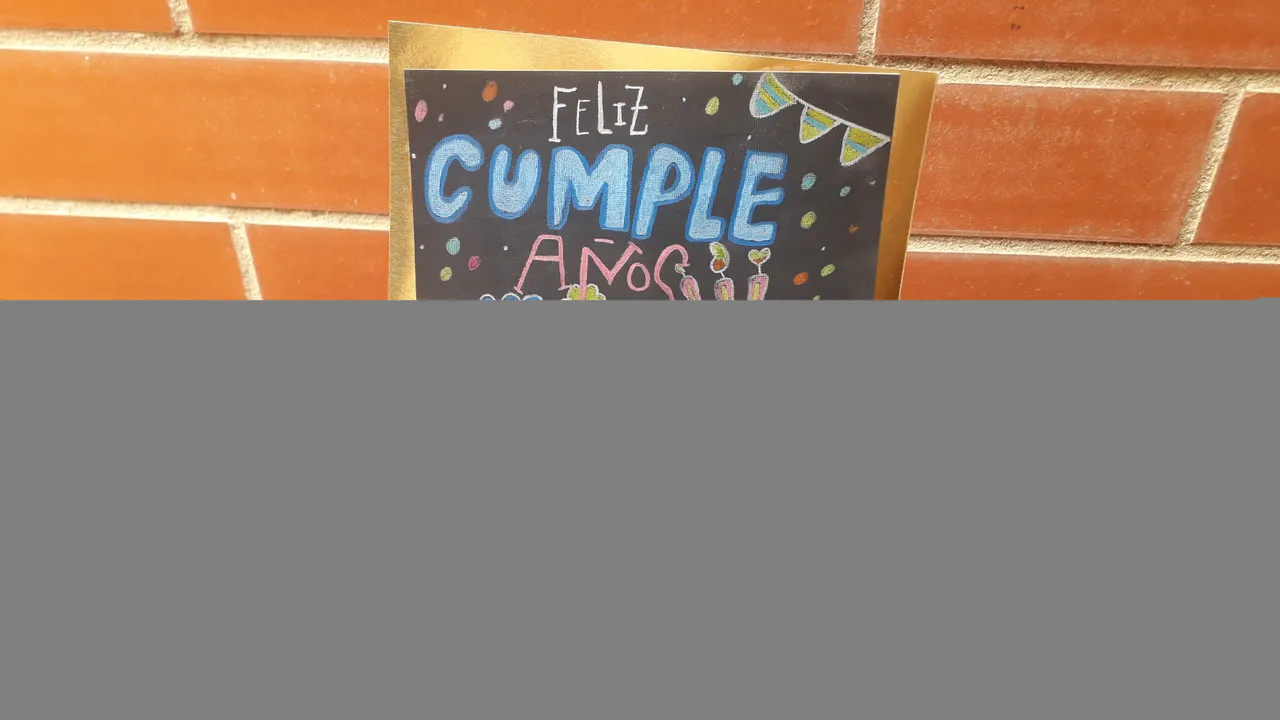
Con el color de tu preferencia, y el tipo de letra que desees, comienza a escribir la palabra “feliz”, como se muestra en la imagen. Luego, según la combinación de colores, escribe la palabra “cumple”. Como ven, es una letra ancha que permite rellenar con el mismo color, pero más claro, tal como lo puedes notar en la siguiente foto.
With the color of your choice, and the font of your choice, start writing the word "happy", as shown in the image. Then, according to the color combination, write the word "cumple". As you can see, it is a wide letter that allows you to fill in with the same color, but lighter, as you can see in the following picture.

Rellena el interior de la palabra “cumple”. Debes cuidar que al rellenar no salgas del borde. Coloreas poco a poco hasta lograr un rellenado uniforme. Escribe luego la palabra “años” con el color y tipo de letra que prefieras, de acuerdo al gusto.
With the color of your choice, and the font of your choice, start writing the word "happy", as shown in the image. Then, according to the color combination, write the word "cumple". As you can see, it is a wide letter that allows you to fill in with the same color, but lighter, as you can see in the following picture.
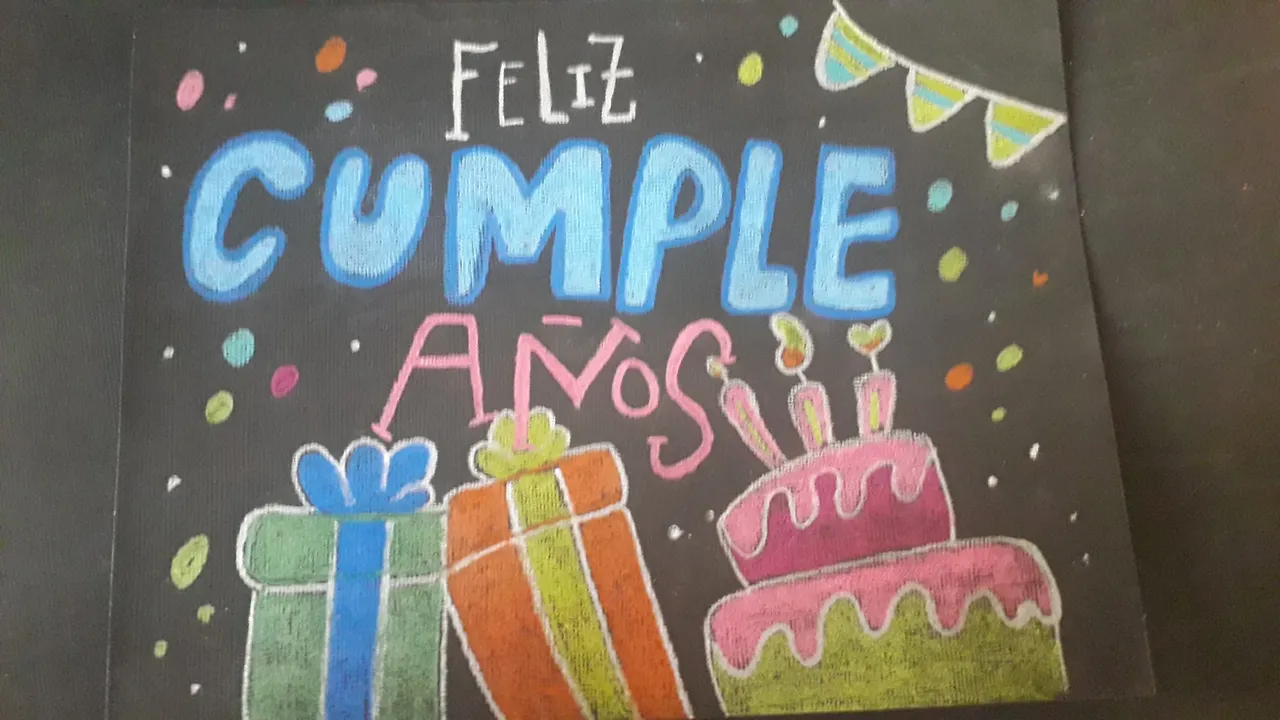
En la parte inferior y donde gustes puedes agregar algunos dibujos alusivos a fiesta. Como se han fijado, no les he indicado el uso del lápiz de grafito. No es necesario. Directamente con el lápiz de color pueden ir marcando la letra y dibujo. Una vez que has finalizado tu diseño, puedes añadir pequeños puntos con los mismos lápices de colores.
At the bottom and wherever you like you can add some drawings allusive to the party. As you have noticed, I have not indicated the use of the graphite pencil. It is not necessary. You can use the colored pencil to mark the lettering and drawing. Once you have finished your design, you can add small dots with the same colored pencils.
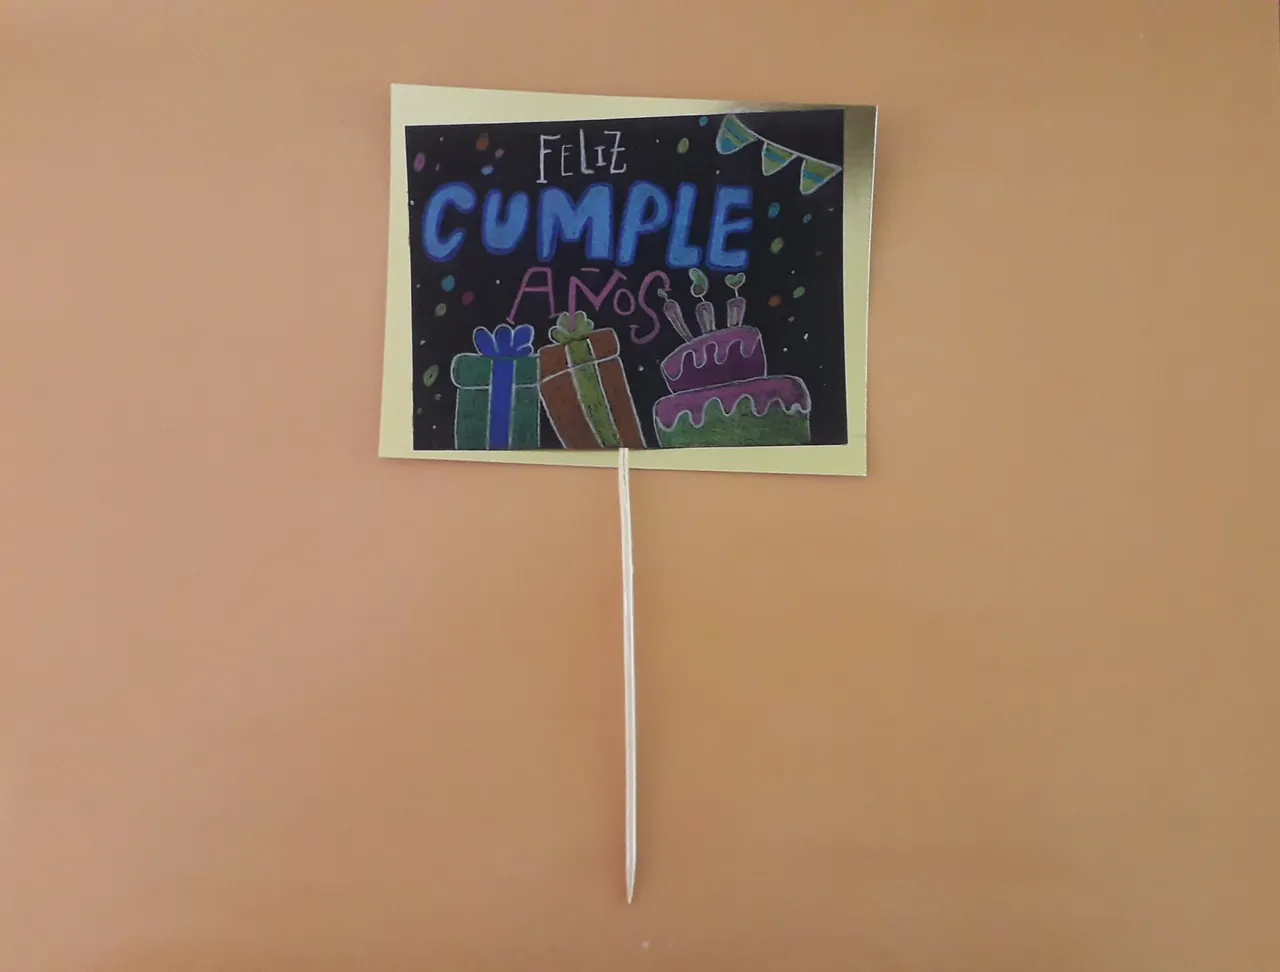
Finalmente, toma el trozo de cartulina metalizada de 15cm de ancho por 12 cm de alto y sobre él pega la tarjeta que has elaborado. Al pegar debe quedarte un borde sobrante en los cuatro márgenes de la tarjeta, como ven en la foto. Esto permitirá realzar la belleza de tu creación. Si deseas, puedes pegarle un palito de altura para ayudar a sujetar la tarjeta en el regalo que vas a hacer.
Finally, take the piece of metallic cardboard 15 cm wide by 12 cm high and glue the card you have made on it. When gluing, you should have a border left over on the four edges of the card, as shown in the photo. This will enhance the beauty of your creation. If you wish, you can glue a small stick to help hold the card in the gift you are going to make.
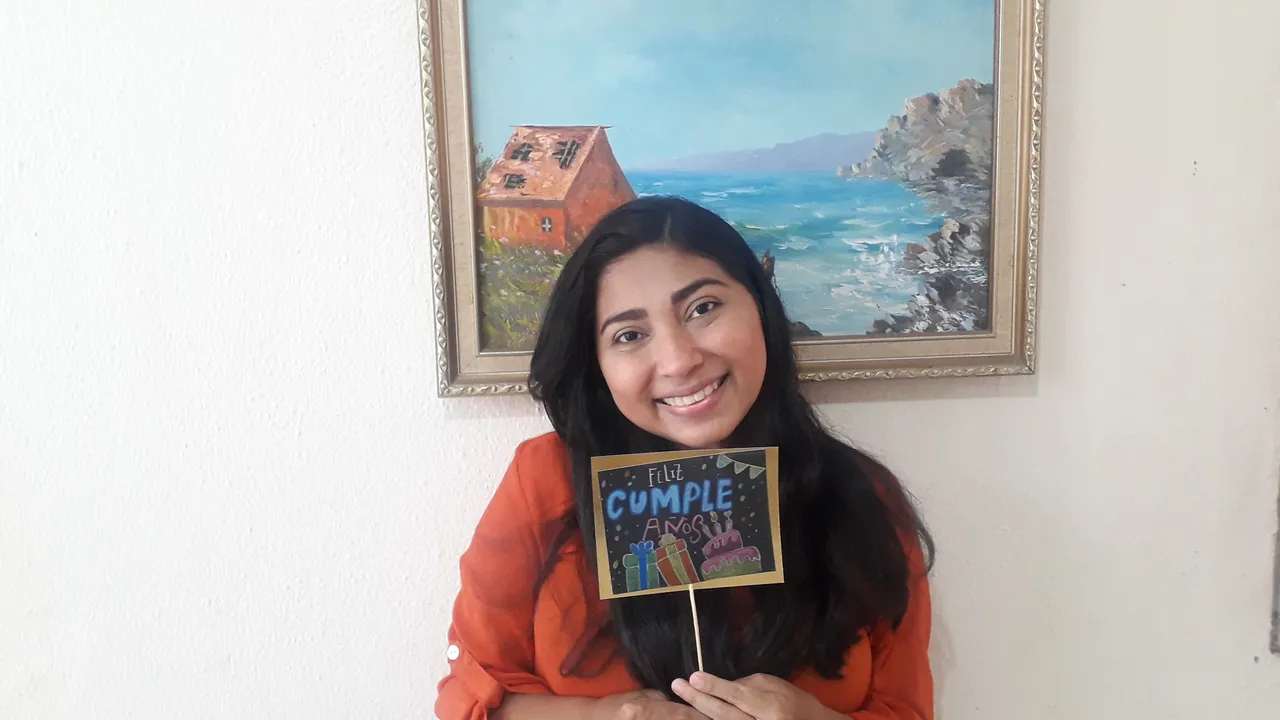
He aquí el producto final. Yo me he ahorrado comprar tarjetas de regalos desde que ideé esta técnica. Amigos de la comunidad #Hive, les animo a incursionar en la elaboración de estar bellas tarjetas.
Here is the final product. I have saved myself from buying gift cards since I came up with this technique. Friends of the #Hive community, I encourage you to dabble in making these beautiful cards.
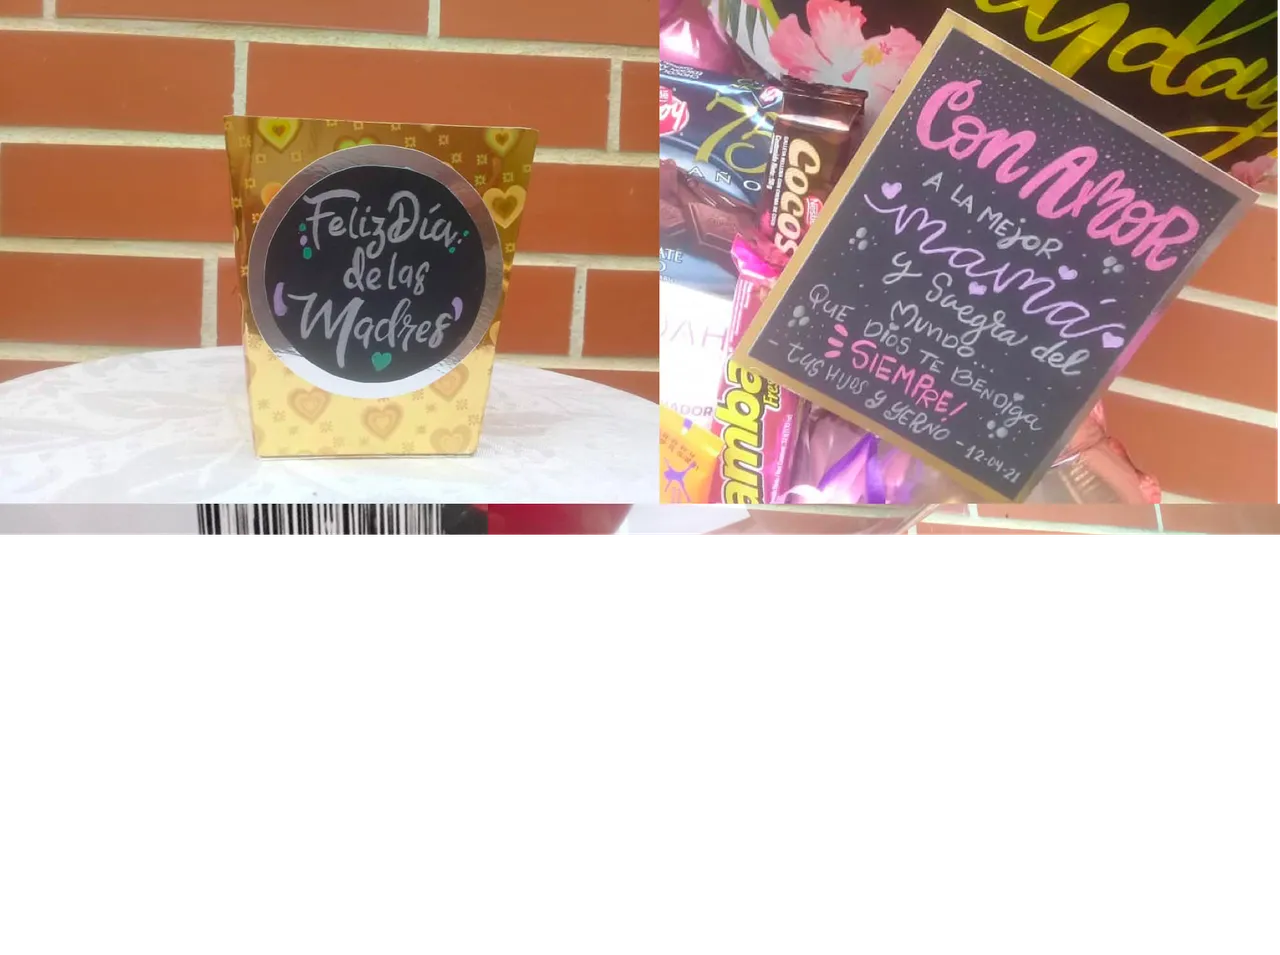
A continuación te dejo un collage con imágenes de otros tipos de tarjetas que he podido realizar con esta técnica.
Here is a collage with images of other types of cards and different letters that I have been able to make with this technique.
Bendiciones, una vez más para ustedes. Me despido muy contenta de haberles compartido esta creación.
Blessings, once again to you. I am very happy to have shared this creation with you.
Love is the key, perseverance is necessary and God is the driving force.
Todas las fotos sin autor mencionado han sido tomadas por mí con mi teléfono Samsung J4.
All photos without author mentioned have been taken by me with my Samsung J4 phone.