
¡Hola Chicos!
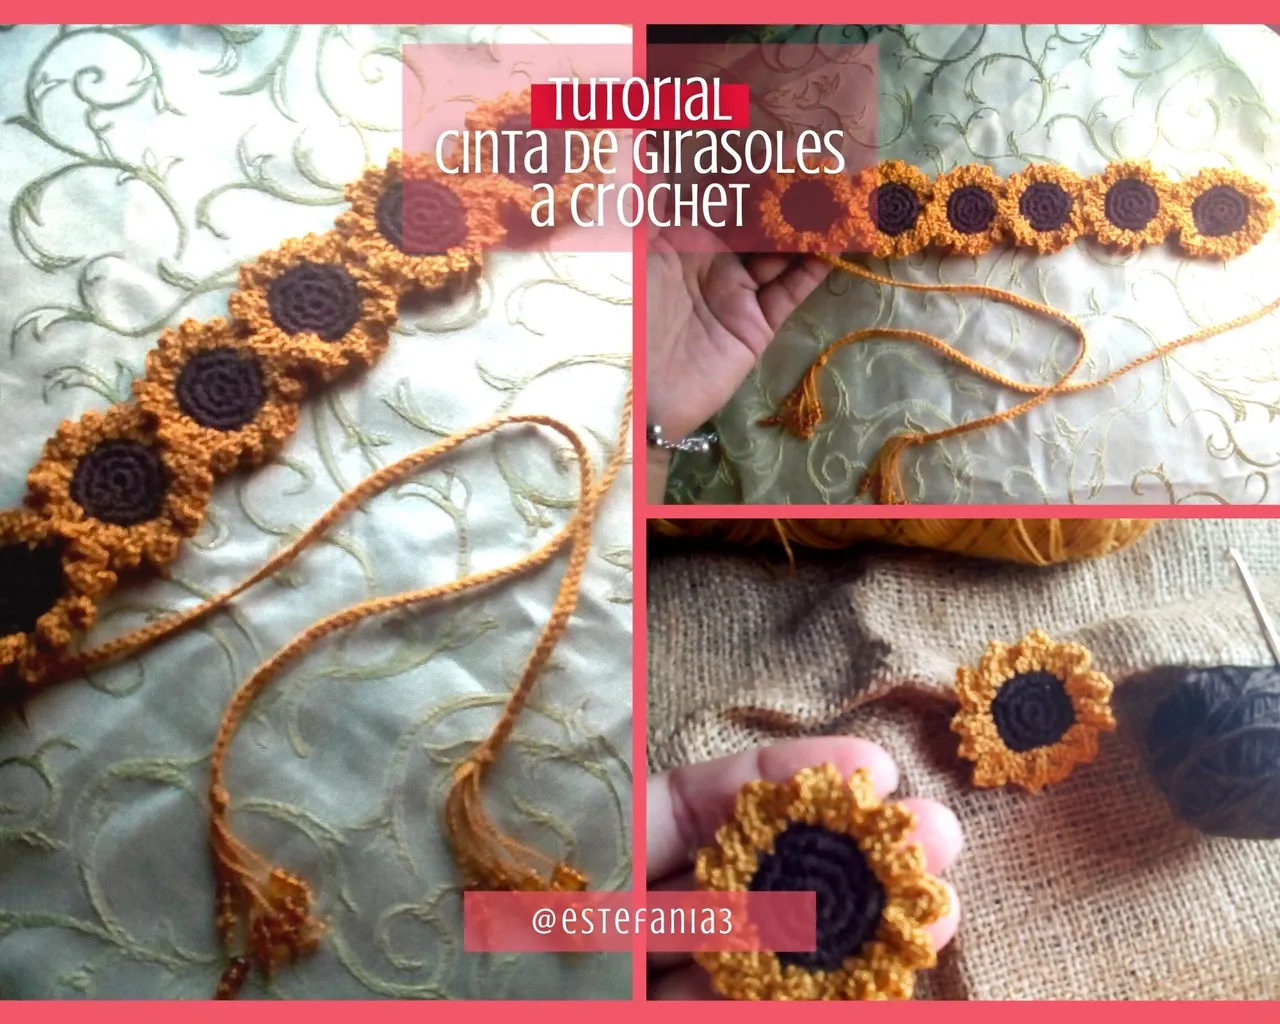
Hace algunos días les compartí el tutorial para tejer estos lindos girasoles a crochet y el día de hoy les traigo una propuesta de como pueden utilizarlos y la principal razón por la que los he tejido.
Se trata de una cinta para el cabello de girasoles. 🌻✨ Una amiguita muy especial para mi hijo cumplía 9 años y el motivo de su fiesta de cumpleaños era de girasoles.
Me pareció un buen detalle tejerle una cinta para el cabello porque una de las últimas veces que vino a la casa había visto las que yo tengo para la venta y la vi muy entusiasmada con ellas. Pero obviamente no le comenté lo que haría, todo era un regalo sorpresa. 😊
Es muy fácil de hacer y le da un detalle bien coqueto a las niñas y a las no tan niñas. Es un accesorio que no tiene restricción de edad.
Les cuento a continuación los pasos que deben seguir para armar esta cinta de girasoles. ♥
Hello Guys!
A few days ago I shared with you the tutorial to crochet these beautiful sunflowers and today I bring you a proposal of how you can use them and the main reason why I have knitted them.
This is a sunflower headband. 🌻✨ A very special friend for my son was turning 9 years old and the reason for his birthday party was sunflowers.
I thought it was a nice touch to knit a hairband because one of the last times he came to the house he had seen the ones I have for sale and I saw her very enthusiastic about them. But obviously I didn't tell him what he would do, it was all a surprise gift. 😊
It is very easy to do and gives a very flirty detail to girls and not so young girls. It is an accessory that has no age restriction.
Here are the steps you must follow to put together this sunflower ribbon. ♥
Primero que nada les voy a dejar el enlace de la publicación donde encontrarán el paso a paso de como hacer estos lindos girasoles. Click Aquí 🌻
Para hacer esta cinta es importante medir la distancia que ocuparemos con los girasoles, yo he pedido la ayuda de mi hijo para medir los centímetros que hay oreja a oreja pasando por la parte superior de su cabeza. Ellos son de la misma edad por lo que tendrán la misma medida.
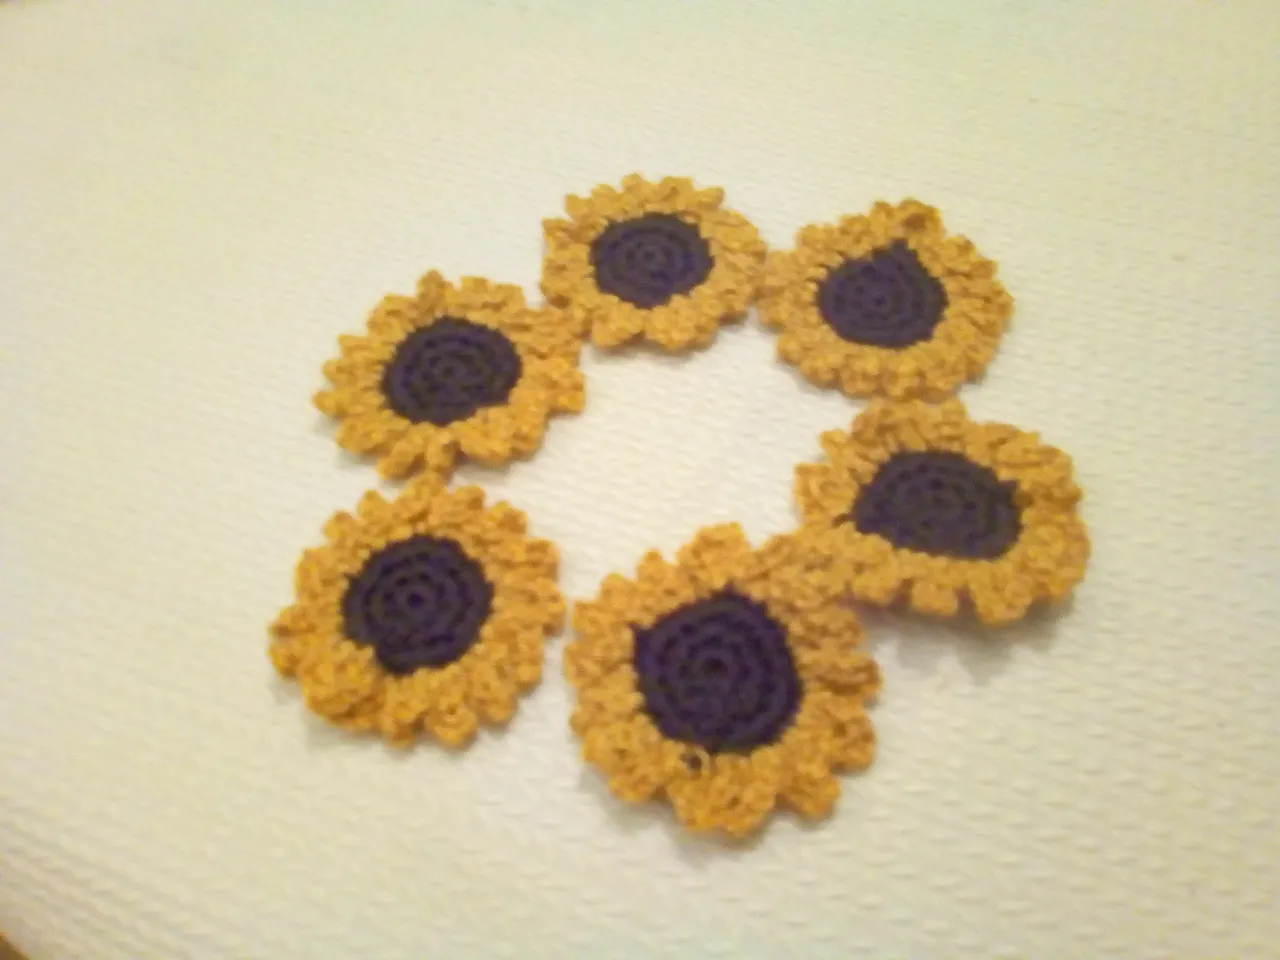
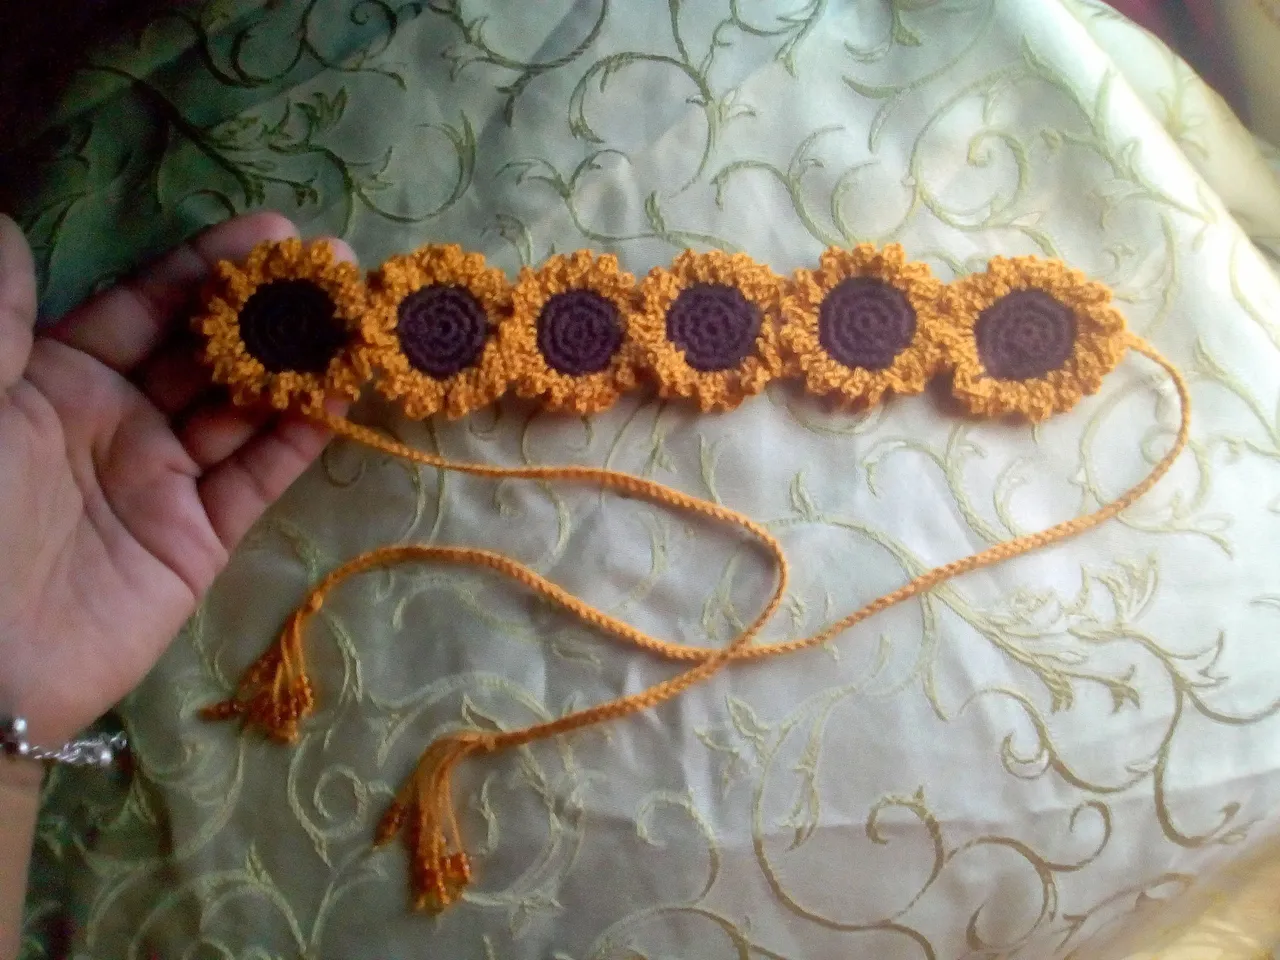
Era necesario tejer 6 girasoles, por lo que me puse manos a la obra y aquí en la foto les muestro como están todos listos.
First of all I am going to leave you the link of the publication where you will find the step by step of how to make these beautiful sunflowers. Click Here 🌻
To make this tape it is important to measure the distance that we will occupy with the sunflowers, I have asked my son's help to measure the centimeters that there are ear to ear passing through the top of his head. They are the same age so they will have the same size.
It was necessary to weave 6 sunflowers, so I got to work and here in the photo I show you how they are all ready.
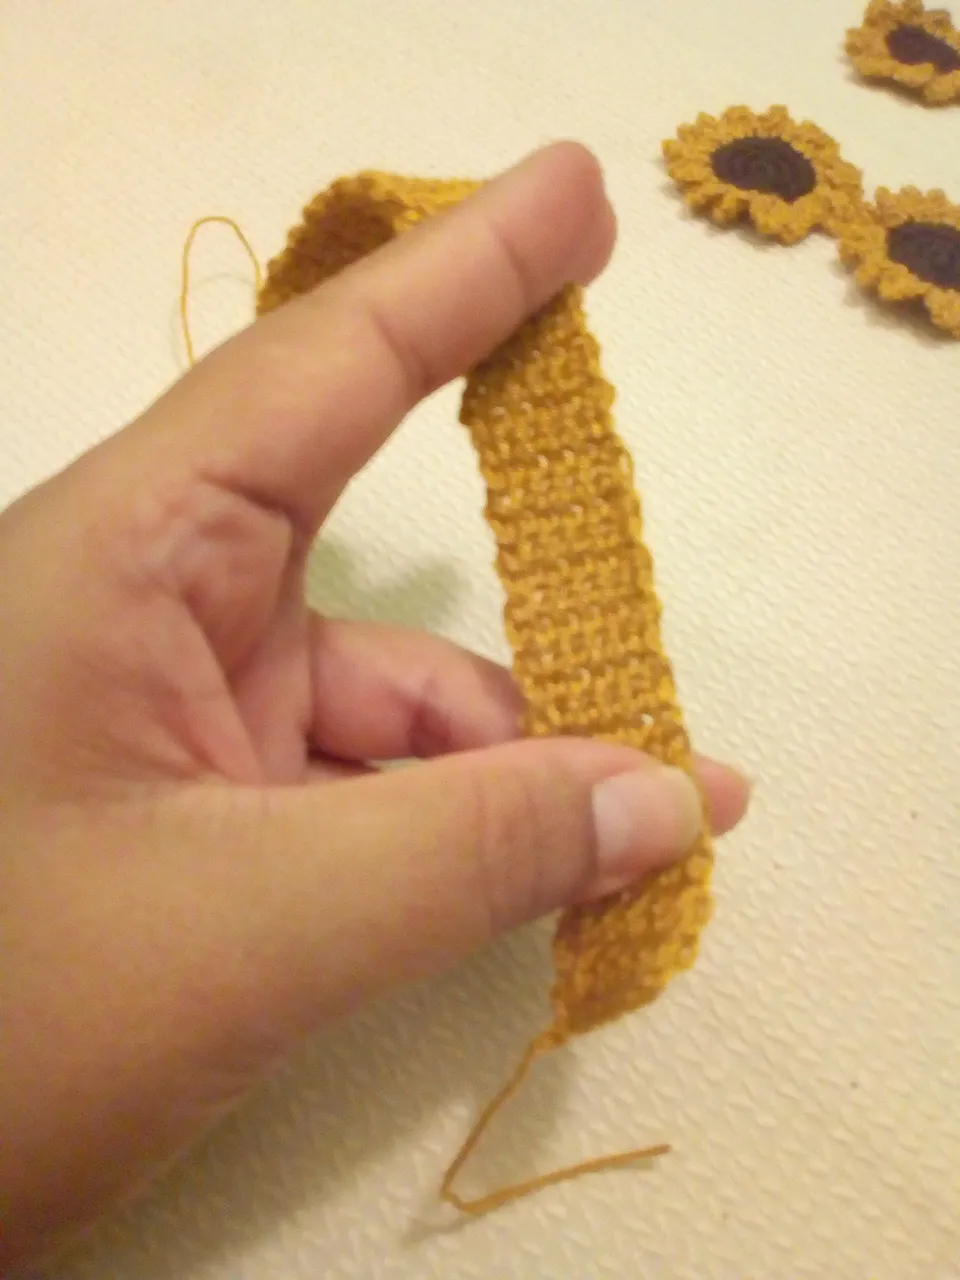
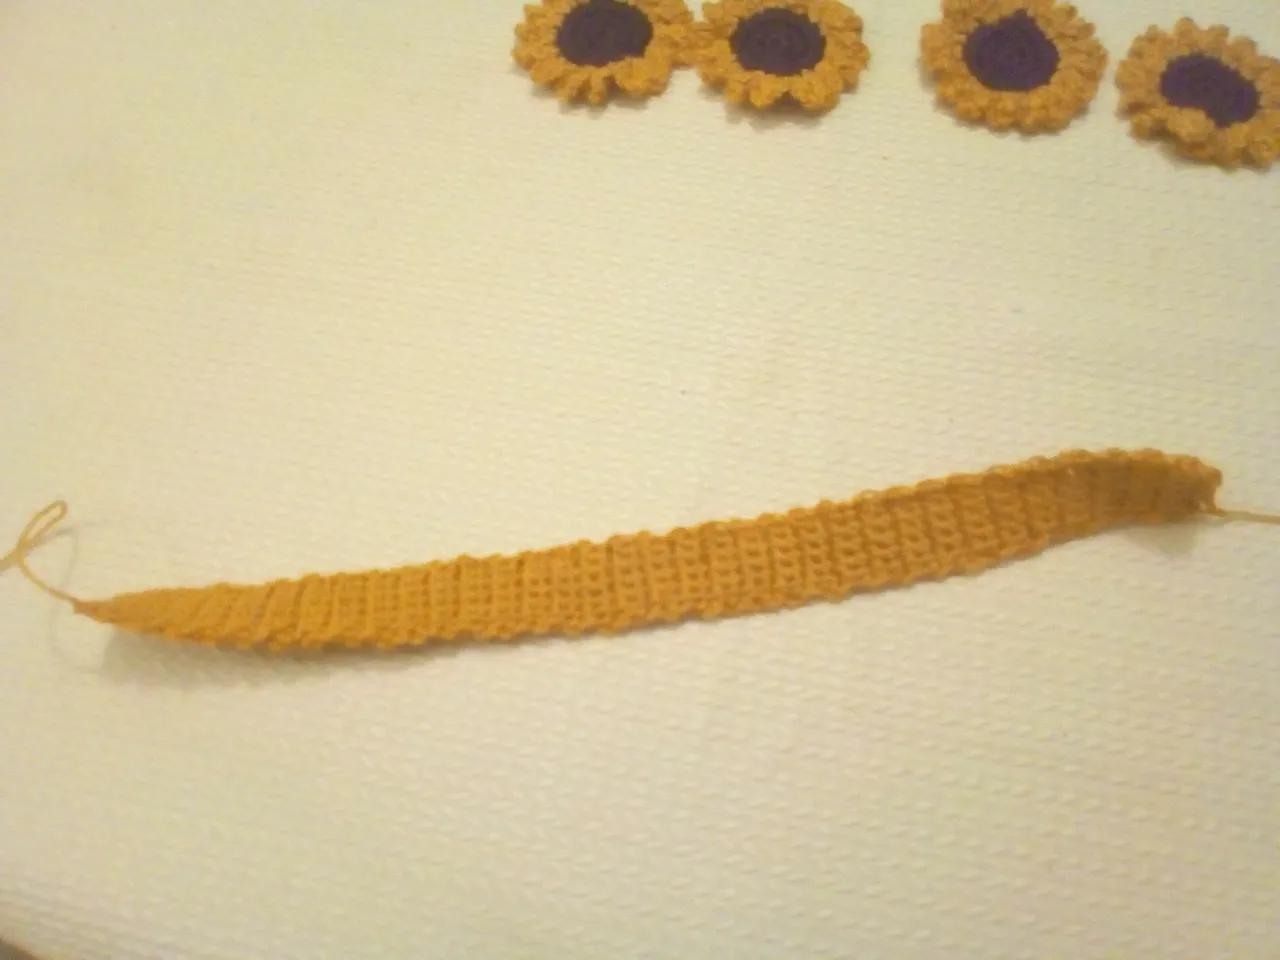
Para la base de la cinta he utilizado esta misma distancia para medir que tan ancha debía ser. He iniciado con 8 cadenetas, 6 de base y 2 para dar altura a la vuelta. Luego he tejido 5 puntos bajos, el resto de las vueltas se teje de la misma forma, dos cadenetas para elevar la vuelta y 5 puntos bajos.
Se teje hasta alcanzar el ancho deseado. Luego hacemos un nudo en los hilos de inicio y final los escondemos en el tejido.
For the base of the tape I have used this same distance to measure how wide it should be. I started with 8 chains, 6 base and 2 to give height to the round. Then I have worked 5 single crochets, the rest of the rounds are worked in the same way, two chains to raise the round and 5 single crochets.
It is woven to the desired width. Then we make a knot in the start and end threads, we hide them in the fabric.
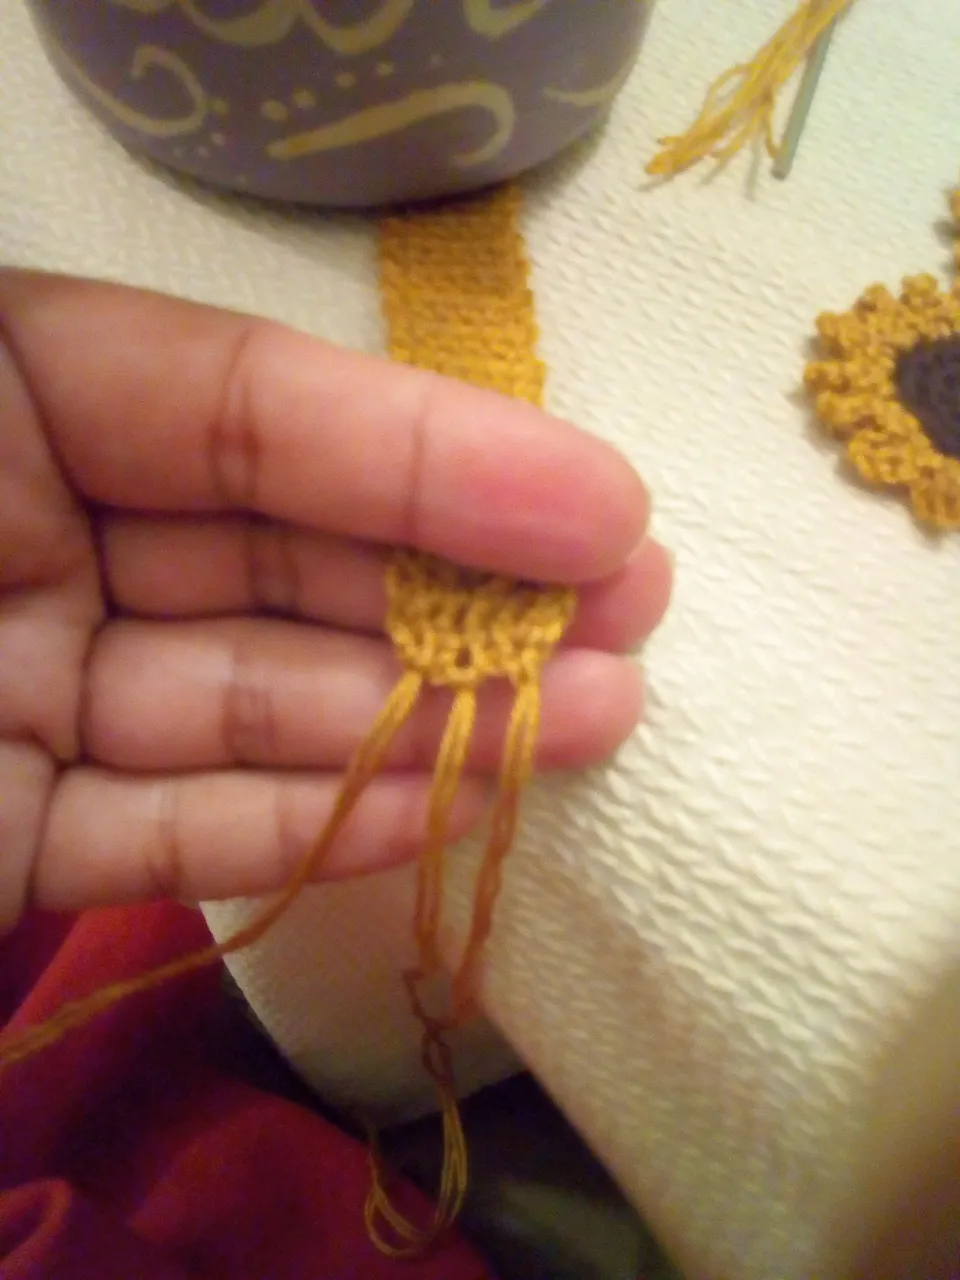
Ya tenemos la base de la cinta, ahora necesitamos una tiras con las que podamos amarrarla o sujetarla. Para esto utilicé el mismo hilo, corté 3 hebras dobles y las amarré en un extremo para luego tejer una trenza.
Hice lo mismo con el otro lado de la cinta. Esta es una manera de hacerlo, también puedes utilizar alguna elástica para reemplazar esas trenzas.
We already have the base of the tape, now we need a strip with which we can tie it or hold it. For this I used the same thread, cut 3 double strands and tied them at one end to later weave a braid.
I did the same with the other side of the tape. This is one way to do it, you can also use some elastic to replace those braids.
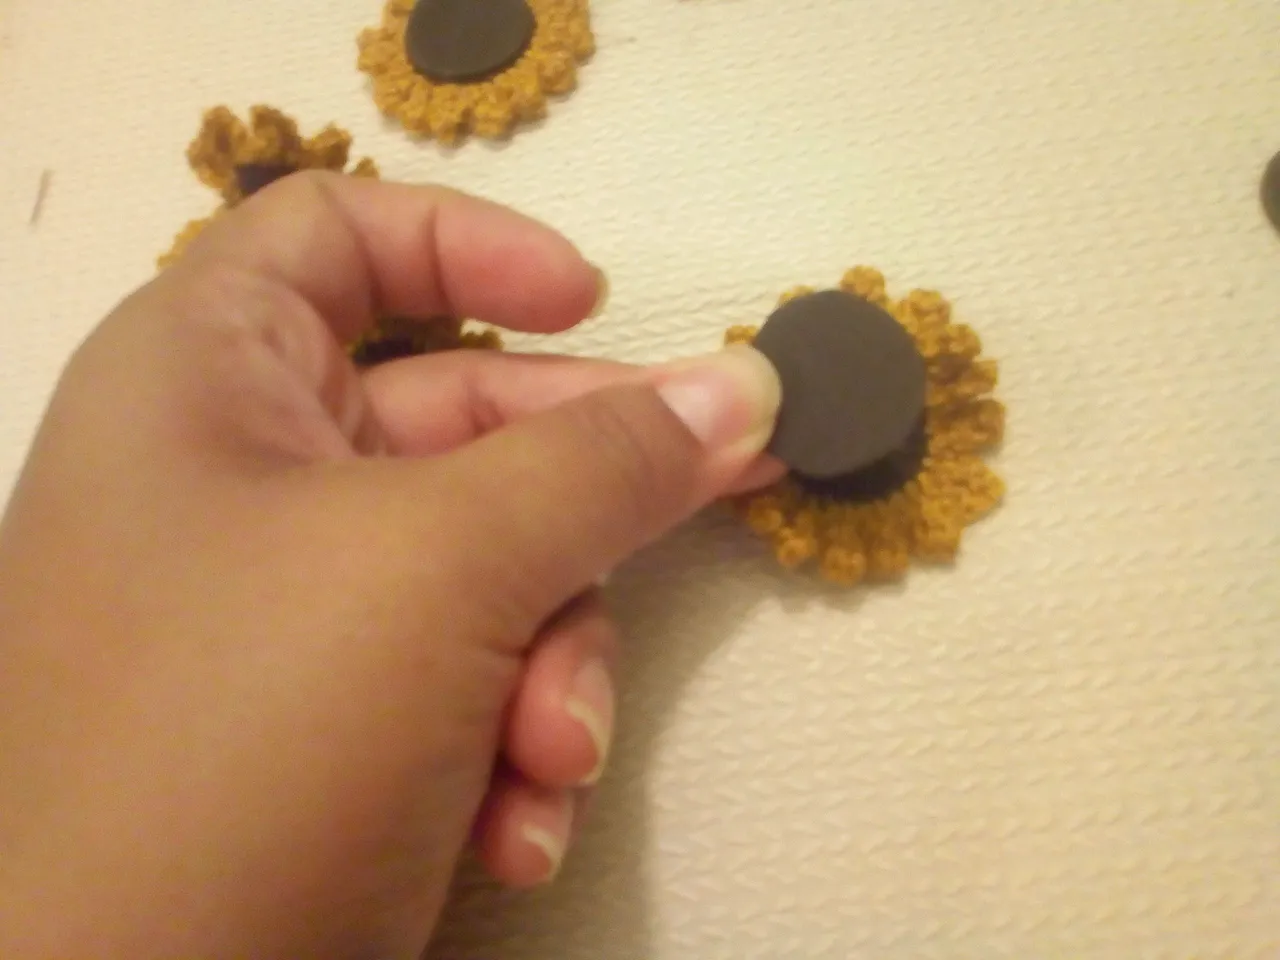
A los girasoles les he pegado con ayuda de una pistola de silicón un círculo de foami/goma eva para darle peso y así no se deformarían en la cinta una vez montados.
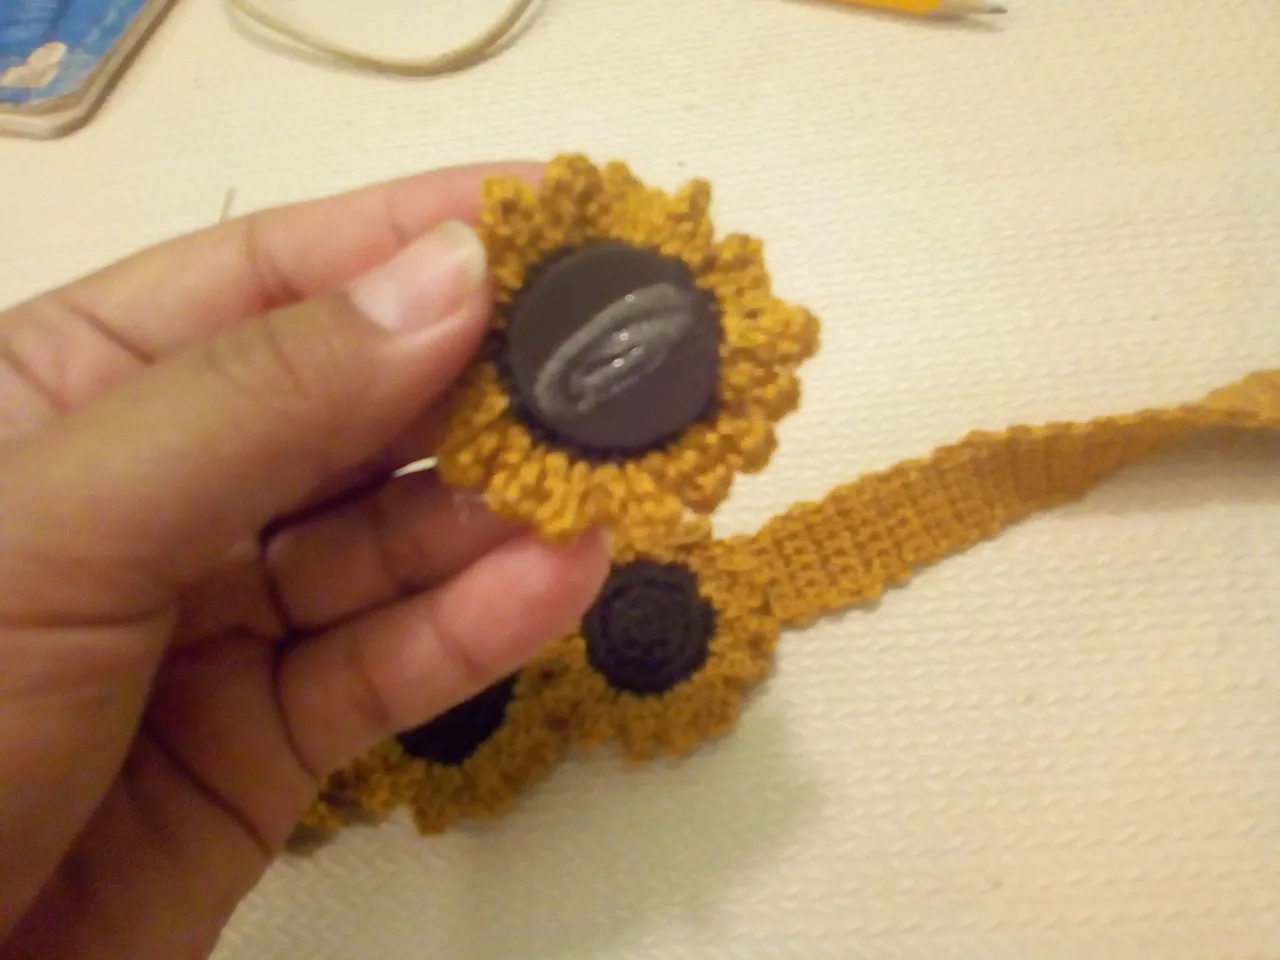
Es momento de armar la cinta, para ello he ocupado nuevamente la pistola de silicón, coloqué un poco de pegamento en la parte posterior de los girasoles y los fui pegando uno a uno, cuidando no echar mucho para que no se notara al voltear la cinta.
To the sunflowers I have glued a circle of foam with the help of a silicone gun to give it weight and thus they would not deform on the tape once assembled.
It is time to assemble the tape, for this I have used the silicone gun again, I placed a little glue on the back of the sunflowers and I was gluing them one by one, taking care not to add too much so that it would not be noticed when turning the tape .

Para finalizar, he colocado en el extremo de cada hebra de hilo 2 mostacillas y las aseguré con un nudo cerciorándome de que no se fueran a salir con el movimiento.
Y así quedó esta linda cinta de girasoles, ¿qué te ha parecido la propuesta? Te leo en los comentarios. 😊
To finish, I have placed 2 beads at the end of each strand of thread and secured them with a knot making sure that they would not come off with the movement.
And that's how this beautiful ribbon of sunflowers was left, what did you think of the proposal? I read you in the comments. 😊

Espero haya sido de tu agrado y provecho.
Un gran abrazo a todos, y nos leemos en un próximo post
• Lakrearte en Hive •
Att: Estefania Garcia ♥

Imágenes y separadores de mi autoría
Portada editada en Canva