

Greetings dear friends, visitors, followers, thank you for visiting my blog.
Every day inventing I learn something new, as much as I studied the way to create a bubble I did not leave, now I learned and even turned it into a new custom brush.
I have drawn two types of mermaids and both recorded their creation process, I invite you to watch the video.
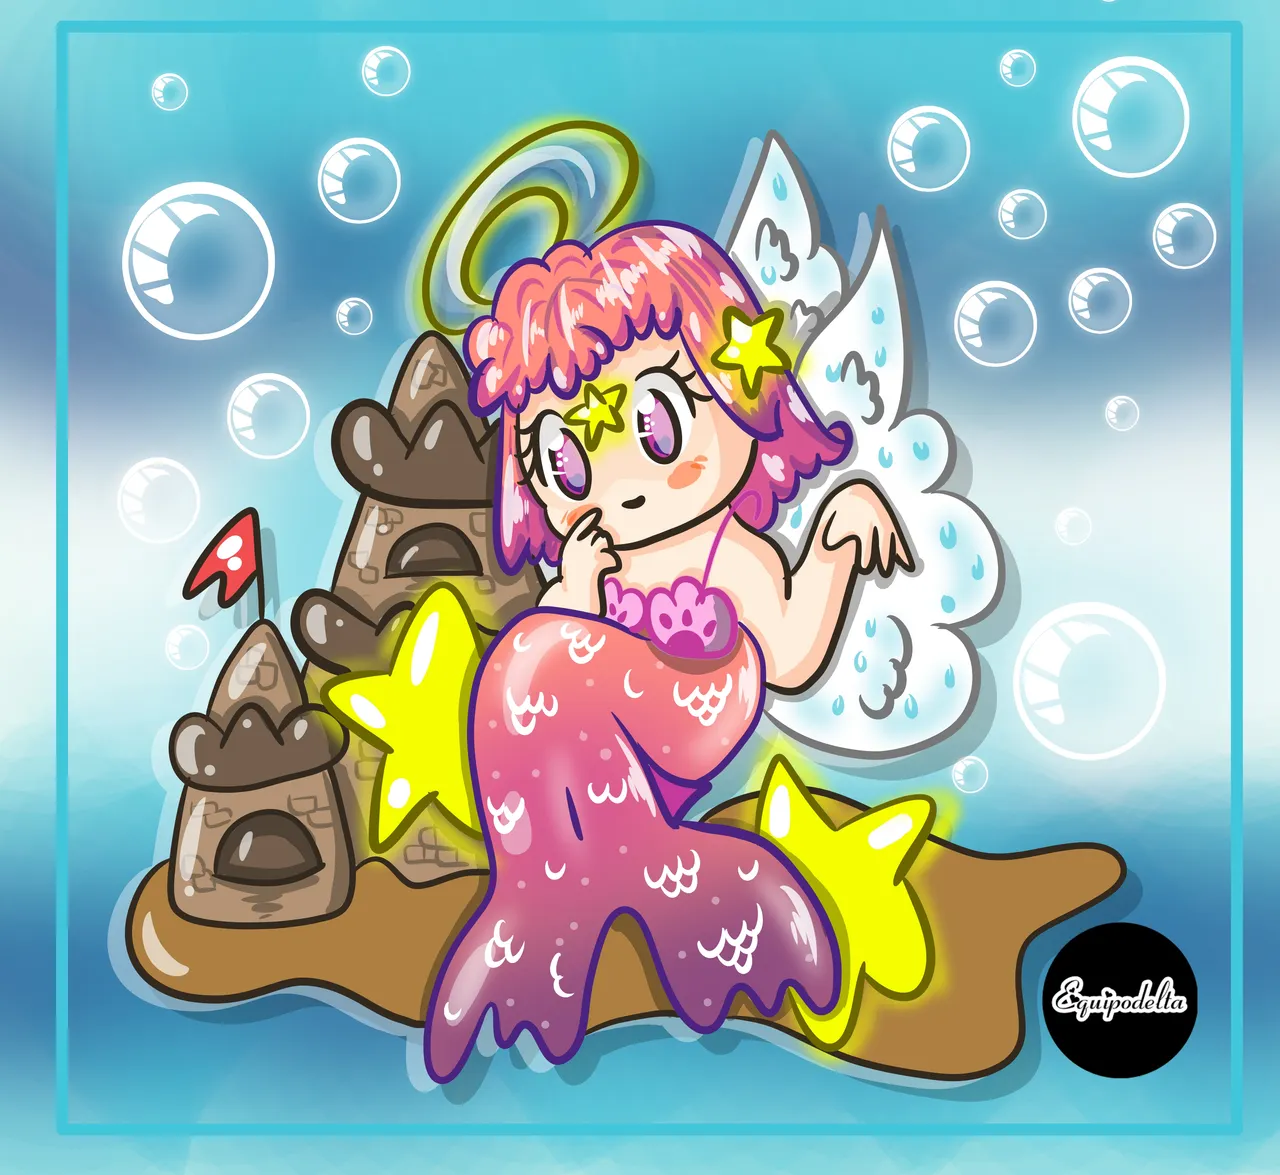
This mermaid that I present you today I made it kawaii - cartoon style, the next one I made it in graphite pencil and then I digitalized it, it is more anime type.
My design today looks like candy. I hope you like it.

Saludos queridos amigos, visitantes, seguidores, gracias por visitar mi blog.
Todos los días inventando aprendo algo nuevo, por mucho que estudié la forma de crear una burbuja no me salía, ahora aprendí y hasta lo convertí en un nuevo pincel personalizado.
He dibujado dos tipos de sirena y ambas grabé su proceso de creación, te invito a ver el vídeo.
Esta sirena que te presento hoy la hice estilo kawaii - caricatura, la próxima la hice en lápiz de grafito y luego la digitalicé, es mas tipo anime.
Mi diseño de hoy parece de caramelo. Espero te guste.

Paso a paso. / Step by Step


En el vídeo te enseño algunos tips, es bueno para quienes inician en esto del diseño digital.
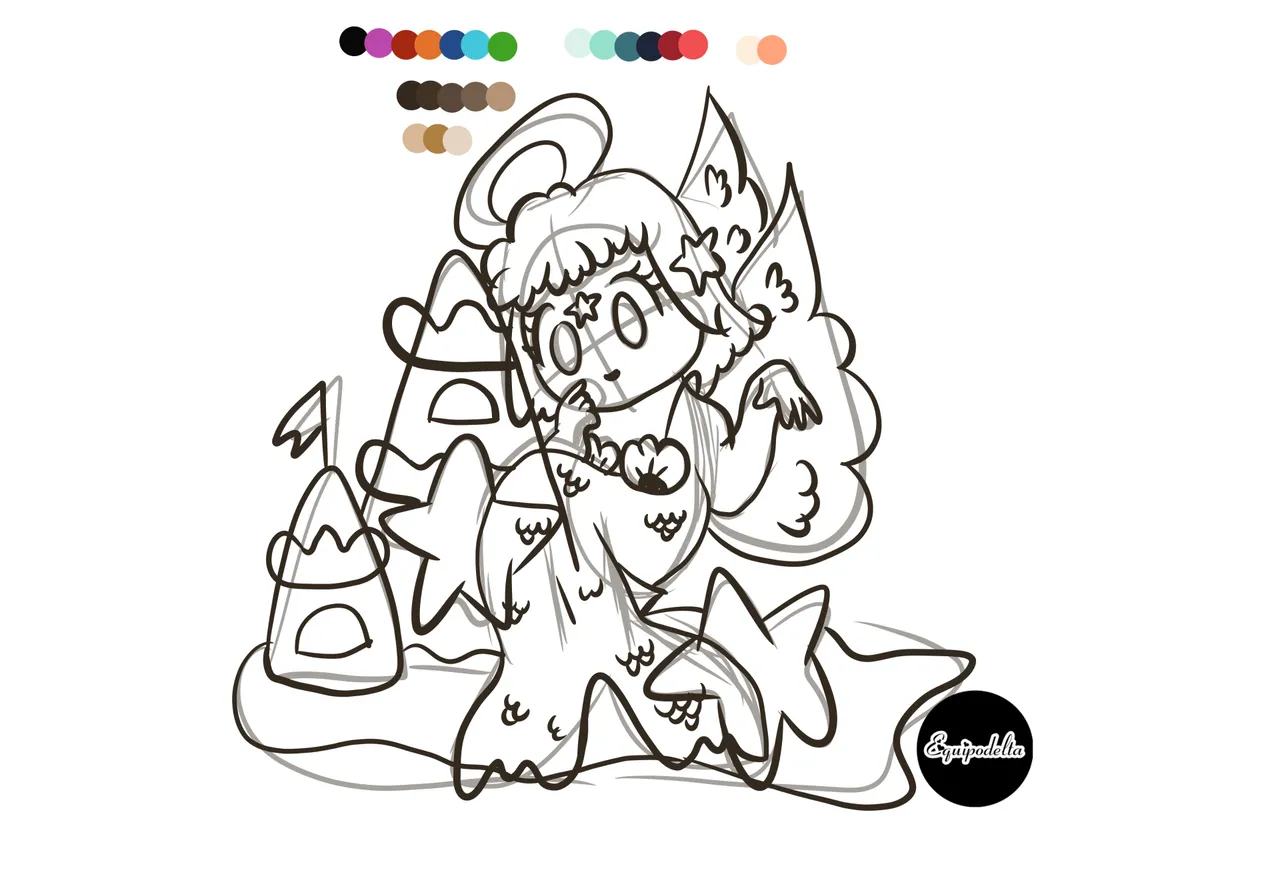
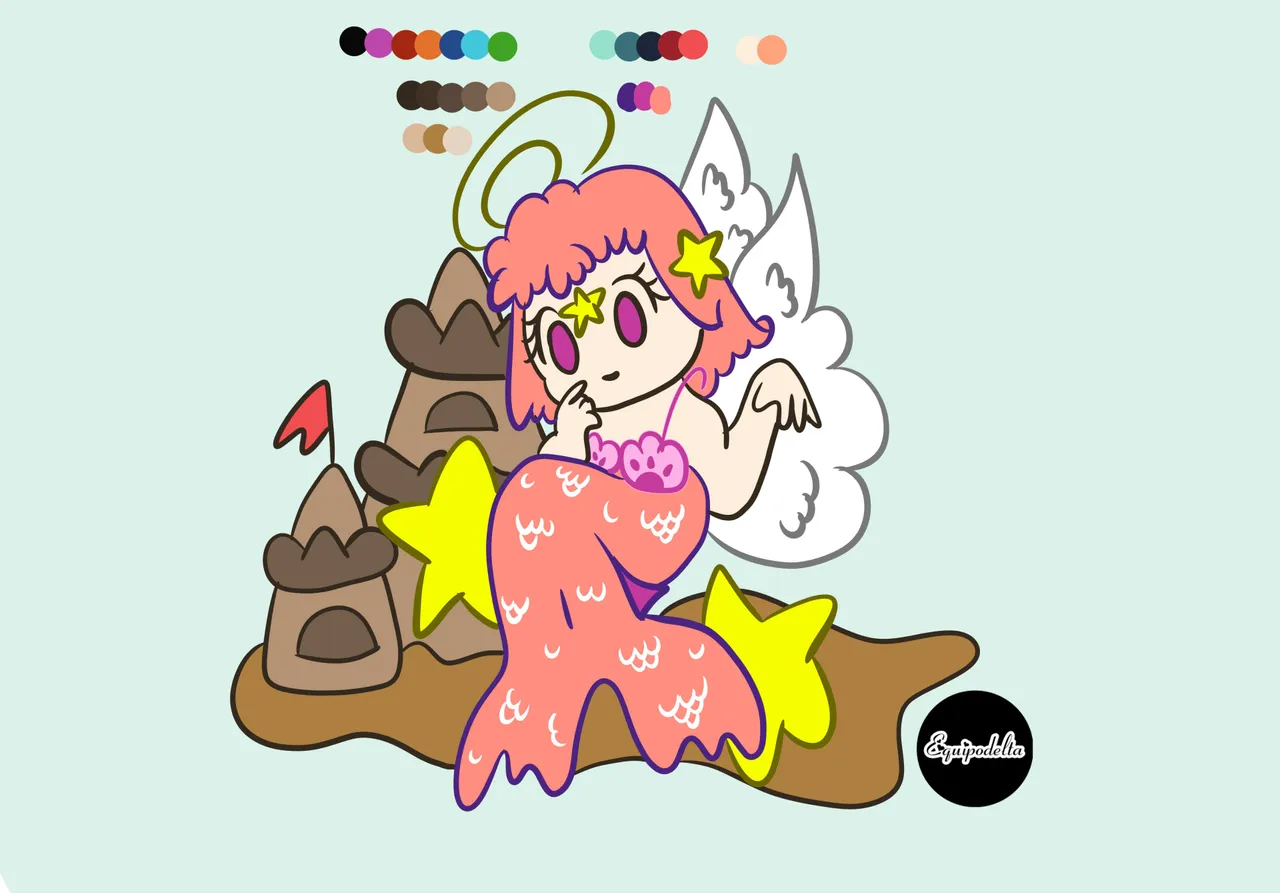
Paso 1: Boceto, representa la idea previa a lo que voy a dibujar, me inspiré en los adornos de una pecera, para darle un toque más original le agregué un par de alas sencillas.
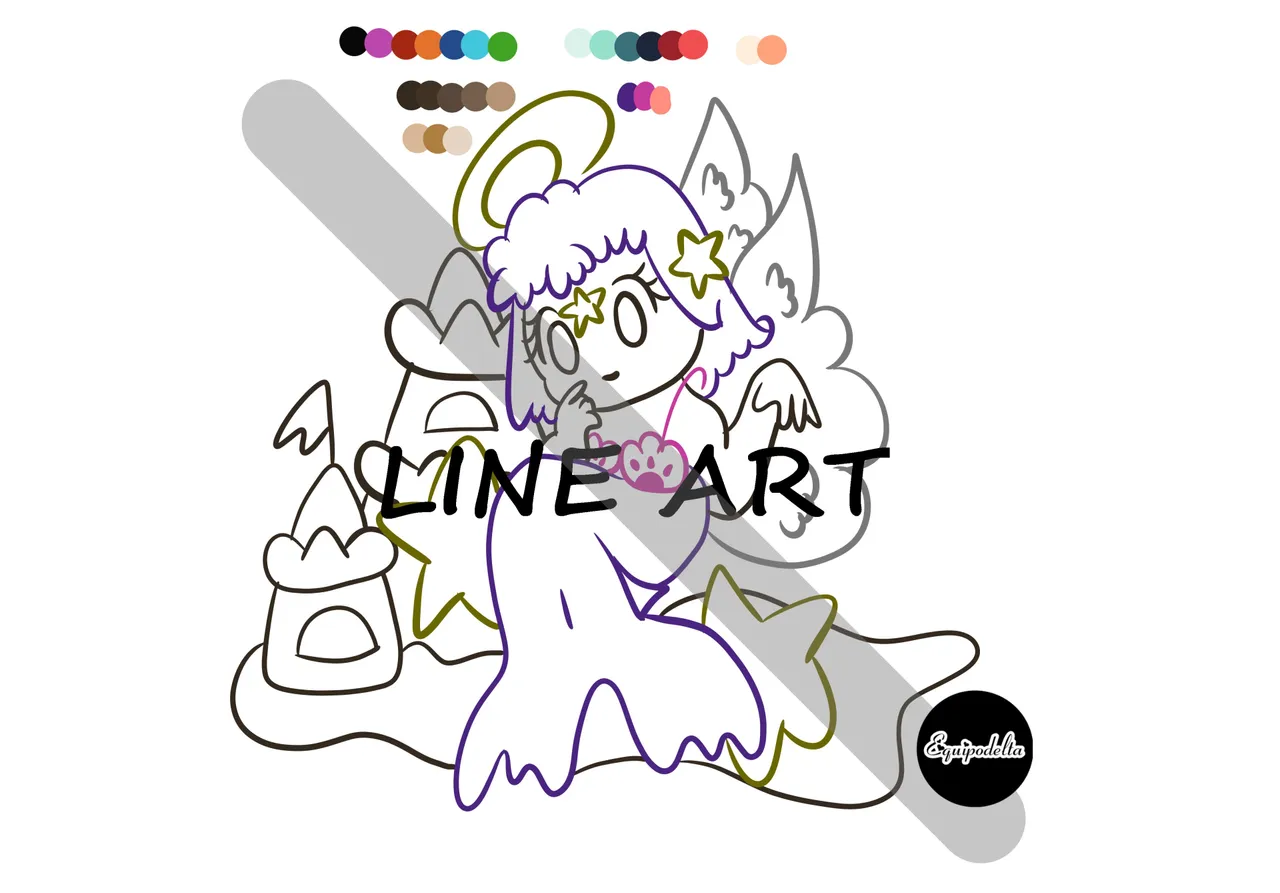
Paso 2: El line art, apliqué colores diferentes de líneas con la intención que estas desaparezcan o se camuflen con el diseño.
Paso 3: Color base, lo apliqué todo en una sola capa lo que no es recomendable, eso me trajo ciertas dificultades cuando quise emplear sombras internas.
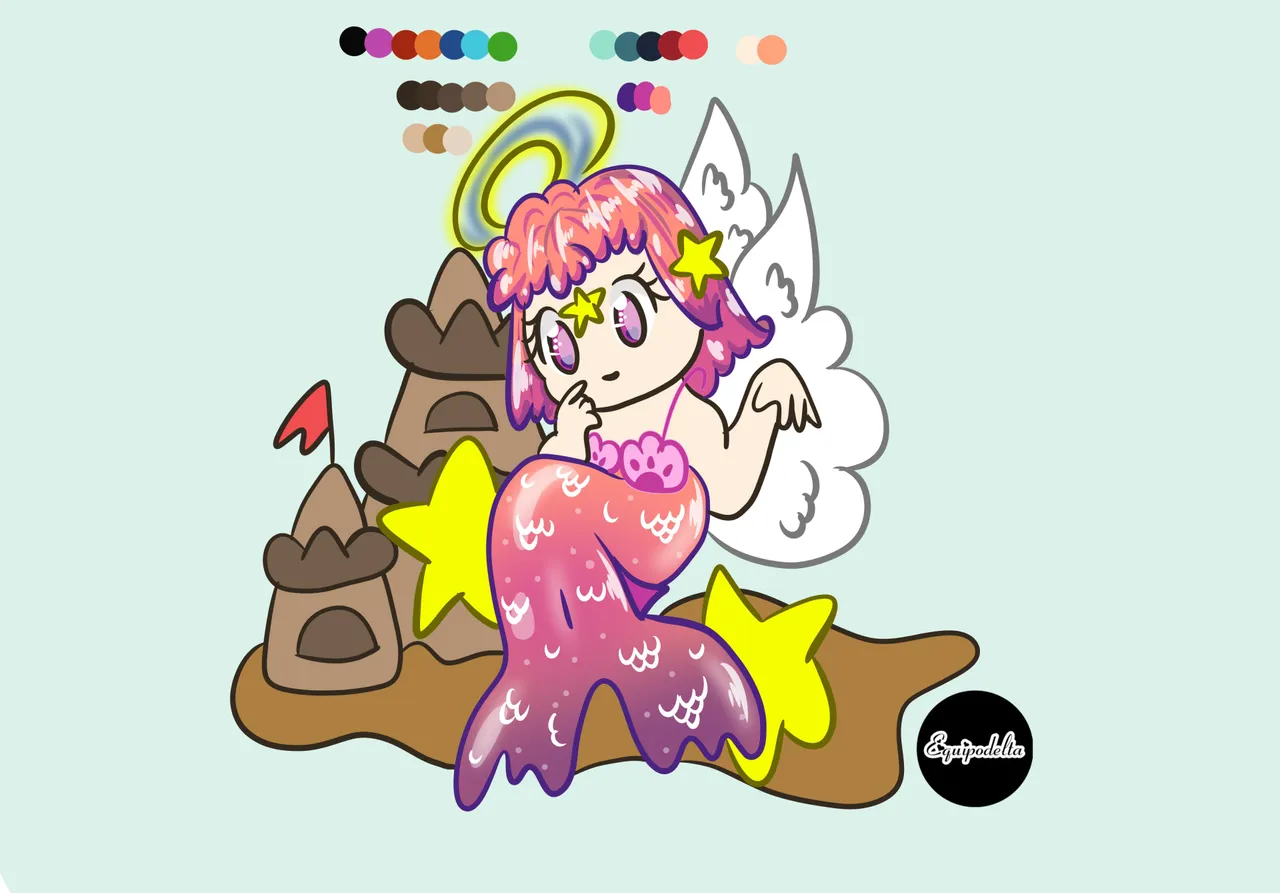
Paso 4: Los detalles de degradado de color en la cola los hice con aerografía.
Paso 5: Realicé los ojos estilo kawaii - chibi que me siento cómoda dibujar, son más fáciles, hay muchos tipos.
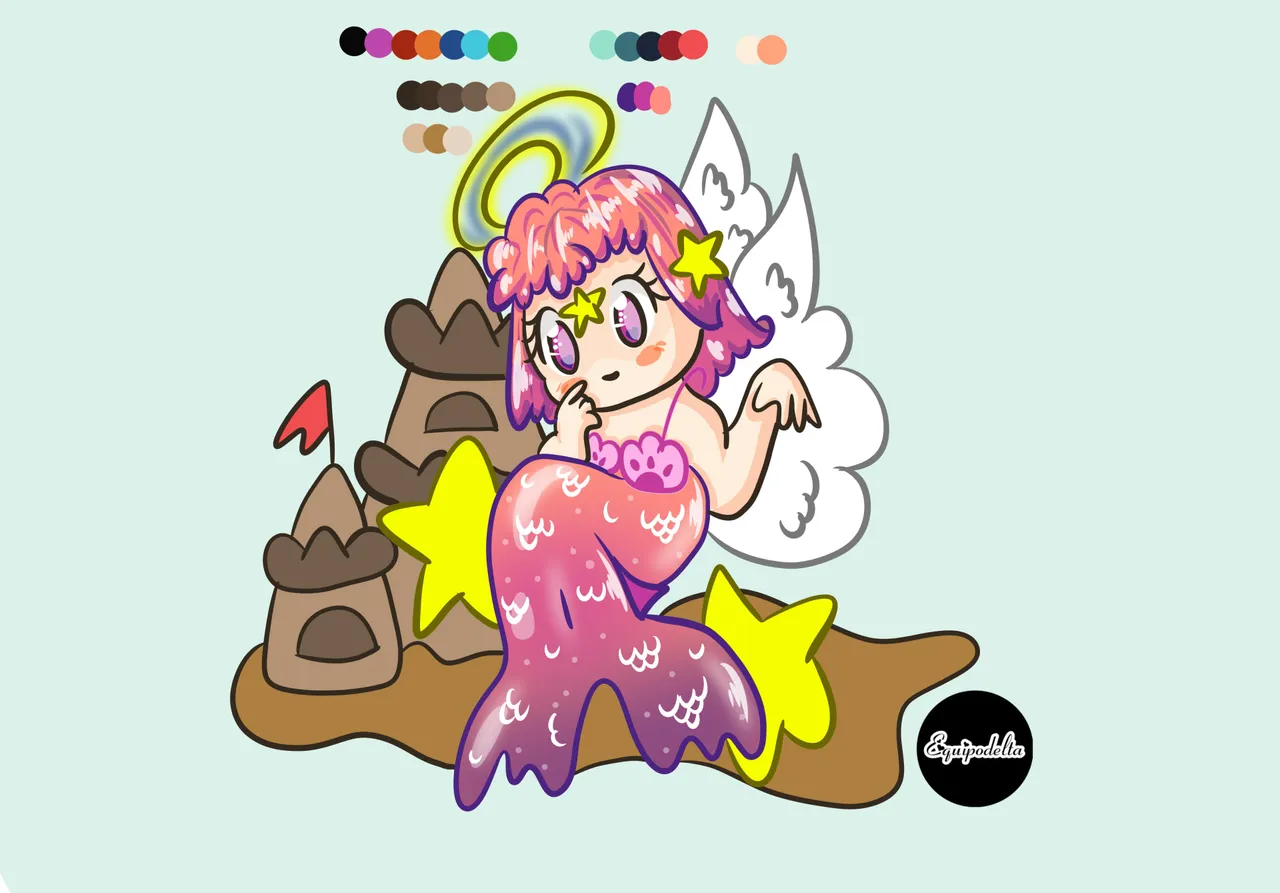
Paso 6: Apliqué el sombreado en la piel, como de costumbre, empleé 3 capas.
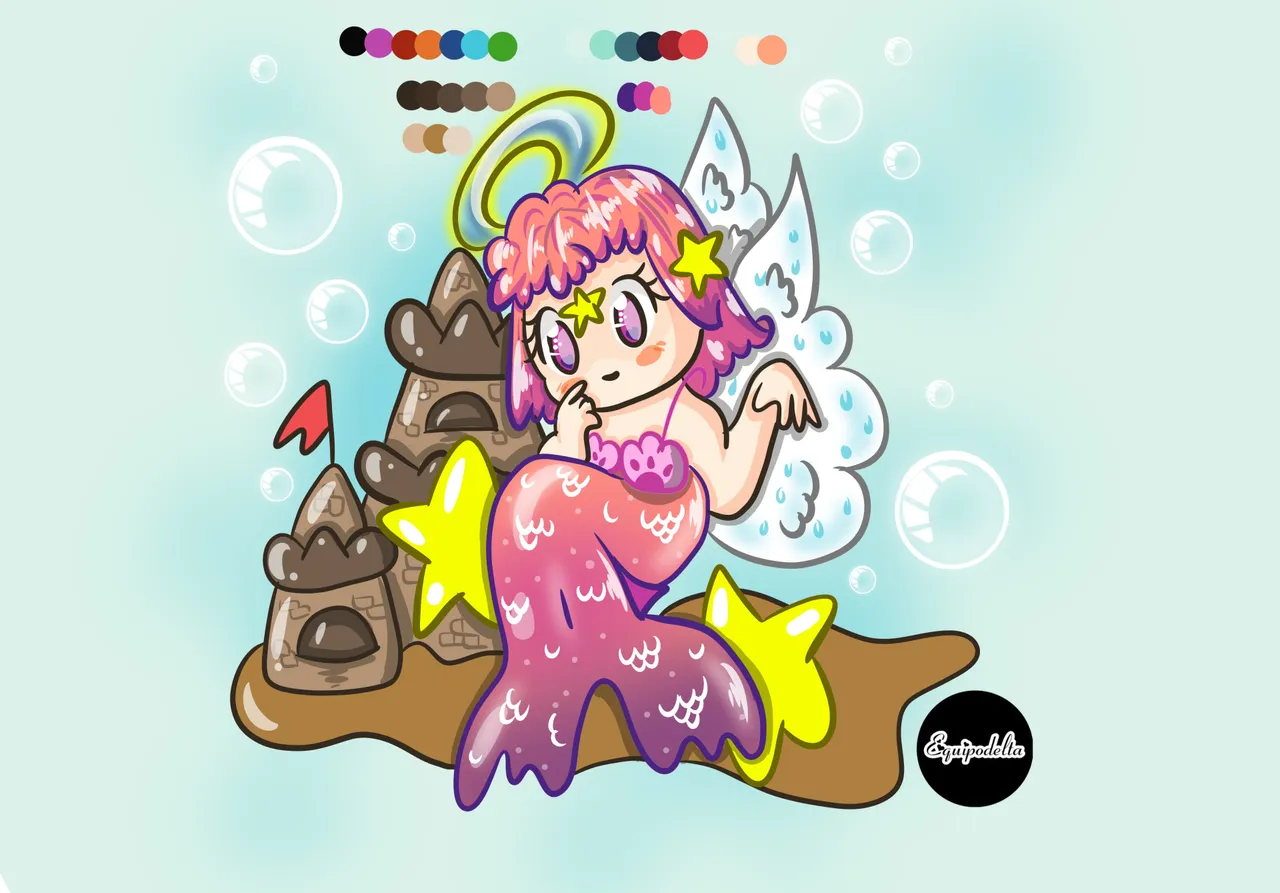
Paso 7: Sombreado general, apliqué unos detalles de bloques en el castillo de caramelo con la misma capa de sombra, eso le dio un buen aspecto y personalidad, ya no se veía tan plano. Luego en una capa nueva agregué detalles semejando gotas en sus alas.
Paso 8: Di un toque de aerografía en el fondo para darle profundidad, luego dibujé una burbuja, junté sus capas, copié la imagen varias veces y las pegué al azar en todo mi diseño.
Espero te guste. Más adelante te muestro cómo se vería como portada de un cuaderno.
In the video I show you some tips, it is good for those who start in this digital design.
Step 1: Sketch, represents the previous idea to what I am going to draw, I was inspired by the decorations of a fish tank, to give it a more original touch I added a couple of simple wings.
Step 2: The line art, I applied different colors of lines with the intention that these disappear or are camouflaged with the design.
Step 3: Base color, I applied it all in one layer which is not recommended, that brought me some difficulties when I wanted to use internal shadows.
Step 4: The details of color gradient in the tail were made with airbrush.
Step 5: I made the eyes kawaii - chibi style that I feel comfortable to draw, they are easier, there are many types.
Step 6: I applied the shading on the skin, as usual, I used 3 layers.
Step 7: General shading, I applied some block details in the candy castle with the same layer of shadow, that gave it a good look and personality, it didn't look so flat anymore. Then in a new layer I added details like drops on its wings.
Step 8: I airbrushed the background to give it depth, then I drew a bubble, put its layers together, copied the image several times and pasted them randomly throughout my design.
I hope you like it. Later on I'll show you how it would look as the cover of a notebook.
Detalles Técnicos / Technical Details
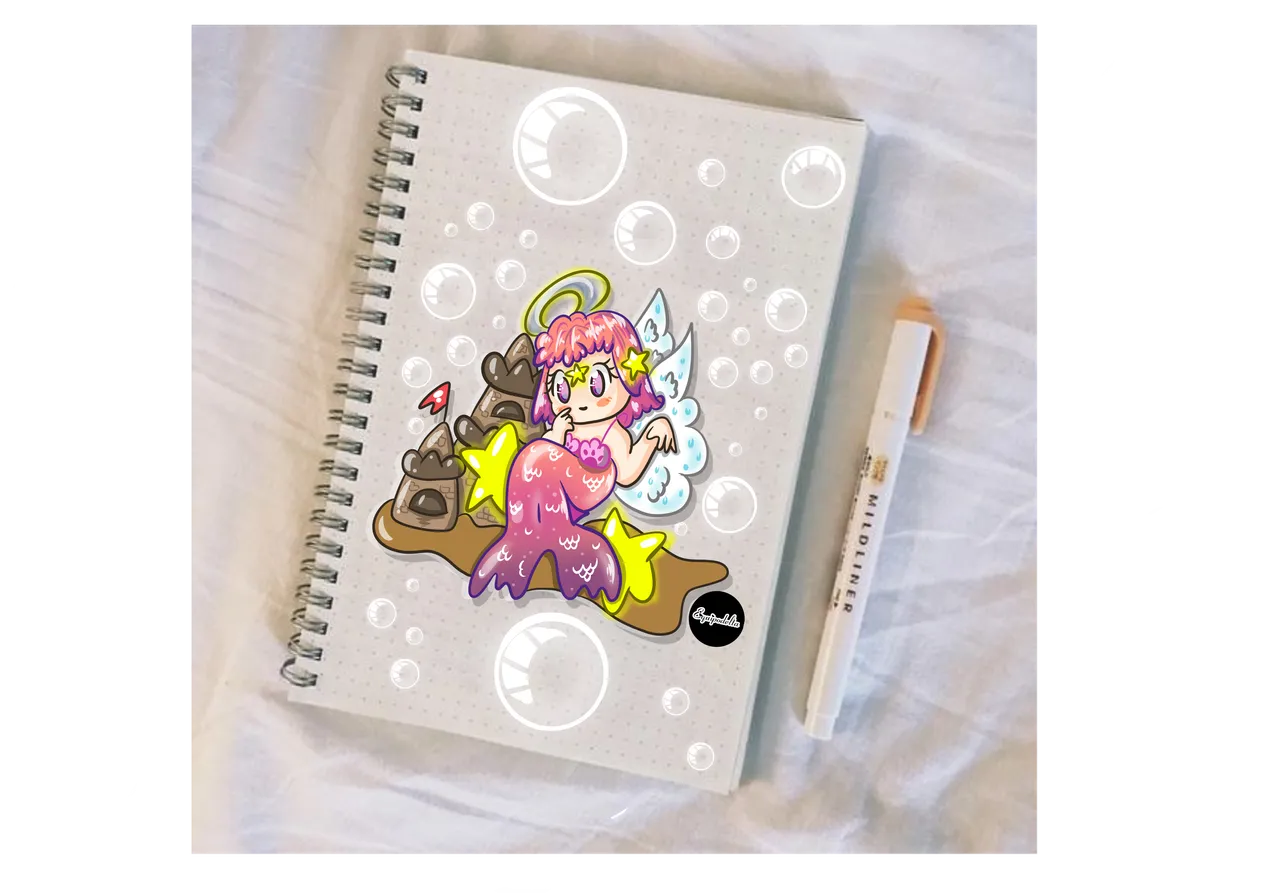
Portada de cuaderno. / Cover of a notebook.
Duración: 2 horas / hours.
Program: MediBang Paint Pro.
Graphics tablet: Huion (Usb Pen Tablet).
Used Medibang brushes:
- Lápiz.
- Pluma.
- Pluma (Tinta).
- Aerógrafo.
Used Medibang tools:
- Texto.
- Borrador.
- Figuras geométricas (rectángulo)
- Bote de pintura.
- Varita mágica.
––––––––––––––––––––––––––––––
Música
Licencia: Creative Commons Zero 1.0
Autor:
EU Producciones Musicales
––––––––––––––––––––––––––––––
Vídeo Process
![]() 👉
👉 ![]() 👉
👉 ![]() 👉
👉  👉
👉 ![]() 👉
👉