Hola mis colegas de la comunidad ❤. Hoy les tengo esta manualidad como iniciativa para realizar con los pequeños de la casa, se trata de un lindo búho decorativo hecho con materiales sencillos y fáciles de encontrar.
Hello my colleagues in the community ❤. Today I have this craft as an initiative to perform with the little ones in the house, it is a nice decorative owl made with simple and easy to find materials.
La idea de éste post es pasar más tiempo con los pequeños de la casa y que su creatividad se dispare, con colores y plumas al dibujar todo es posible, lo importante es disfrutar lo que se hace y lo que se tiene en el momento, la ganancia es la creatividad y emoción al terminarlo.
The idea of this initiative is spending more time with the little ones of the house and that their creativity is shot, with colors and feathers when drawing everything is possible, the important thing is to enjoy what is done and what is in the moment, the profit is creativity and emotion at the time.
Los materiales que utilice fueron:
- 1 Cilindro de cartón de papel higiénico.
- Colores.
- Silicón.
- Tijera.
- Bolígrafo.
- 1 Tapa de gaseosa.
- 1 Hoja blanca.
The materials I used were:
- 1Toilet Paper Cardboard Cylinder.
- Colors.
- Silicone.
- Scissor.
- Ballpoint.
- 1 Soda cap.
- 1 White sheet.

Paso 1: | Step 1:
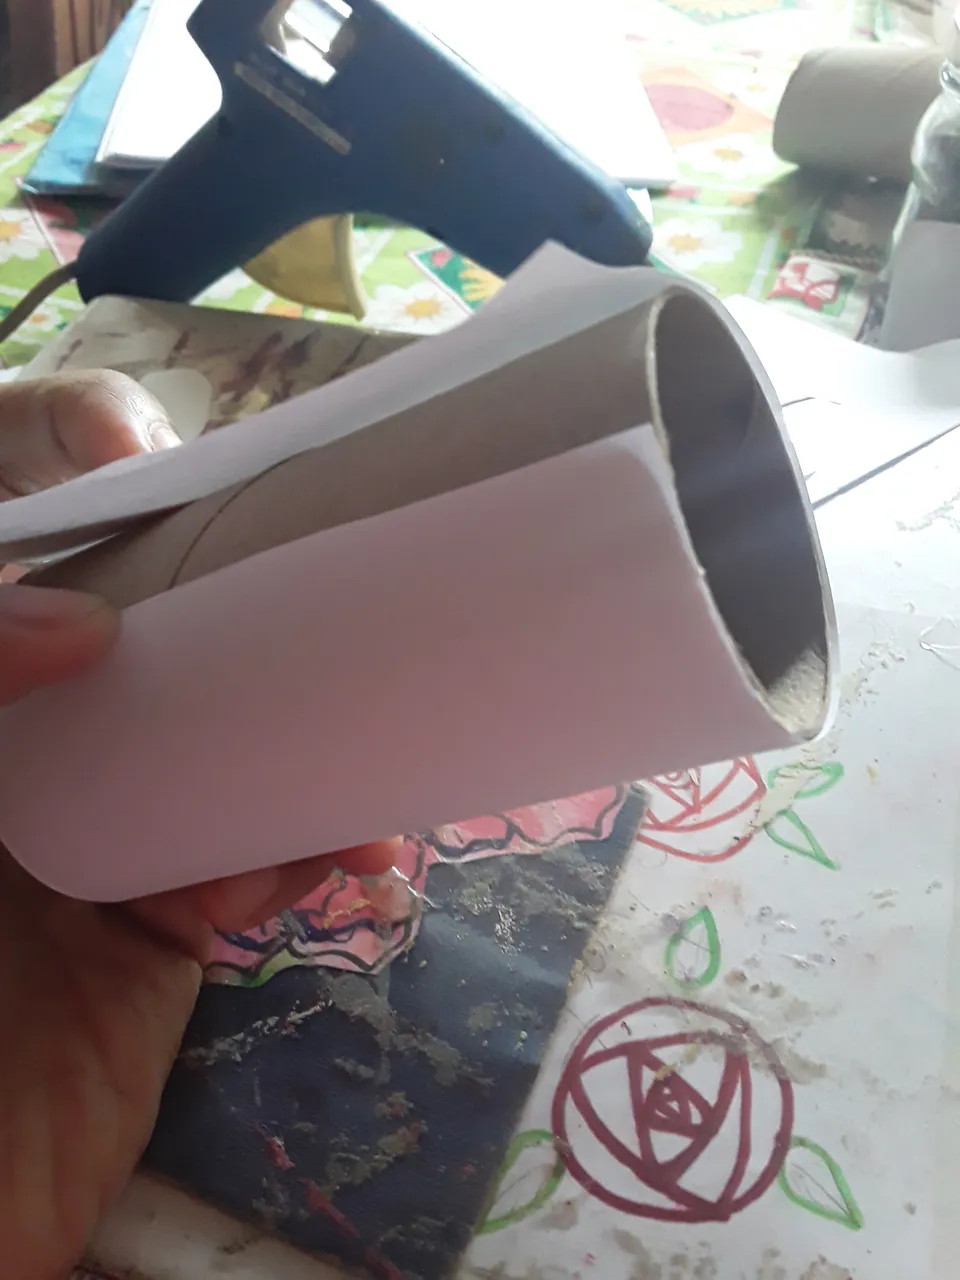
Primero que todo con nuestra hoja vamos a medir el contorno del cilindro de cartón y marcaremos de manera que nos quede cubierto completamente y cortaremos el restante.
First of all with our leaf we will measure the contour of the cardboard cylinder and we will mark so that it is completely covered and we will cut the remaining.
Paso 2: | Step 2:
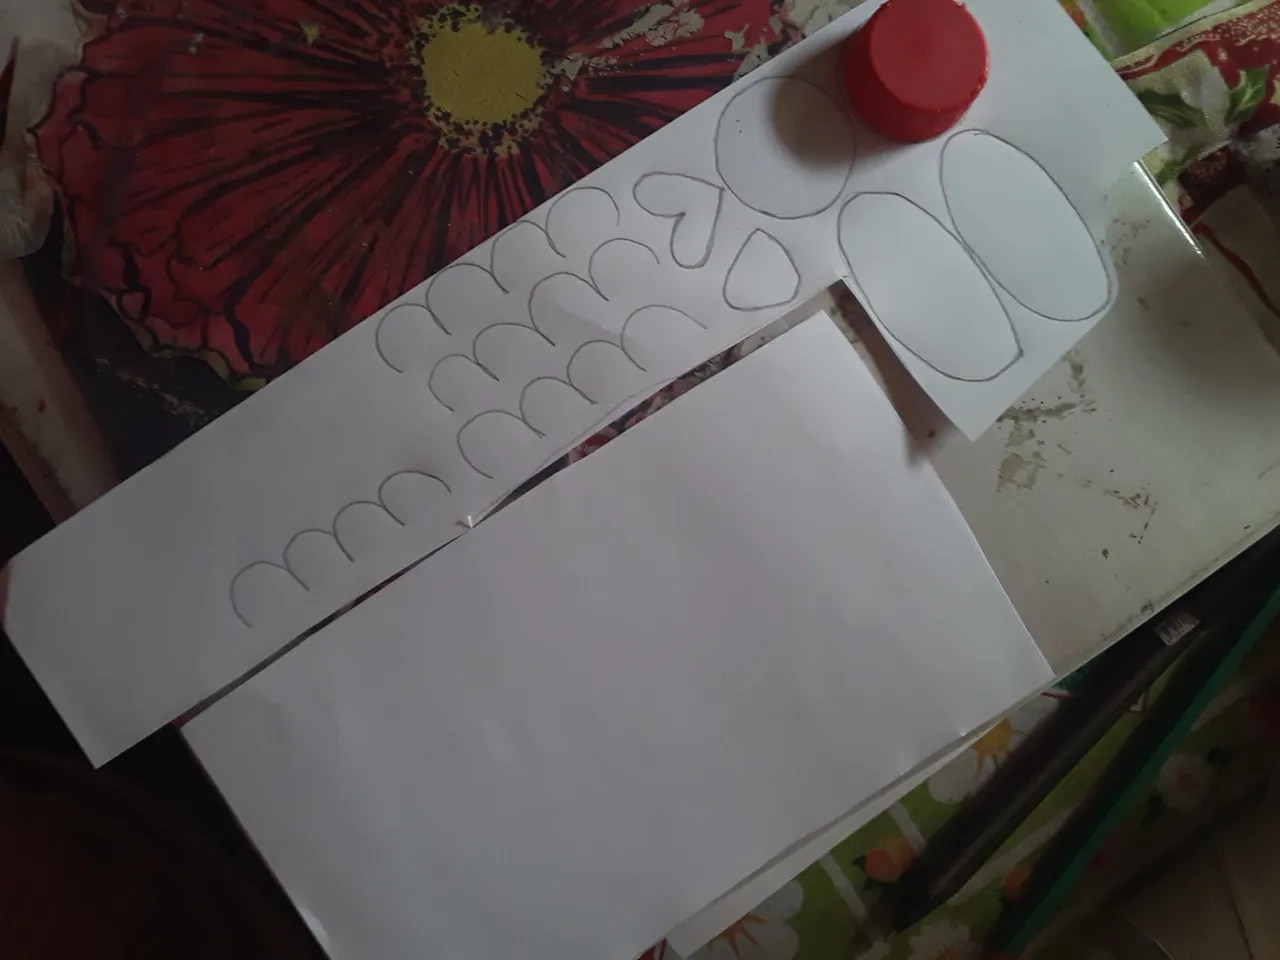
Una vez que esté medido, cortado y forrado el cilindro de cartón, vamos a dibujar en el resto de la hoja dos obalos para las alas. Con la tapa de una gaseosa dibujaremos 2 circulos que serán para los ojos, un pequeño triángulo con bordes redondos que será para el pico, para las patas dibujaremos un pequeño corazón y para las plumas del pecho dibujaremos 4 circulos a la mitad como se ve en la imagen.
Once the cardboard cylinder is measured, cut and lined, we are going to draw two obalos for the wings on the rest of the sheet. With the lid of a soda we will draw 2 circles that will be for the eyes, a small triangle with round edges that will be for the beak, for the legs we will draw a small heart and for the feathers of the chest we will draw 4 circles in the middle as seen in the picture.
Paso 3: | Step 3:
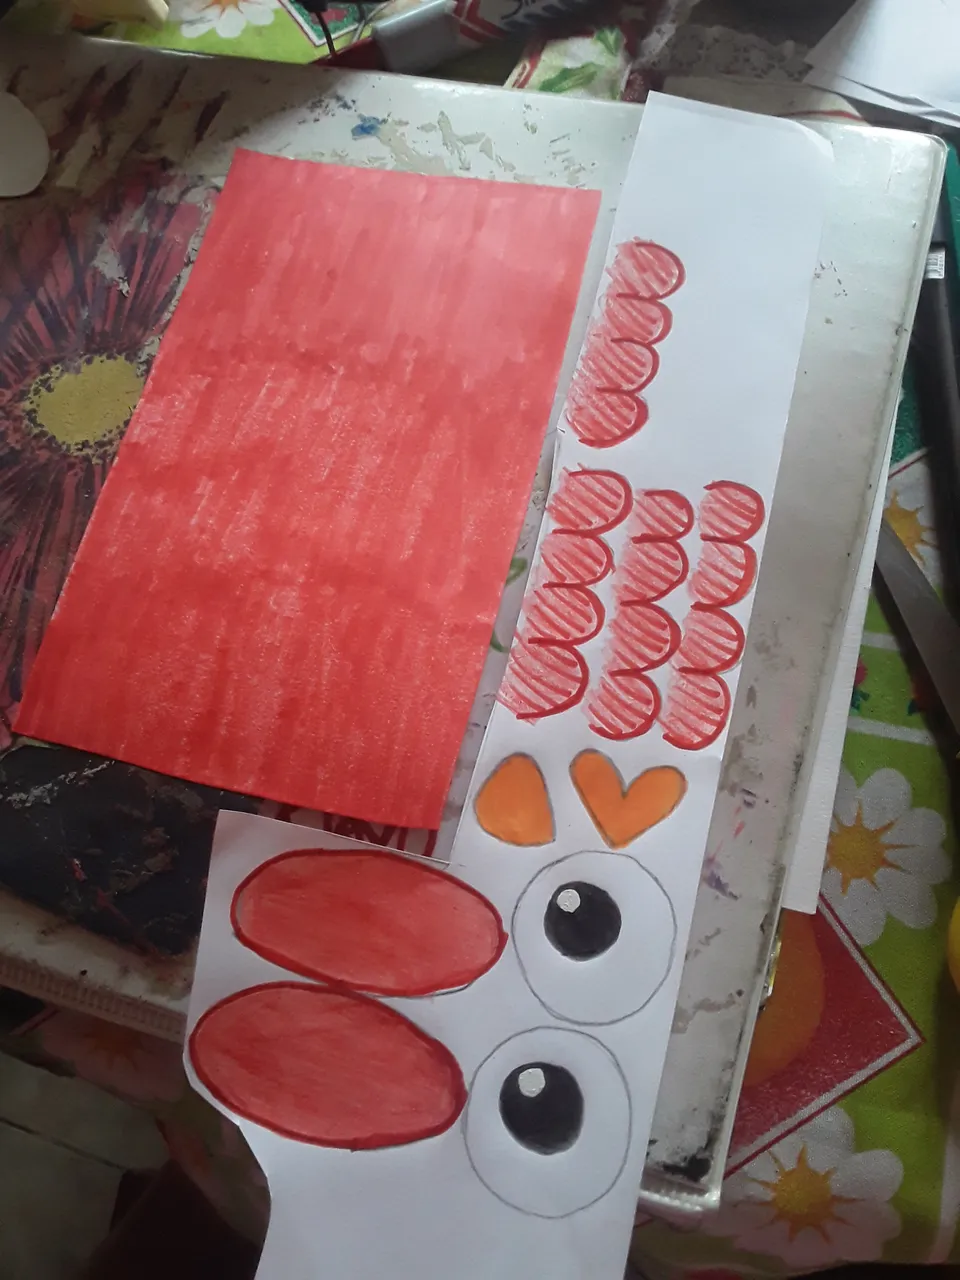
Una vez tengamos todo dibujado lo pintamos del color que más gusten para el color de su búho, con color negro vamos a dibujar un pequeño circulo y otro un poco mas grande, dejando espacio en blanco. Con el mismo color vamos a rellenar el espacio entre el circulo pequeño y el que dibujamos más grande como está en la imagen.
Once we have everything drawn we painted the color that you like the most for the color of your owl, with black color we are going to draw a small circle and another a little bigger, leaving blank space. With the same color we are going to fill the space between the small circle and the one we draw larger as it is in the image.
Paso 4: | Step: 4:
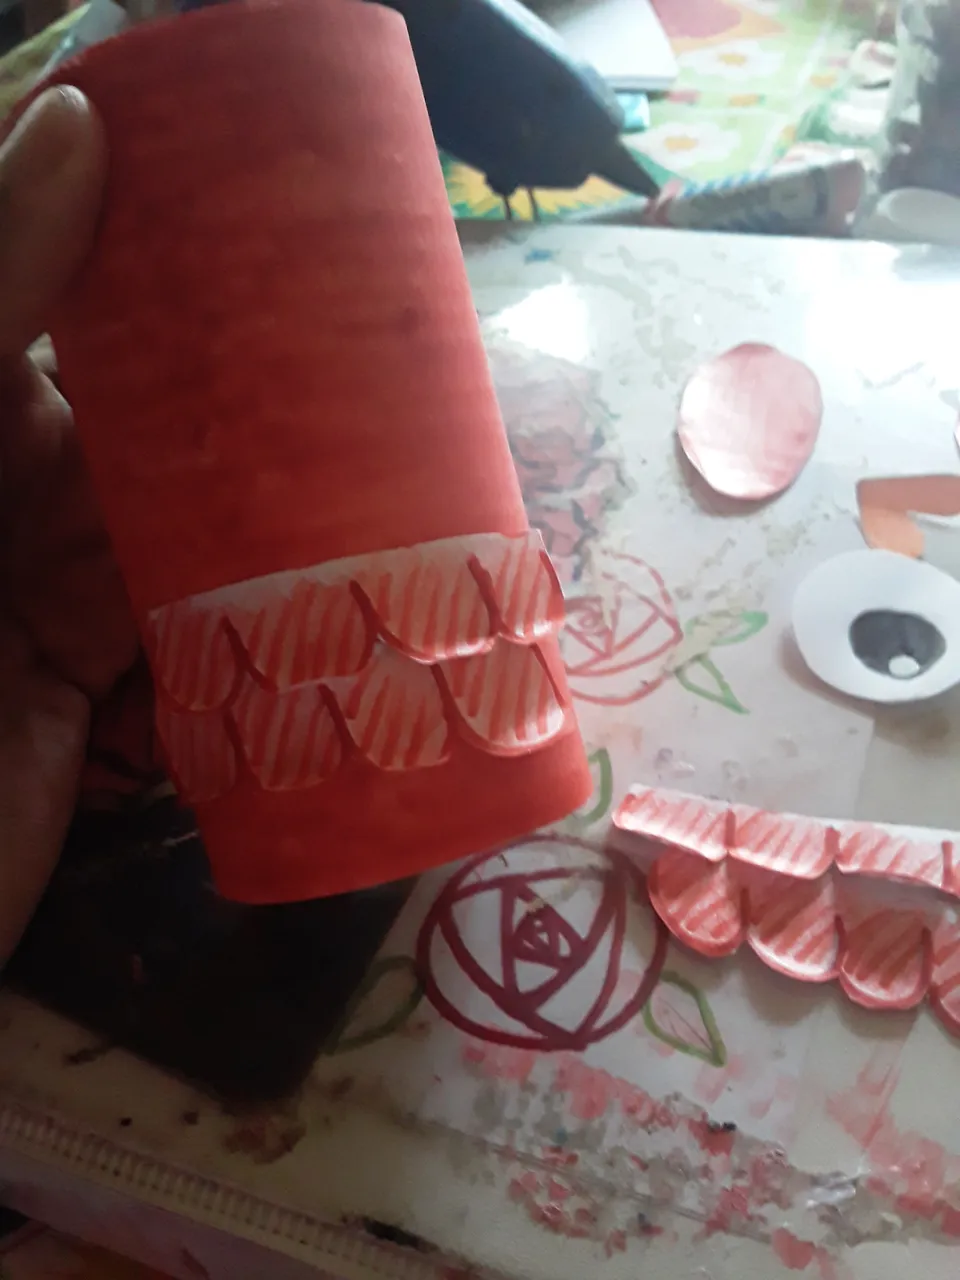
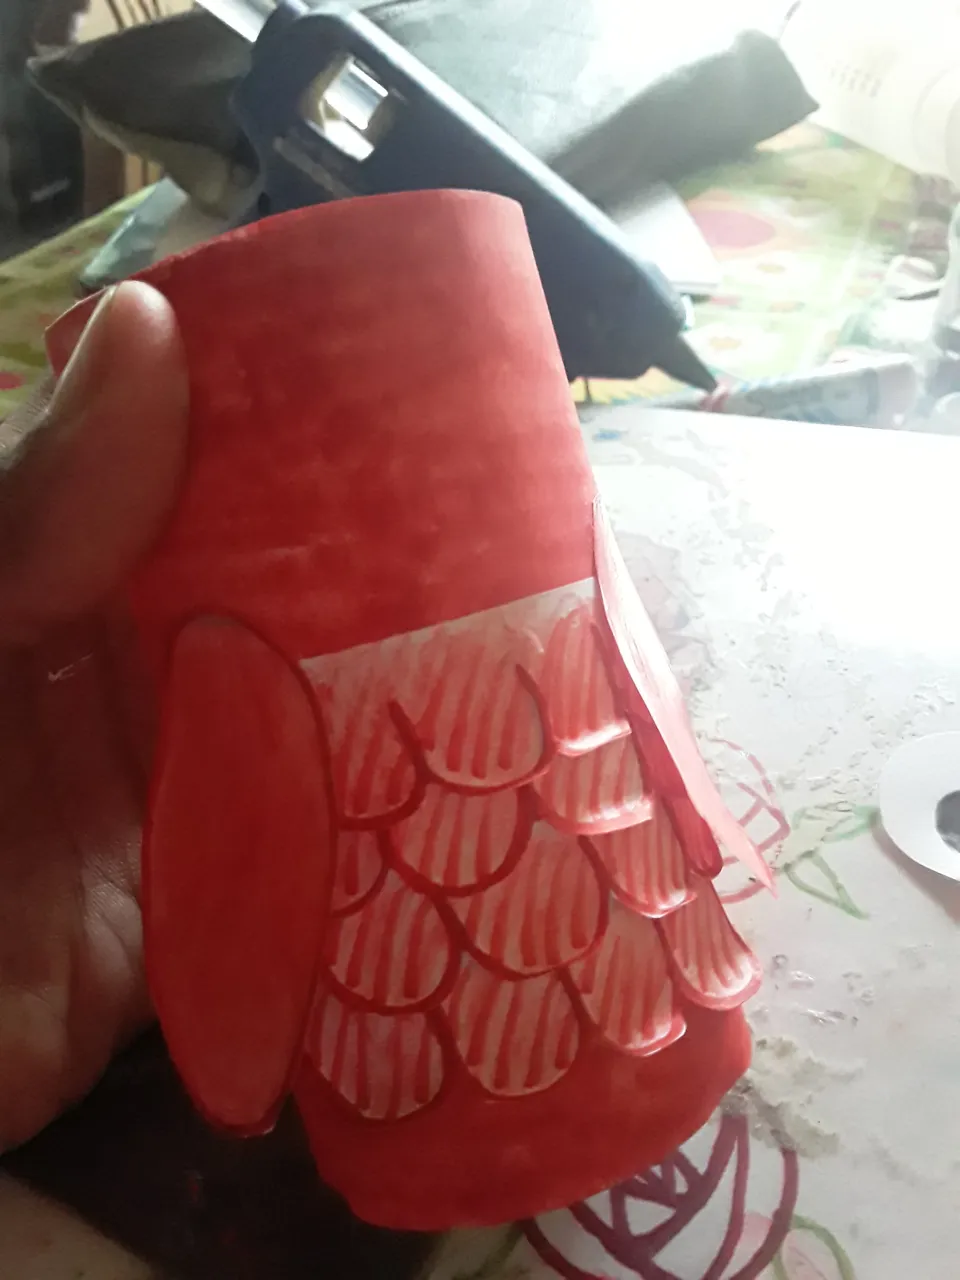
Una vez pintado todo, lo recortamos y vamos a forrar primero el cilindro de cartón, luego se pegaran las plumas de abajo hacia arriba.
Once, everything is painted, we cut it and we are going to cover the cardboard cylinder first, then the downs were stuck upwards.
Paso 5: | Step 5:
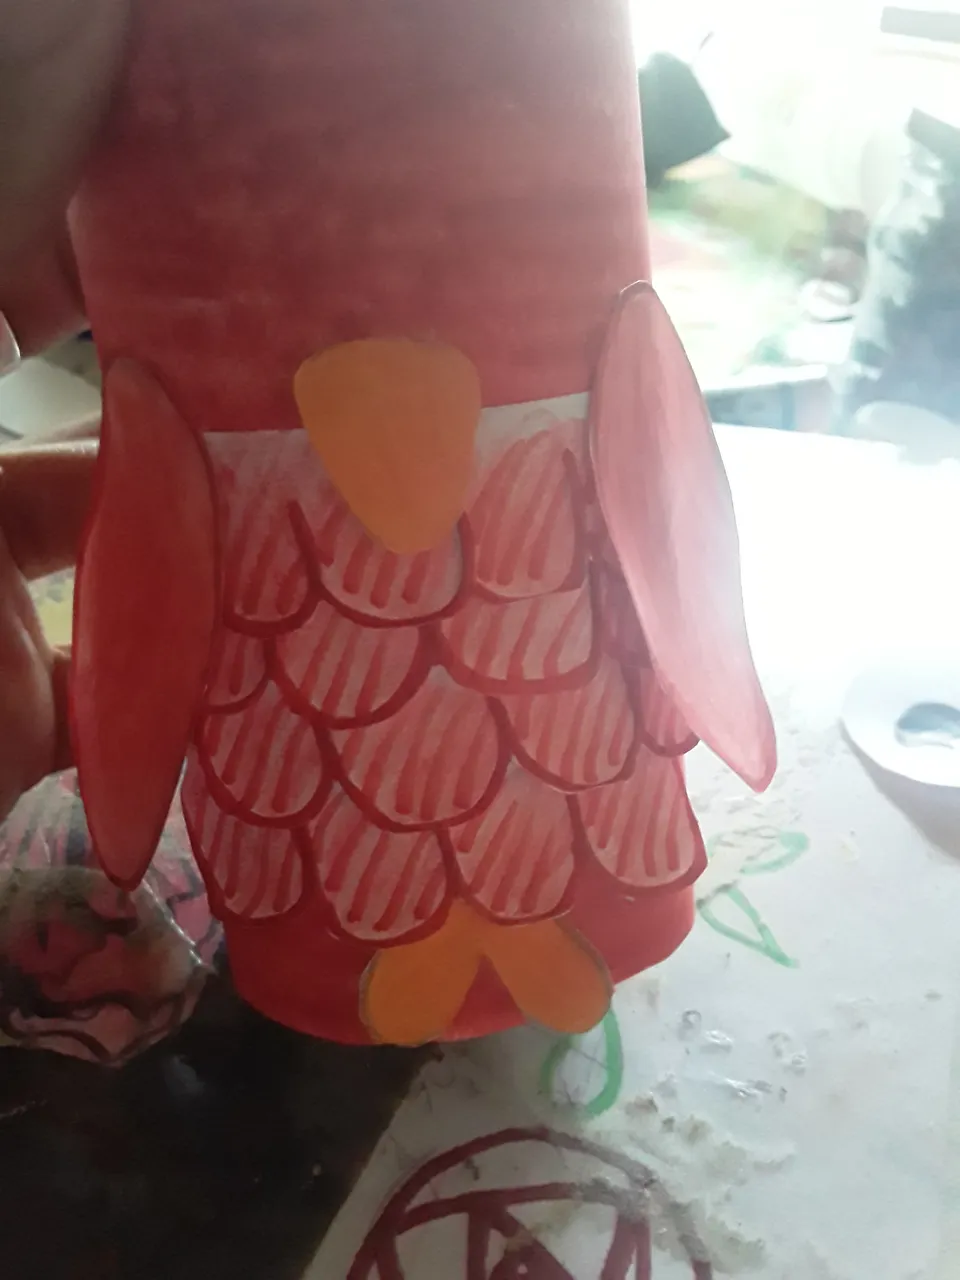
Después de pegar las plumas, vamos a pegar las alas de esta manera:
After paste the feathers, we will hit the wings in this way:
Paso 6: | Step 6:
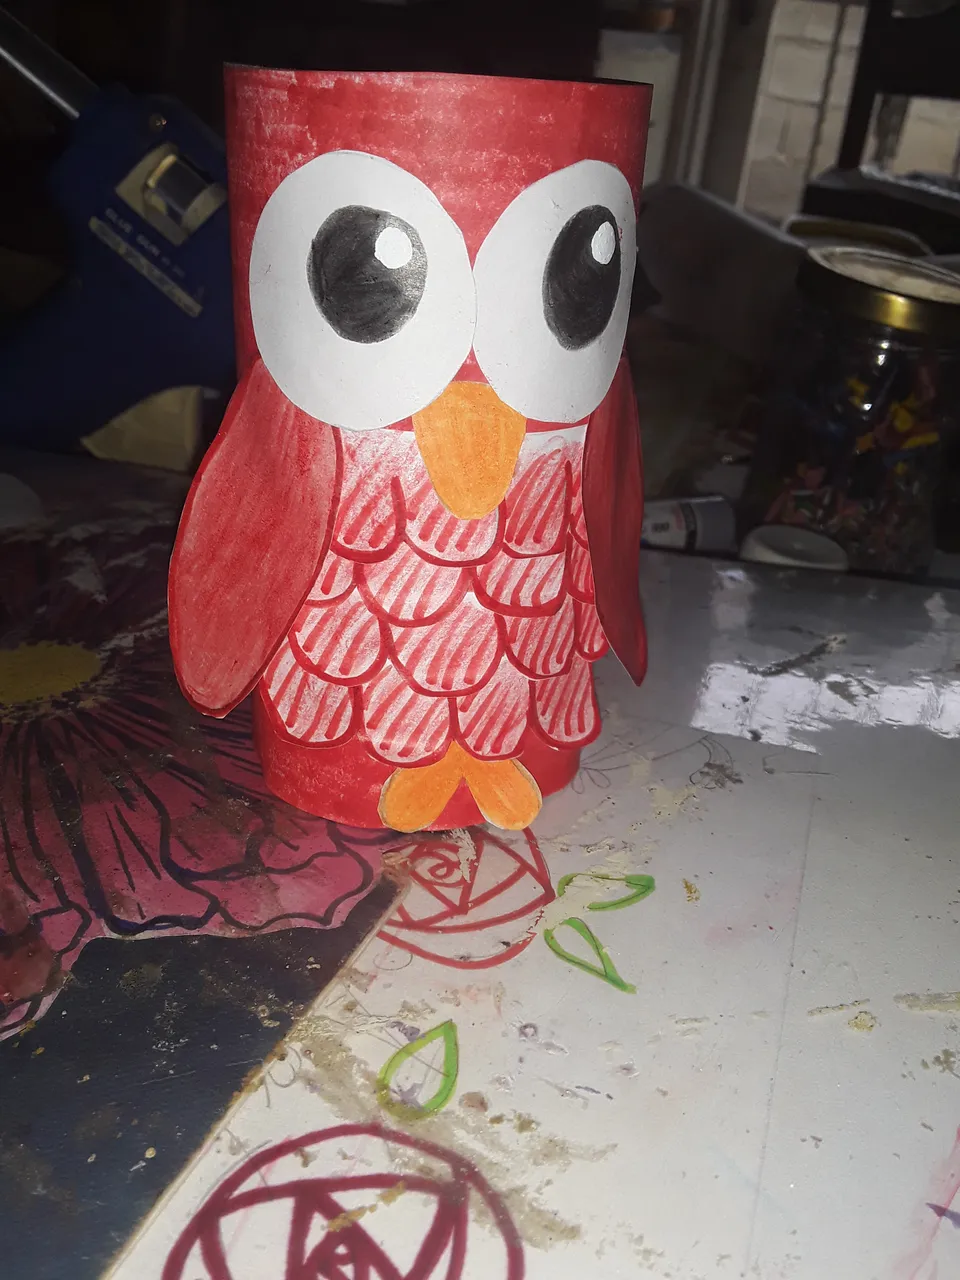
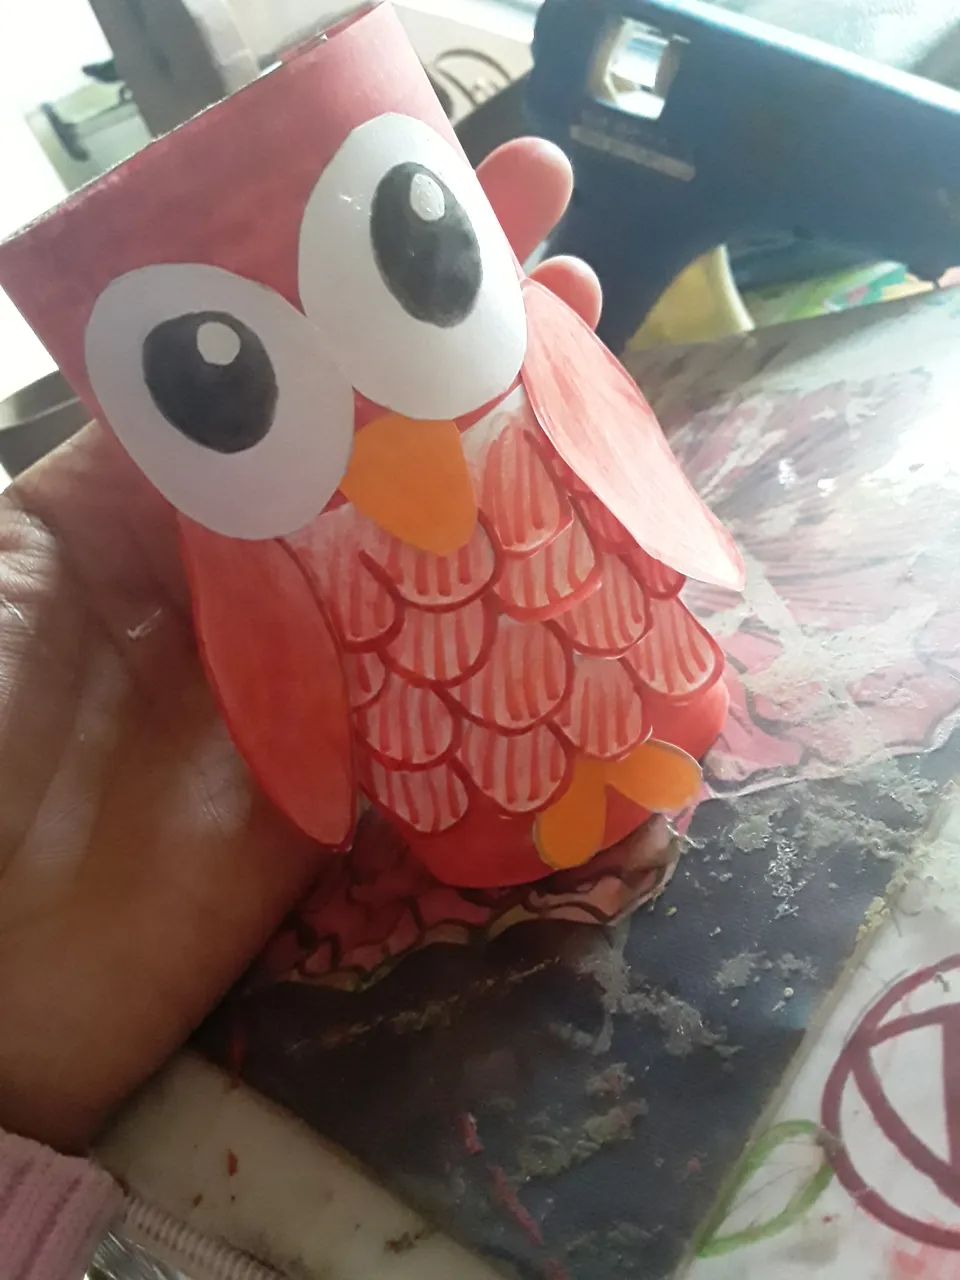
Luego pegamos las paticas y el pico de nuestro búho y por ultimo pegamos los ojos y listo amigos de esta manera terminamos nuestro pequeño búho. Así quedaría:
Then we glue the legs and the beak of our owl and finally we glue the eyes and ready friends in this way we finish our little owl. It would look like this:
Espero que les haya gustado este post de paso a paso de creación de un pequeño Búho. Ojalá les haya quedado igual o mejor al que hice, no olviden; "La creatividad no tiene límites, el límite se lo pones tú!". Hasta pronto y hasta un próximo post.
I hope you liked this step by step post of creating a little Owl. I hope they have been the same or better than the one I did, don't forget; "Creativity has no limits, the limit is up to you!". See you soon and until a next post.
Autor: @danart - Dan&Mary
Author: @danart - Dan&Mary
#craft #spanish #creativity #manualidad #palnet #qurator #neoxian