Hola amigos!! Espero les este yendo bonito!
Hello friends! I hope you are doing great!
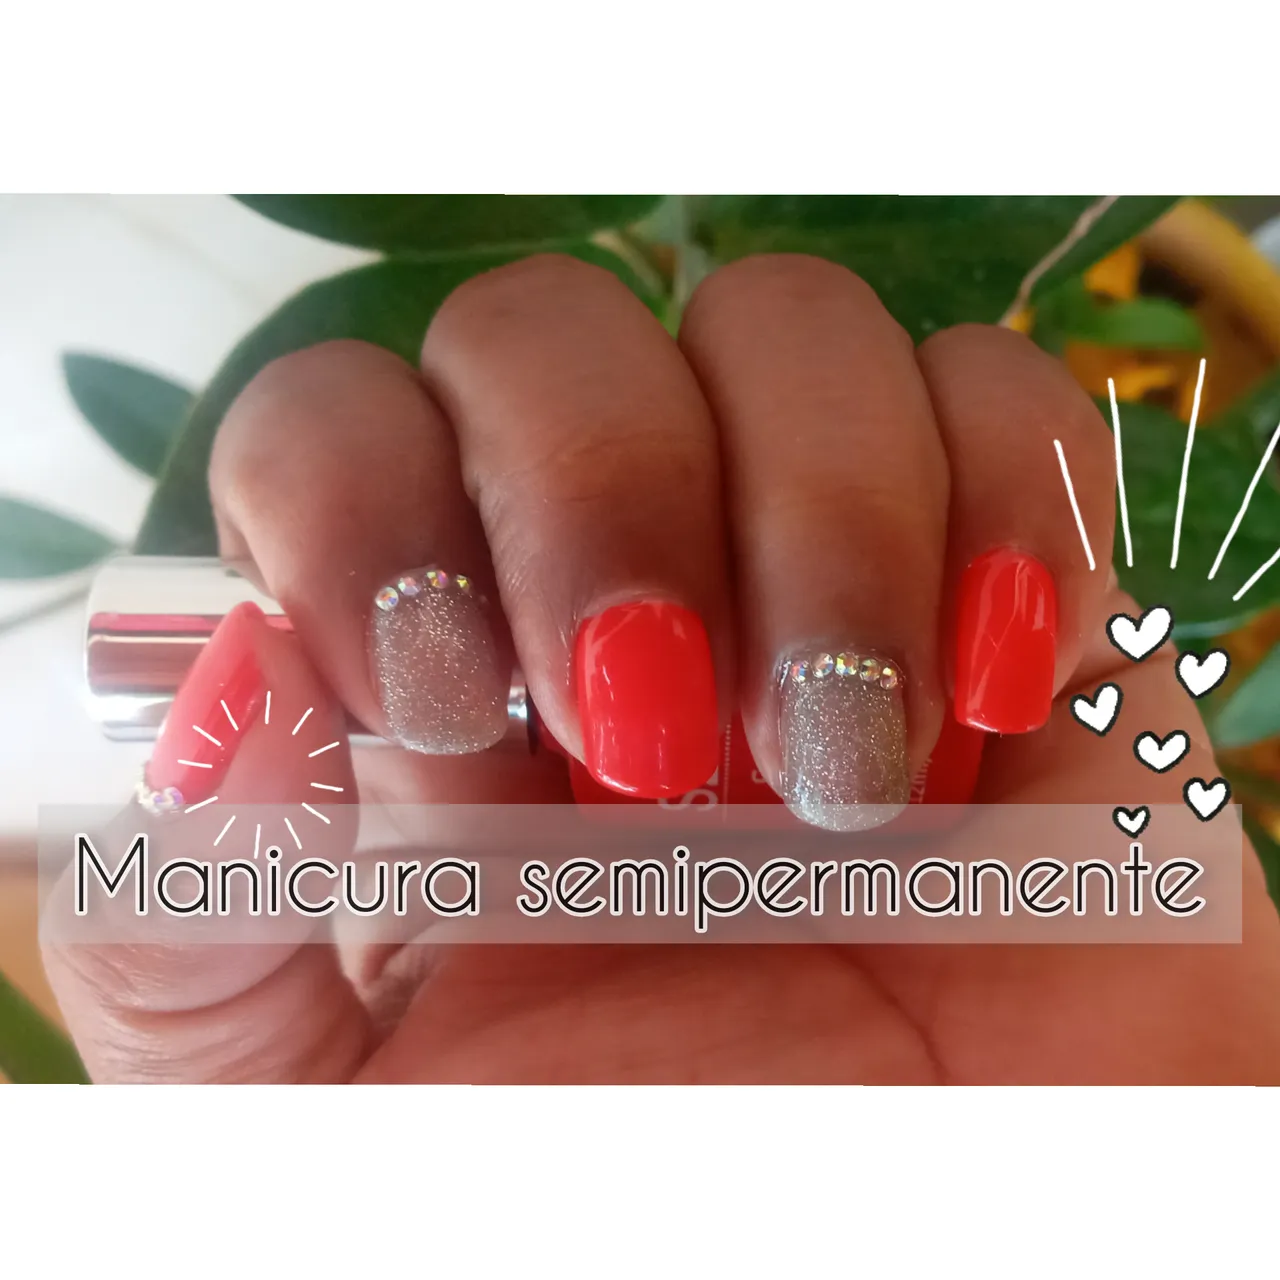
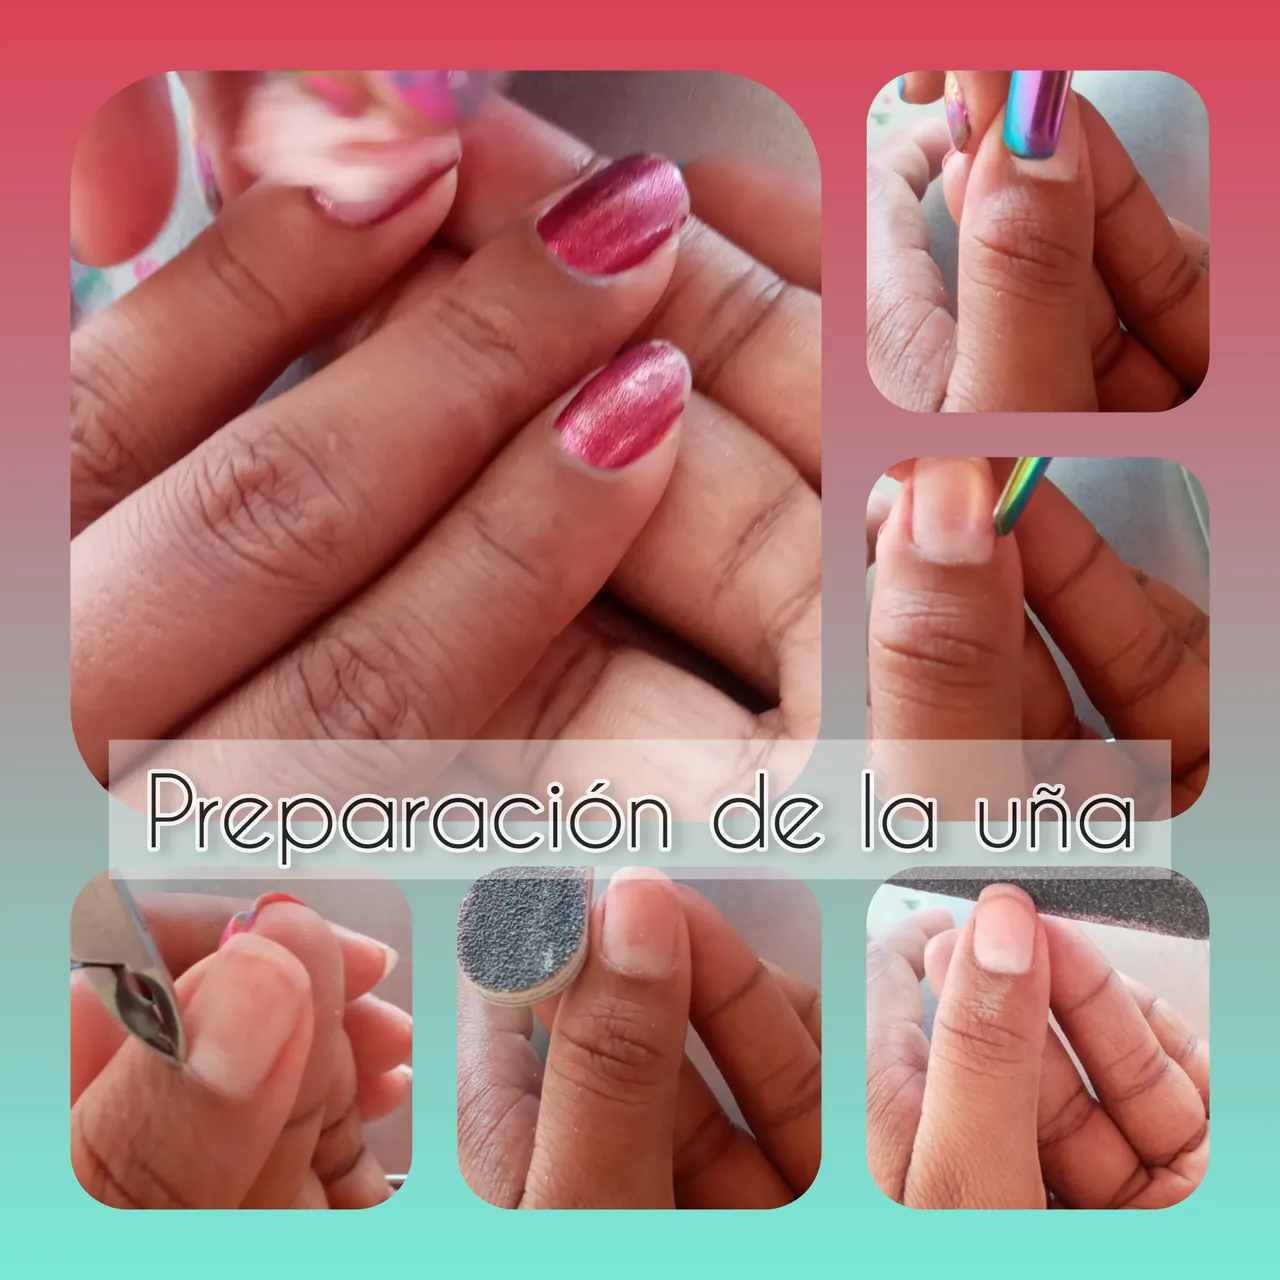
Hoy quiero compartir con ustedes un diseño sencillo pero elegante que realicé en uñas naturales con esmalte semi permanente. En las imágenes del collage verán desde la preparación de la uña hasta el acabado final. Es importante retirar todo el esmalte que tengan las uñas sin dejar residuos. Por eso empecé removiendo todo el esmalte anterior. Con la ayuda de un repujador luego empiezo a separar la cutícula de la uña así como sus laterales, de esta manera la cutícula quedará expuesta y será más sencillo y seguro retirarla. La tenaza nos ayuda a cortar la cutícula muerta que previamente el repujador despegó.
Para retirar los excesos de piel que se acumulan en los laterales de las uñas uso de la lima la parte más fina. Normalmente este procedimiento se realiza con la ayuda de un Dremel, pero la idea es que puedas realizarlo también con lo que normalmente tienes en casa en tu kit personal. La preparación de la uña culmina con un ligero limado para quitar los filos y, sobre la uña para quitar lo liso que podría provocar antiaderencia entre el esmalte y la uña. Destacó que está limpieza de la uña la realicé en saco -es decir- sin remojar las uñas.
Today I want to share with you a simple but elegant design that I did on natural nails with semi-permanent polish. In the images of the collage you will see from the preparation of the nail to the final finish. It is important to remove all the polish from the nails without leaving any residue. That's why I started by removing all the previous polish. With the help of an embosser I then start to separate the cuticle of the nail as well as its sides, this way the cuticle will be exposed and it will be easier and safer to remove it. The nippers help us to cut the dead cuticle that previously was detached by the cuticle remover.
To remove the excess skin that accumulates on the sides of the nails, the finest part of the file is used. Normally this procedure is done with the help of a Dremel, but the idea is that you can also do it with what you normally have at home in your personal kit. The preparation of the nail culminates with a light filing to remove the edges and, on the nail to remove the smoothness that could cause anti-adherence between the nail polish and the nail. I emphasized that this cleaning of the nail was done in a bag - that is to say - without soaking the nails.
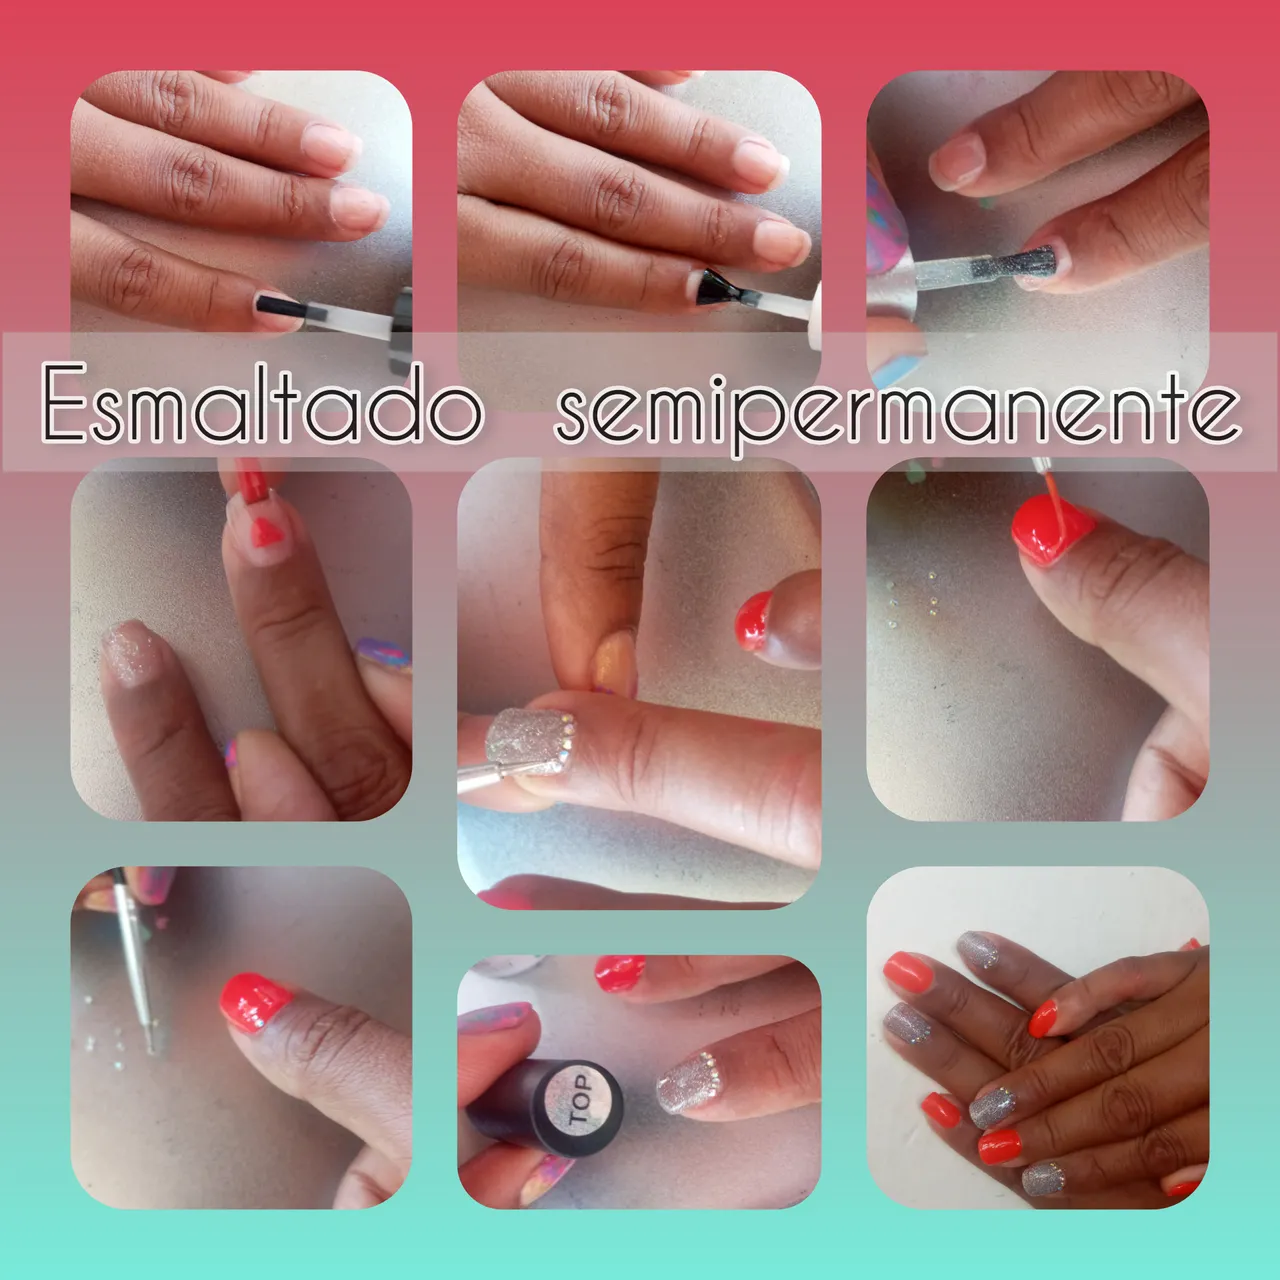
Para iniciar con el esmalte, primero aplicamos el Primer o secante. Dejamos que la uña absorba el secante y pasamos aplicar la base coat. Después de estos dos pasos- Primer y base- aplicamos los esmalte de color y preferencias. En esta ocasión use un rojo Escarlata y un escuchado plata. De ambos colores aplique dos capas y coloque cristal de swarovski en un tono tornasol. Y finalice con el top coat efecto brilló ,pueden probar con un top coat mate que también dejará una apariencia elegante. Esto a sido todo por hoy espero les guste.
To start with the polish, first apply the Primer or blotting agent. Let the nail absorb the blotting agent and then apply the base coat. After these two steps - primer and base coat - we apply the colored polishes and preferences. This time I used a scarlet red and a silver. I applied two coats of both colors and placed swarovski crystals in a litmus tone. And finish with the top coat glitter effect, you can try a matte top coat that will also leave an elegant look. That's all for today, I hope you like it.
Todas las imágenes son de mi propiedad y fueron editadas por mi.
All images are my property and were edited by me.