Siempre son bienvenidos a mi blog/You are always welcome to my blog
Un saludo cordial a todos los que conforman esta comunidad. Si están almorzando les deseo un buen provecho y que Dios los bendiga siempre. Hoy quiero mostrarles como realice una hermosa decoración de pared ideal para decorar nuestro hogar a continuación, les enseño como lo hice
A cordial greeting to all who make up this community. If you are having lunch I wish you a good meal and may God bless you always. Today I want to show you how I made a beautiful wall decoration ideal for decorating our home then I show you how I did it.
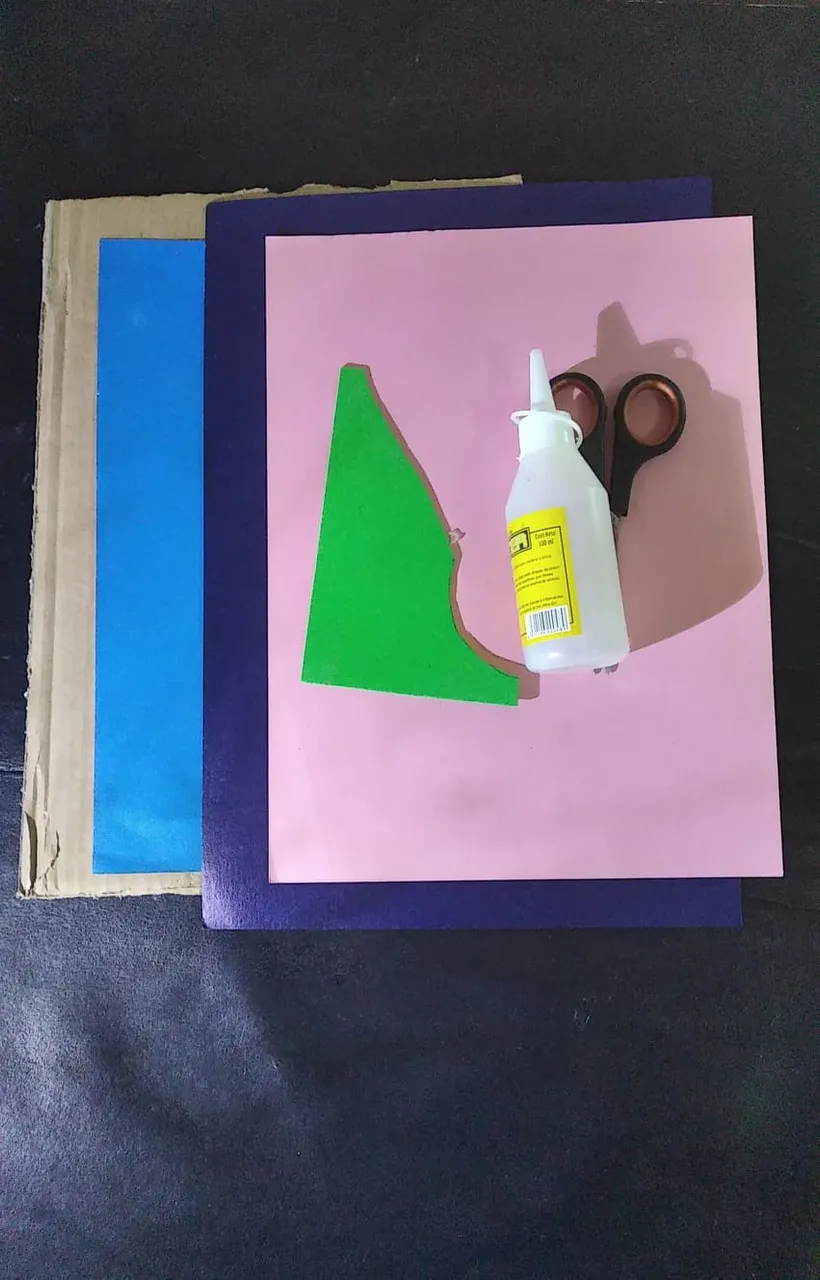
MATERIALES
- Block de construcción rosado
- Cartulina azul oscuro
- Cartulina azul claro
- Silicón liquido
- Foami verde
- Cartón
- Tijera
MATERIALS
- Pink construction block
- Dark blue construction paper
- Light blue cardboard
- Liquid silicone
- Green Foami
- Cardboard
- Scissors
PASO 1 /STEP 1
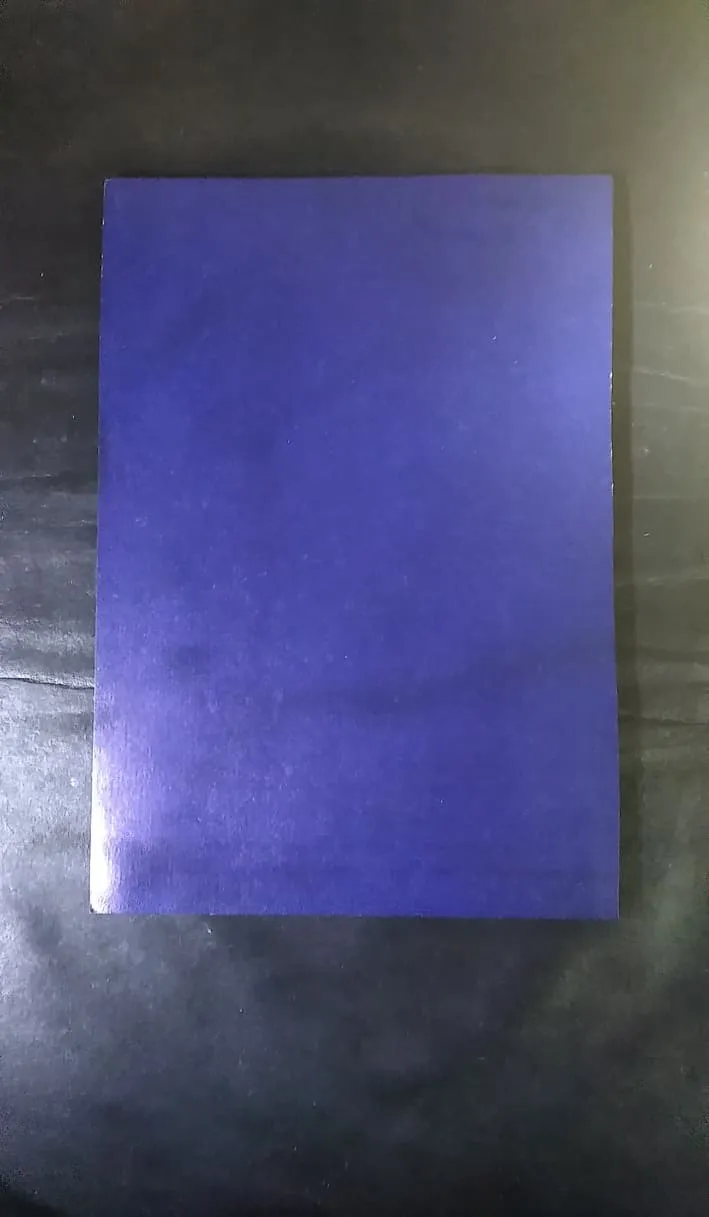
Lo primero que hice fue pegar la cartulina de color azul oscuro sobre el cartón
The first thing I did was to glue the dark blue cardboard onto the cardboard.
PASO 2 /STEP 2
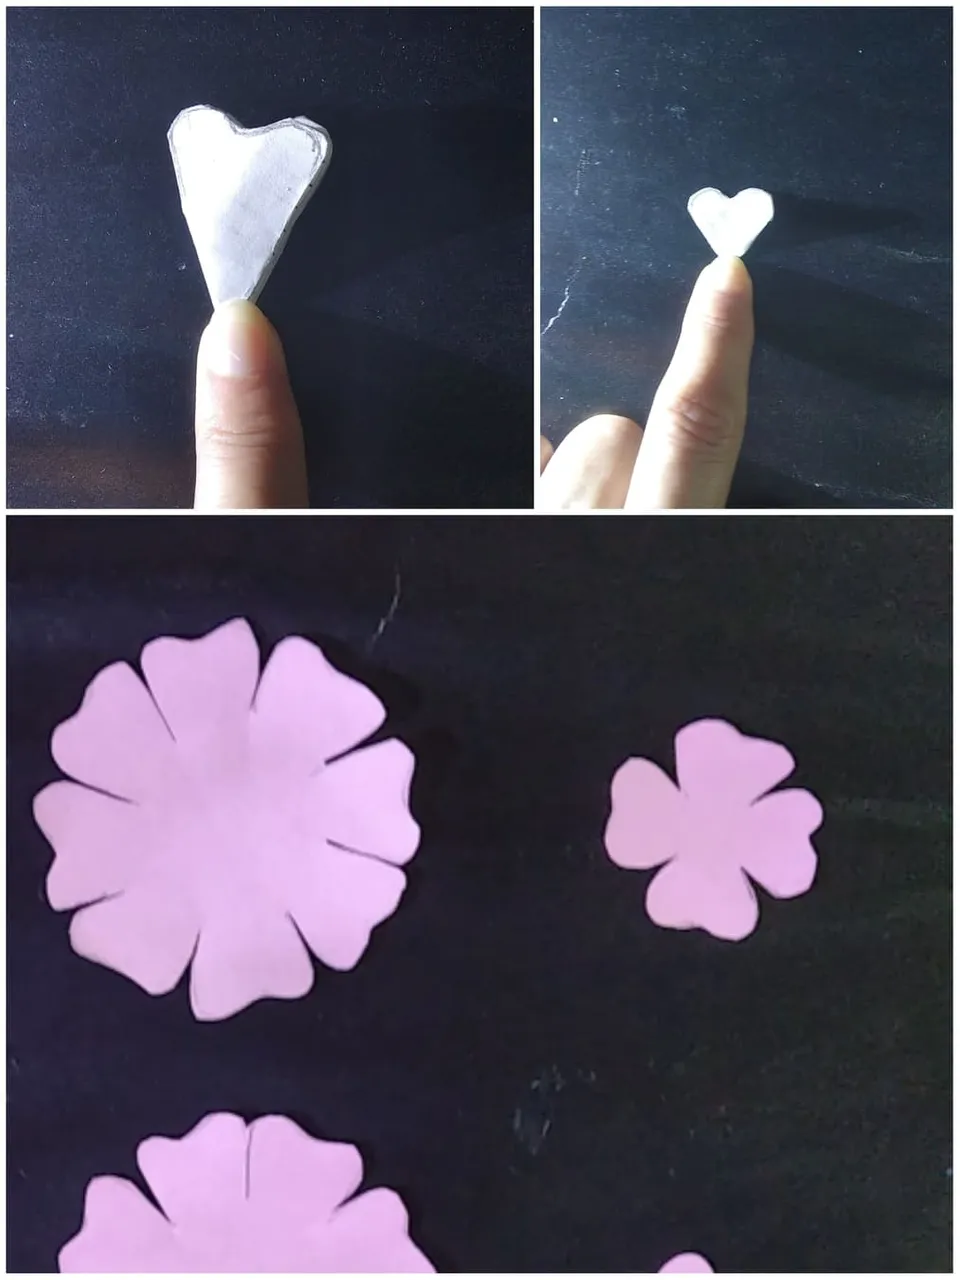
El siguiente paso es recortar un circulo mediano y doblar en tres partes, luego recortar la parte de arriba como se observa en la foto. Para realizar la flor más pequeña se realiza casi el mismo procedimiento la diferencia es el tamaño y que se debe doblar dos veces solamente.Una vez que tenemos el molde dibujamos la flor en la cartulina rosada y en el foami de color morado
The next step is to cut out a medium sized circle and fold it in three parts, then cut out the top part as shown in the photo. To make the smaller flower, we do almost the same procedure, the difference is the size and that it must be folded twice only. Once we have the mold, we draw the flower on the pink cardboard and on the purple foami.

PASO 3 /STEP 3
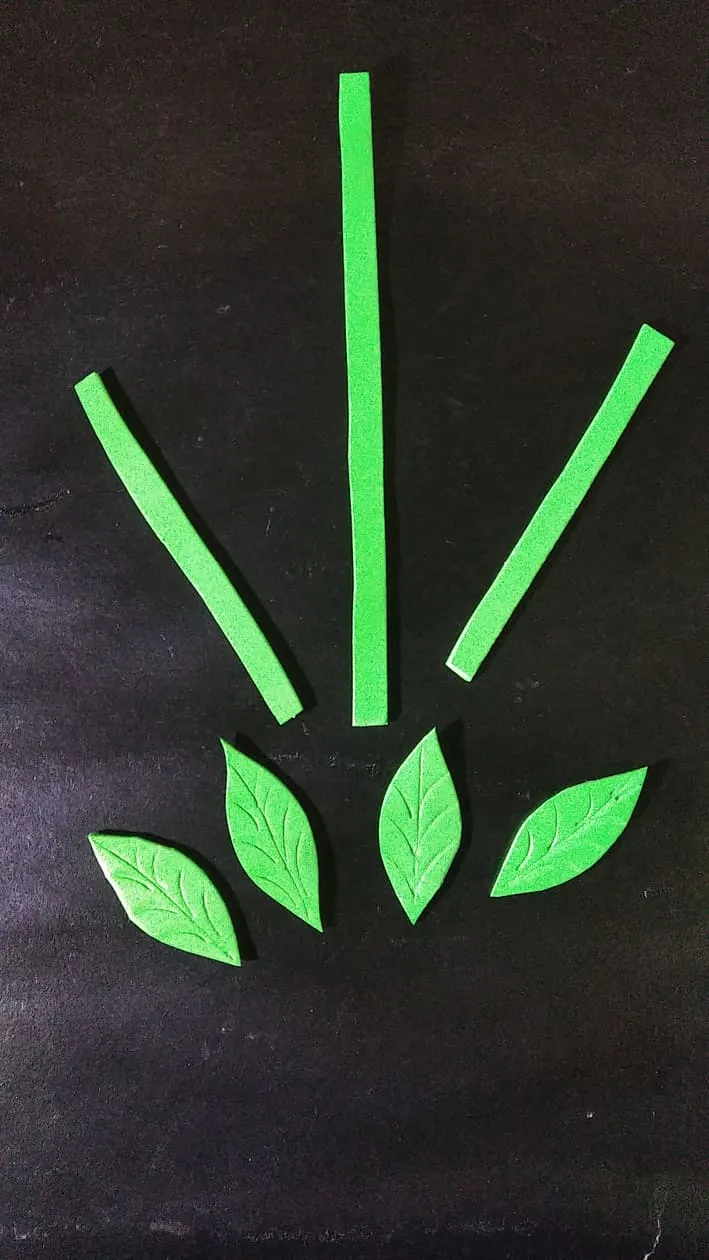
Se recortan tres tallos y cuatro hojas en el foami verde y de reserva
Three stems and four leaves are cut out of the green and spare foami.
PASO 4 /STEP 4
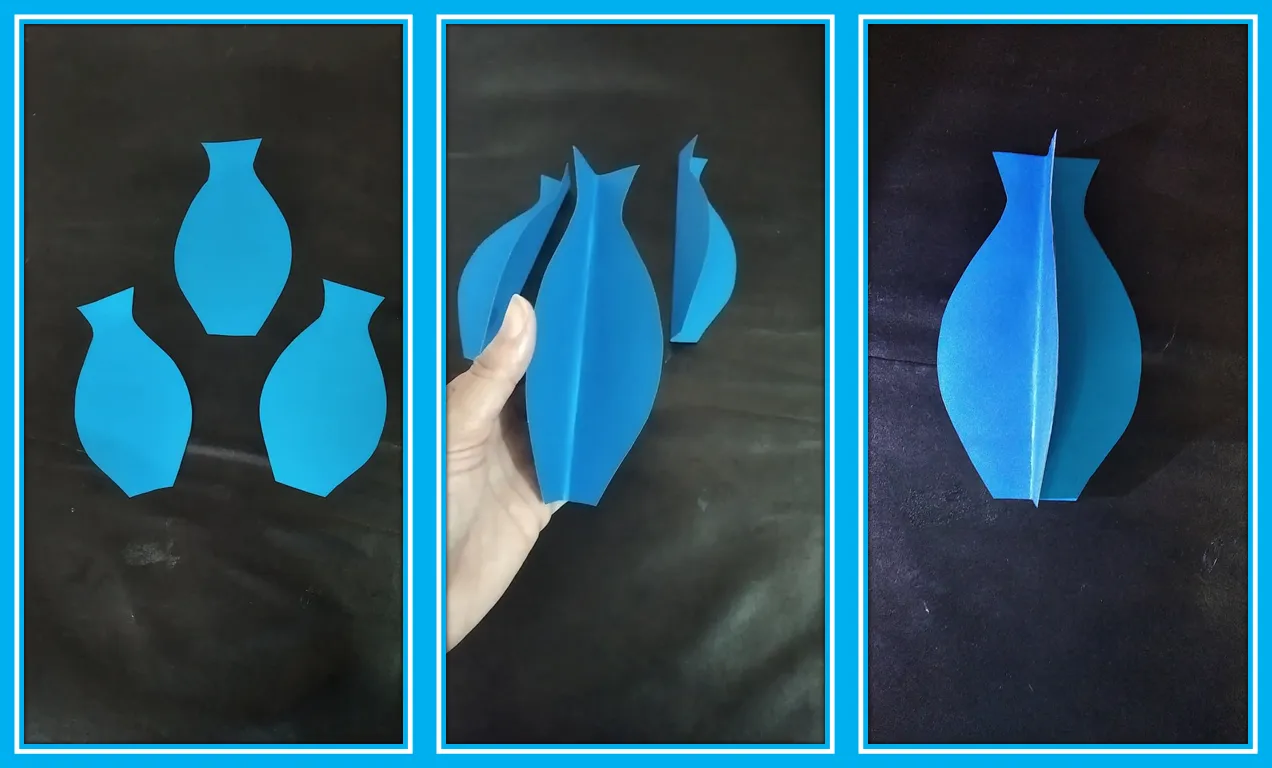
En este paso dibuje y recorte sobre la cartulina azul claro tres jarrones que luego doble a la mitad y pegue con silicón uno al lado del otro
In this step, draw and cut out three vases on the light blue cardboard, fold them in half and glue them side by side with silicone.
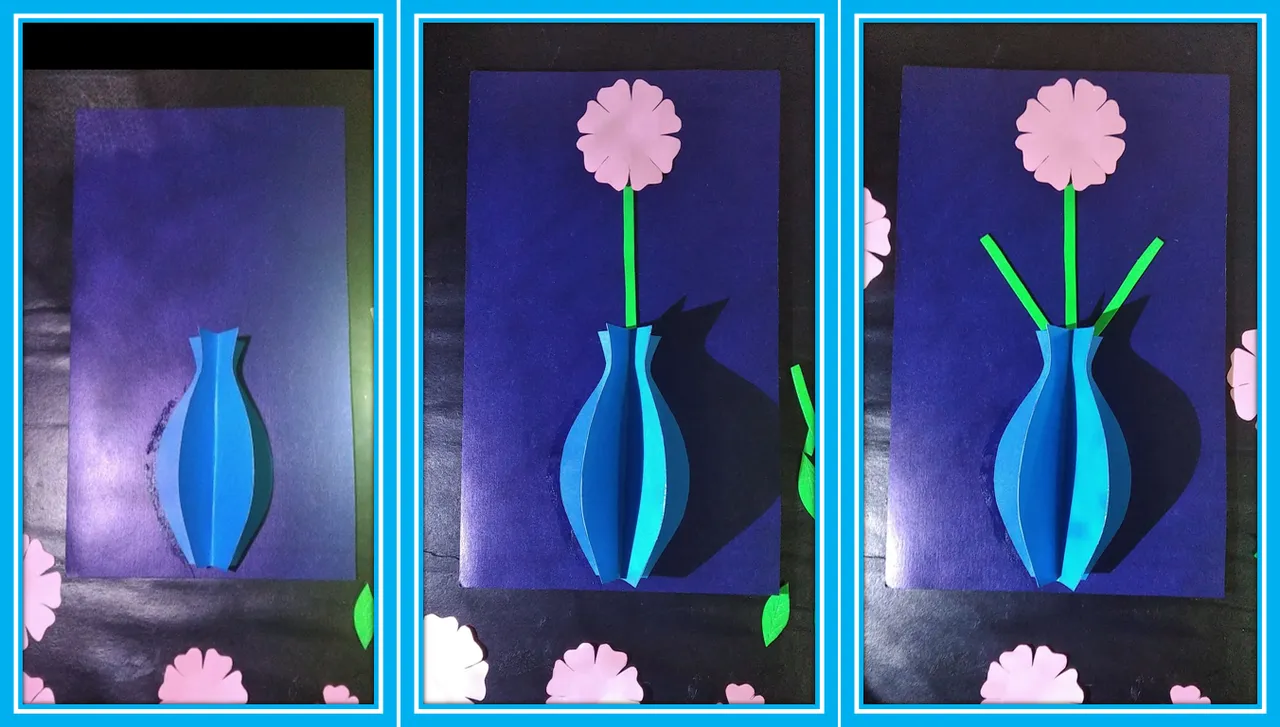
PASO 5/STEP 5
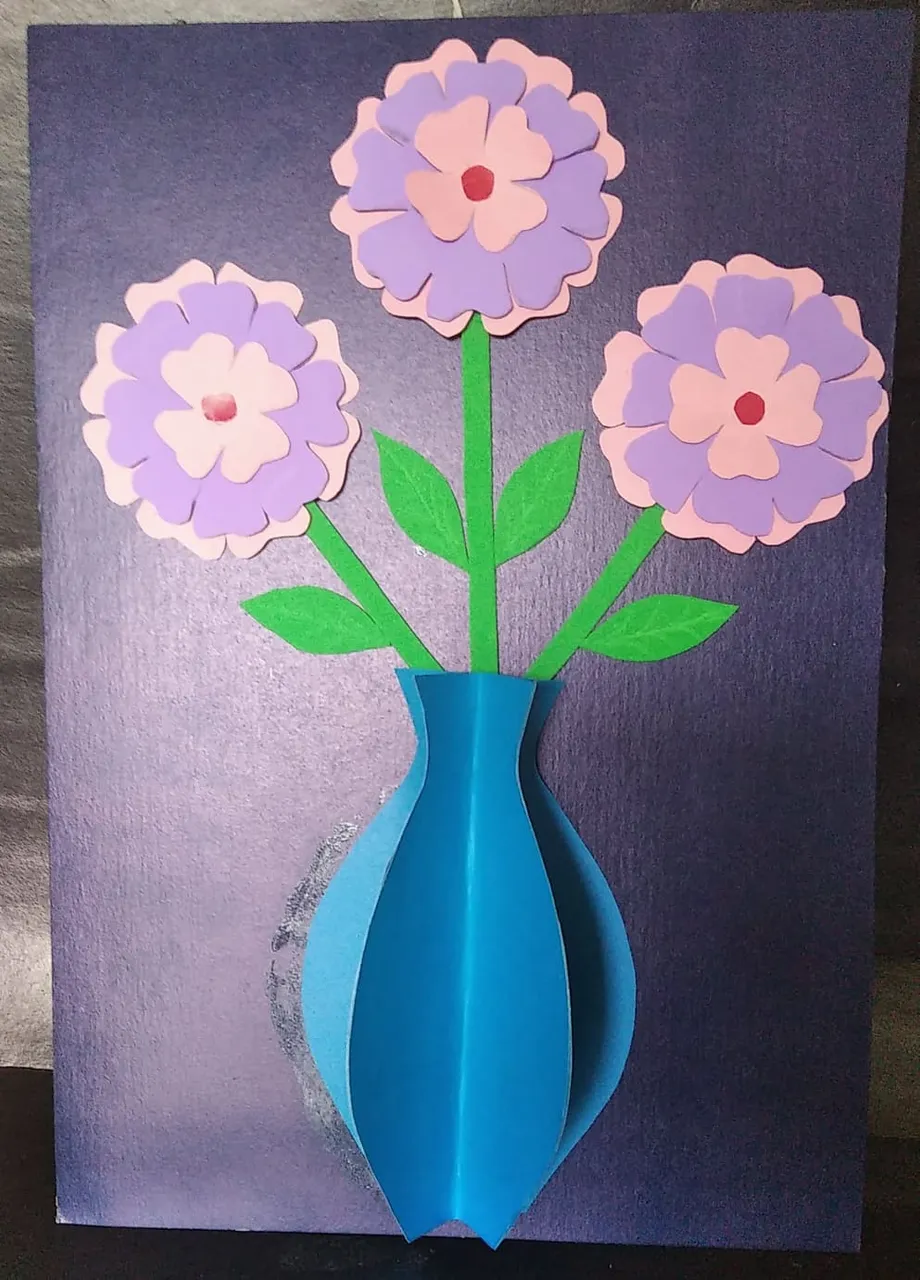
Ya tenemos todo para comenzar a armar el cuadro, primero se pega el jarrón en el centro del cartón, pero en la parte baja. Luego se pega un tallo en el centro del jarrón y arriba se coloca la flor luego a los lados se pagan las dos flores restantes
Now we have everything to start assembling the picture, first we glue the vase in the center of the cardboard, but in the lower part. Then glue a stem in the center of the vase and place the flower on top, then the two remaining flowers on the sides of the vase.
PASO 6/STEP 6
Se pega sobre la flor rosada la flor de color morado y sobre la flor morada se pega la flor más pequeña luego se pegan las hojas a los tallos
Se pega sobre la flor rosada la flor de color morado y sobre la flor morada se pega la flor más pequeña luego se pegan las hojas a los tallos

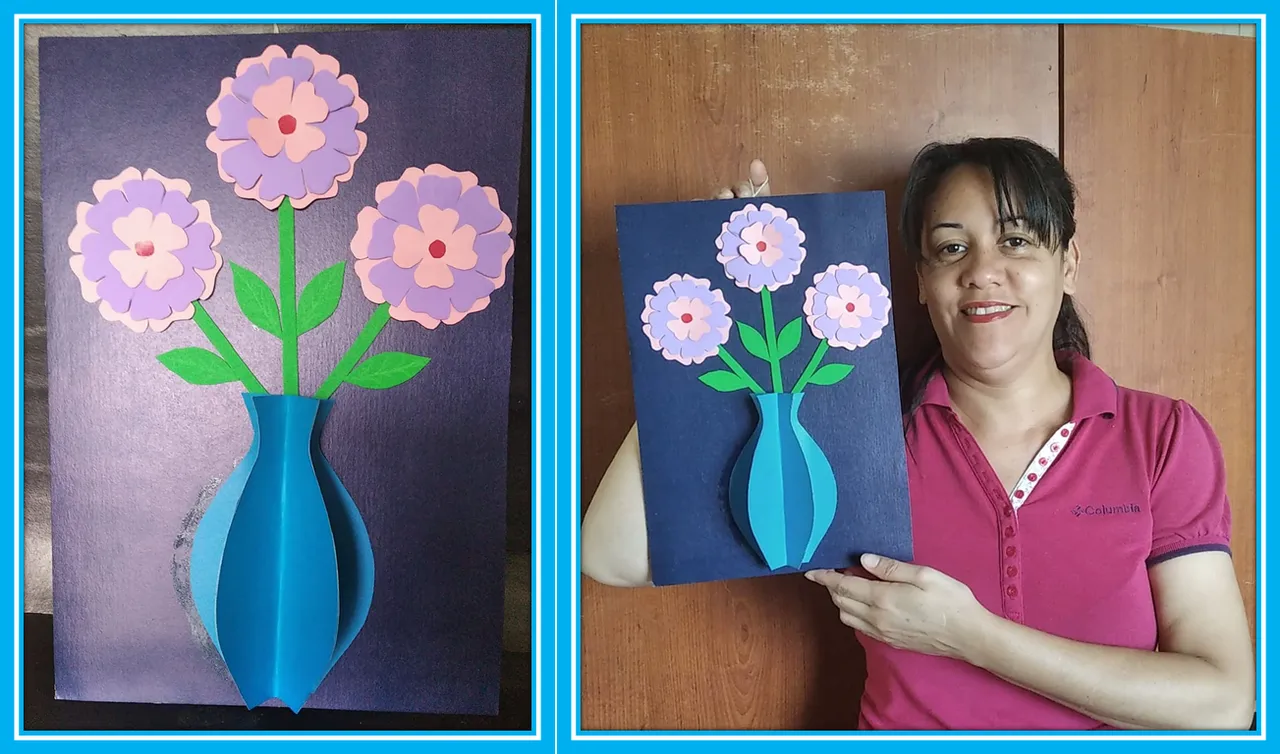
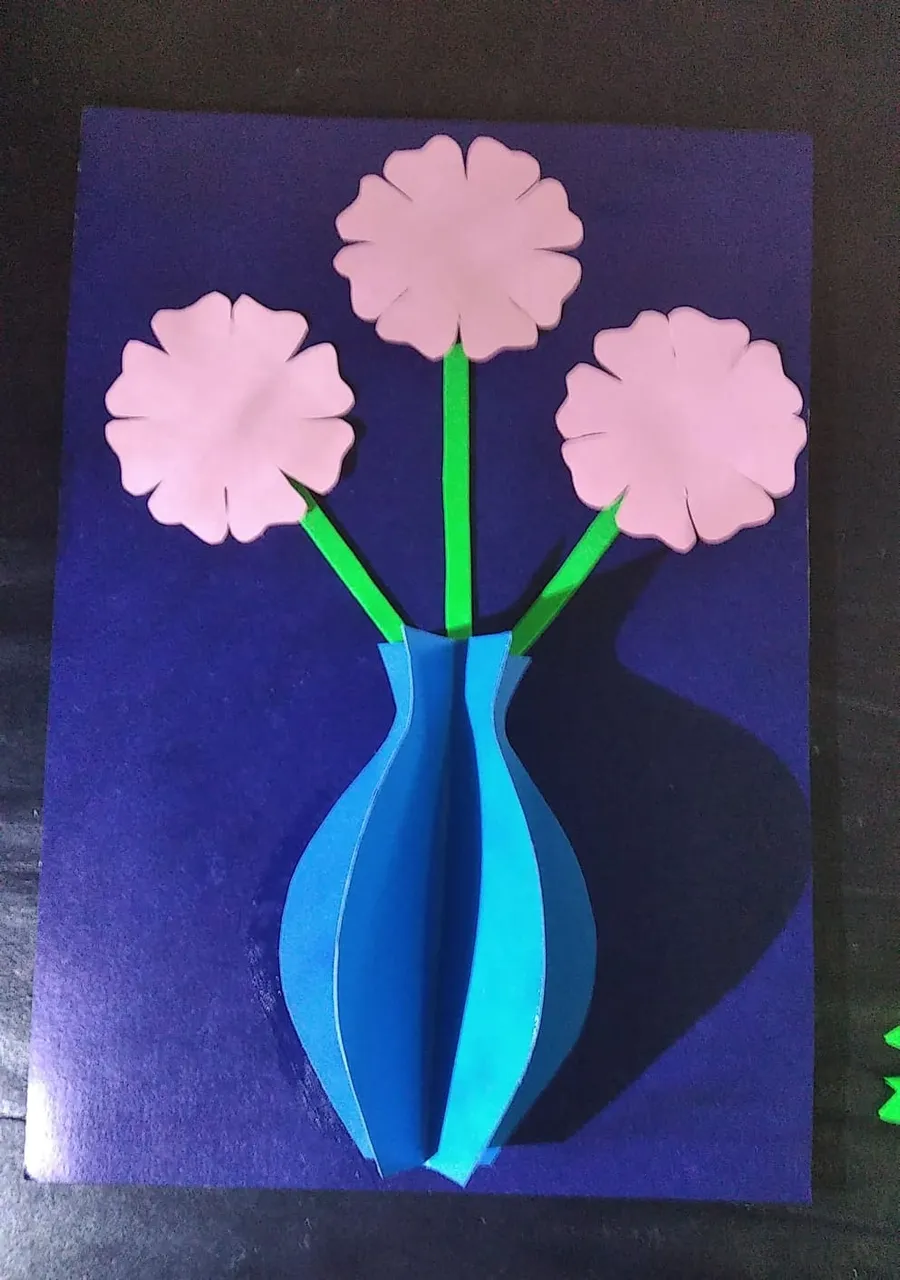
RESULTADO FINAL DE L PROYECTO/FINAL RESULT OF THE PROJECT

Las fotos son de mi autoría y fueron tomadas con mi celular Redmi7/The photos are of my authorship and were taken with my Redmi7 cell phone