¡Buenas tardes amigos!. ¡Espero estén todos muy bien! Hoy vengo a traerles unas imágenes, video e información útil para cosechar nuestras frutillas orgánicas de la mejor manera.
Lo primero que debemos hacer es conseguir la plantita o plantín de frutilla o sino las semillas para germinar y luego plantar. La tierra que les gusta es una tierra rica en nutrientes que ayuden a la planta a que crezcan flores, éstas flores serán los frutos unas semanas más tarde. Podrán ver en un post anterior lo que les estoy contando.
Asique yo preparo la tierra así: 1/4 parte de borra de café filtrado, una parte de aserrín, una parte de compost, 1/4 parte de humus de lombriz, 1/2 parte de arena y 3 partes de turba negra de bañado, mezclo todo eso y lo distribuyo en las macetas. Además voy armando rejuvelac, un preparado a base del agua de lentejas, porotos o garbanzos.
Cuando estamos por comer alguna de estas legumbres generalmente se dejan toda la noche hidratándose para al otro día hervir y que no estén tanto tiempo para ablandarse. Pues esa agua que se le coloca (sin sal, ni ningún agregado, salvo suero de leche que ayuda a la digestión, si tienen en sus casas), al otro día, antes de hervir las legumbres se cuela el agua y se envasa. Eso es el rejuvelac que se lo diluye y se coloca a las plantas para que crezcan sanas y fuertes, aporta hierro, entre otras cosas.
Good afternoon friends!. I hope you are all very well! Today I come to bring you some images, video and useful information to harvest our organic strawberries in the best way.
The first thing we must do is get the strawberry plant or seedling or else the seeds to germinate and then plant. The soil they like is soil rich in nutrients that help the plant to grow flowers, these flowers will be the fruits a few weeks later. You can see in a previous post what I'm telling you.
So I prepare the soil like this: 1/4 part of filtered coffee grounds, one part of sawdust, one part of compost, 1/4 part of worm castings, 1/2 part of sand and 3 parts of black peat moss. , I mix all that and distribute it in the pots. I am also making rejuvelac, a water-based preparation of lentils, beans or chickpeas.
When we are about to eat any of these legumes, they are generally left overnight to hydrate so that the next day they boil and they are not so long to soften. Well, that water that is placed in it (without salt, or any addition, except whey that helps digestion, if they have it in their homes), the next day, before boiling the legumes, the water is strained and packaged. That is the rejuvelac that is diluted and placed on the plants so that they grow healthy and strong, it provides iron, among other things.
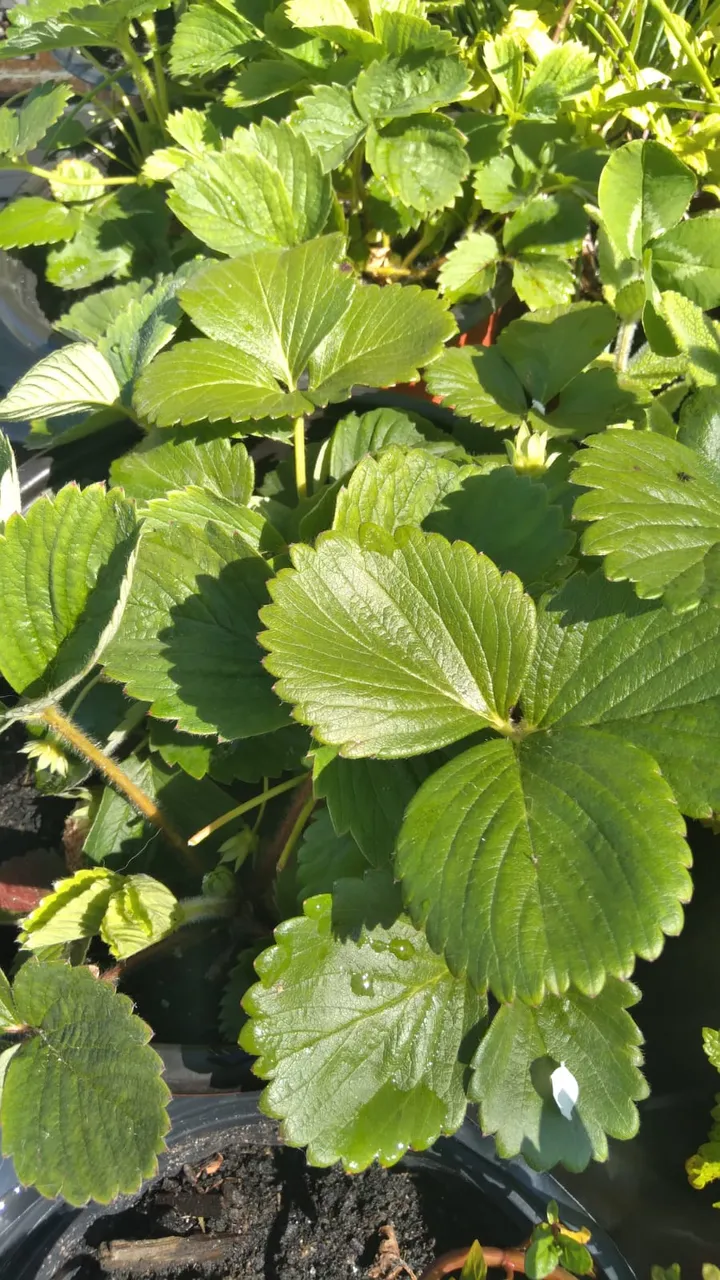
Se pueden colocar entre 2 y 3 plantas por maceta, dependiendo del tamaño de la misma. Su reproducción es por estolón, es decir, le sale un brazo y en la punta crece una plantita nueva, y va a ir en busca de tierra para echar raíces, nosotros debemos ayudarla si tiene algún inconveniente para realizarlo ya que a veces no llega a la tierra y corre el riesgo de secarse. Por eso debemos estar atentos y no perder de vista a esos hijitos porque son plantas nuevas que nos está regalando.
Una vez que tenemos nuestros plantines en las macetas, debemos regarlos diariamente en primavera/verano, hasta se recomienda regar dos veces al día por el extremo calor, y porque las frutillas tienen un gran porcentaje de agua en su composición; para esto debemos tener macetas bien drenadas para que no se formen charcos y por ende hongos. Además debemos colocar un mulch o capa de nylon con agujeros si son cultivos a gran escala, esto es para que los frutos no estén en contacto con la tierra y se empiecen a poner feos porque se humedecen demasiado. Para evitar esto en las macetas colocaremos los frutos que veamos arriba de alguna otra hoja o en el borde de la maceta para evitar el contacto con la tierra húmeda.
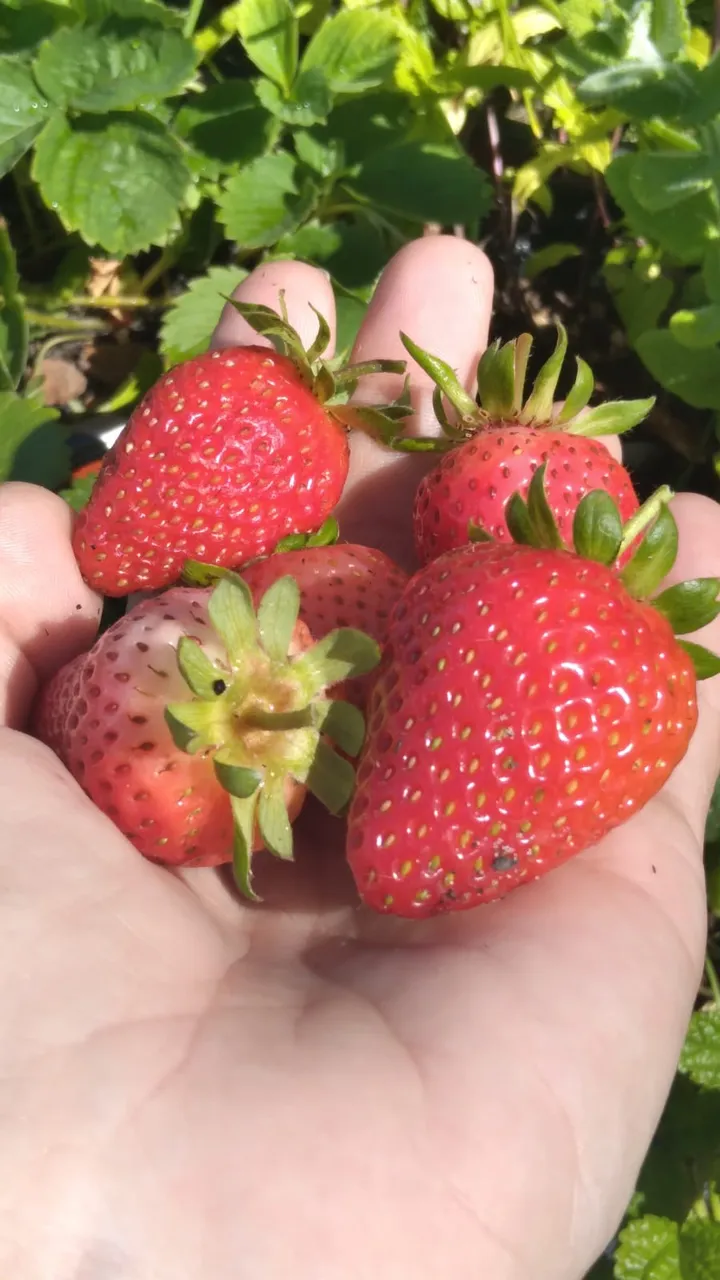
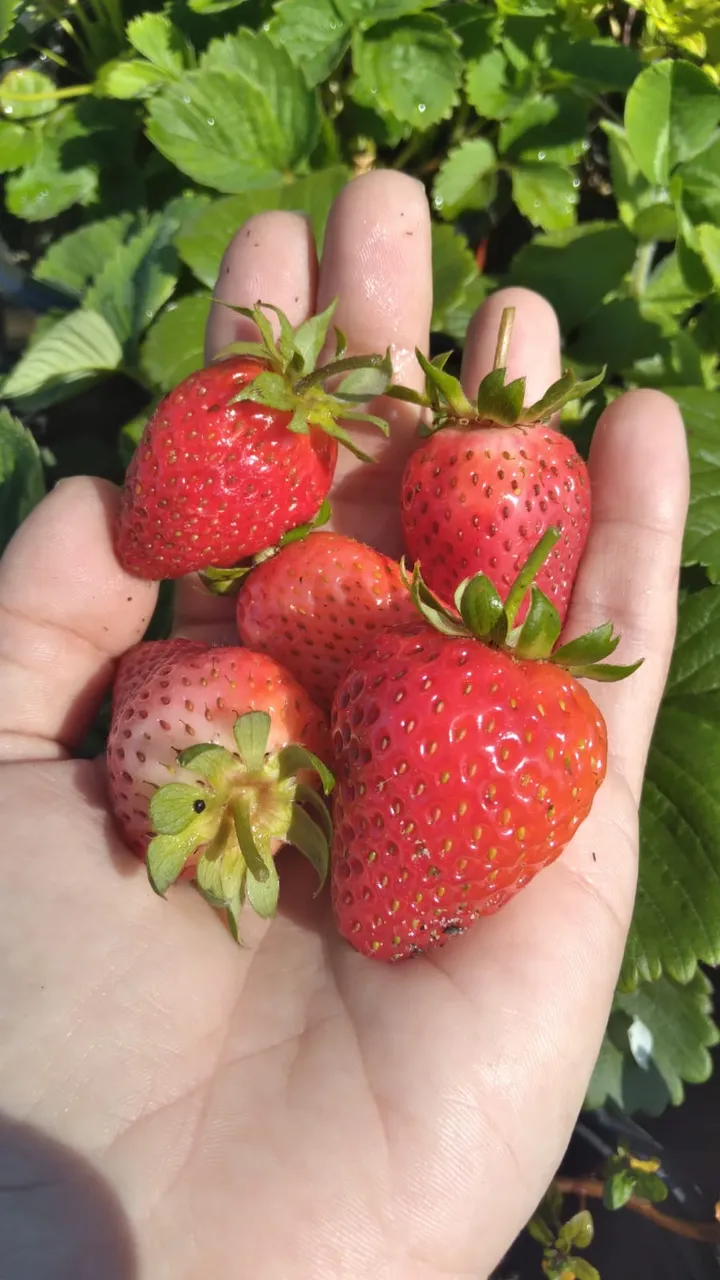
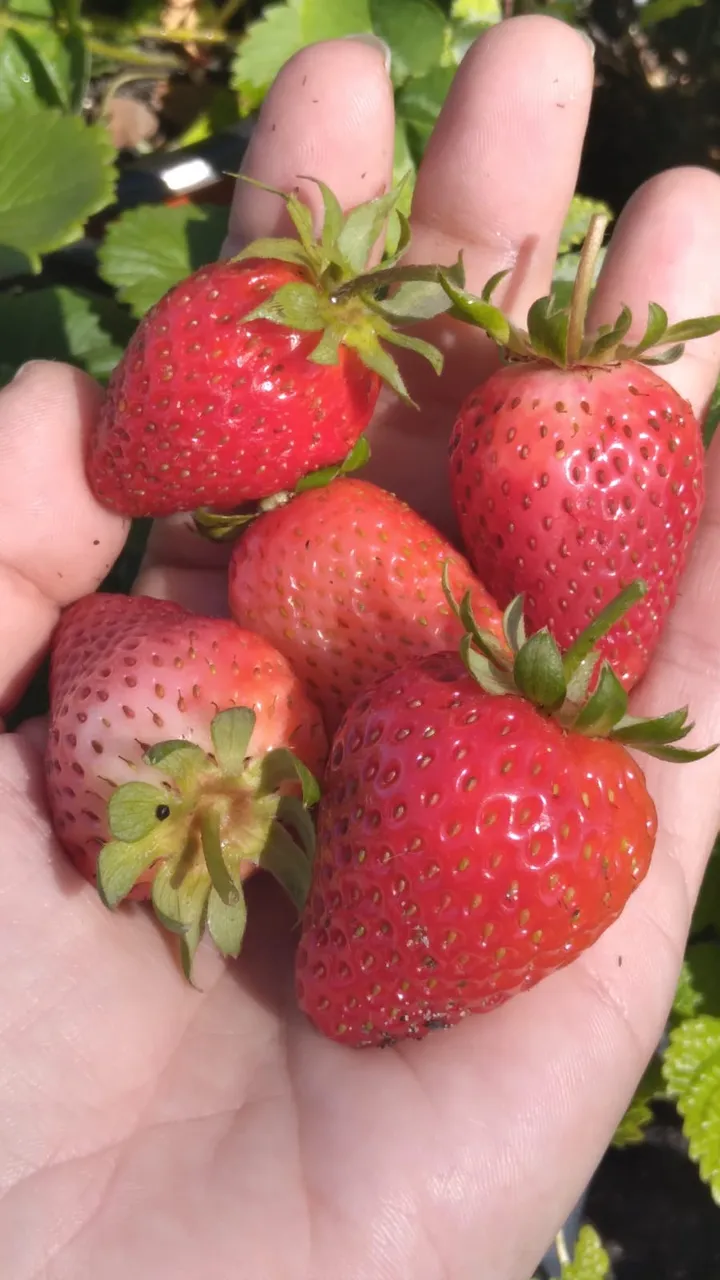
Al cabo de un par de semanas ya verás florecer las frutillas y comenzarán a crecer de una manera increíble, a medida que se acerca el verano, obtendremos más y más frutillas enormes como las que ven en las fotos, y eso que recién estamos finalizando octubre. Acá en casa estamos fascinados con la cantidad de frutillas o fresas que nos dan las plantitas que tenemos, ya que el fruto de la tierra es algo maravilloso y debemos cuidarlo, respetarlo, amarlo y disfrutarlo, porque para eso están en este mundo, para nosotros comerlos y deleitarnos con su sabor y textura, además de nutrirnos siempre y cuando tu cultivo sea orgánico.
Bueno amigos espero les haya sido útil y nutritiva la información, y ojalá que se animen a tener sus propias plantas de fresas en su jardín, porque como verán pueden tenerlas en macetas y les dará enormes y deliciosos frutos. En un próximo post les contaré cómo hacer yogurt de kéfir de frutilla con mis frutillas de la huerta. Las fotos son de mi autoría, las tomé con un Samsung A01, realicé el video con CapCut, las ediciones en Canva y la traducción con google translate.
Que tengan excelente tarde!!
Hasta un próximo post!!
You can place between 2 and 3 plants per pot, depending on the size of the pot. Its reproduction is by stolon, that is, an arm grows out and a new plant grows at the tip, and it will go in search of soil to put down roots, we must help it if it has any inconvenience to do it since sometimes it does not reach the earth and runs the risk of drying out. That is why we must be attentive and not lose sight of those children because they are new plants that he is giving us.
Once we have our seedlings in the pots, we must water them daily in spring / summer, it is even recommended to water twice a day due to extreme heat, and because strawberries have a large percentage of water in their composition; For this we must have well drained pots so that puddles and therefore fungi do not form. We must also place a mulch or nylon layer with holes if they are large-scale crops, this is so that the fruits are not in contact with the earth and they start to get ugly because they get too wet. To avoid this in the pots, we will place the fruits that we see on top of some other leaf or on the edge of the pot to avoid contact with the humid earth.
After a couple of weeks you will see the strawberries bloom and they will begin to grow in an incredible way, as summer approaches, we will get more and more huge strawberries like the ones you see in the photos, and we are just finishing October . Here at home we are fascinated with the amount of strawberries or strawberries that the little plants that we have give us, since the fruit of the earth is something wonderful and we must take care of it, respect it, love it and enjoy it, because that is what they are in this world for, for us. eat them and delight ourselves with their flavor and texture, in addition to nourishing us as long as your cultivation is organic.
Well friends, I hope the information has been useful and nutritious for you, and I hope you are encouraged to have your own strawberry plants in your garden, because as you will see, you can have them in pots and it will give you huge and delicious fruits. In a future post I will tell you how to make strawberry kefir yogurt with my strawberries from the garden. The photos are my own, I took them with a Samsung A01, I made the video with CapCut, the edits in Canva and the translation with google translate.
Have a great afternoon!!
Until a next post!!