I'm almost embarrassed writing this as I see so many amazing posts from the real homesteading and gardening community but I have to start somewhere and I did want a pictorial history of the garden from start to finish so here we go!
The house still needs a concrete border around to stop stuff growing around it and up from the foundations which are roughly back-filled, there is no solid raft, just big, reinforced blocks of concrete supporting vertical columns. As we have been seeing more than our fair share of snakes recently around the edges of the house, it might be fair to assume they are living under the house and to that end, I went around any obvious holes with the expanding foam as a stop gap measure before I get around to the arduous task of digging edgings in to act as shuttering for a massive concrete mixing session.
Anyway, that's all to come so I decided at the front to put a few easy maintenance plants in planters which will just break up the drop off the patio and sticking with my harsh geometrical concrete theme, bought three 1m planting boxes which should have fitted exactly in the space I wanted to put them. There's drainage holes built into them and this style is quite common here and not expensive at about 800 Baht (£20,$27) each.
Then we needed the bags of compost because we have absolutely no soil suitable for growing things, all the soil in the area is little more than sand, so I got a dozen bags and it was suggested to mix it with coconut fibre so a huge bag of that was purchased.
Seriously, bloody coconut fibre, as if I don't have enough coconuts here to make my own which along with a compost bin for the massive amounts of garden waste we have on a daily basis is one of my 'ongoing' jobs!
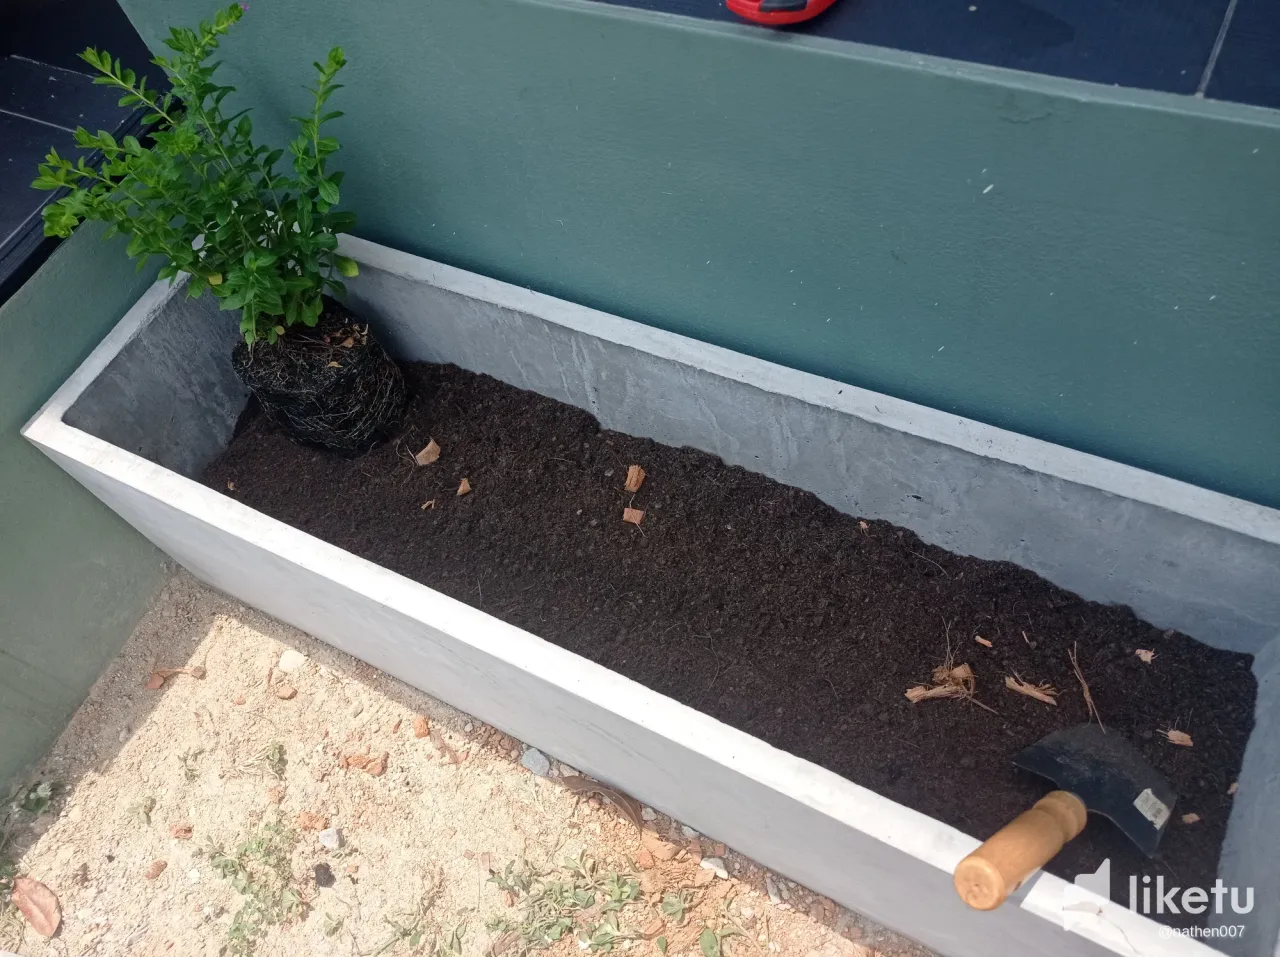
So with everything and in the correct location, I firstly went round the back into the jungle, collected some fallen leaves and put a few inches worth into the bottom of the planters which will compost down nicely and provide nutrients. Then I mixed up the compost and coconut husk and half filled the planters before dropping in 8 plants per planter as suggested by out local garden centre lady, topping up with the rest of the compost and giving it all a good watering!
As for the plants themselves, I have no idea what they are. I was told the name in Thai but I've forgotten and certainly have no idea in English so drop your suggestions in the comments please! I had though of getting some annuals in but I wanted more of a small bush style and I didn't fancy replanting them every year. On top of that, the wife's favourite colour is purple and I thought they'd go well with the rest of the house.
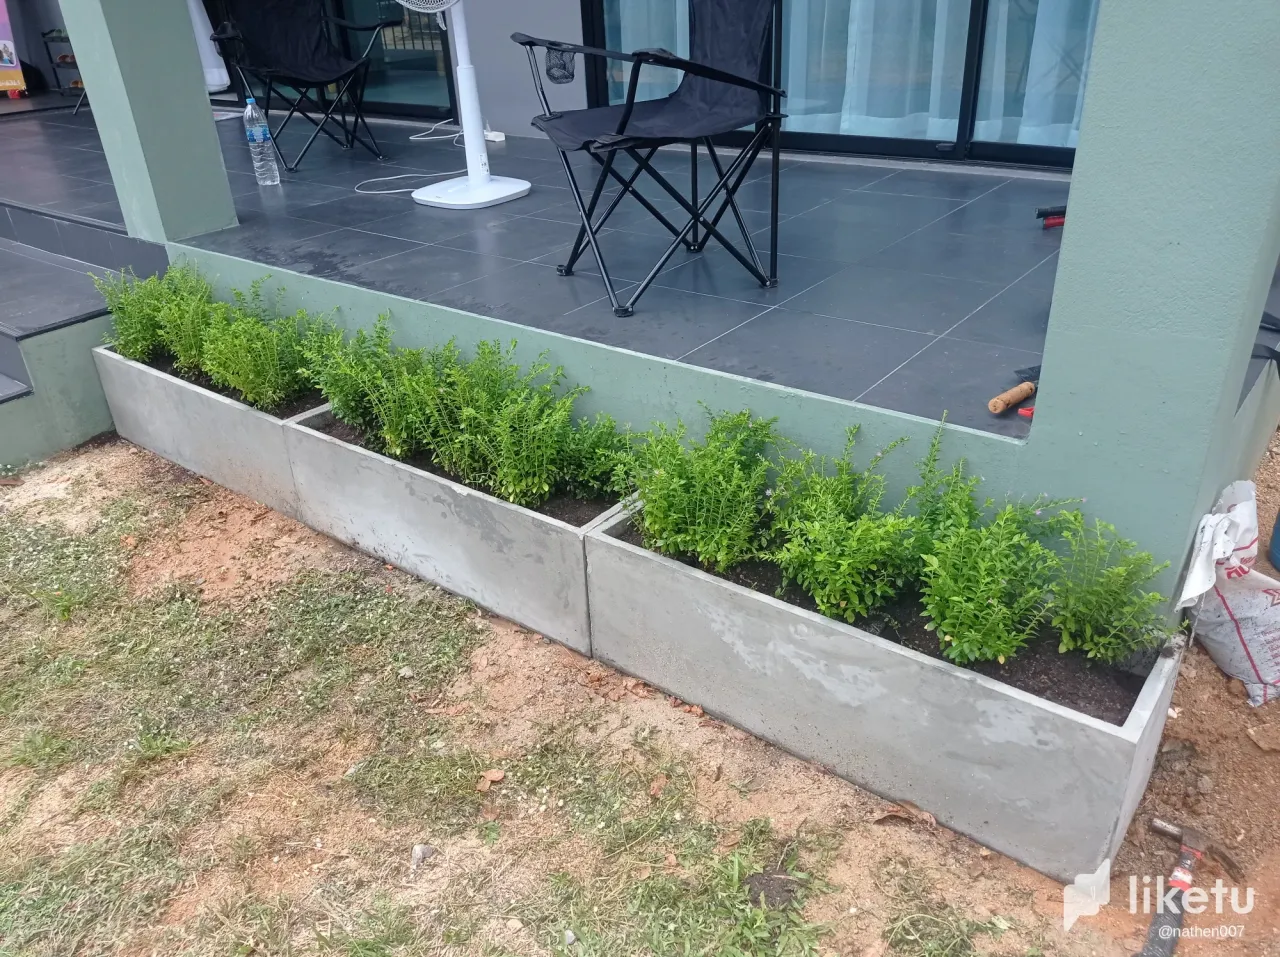
The end result, at the beginning of the post! Looks OK, wife is happy and the first step into transforming the wastelands!
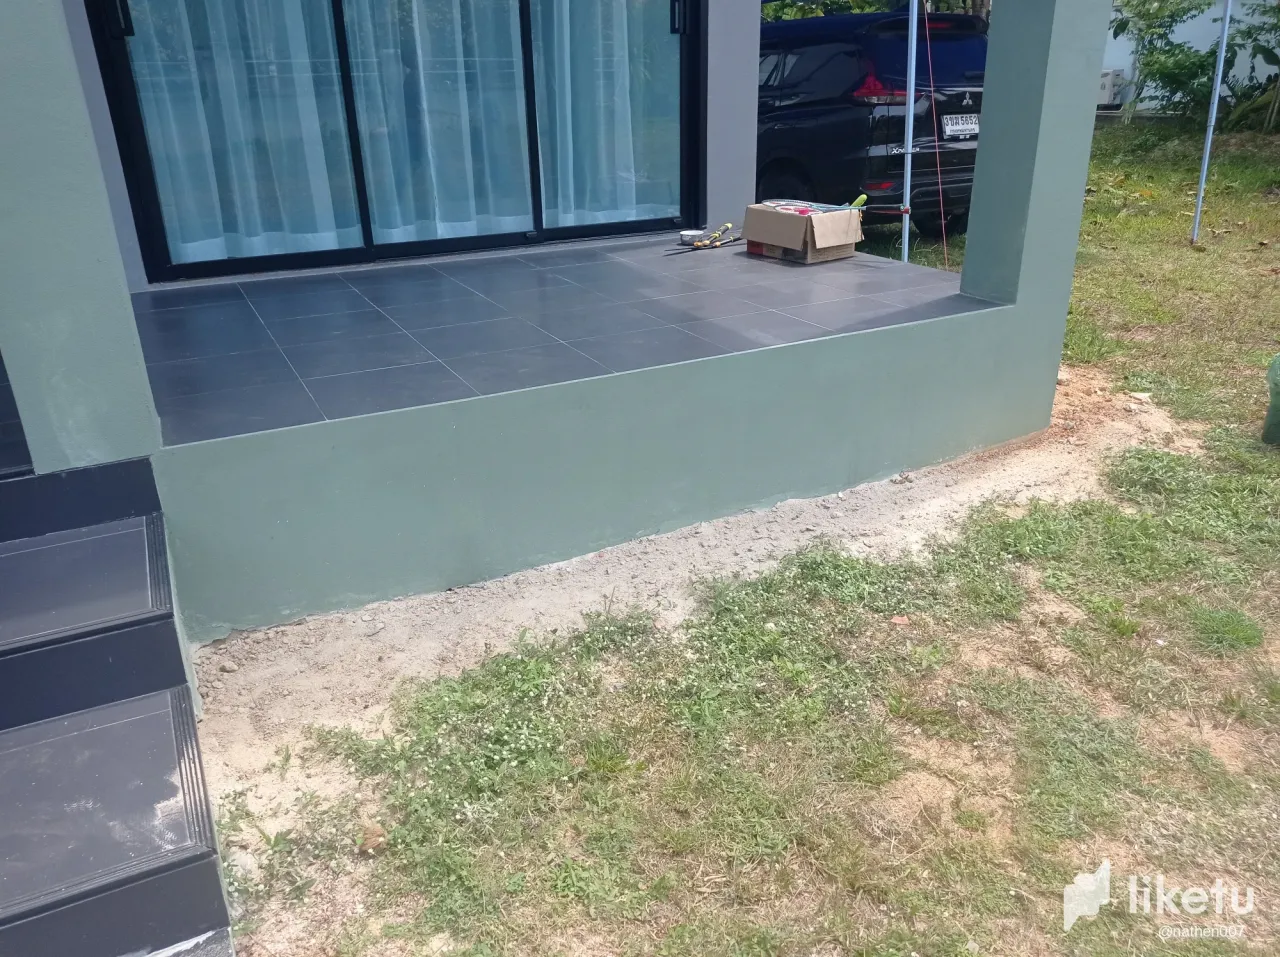
This is the space I want to place the planters to create a border to the hard edge of the patio.
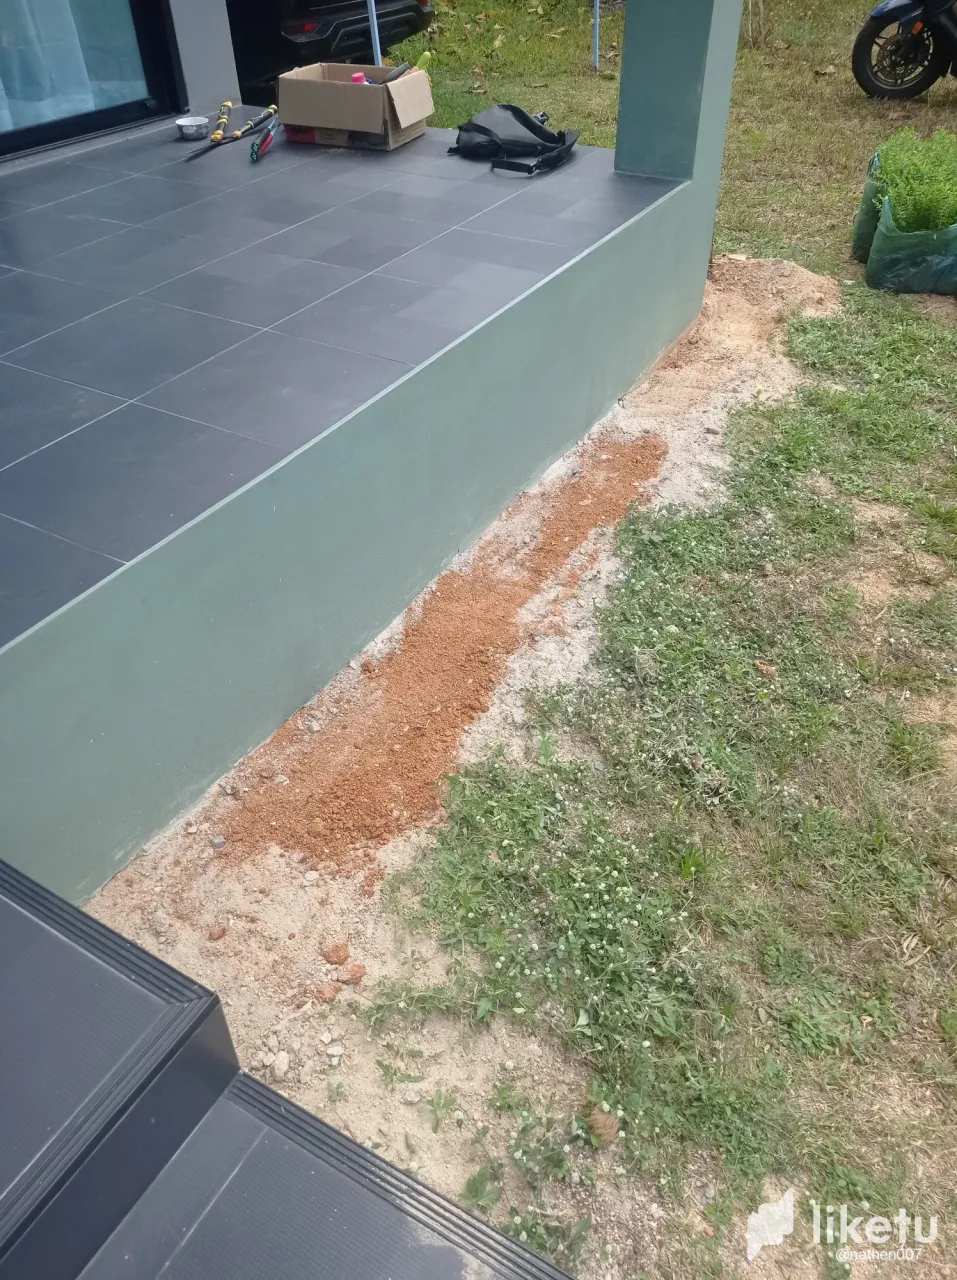
As the whole land slopes, I levelled it a little for a good fit and this will be a starting point for when I go round the whole house with edges to make a border.
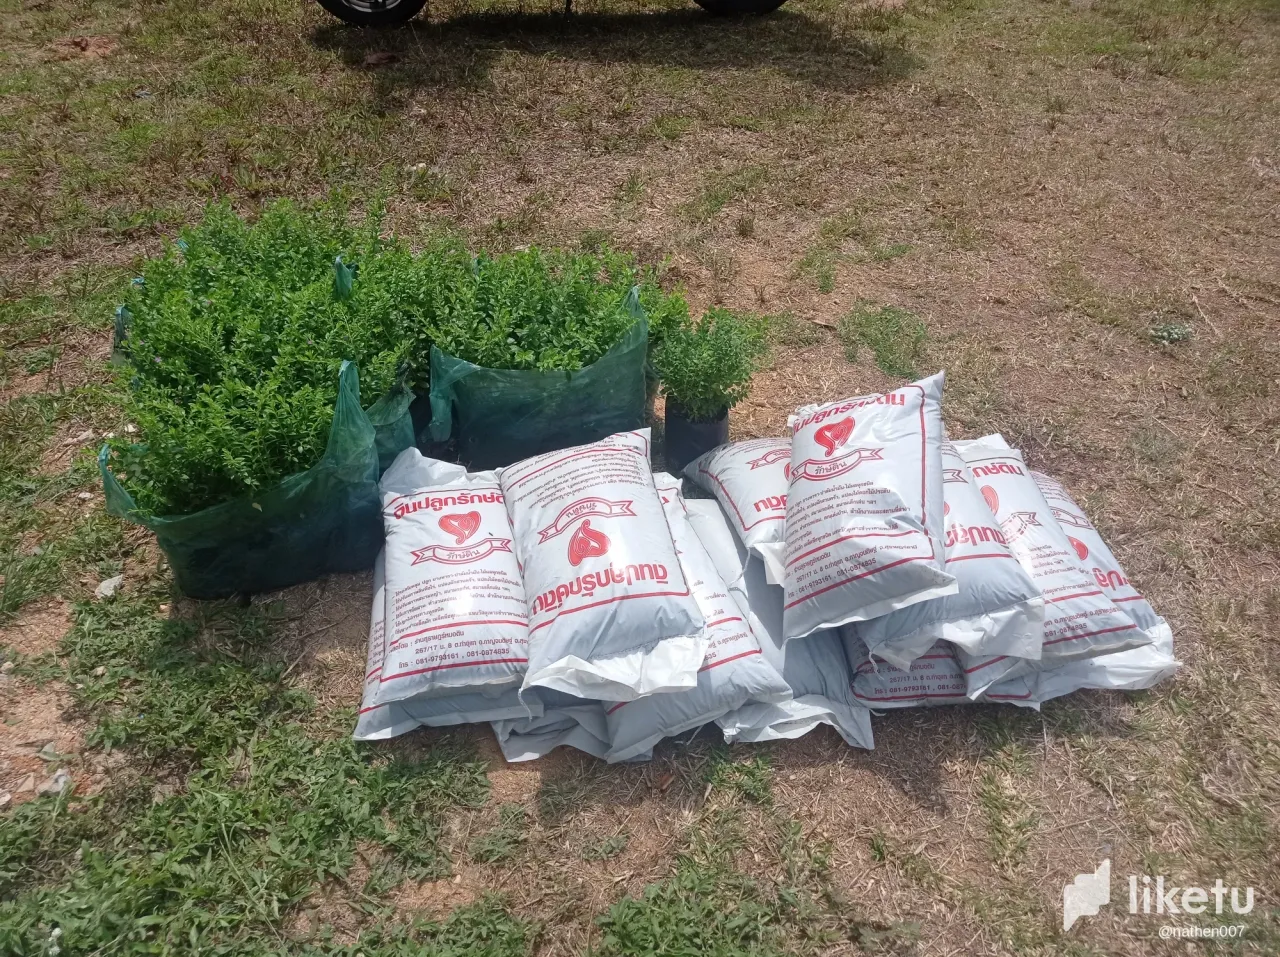
So after a trip to the local garden centre, I'm almost £80 lighter and have to actually do something! The bags of compost are cheap enough at about 60p a bag but buying plants here is not as cheap as you might think.
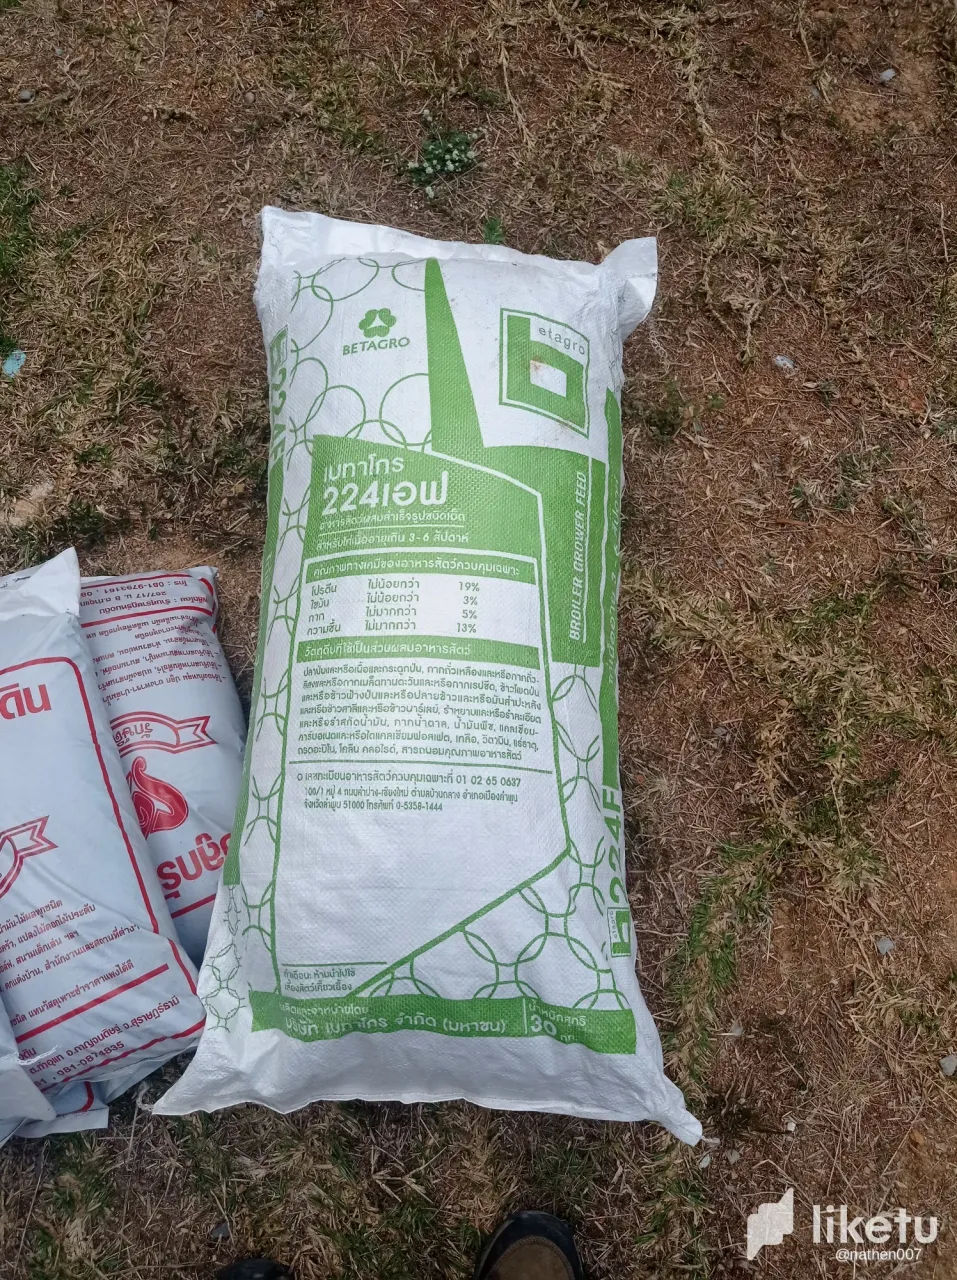
And the bag of coconut husk as a filler which will break down and give the compost some added goodness.
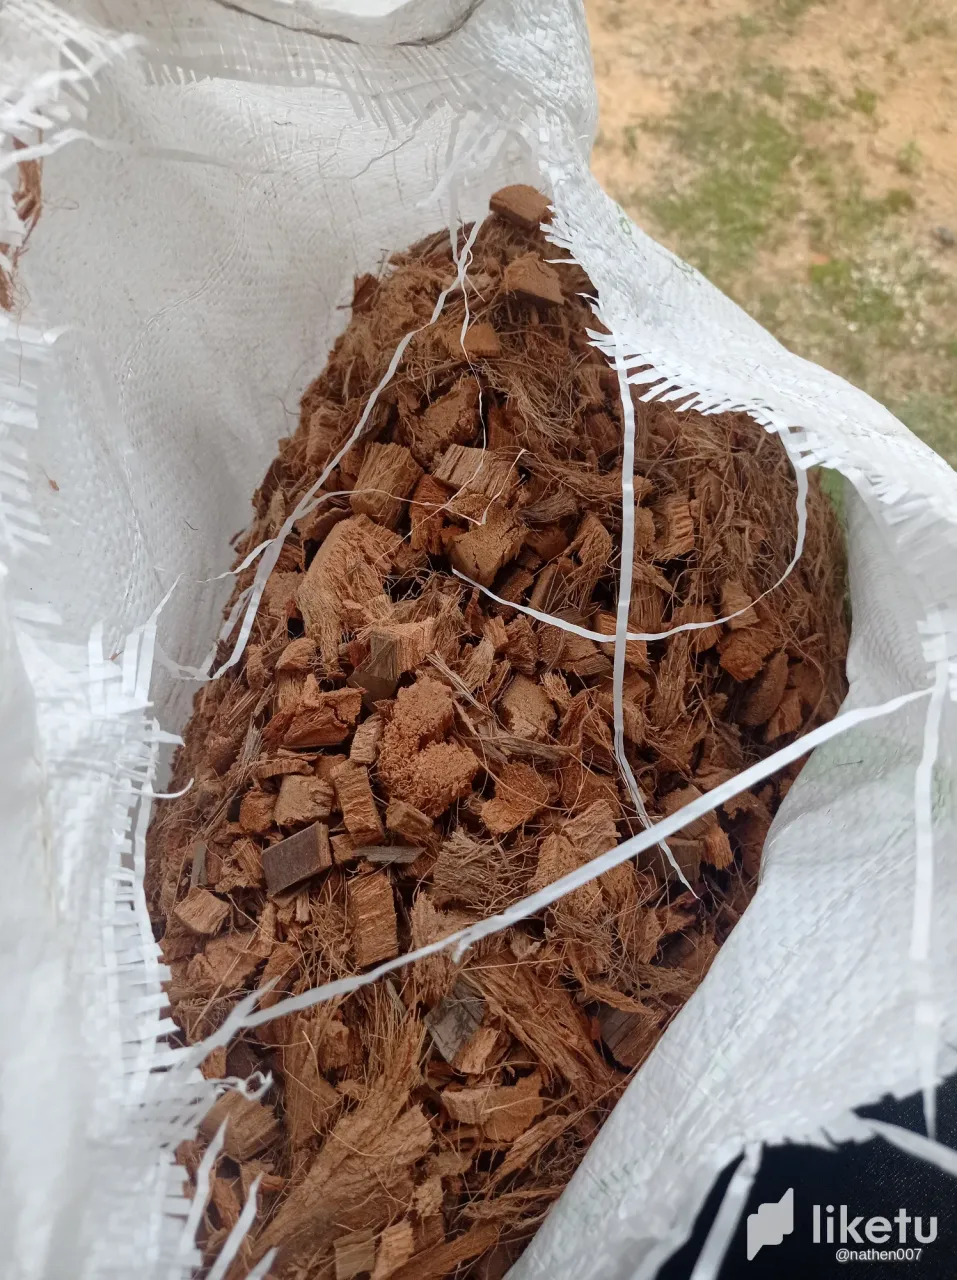
Just smashed up coconut shell! I could do so much with all the coconuts laying around here but processing them into oil and milk and grinding husks is labour and time intensive...and I'm a bit of a lazy bugger!
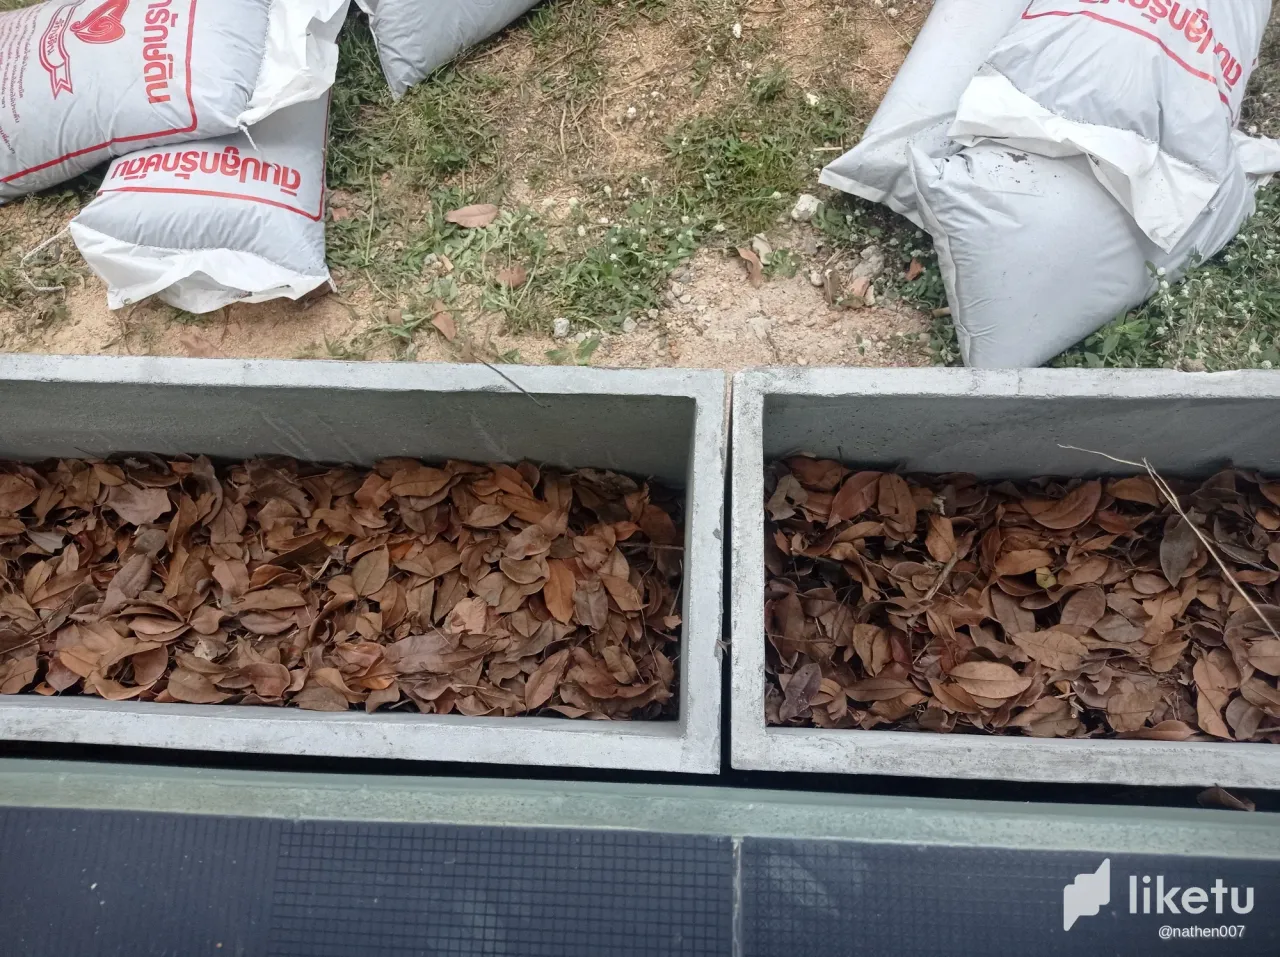
At least the leaves I used at the bottom were free!

I then dropped in a layer of compost and started placing the plants in, 8 to a planter which should fill out nicely to make a thick border of greenery.
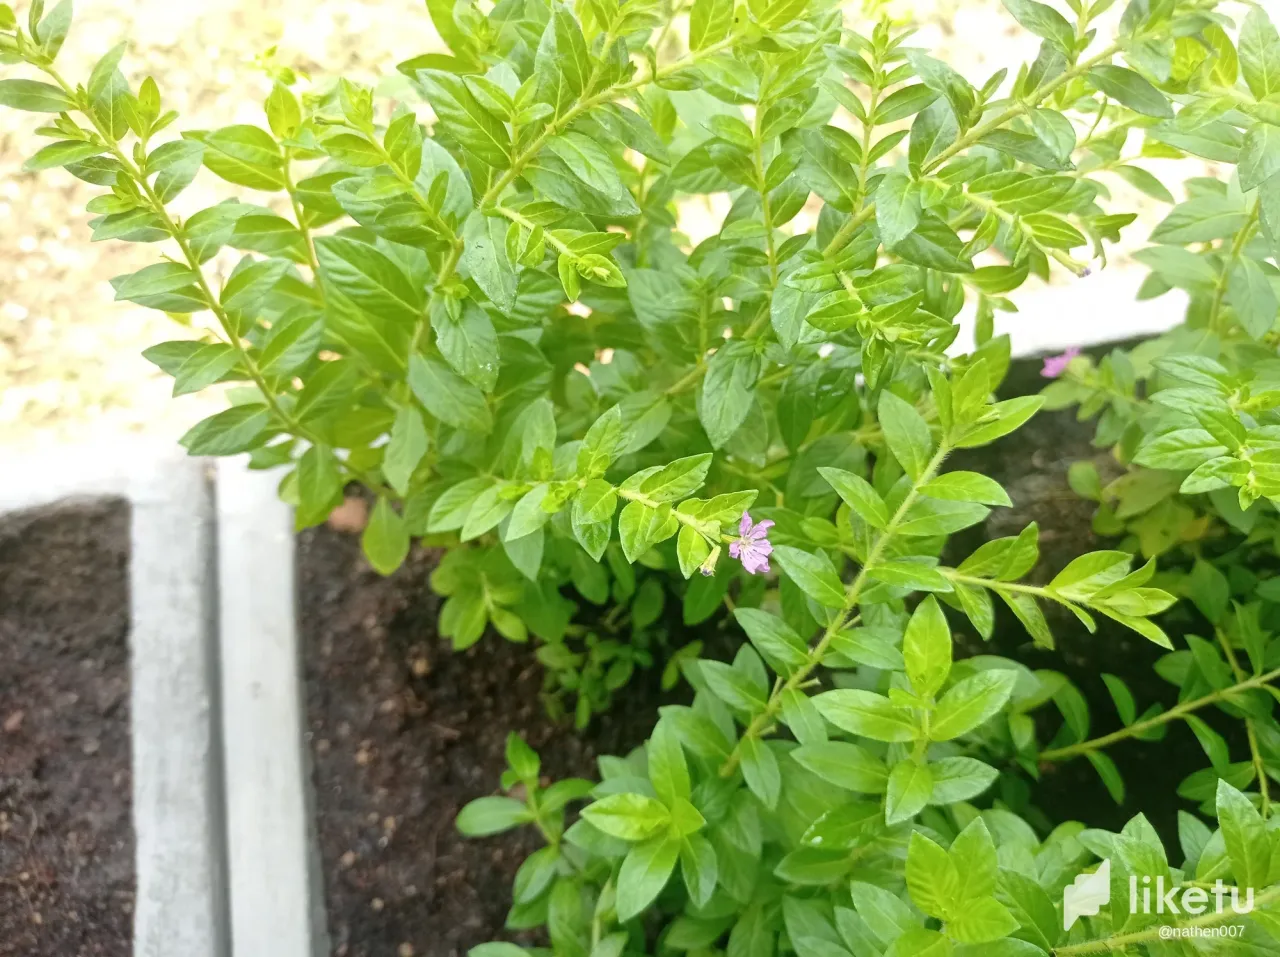
If anyone knows what this is actually called, please let me know in comments. It looks like some sort of privet but I hope we get a few more flowers to add a little colour.
How much of a botanical ninja am I ? :-)
Anyway, that's it. A start has been made,I'm pleased with the result and I did enjoy getting my hands dirty which will motivate me for the next steps. As I said at the beginning, it's a start and feel free to rip me to shreds in the comments! The full steps have been described in the captions to the photos.