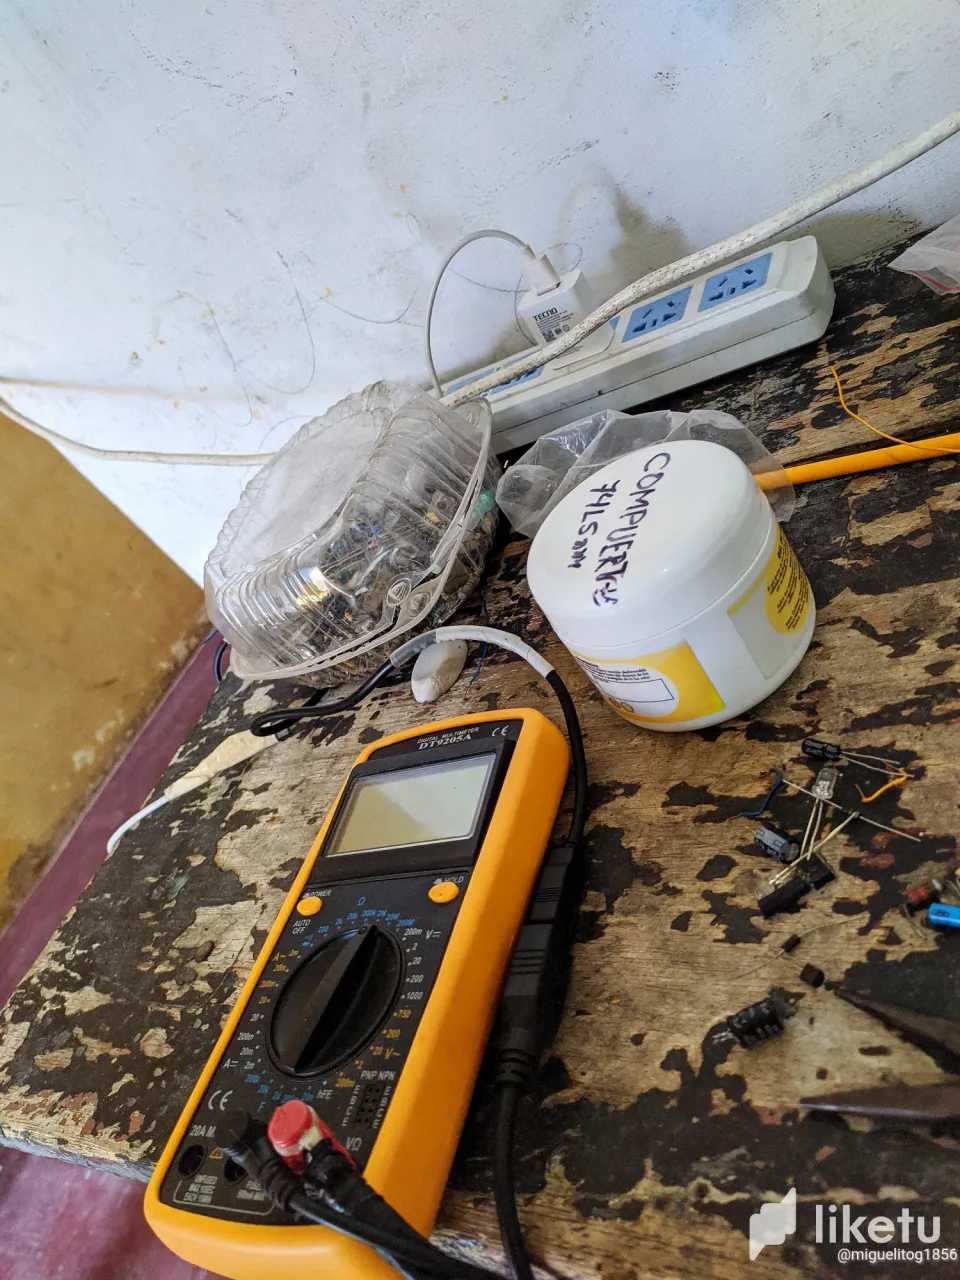
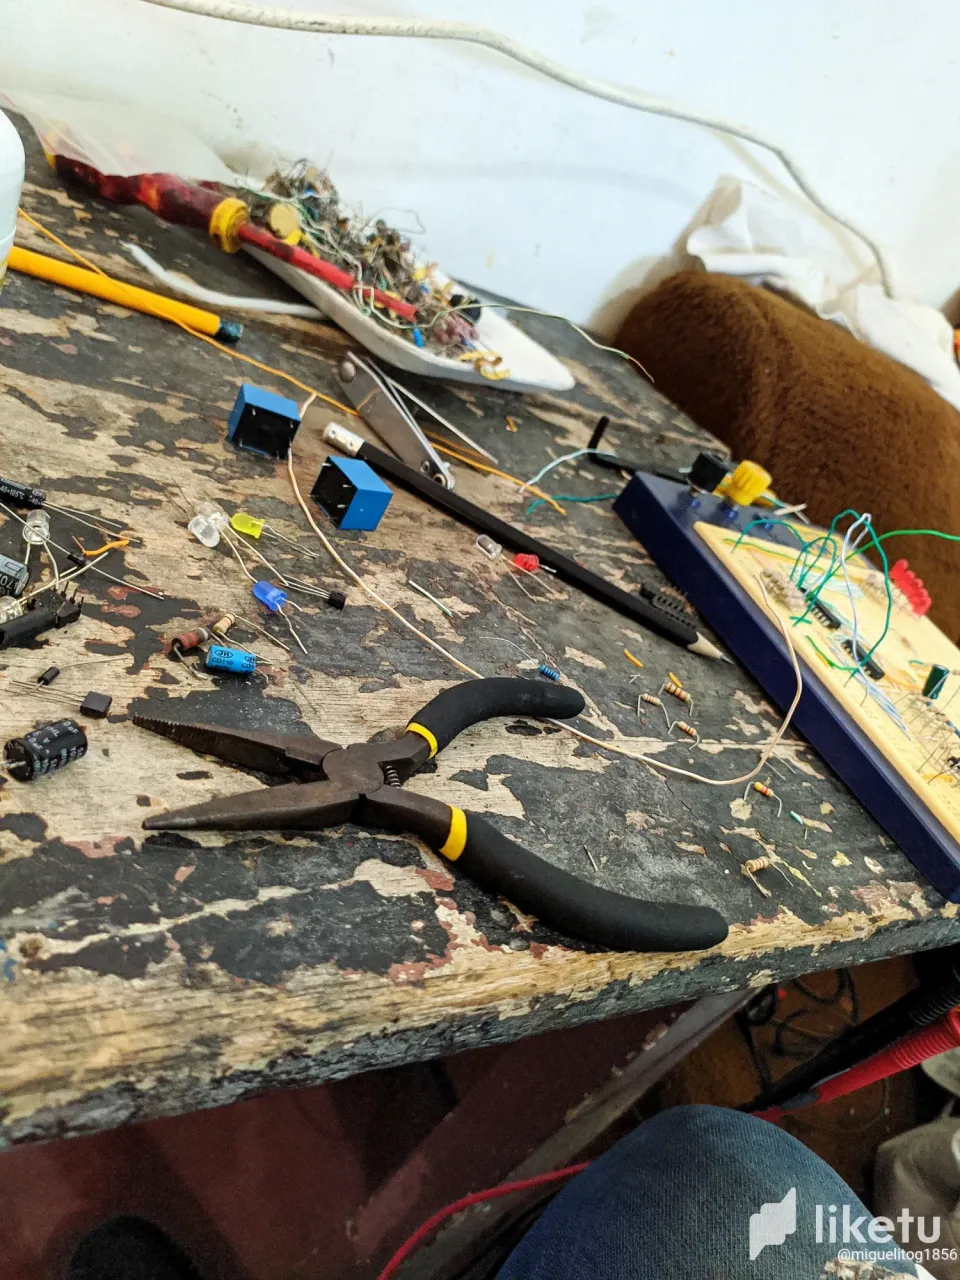
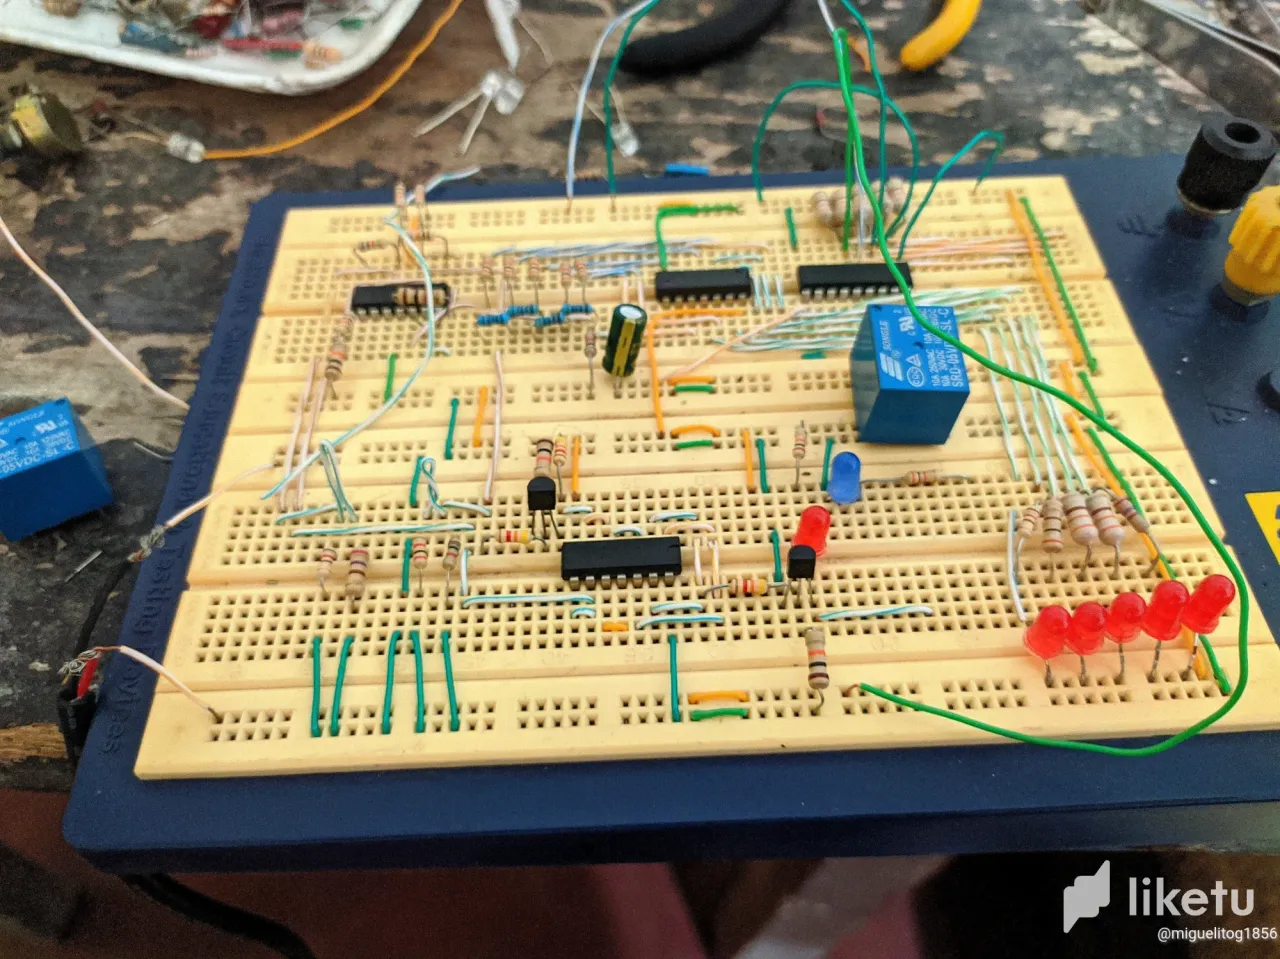
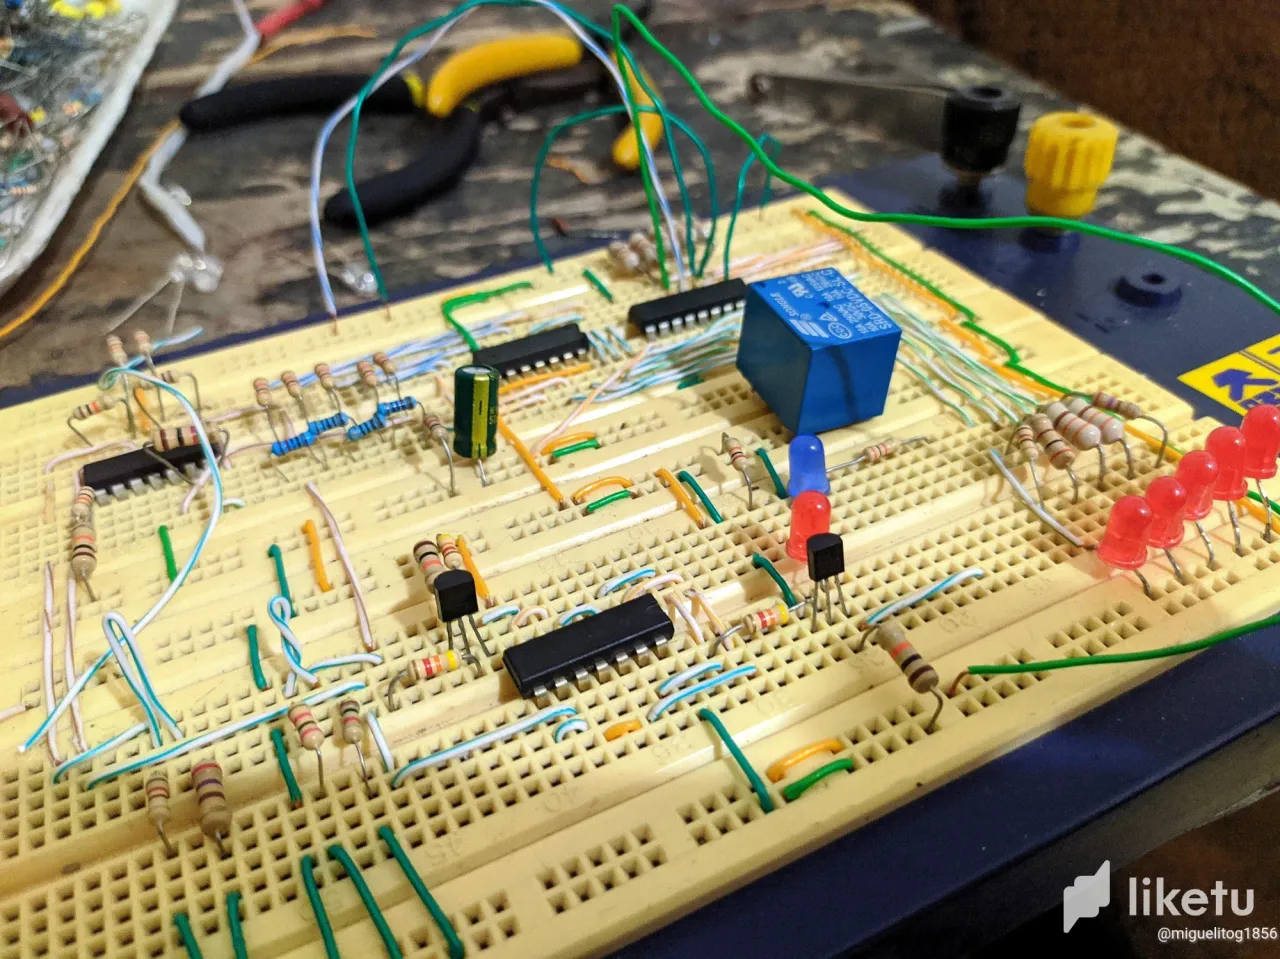
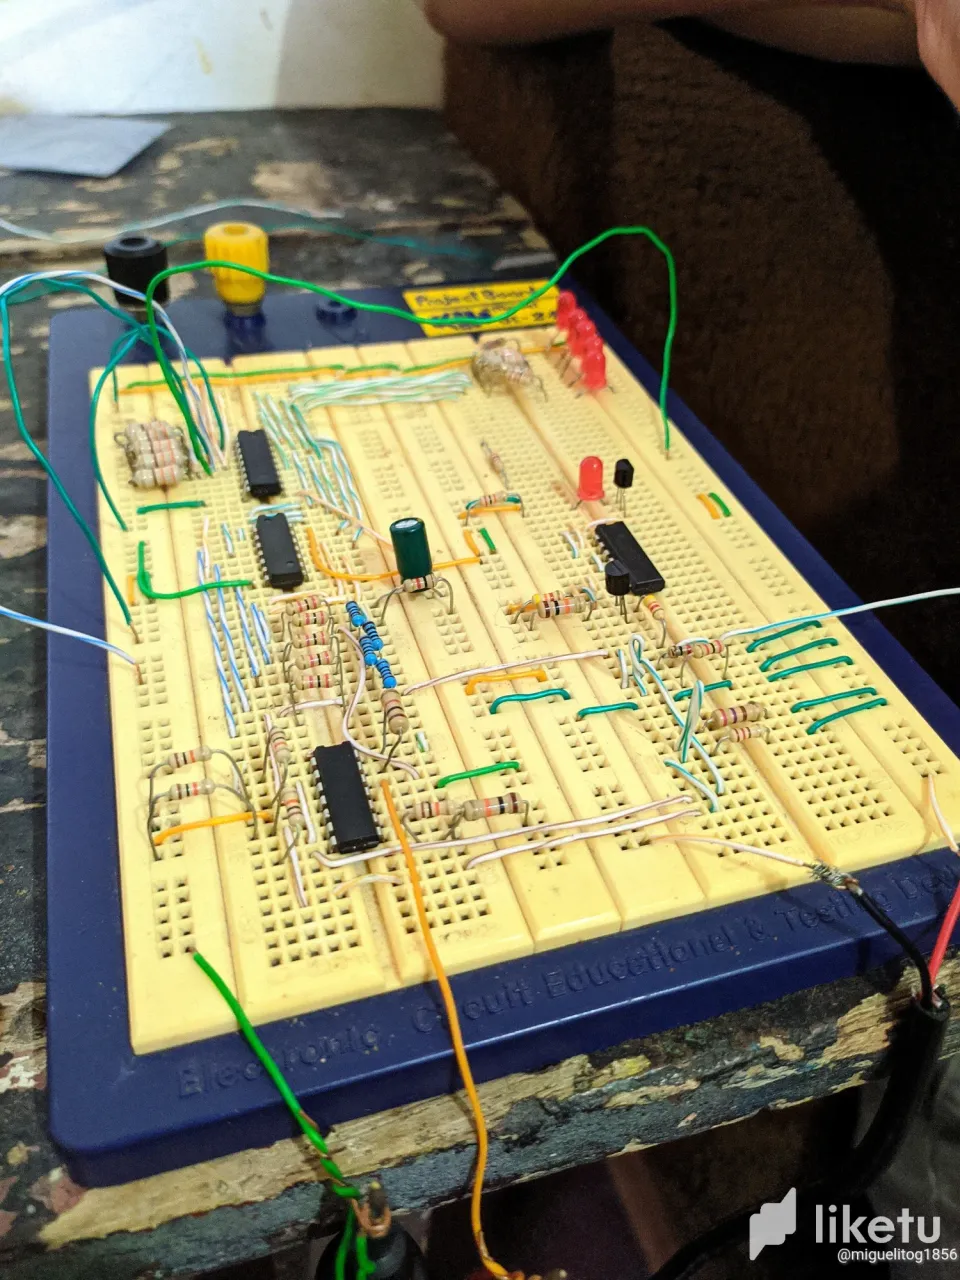
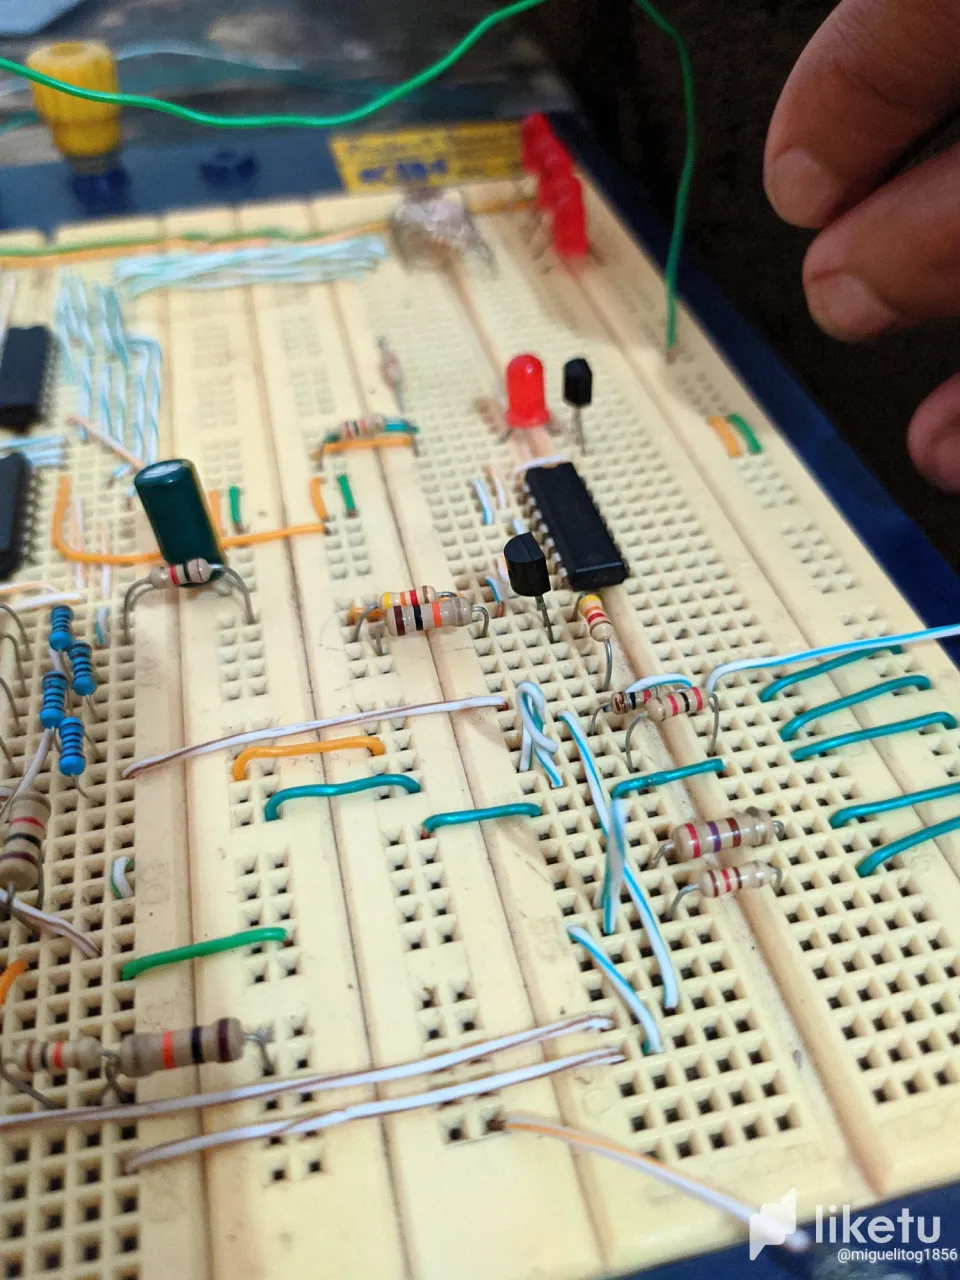
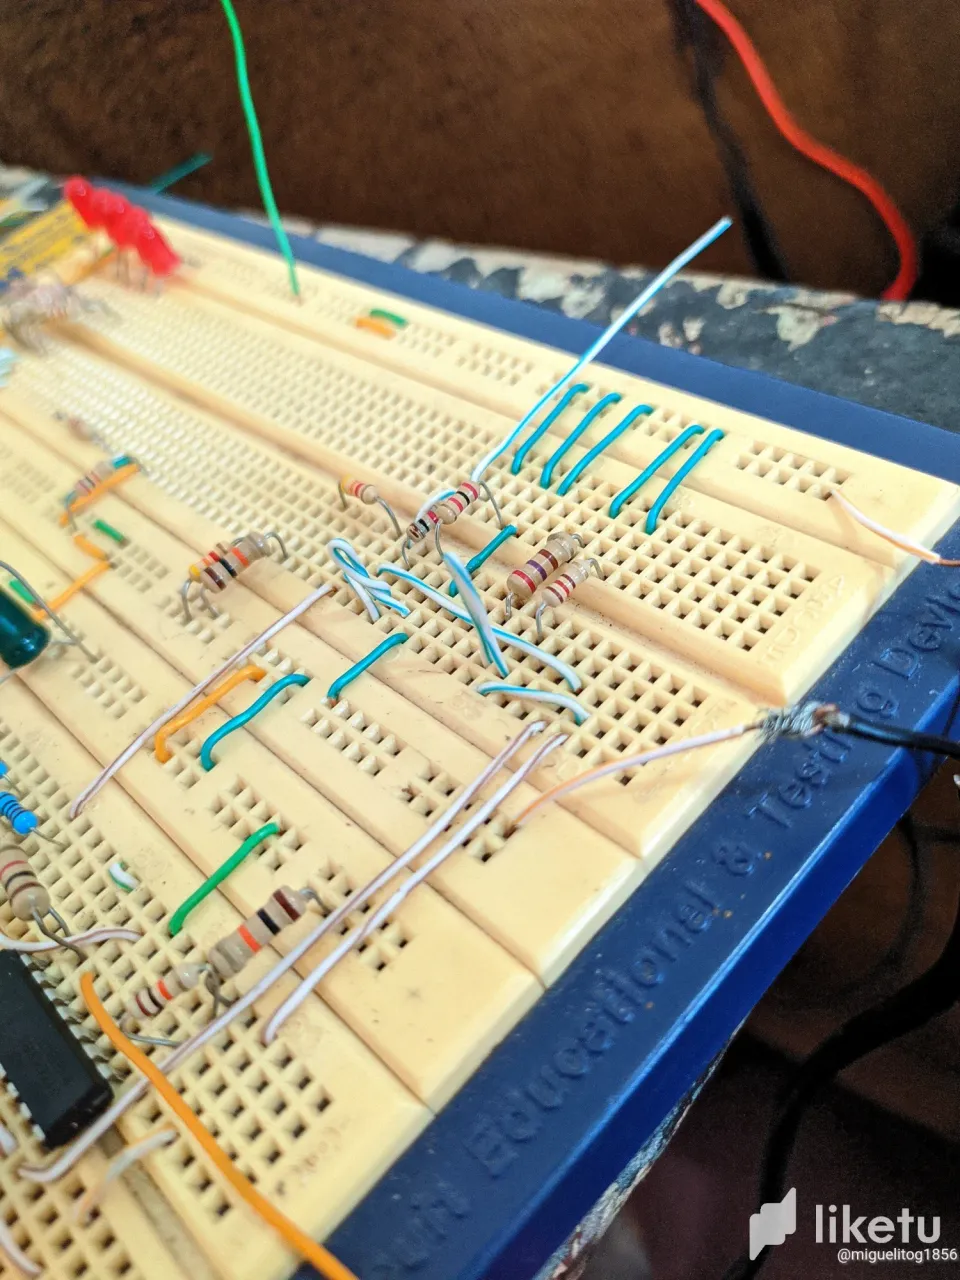
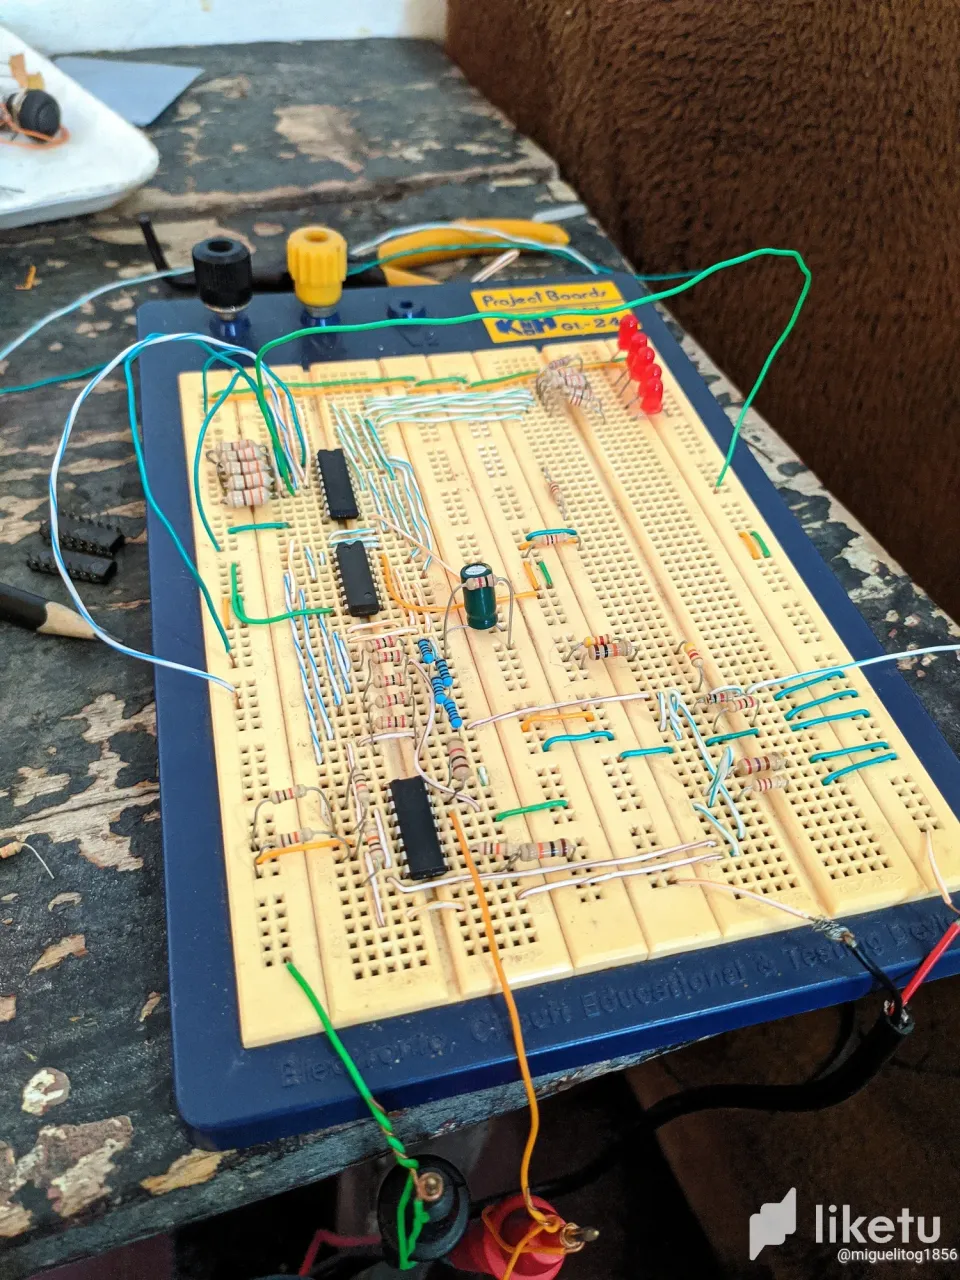
Hola a todos amigos de la comunidad espero se encuentren muy bien y en el día de hoy vengo a traerles mi etapa final con el proyecto de la universidad el cual anteriormente había mencionado que ya estaba a punto de ponerle unas cuantas cosas para terminarlo y en estás fotografías pues se puede ver el avance previo y las fotos finales donde ya está completo y solo queda ponerlo a funcionar, lo cual no nos dió tiempo y decidimos hacerlo otro dia mejor, se puede ver qué pusimos otro integrado a diferencia de los dos ya puestos los cuales se llaman 74LS08 Y los nuevos agregados son 74LS00, son algo parecidos solo que los primeros actúan para encender y los otros para apagar el sistema que se trata como proyecto, les agregamos otros tipos de resistencias junto a sus respectivas conexiones de tierra y voltaje, a los lados del último integrado se pusieron unos condensadores y unos transistores para evitar la presencia de ruidos y un buen funcionamiento del voltaje a usar, pusimos leds rojos los cuales consumen 2V y los azules consumen 4V, ya para última tarea se puso el rele en las conexiones creadas, haciendo ver qué es solo de medir el voltaje y ponerlo a funcionar
Bueno amigos de la comunidad espero que hayan disfrutado mucho mi publicación y nos veremos en una próxima y seguro post!
Hello to all friends of the community I hope you are very well and today I come to bring you my final stage with the project of the university which had previously mentioned that I was about to put a few things to finish it and in these pictures you can see the previous progress and final photos where it is complete and only remains to put it to work, which did not give us time and decided to do it another day better, you can see what we put another integrated unlike the two already put which are called 74LS08 and the new additions are 74LS00, are somewhat similar only that the first act to turn on and the other to turn off the system that is treated as a project, we added other types of resistors with their respective ground and voltage connections, on the sides of the last integrated put some capacitors and transistors to avoid the presence of noise and a good performance of the voltage to use, we put red LEDs which consume 2V and blue consume 4V, and for the last task was put the relay in the connections created, making see what is just to measure the voltage and put it to work.
Well friends of the community I hope you enjoyed my publication and we will see each other in a next post for sure!
**
Nos vemos en una próxima publicación, gracias por tu visita a mi blog!
See you in a future post, thanks for your visit to my blog!
| ¿Quieres saber más de mí? |
|---|
| Want to know more about me? |
INSTAGRAM |
|