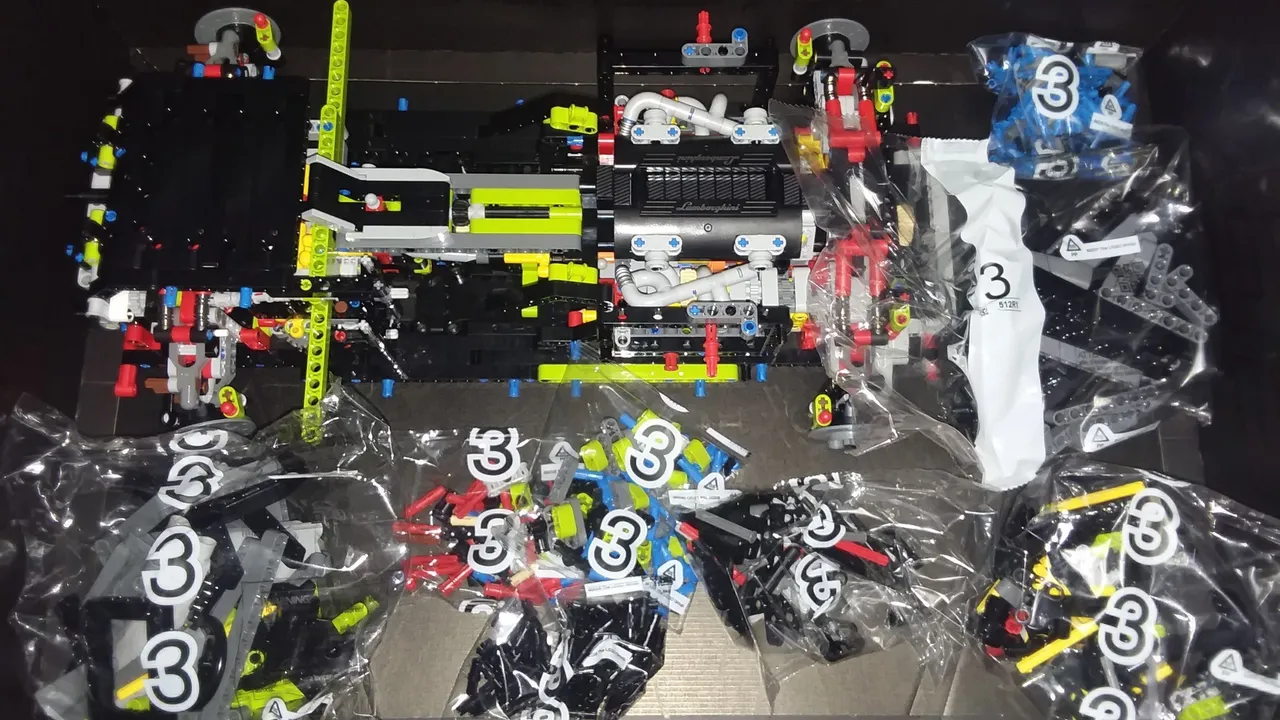
These posts may get shorter as the boxes get smaller. Part 2 was a doozy! This one still has a fair number of steps, too. Time for seats and interior details. Note how there is now room for the chassis along with the bags for this part of the build.
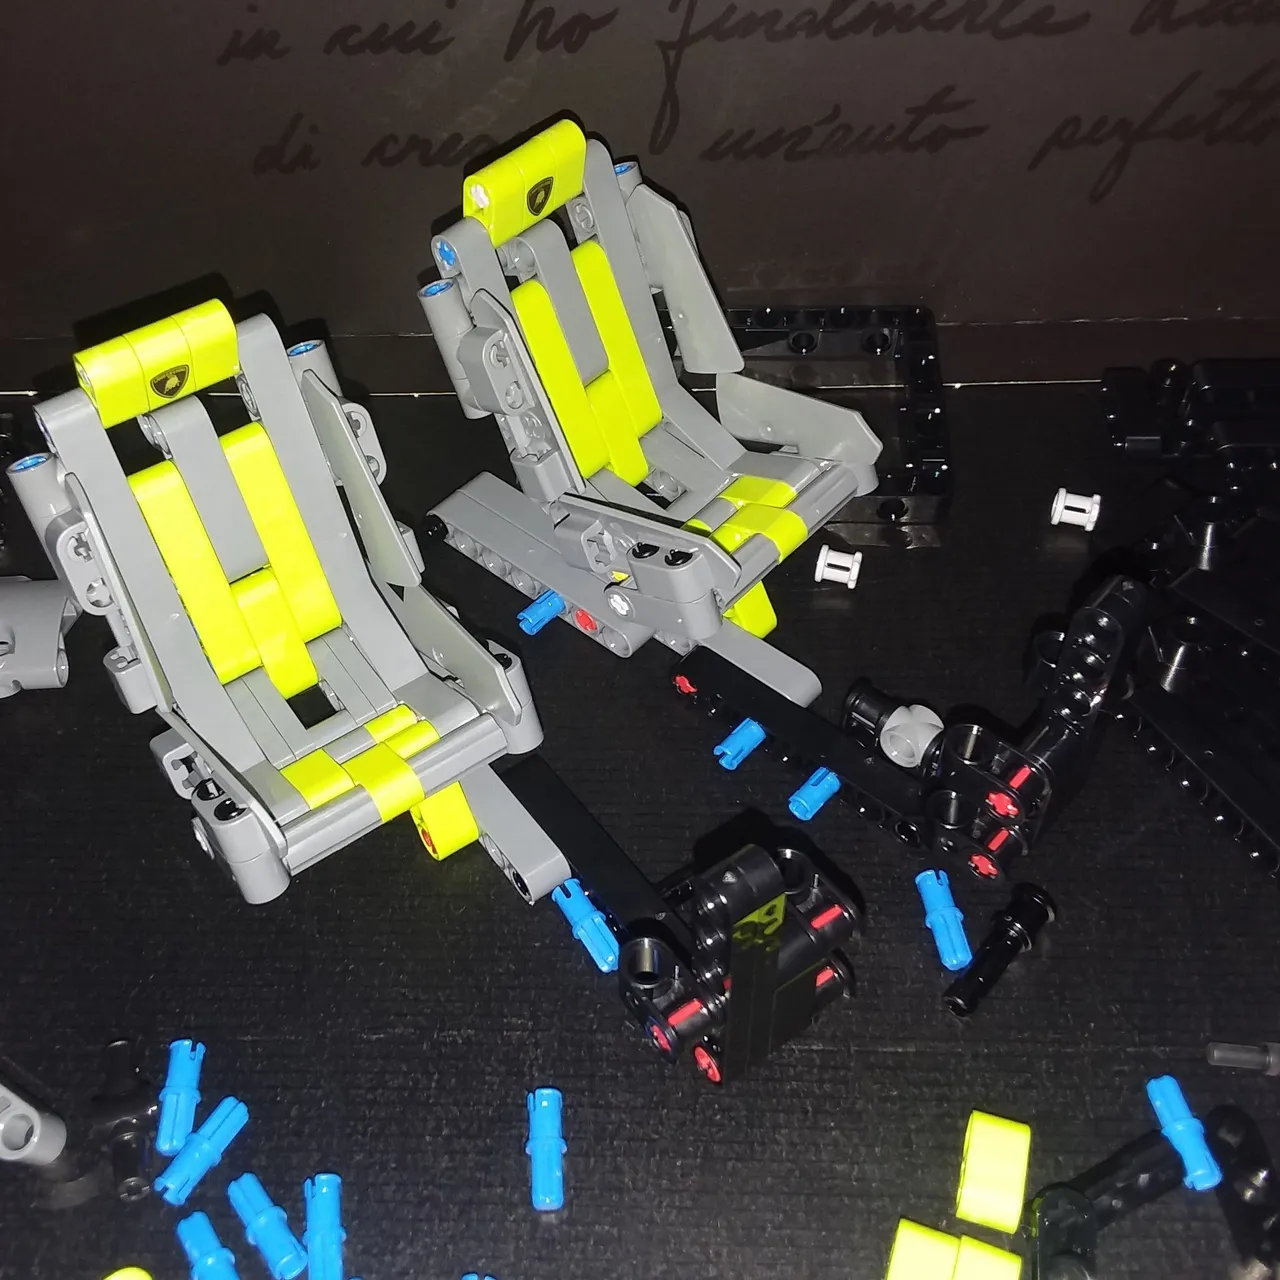
Seat construction was fairly straightforward. It's essentially just stacked beams with various pins and axles. However, while it does not show well in the pictures, there is a definite color difference in some of these lime green parts. The headrest pieces with the Lamborghini logo are a couple shades off from the rest. This is very un-LEGO.
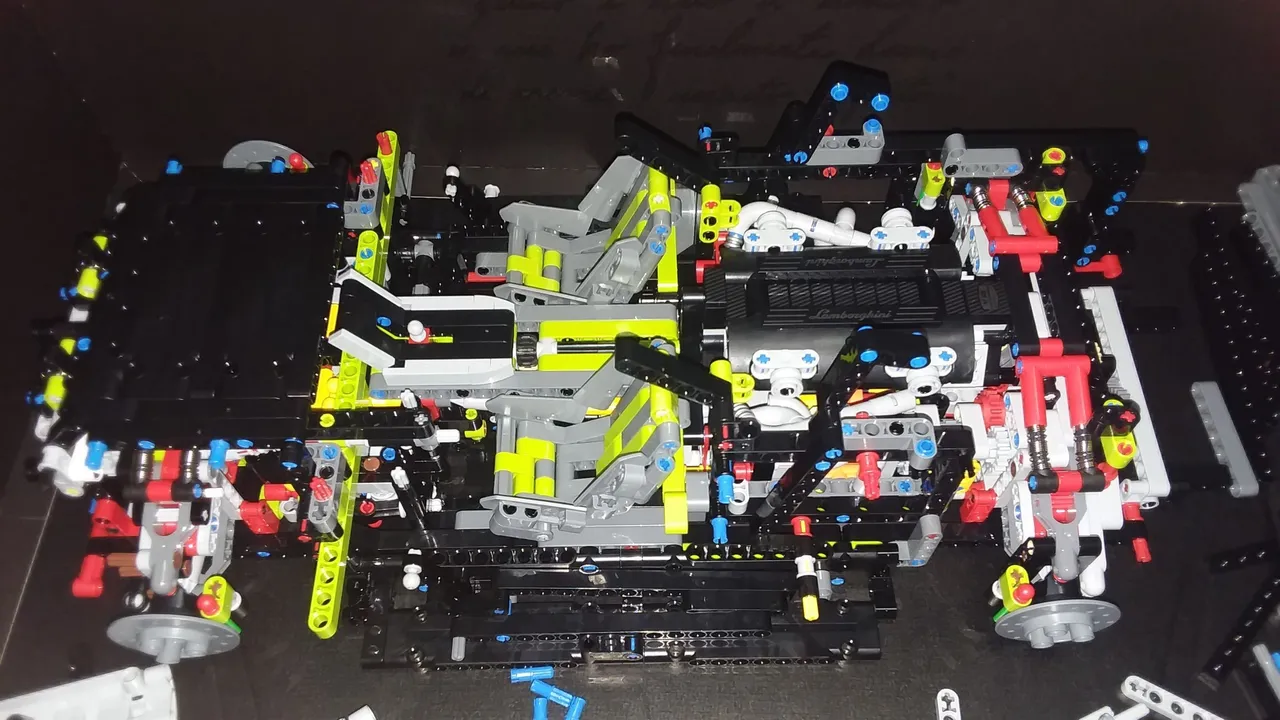
They slotted into the chassis just fine, though. The framework will eventually hold the steering and shifting mechanism on the driver's side, and spoiler height adjustment on the passenger side.
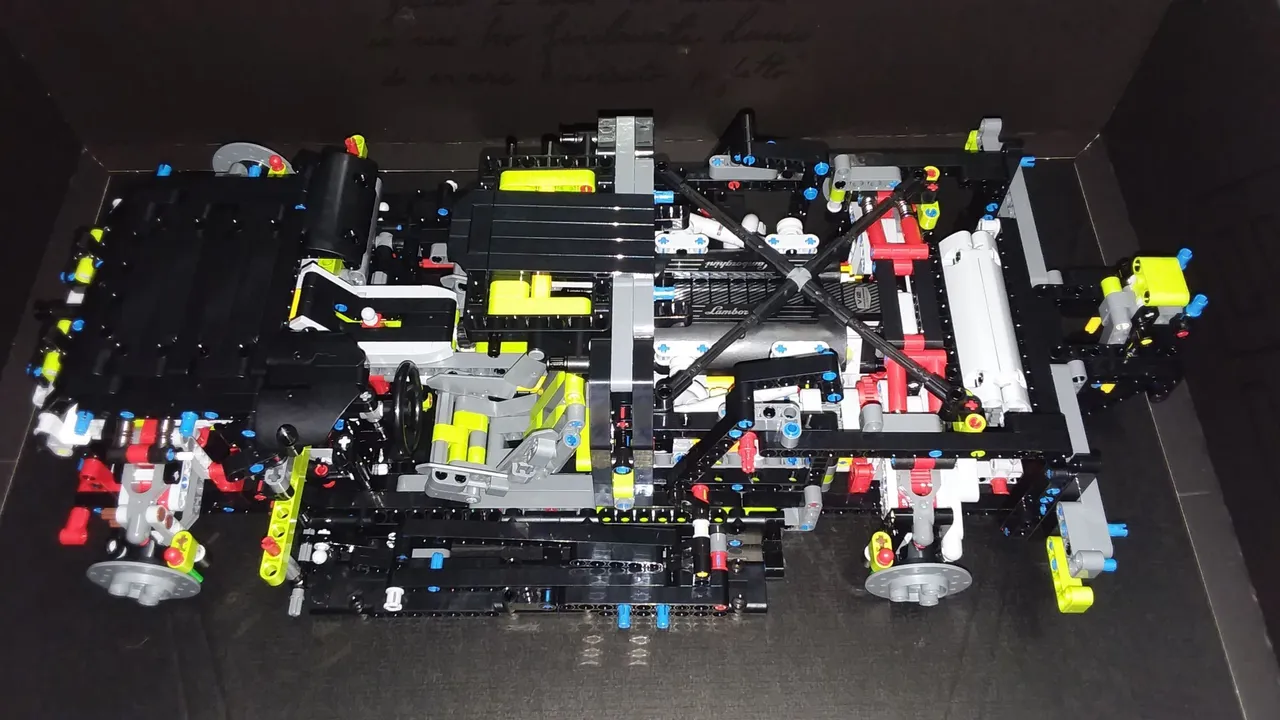
One of the neat details that is almost invisible after construction is this instrument panel underneath a long dashboard hood. I thought I should snap a pic because otherwise no one will know it's even there.

I was in a hurry to finish this stage of the build and clear the area, so it seems I neglected to take photos for a while. At this point, there is a start to the spoiler frame on the back, a start to the roof, and a start to what I would eventually discover is the scissor door mechanism with operating levers behind the seats. Clever engineering indeed!
More will come soon, so stay tuned! The chassis won't always fit inside the box...