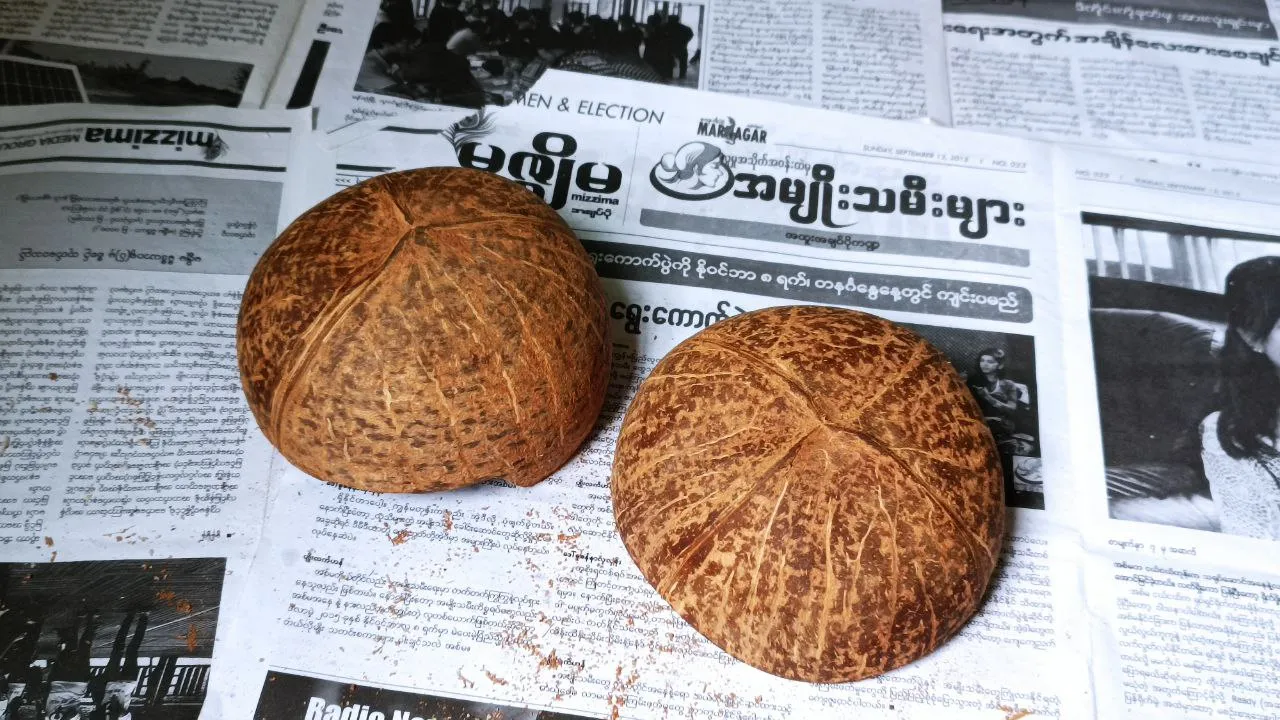
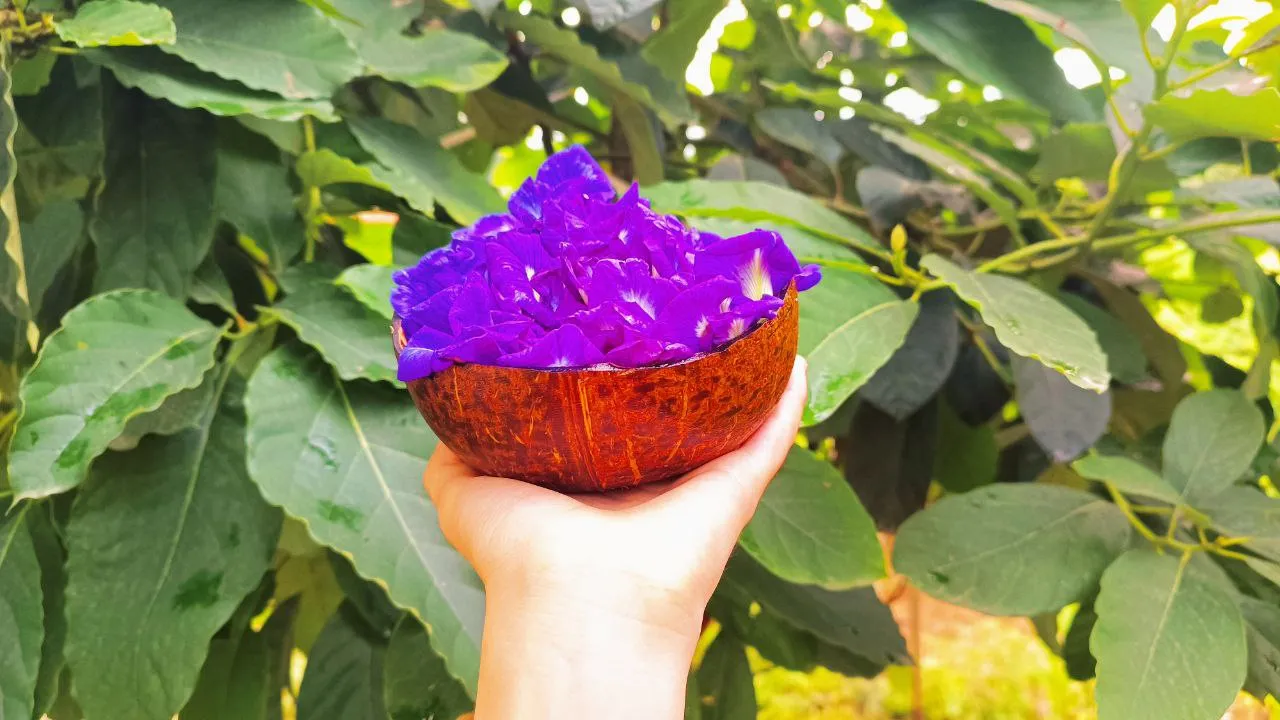
Before,
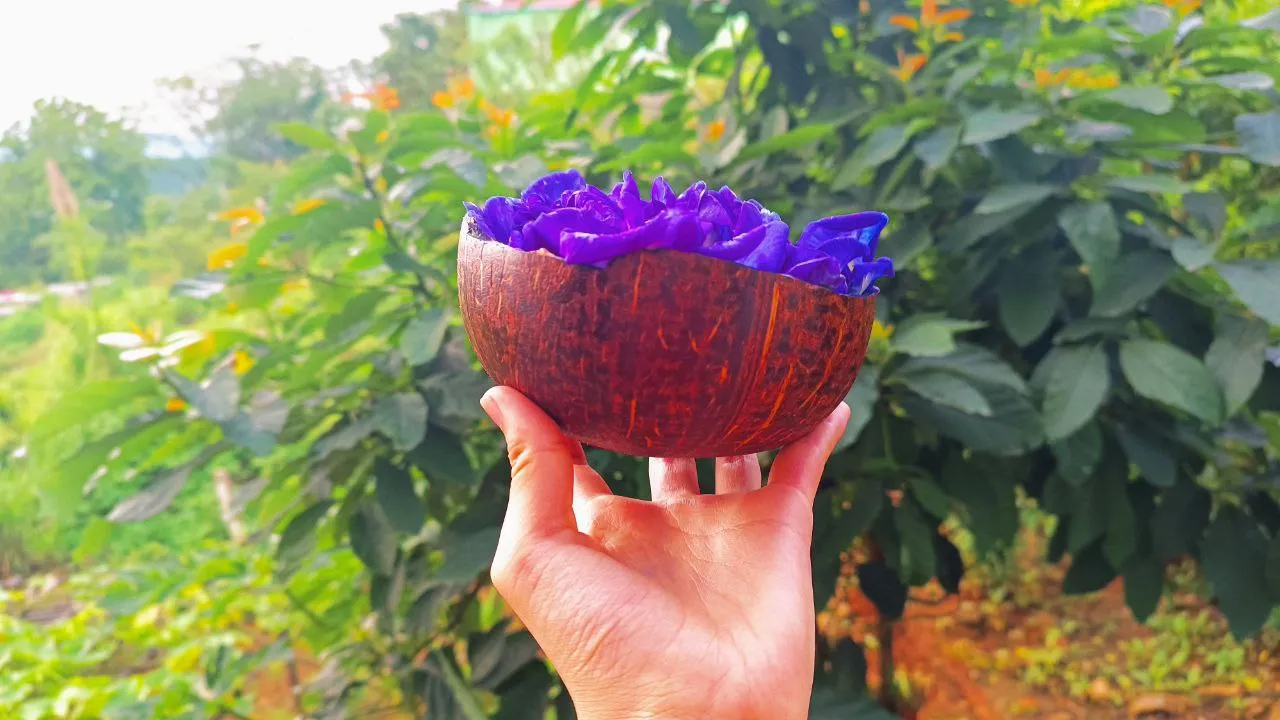
After,
Hello friends,
Welcome to my new post. How are you friends? I hope all goes well. I love making DIY, origami, clay art and papercraft. It's been a long time since I've made any cute DIY using recycled materials these days. Today I made two cute bowls using recycled material.
About two days ago, a friend of mine came back from another state. She told me about her experience in that state. She also told me about the bowls she found in a restaurant with very cool decoration. The bowls she mentioned were made using coconut shells. It's interesting to me and I have coconut shells in my house so I tried it.
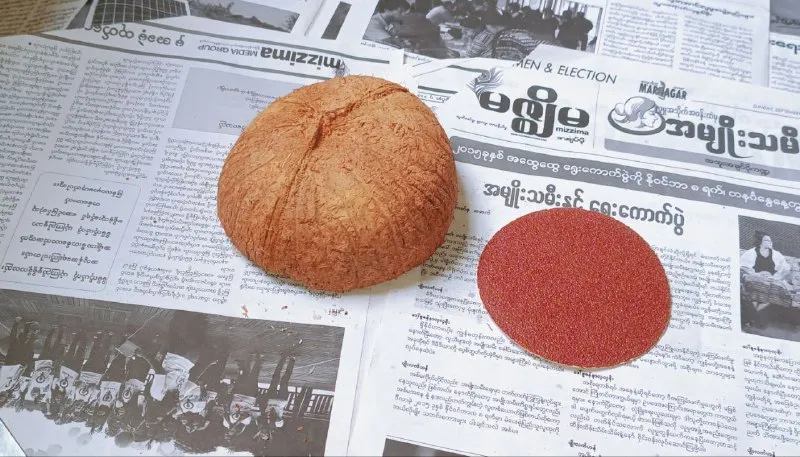
Materials:
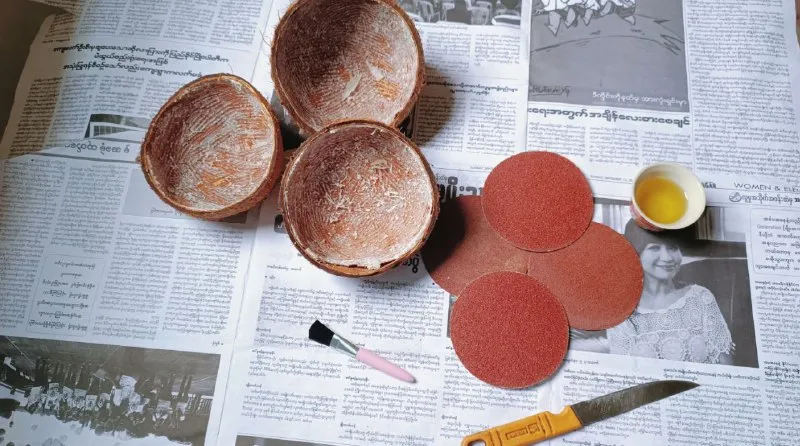
- coconut shells
- knife
- oil
- sandpaper
- paint brush
Step-1
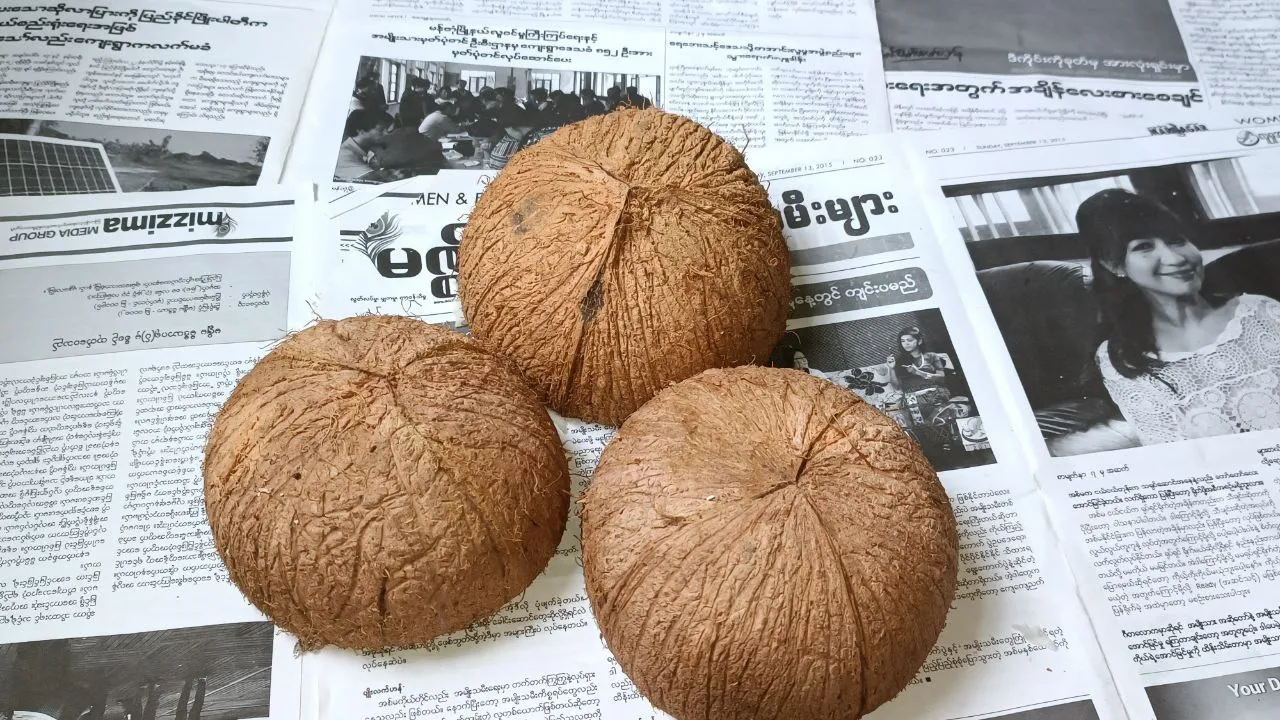
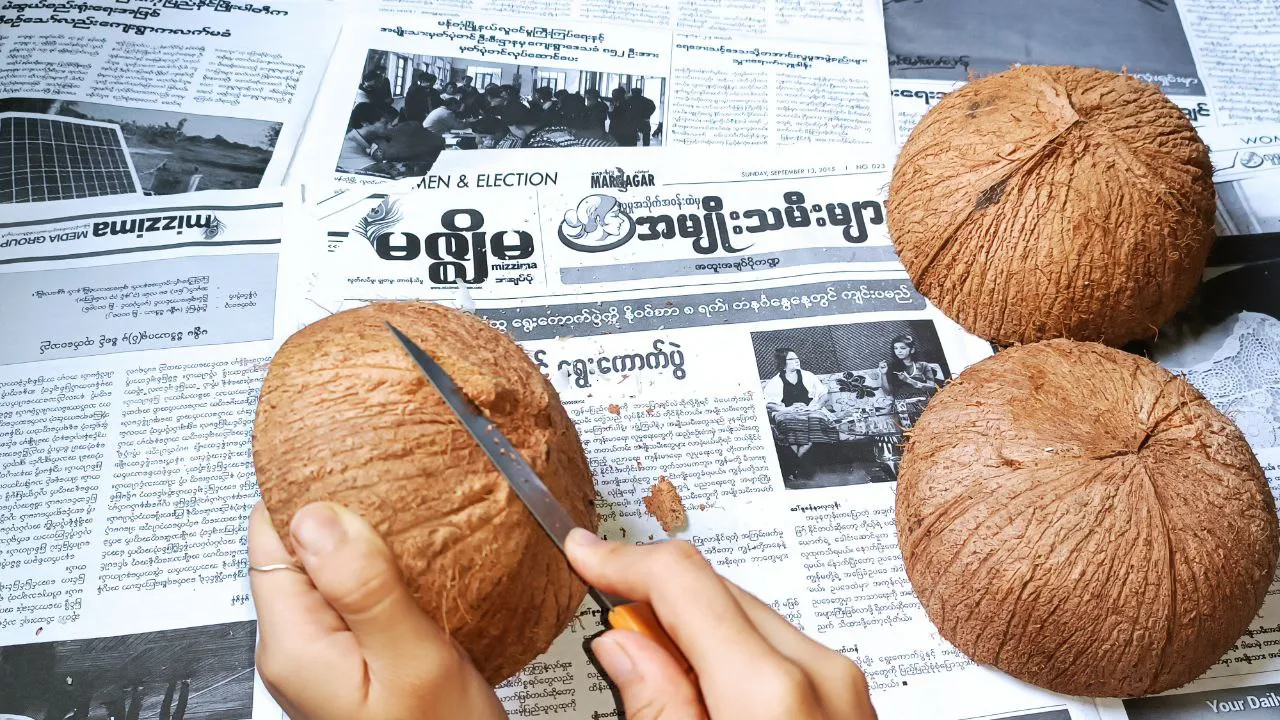
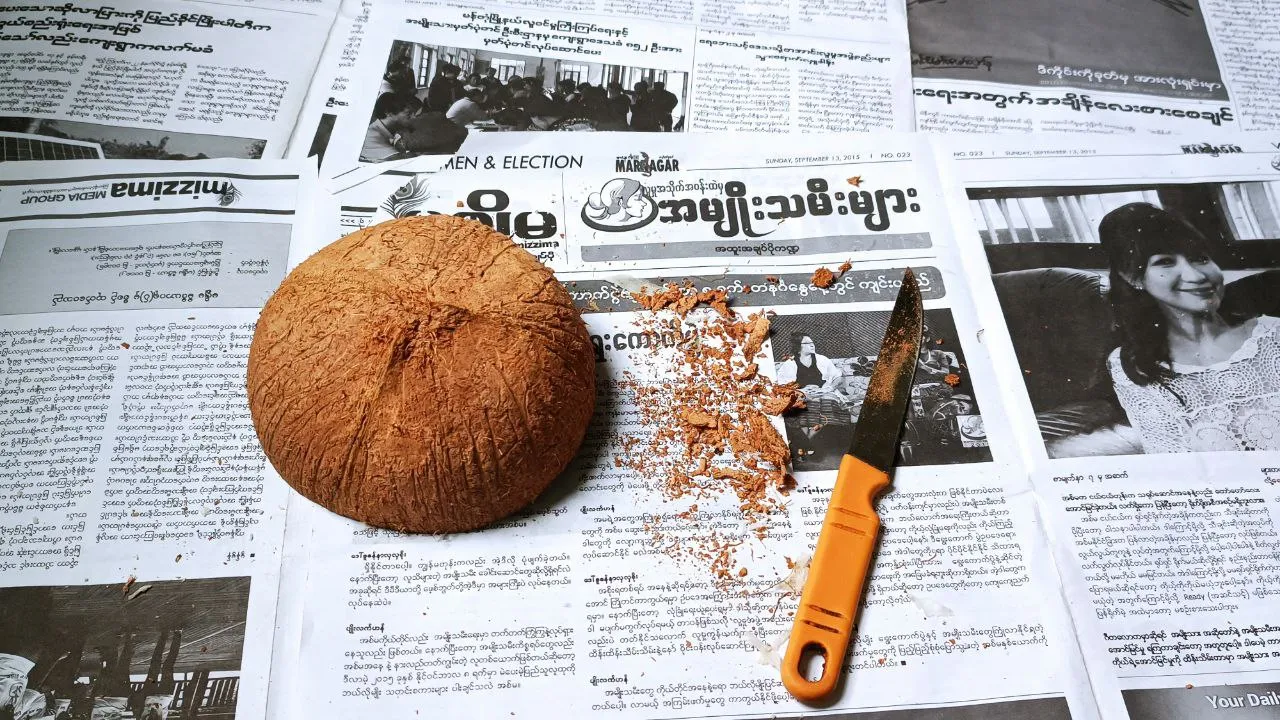
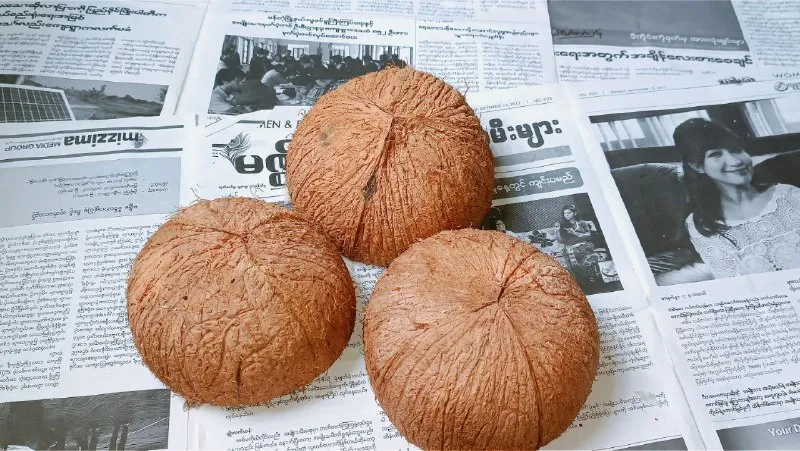
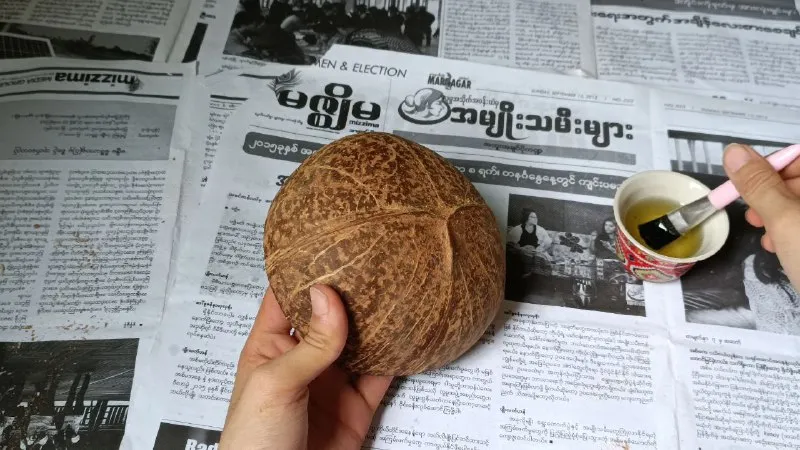
I have been keeping these coconut shells unused for a long time. For the bowl, I chose coconut shells with uneven edges. Because they are more beautiful in my eyes. Coconut shells still have husks. I used a knife to remove the husks on the coconut shell. It is not easy to get rid of all the husks. But that's not a problem.
Step-2
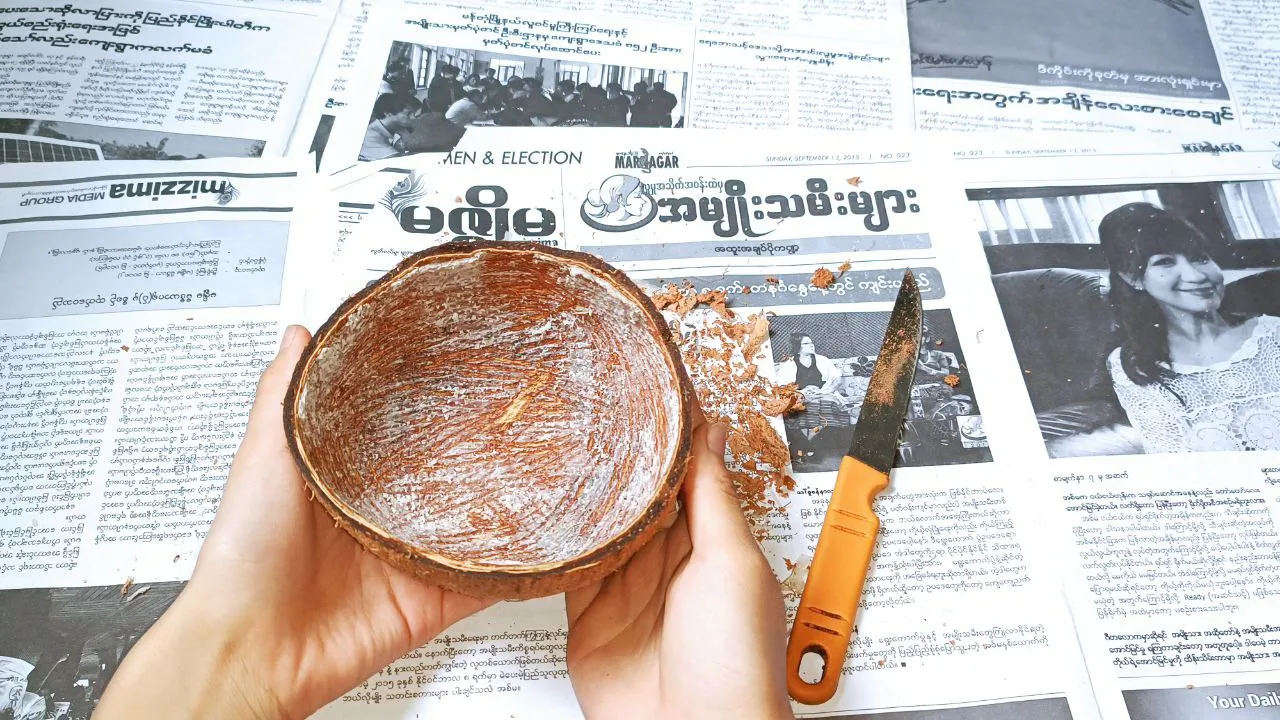
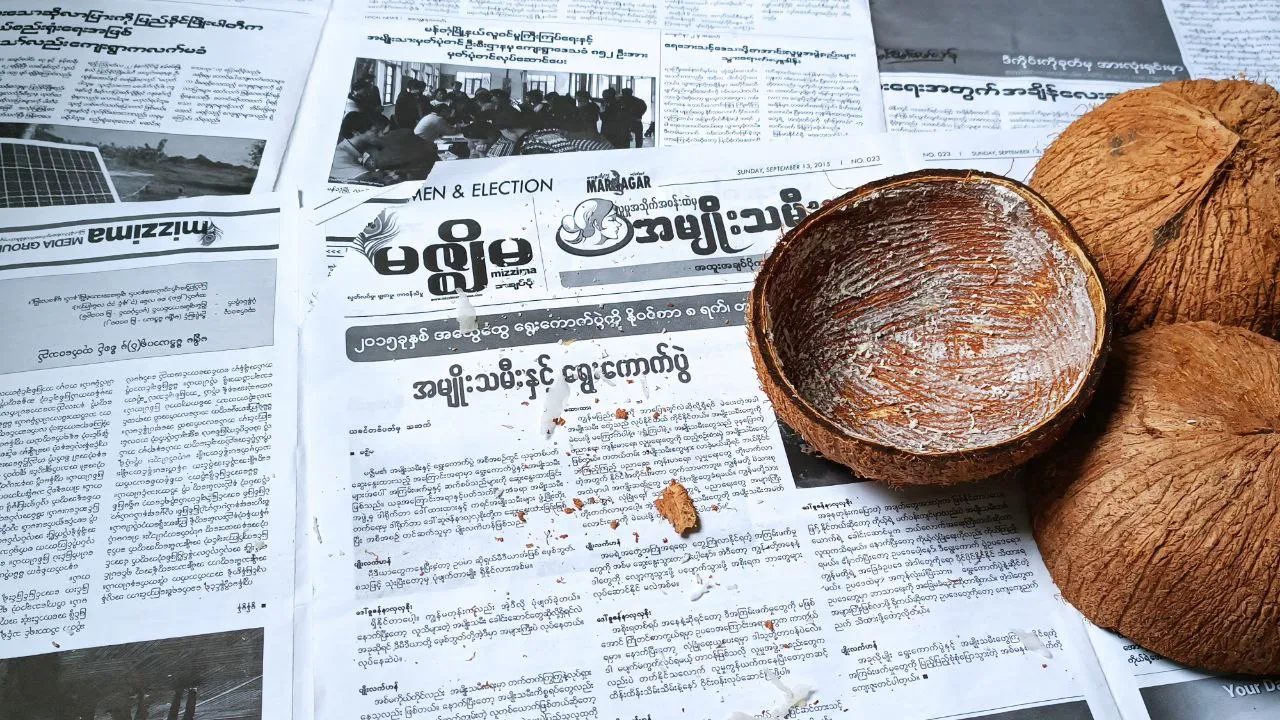
There were some coconuts inside, so I also removed them with a knife.
Step-3
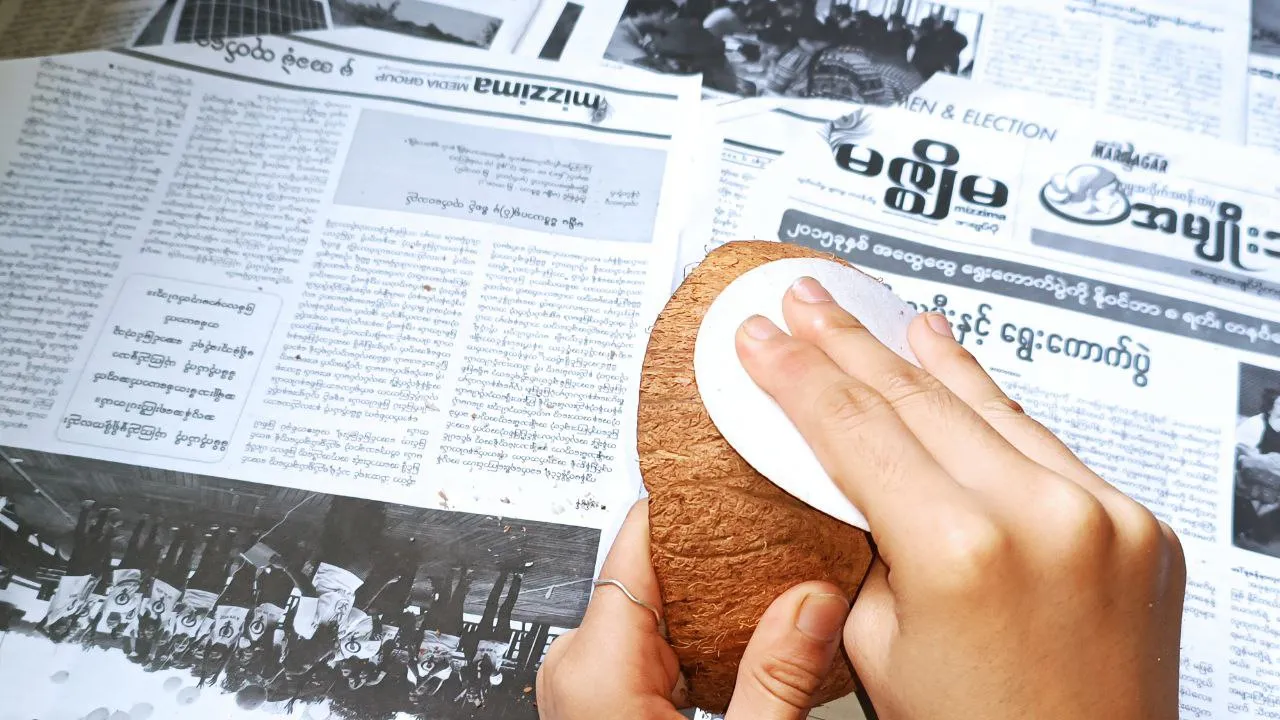
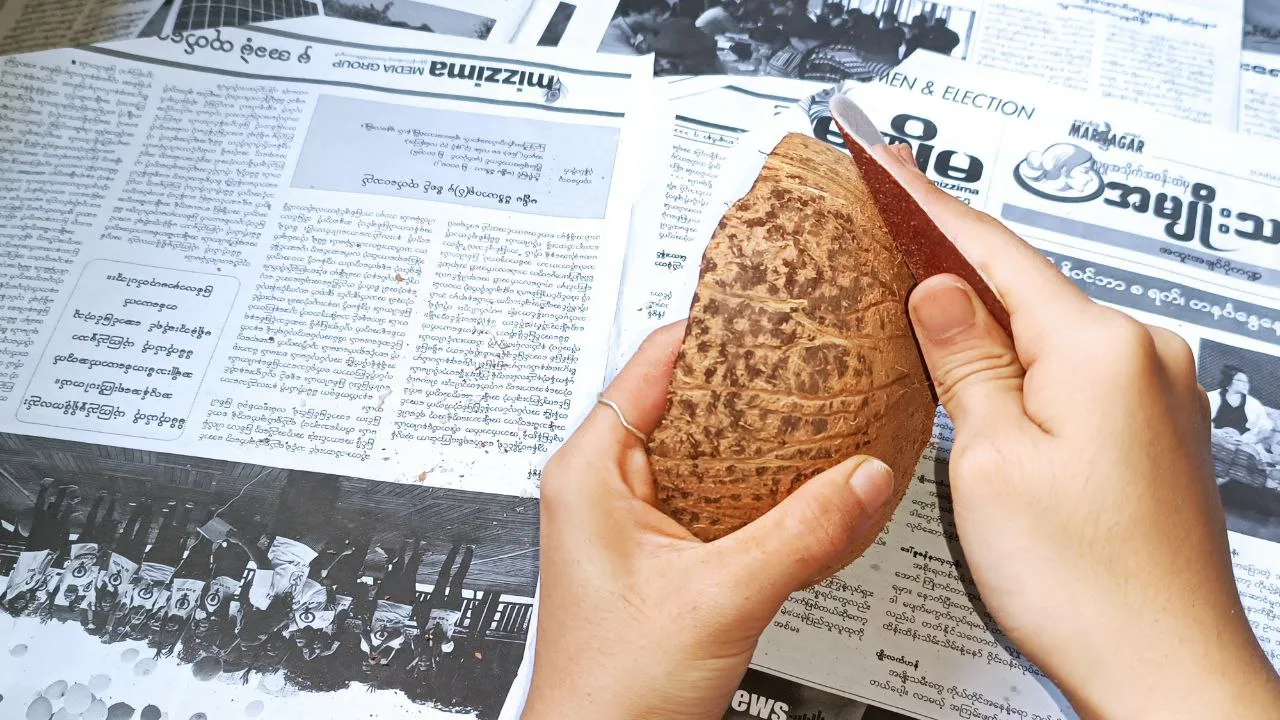
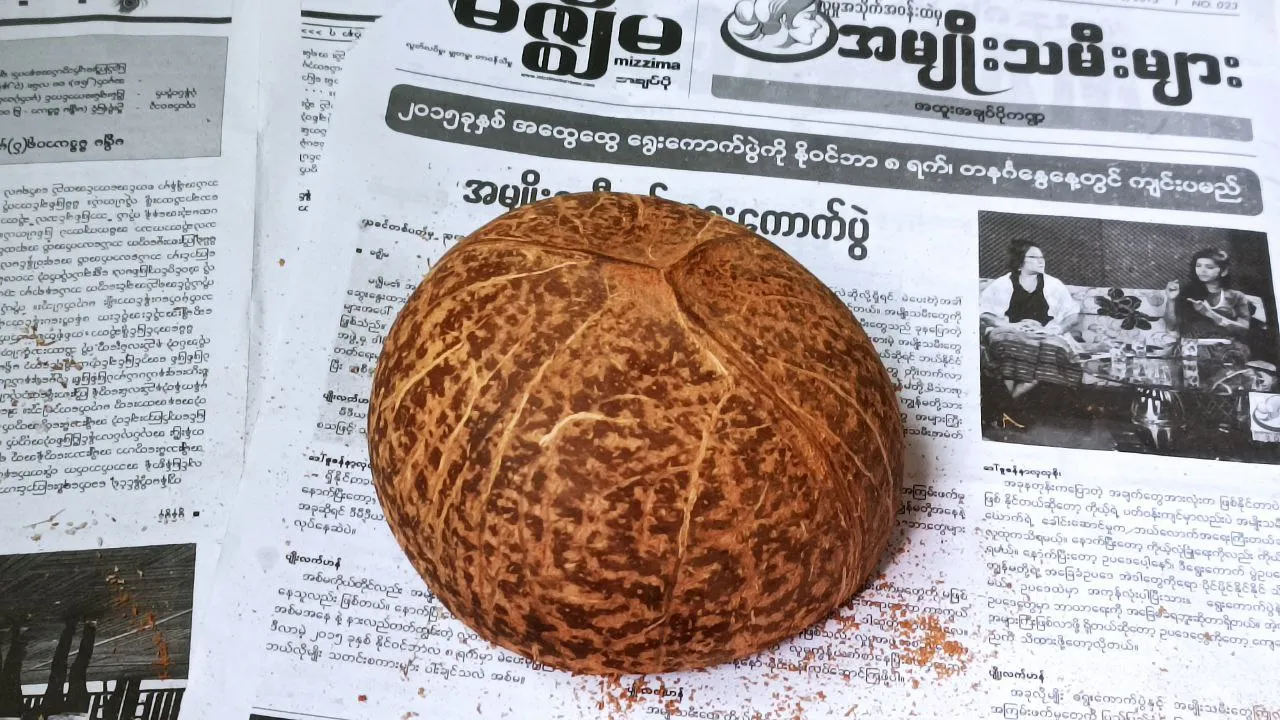
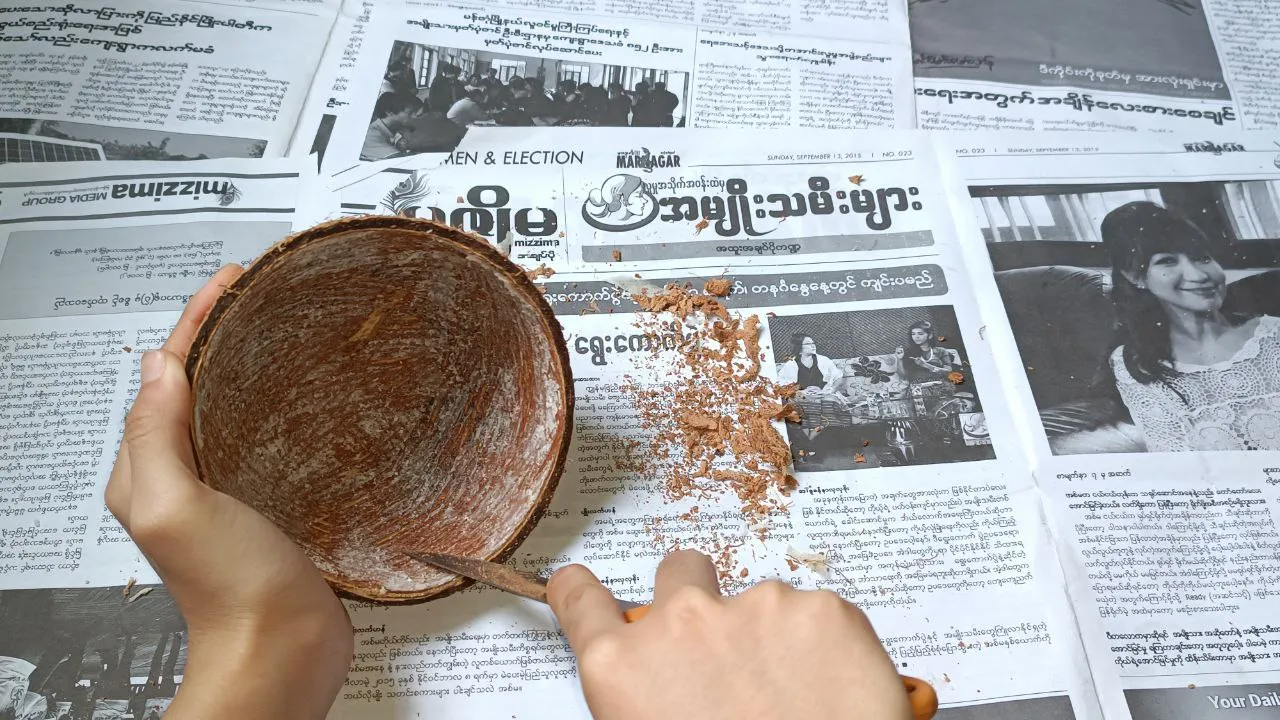
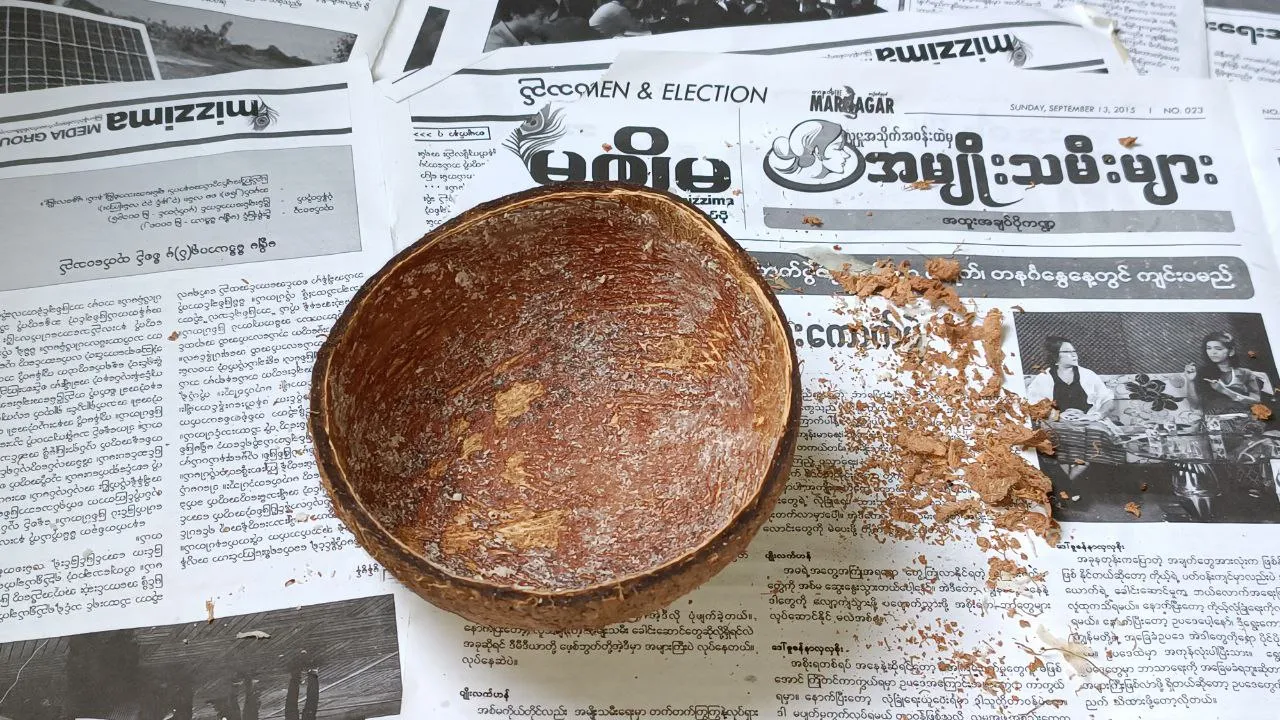
In step 3, I used sandpaper. With sandpaper, I rubbed the entire coconut shell. Somewhere on the coconut shell, I rubbed with sandpaper until it turned black as shown in the third picture. That way I removed all the coconut husks that could not be removed with a knife.
I made another coconut shell the same way.
Step-4
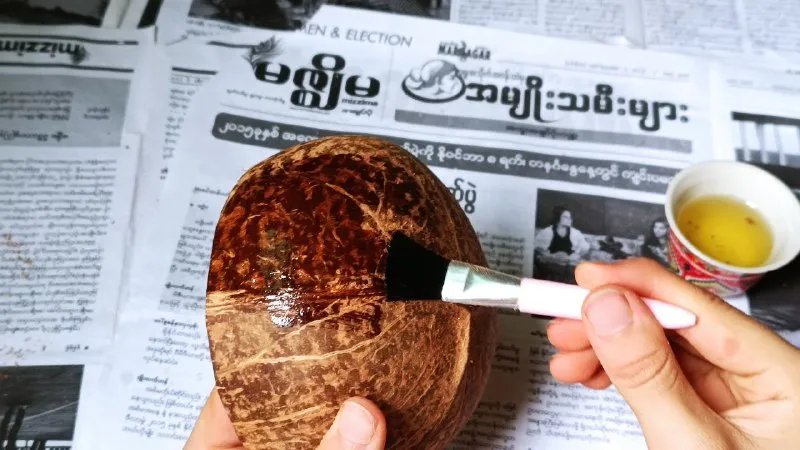
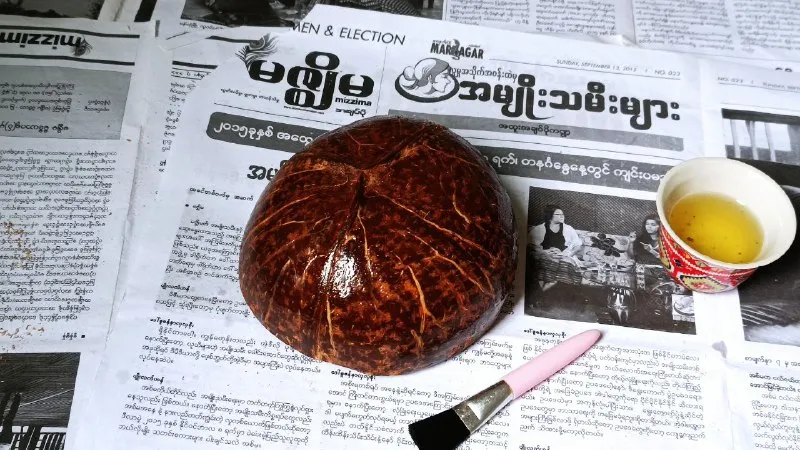
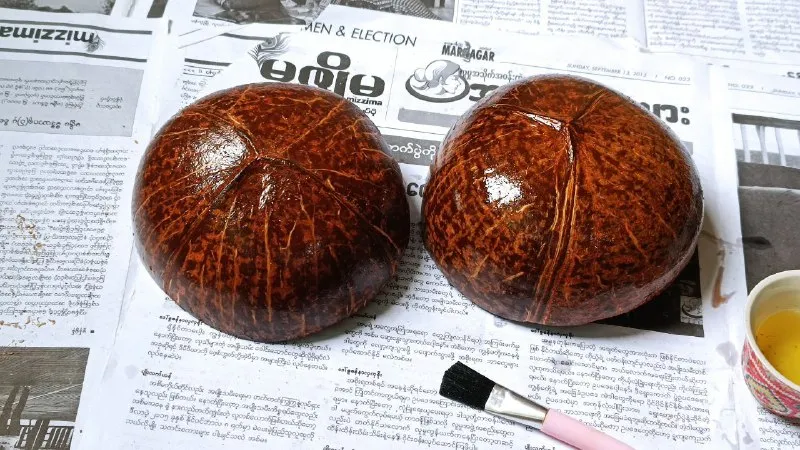
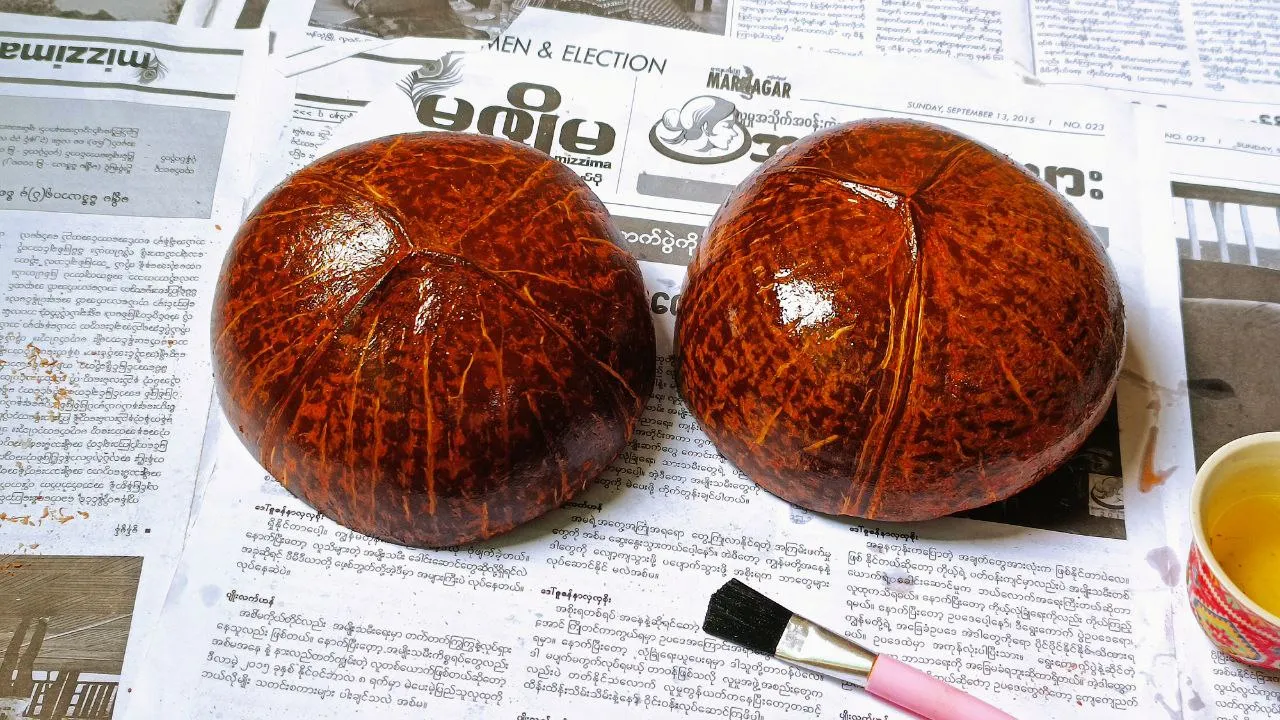
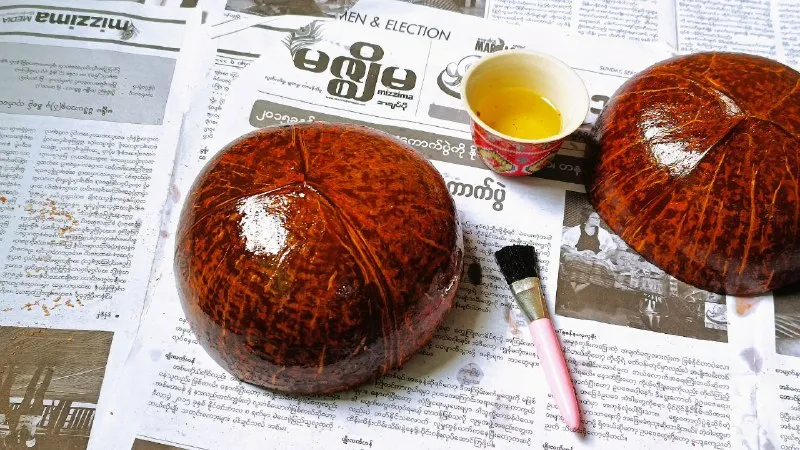
This step is the last step in making a bowl. Up to step 3, the color of the coconut shells was black and not pretty. Coconut shells are more beautiful if they are glow. So I used oil and a brush to apply it all over the surface of the coconut shell. I do not like the smell of coconut oil, so I used cooking oil. It does not matter what oil you use. You can use any oil you like. In the same way, I applied the oil on another coconut shell.
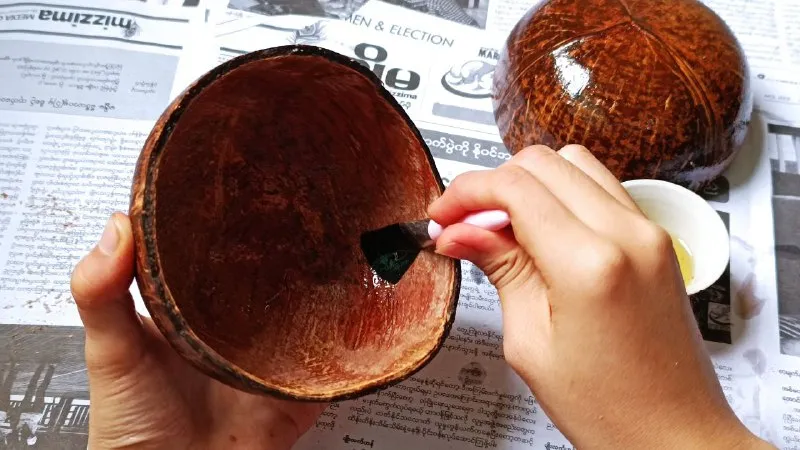
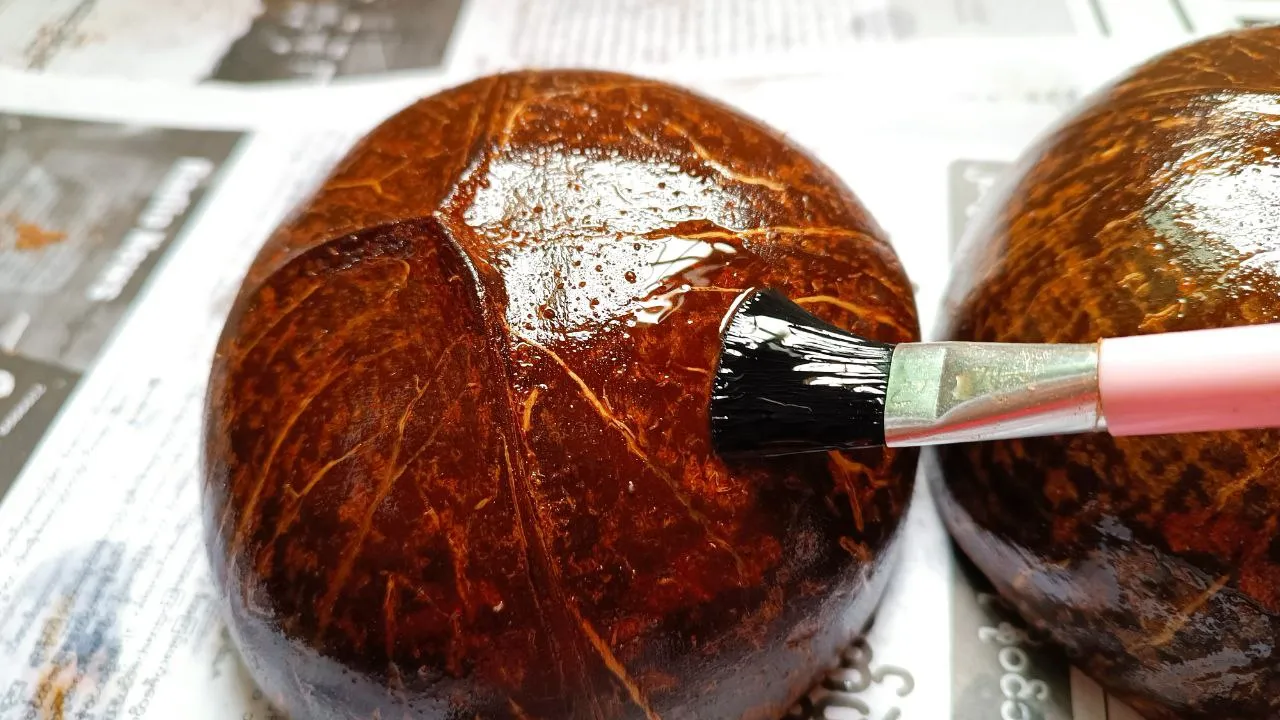
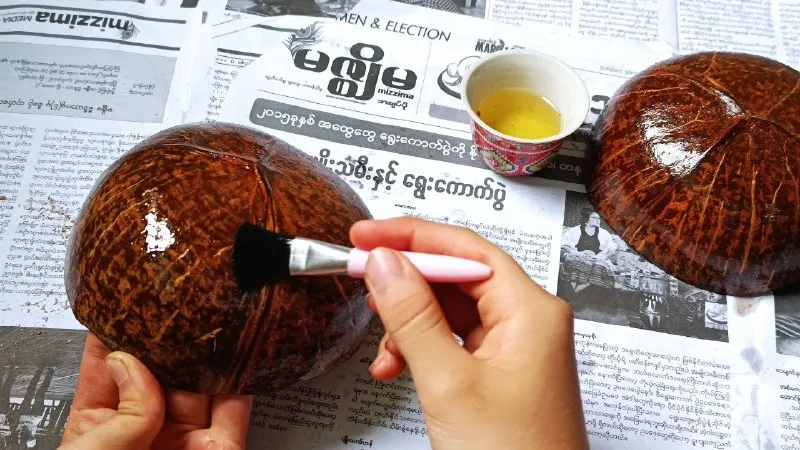
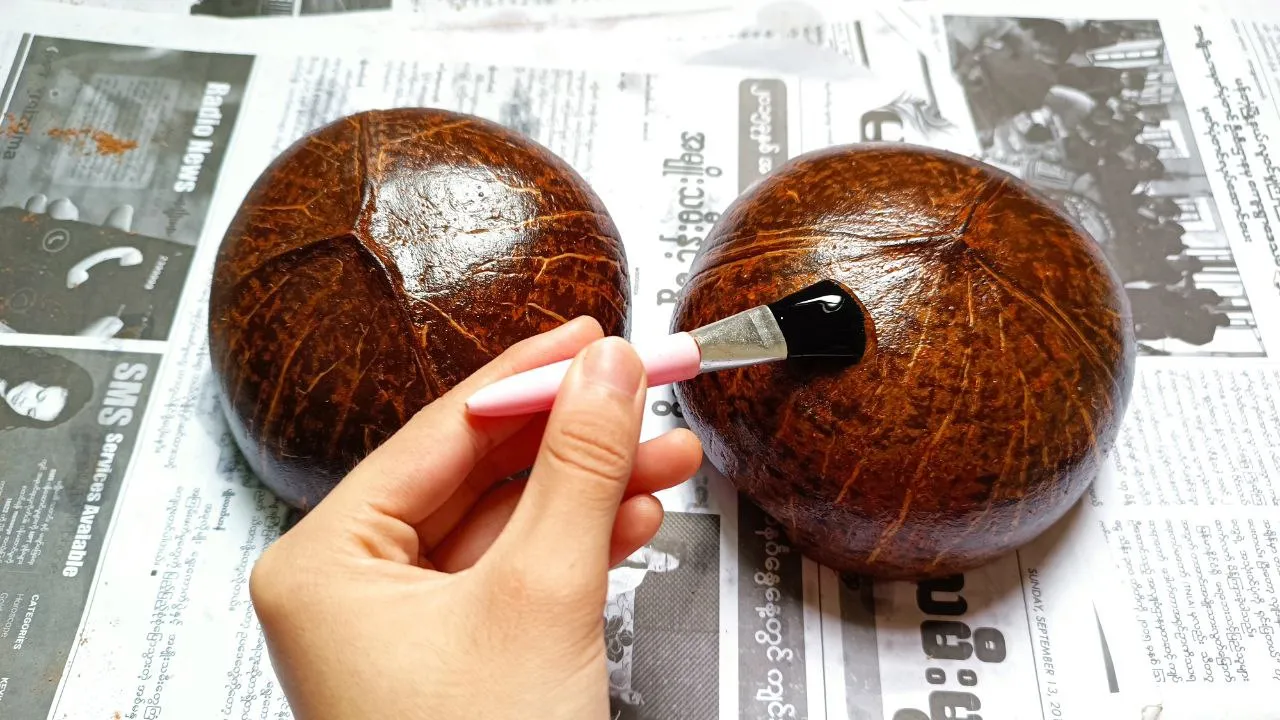
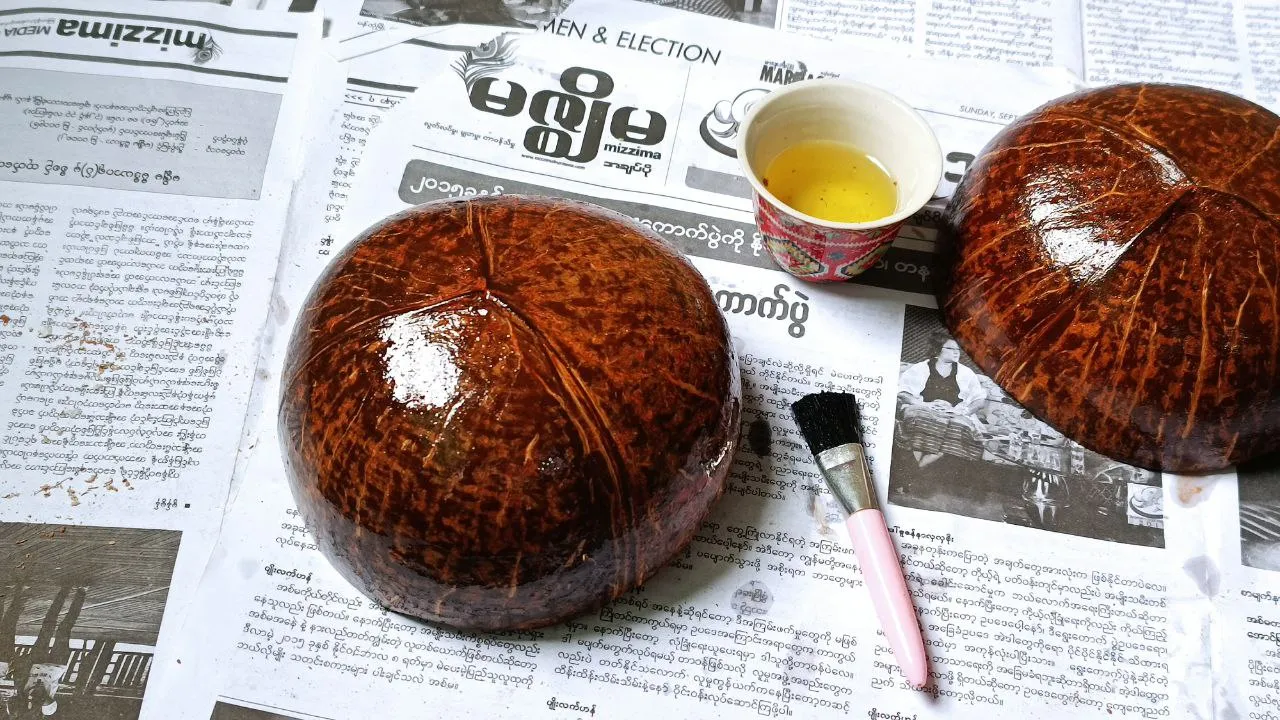
I also oiled the inside of the coconut shell. It is not a problem to oil the inside of the coconut. The outside of the coconut shell cannot be oiled only once. When the oil dries, you need to reapply the oil. Only then will the coconut shell be glow. In the same way, I re-paint the oil on the two coconut shells 4 times.
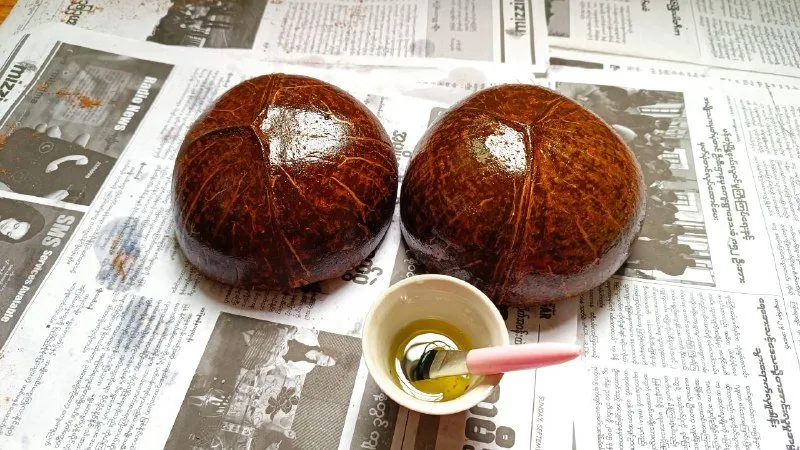
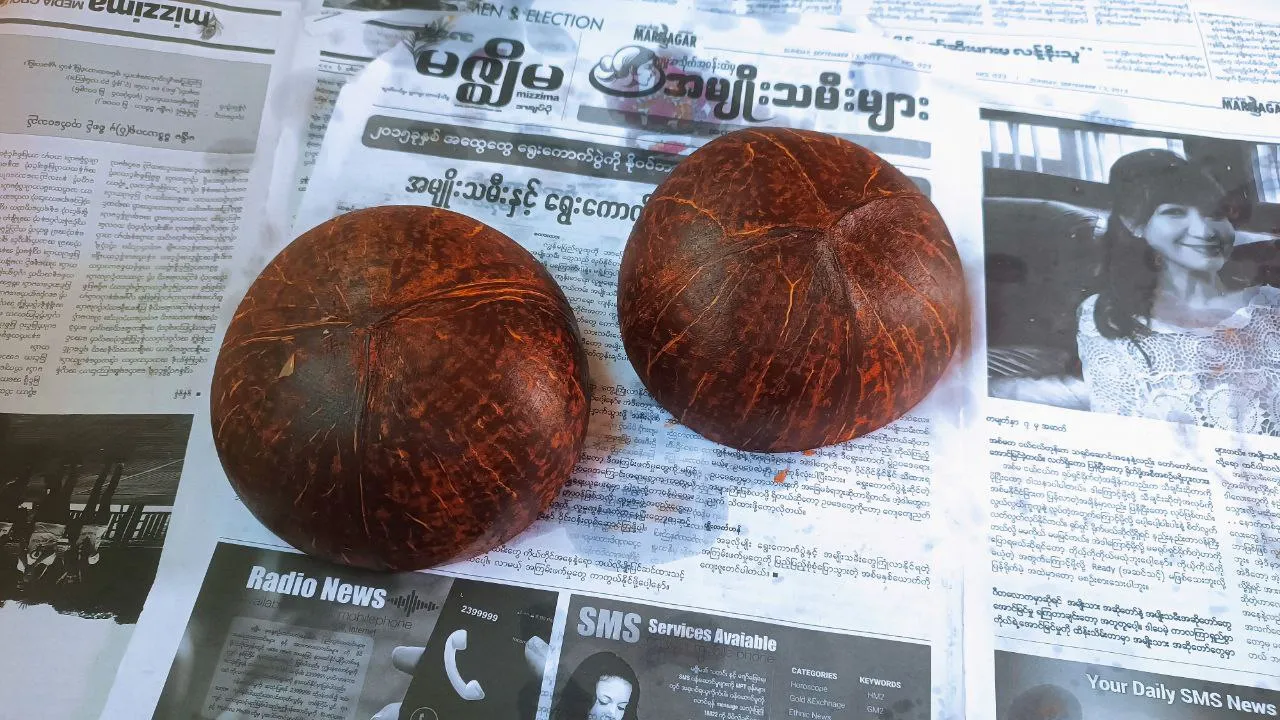
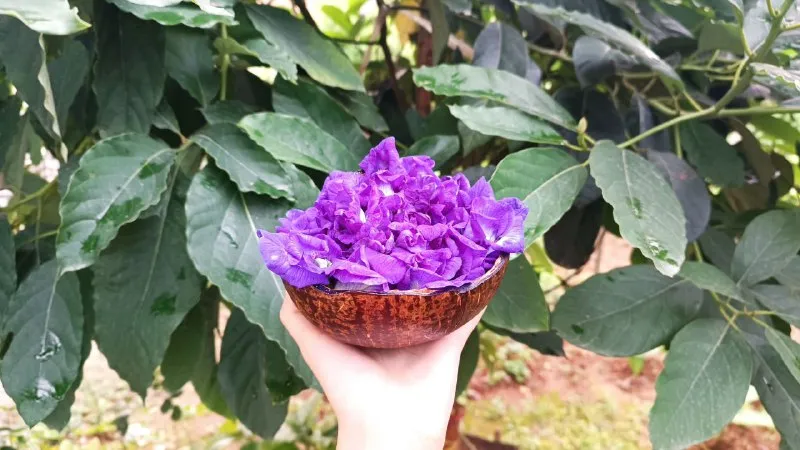
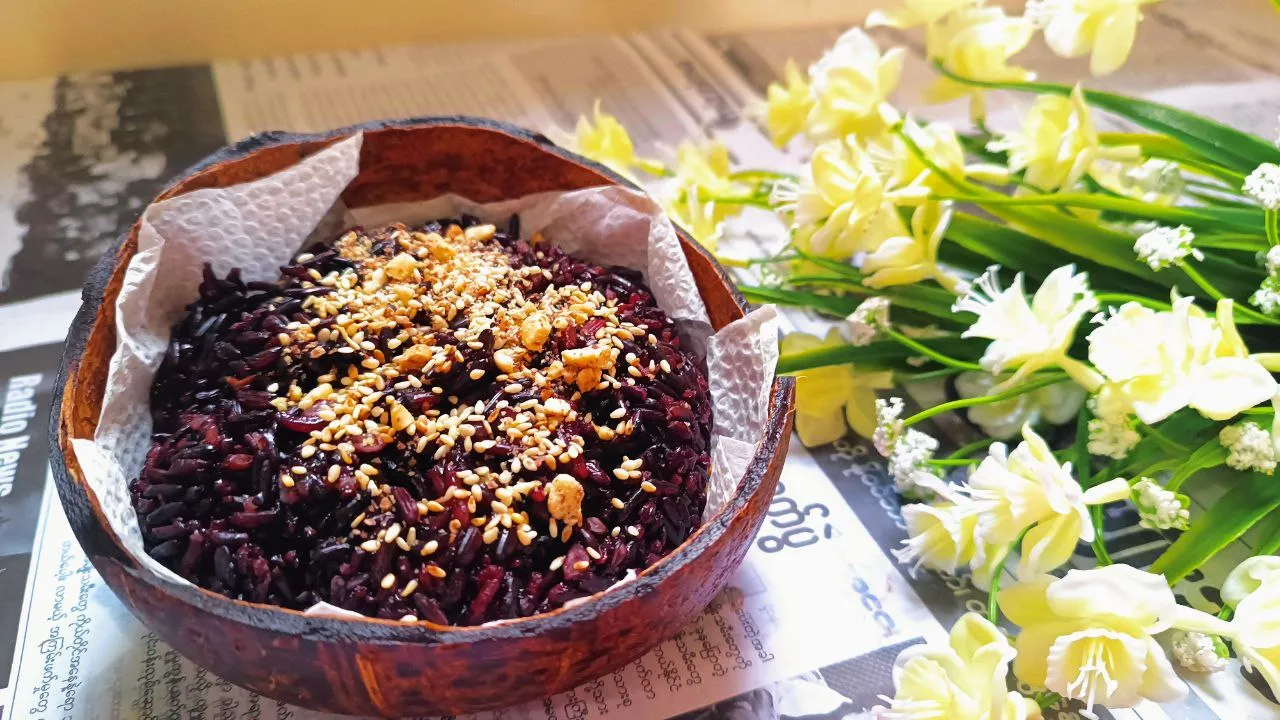
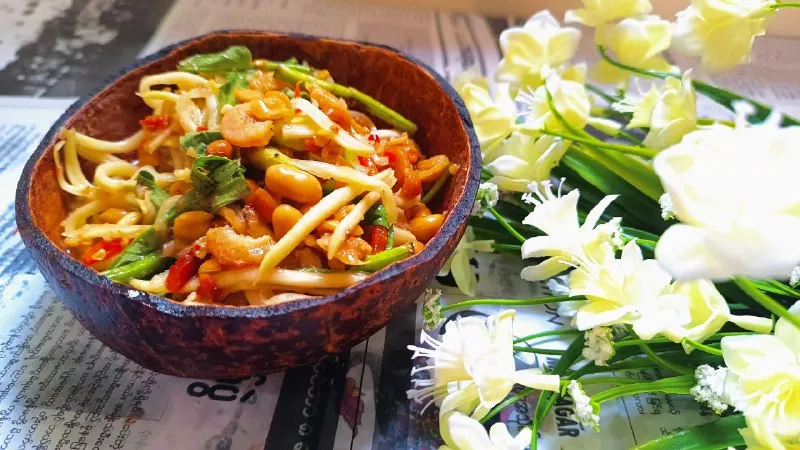
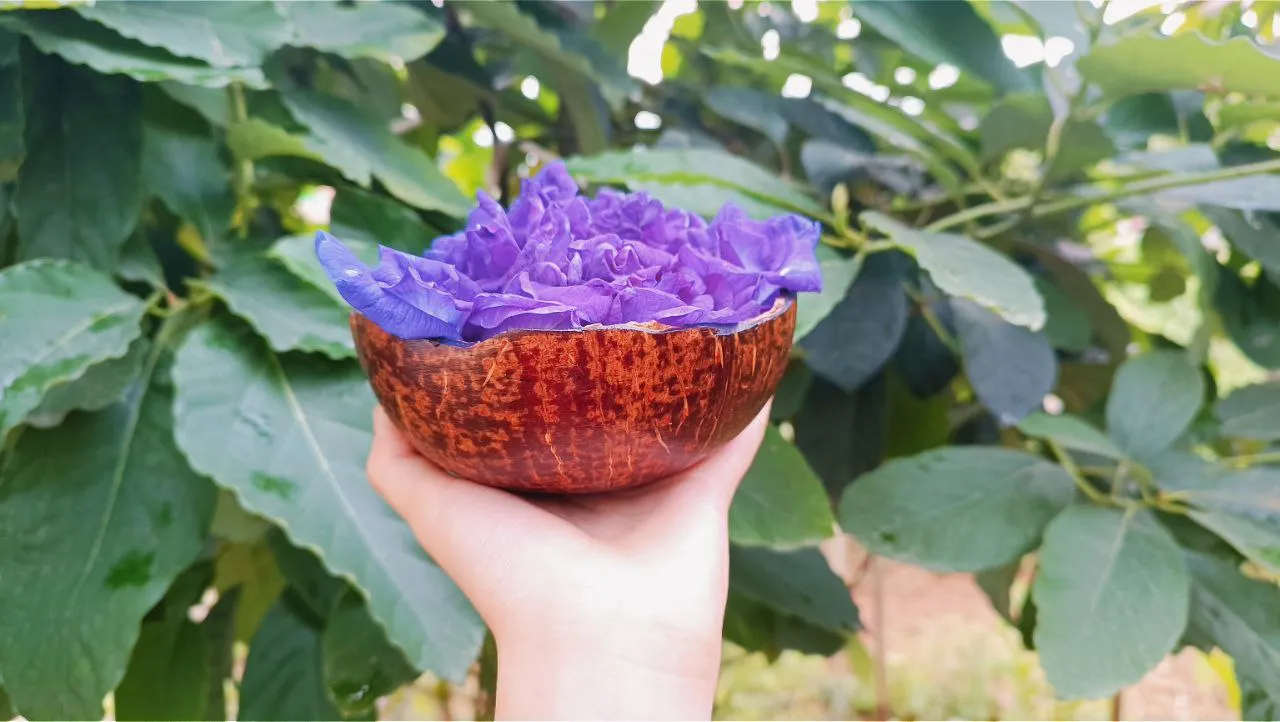
Once the oil is dry, you can start using the coconut bowls. Do you think these coconut bowls are easy to make? In fact, these coconut bowls are easy to make and do not require a lot of necessary materials. And there are not many steps to do. And these coconut bowls are useful, so if you like them, you should give it a try. Below I also show some pictures.
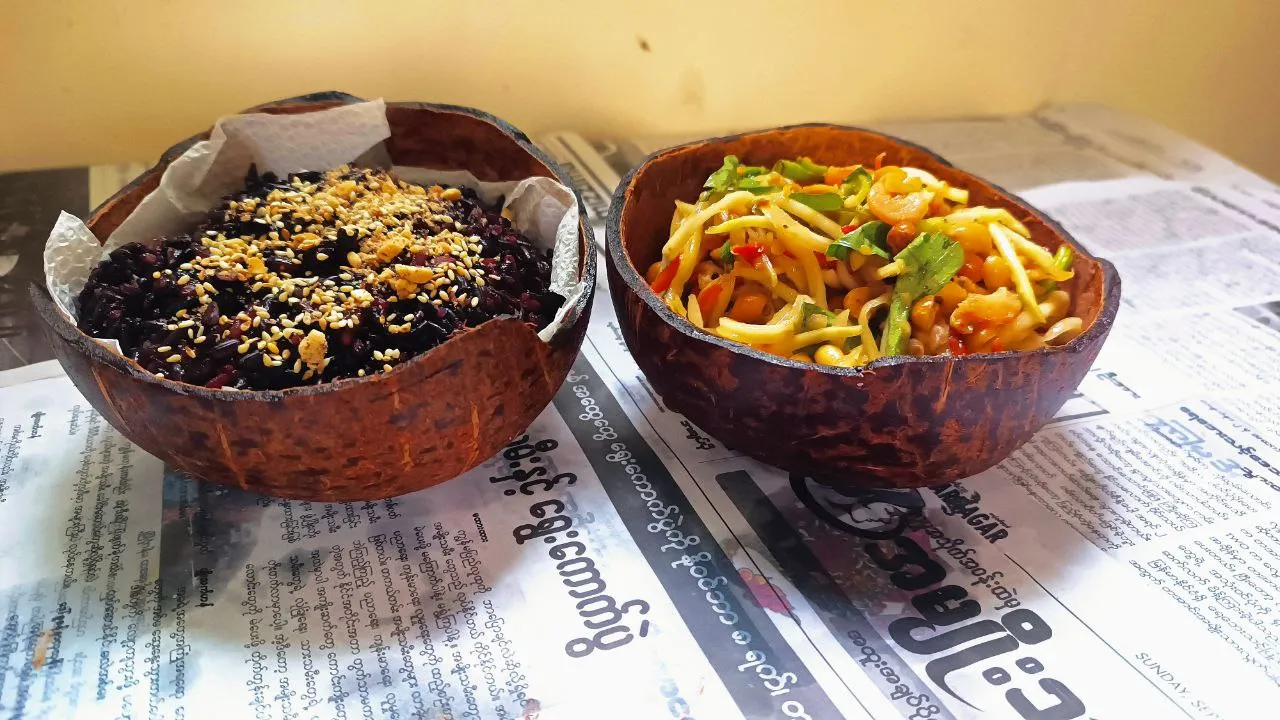
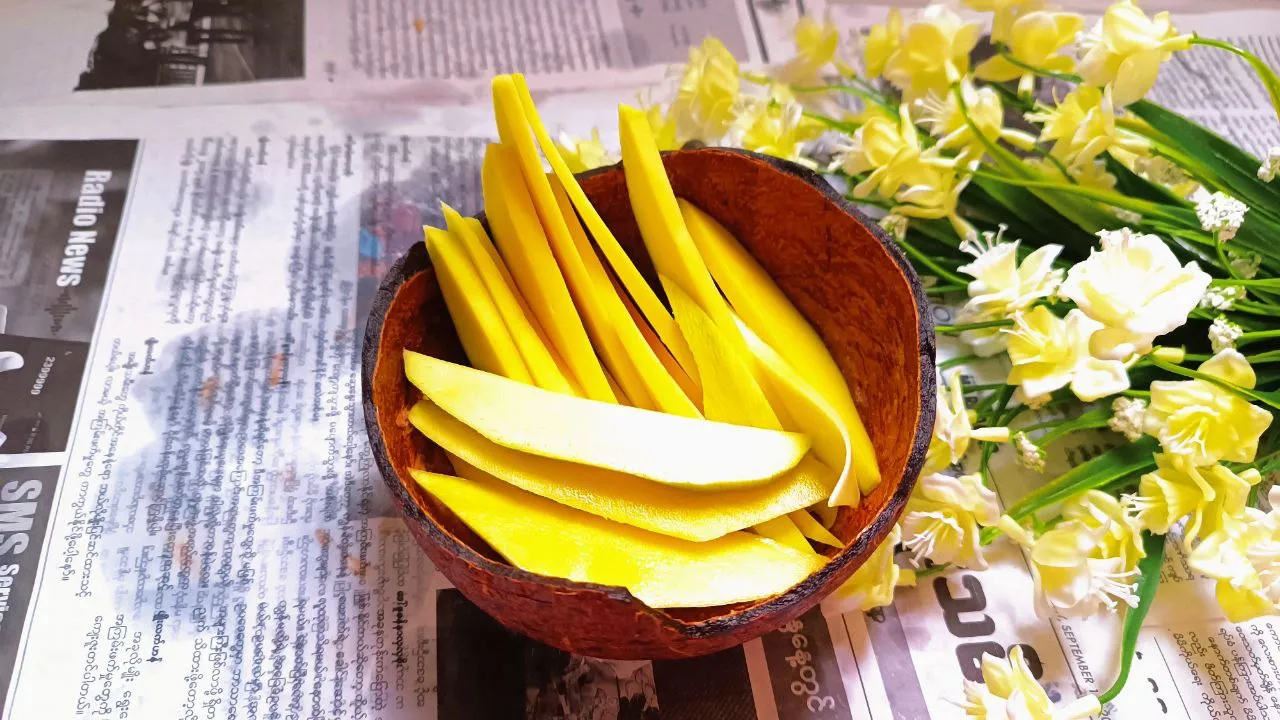
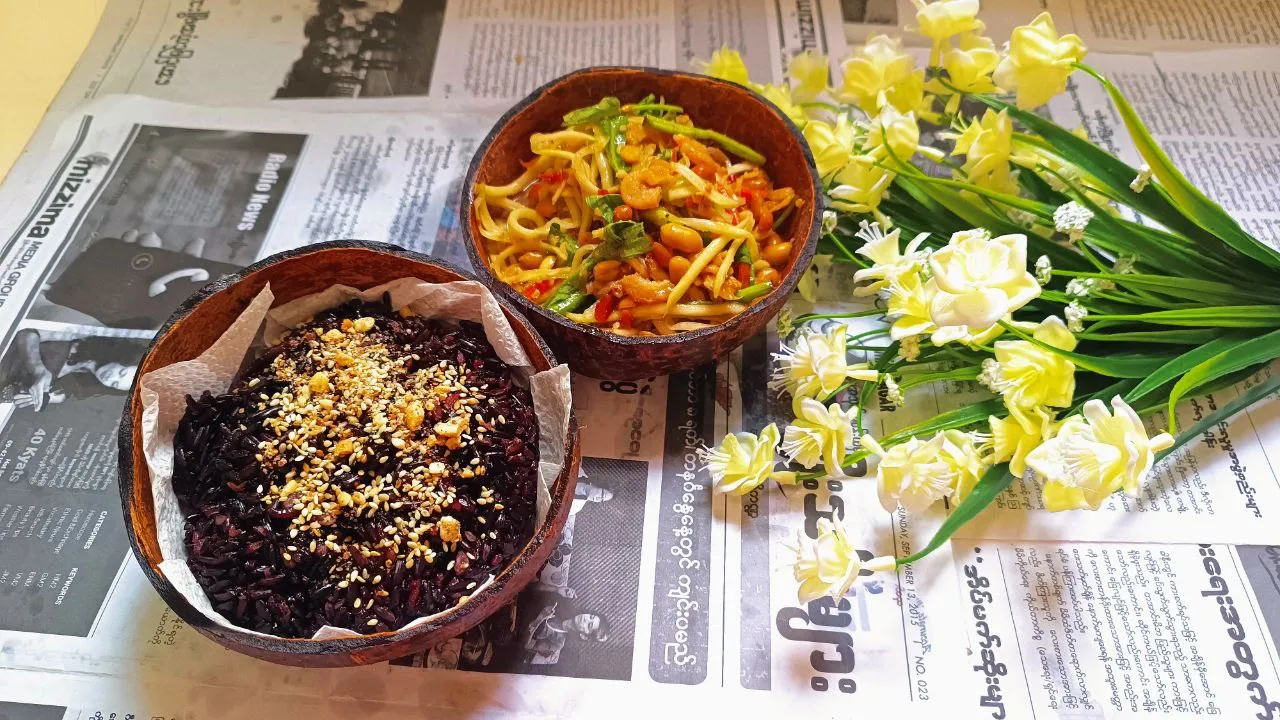
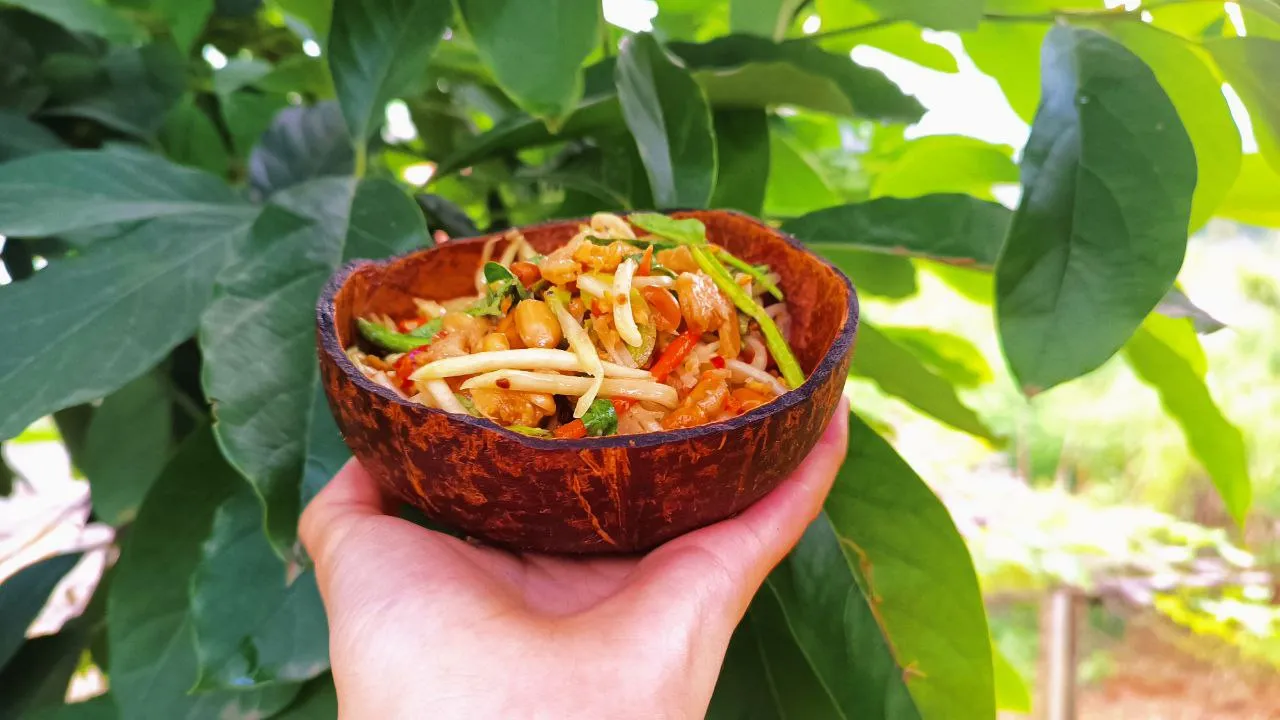
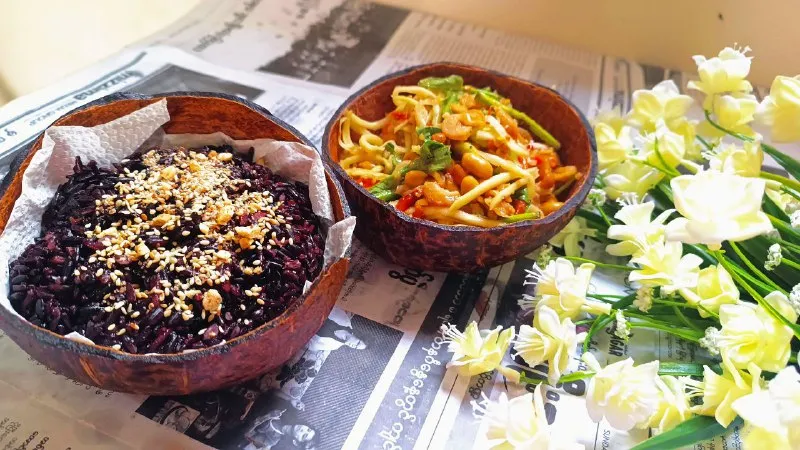
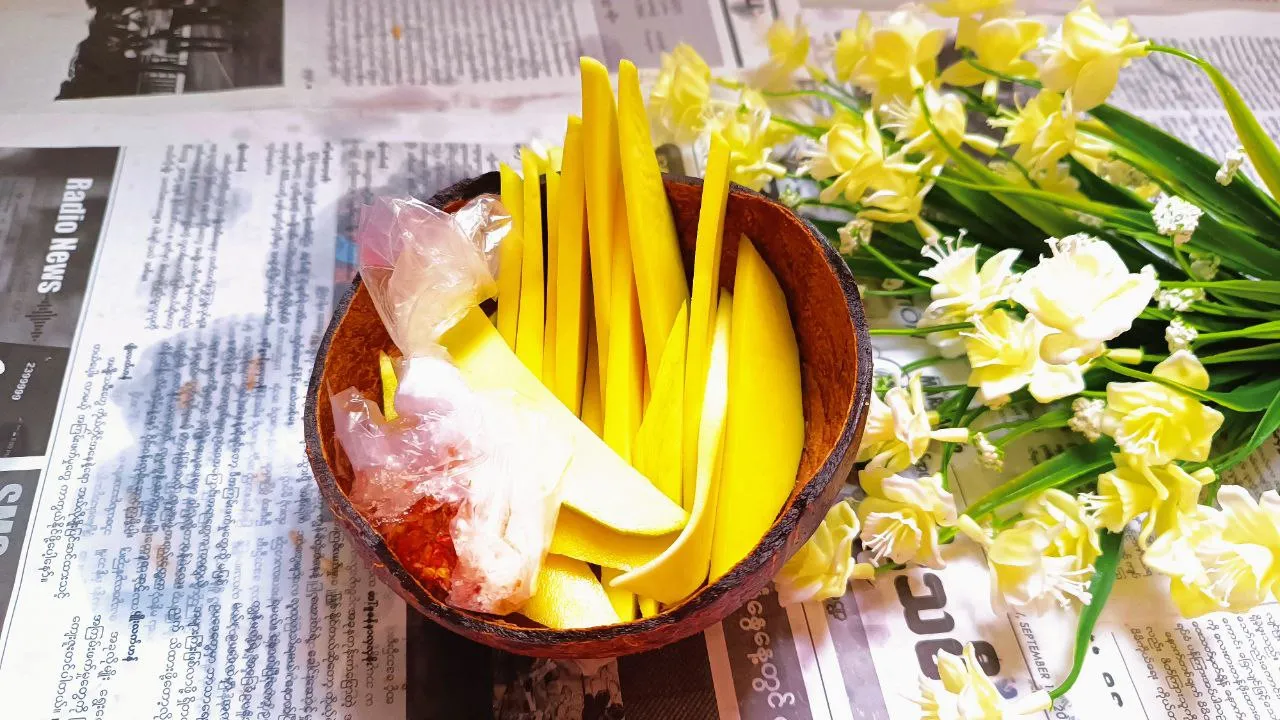
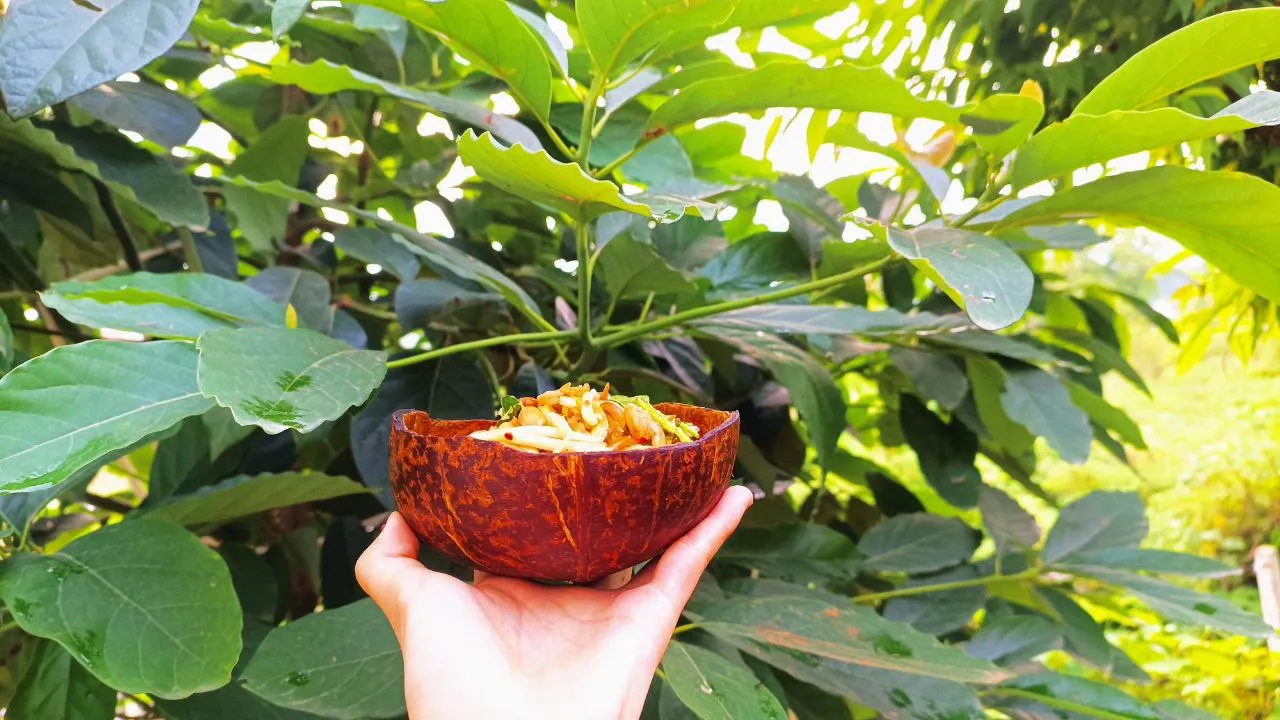
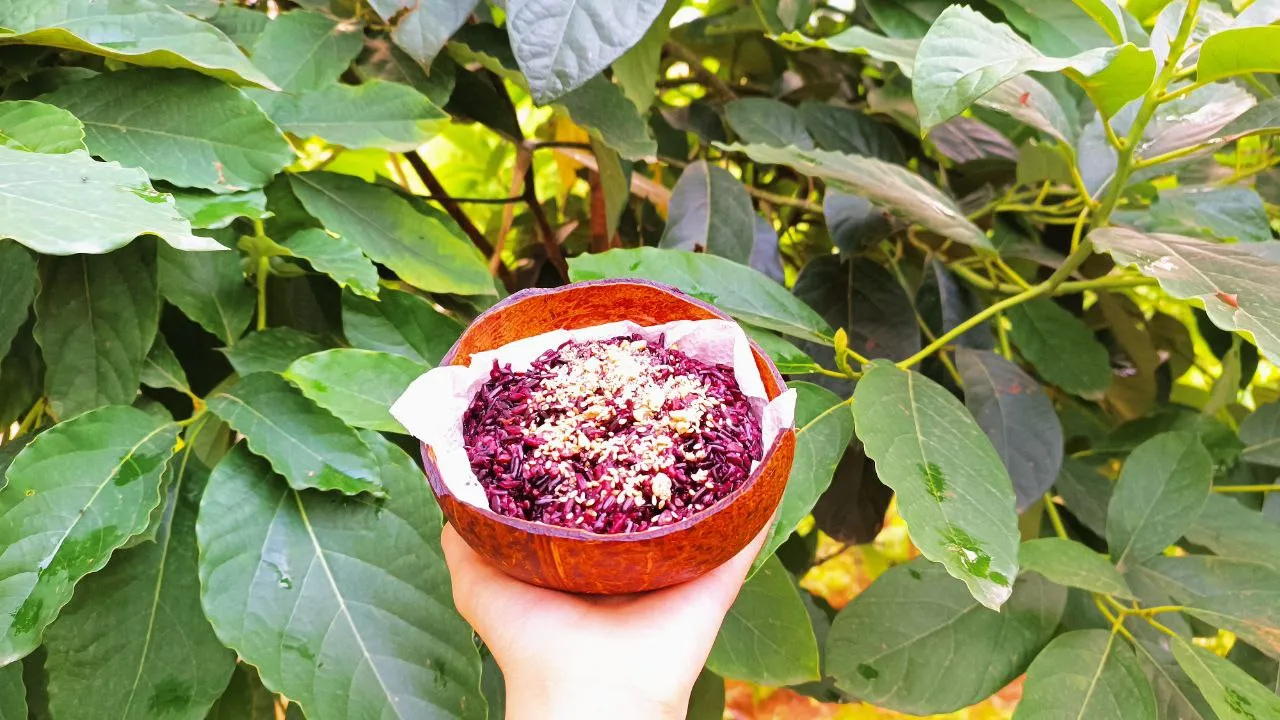
In those two bowls, I tried the snacks my mother bought. The photos I saw were very beautiful to me. Next day I will try another DIY using coconut shells. Thank you so much for reading my post to the end. Bye Bye. See you next post.🍇