Another week, another challenge!
As much as possible, I'd like to participate in this community's challenges every week. There are times when I couldn't due to my schedule, sometimes I don't have anything to share and there are also times when I'm just being lazy. I'd like to avoid the latter, though.
Anyway, for this week's ASEAN Hive Community Challenge, the topic is DIY Projects.
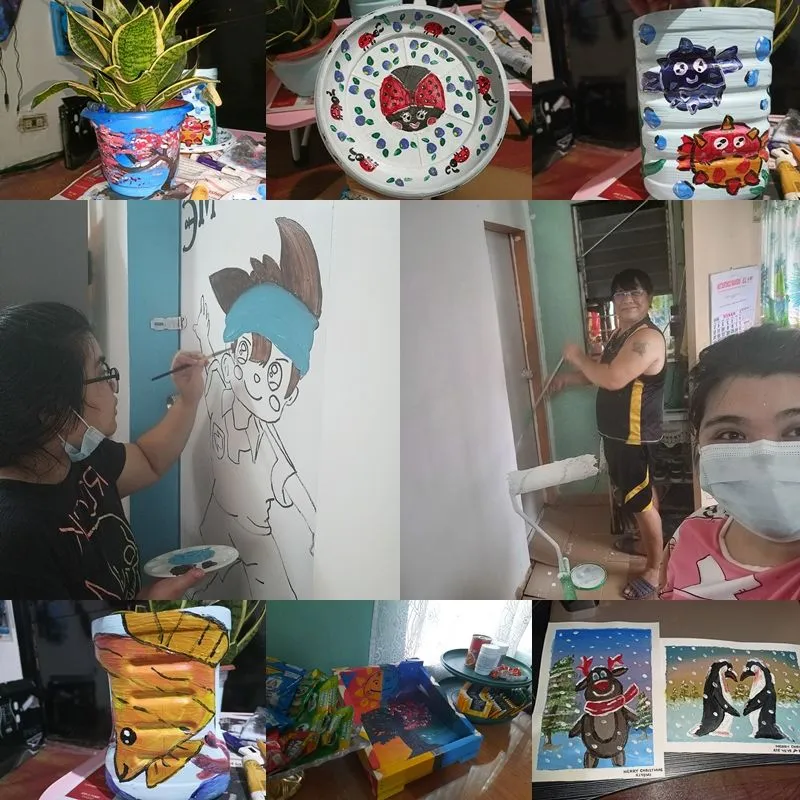
DIY projects aren't new to me. My father and I usually enjoy making something we could use at home. We also do our own repairs and the like. There were times when mama requests us to make something for her like a side table, condiment rack, shoe rack among others. I've even shared several blogs about our DIY projects in the past.
I didn't have anything planned for this post at first, so I was in two minds whether to join or not. Aside from that, I also don't have much time to make or build something. However, I tried to challenge myself to actually create a small project which I could do during my break time from work.
I searched my room for things that need to get fixed or improved which are doable in a short amount of time and saw this small area in my mini office.
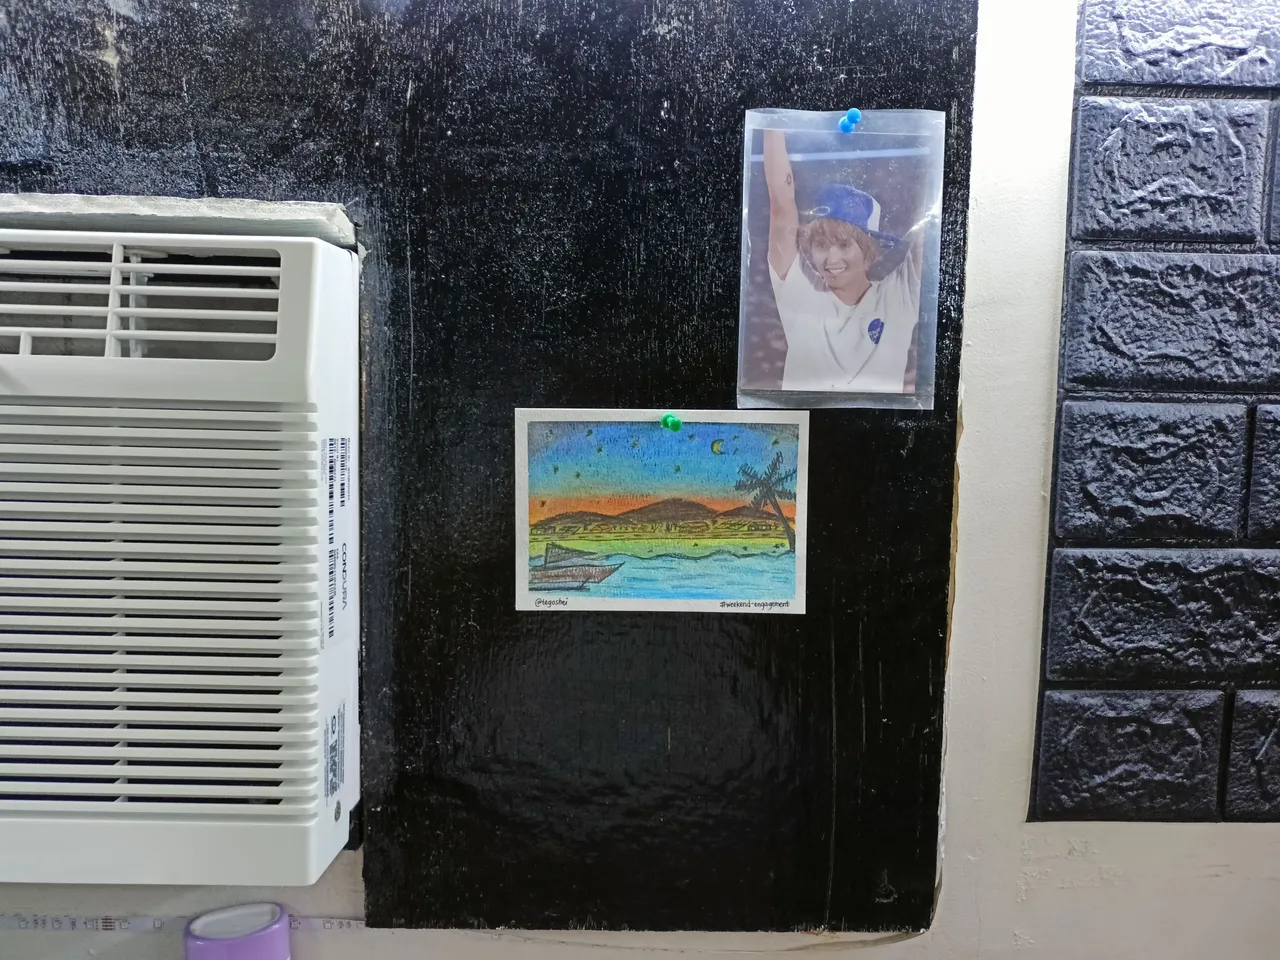
It's just a tiny space in which I placed a random artwork and Tegoshi's photo which was given to me by a friend. I thought of beautifying this space and make it functional by creating a mini bulletin board.
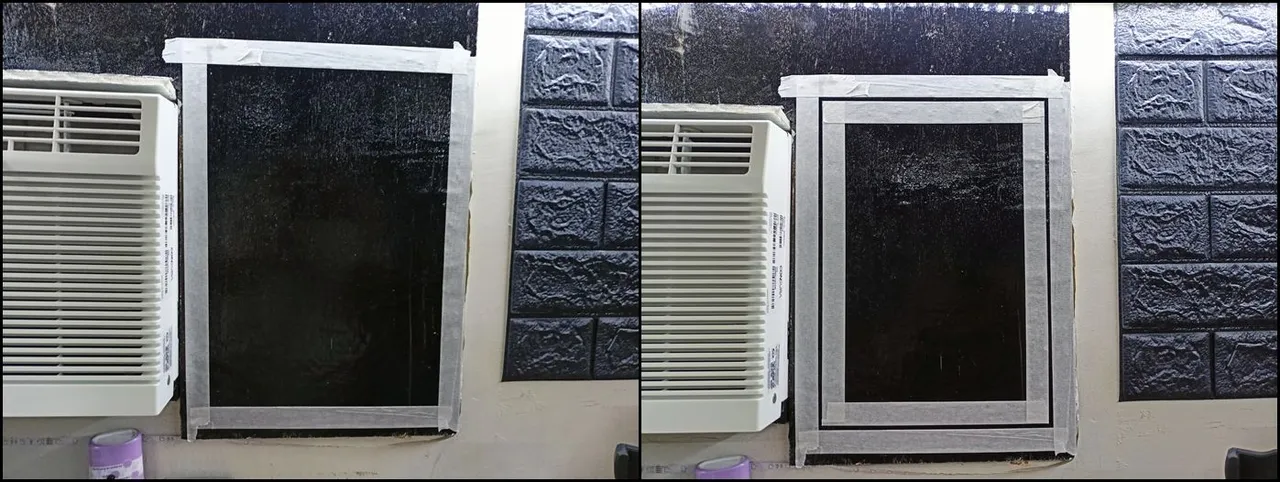
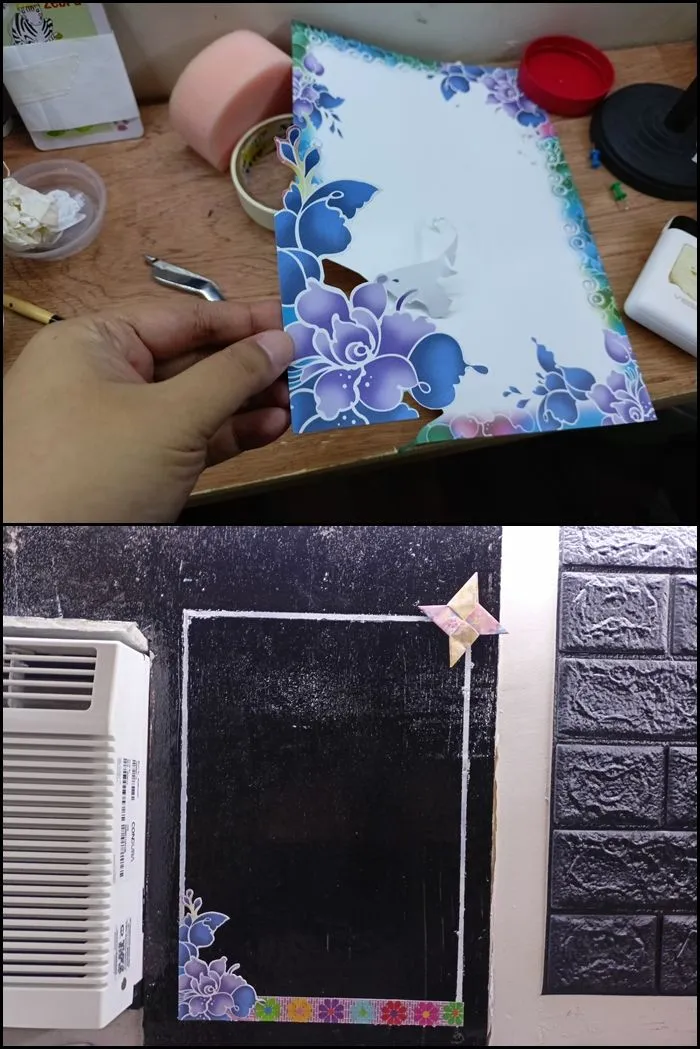
After removing the random items I once placed on this side of the wall, I placed some masking tape to make an outline for my mini bulletin board frame. You can change the size depending on the space that you have at home if you're planning to make one as well.
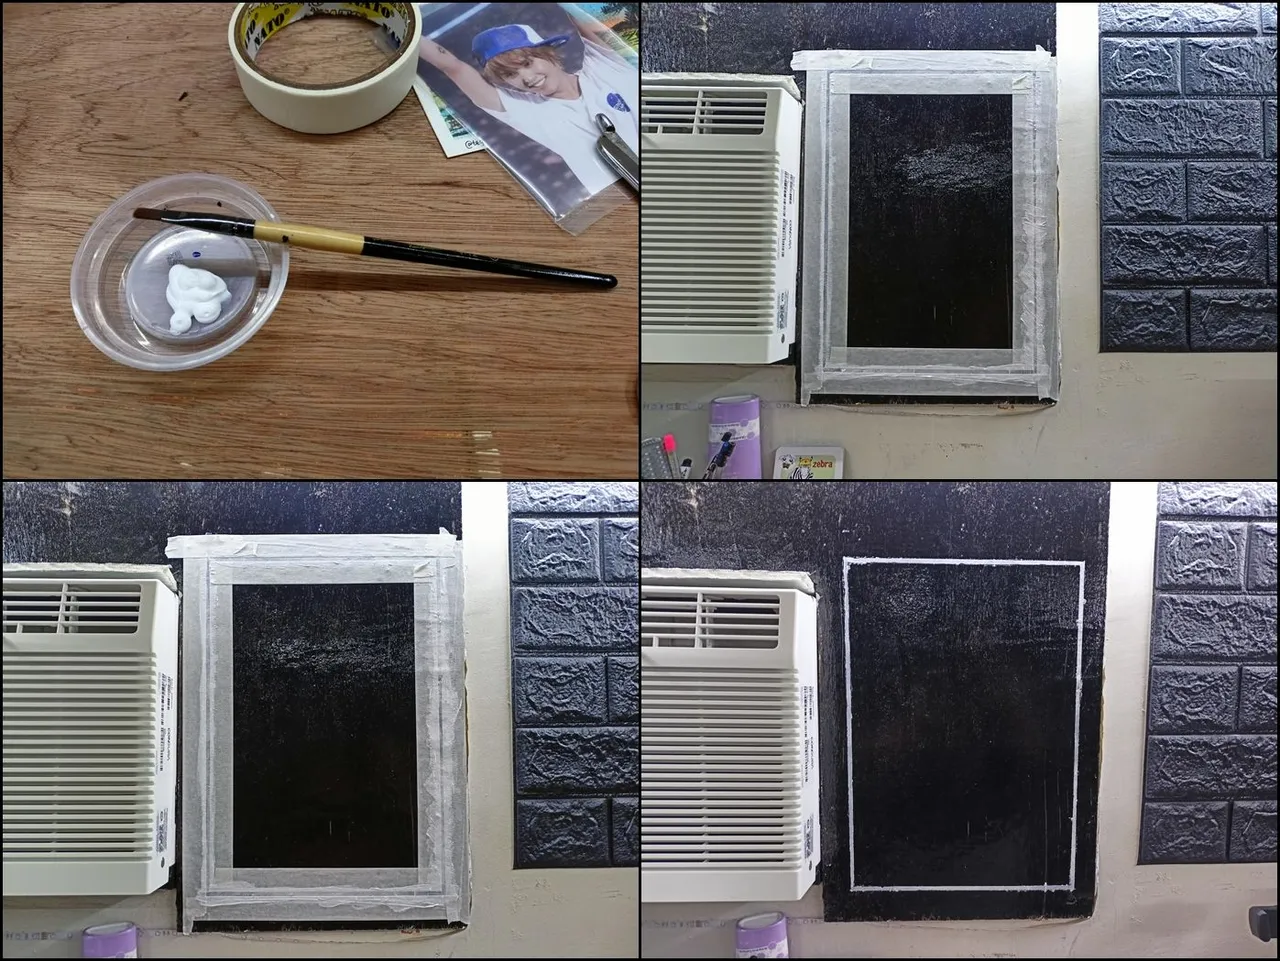
Using a white acrylic paint, I created the frame's outline. I used white because I plan to cover it up later on with some markers. In addition, my initial wall is black so white would be suitable. You can change the color to your liking, though. :)
I cut out some parts of my designed paper collection because they're the only ones I could use. I wanted to draw something, but it would take to much time, so I settled with some cutouts. I also used the shuriken I made during the origami challenge last time. You can choose any design that you want. You can either cut some magazine, draw something or even print out something. If you have some stuff for scrapbooking, it would be very useful.
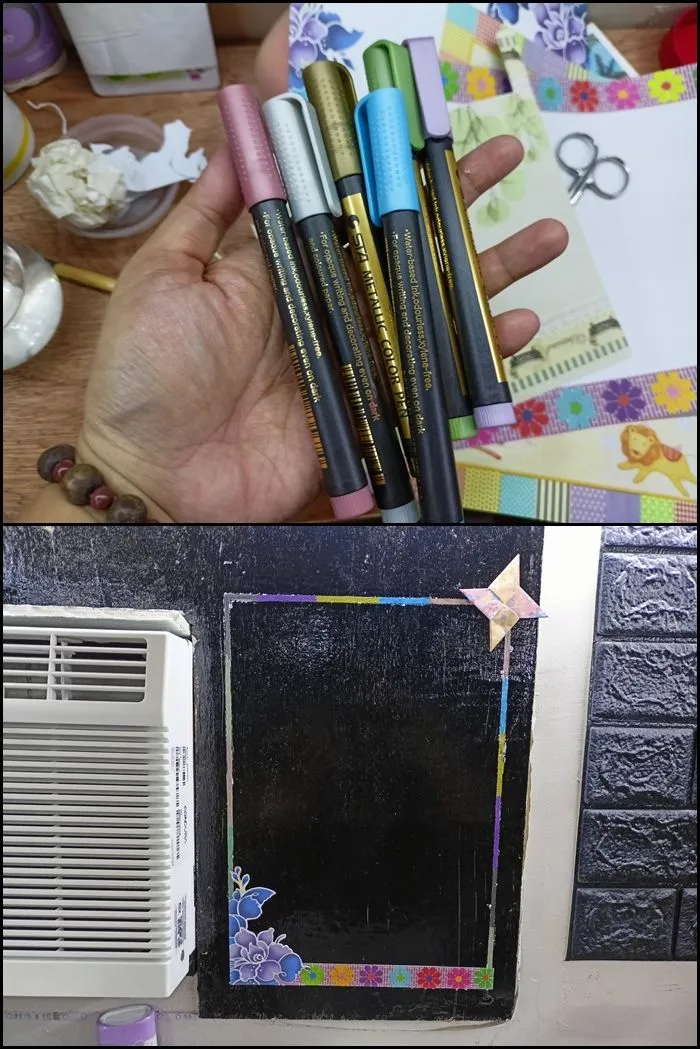
If you want a colorful frame like me, you can either paint over the white base or if you have some markers, you can use them as well. In my case, I used some metallic markers because mixing paint would take too much time and I don't have much because it's a work day. haha
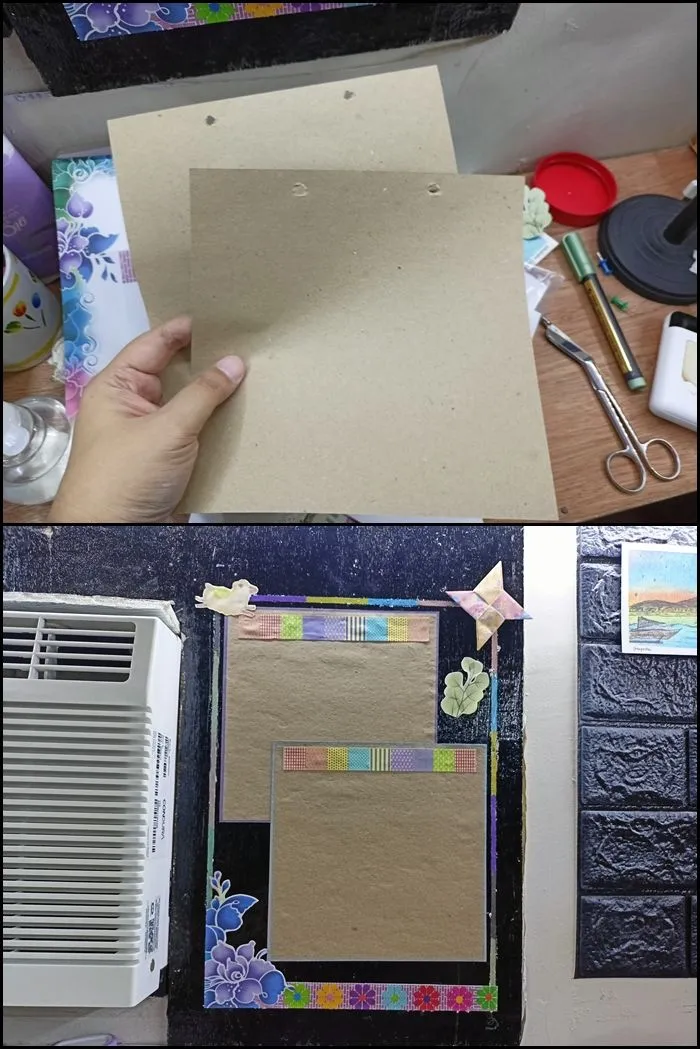
I didn't want my mini bulletin board to be very bare, so I used a couple papers and arranged them inside the board. They're leftovers from the scrapbook I made for a friend years ago. I'm glad I kept them. lol
I also added more cutouts to design the board.
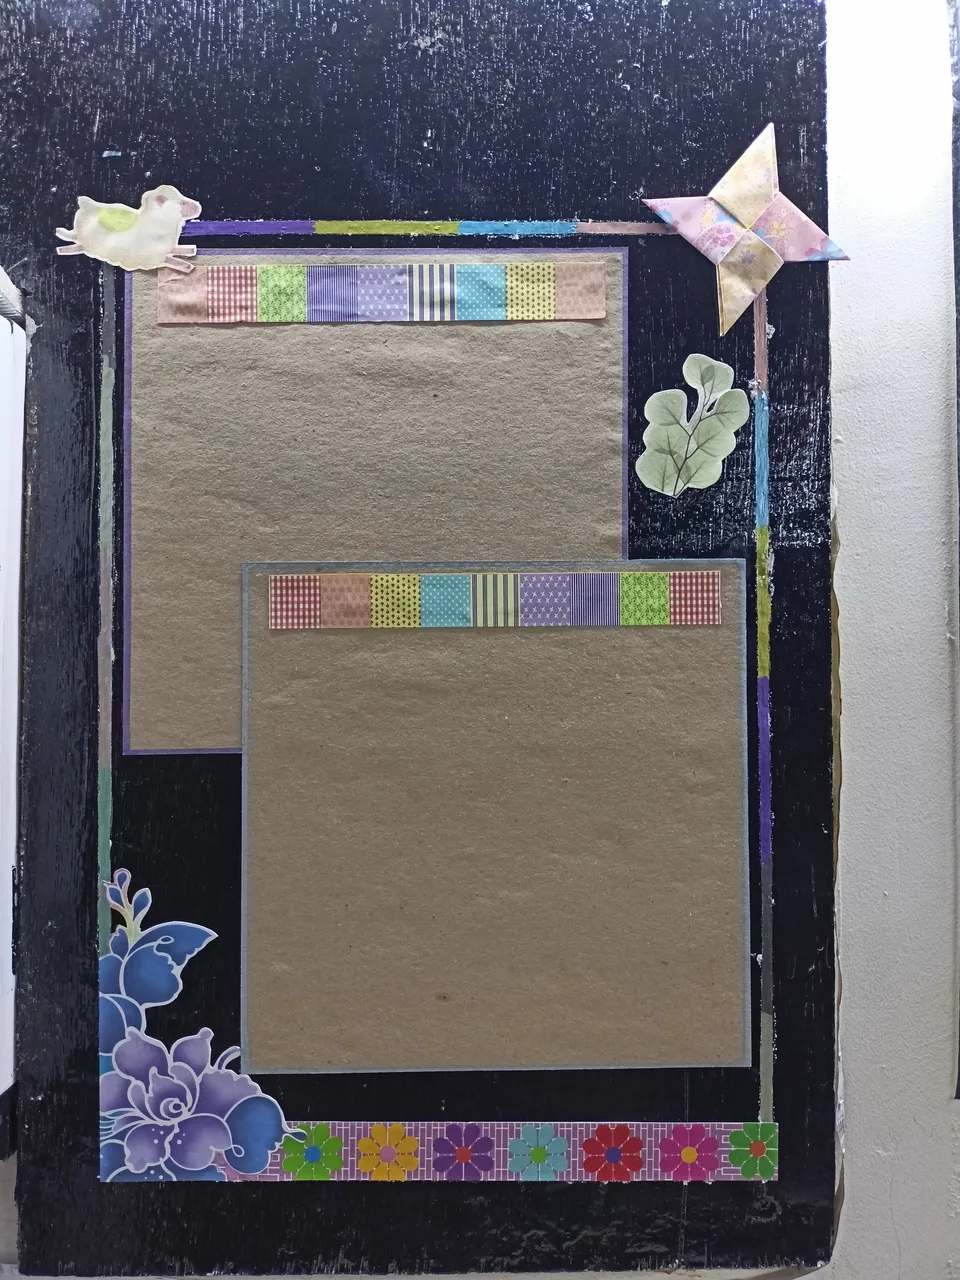
This is the final look of my mini bulletin board. This is quite useful for me because I could place some post-its for important reminders or maybe post some small pictures to reminisce some memories. haha
Actually, one of my goals this year is to be more organized, so this mini bulletin board is one way to help me accomplish this goal. Aside from this, I also made a DIY calendar and organizer using a spare sketchpad that I have.

I didn't show how I made the calendar or organizer because I made it even before the year started. I hope I could accomplish this goal. It's quite simple, but it's difficult for me to do. haha Anyway, that's about it for this post. It's past 2AM, so I have to hit the sack as I need to work again later.
See you around!