Hello everyone! How was your day? Here, we had constant rain every now and then. It's unpredictable that it made me nervous Everytime it rained non-stop! It's because a 30-minute non-stop vigorous rain will immediately lead to overflowing of our canal at the corner most of the street beside our residence.

We had heavy rain last September 24 and it lasted for an hour which caused the street flooding from the overflowing of the canals.
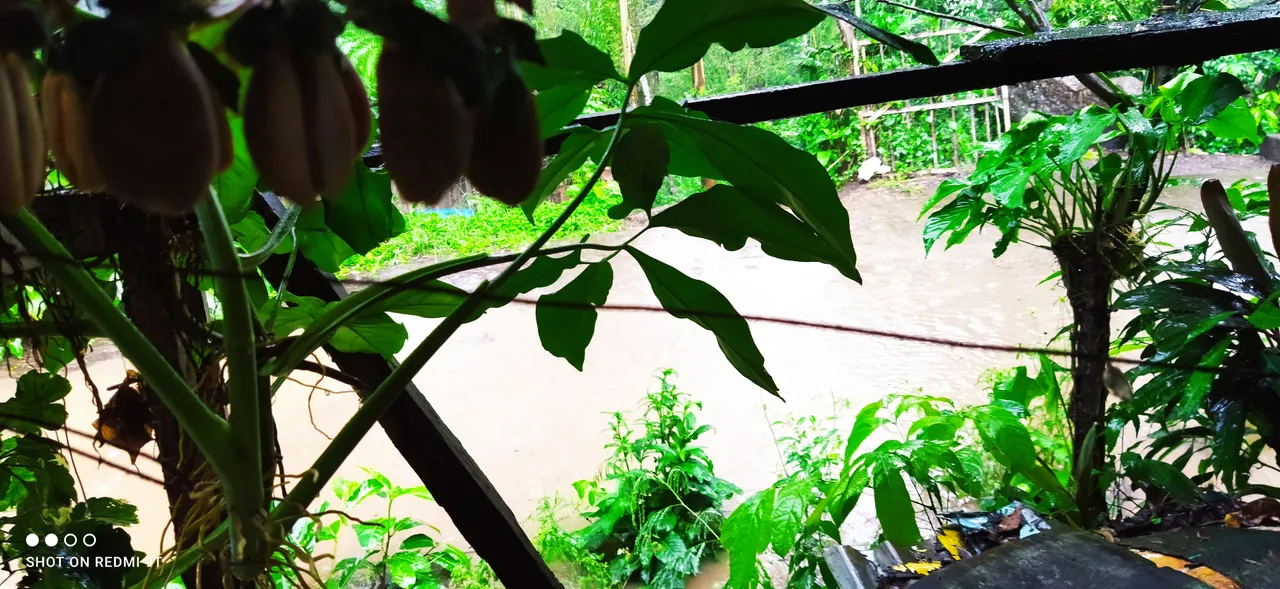
My garden looked liked a fishpond!
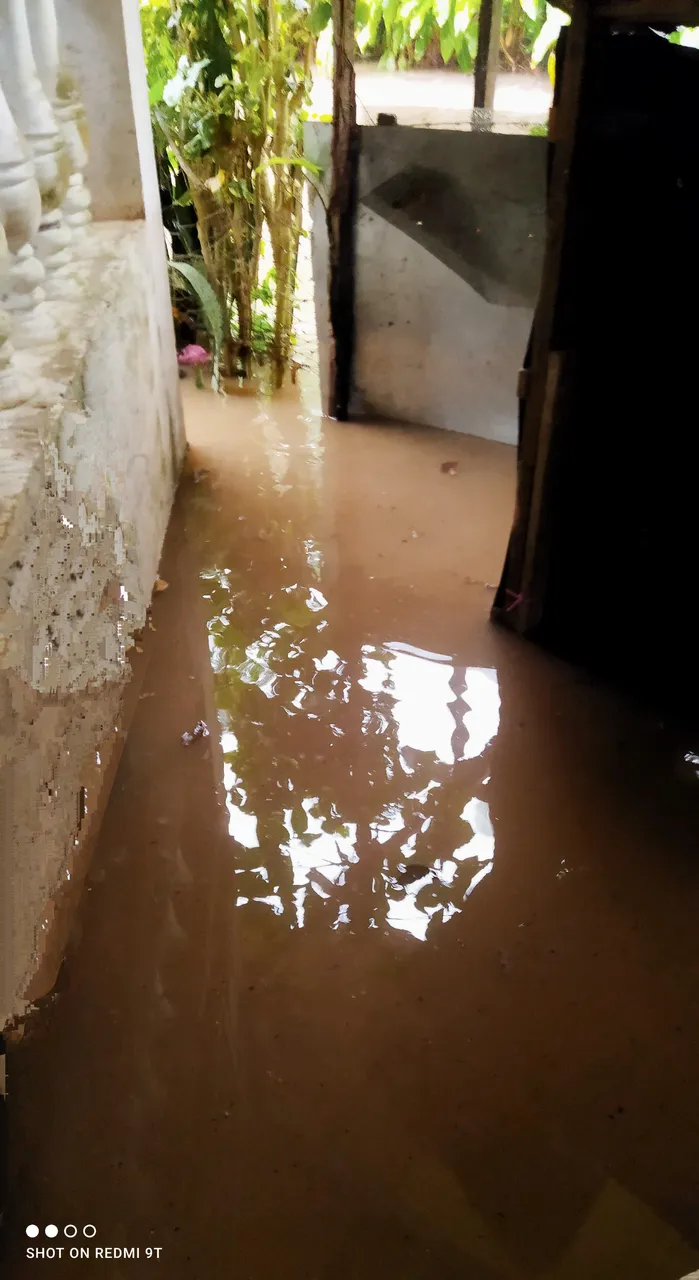
As expected, the water begun to rise and entered the lower part of our house which is the dining area. It was good the we still had some bag of sand beside the kitchen.
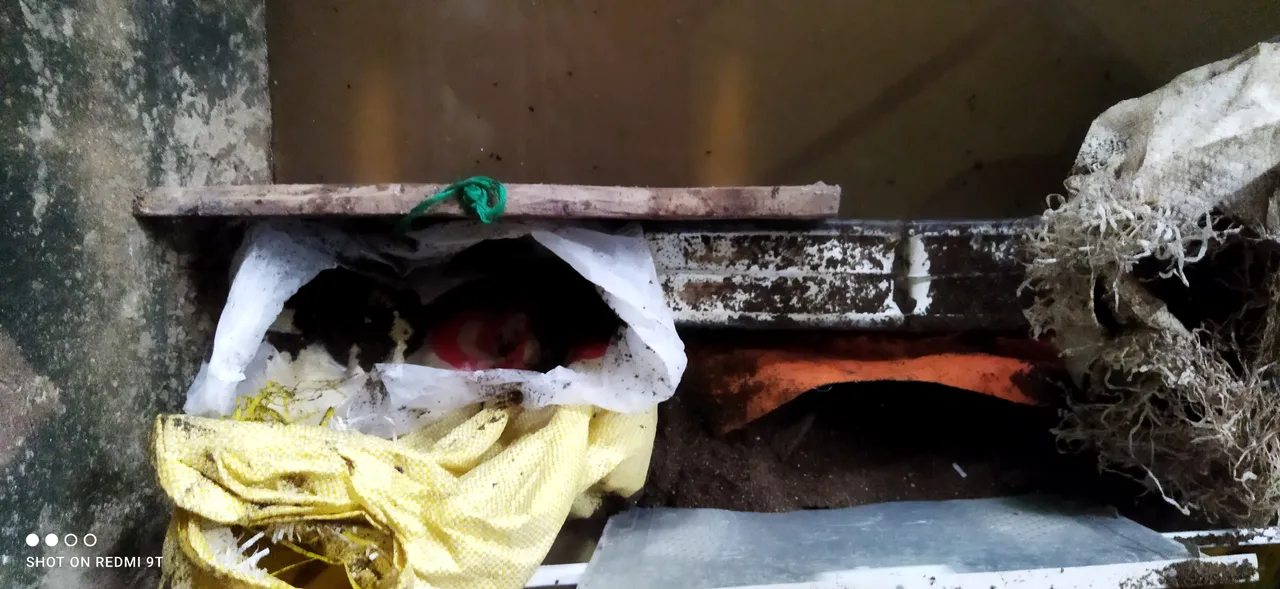
I immediately placed a scrap tarpaulin and plastic bag and placed it first for the base and poured the sand then folded upward along with the litttle sack of sand, which I hoped would be heavy enough so as not to let the flood penetrate further. It was effective. I have estimated the elevation of our door and the pavement and higher than that, the flood will go down to the other side which leads to the creek. All I needed to do is to prevent it from entering our dining area before it goes down to the other side.
When the rain stopped, the water immediately subsided too. Well, I've sent a message to my friend to ask for a rescue but it was not available and that's the reason why I reacted on impulse! It's a big job once the flood goes down and leaving traces of mud in our place!
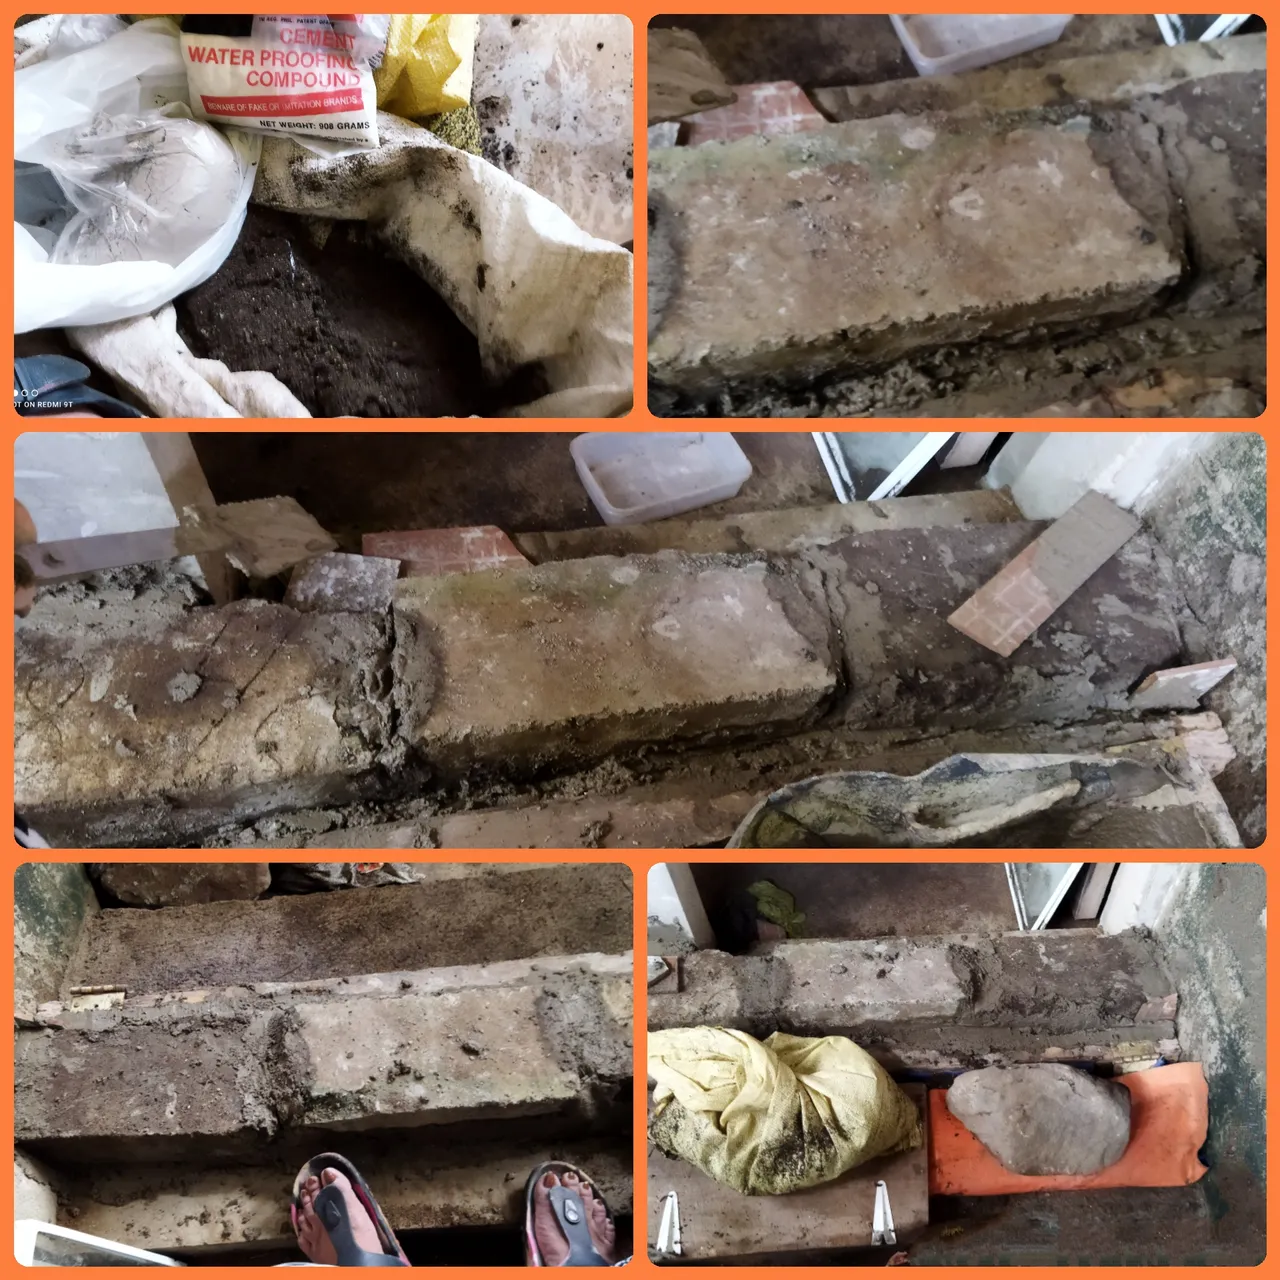
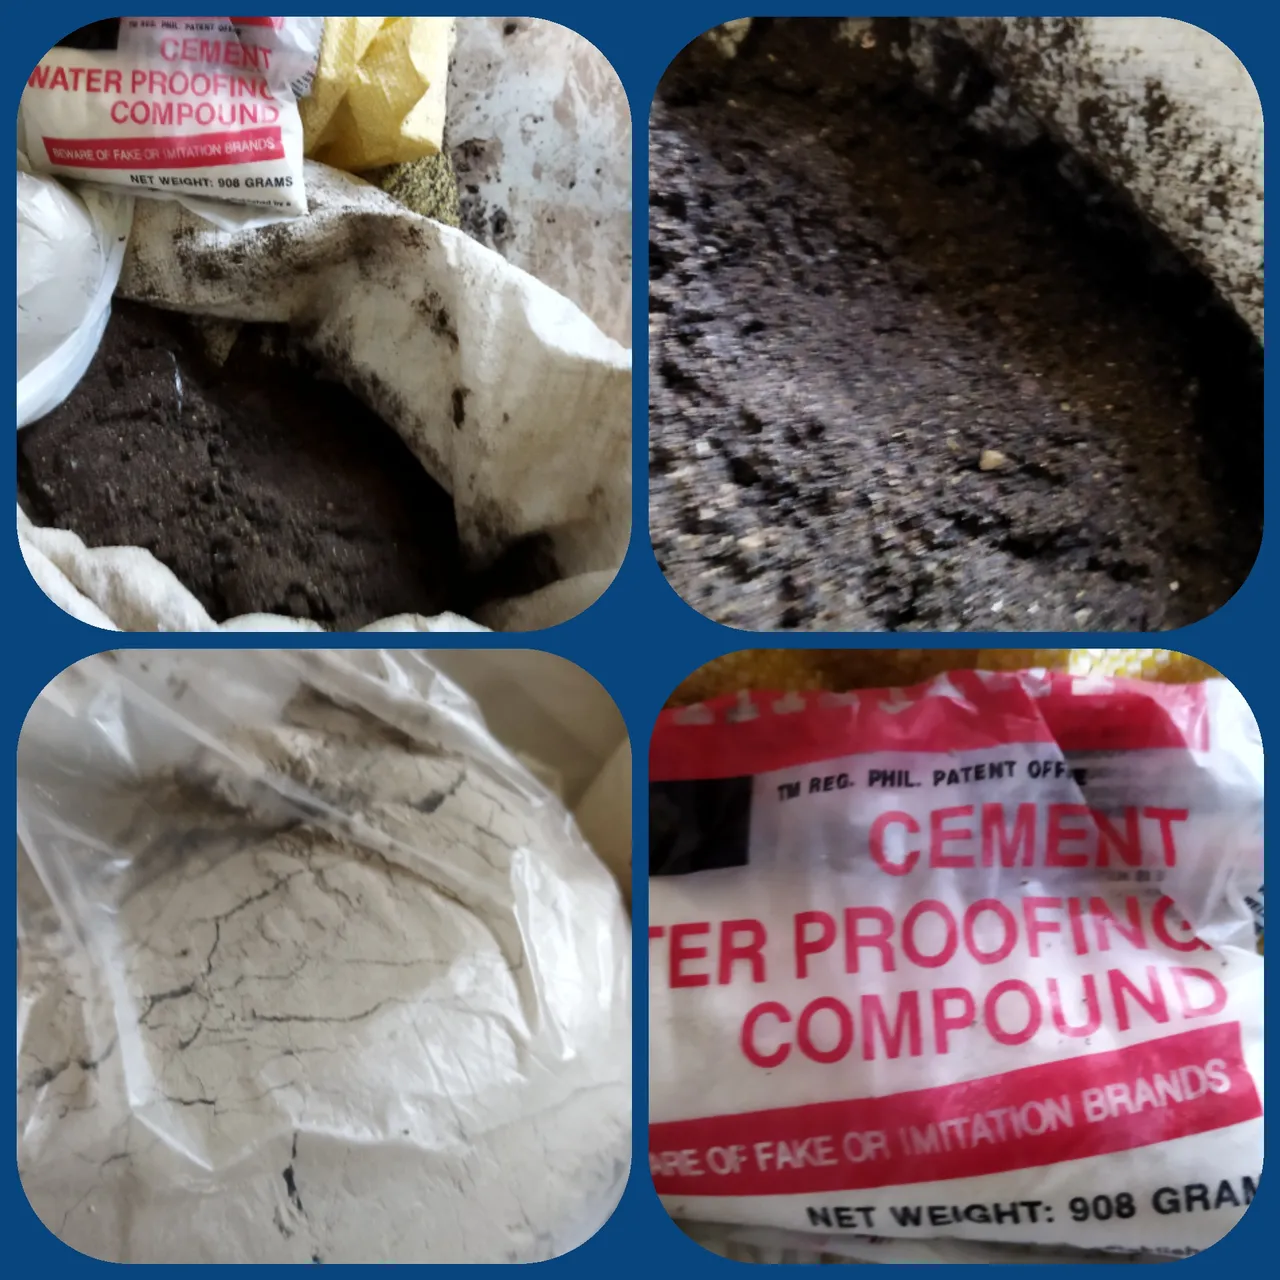
I told myself that I will do my own DIY Barricade before it rained again. I looked around and thought of the beam samples which I got from our construction site where I worked years back. It was solid and more durable than those substandard hollow blocks sold at the nearby store! Anyways, I only needed three beams to cover our doorways. Therefore, I only needed few kilos of cement and a bag of waterproofing cement compound.
Operation Barricade
After procuring the necessary materials, I immediately let my grandson collect the beams I needed.

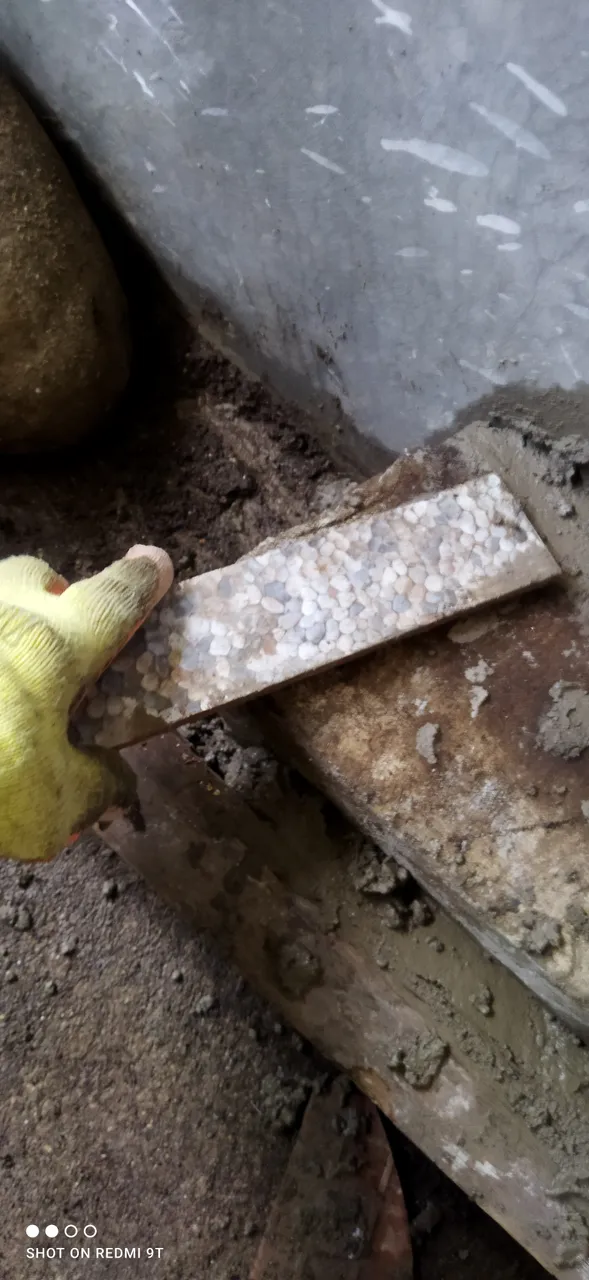
I mixed the sand, cement in two is to one ratio and a part of waterproofing cement. I did this while sitting on my chair to prevent myself from stooping longer because I just had a bad fall from my motorcycle. Well, I thought that the stand was still down when I started to kick the starter (there's no magneto) and alighted to find out later it wasn't so it went down with me! Careless me. Lol!
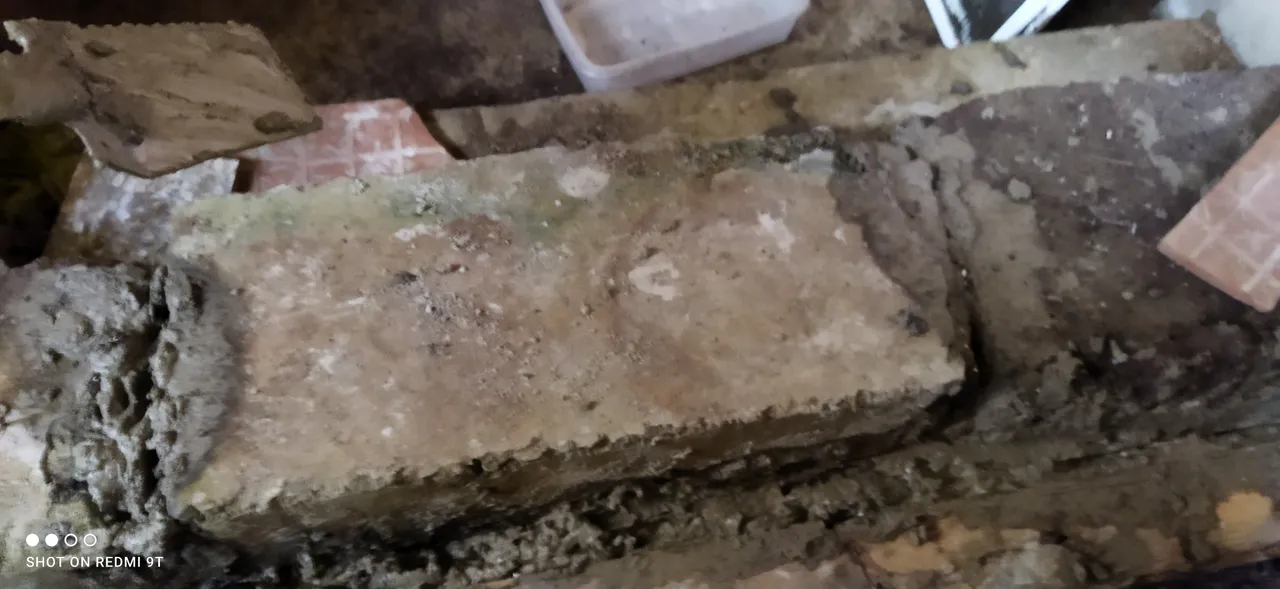
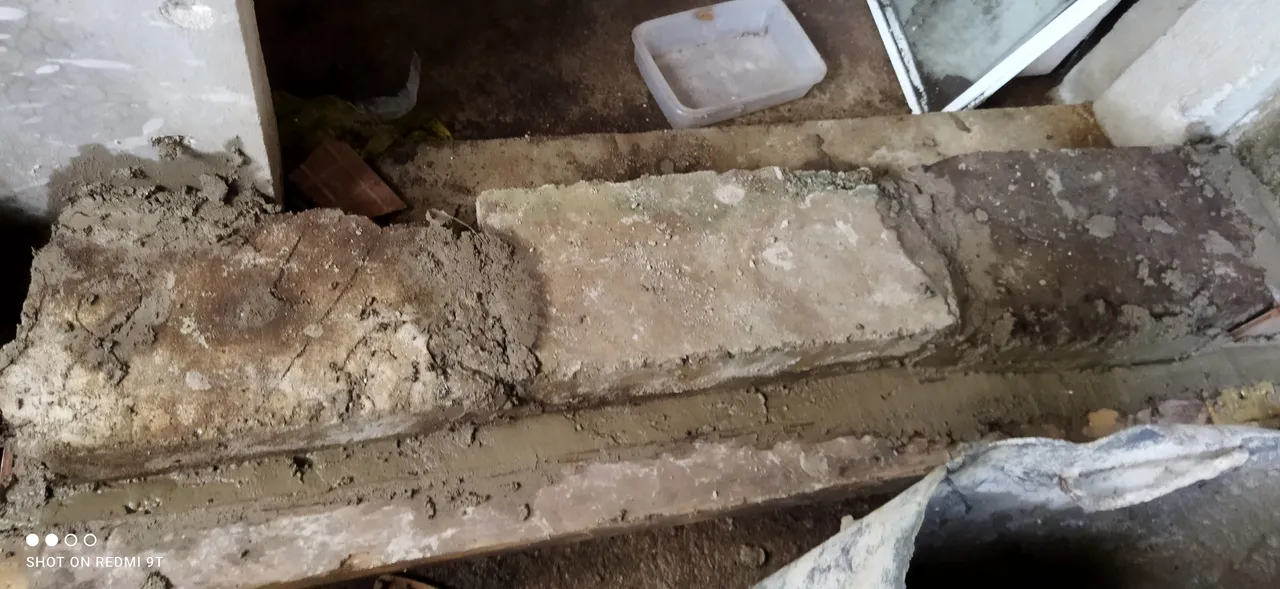
I placed some amount of mixed cement for the base before placing the beams on top, leaving a little space to insert the cement to let it stick together or else the water will still be able to penetrate just in case.
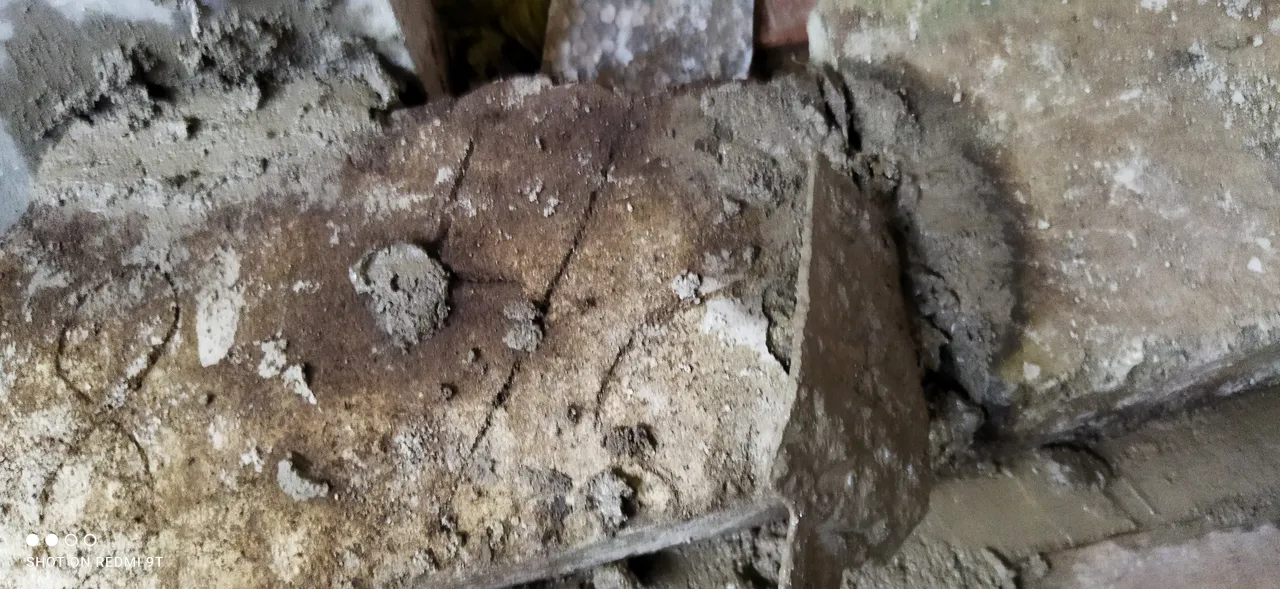
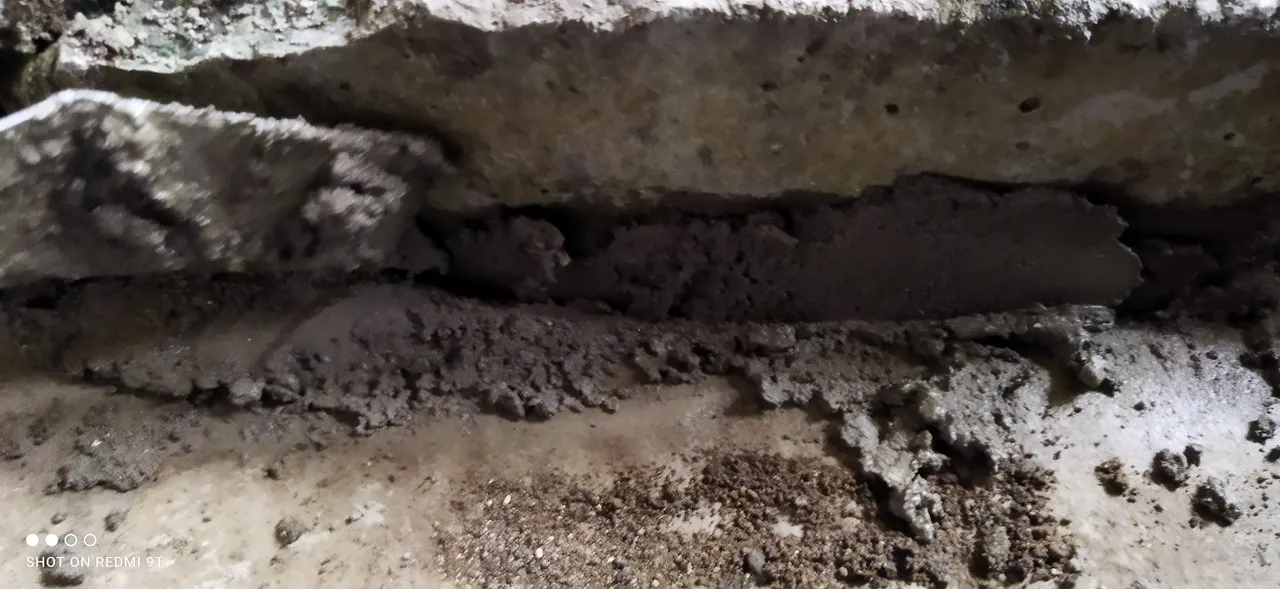
I see to it that the base was fully filled with cement from end to end and in between the beams.
Then I placed a piece of lumber to support the cement and added more for compaction and pressed the wood.
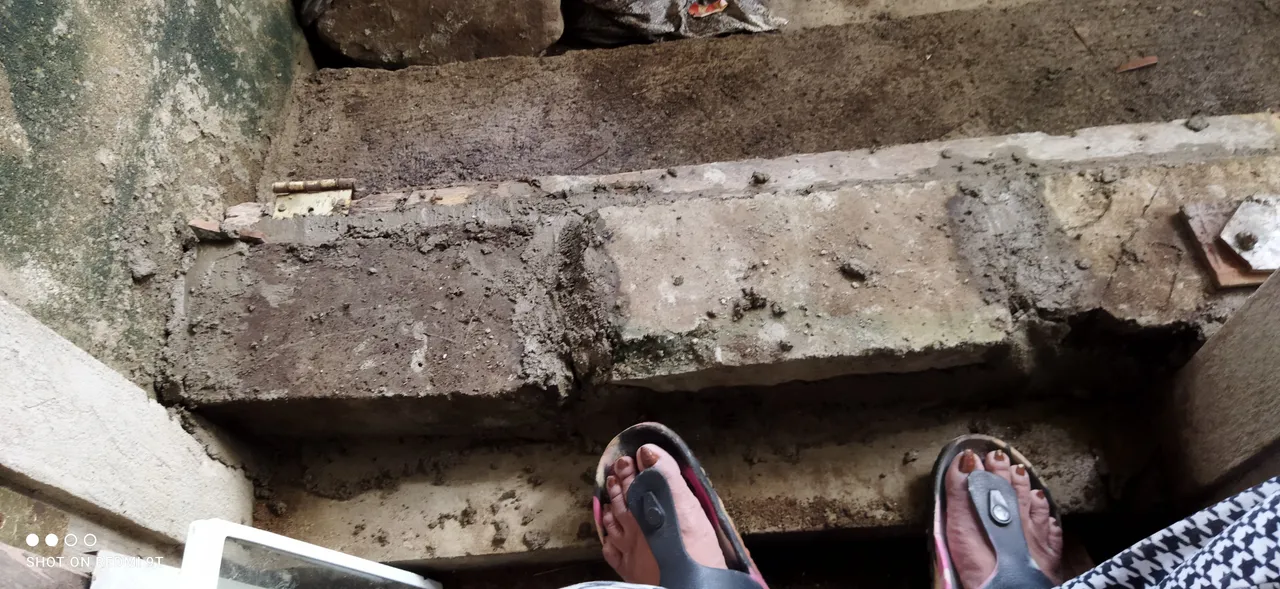
There, it looked stable now. The barrier I made was about 6" high.
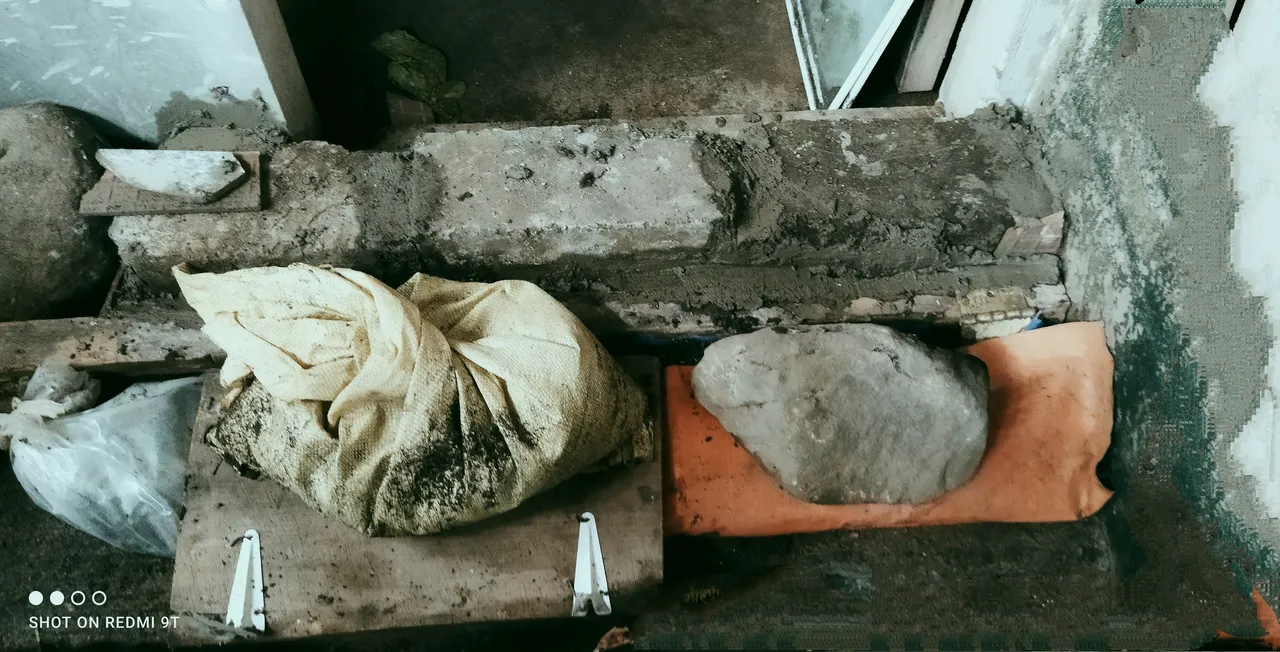
For safety, I still placed the sand cover for protection since the cement was still wet just in case it rains again.:)
That will do for now! It's only temporary but it can save me from flooding again. I only live with my two young grandkids (with Antonia only most of the time) hence I have to do a man's job.:) Of course, I already have a plan to have a cement wall to level with the terrace flooring. Hmmm, about 30 hollow blocks in three layers will do. I will do that when my budget allowance is more than enough for us.
Thank you for dropping by my page. Keep safe everyone!
