Good afternoon friends, I'm very excited that in two days spring will be here. It is my favorite time of the year. The growing feeling of warmth every day brings positivity into my life. At times like this, I especially want to diversify my life and bring something new to the table. This year I decided that I want to grow some greens on my balcony. It's quite an interesting hobby where you can learn a huge amount of new and educational things.
My choices were basil and mint. Despite the fact that I live in Turkey and any vegetable or fruit is very easy to find in the local markets (for a pretty low price), my interest got the better of me. And besides, watching fragrant mint grow on your own balcony is a very fascinating process.
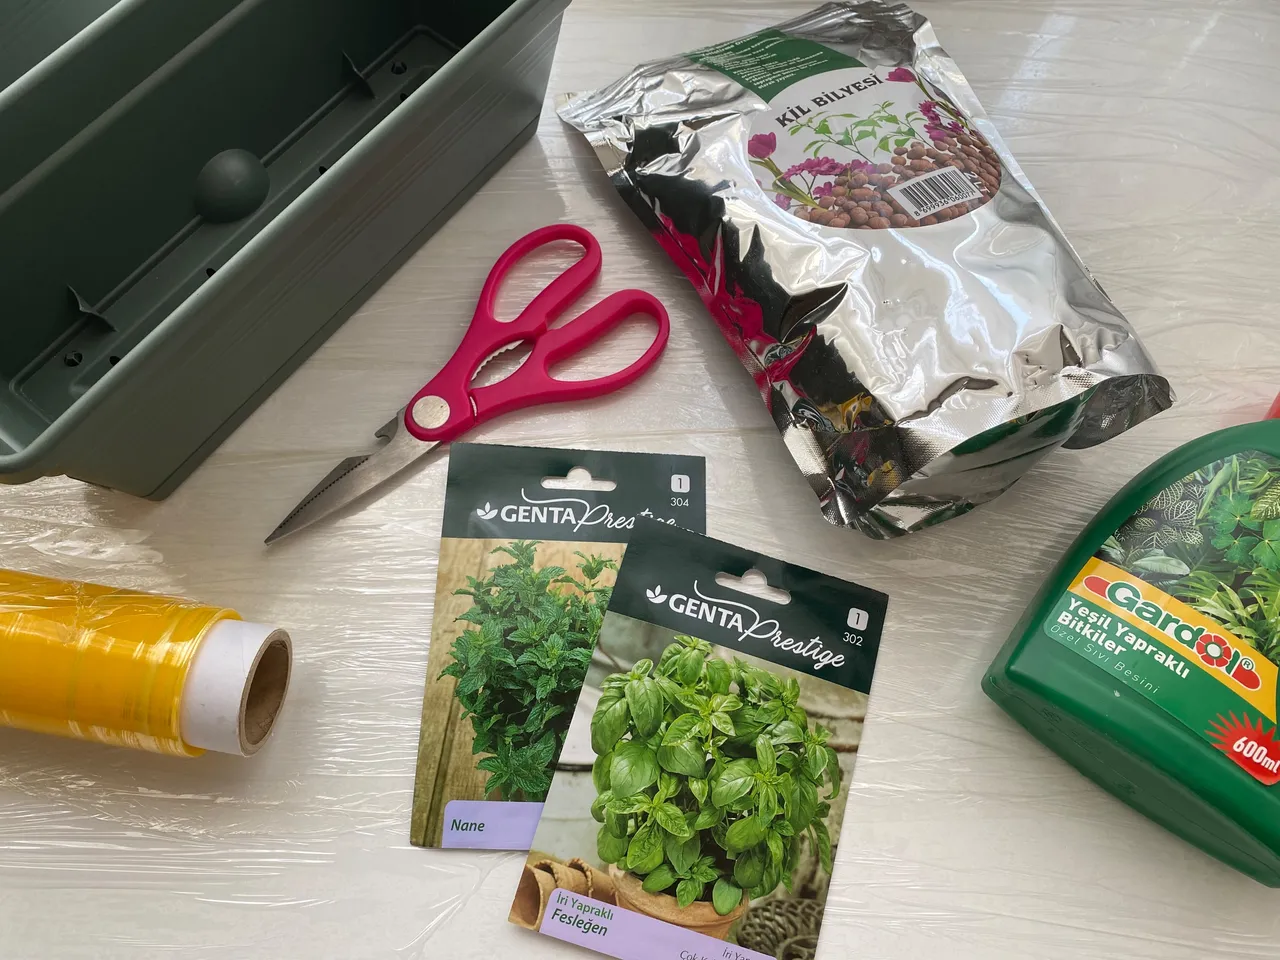
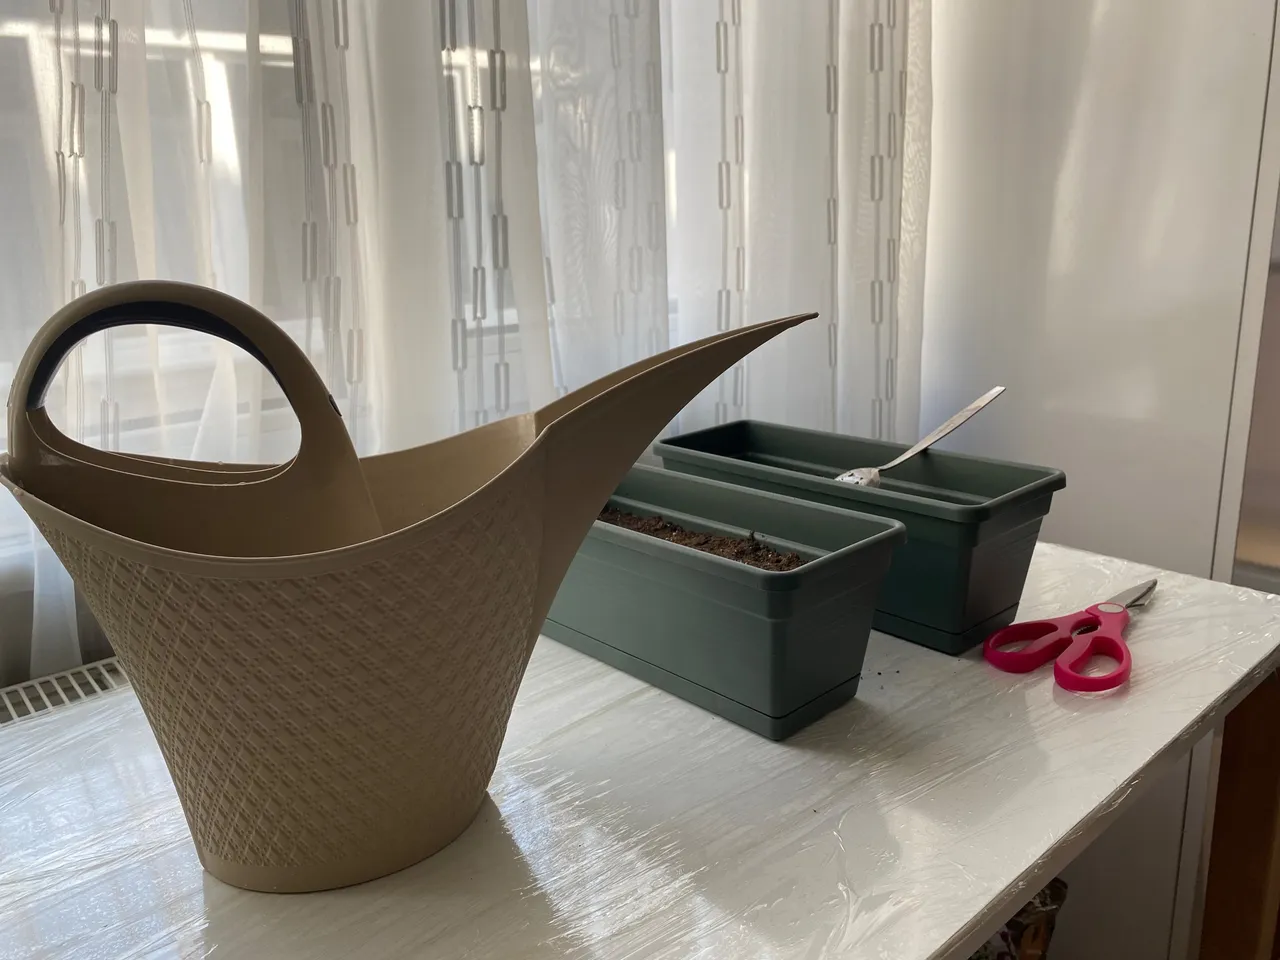
I used to have experience with plants: once I transplanted a large ficus and successfully grew a one and a half meter plant. But today I want to tell and show how I will grow mint and basil at home. Perhaps this information will be useful to you and you too can grow parsley or thyme yourself! Let's start by preparing the necessary tools: suitable plant pots, drainage for plants (expanded clay), seeds, suitable soil for plants, scissors, food film, fertilizer for plants.
In fact, growing flowers and plants is not difficult at all, it is only important to know the characteristics of certain types of plants (but this can be easily studied on the Internet:).
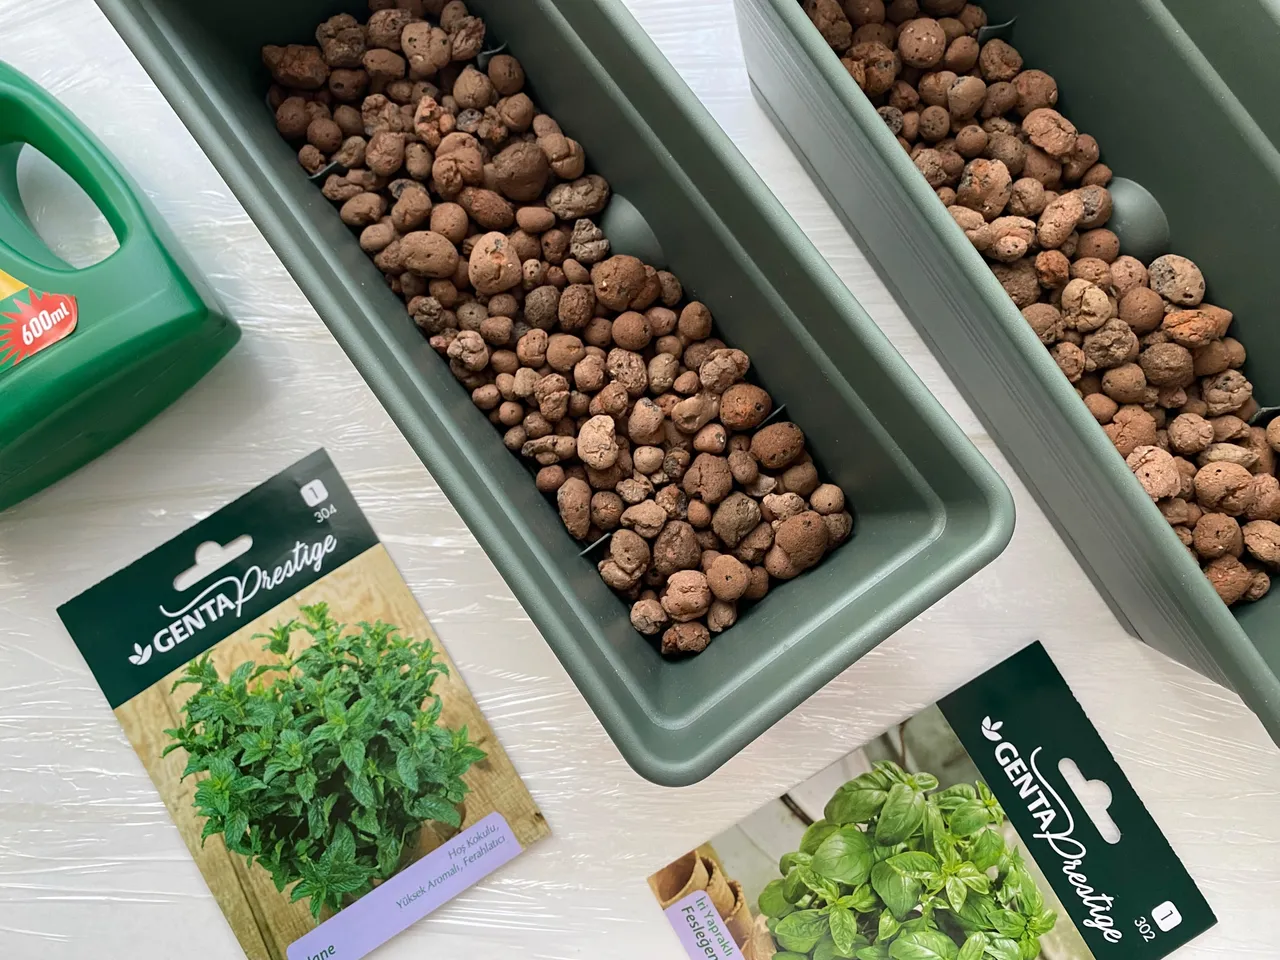
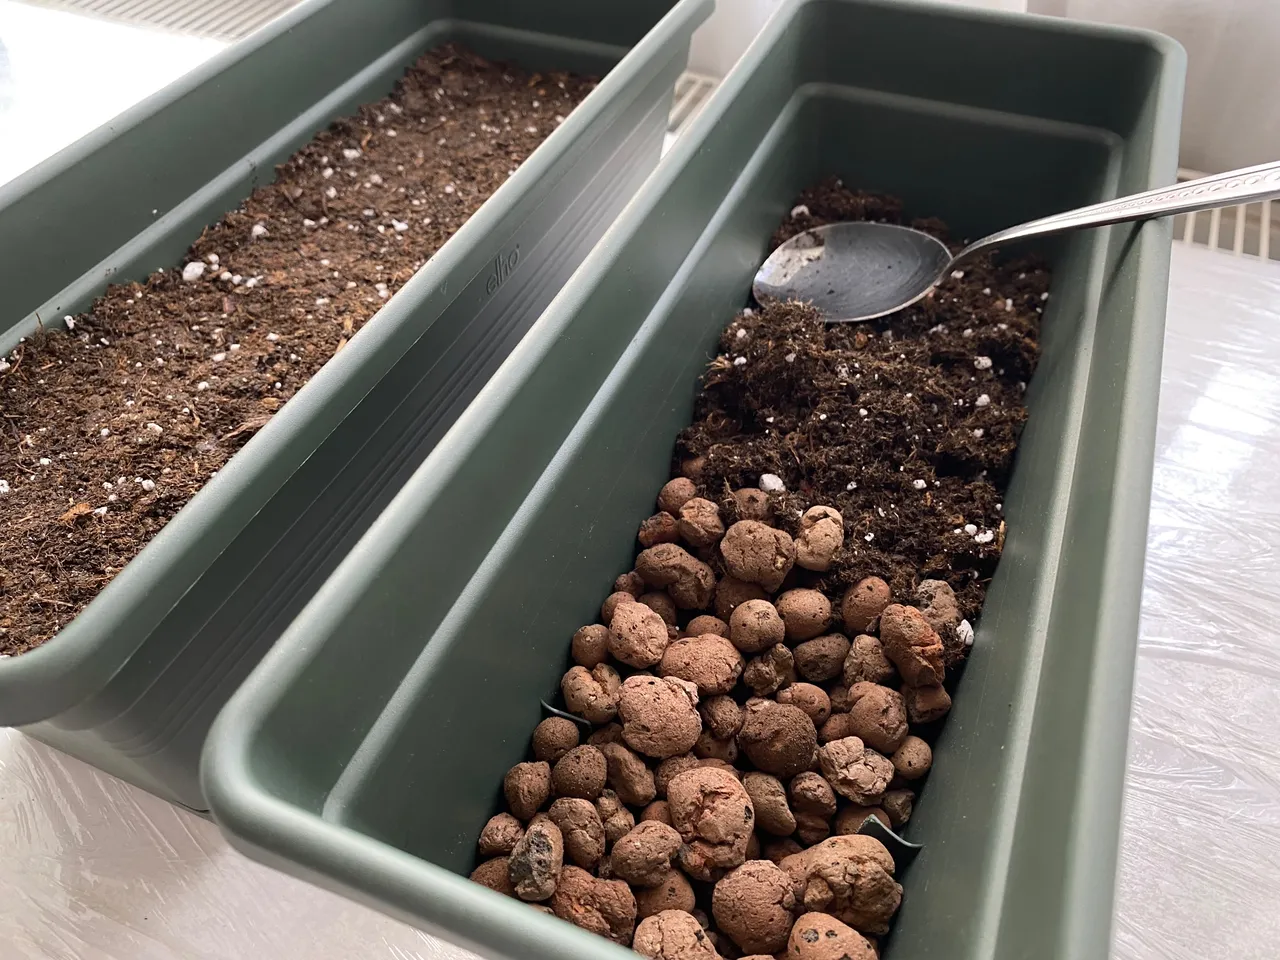
So, I spread a thin layer of expanded clay on the bottom of the pot. The granules are quite large, so it took quite a bit.
The next layer add soil. In my case, I used special soil from the flower store with useful granules for plants. While spreading the soil, press it down gently.
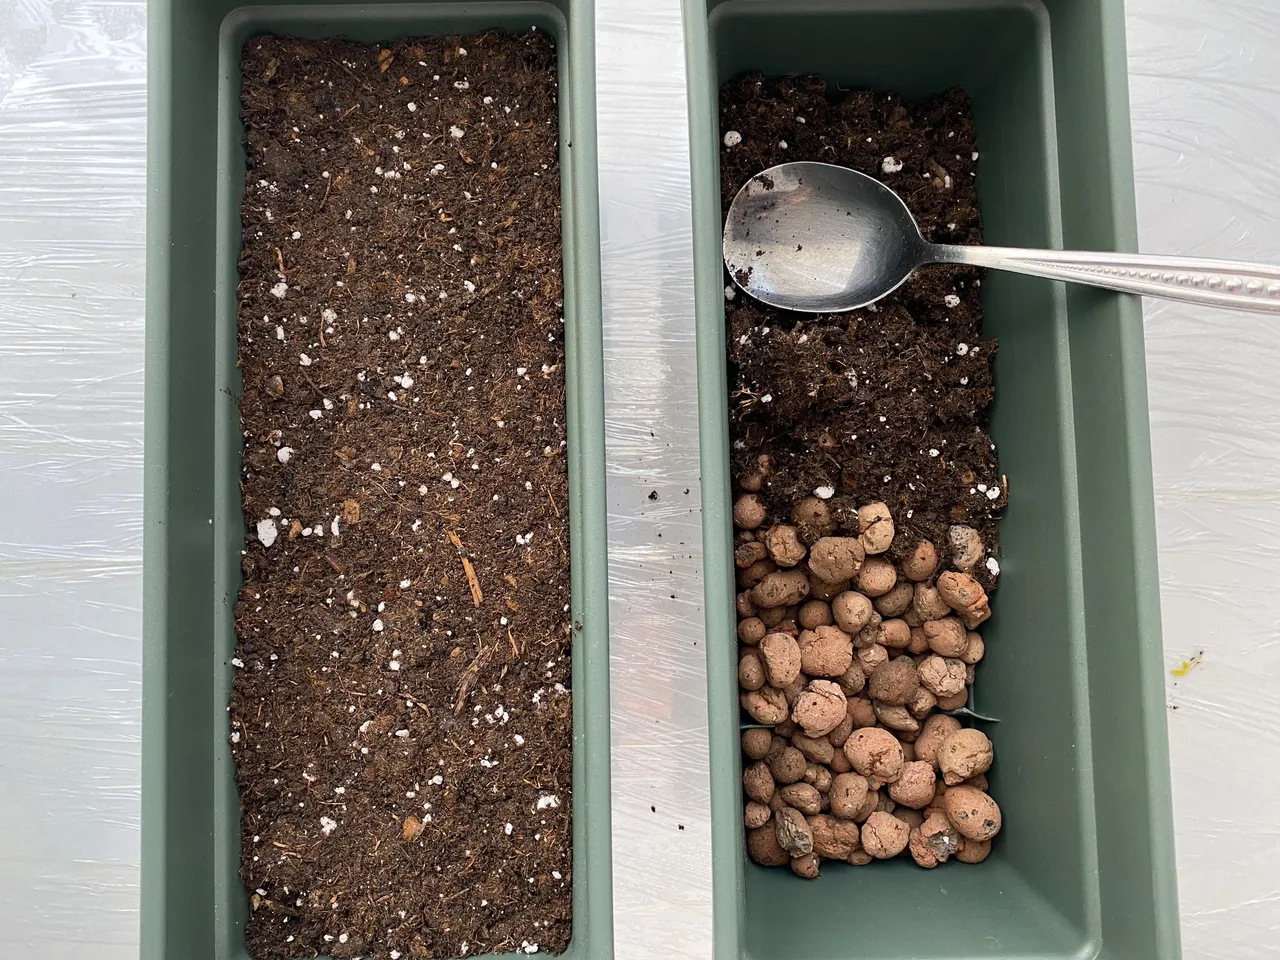
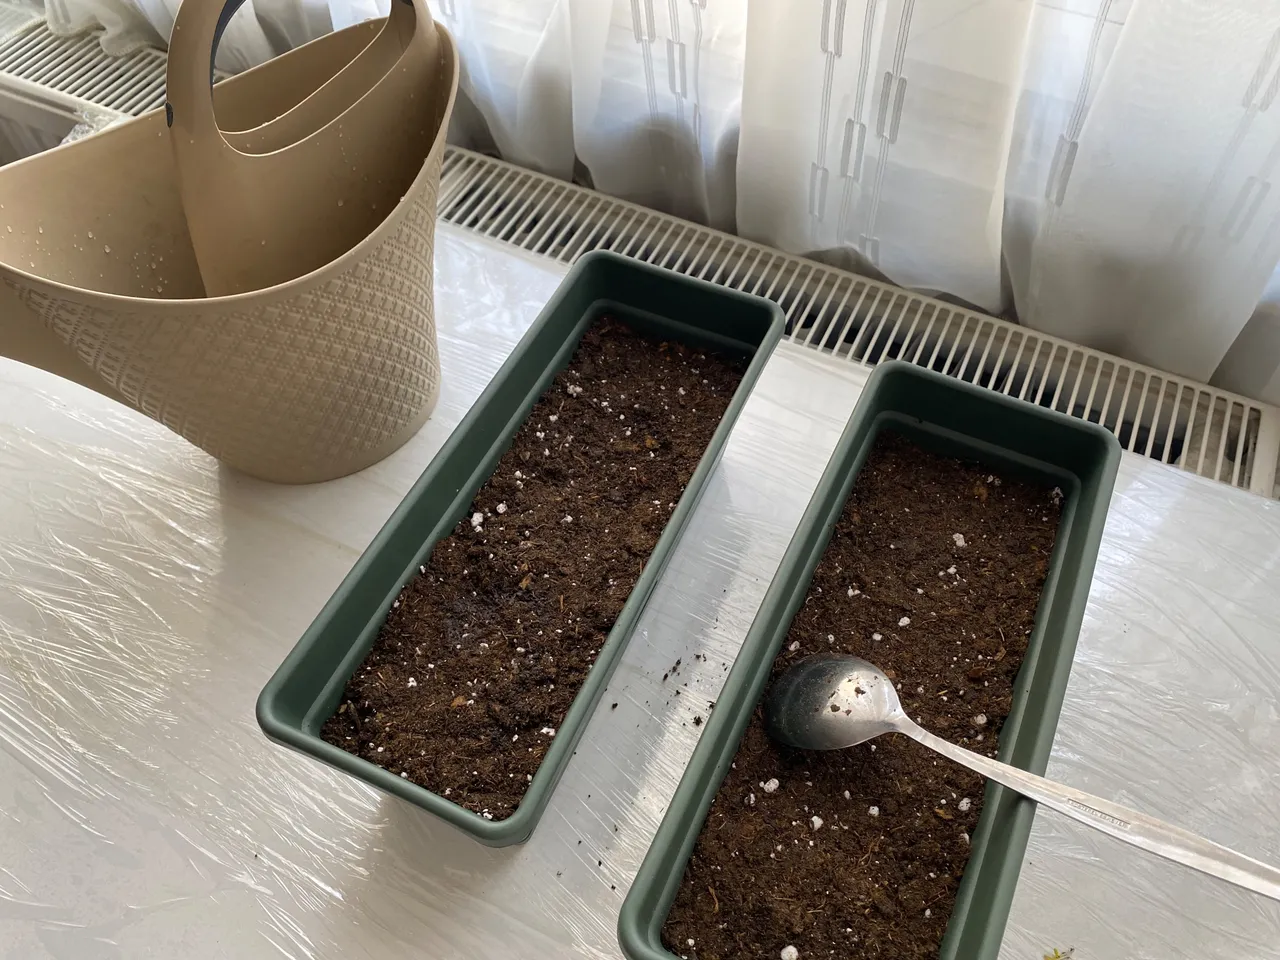
Here you can clearly see how much soil I used for one pot. By the way, the volume of my pots is 2 liters.
Next we move on to watering the soil. Be careful and use not too much liquid. I also added liquid fertilizer to the watering water.
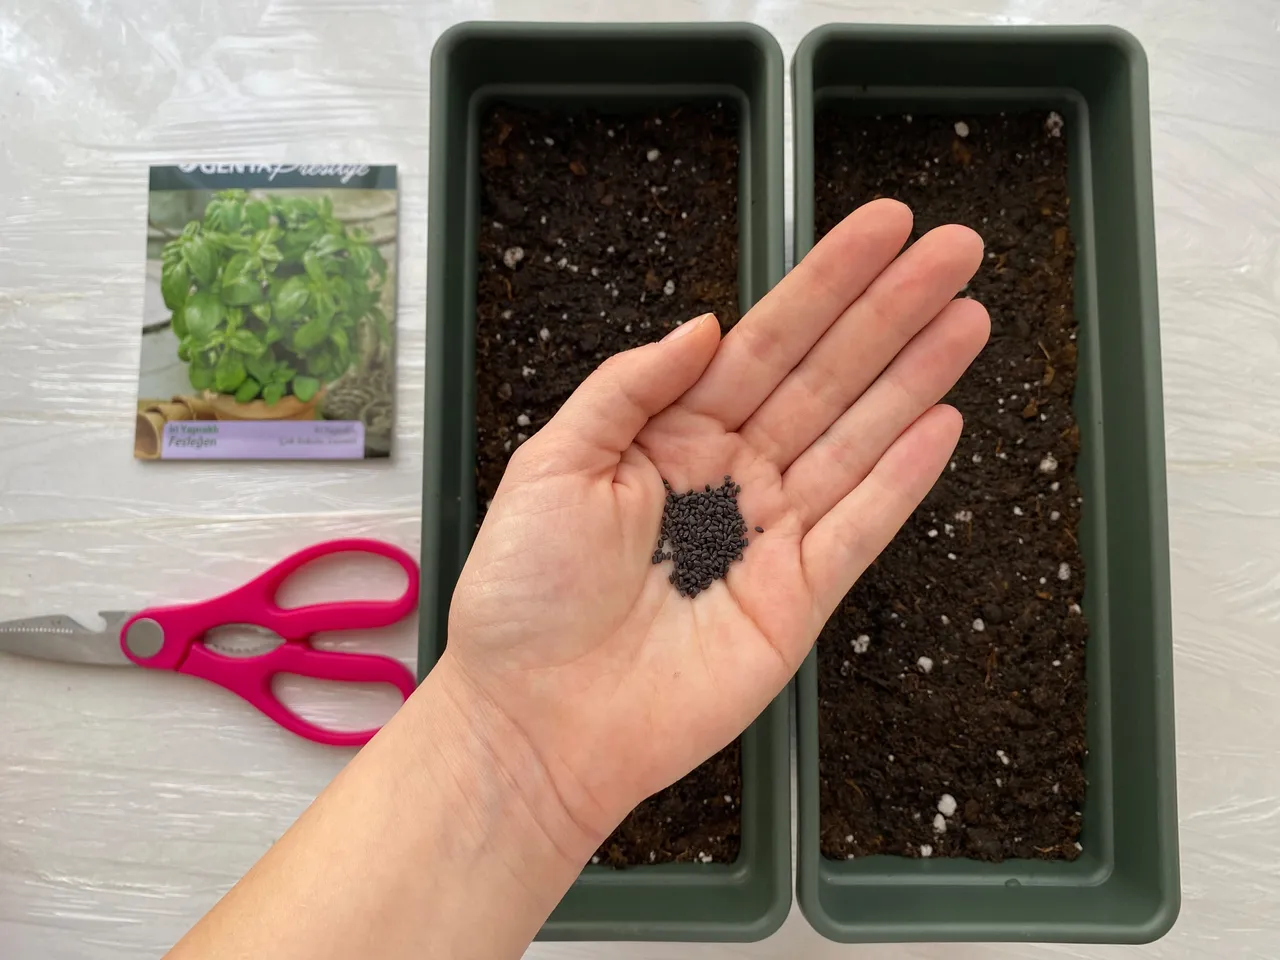
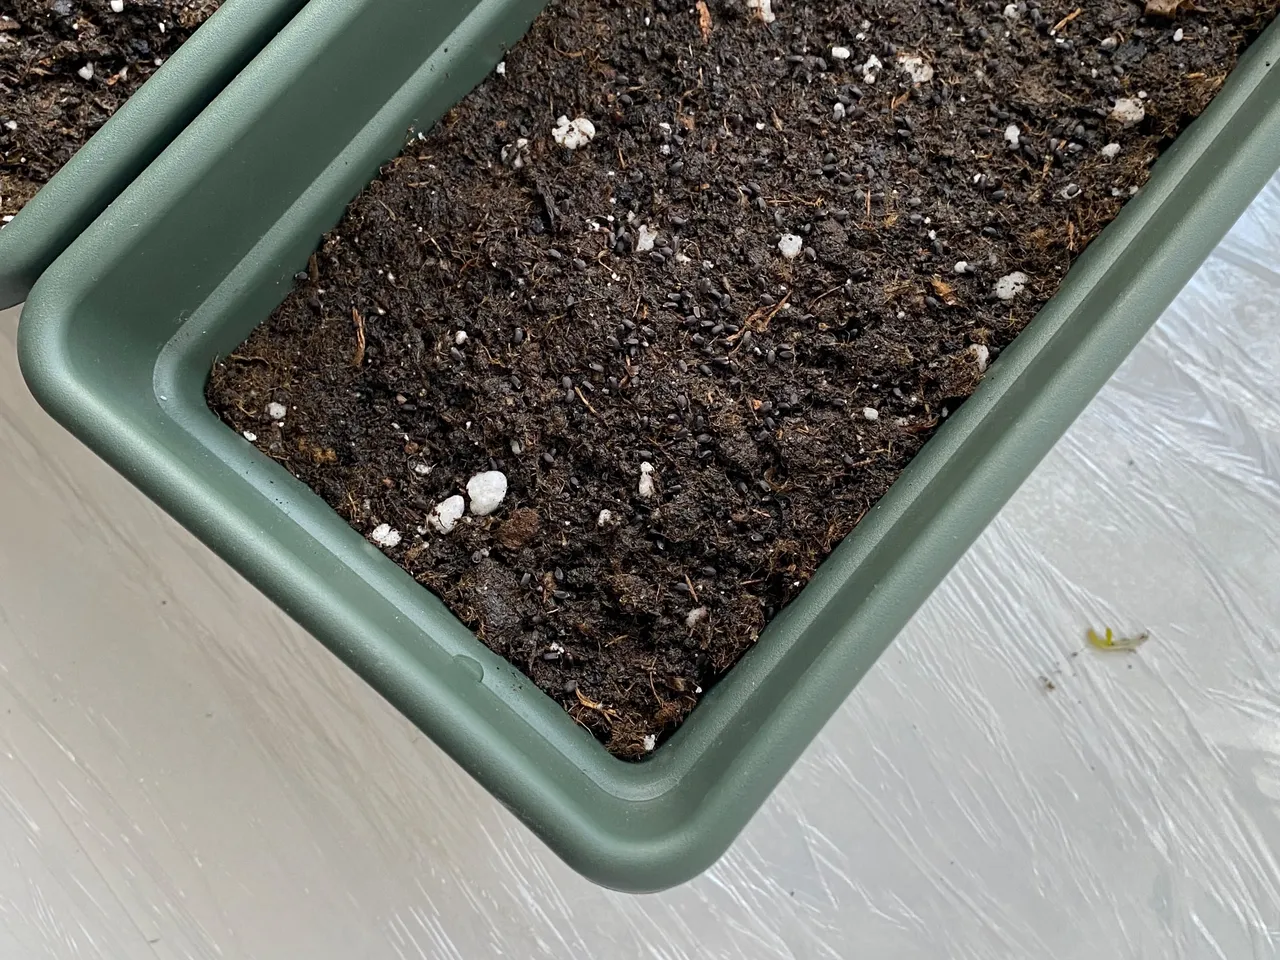
I opened the seed packet and sprinkled them on the surface of the wet soil.
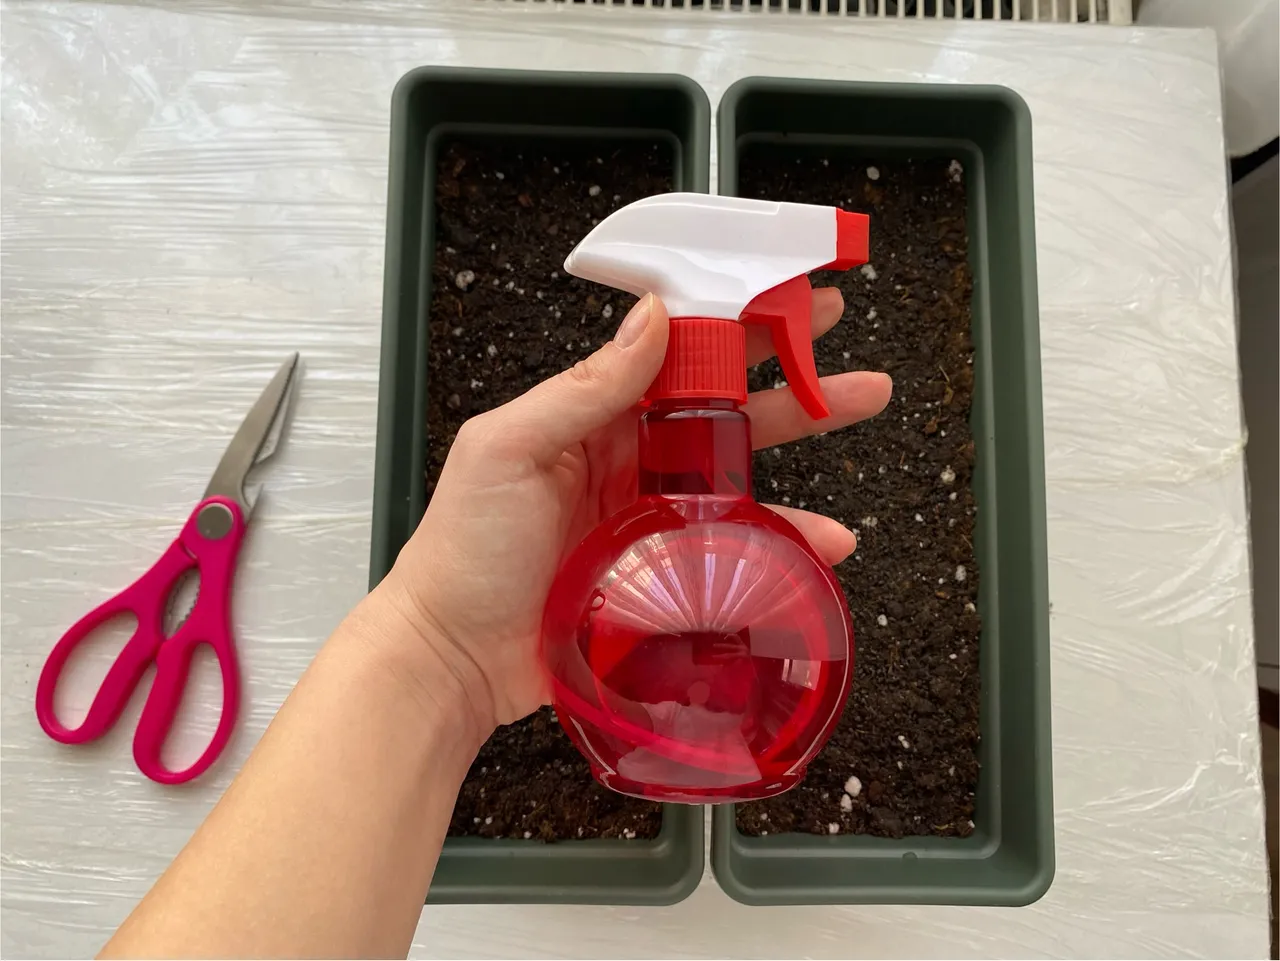
Next step I lightly sprayed the seeds with water.
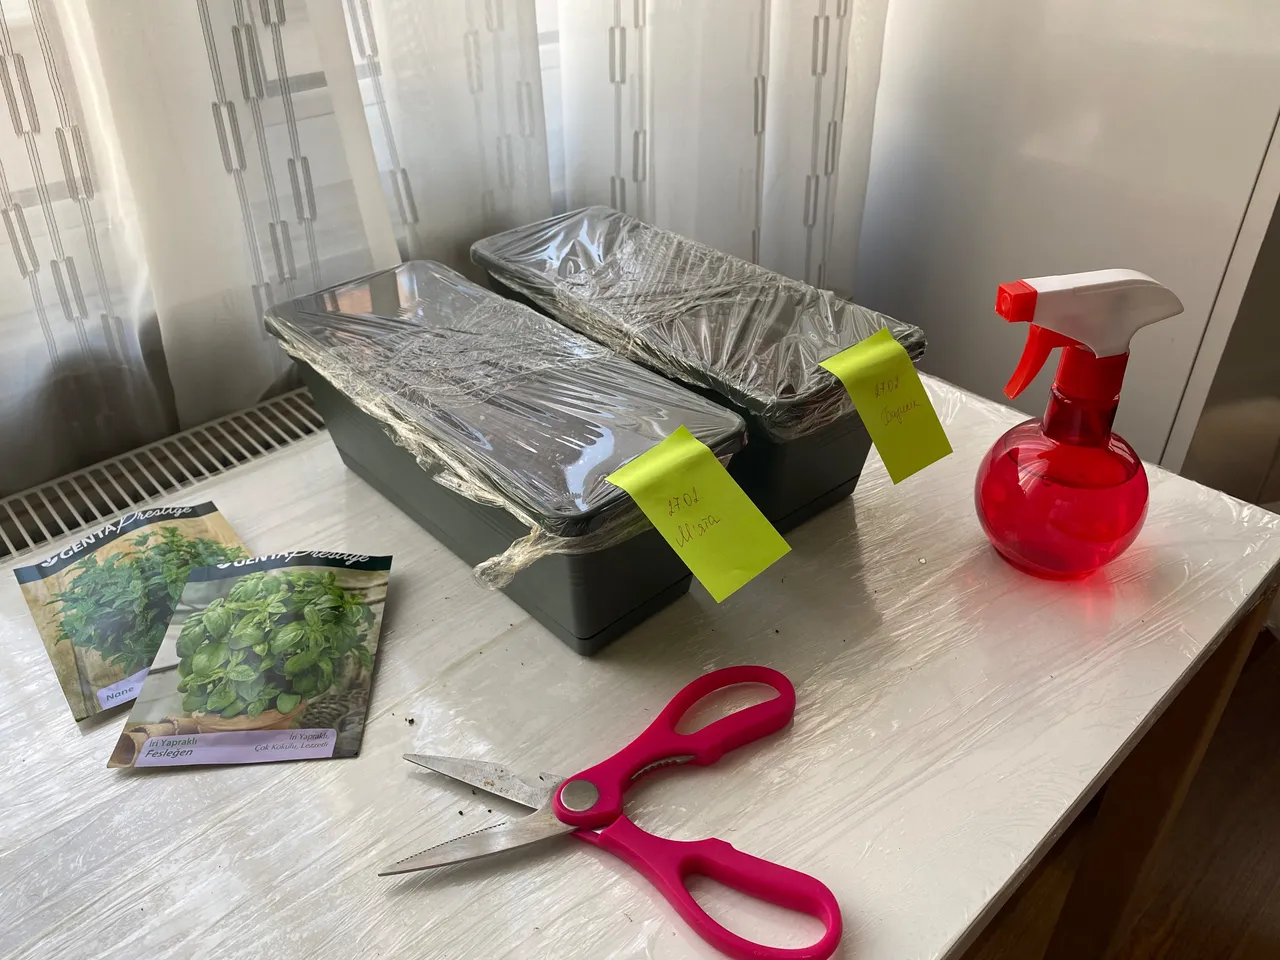
The last step was to wrap the pot with food film to make a mini greenhouse. This way the seeds will sprout faster, in just 7-10 days. I did the same with the second pot.

If you wish, you can add stickers and put the date and name of the plant on them so you don't get confused later.
That's it!!! I really enjoyed the process of working with the soil. In some ways it is meditation and reconnecting with nature. The soil is very nice to the touch, and since my soil is specially cleansed, I wasn't afraid to find anything horrible in it. WARNING: Before you start working with the ground, make sure that your work surface (in my case my desk) is safely protected from dirt and unwanted scratches. For this purpose, I used food film. Friends, write your comments below this post! Tell me if you had an experience of gardening and did you like it? I wish everyone warm spring days and good mood! See you soon, bye-bye! 🌱