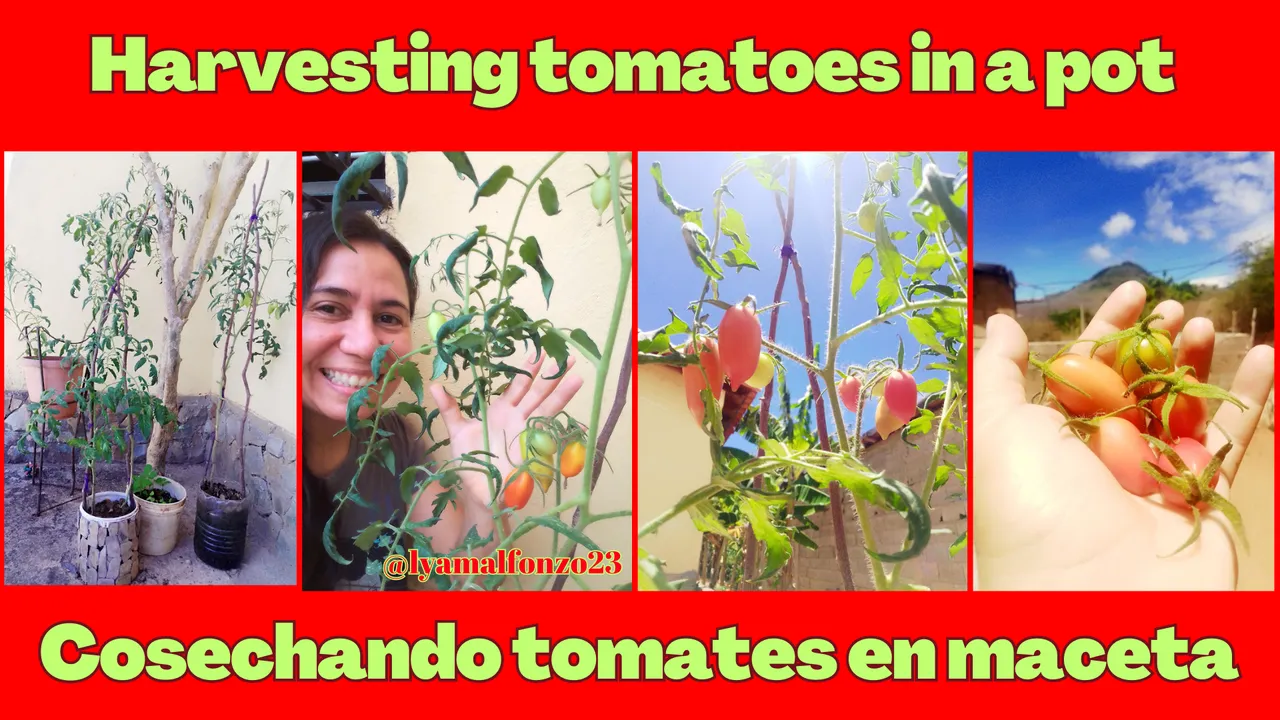
Greetings 🙋🏻♀️ dear gardening lovers and everyone in the #hivegarden community, delighted to be back with you to share what we love so much: enjoy and grow with our garden.
As I told you in a previous post, I took the plunge into the adventure of planting tomatoes both in pots and in soil.
In this publication I will tell you about my experience of this first time planting tomatoes in pots, which left me with important lessons and a desire to continue, but correcting certain mistakes.

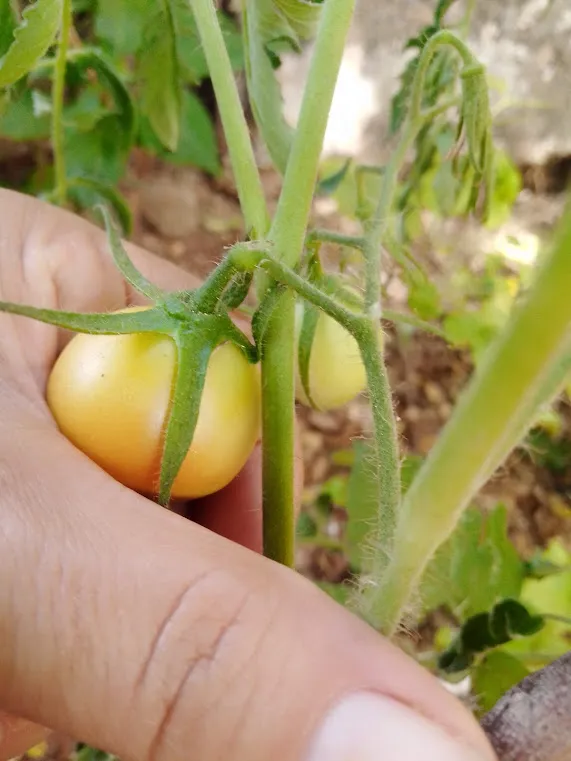
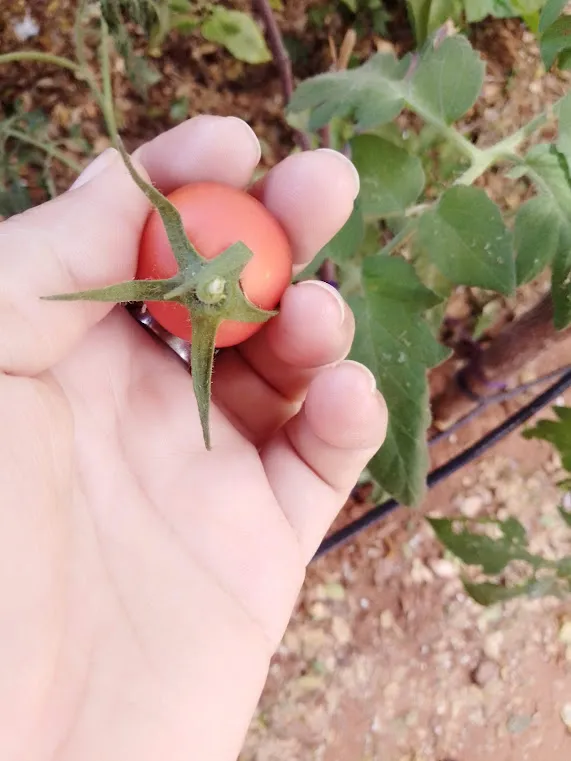
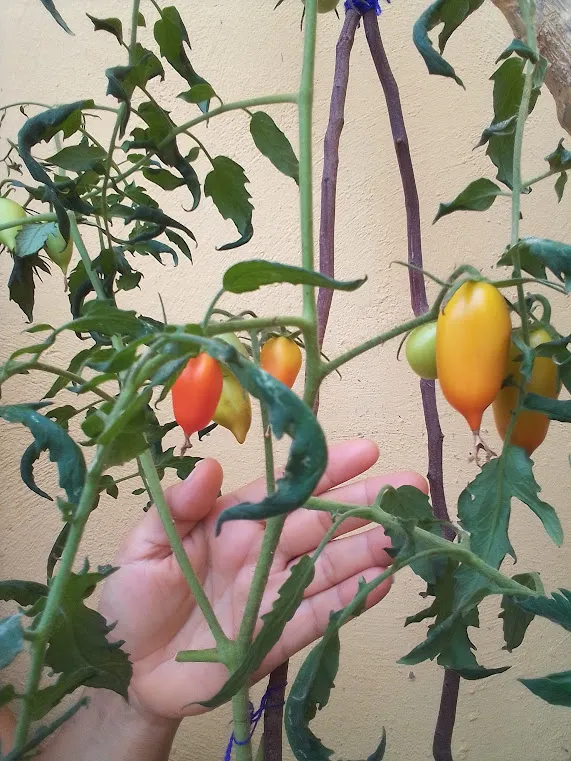
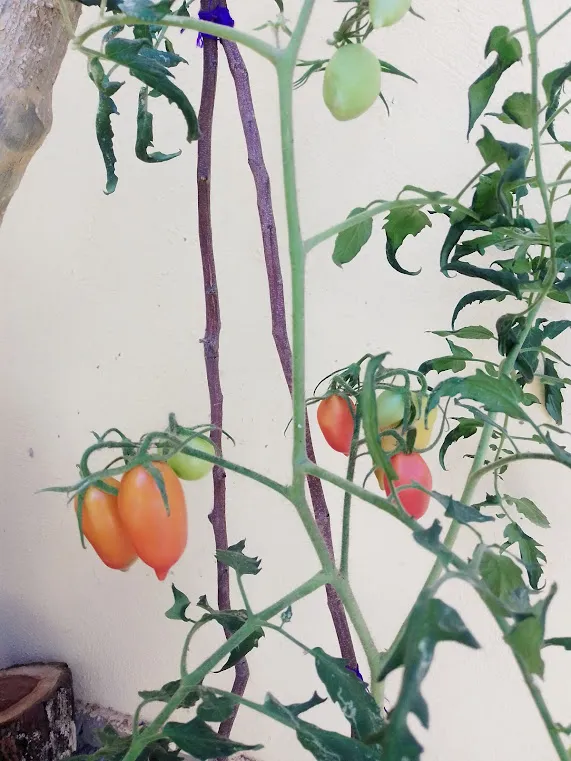
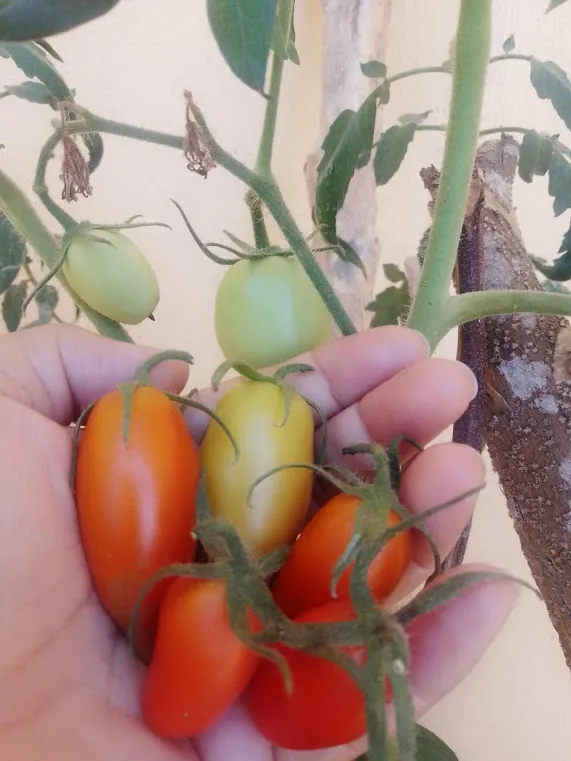
At first I had the tomato pots in an area of the house where they received lots and lots of sun all day long and although the plants were well hydrated and began to flower, the size of the fruit was not what I wanted.
 |  |  |
|---|

At home they joked and said that I had planted pear or pomodoro tomatoes and cherry tomatoes were born, because of the small size of my fruits.
 |  |
|---|
 |  |
|---|
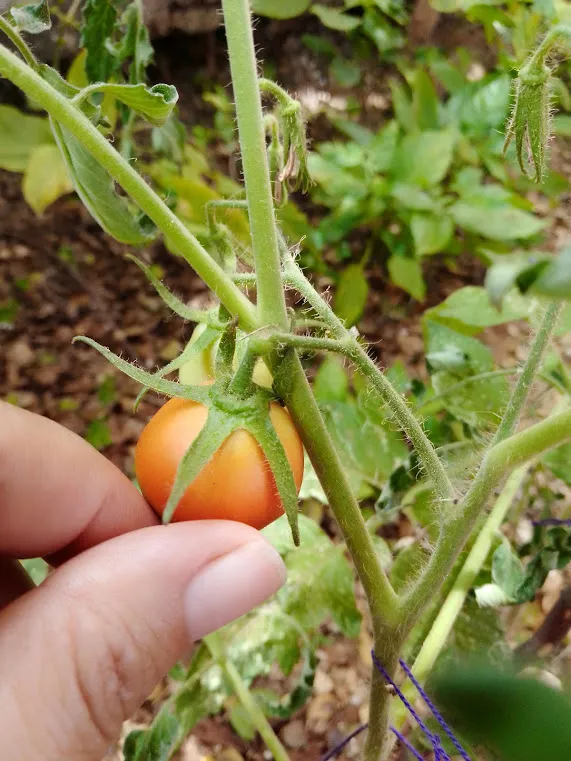
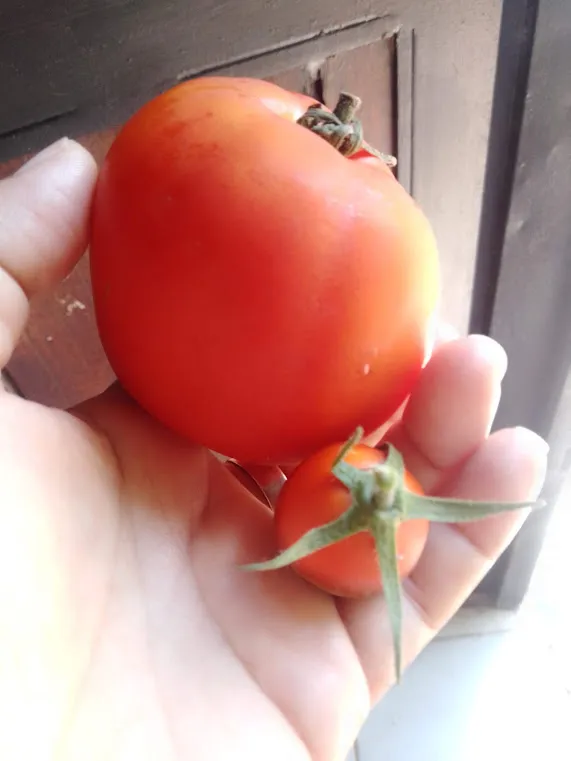
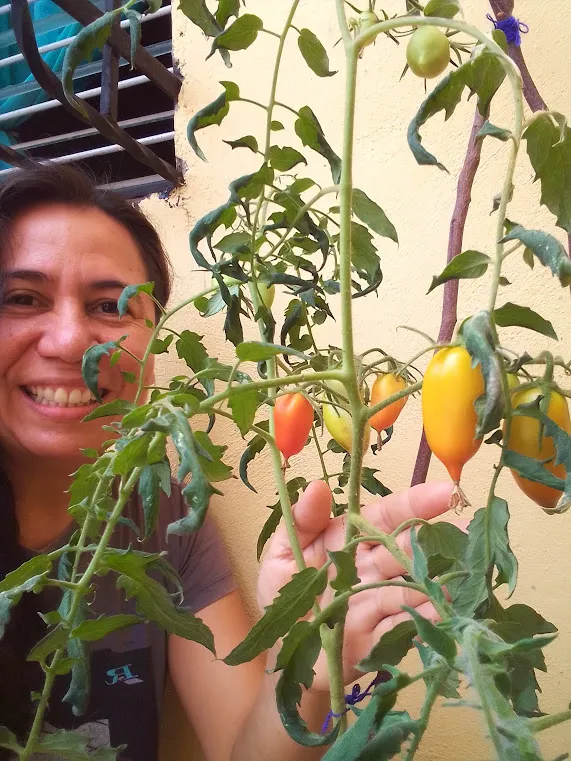
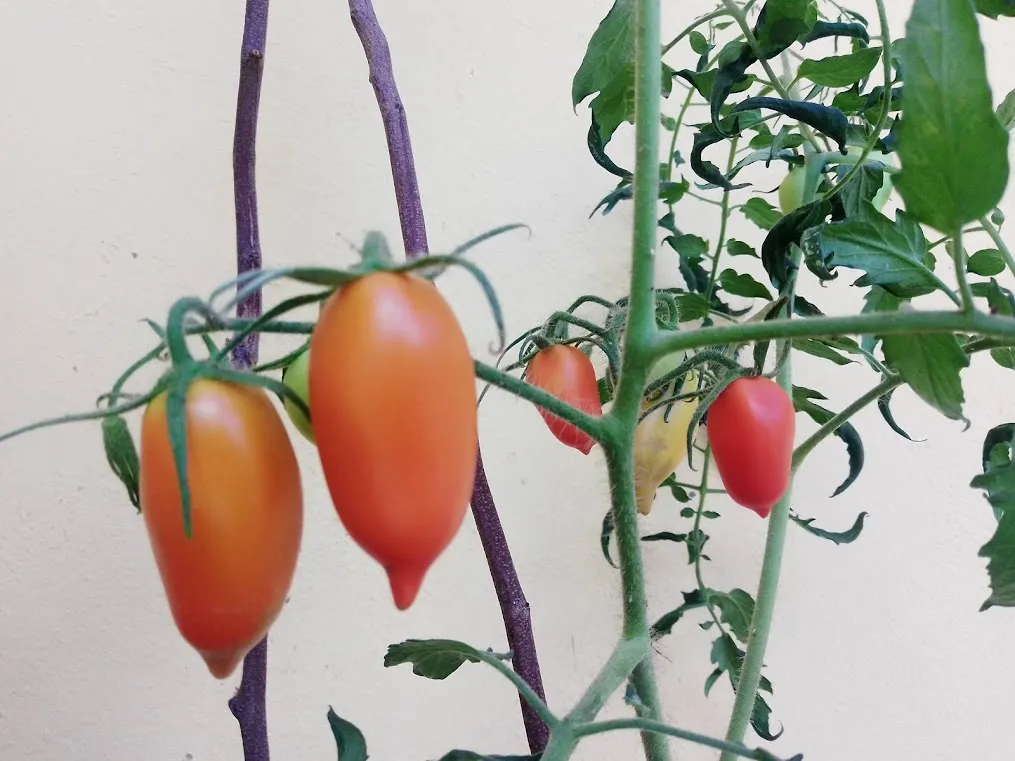
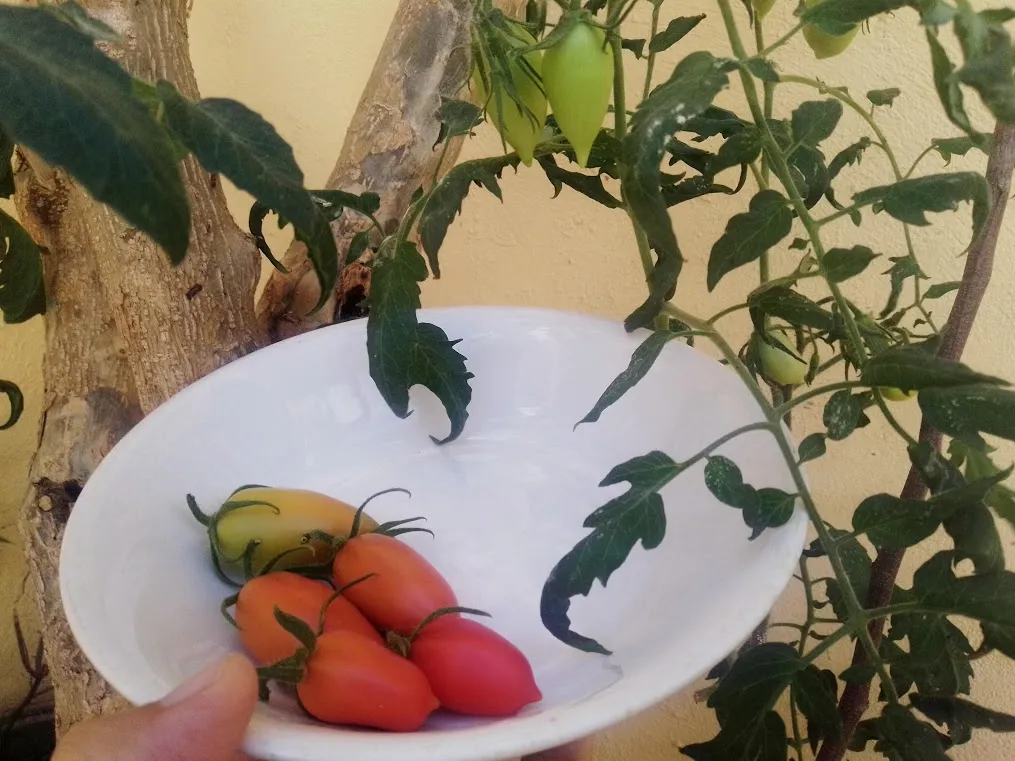
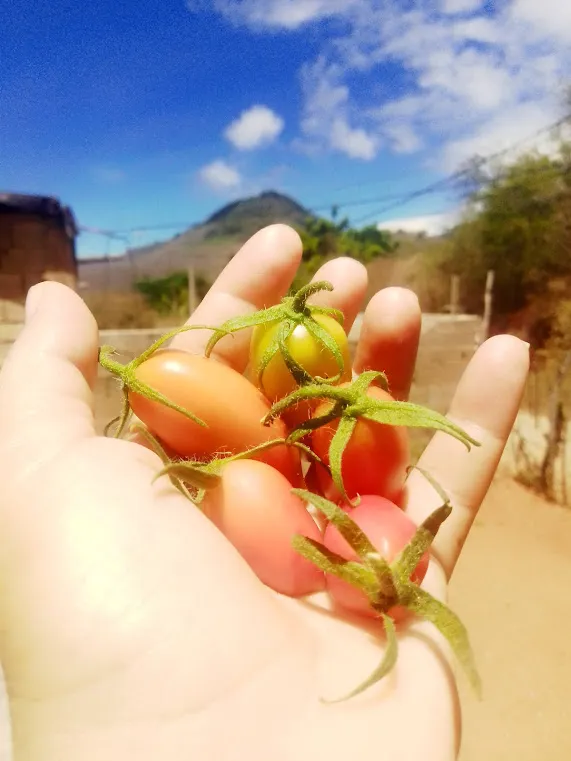
I then decided to move some of the pots that had survived the intense sun to a cooler area of the house where they would not receive as much direct sun. The result was that the fruits grew a bit larger than the previous "cherrys tomatoes".
 |  |
|---|
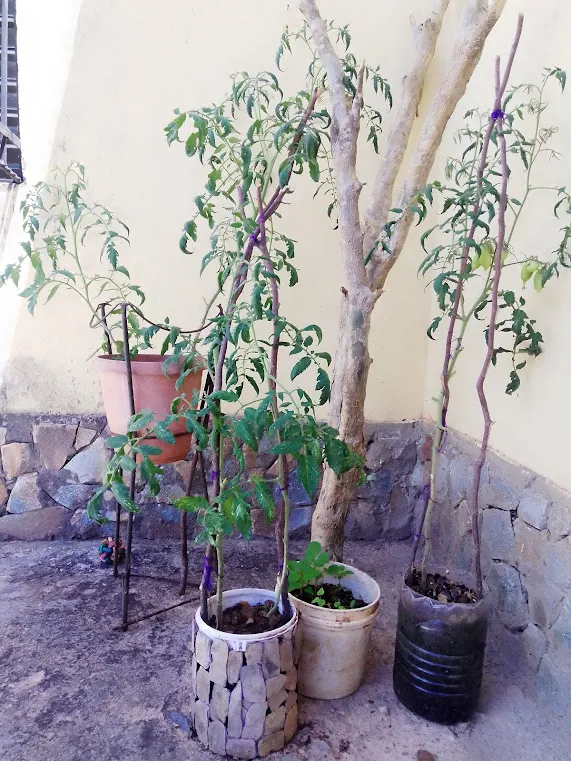
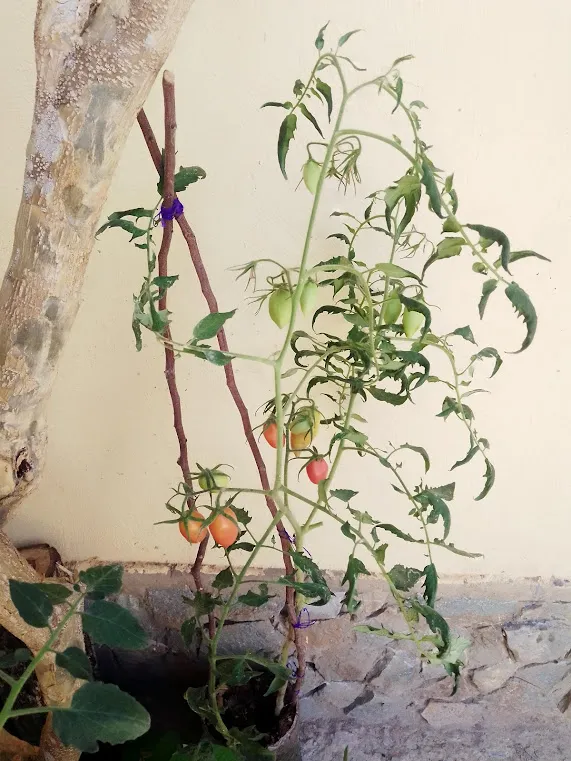
My learning is that the pots were not big enough and the roots were too compressed. In addition, there were pots that had two bushes. So I learned from this experience that if you want to have tomato mattes in pots, these should be large, so ideal for it are baldes or large containers of paint. And plant one bush per container.
 |  |  |
|---|
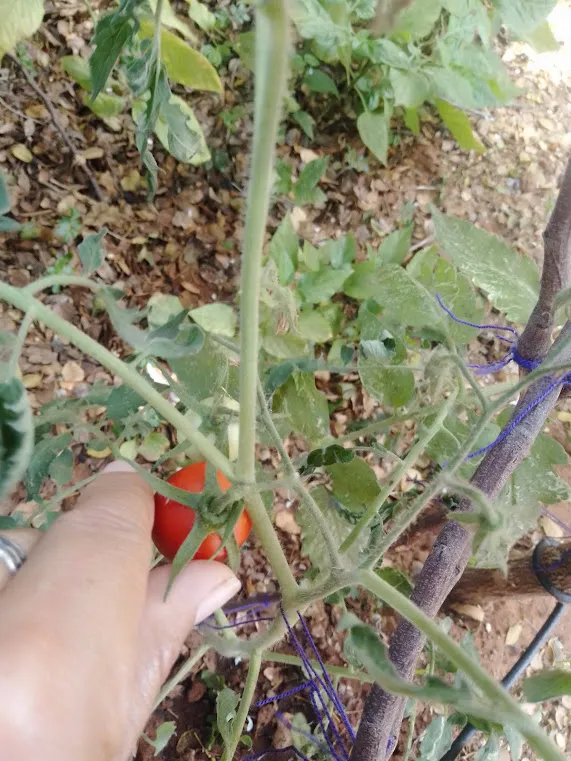
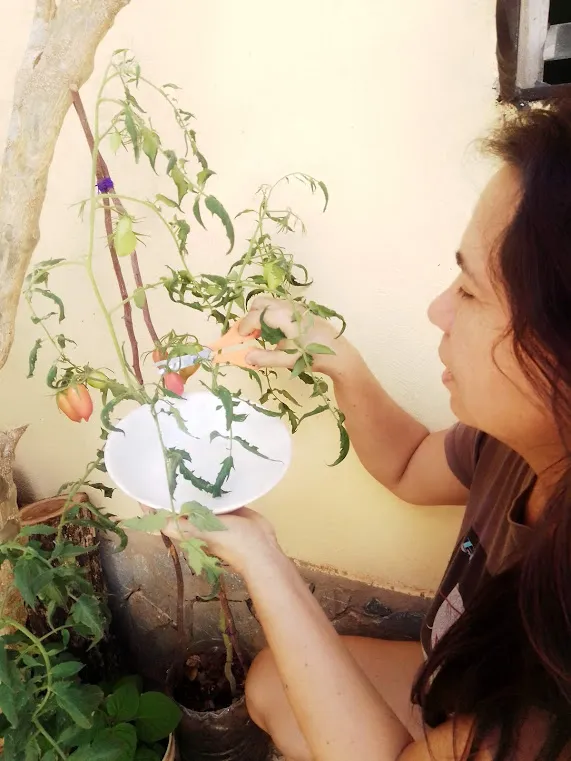
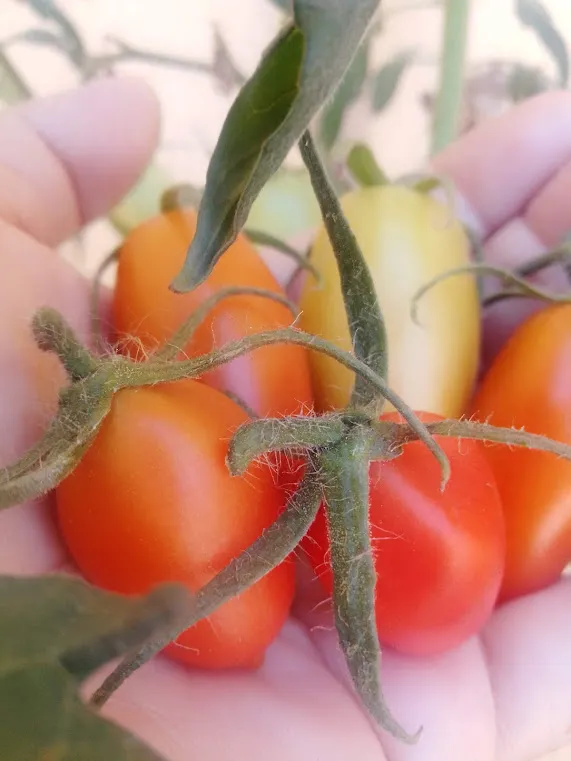
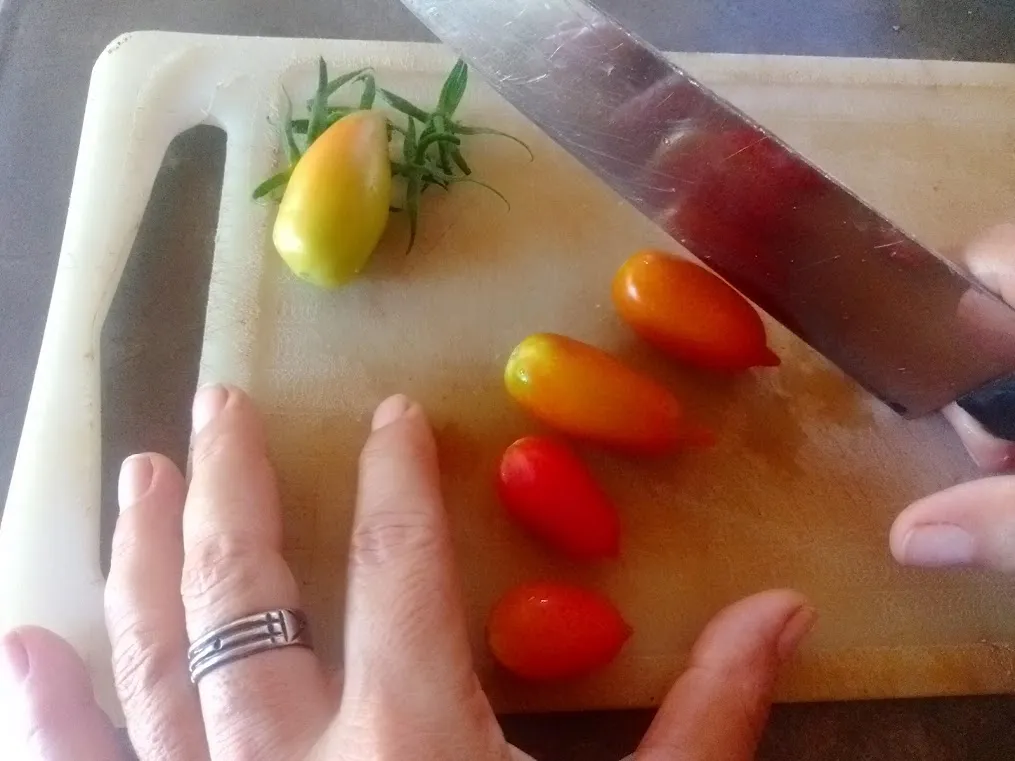
Although my tomatoes did not reach a large size, I was happy to pick the fruits. They were part of my first harvest and a product of my dedication.
 |  |
|---|
 |  |  |
|---|
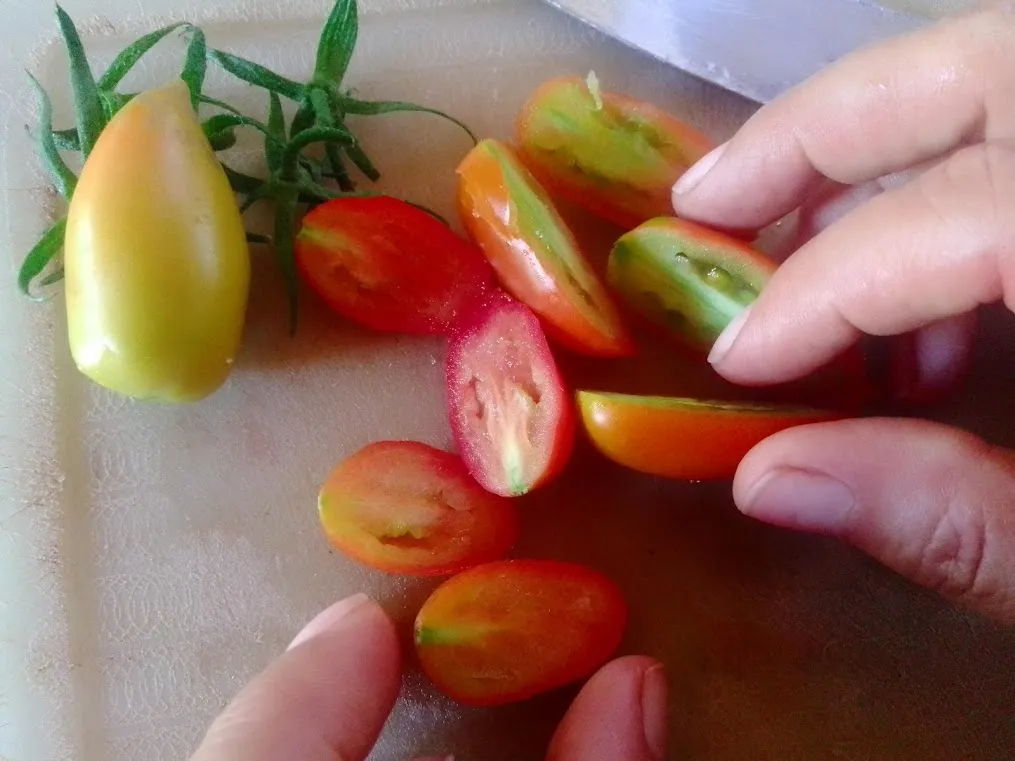
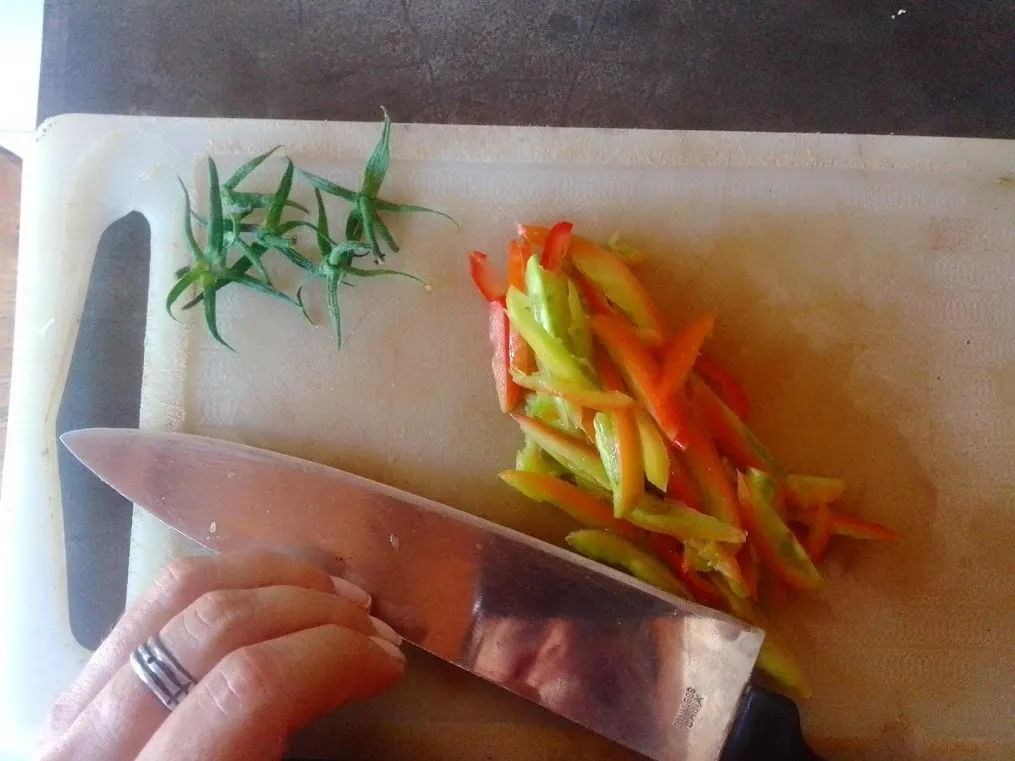
I like to be grateful and, yes, I still have a lot to learn, but at that moment, I enjoyed the pleasure of collecting them and then, chopping them, preparing them and savoring them inside a delicious arepa.
 |  |
|---|
For me the important thing is that I was happy during the whole process from the time the seedlings were born until I got to taste them.
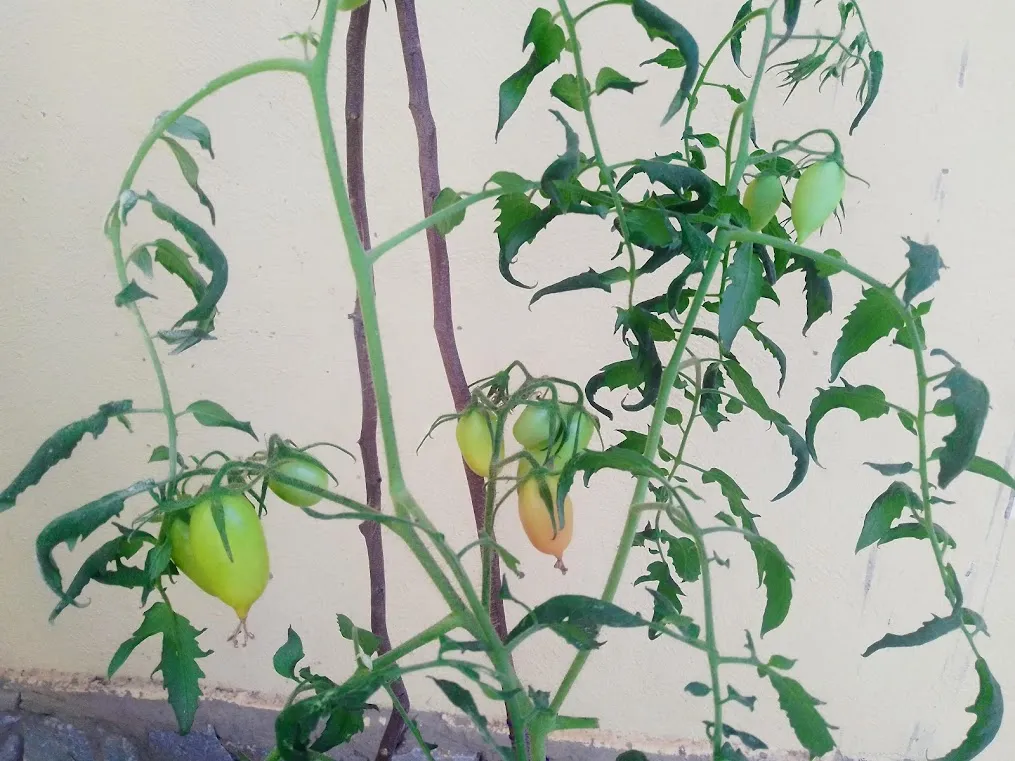
Although the bushes did not give a large load of tomatoes and had abundant flowers when they finished bearing fruit, they dried up one by one.
Now I am waiting for the development of the tomatoes planted in the ground that are already growing. Soon I will tell you in a new publication how I did with this planting.
For now I say goodbye, Namasté🙏🏻
All photos are my authorship, taken with Alcatel1SE phone. Translated with DEEPL. Graphic compositions made through Canva.
ESPAÑOL
Cosecha de tomates en maceta
Saludos 🙋🏻♀️ apreciados amantes de la jardinería y a todos en la comunidad #hivegarden, encantada de estar nuevamente con ustedes para compartir esto que nos gusta tanto: disfrutar y crecer con nuestra huerta.
Como les comenté en un anterior post, me lancé a la aventura de sembrar tomates tanto en maceta como en suelo.
En esta publicación les comentaré mi experiencia de esta primera vez sembrando tomates en maceta, la cual me dejó importantes aprendizajes y ganas de continuar, eso sí: corrigiendo ciertos fallos.
En principio tenía las macetas de tomate en una zona de la casa donde recibían mucho, pero mucho sol durante todo el día y aunque las matas estaban bien hidratadas y comenzaron a florecer, el tamaño del fruto no fue el deseado.
| | |
|---|
En casa bromeaban y decían que había sembrado tomate perita o pomodoro y me habían nacido tomates cherry, por el pequeño tamaño de mis frutos.
| |
|---|
| |
|---|
Entonces, decidí trasladar algunas de las macetas que habían sobrevivido al intenso sol a una zona de la casa más fresca y donde no recibieran el sol de forma tan directa. El resultado fue que los frutos crecieron un poco más que los "tomates cherrys" anteriores.
| |
|---|
Mi aprendizaje es que las macetas no eran lo suficientemente grandes y las raíces quedaron muy comprimidas. Aunado a que hubo macetas que tenían dos matas. Así que aprendí de esta experiencia que si se quiere tener matas de tomate en maceta, estas deben ser grandes, lo ideal para ello son baldes o recipientes grandes de pintura. Y sembrar una mata por envase.
| | |
|---|
A pesar de que mis tomates no alcanzaron un gran tamaño, fui feliz al recoger los frutos. Eran parte de mi primera cosecha y producto de mi dedicación.
| |
|---|
| | |
|---|
Me gusta ser agradecida y, sí, aún tengo mucho por aprender, pero en ese momento, disfruté del placer de recolectarlos y luego, picarlos, prepararlos y saborearlos dentro de una rica arepa.
| |
|---|
Para mí lo importante es que fui feliz durante todo el proceso desde que nacieron las plántulas hasta llegar a saborearlos.
A pesar que las matas no dieron un gran carga de tomates y tenían abundantes flores al terminar de dar estos frutos se fueron secando una a una.
Ahora estoy esperando el desarrollo de los tomates sembrados en el suelo que ya van creciendo. Pronto les cuento en una nueva publicación cómo me fue con esa siembra.
Por ahora me despido, Namasté 🙏🏻
Todas las fotos son de mi autoría, tomadas con el teléfono Alcatel1SE. Traducido con DEEPL. Composiciones gráficas realizadas a través de Canva.