Hi Hive Gardeners and DIY folks! In between my regular series of posts on various aspects of growing, foraging and makin stuff around home, I'll be popping in sometimes with seasonal, timely tips and 'how to's'. Here's one I whipped up today, it's about getting free Strawberry plants without committing criminal offences.
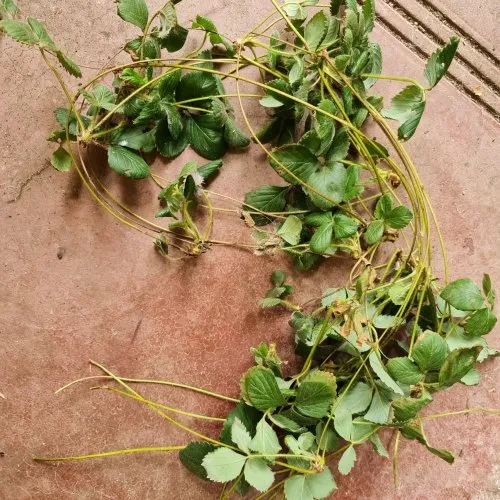
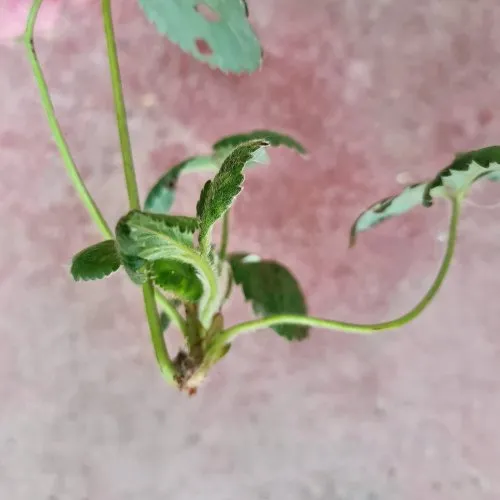
The Strawberries in our hanging pots have become quite rampant, with runners hanging down to the ground. I guess that means that it’s time to propagate some new plants. I’ll share with you here the easiest way that I know to propagate them with a good success rate.
What to look for
Strawberry plants grow as ground hugging stems called runners. At points along those stems, a node forms and this is where the leaves come out. If a node is touching the soil, roots will form and a new plant will grow. The stems in between the nodes are called, technically, ‘internodes’. We simply need to mimic this reproductive pattern and provide ideal conditions for the new plantlet (I prefer to call them ‘Strawberrylings’ – it sounds so much cuter)!
How to do it
I developed this little trick from ovserving our Pumpkins. When you harvest a Pumpkin, you, traditionally, cut a length of stem that stays on the Pumpkin. This provides moisture to the Pumpkin itself while it ripens completely inside its shell.
With Strawberry runners, I do the same thing. There is a length of stem between the nodes from which the new plants will grow. I cut a good length of this and leave it still attached to each node.
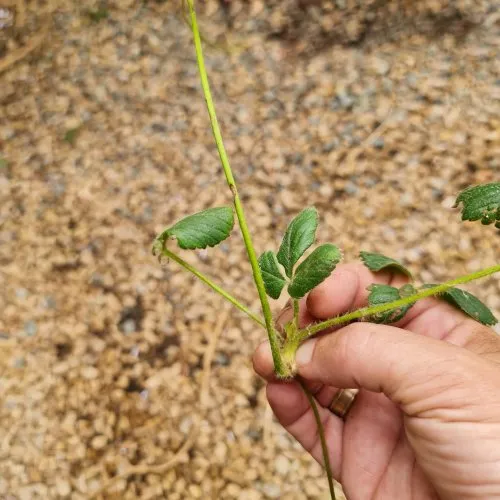
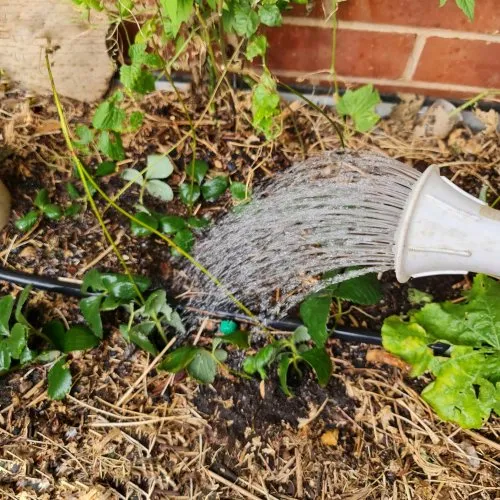
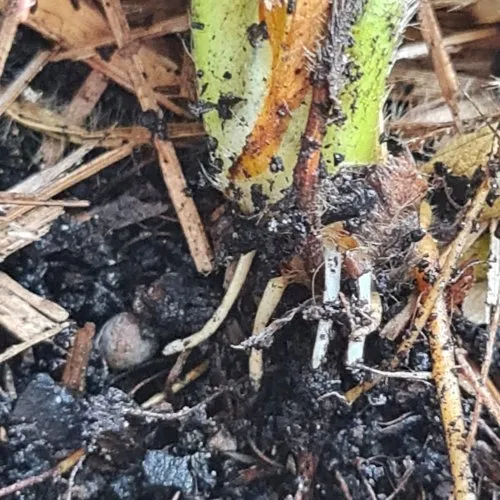
When you have some healthy looking nodes with several sets of young leaves, you only need to bury this section so that the node is covered and a couple of leaves poke out from the soil. Leave the length of stem above ground. It will dry first while more moisture stays in the new plant as it develops roots. Give your upcoming new plants a good water with some dilute Seasol (isn’t that stuff wonderful?) and keep the area moist but not wet for the next couple of weeks.
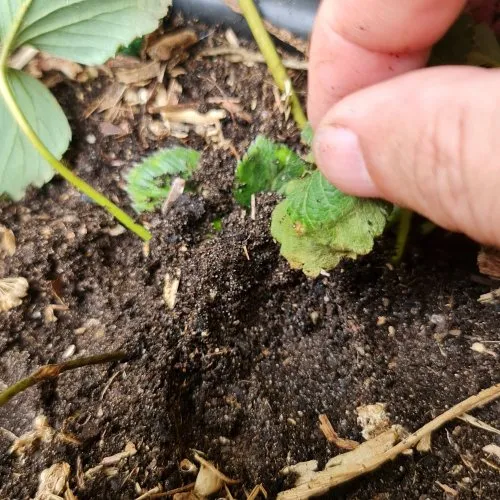
Leave the baby plant in the soil for a week or two, depending on the time of year. Keep the soil around the plant moist but not wet. After this time, you can try to gently pull the plant out of the ground. If you meet with resistance, stop, it means that the roots are going and holding onto the soil. If you’re really curious (as I always am), you can dig a little of the soil away and check out the roots in their debut performance.
The little plants are now ready to grow right where they are, for potting on or for moving to their preferred new position. Now, you just look after them as you would any new plant. You know what to do!