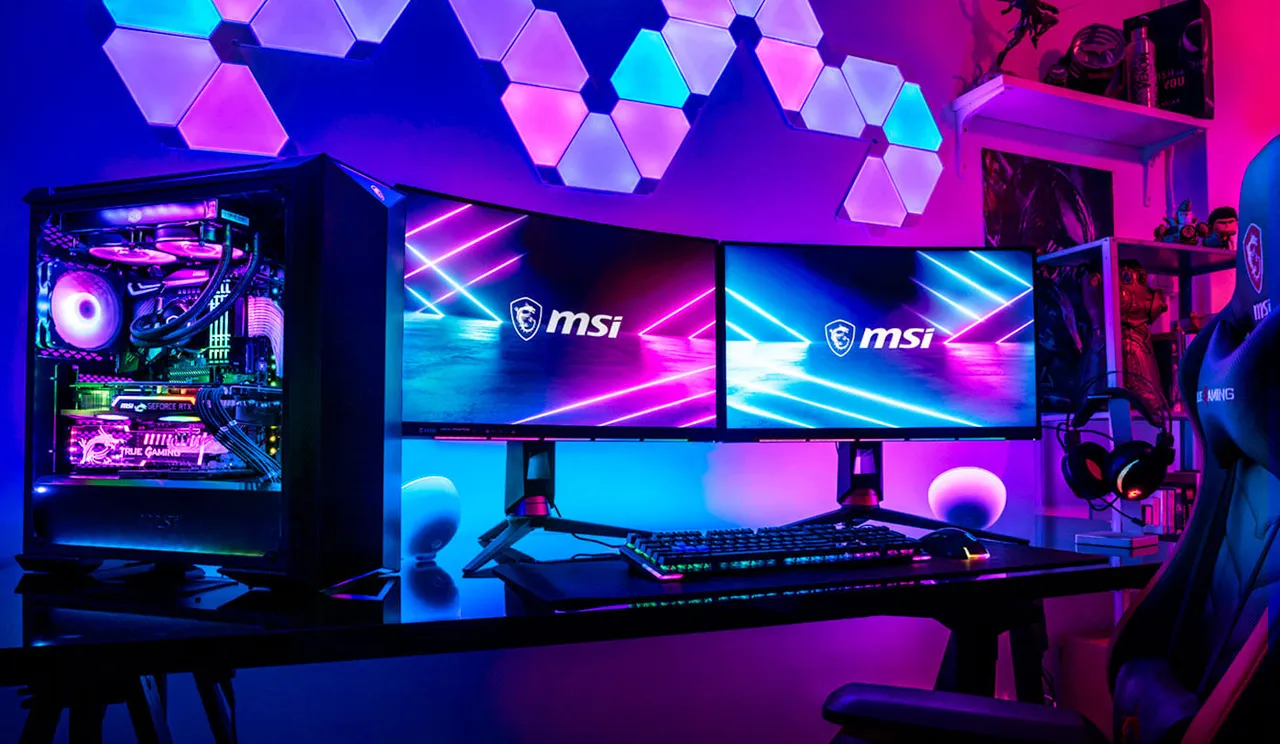
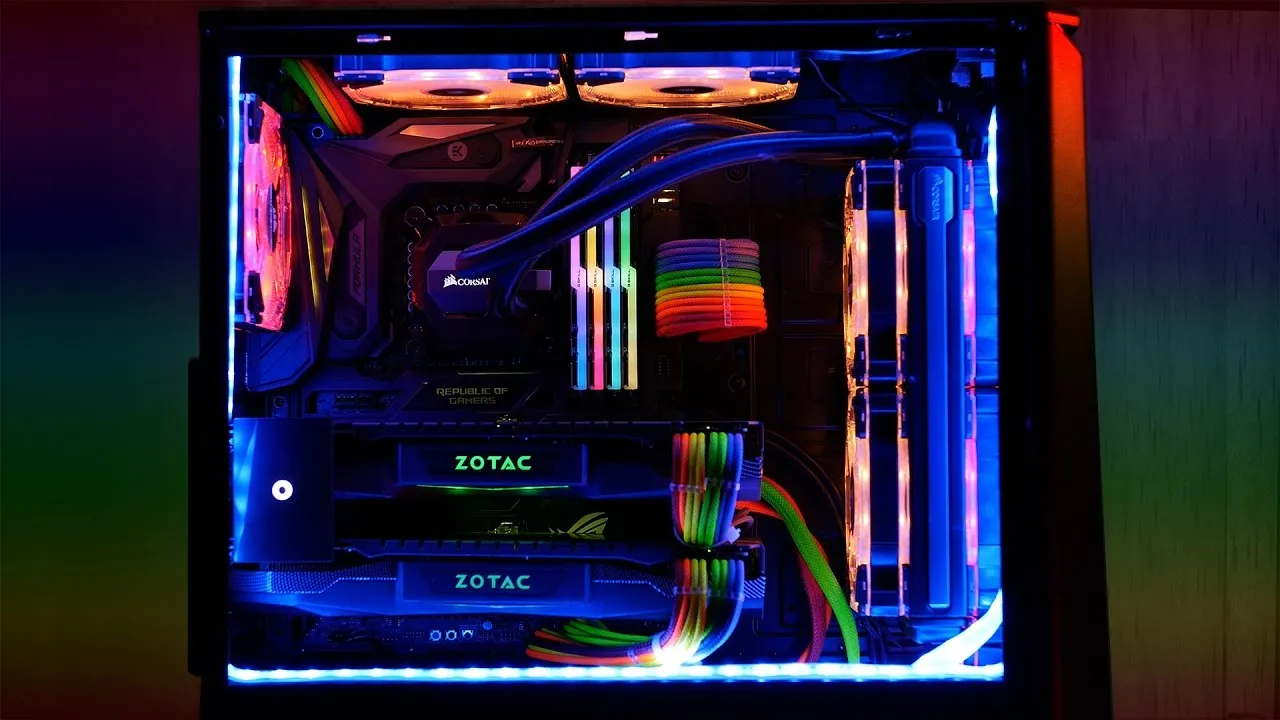
RGB is useless. It doesn't add any performance to your PC and it does consume power. But, it can be a little bit beautiful in some cases.
It's a story. It starts with my Asus motherboard. I had it for like a year and I was using its RGB software, AURA, which is not bad. I had installed some RGB strips and RGB fans into the case.
I upgraded my motherboard and got a Gigabyte motherboard. Oh boy, their software, RGB Fusion, is terrible. Gigabyte doesn't update that app and even doesn't release a proper SDK so other developers can take over.
This upgrade was a disappointment. Who would have thought something like RGB can be important. It's useless after all. But they even couldn't manage that useless application.
Anyway, my search for an alternative application begins here. After some time and testing many many apps, I decided to sell off this motherboard and get an Asus one.
Yesterday, I decided to write about this on Gigabyte's subreddit and get some opinions on the subject. Everybody agrees RGB Fusion is a complete mess and some people say they will never buy anything from Gigabyte again.
Just at that moment when I was hopeless, a hero appeared on the subreddit and provided a golden solution: SignalRGB. I found a true gem. It's just amazing.

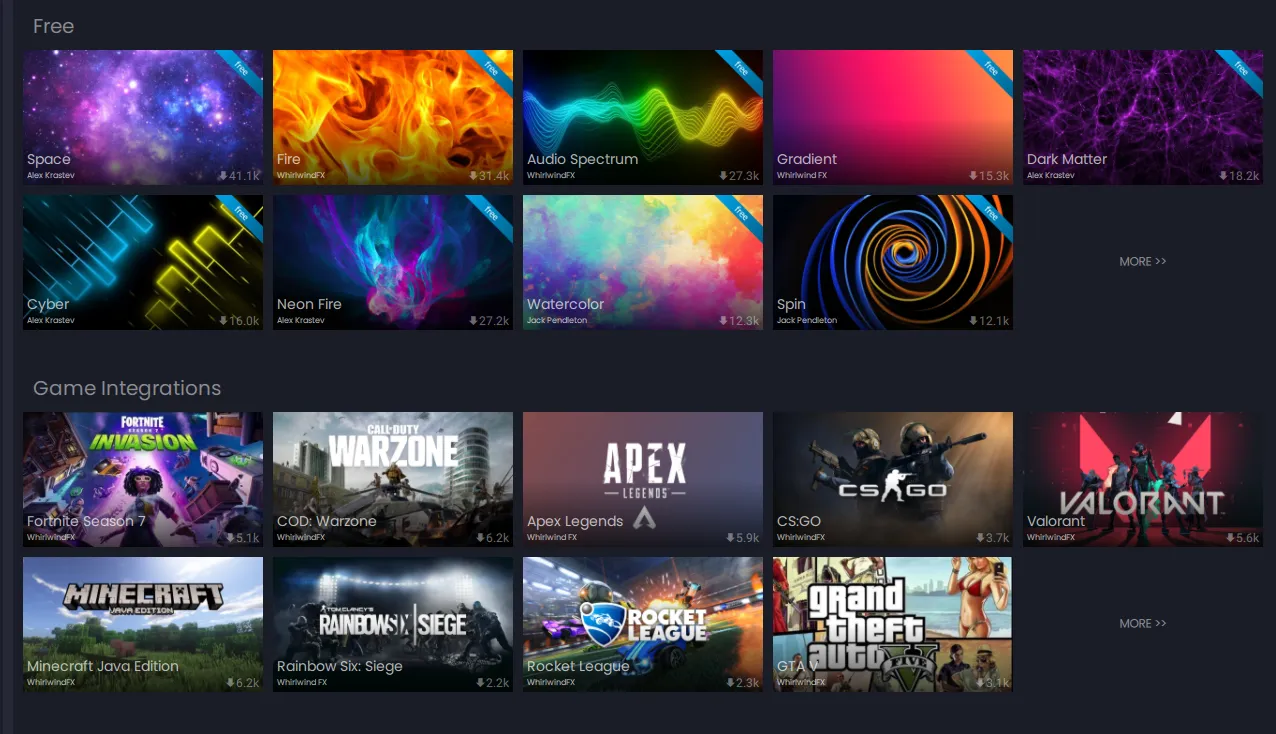
SignalRGB is the best RGB controlling application I have ever seen. The application itself is a platform for installing effects with tons of available effects. It also supports many games. You can even develop your own effects. All you need is some JavaScript knowledge. I would imagine you can find many community-developed effects too.
Audio effect
Today I built an effect that I was looking for so long. It's a kind of audio visualizer effect. You would usually find this kind of effect for 5v addressable RGB strips and they don't work well with 12v RGBs. I wanted to make it work well with 12v RGBs too.
Here is the code for the effect. You can download it by clicking here or view it on github.
It's basically an HTML page with a canvas in it.
<body style="margin: 0; padding: 0; background: #000;">
  <canvas id="exCanvas" width="320" height="200"></canvas>
</body>
This canvas presents the RGB area that will be displayed on your RGB LEDs. You can draw whatever you want in this canvas and it will be on your RGB LEDs. Well, depends on what type of RGB you have but the idea is the same.
var level = engine.audio.level;
I capture the audio level from the built-in engine. The returned value is in decibels. This value doesn't represent the loudness of audio very well because I think it's logarithmic. So we convert it. loudness = 10 ^ (decibel / 10)
var bright = ( 10 ** ( engine.audio.level / 10 ) ).toFixed( 2 ) * 100;
This represents a value between 0 and 30-40. The maximum brightness value for the RGB is 50% in this code we use. We are using HSL (hue, saturation, lightness) color space.
So because the converted value doesn't reach the maximum brightness, I created a curve to make it brighter in the higher values and dimmer in the lower values.
if ( bright < 5 ) {
  bright = bright * 0.2
} else if ( bright < 8 ) {
  bright = bright * 0.3
} else if ( bright < 10 ) {
  bright = bright * 0.4
} else if ( bright < 13 ) {
  bright = bright * 0.5
} else if ( bright < 15 ) {
  bright = bright * 0.6
} else if ( bright < 18 ) {
  bright = bright * 1
} else if ( bright < 20 ) {
  bright = bright * 1.1
} else if ( bright < 37 ) {
  bright = bright * 1.32
}
Also, might be a good idea to have a custom option for changing the brightness.
bright = bright * brightnessScale * 0.1
The value for brightnessScale can be controlled within the app by setting a meta in the header section.
<meta property="brightnessScale" label="Brightness scale" type="number" default="10" min="1" max="10">
Maybe it's not a bad idea to make LEDs smoother when brightness changes from high to low.
if ( prevBrightness === 0 ) {
  prevBrightness = bright
}
if ( bright < prevBrightness ) {
  bright = bright - 0.05
  prevBrightness = bright
}
Then we have 2 modes for the color of the RGBs. Rainbow and Single color mode. The user can change the mode within the app.
<meta property="comboOption" label="Mode" type="combobox" values="Rainbow,Single" default="Rainbow">
We check for the value of this option and apply the color changes.
if ( comboOption === 'Single' ) {
  hue = hexToHsl(color)[0] * 360;
  ctx.fillStyle = `hsl(${ hue }, 100%, ${ bright }%)`;
} else {
  ctx.fillStyle = `hsl(${ hue }, 100%, ${ bright }%)`;
  hue += 0.1 * speed;
  if ( hue > 360 ) {
    hue = 0;
  }
}
For the Single mode, we take the "color" input from the user. This value is in hex so we first convert it into hue value.
The meta for taking the color input:
<meta property="color" label="Color" type="color" default="#e31337" min="0" max="360" />
In the Rainbow mode, we can just increase the hue by one. The range for hue is from 0 to 360.
Then we can draw the final color on the canvas.
ctx.fillRect( 0, 0, width, height );
Also, when there is no audio, we should turn off the LEDs.
var bright = prevBrightness - 1
if ( bright < 0 ) {
  bright = 0
}
prevBrightness = bright
ctx.fillStyle = `hsl(${ hue }, 100%, ${ bright }%)`;
ctx.fillRect( 0, 0, width, height );
Here I used a method to turn off the lights a little bit smoother.
In the end, we recall the update function again to make an endless loop.
window.requestAnimationFrame( update );
This calls the update function whenever the canvas is ready to have another frame. So we don't have to guess when is the best time for drawing the next frame. This is important for having a smooth animation on a canvas. Because different machines have different hardware and some are faster and some are slower.
Once the HDML file is ready, we can move on to installing the effect on SignalRGB.
How to install the effects on SignalRGB
Copy the HTML file into C:\Users\{Username}\Documents\WhirlwindFX\Effects and restart the SignalRGB. Then select "My Effects" from the left menu. And select "audio effect mahdiyari" from the top menu.
You will see this:
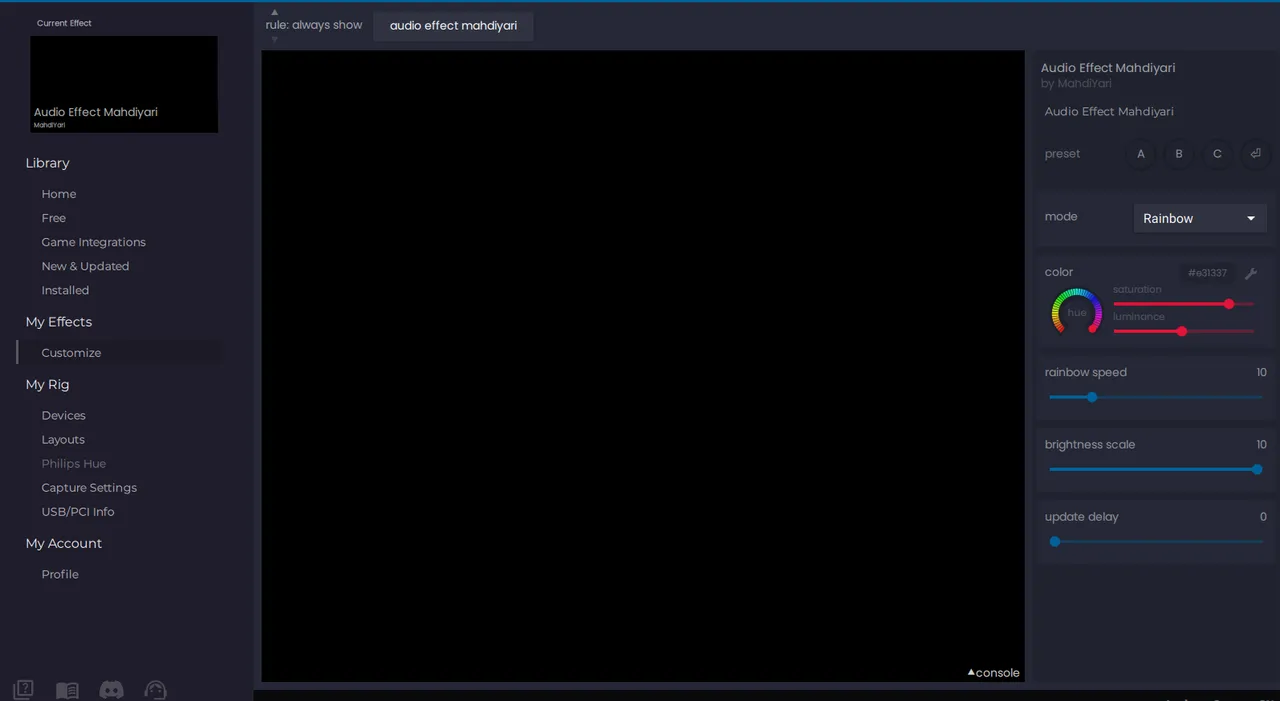
From the right menu, you can see the meta options we added in the header section. The default values should be fine but you can play around.
That's it. Simple as it could be.
Where to download the SignalRGB
Their official page: https://www.whirlwindfx.com/pages/signalrgb
Supported devices can be seen here: https://www.whirlwindfx.com/pages/supported-devices
Official developer docs: https://www.whirlwindfx.com/pages/developers
Community made docs: https://docs.google.com/document/d/1u8jGGY51c0IgDsCXScCiRcvDVtYIE1A-swht2p39O70/edit#
They have a pretty good developer base. The updates are rolling out with newly supported devices. You can join their discord server and ask if you have any questions.
It might be worth noting that I had a problem and that was because of the "Argus monitor". Argus monitor helps me control my fans but it was blocking SignalRGB from controlling the RGB on my RAM sticks. The solution was to start the Argus monitor after starting SignalRGB.
So far it has been a good experience. So much good that I wanted to share this amazing application in my blog.
Let me know when you tried this effect on your machine.
Upvote, reblog, and follow me if you find my content interesting.
Thanks for your time.