Heeeyho Readers! A bit of an important topic for camping novices!
Checking any equipment before use is crucial.
Countless times, friends of mine — those who camp once a year — were left hanging on the spot after discovering their malfunctioning tent. It happens frequently when a tent is packed year long without inspection. Mold, stuck zippers, tears, broken poles and missing pegs are among the issues.
I have a bicycle race in another state coming in two weeks. So, as a good brokepacker, my trusty tent will help me save giganormous money on accommodation — that if the bloody thing is in order.
On this post I'll run through my tent check up before camping. Hopefully it's useful for camping newbies.
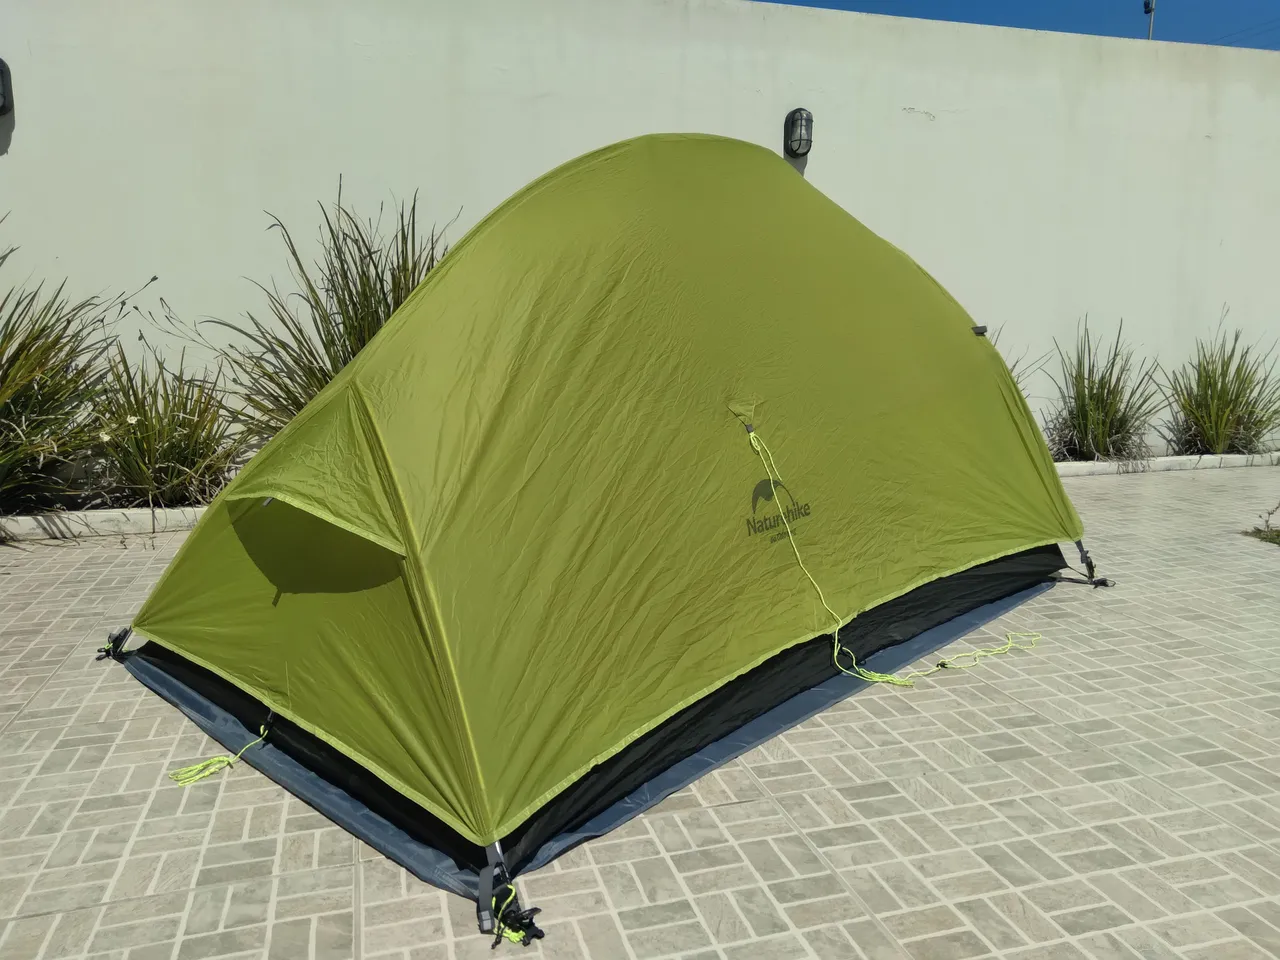
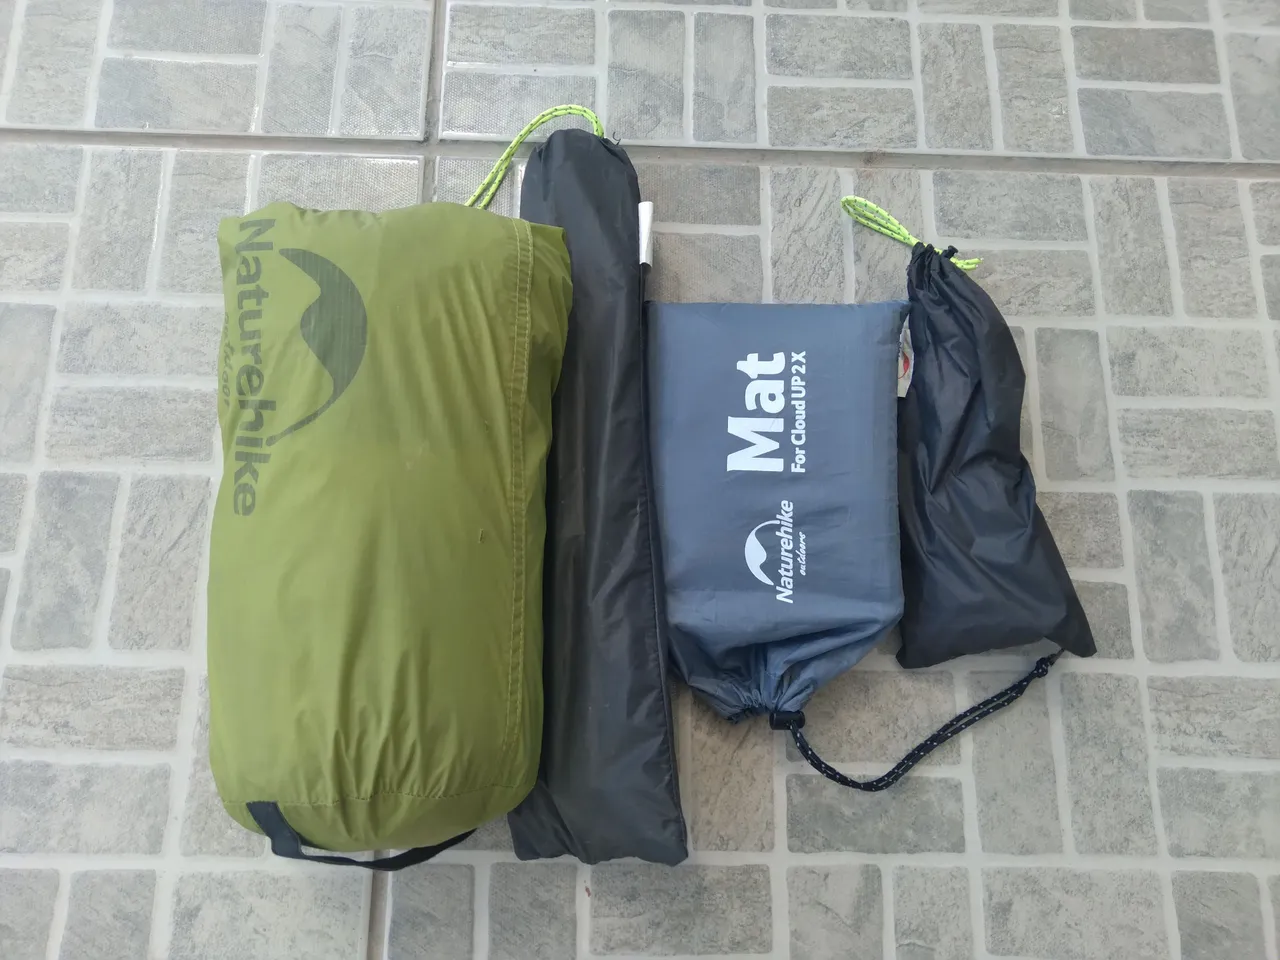
The tent I'm using today is a two-person Naturehike Cloud up 2. I bought this tent in 2019, after having my older rig nicked during my cycletouring passage in London. Naturehike is known for their budget, yet super high quality, light-weight tents. Because of the tent's specialized materials, it's important to inspect everything before heading out.
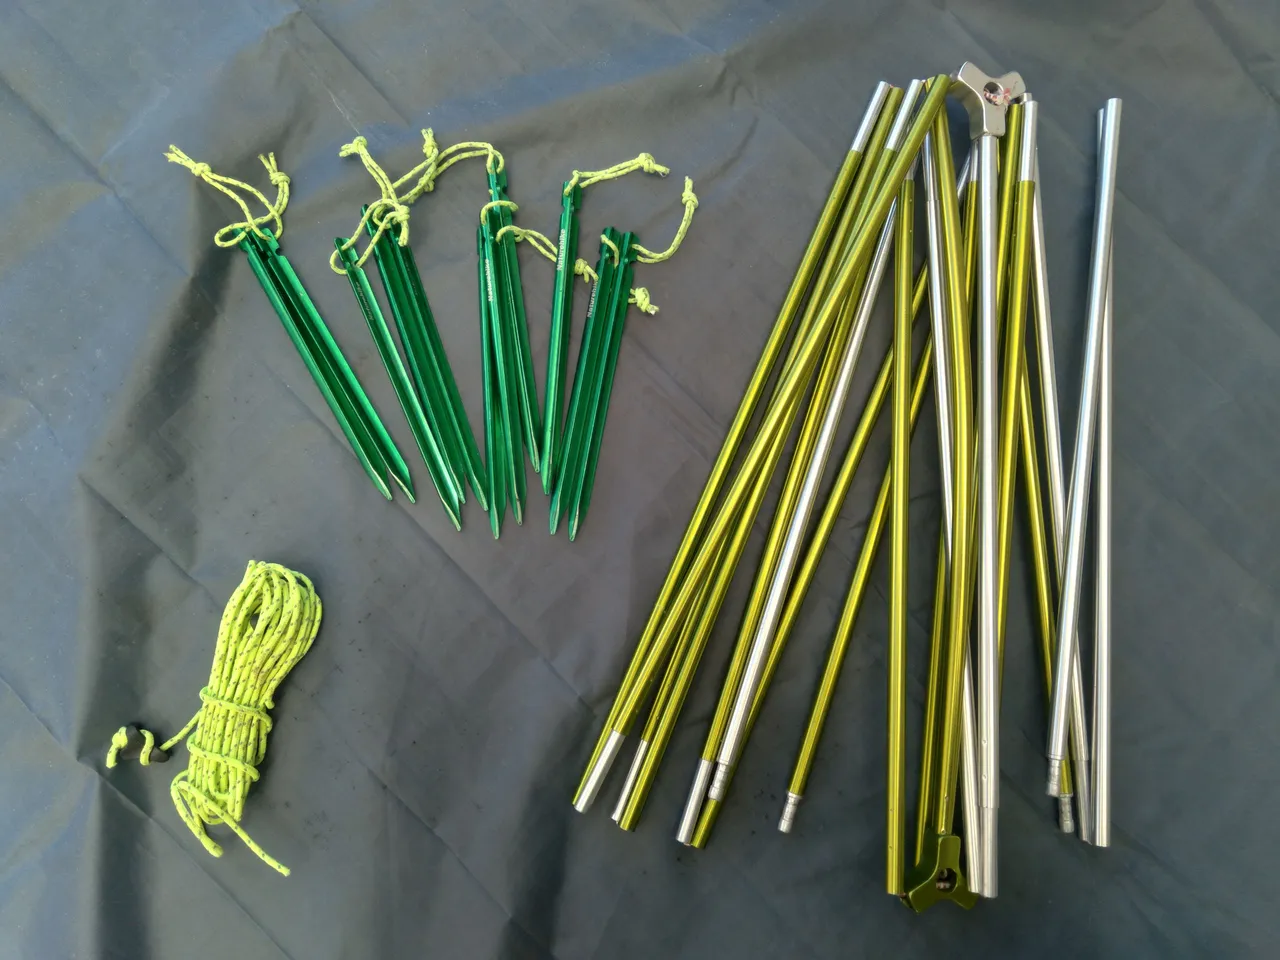
First inspection starts with the poles, pegs, and guy lines (those cords used to tension the tent's cover). Make sure to check the following:
- The poles are not broken or bent. It's very common for fiberglass poles to split if packed for long enough; aluminum is alright.
- There aren't missing pegs (make sure you have spares)
- The guy lines aren't missing or snapped
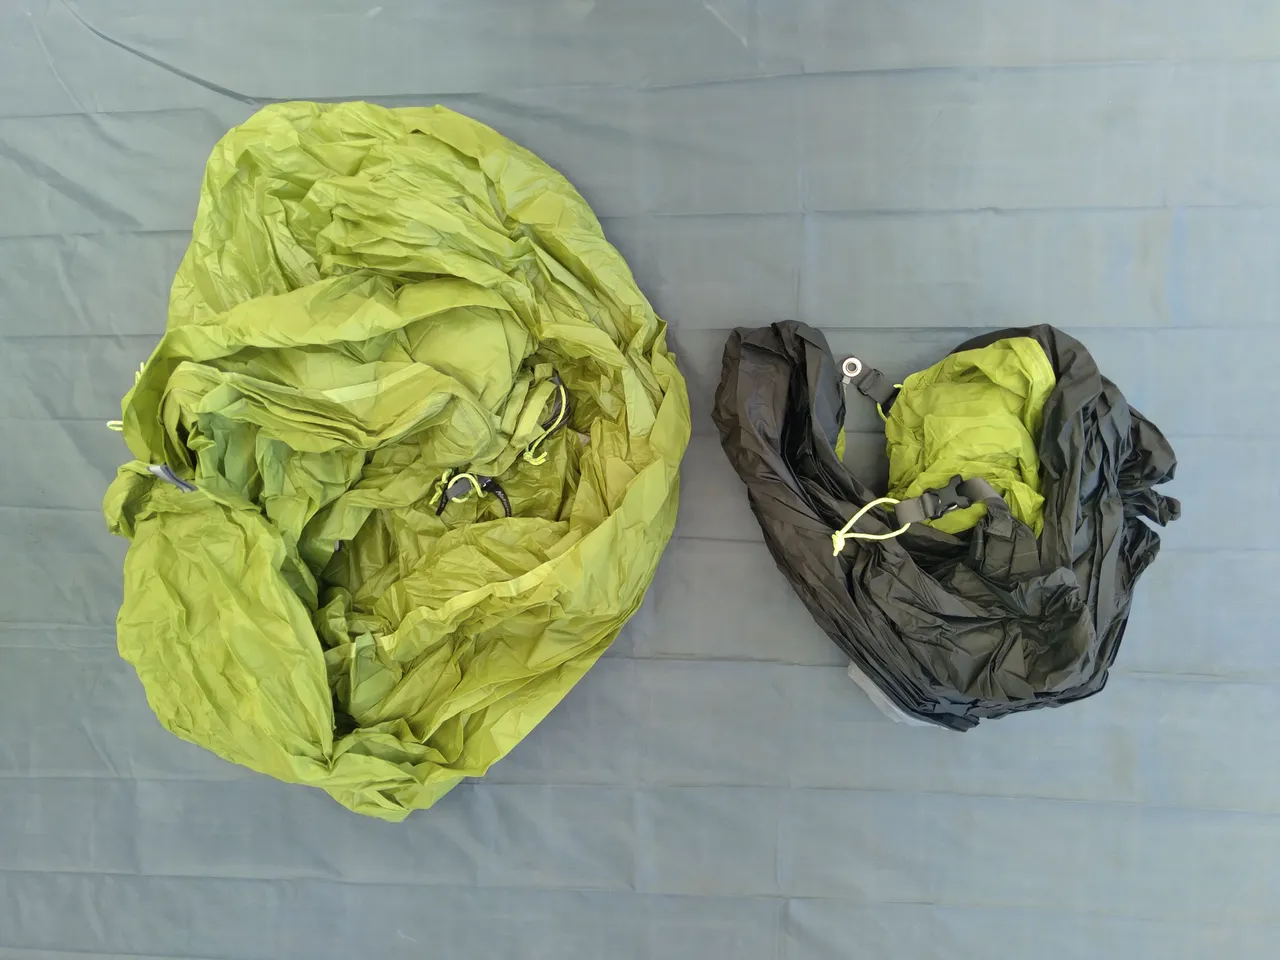
Next up, unpack the tent cover and inner mosquito net. I don't like to fold my tent; just stuffing it in the bag works well. Keep in mind: it is critical to properly store the tent when not in use. A tent will create mold or even rot away if packed wet for a long time.
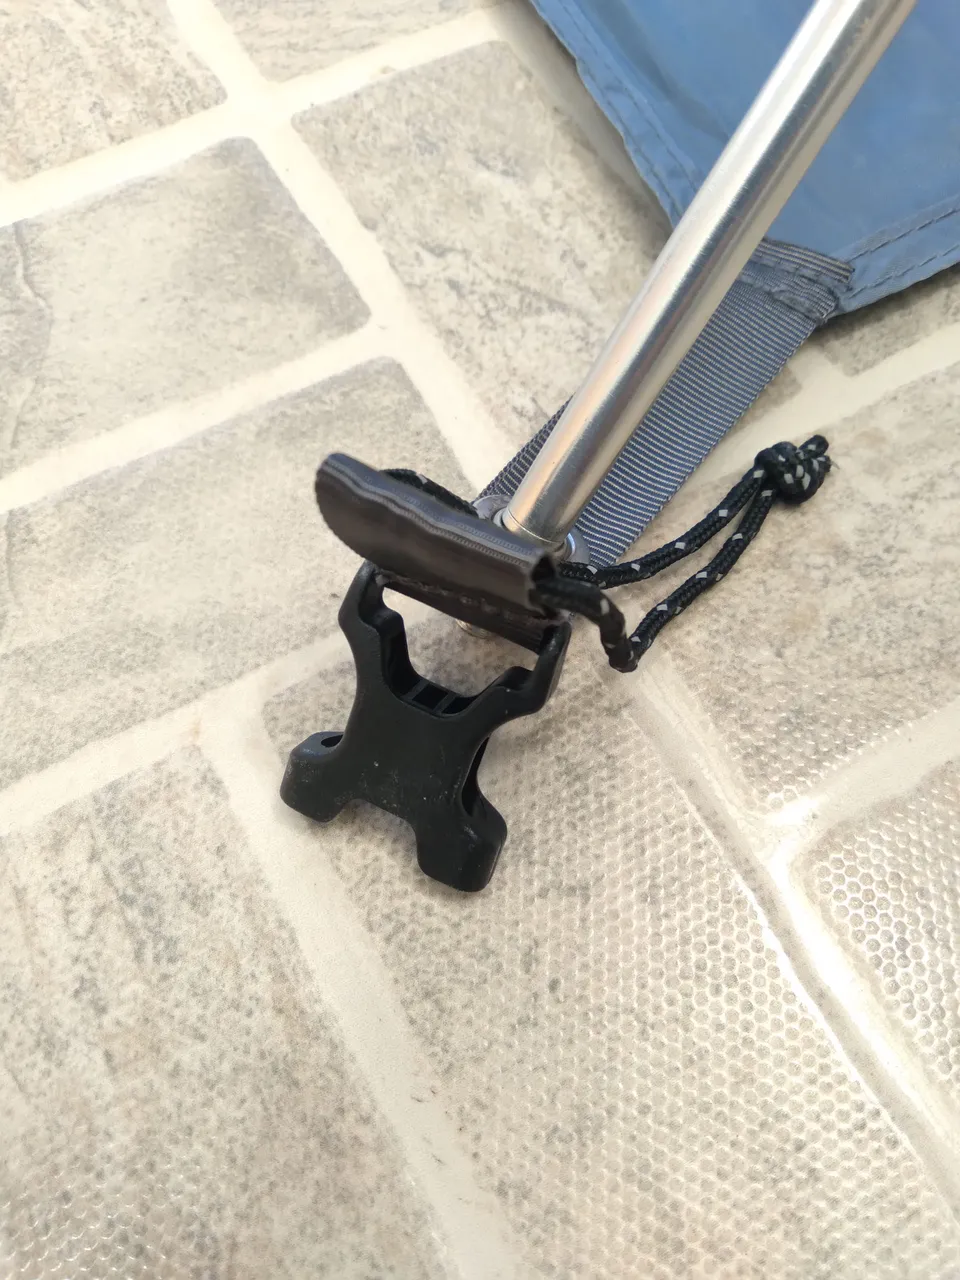
Tents have all sorts of assembly methods. Naturehike uses buckles to attach different parts to the tip of the poles. Check every buckle to see if they aren't broken or need replacement for whatever reason.

It's time to fully pitch the tent to look for rips. Some older tents may also need a seam sealant application to ensure waterproofing.
- Check for rips
- Check the seams
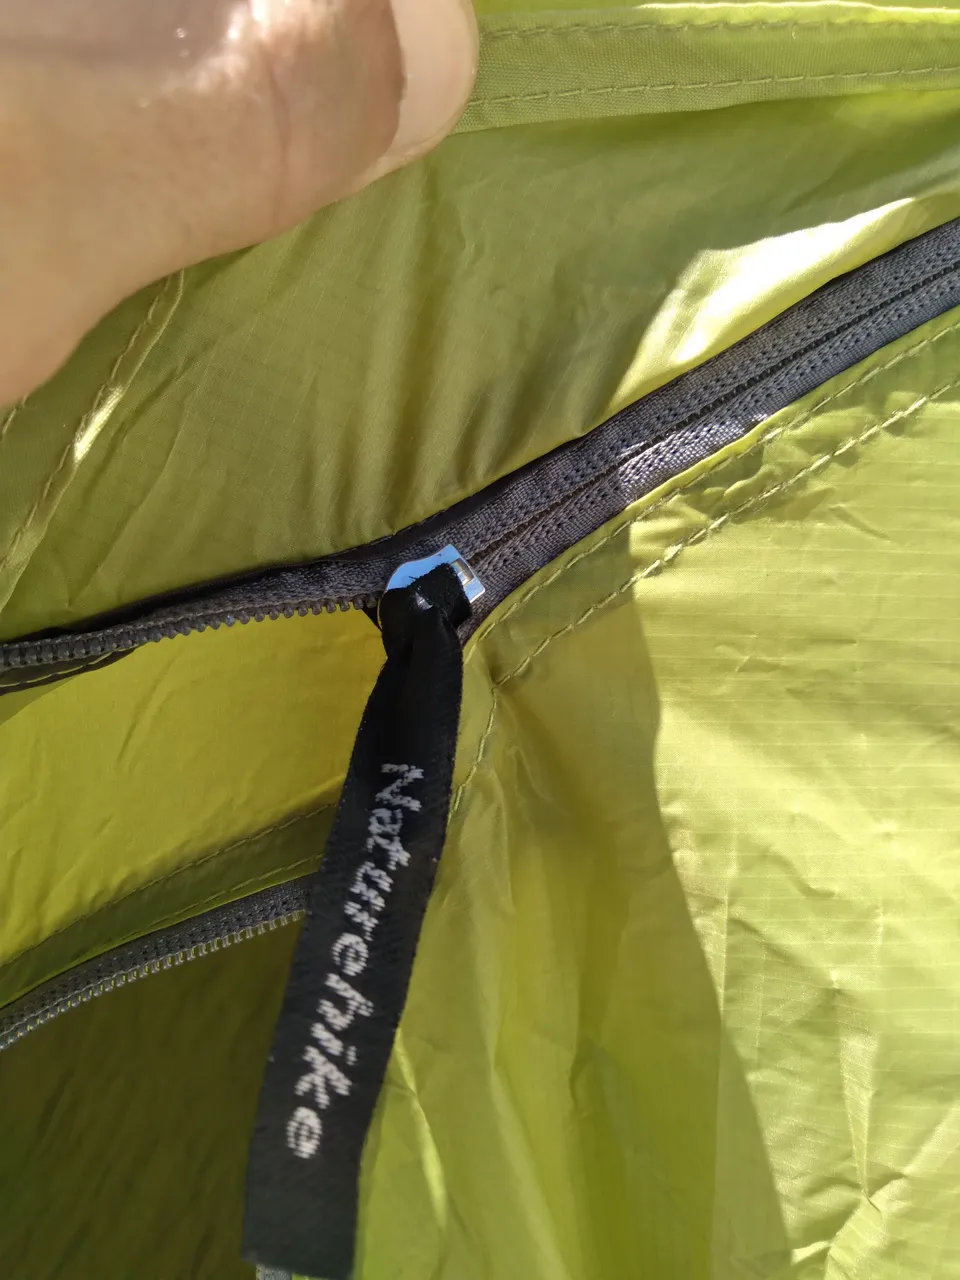
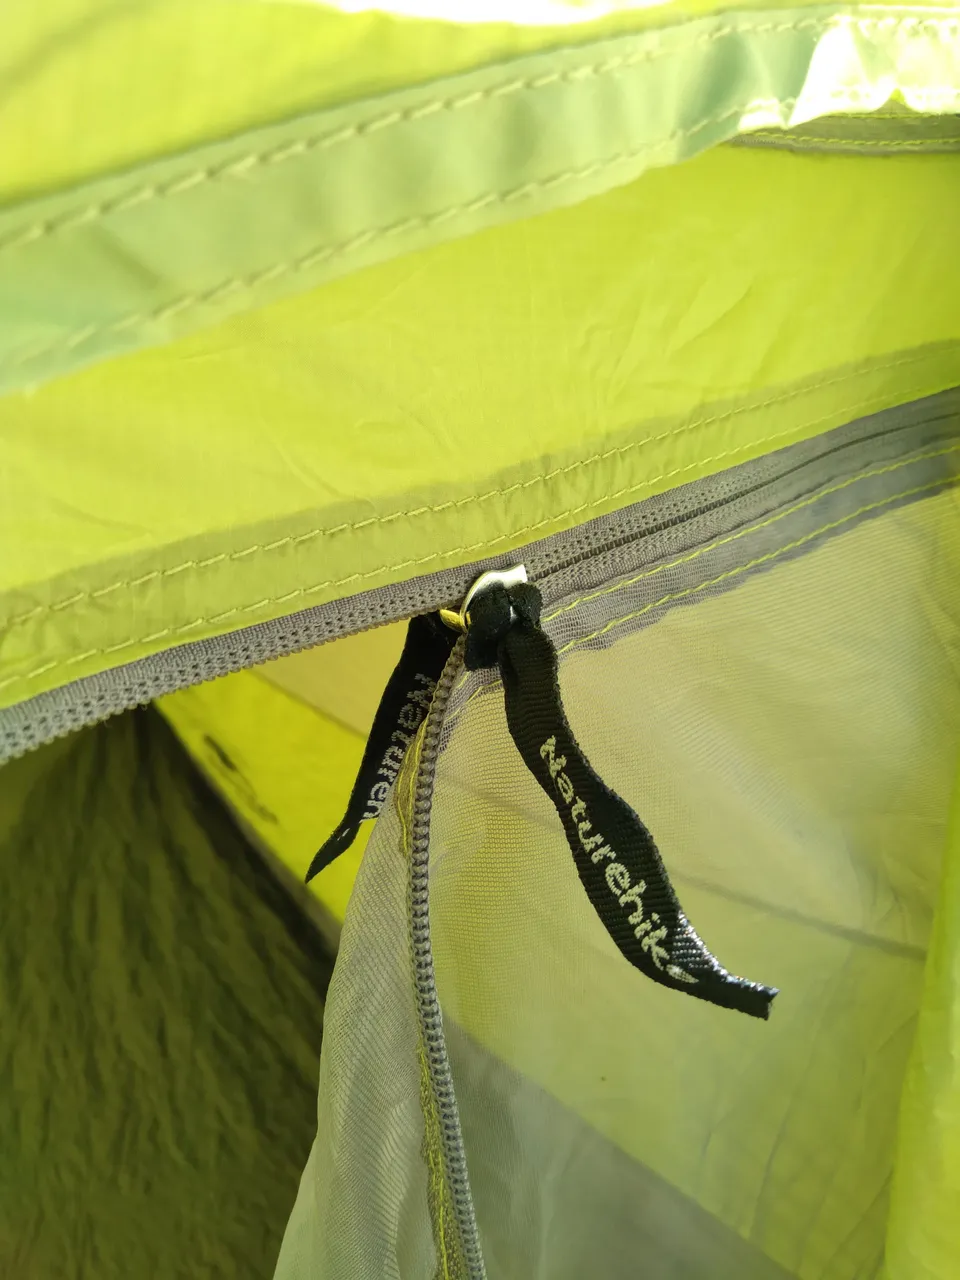
Finally, it is important to check one of the most common parts to have problems: the zippers. Zippers like to jam, break, rust, rip and you name it. And fuck no, I don't want sneaky spiders inside my sleeping bag.
Go zip zip zip a few times to certify the zippers work.
Now that you've checked the tent is clean and working well, it's safe to head out. No mishap should ruin your delightful night outdoors — only your friends who haven't checked their rig.
I hope you have enjoyed these tips. Sound basic for outdoor enthusiasts, but you won't believe how common these issues happen in seasonal camping spots around me.
Don't forget to have fun!
Peace.
Did you know that I have a book out? Check this!
Access Link: https://www.amazon.com/dp/6500272773?

If you enjoyed this post consider leaving your upvote for a hot coffee.
Find me on Twitter: https://twitter.com/mrprofessor_
~Love ya all,

Disclaimer: The author of this post is a convict broke backpacker, who has travelled more than 10.000 km hitchhiking and more than 5.000 km cycling. Following him may cause severe problems of wanderlust and inquietud. You've been warned.