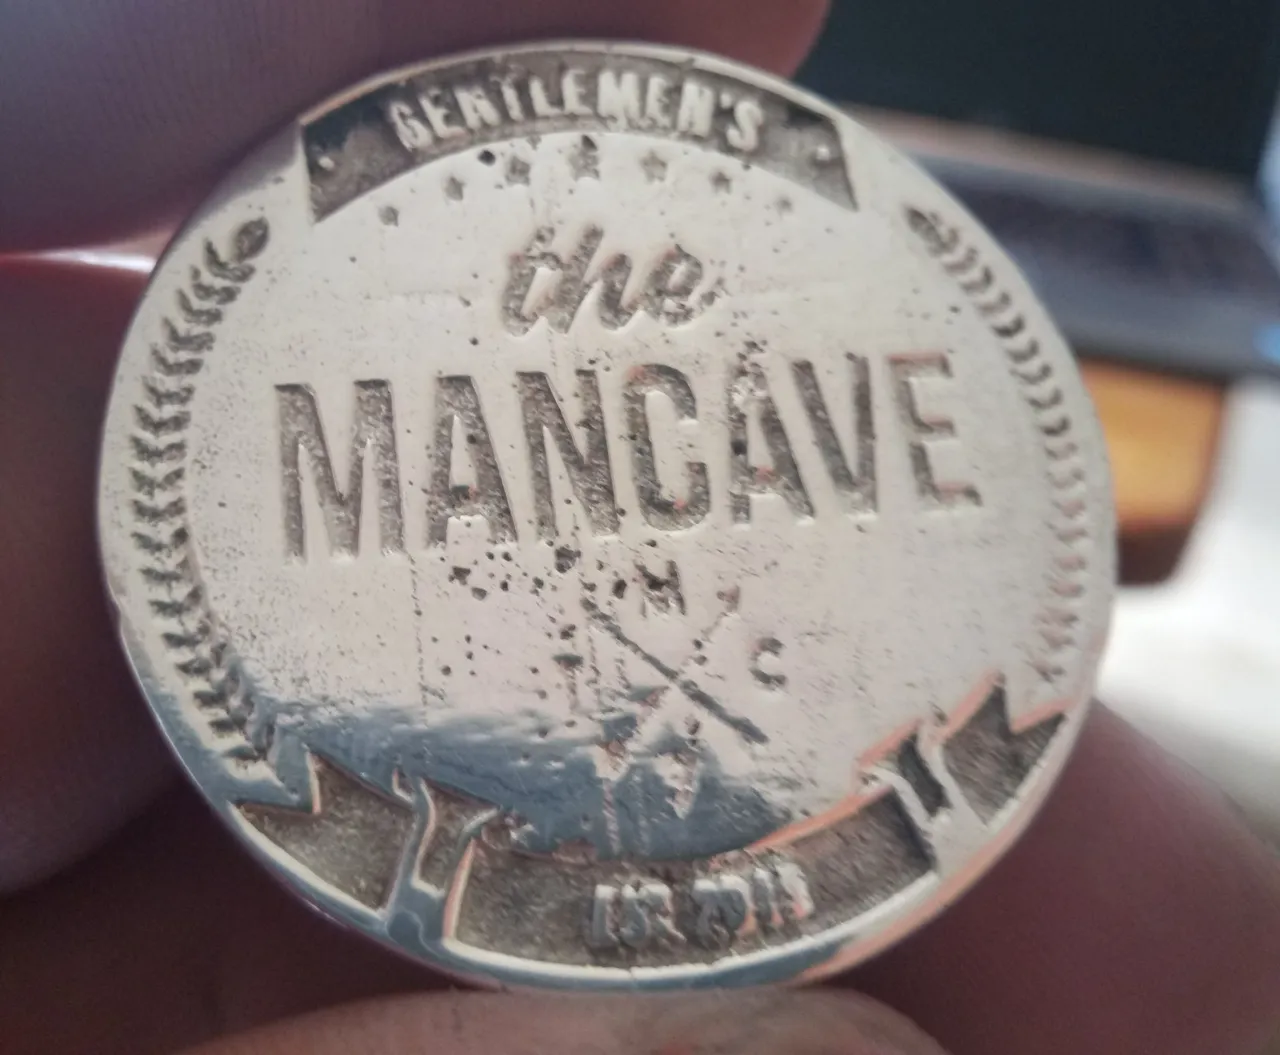
Custom casting is an art with many steps in the process, i will try and cover all of them but this is not a tutorial and sorry there is no video as i find it easier to concentrate listening to music and not fucking about with the video camera.

When starting of with a custom cast i am usually greeted with just an image, this is needs to be turned into a scaleable vector graphic which i use inkscape for and using the trace bitmap function we can then export.
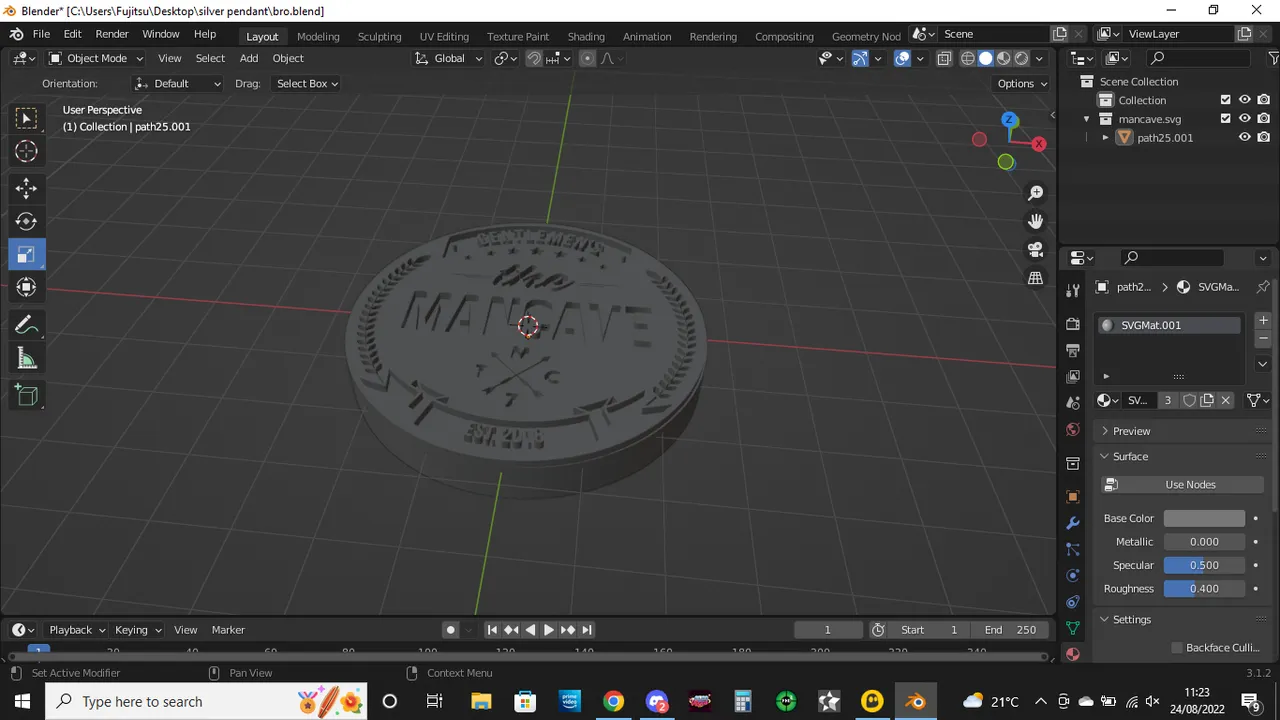
The next step once we have is to use a program called blender to turn that *.svg into a raised 3d object using the extrude tool and then using the raised object and i can use a boolean difference which extracts one object from another in this case being a cylinder and bro svg. This is then exported as an stl file for my 3d printer.
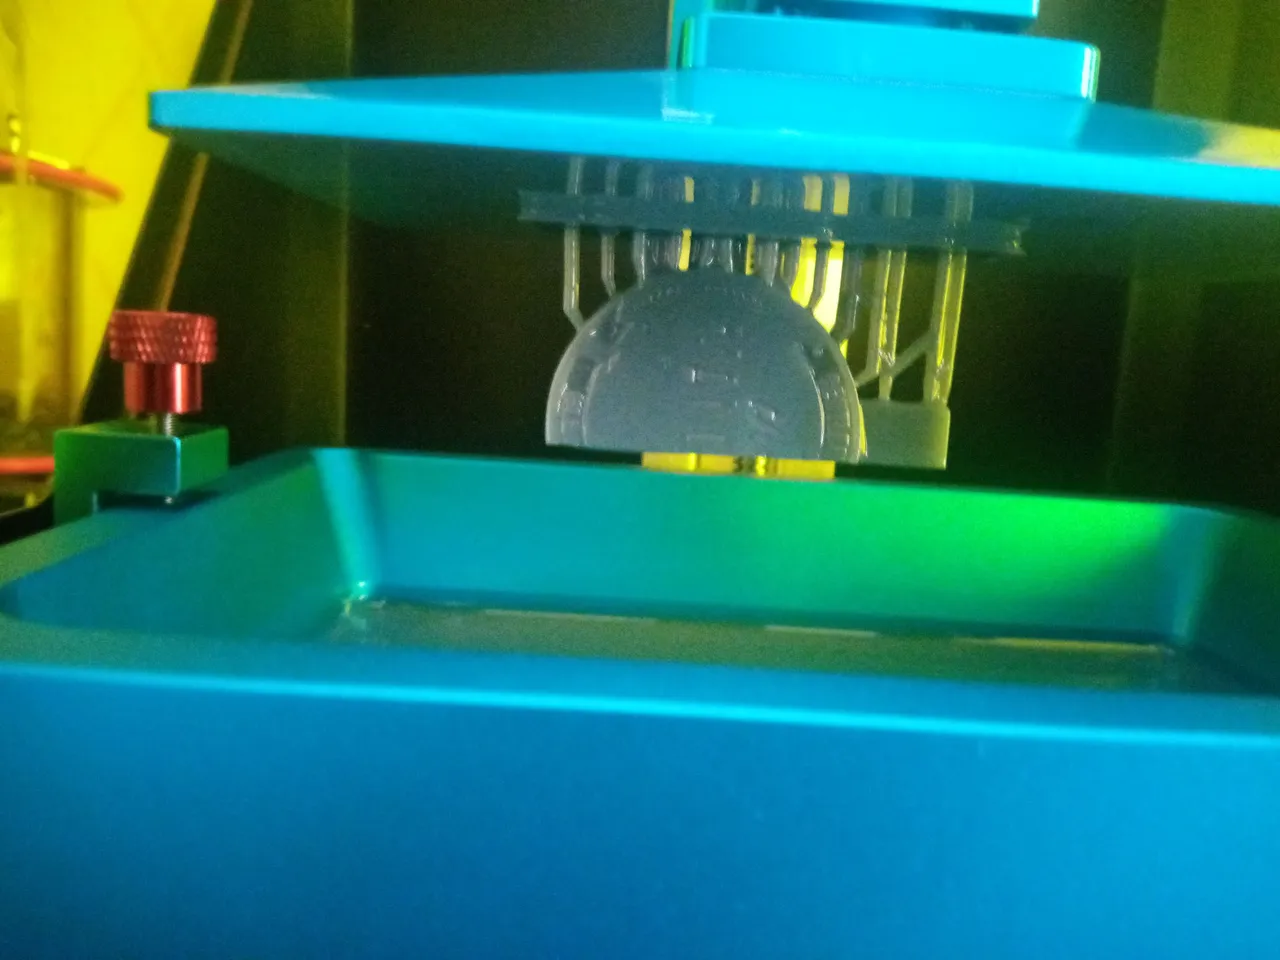
I use a Photon S 3d resin printer which is better for detail but can be a pain in the ass and is hella fucking slow, this print was 3 hours, once the print has done it is washed and left to cure in sunlight as i dont have a UV light for this step.
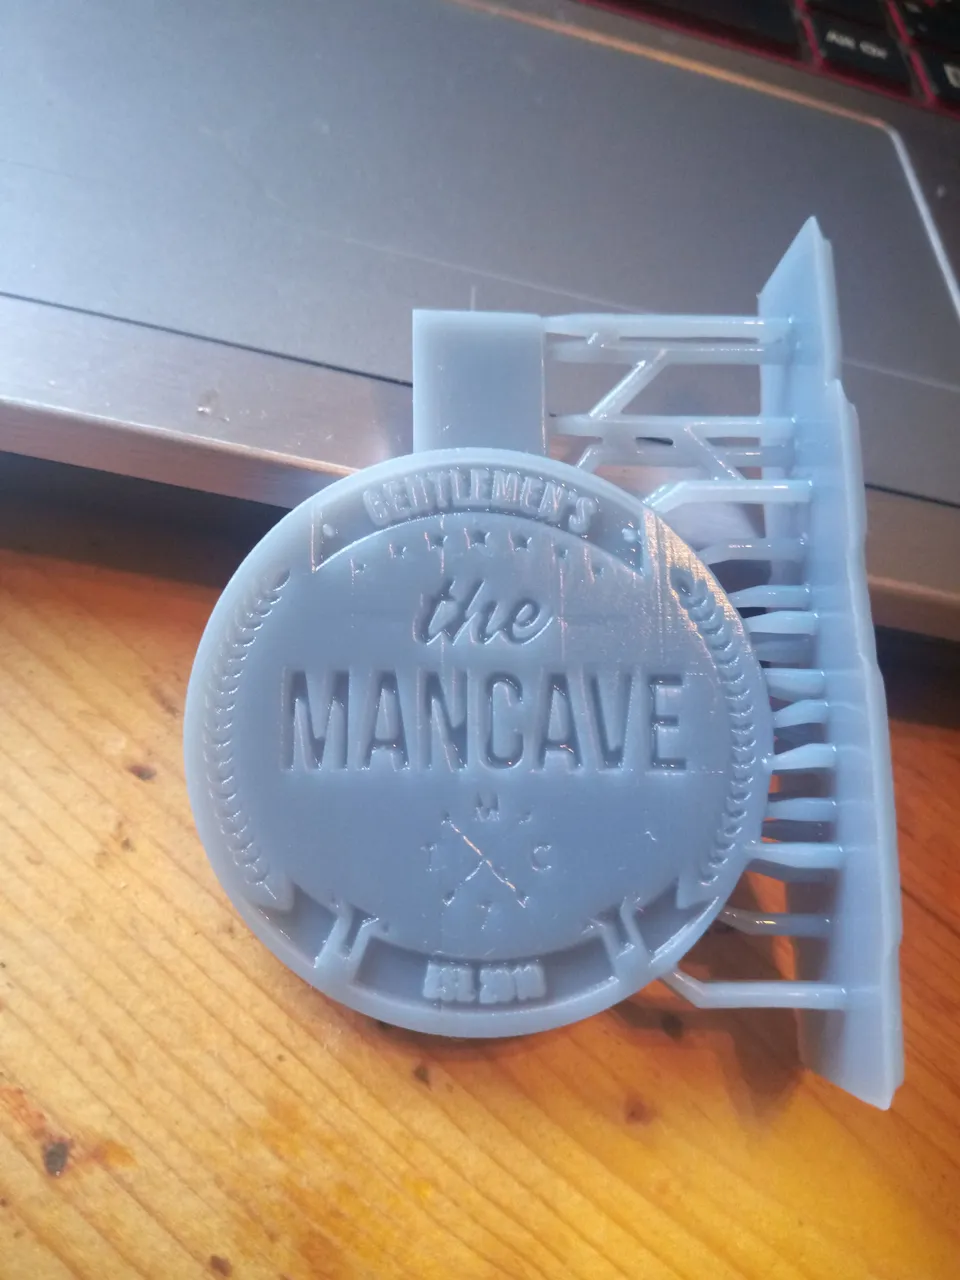
With the 3d print finished and cured i cut all the excess supports of and used some sandpaper to smooth the edge of the coin.
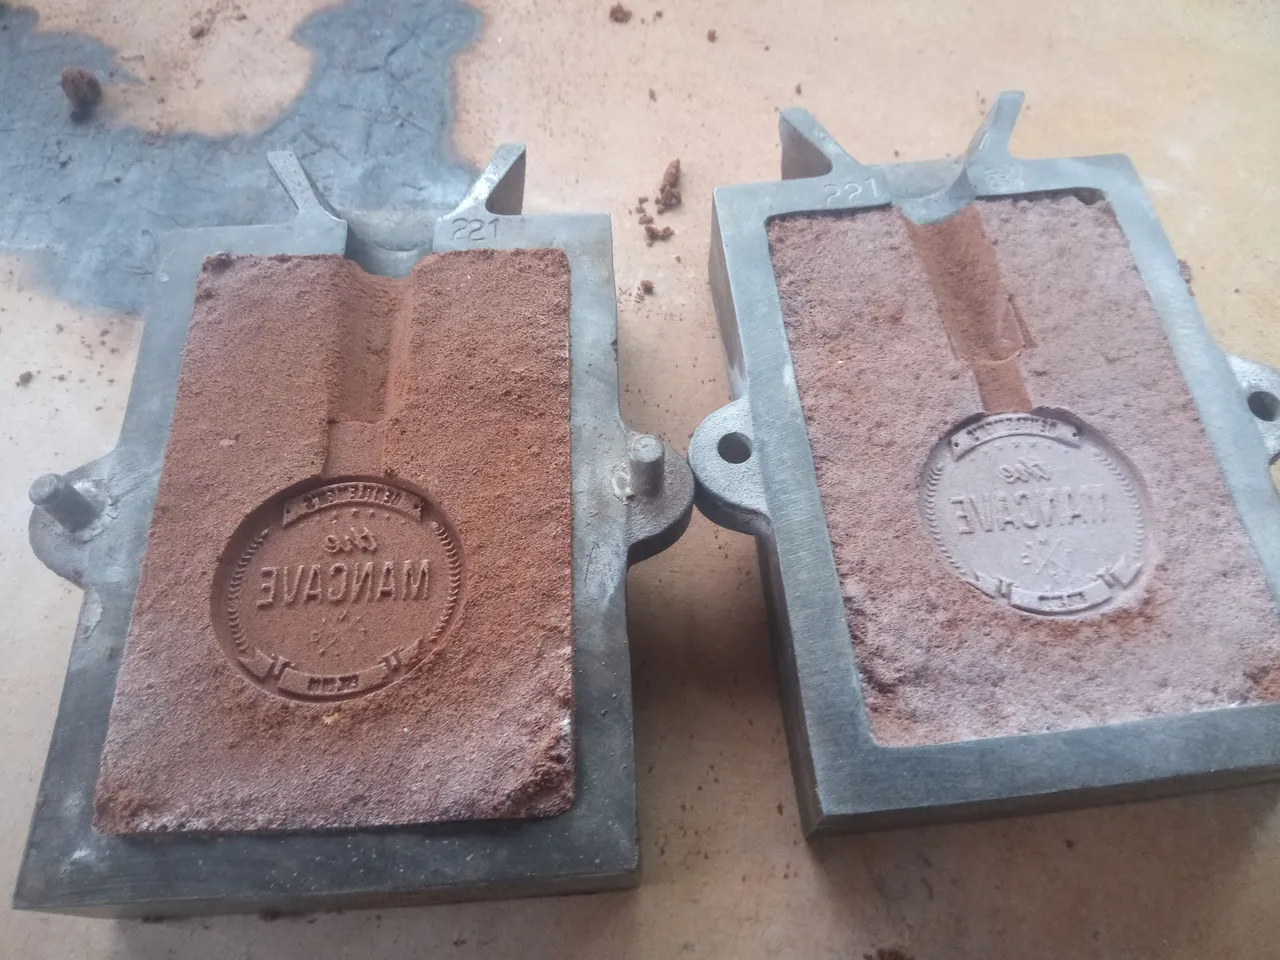
This part is probably the most crucial and a step most people rush, i first start off my chopping the delft clay into a finer powder as this will allow a better cast, they the delft clay is built up on one side and then the other using talc as a seperating powder.
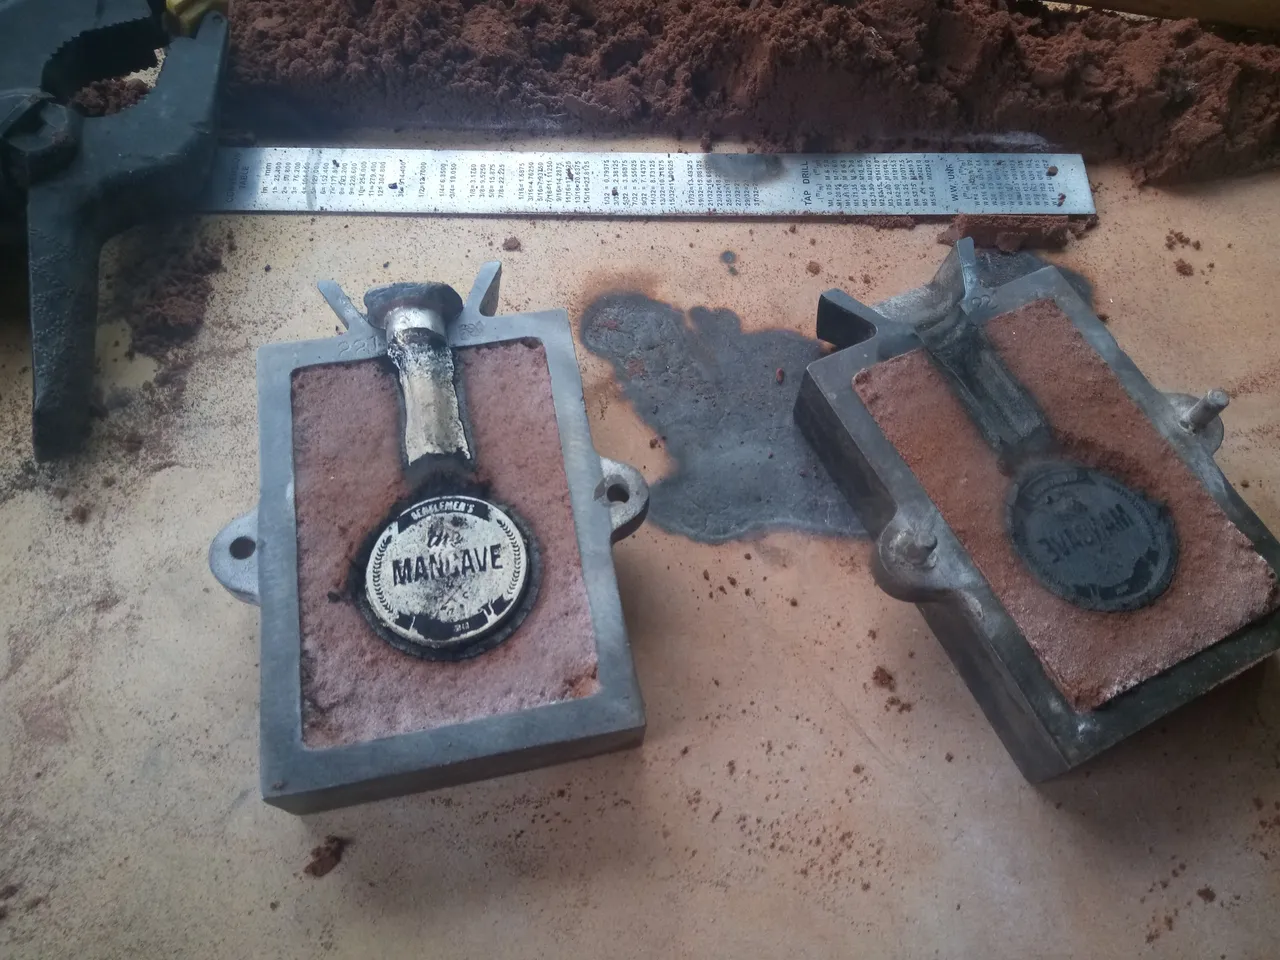
The silver is heated up in my electric furnace to 1100*c and poured into the mould, the silver is allowed to set for around 2 mins and then cracked open with crossed fingers. The cast looks ok and time to do some cleaning.
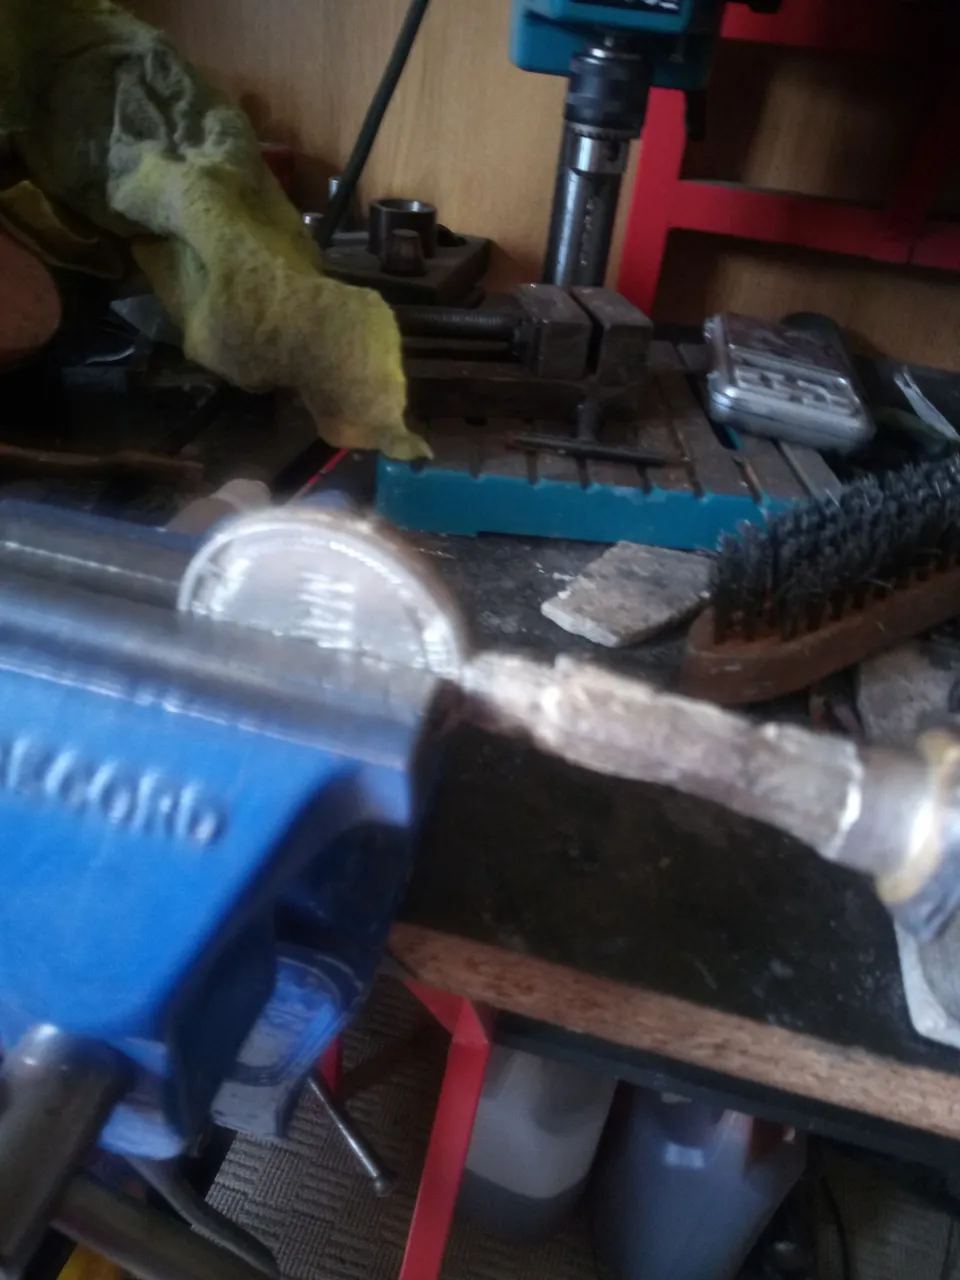
I used a hosepipe to was the remaining sand from the casting and it is now time to cut of the sprue using a jewellers saw, one this is done i used an engineers file to remove any rough edges or flashing on the side.
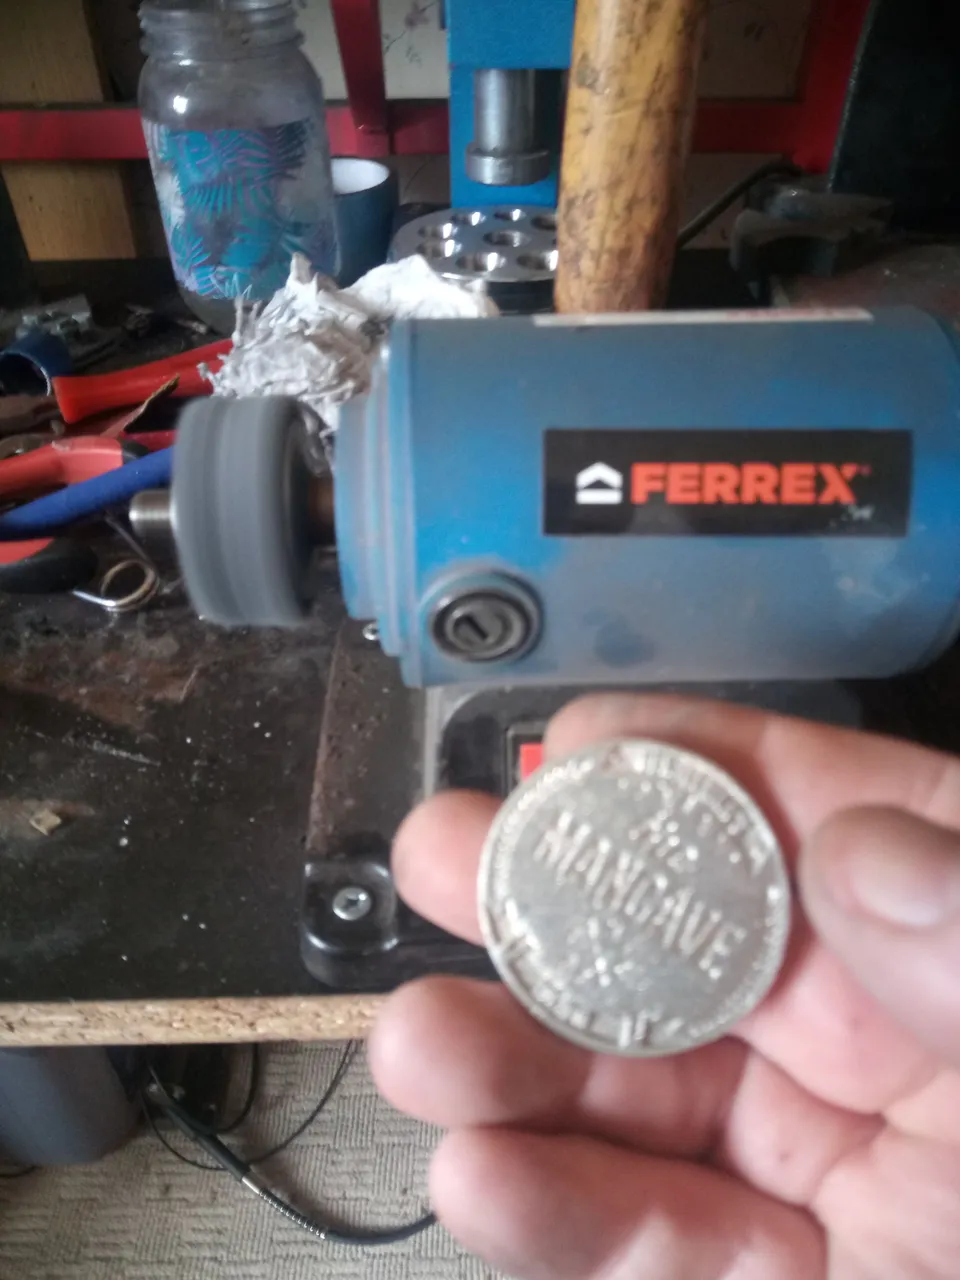
I have a mini bench grinder which i use for cleaning up, i first use the nylon wheel which gives a rough polish probably similar to 800 sandpaper, then i used white compound on the polishing wheel moving on to jewellers rouge polish and then finally on the the soft polishing wheel.
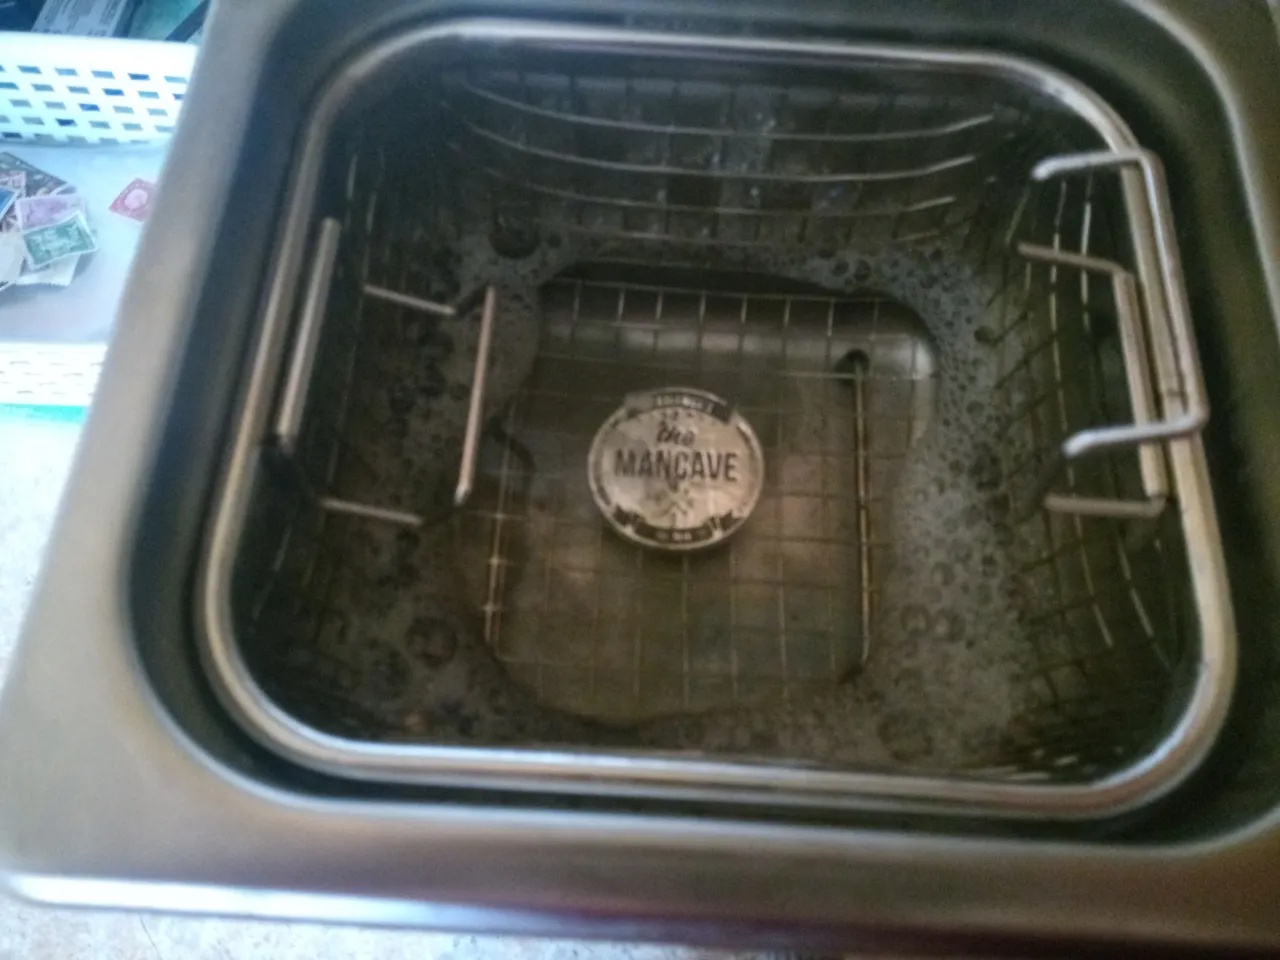
When using a buffing wheel polishing compound always get trapped so i use hot water and a bit of dish soap in a sonic cleaner to remove it before a final hand polish silver Goddards siler polish and then back into the sonic cleaner.
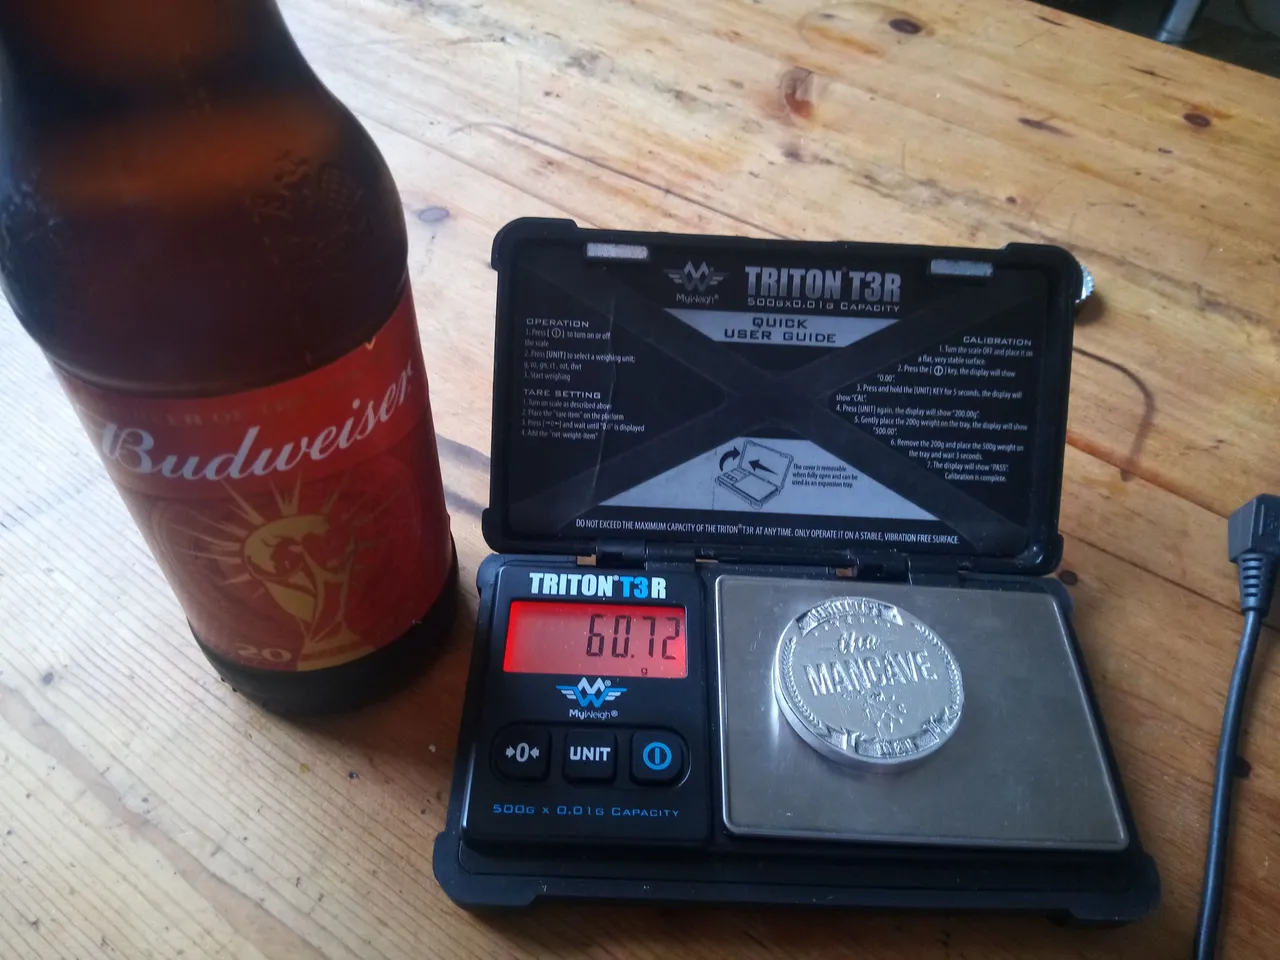
I did aim for this to be 2oz and i am bloody close being less than 1.3g below target weight.
Some final thoughts, sand casting is not the most precise or the neatest and when dealing with small objects some of the fine detail can be less than perfect and lose sand can be easily knocked off but these techniques have been used for millennia and will be still used by artisans many years to come, this project has around 7 hours of work time in it and tbf 4 hours is waiting around and the other is actually hands on work, i hhope you have enjoyed my post & i hope @brofund enjoy this casting.
