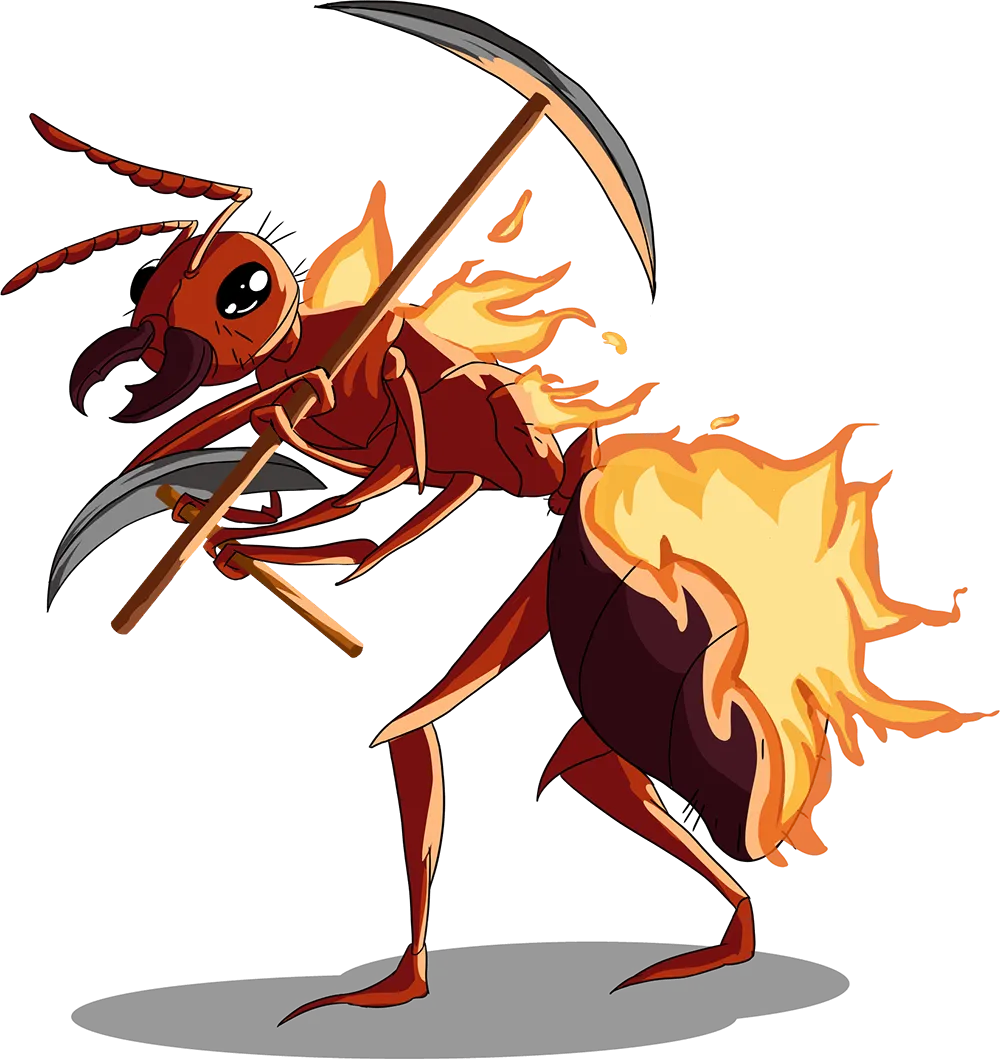
In this week's Splinterlands Share Your Battle Challenge, we have been tasked to fight a match with Ant Miners. Although Ant Miners starts out the match with quite low health, it can gradually build up its power from scavenging health as other monsters are knocked out of the battle. Join me in this post as we jump into a match with Ant Miners and the Fire Splinter!

The Lineup
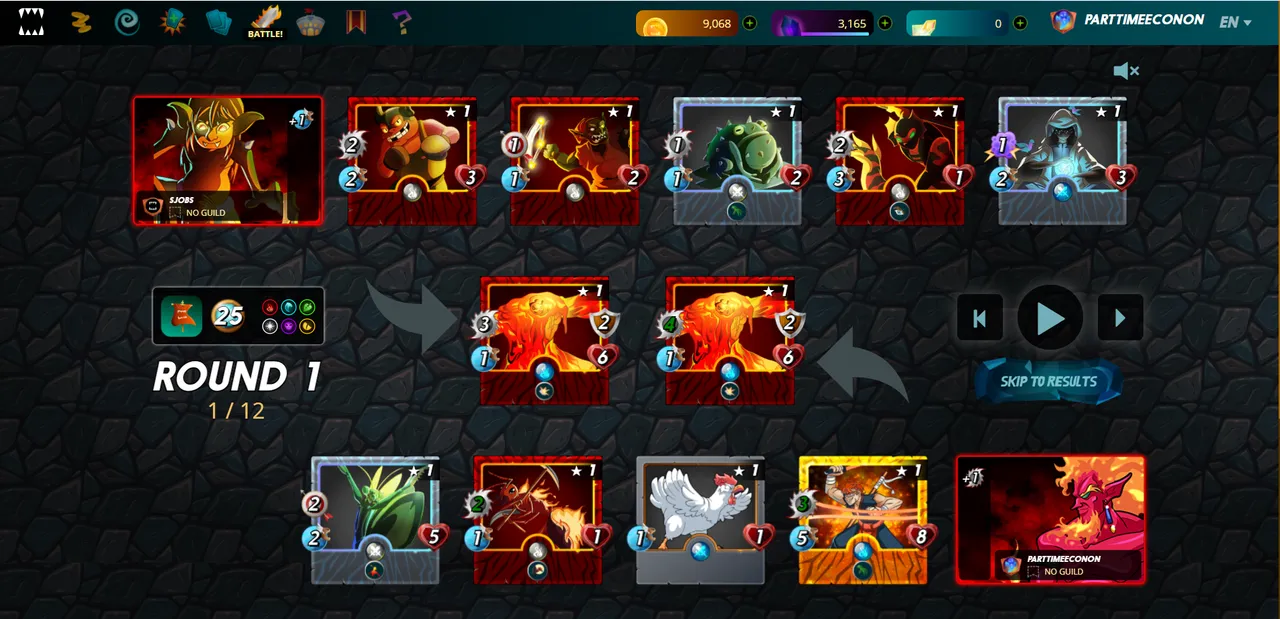
This match was fought with 25 Mana and no modifications to the standard ruleset which meant that we were able to see Ant Miner's "Scavenge" ability on full display, and we were also able to field a strong team to support it. In first spot, I played Living Lava. Living Lava is an incredibly strong brawler and powerhouse that has a high attack, health, armor, and even the "Shield" ability to reduce damage from the opponent's attacks.

In second spot, I played Fineas Rage. Fineas Rage is great in general because he has a strong attack, quick speed, and the "Reach" ability that allows him to fight from second position also. On top of that, I was lucky enough to get a gold foil Fineas Rage during my early days of playing Splinterlands, which gives a nice boost to my DEC earnings as well.
Playing Furious Chicken in a match is almost always a no-brainer (unless its a 99 Mana match) as it forces the enemy to waste one of their attacks on a monster that costs nothing to play. Not only did Furious Chicken have this normal benefit, but when he got knocked out of the fight, it meant that Ant Miners automatically got a +1 health for double benefit.
In fourth spot, I played Ant Miners. I felt that fourth spot was a good balance that allowed Ant Miners to build up it's health before reaching the front lines but also ensuring that I was able to play Mantoid (a ranged monster) at the rear of the formation.
Rounding out the lineup, I placed Mantoid in last spot. Mantoid is a strong ranged monster, so I preferred to hide it in the rear of the formation where it could attack from safety.
The Battle
As my opponent's team entered the arena, I saw that they had played a strong lineup, but I noticed a few key differences. First, they chose a summoner that gave a speed boost whereas I chose a summoner that gave an attack boost. Not only that, but they didn't play a reach capable monster in second position which meant that the combination of my first and second position monster attacking simultaneously was enough to easily overload their first position monster.
Analysis of Ant Miners
The strong combination of Living Lava, Fineas Rage, and Mantoid meant that my opponent's team was eliminated even before Ant Miners was able to make it to the front lines, but that doesn't mean that Ant Miners played zero role in the victory. Ant Miners was able to scavenge some health from the battle field and used this health to absorb some damage from the opponent's attacks which would have otherwise been directed at other monsters.
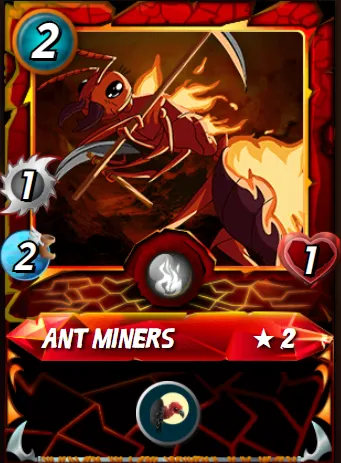
In my opinion, the key to playing Ant Miners is making sure that it has time to build up sufficient health before it starts taking damage. It enters the battlefield as one of the weakest monsters with 1 speed, 1 attack, and 1 health, but it just gets more powerful as the battle goes on. As you can see in this match, Ant Miners finished out 1ith 7 health and 2 on the attack thanks to the summoner's melee buff. Ant Miners isn't the best card for every scenario, but there are a few scenarios where it does really well, and I feel that it's a great card to have in your collection.
Summary
As always, I like to close out the weekly battle challenges by reminding readers that Splinterlands is one of the leading play to earn games that rewards users with crypto as well as NFT cards for winning matches, completing quests, and finishing out a complete season of play. If you're interested, feel free to check Splinterlands out or watch my battle replay here.