If you havent read the first post of this challenge, you can find that one here. The first post outlines the basics of what the $12 Challenge is and how I'll be approvaching it. That being said, onto Day 2!
Wow! What a great session this one was. I didn't get to play down to 40% capture rate like I wanted, but we still had some fun results come through. This session we rocked the Death splinter. I'll be honest, I haven't played death that much since like the early beta days, so this one was a fun one for me. It took me a bit of time to figure out what team I wanted to run and complete the rentals but we got there. Also, once again a massive shoutout to Gank over at @SplinterlandsHQ for both inspiring this contest and hitting my live stream on Twitch with a raid so we had a lot of friends in chat to watch me play this one out.
One thing I wanted to talk about though before getting into the details about day 2's results was some terminology used in these posts. If you're a more seasoned player of the game, you can go ahead and skip this part. This is more targeted to our newer players who are still learning the lingo used around here. First and foremost, I want to talk about power, but to do that I should explain what DEC is. DEC stands for Dark Energy Crystals, and it is a big part of why so many people now play the game. DEC is the reward you get for winning matches. How much you get is determined by a few things, but mainly by what your rating is. Your rating goes up and down as you win and lose ranked matches. You can then boost your DEC earnings per match by being in a guild, using gold cards, or cards from the Alpha series.
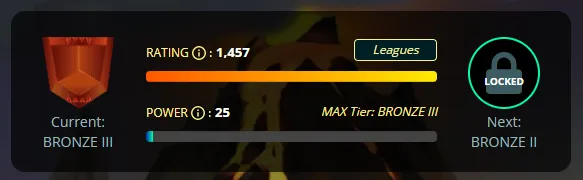
Now, onto power. Your collection power is determined by the cards that you have available to you to play. You can see your current power the ranked battle screen in the top right by where your rating is shown.
Power comes from the DEC burn value of your cards. Every card you own you are able to "burn" which effectively means destroy, and you'll get DEC back for doing it. You can view a chart of the power that each type of card gives here. But, basically, the higher the rarity of the card, and the older the set, the higher the burn value of that card and the more power it gives.
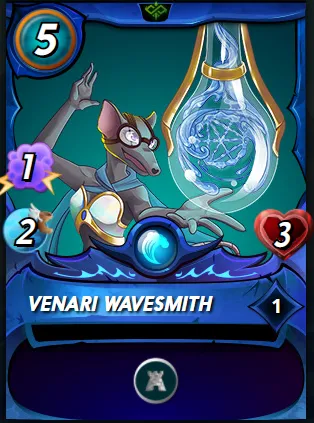
I'll try to cover some more basics about the game like this in future articles I put out, but for now let's get on to the results for the play session. We had two daily quests to complete this play session. The first one was quest to win 5 games with the Death splinter, hence playing the death splinter this go. As a reward we got an Alchemy potion, so nothing exciting there. The second daily quest was the sneak quest, which is to win 3 games with sneak monsters. The reward for this one was much better, a Venari Wavesmith. Owning a rare already on this account is super exciting!
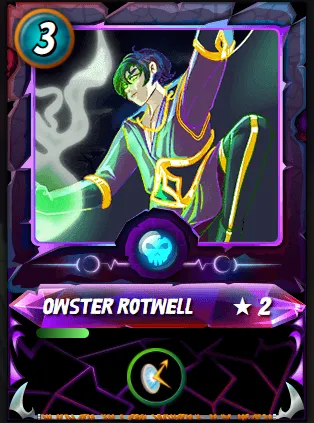
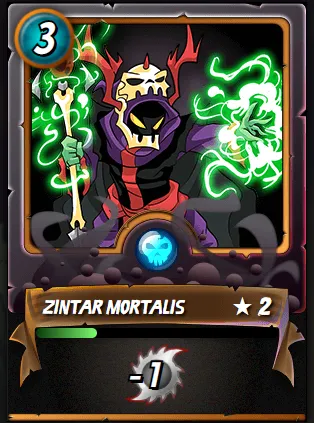
Now, onto the rentals for the session. I picked up two summoners, both death, because playing death is a little like playing roulette. You sort of bet on black or red and hope that it comes out your way. Bronze has a lot of people playing blue, and Owster Rotwell is perfect for that matchup. Owster gives all of your monsters magic reflect, which is fantastic for fighting against magic damage dealers. The other summoner I picked up was the classic Zintar Mortalis, which you want to use against everything else except magic.
For monsters, our tank was Haunted Spirit. His heal was just too good to give up.

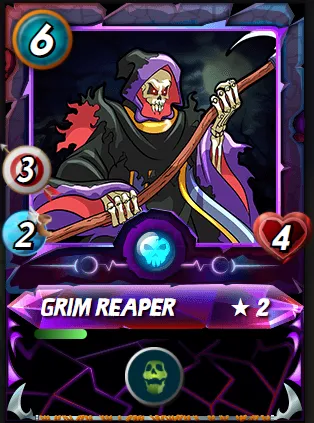
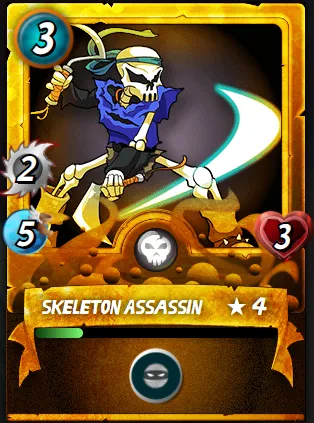
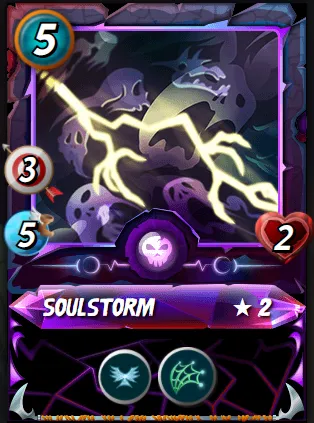
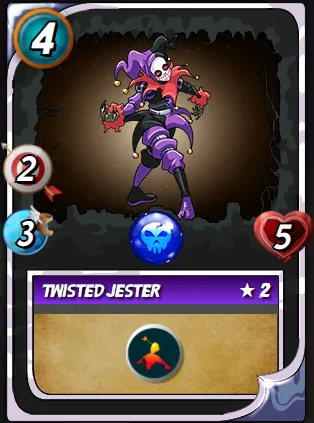
For damage I picked up Skeleton Assassin, Twisted Jester, Soulstorm, and Grim Reaper.
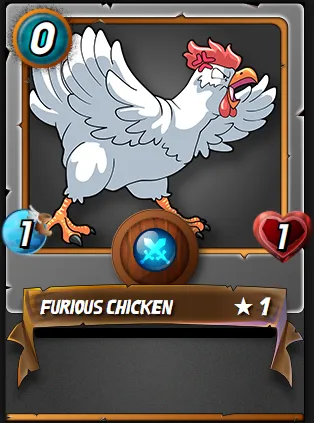
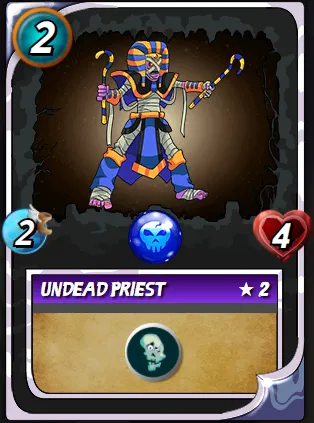
For utility I picked up Undead Priest. Undead priest has the Weaken ability, which reduces the health of all enemy monsters by 1. This is exceptionally good against magic teams using Owster as most magic monsters in bronze have pretty low health, and quite often they will kill themselves on the first attack. And of course, I also picked up a Creeping Ooze and Furious Chicken
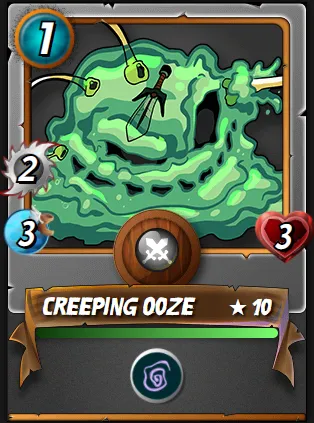
The main strategy for this lineup of cards is to play the Haunted Spirit and Twisted Jester, and the Creeping Ooze. However, there is one exception to this. On particularly low mana games sometimes you might want to run the Undead Badger instead of the ooze. If you get matched up against another death player running a mirror matchup you will probably lose if you don't. You can see an example of me losing to this exact thing in this battle.
In higher mana games I would set up my lineup as follows: Haunted Spirit, Creeping Ooze, Undead Priest, Soulstorm, Twisted Jester, then Grim Reaper. The Ooze and Undead Priest are up front to keep more buffer since our damage dealers are ranged units and cannot attack in first position. I put the Soulstorm in front of Jester and Reaper because he has the lowest health, so as to protect him from sneak as much as I can. You can see an example of this lineup in action here.
All in all, Death was a fun experiment, but I don't think I would choose it for my normal grind sessions if I have the choice. Too random, too much luck in if your opponent goes magic or not at the times you choose to run Owser over Zintar.
So, onto results for the end of the session. My rating at the start of the session was 932, and at the end of the session I managed to make it up to 1457. This is fantastic for my earning potential for the next session as a higher rating means higher DEC per win. As far as DEC goes, I started the session 327.561 DEC. I spent 103.135 DEC on rentals for the day. The final count for the end of the session was 400.162 DEC. Which means that overall for the challenge I'm now ahead 33.16DEC. If you're following along, and actually grinding down to 40% DEC capture rate you can probably do much better as I wasn't even below 60% when I had to stop for the night – there was plenty more room for profit.
I just wanted to touch on one more thing here as I wrap up the post. There is a great community of people streaming every day over on Twitch. Most of them do giveaways throughout the day every day. Watching streams is a great way to support your fellow members of the Splinterlands community and have a chance at picking up some DEC, SPS, or even cards to boost your Splinterlands account. Speaking of giveaways, if you want an extra entry in the giveaway outline in day 1's post for this challenge, leave your Splinterland's username as a comment on this post.
You can watch me play out this $12 challenge live on my channel here, my next stream is tomorrow, September 23 at 7PM New Zealand time.
Another great channel to check out is @SplinterlandsHQ with @Gank and @WalkingKeys – the stream is always super entertaining and they are beyond generous with their giveaways that they run. Check them out here.
@marcuswahl runs a great stream too, to coincide with his Free Bronze Training Grounds. You catch his stream here.
I also wanted to take a second to talk about something else. The purpose of this challenge was partially to show people that this game is a marathon, not a sprint. My account for this challenge will stay in bronze for the foreseeable future because that is the best place for it to be – there's no reason for me to rush up in leagues. It is all about incremental gains. Incremental gains can seem small at first but they really do add up over time.
Someone who knows a lot about incremental gains is @jongolson. His hive goals update post a couple days ago was really inspiring to me to show the power of incremental gains. Just keep grinding it out over time and it can really add up. He also posts some pretty good Splinterlands content on his other account @jonnycoin.