Splinterlands is hosting another art contest. You can click
here if you're interested in joining.
Introduction
 The game is updated with cards, lands, and other features based on my research but one unexplored area is the icons. I may not be the best artist but I hope this attempt would bring attention to this unexplored opportunity.
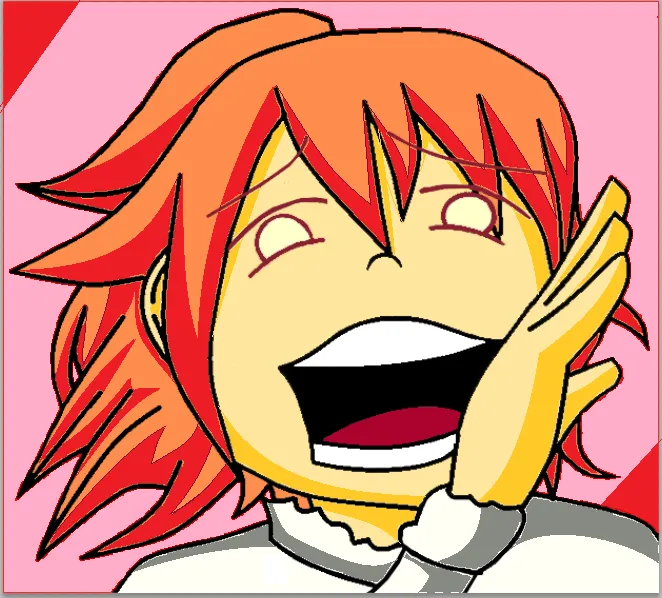
Who is Tarsa?
Tarsa is a Fire summoner for Splinterlands released in Chaos Legion. She's someone who is very manipulative since a kid using her beauty and appearances for others to do her bidding. Imagine a very cute kid who punches others, cries, then go to an adult and accuse the one she punched and get that kid punished. Tarsa is like that but tenfold.
“Tarsa always gets what Tarsa wants” - Splinterlands Lore
With her quick temper and natural affinity to fire, the arrival of Chaos Legion paved way to her free spirited attempt to get what she wants. Tarsa is a bundle of flame that cannot and will never ever be controlled by anyone.
Materials and Sources
Tarsa is a Splinterlands Monster and the idea and concept is from Splinterlands but I made the drawing, line art and color using paper, pen and pencil, MS Paint and Photoshop CS5.
Other tools:
- Scanner or Smart Phone (Any kind/brand)
- MS Paint
- Photoshop CS5
Procedure
Step 1: Make the Line Art
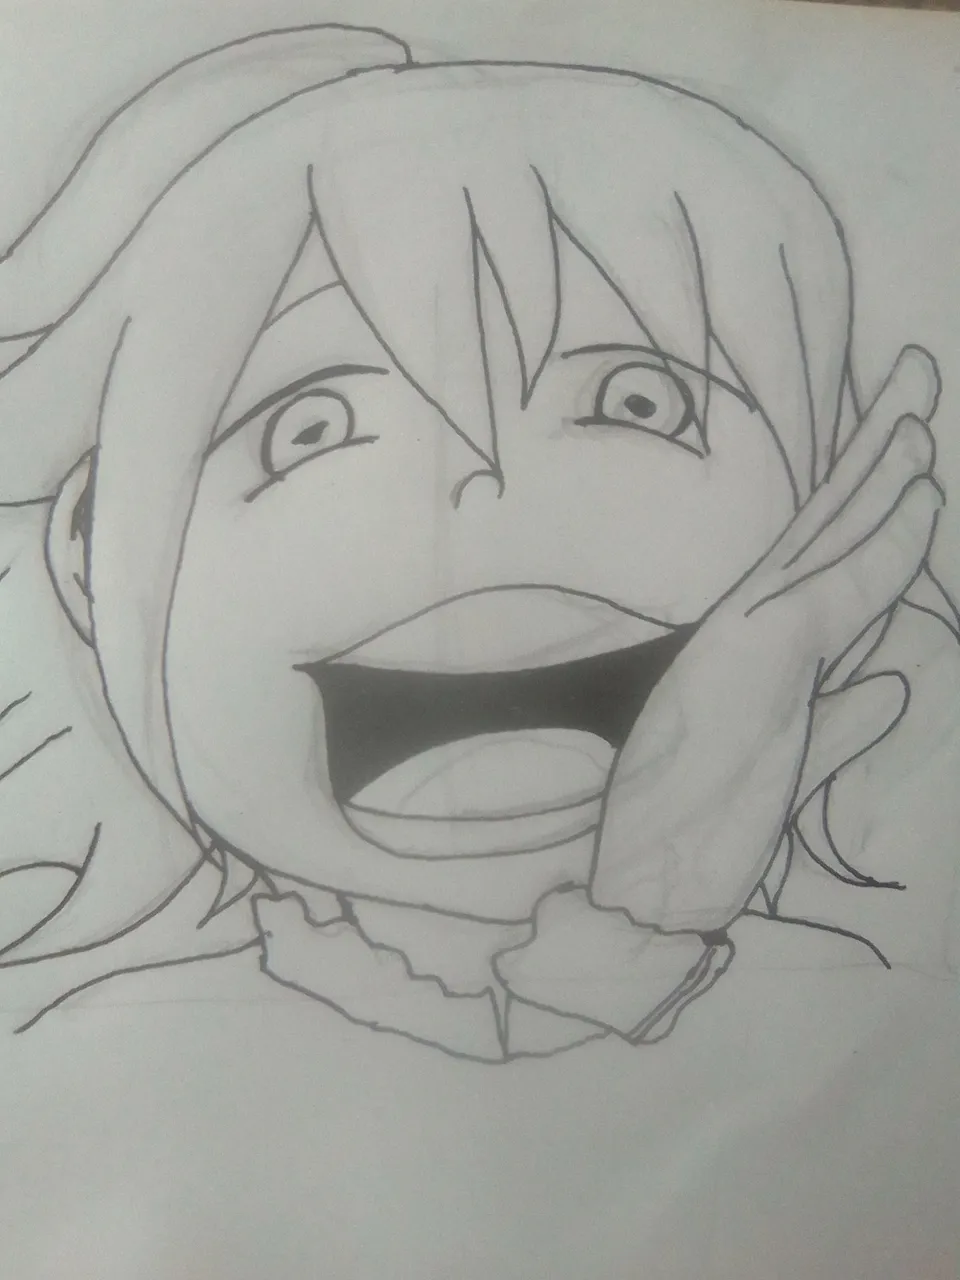
The first step to every artwork is making the foundation. I made mine using pencils first to act as a guide. Then, using a pen, (Any pen is okay. I don't use any specialized ones.), trace your pencil guide and do adjustments if needed to produce the line art. Start with the foreground first and work towards the back.
Tip: Have a mirror ready and you can do the pose of your drawings to help you imagine the final product.
You can use your phone or scanner to transfer your work from paper to digital. Once in your computer, open MS Paint and redo the lines.
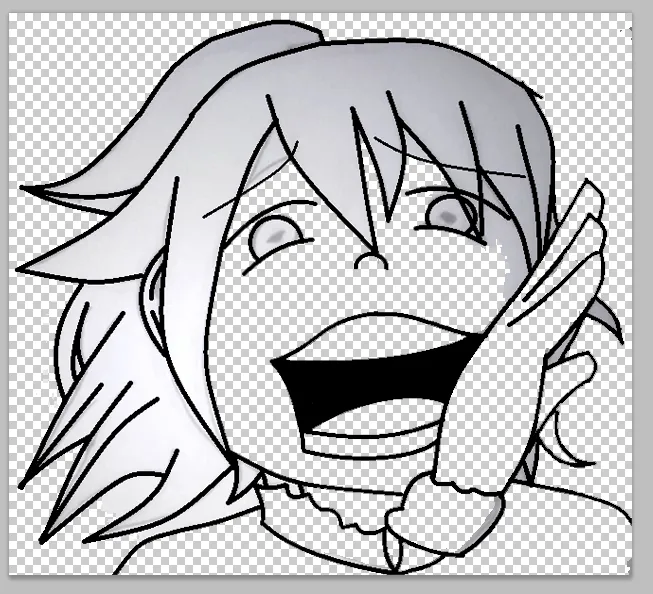
Step 2: Turning Art into Digital Line Art

The best and easiest thing I discovered is using MS Paint's Curve Tool. You can also use this using Photoshop's Pen Tool but MS Paint's Curve Tool is way easier for me.
Tip: Use Curve Tool under the Line Tool. Click and drag to make a line, then drag to another part to make a curve. Double Click to finalize the curve. If you made any mistakes, you can undo using ctrl+z.
Transfer back to Photoshop to clear the unwanted lines faster using Eraser and Magic Wand Tool for the final line art. I found that using Photoshop's circular eraser is easier to use than those of MS Paint, hence, this step. The zoom is also better in Photoshop as you can customize it unlike MS Paint's limited zoom of 100%, 150%, 200%, etc.
Step 3: Base Coloring
Before doing the coloring step, make a backup of your line art. This is a standard of what you should always do when doing digital art. Once you're done with the cleaning and erasing of unwanted lines, save your line art as a png so we can color it in MS Paint. Let's name it Lineart.png for now.
png saves the transparency of the line art while jpg fills in the transparent part with white.
This may be only applicable for me, but I'd like to use MS paint for the coloring part as it is much quicker and easier for me. You can do the base coloring and the other steps in Photoshop. However, using the MS Paint's Curve tool is easier for me on the other steps.
Use paint bucket to fill in the base colors. You can be as freely as you want but for this one, I'm using Tarsa's color palette to make it as close as possible.

The dots of colors there are my color palette. Using Photoshop, I opened Tarsa from Splinterlands, used Eyedropper Tool to copy the color of Tarsa, then used Brush Tool to make a guide as you see above. Repeat until I get the whole palette for every part.

Step 4: Shadows
Once you're done with doing the base color, using the thinnest option of the curve tool, add lines that will act as your shadows guide. Do this for all parts until you finish your shadows coloring guide. Don't mind if you overlap the line art as we have a back up of that.
Once the shadows guides has been in place, use the paint bucket tool to fill in the appropriate colors. After this step, you now have a colored art work with shadows. Once you're done, Save your work as a JPG. For this one, we would name it Final.jpg to make it easier. We would do one last step and we're done.
Step 5: Finalization
Transfer the work back to Photoshop. Load up Final.jpg and Lineart.png. Select Lineart.png and on the lower right, under layers, drag and drop it to Final.jpg. Once you click Final.jpg, you should now have two layers on it. Position the Lineart.jpg above the Final.jpg then using the Move Tool, position the line art above the other art. The purpose of this is to overlap all the excess lines that went above the line art when we were coloring.
For the final step, under Image Tab, select Image Size and under Pixel Dimension, make it 112 by 112 pixels. Make sure to uncheck Constrain Proportions to force the sizing of the art.

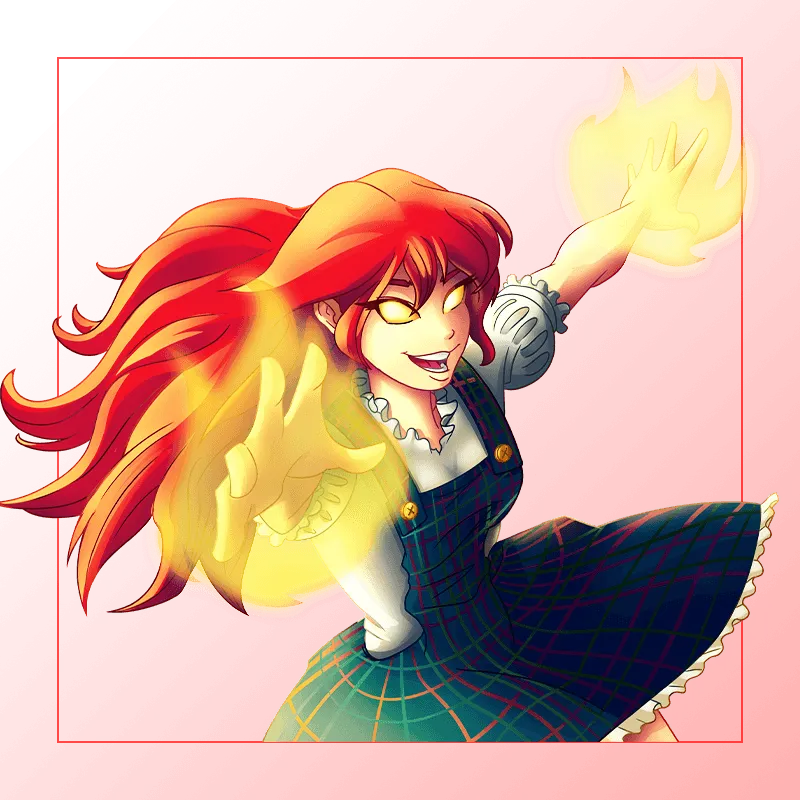
That's it. That's how we make Tarsa's Icon (or emoji, it just depends on the size.)
Final Output

Author's Notes
- You don't need to fill out the edges of the colors perfectly. Since we're adjusting the size at the very end, there's a huge margin of error and you can just leave it as it won't be seen at the final product.
- I did not do highlights on this work as it won't be seen very well since Tarsa's color palette is really light already.
- All the steps can be done using Photoshop but MS Paint seems to work with me better. Other coloring and editing tools are also possible. This is only my tools of choice.
Disclaimer
If you're interested in playing Splinterlands, use my referral that you can find here
Character is from Splinterlands and the other avatars are from bitmoji.
Stay safe and Good luck.