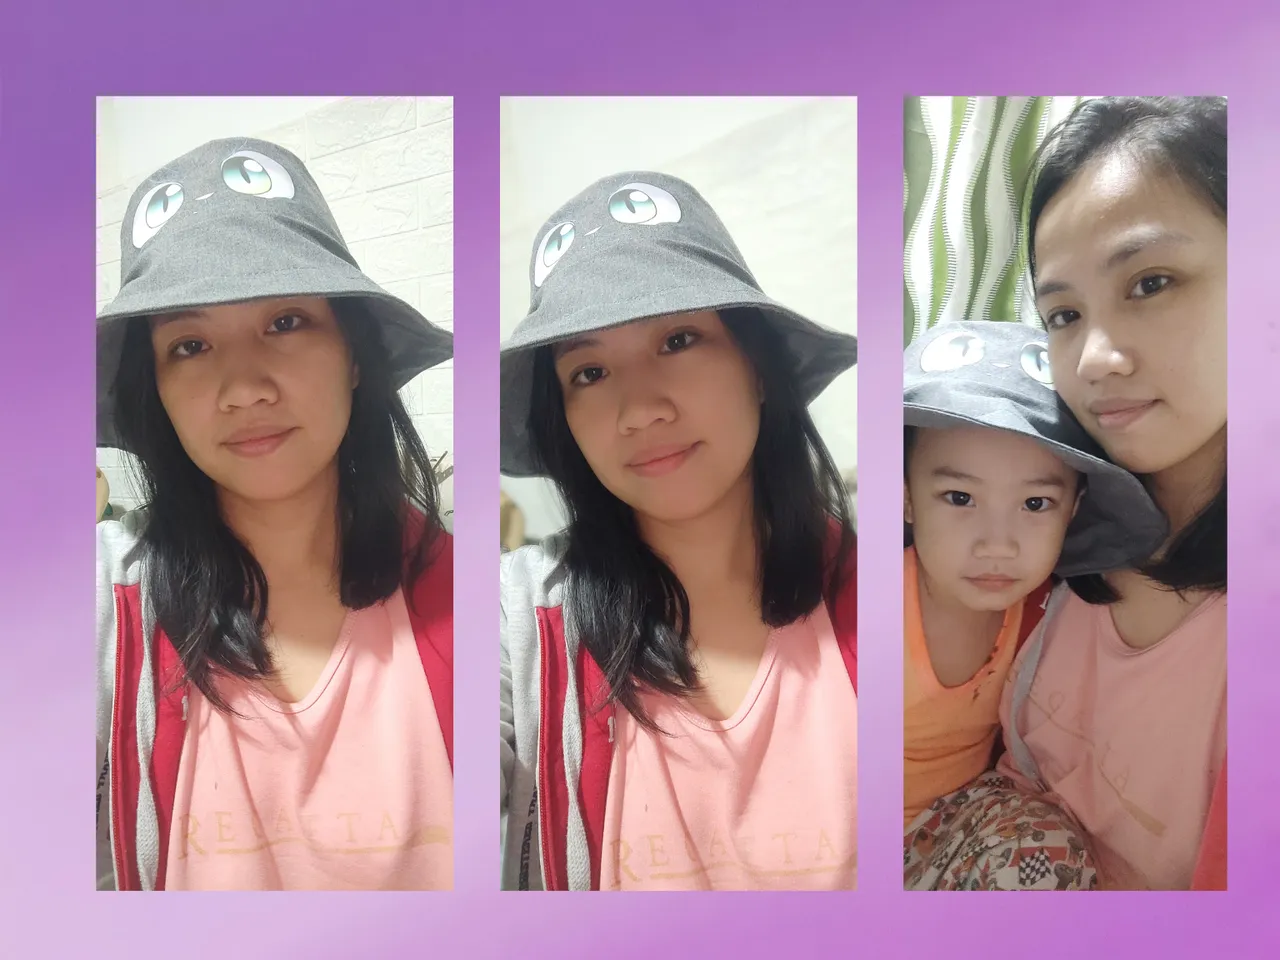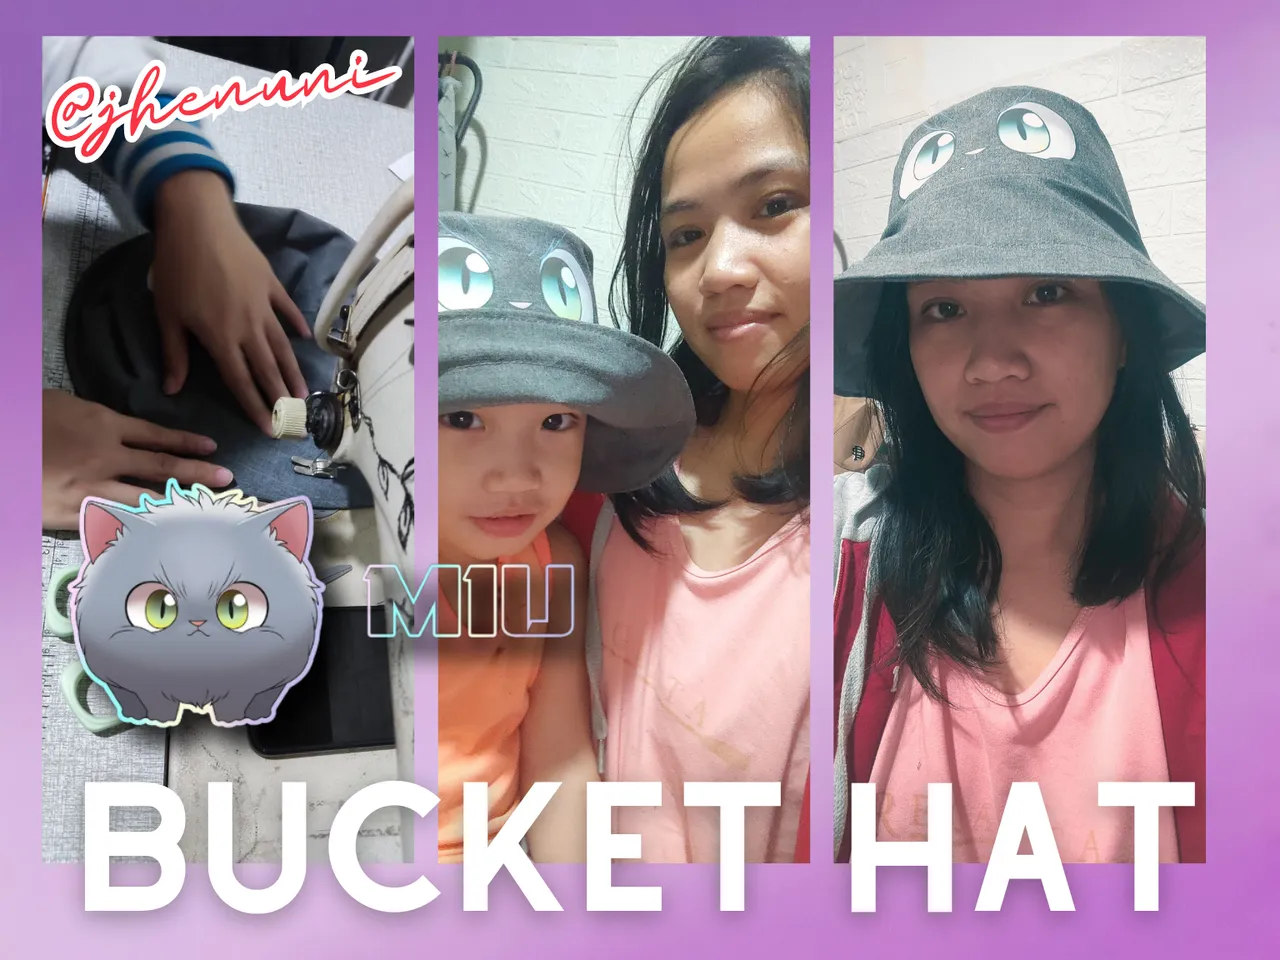
Good day Holozing and holo to each one of us here, I am @jhenuni and i am excited to show to you my DIY Holozing M1u Bucket Hat. M1u our favorite Holozing cat creature is our muse for my sewing endeavor. Let me walk you through the sewing process.
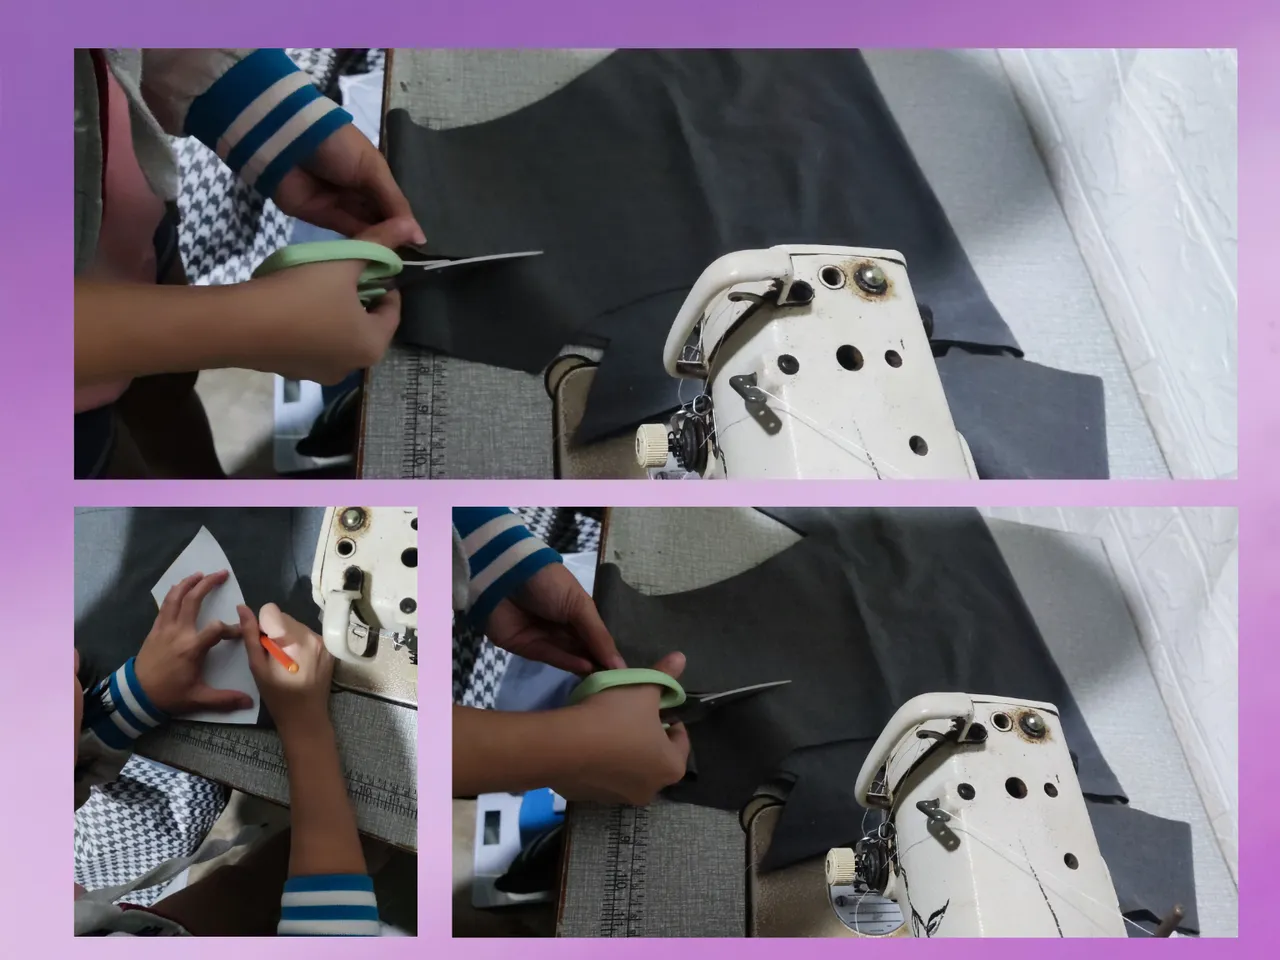
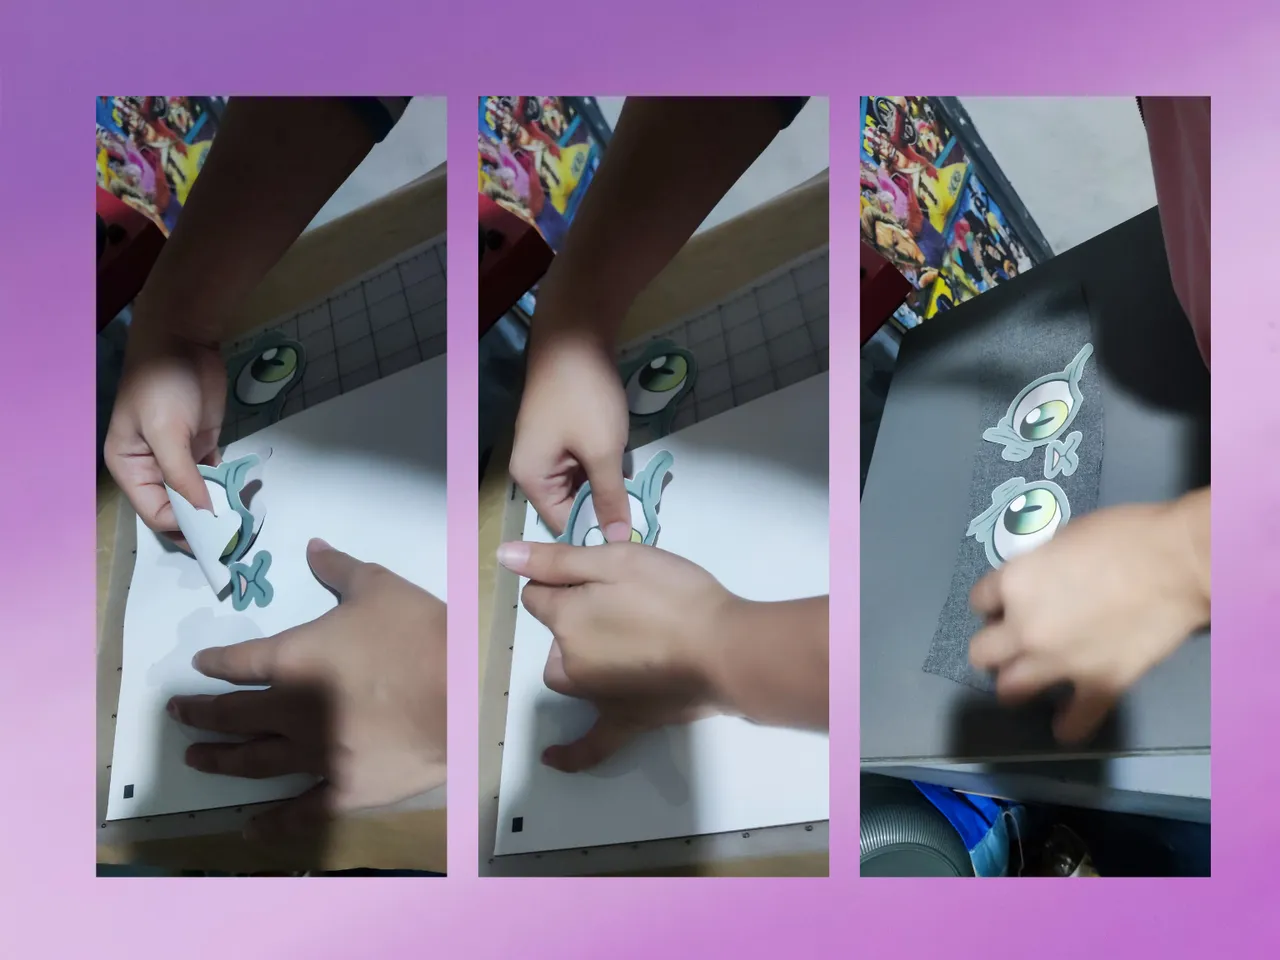
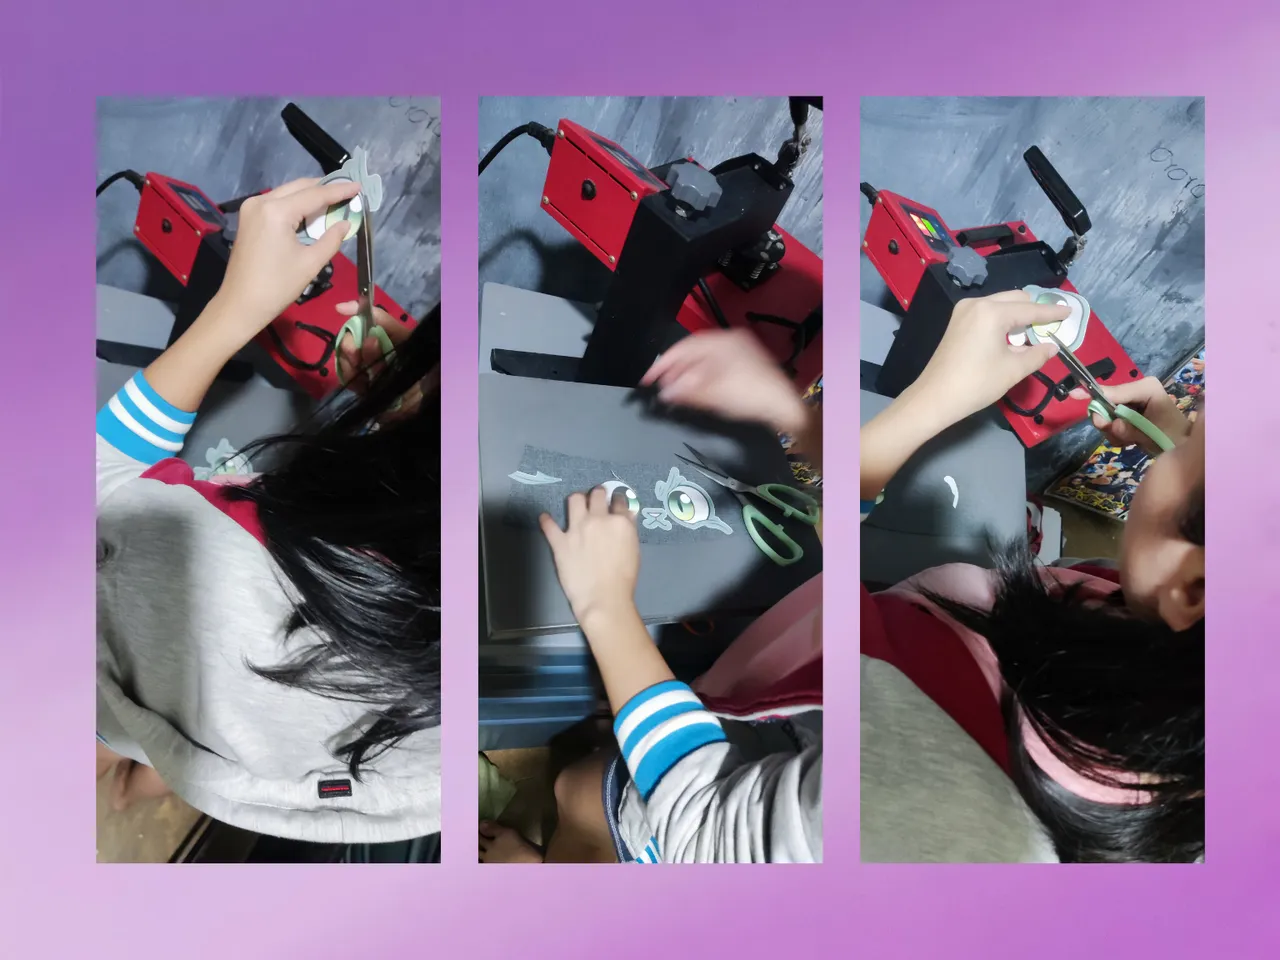
1.) My very first step is gathering the essentials ofcourse the fabric my trusty Juki sewing machine i also needed a heat press here and the M1u face elements like the eyes, nose, and mouth which i printed on a dark transfer paper. Choose a durable yet soft fabric in grey to mimic M1u's fur, I started by cutting the fabric into the shape of the hat. Do not rush on this step we need a lot of precision to cut the shape we wanted.
2.) As i have mentioned the heat press is very needed here for the facial features and must i say that was a game changer. It does give a m1u vibes and the nose and mouth too. The crucial part here was to align them almost perfect because a little off the center and it might give a wonky look for M1u ofcourse we can not have that.
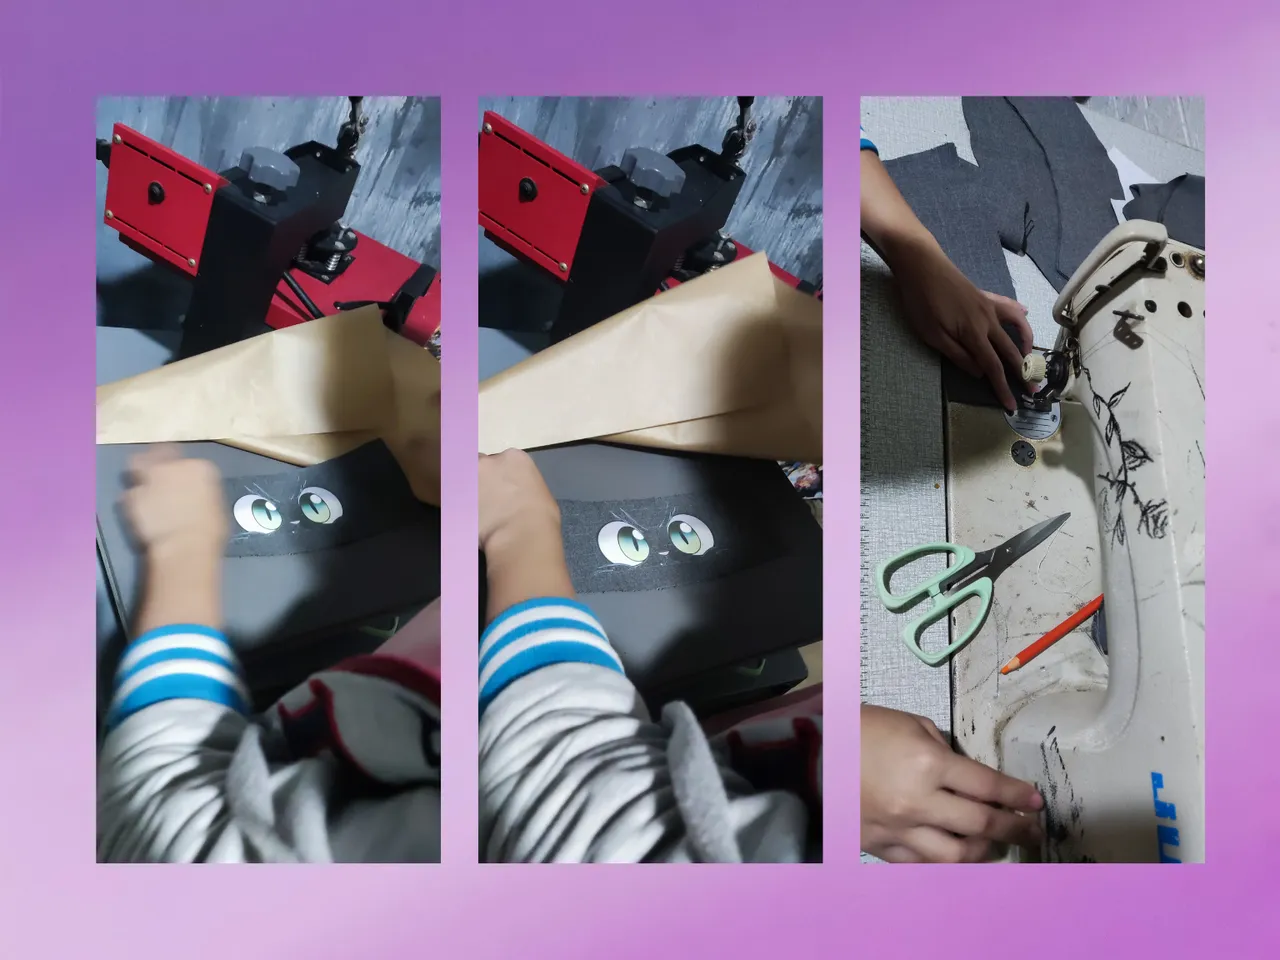
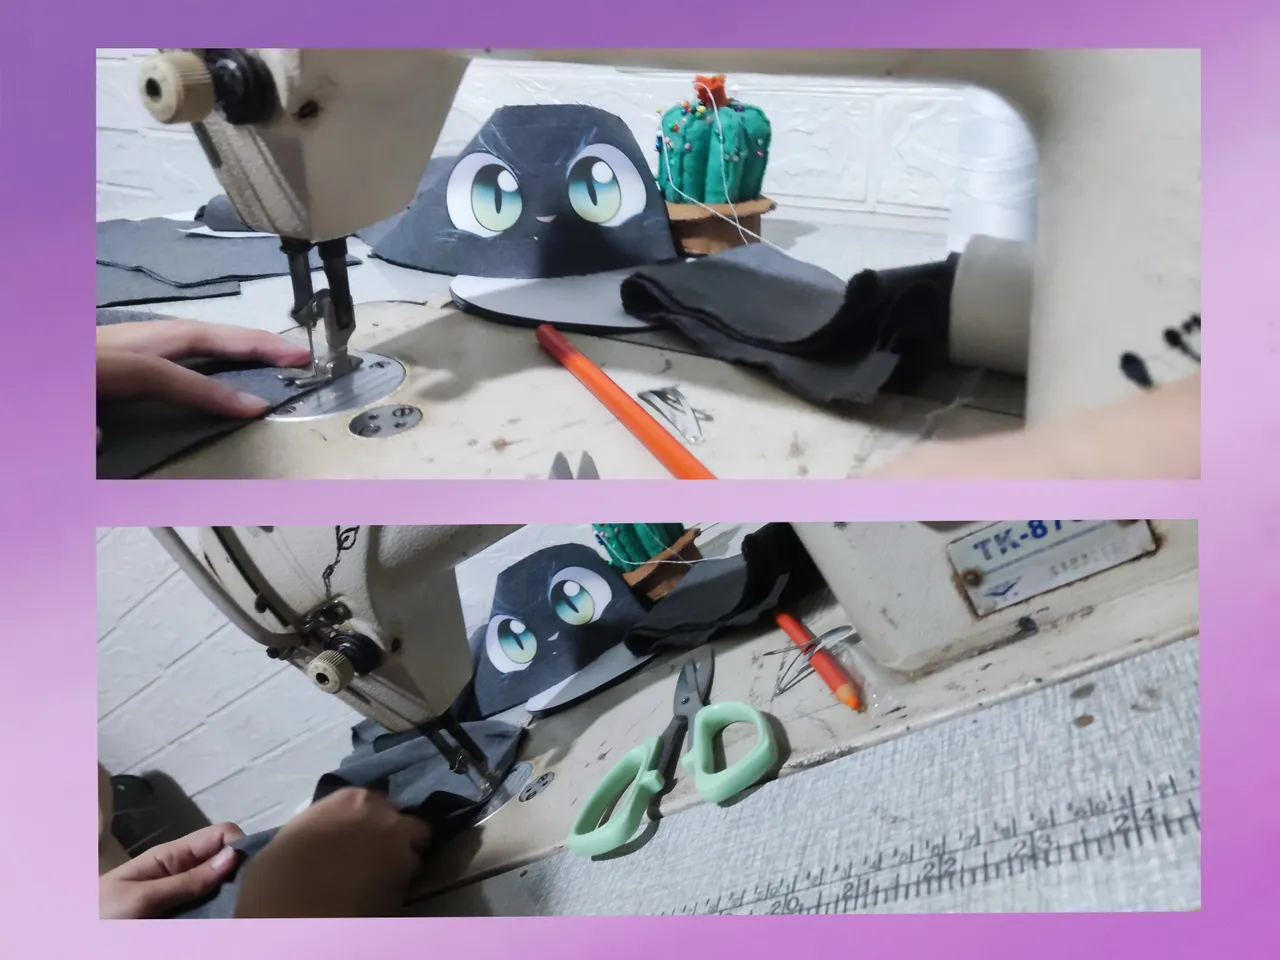
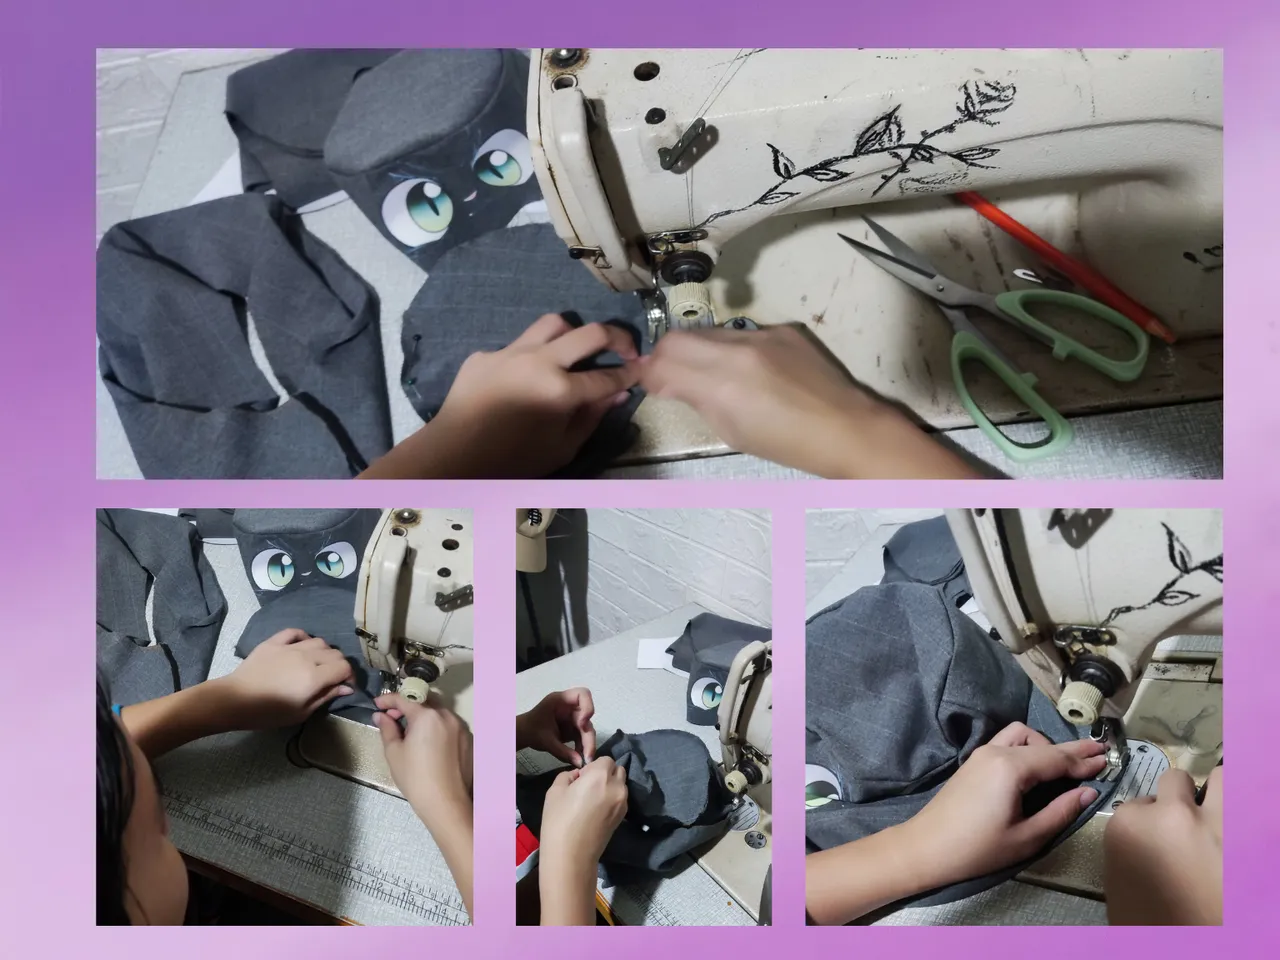
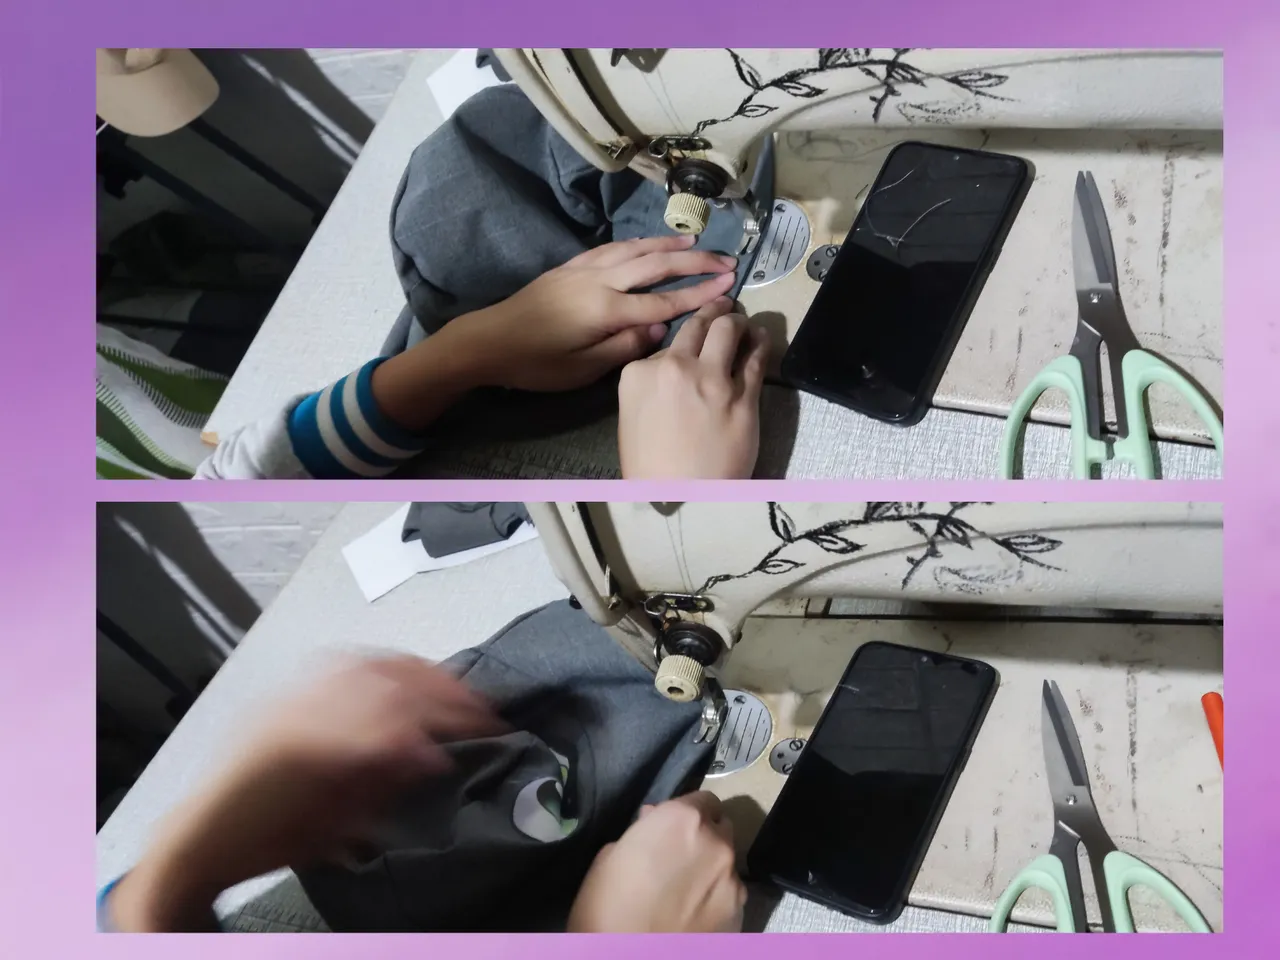
3.) Now that we already pressed the facial features needed and it was good i guess, i moved on to the sewing part using my Juki sewing machine to put the pieces together which are the hat's body brim and top which i ensure that the seam of each were strongly sewn together.
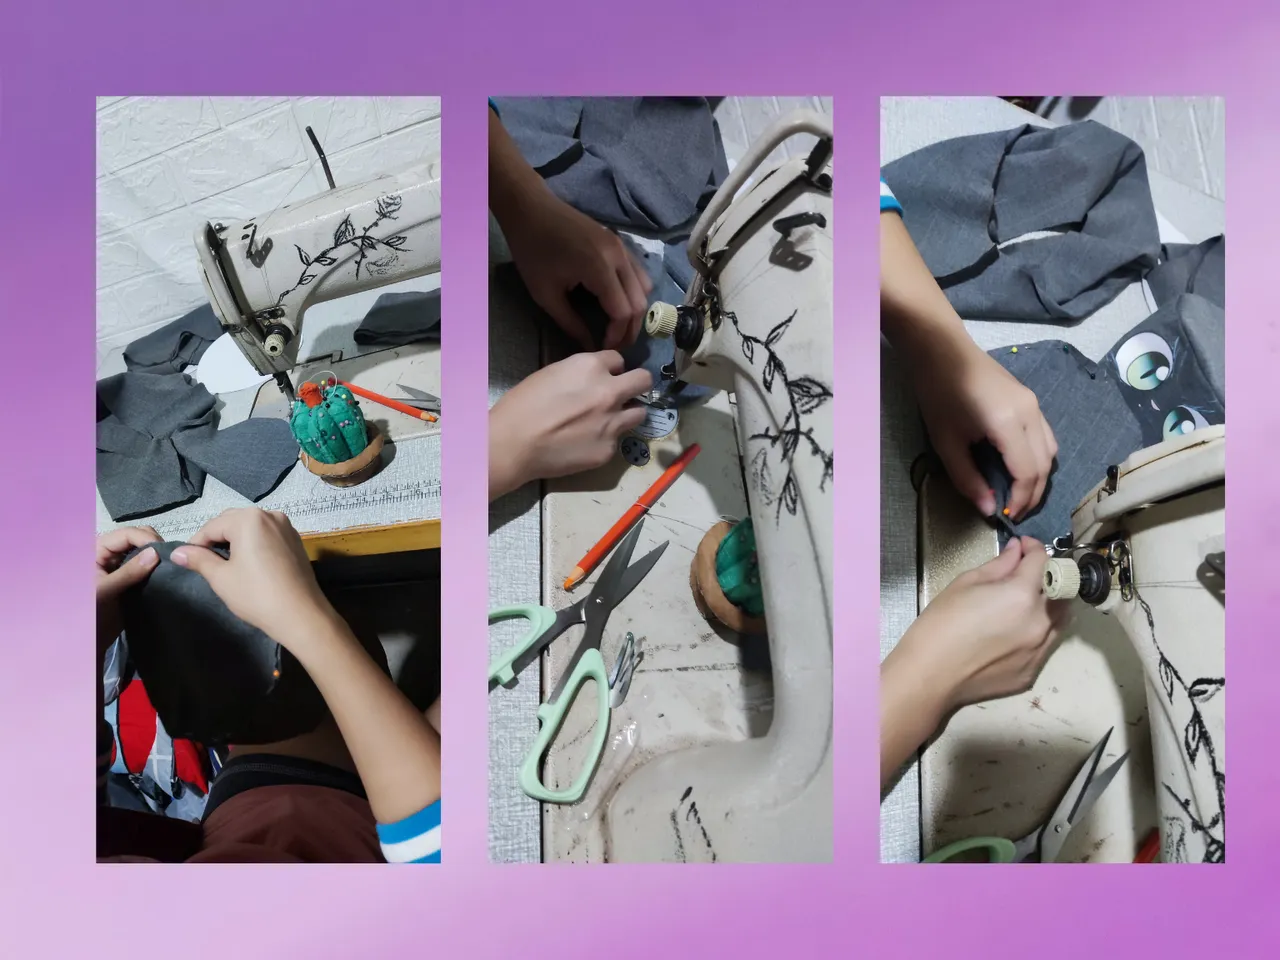
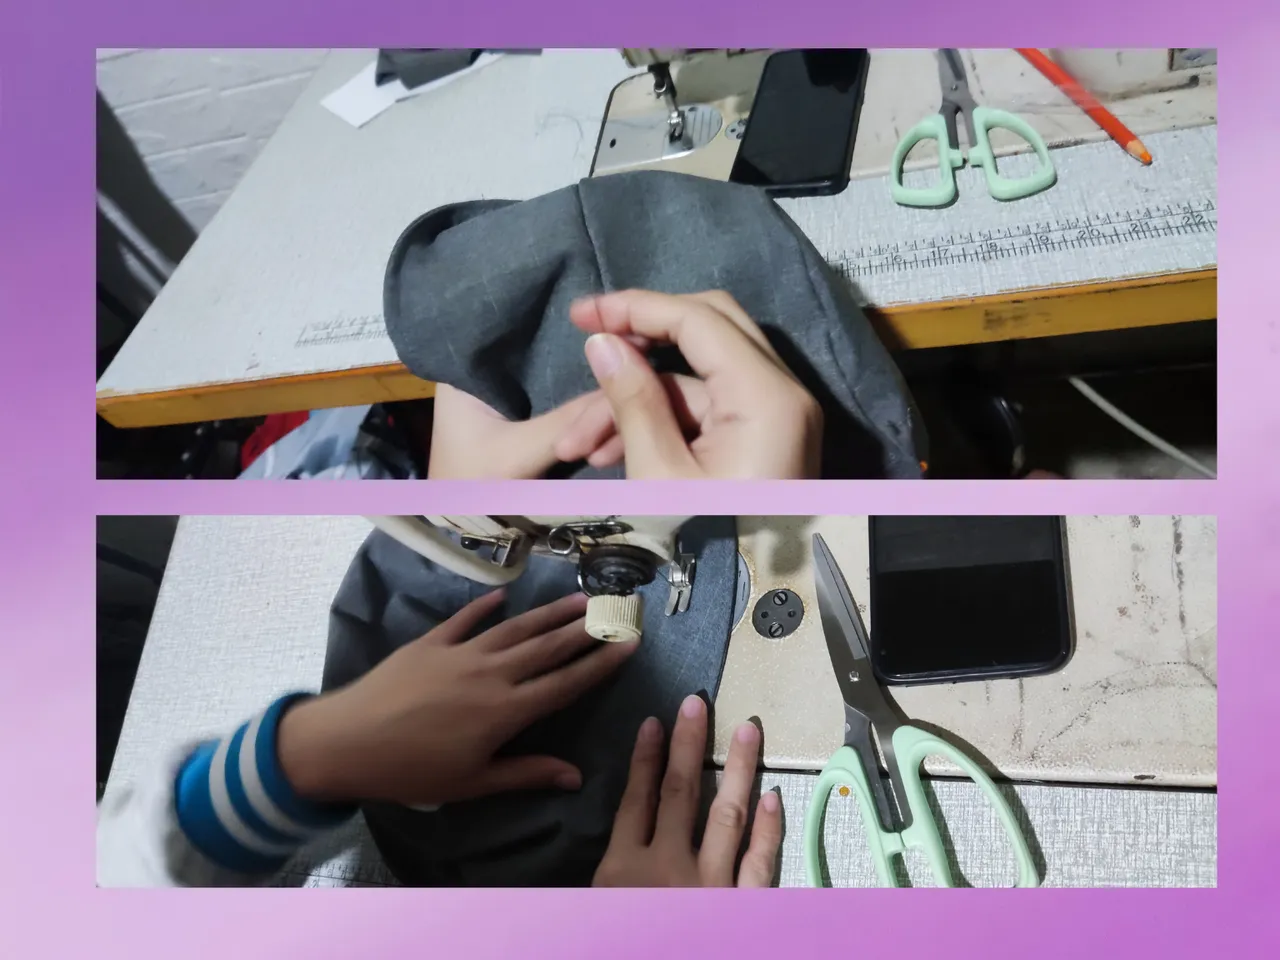

Final.) I was mesmerized when i finished sewing M1u and sewed the pieces together. It was like watching M1u come out from a fabric cocoon and put a smile on my son. The bucket hat took shape and with each stitch and every step I felt more connected to the process there's just something so grounding about creating with your own hands isn't there?