Hello everyone... 🐱
Hello to my dear Hivers and the dear community of Holozing, very pleased and excited to be here to show you a very simple work made with much love and especially for you.
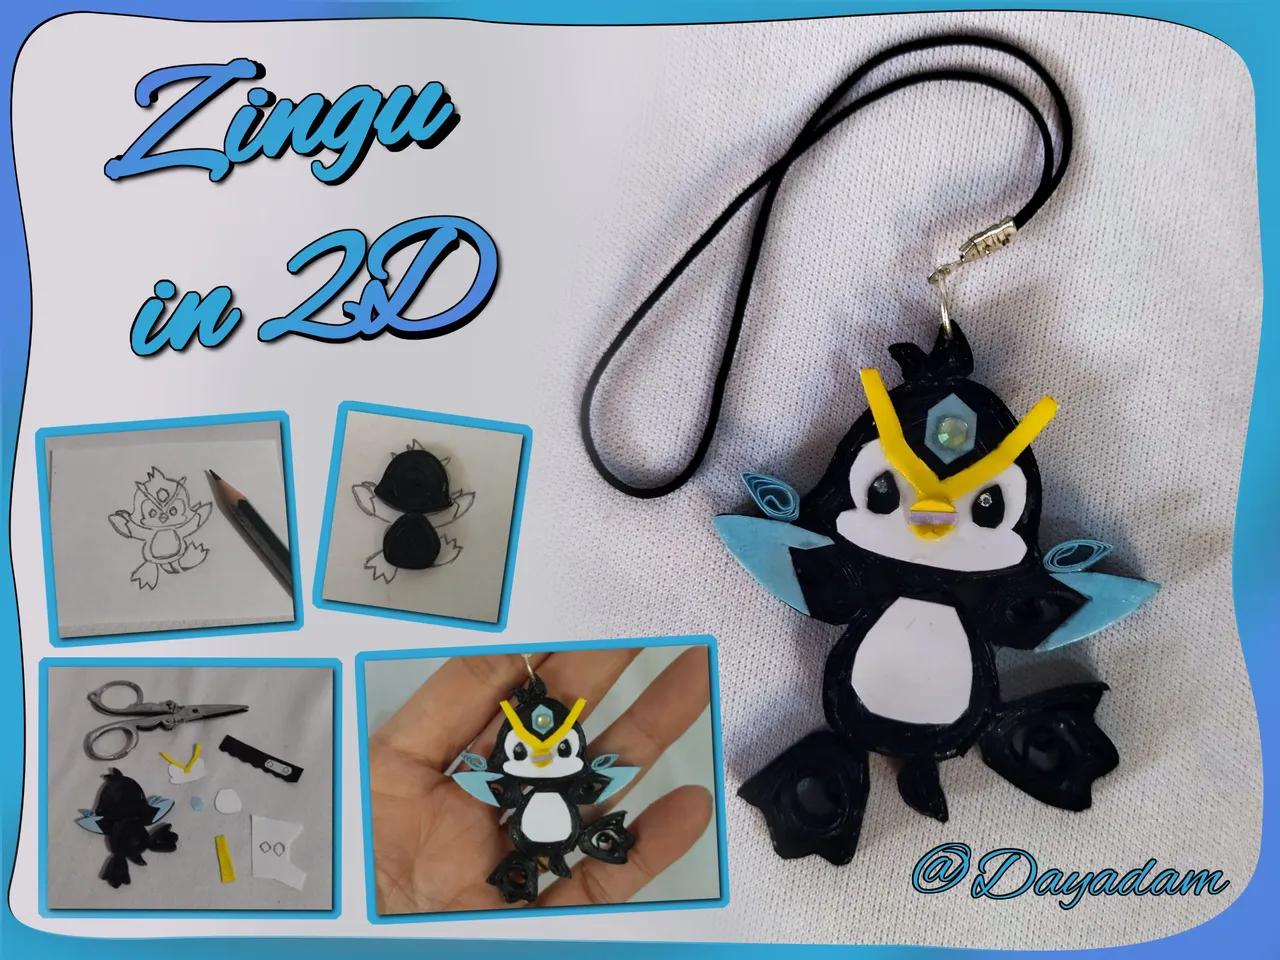
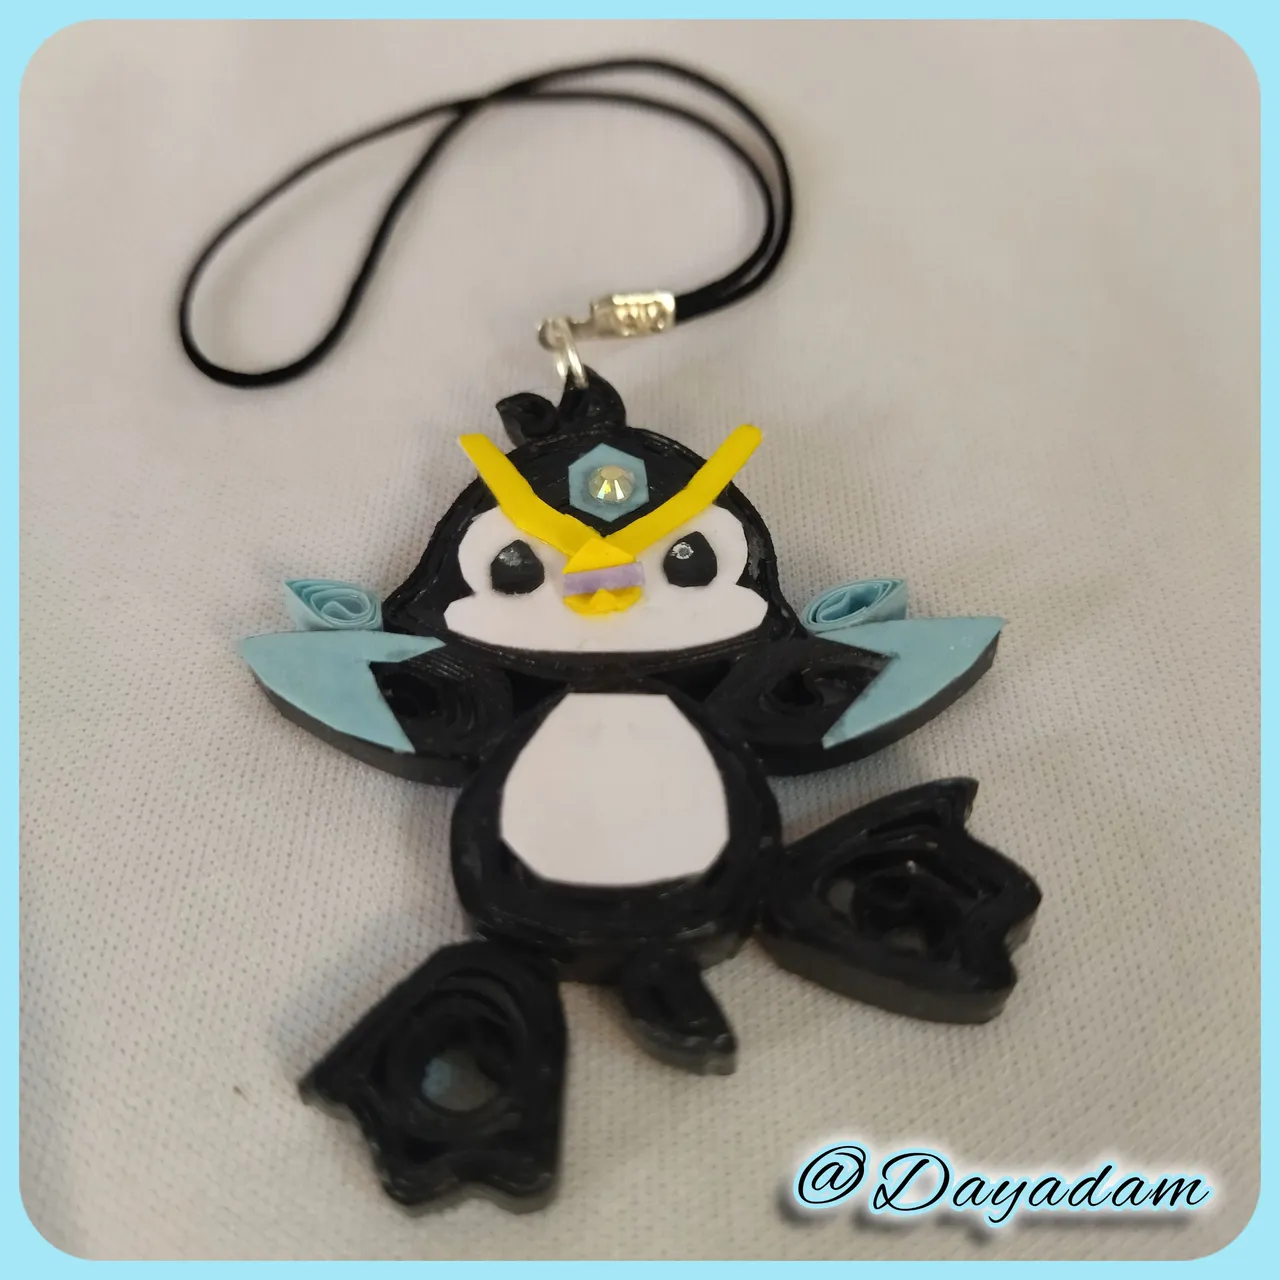
For this new rewards update of the week, I wanted to make a beautiful new creature that was presented a short time ago, I found it very cute and immediately I saw it I said I have to materialize it somehow, it is nothing more than the "Zingu in 2D " in the quilling technique, I tried to make it with much similarity to the original beautiful creature.
I attach images of my progress claiming the rewards for my delegation to Holozing which so far are 703.28HP, and I have an accumulated Stake of 3,565.729 tokens $ZING.
I hope you like my work, join me in this short creative process.
Let's begin:😃

Hola a Todos... 🐱
Hola a mis queridos Hivers y a la querida comunidad de Holozing, muy complacida y emocionada de encontrarme por acá para mostrarles un trabajo muy sencillo hecho con mucho amor y especialmente para ustedes.
Para esta nueva actualización de recompensas de la semana, quise realizar una hermosa y nueva criatura que fue presentada hace poco tiempo, me pareció muy tierna e inmediatamente que la vi me dije tengo que materializarla de alguna manera, no es mas que el "Zingu en 2D" en la técnica de quilling, que trate de realizar con mucha similitud con la hermosa criatura original.
Les adjunto imágenes de lo que ha sido mi progreso reclamando las recompensas por mi delegación a Holozing que hasta ahora son 703.28HP, y llevo un acumulado en Stake de 3,565.729 tokens $ZING.
Espero sea de su agrado mi trabajo, acompáñenme en este corto proceso creativo.
Comencemos:😃


• Cintas de quilling de diversos colores.
• Aguja para quilling.
• Lápiz.
• Hoja blanca.
• Cristal de bisuteria.
• Pega blanca extra fuerte (de carpintería).
• Tijera.
• Colgante.
- 3mm wide quilling ribbons in different colors.
- Quilling needle.
- Mold for circles.
- Colors, markers.
- White sheet.
- Extra strong white glue (carpentry glue).
- Scissors.
- Paintbrush.

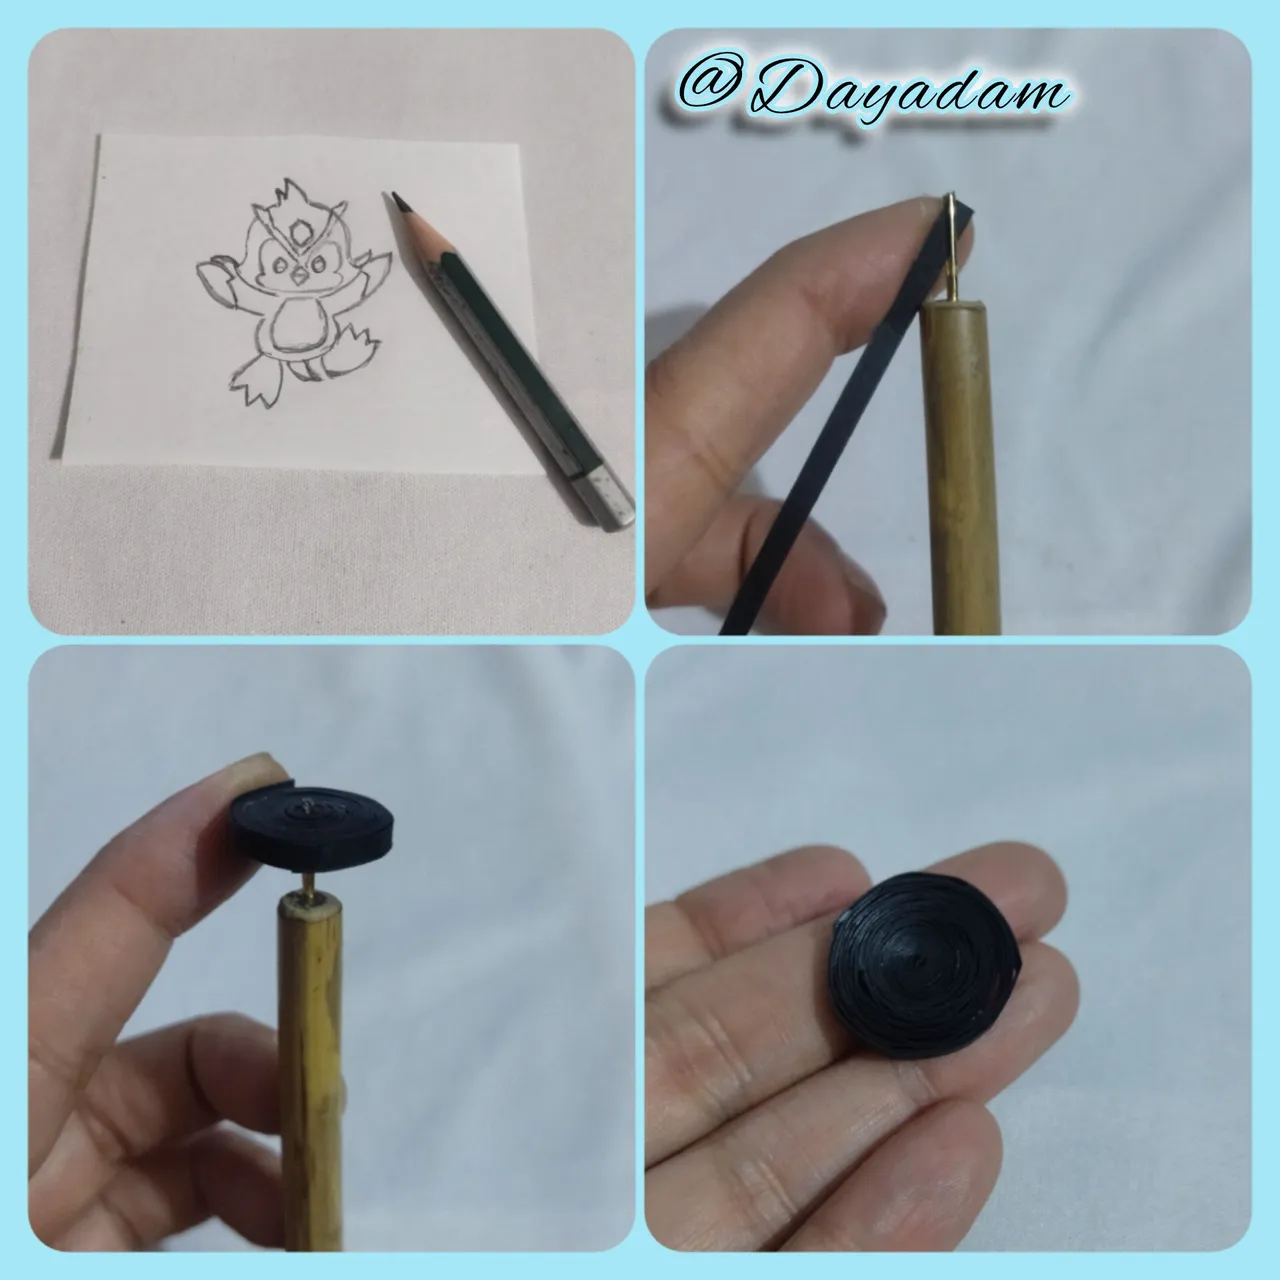
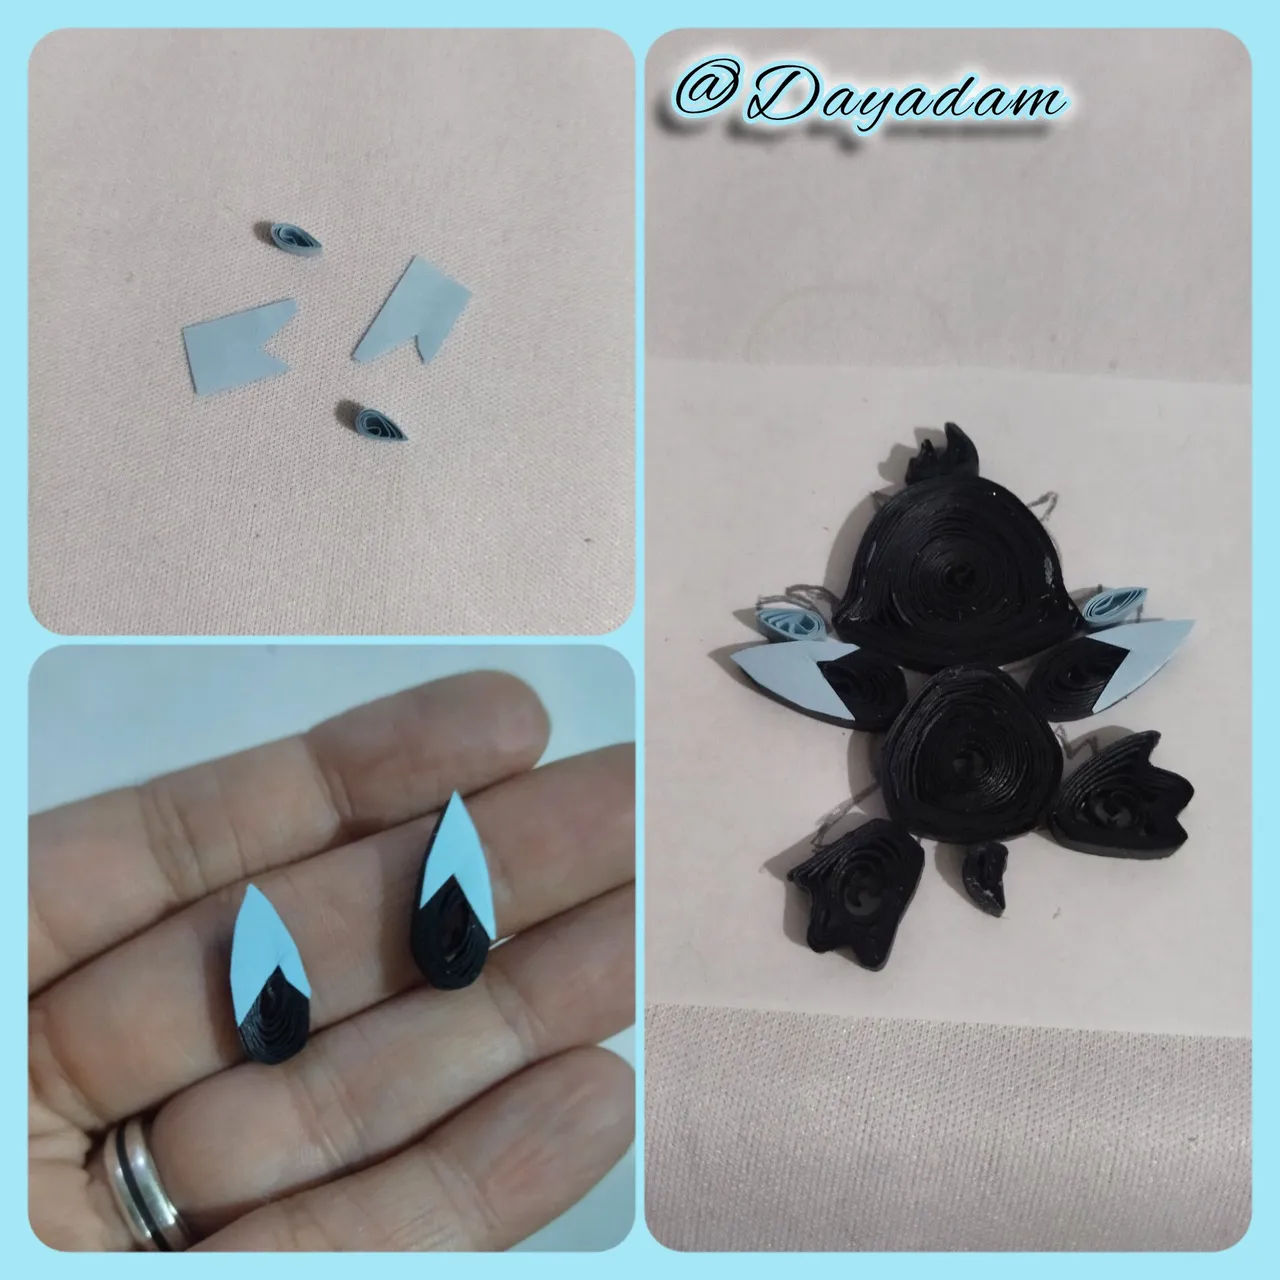
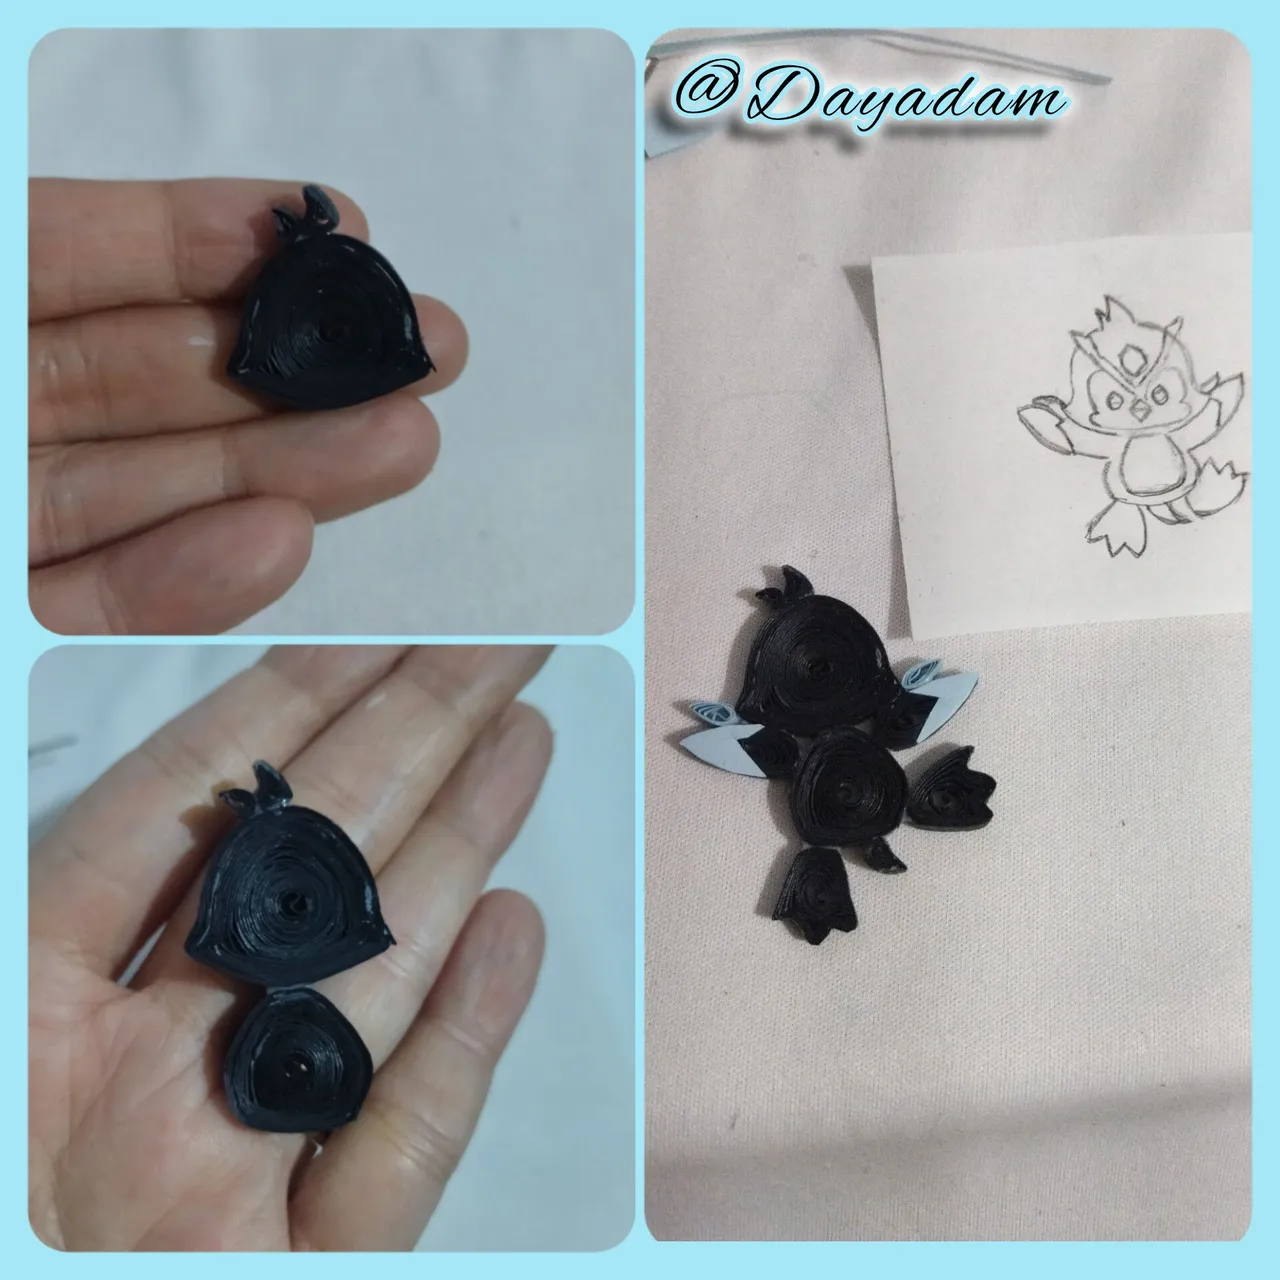
- Take a 4mm wide quilling strip, roll it with the needle to form an open circle, which I molded according to the sketch to make the head.
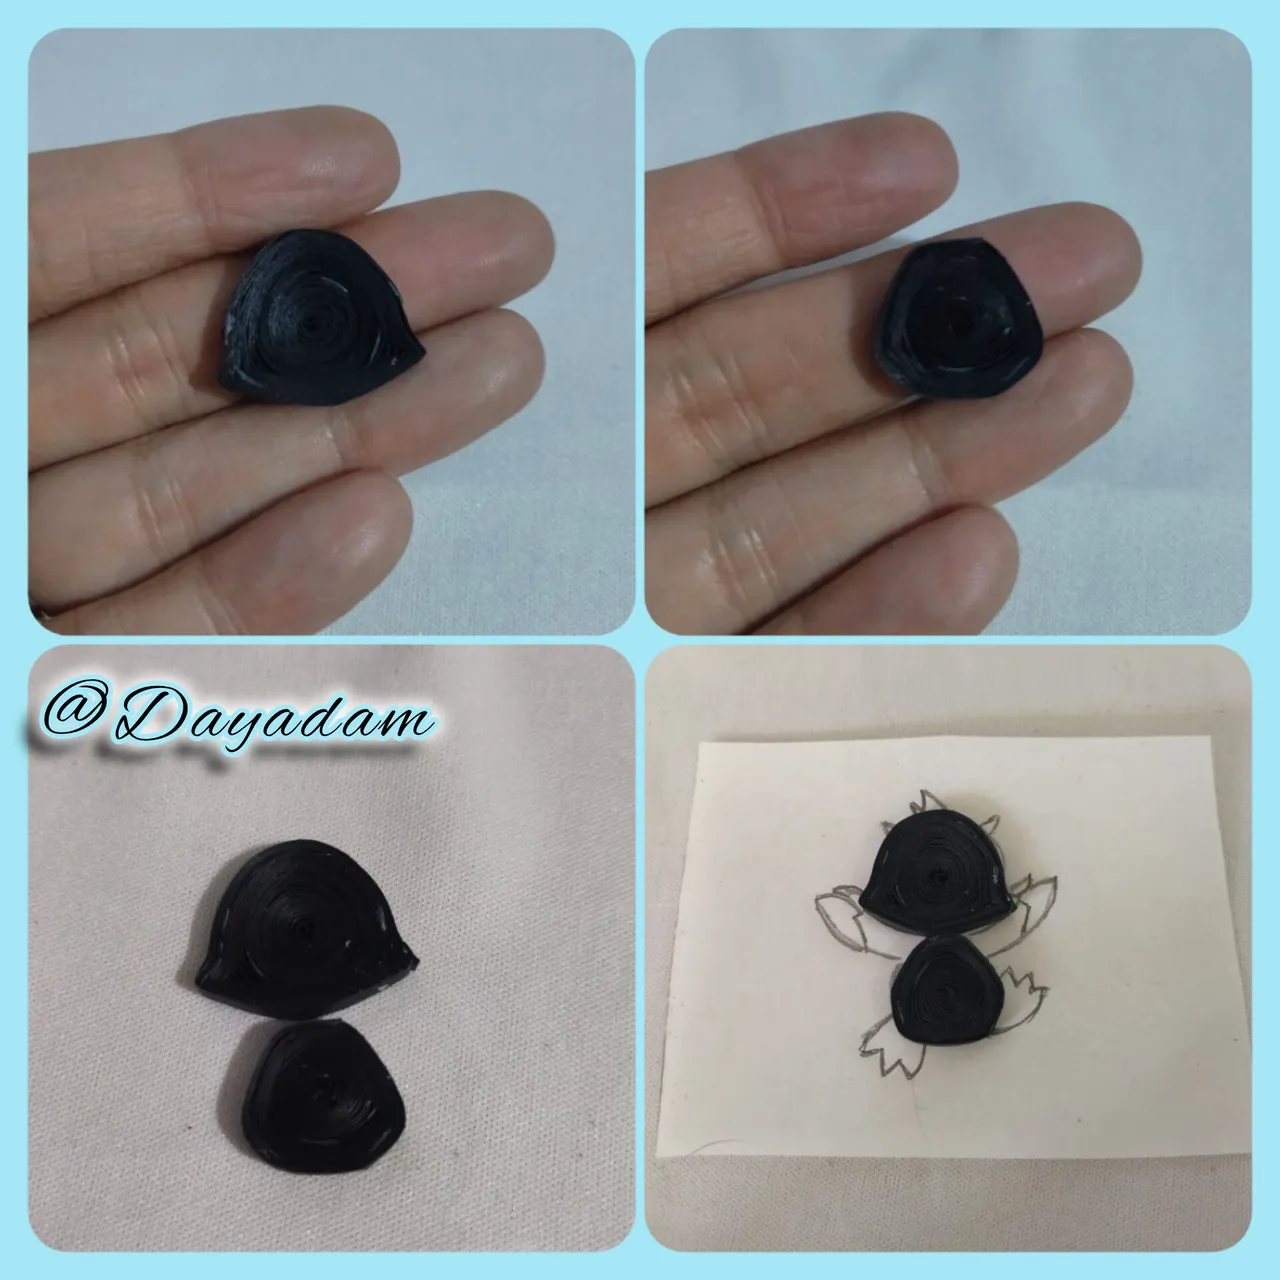
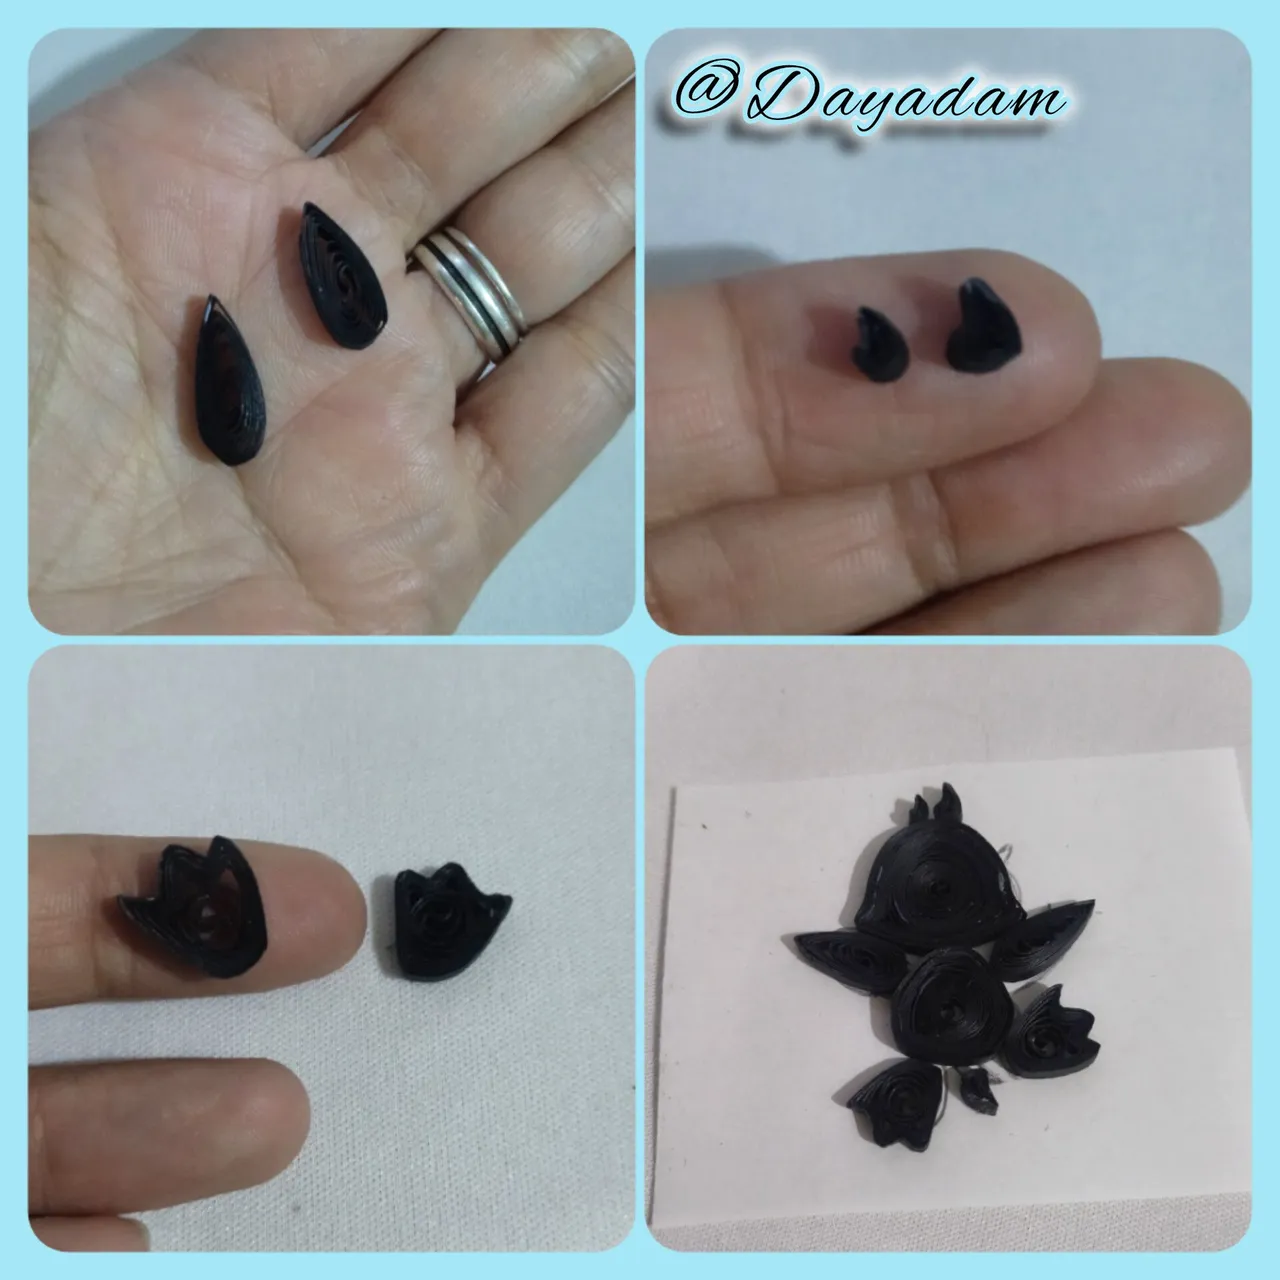
- In the same way I did with the other pieces, I made open circles according to the size I need and molding according to the sketch I made previously. With light blue tape I made the missing details of the arms.

• Tome una tira para quilling de 4mm de ancho, enrolle con la aguja para formar un circulo abierto, el cual moldee acorde al boceto para hacer la cabeza.
• De la misma manera fui haciendo con la demás piezas, realice círculos abiertos acordes al tamaño que necesito y moldeando según al boceto que realice previamente. Con cinta de color azul claro realice los detalles faltantes de los brazos.
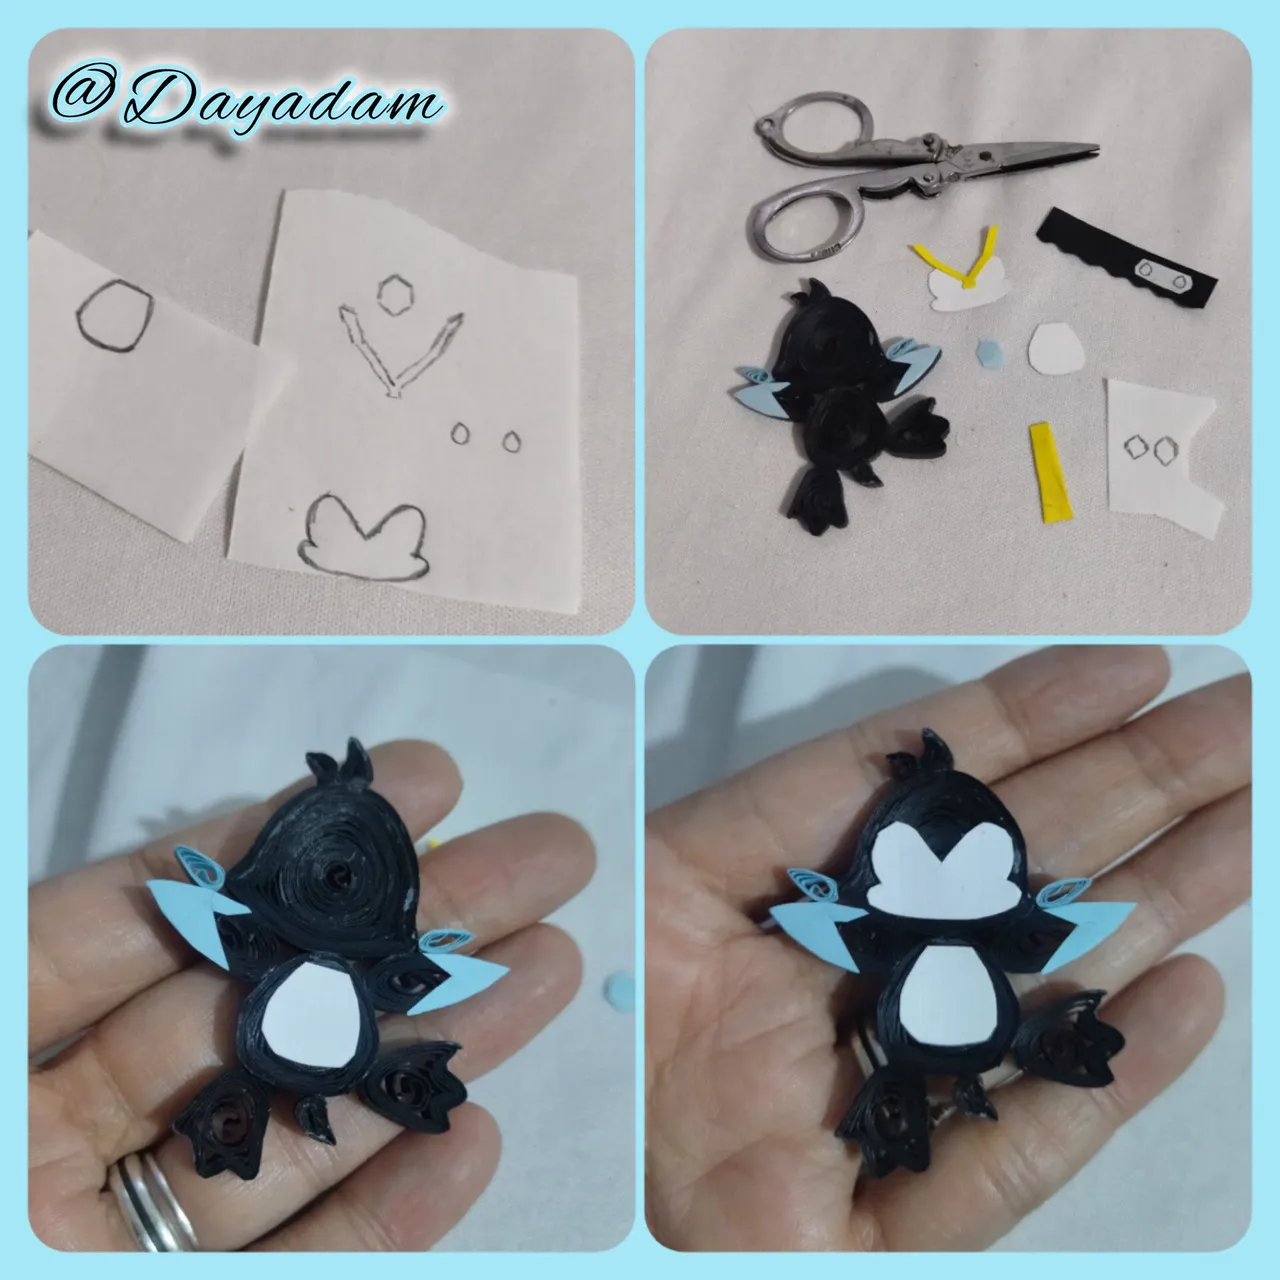
- Glue all the pieces together with white glue,
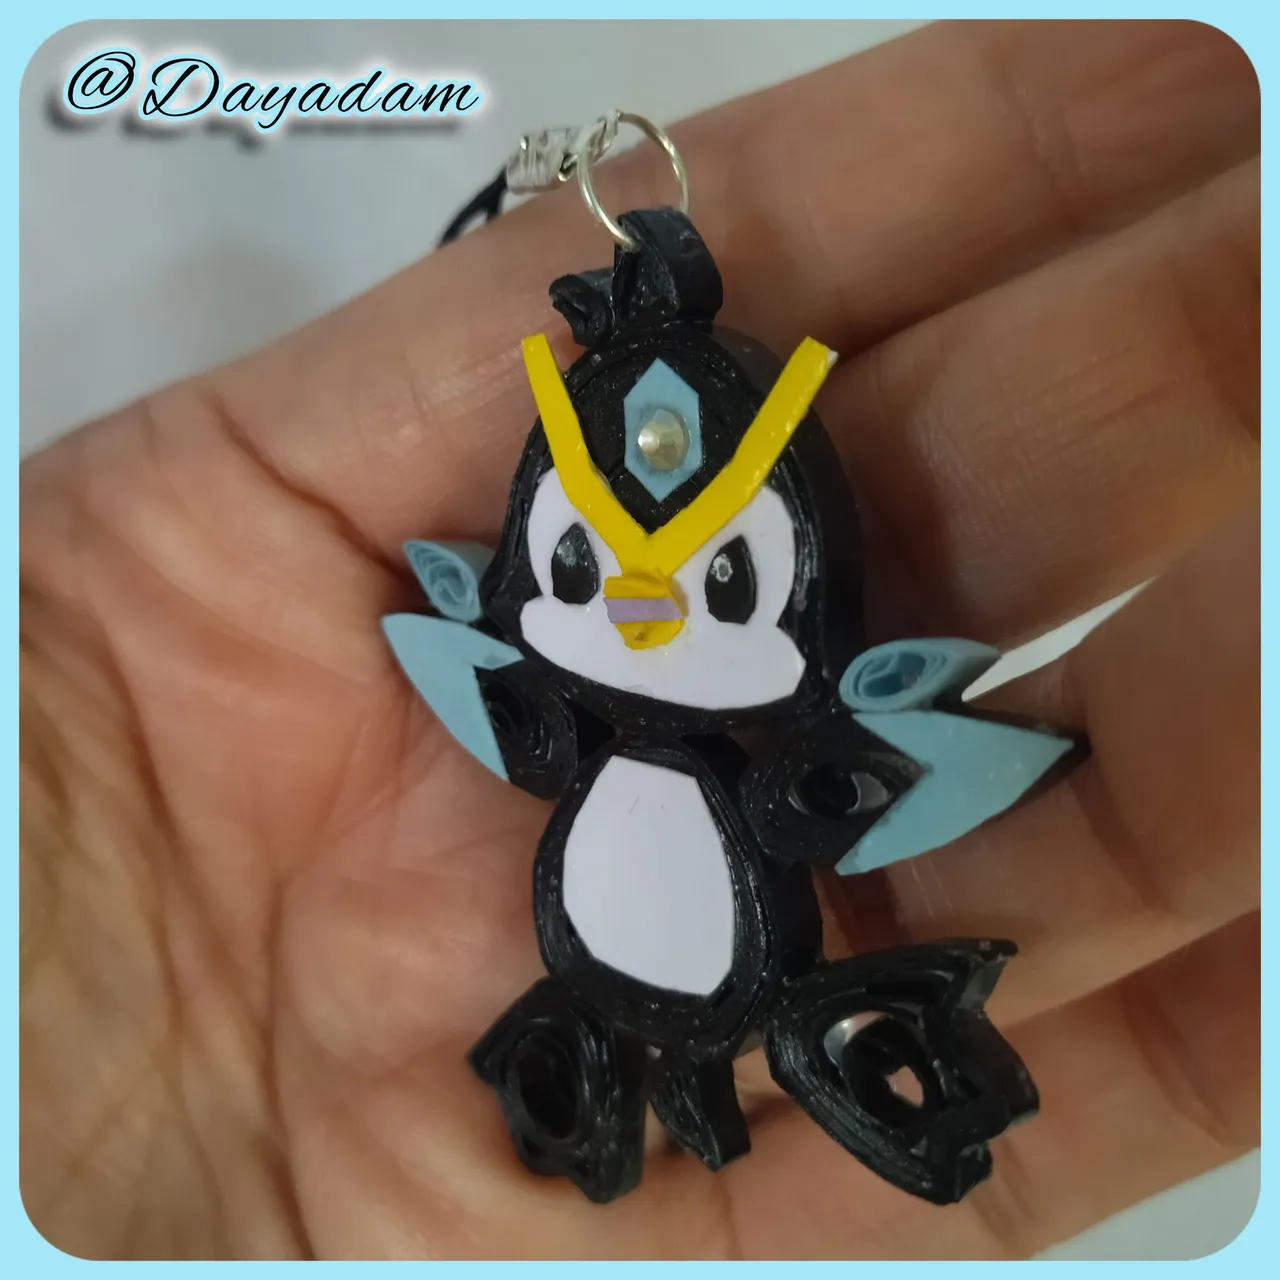
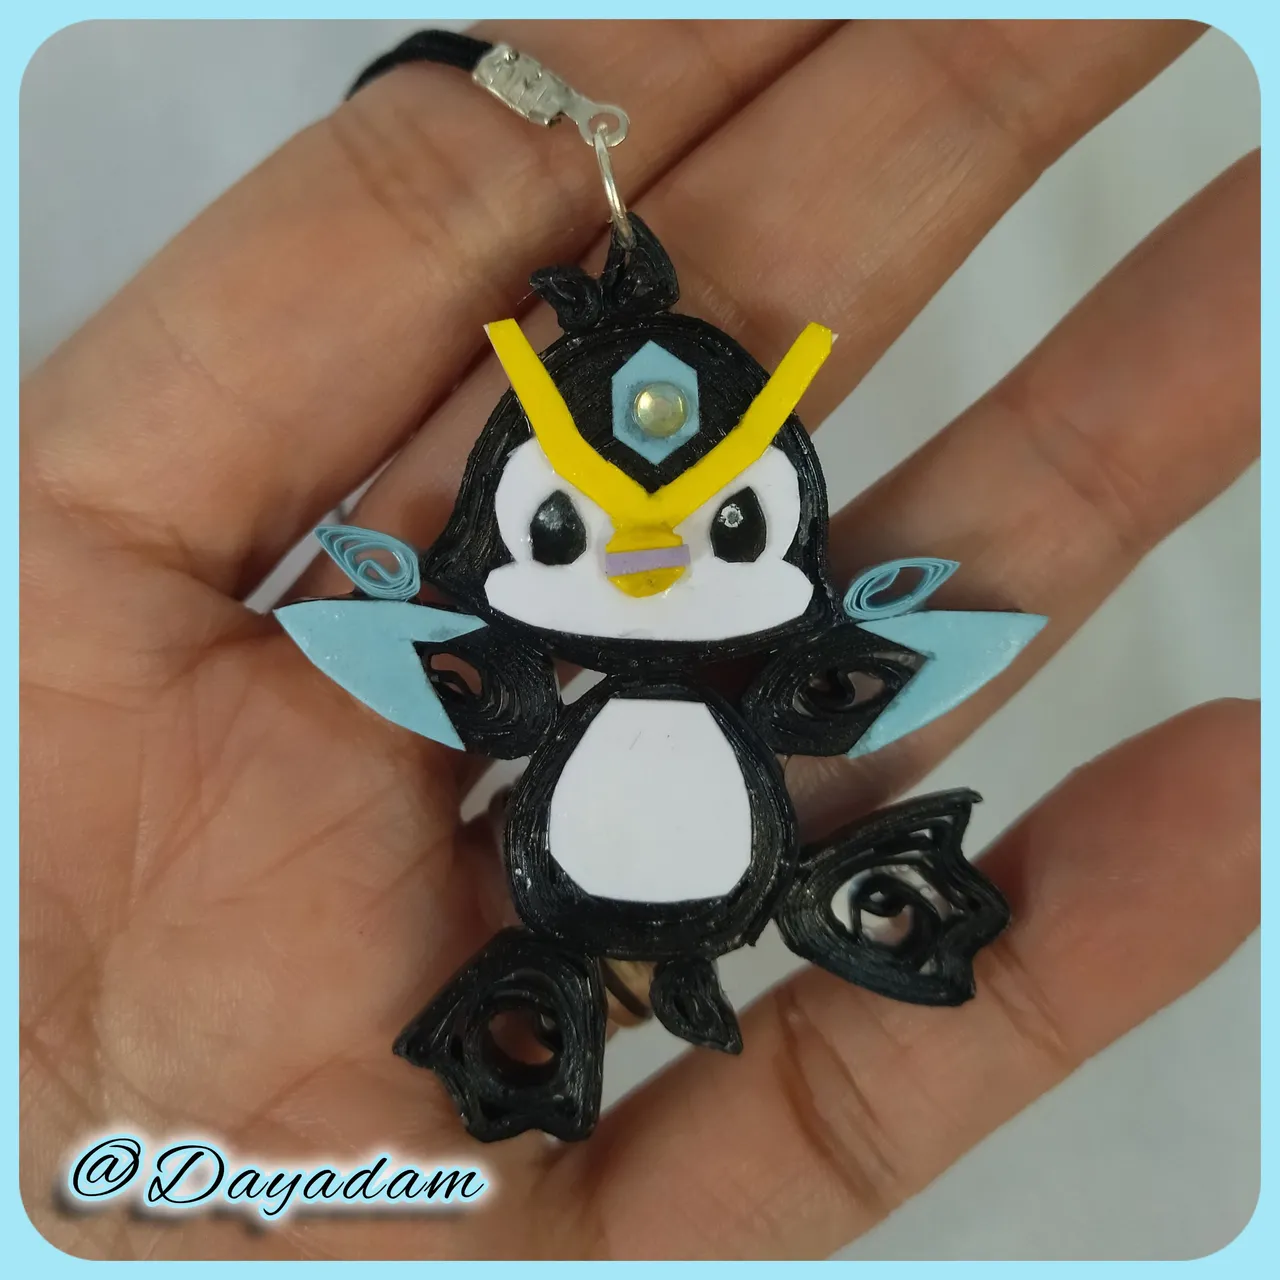
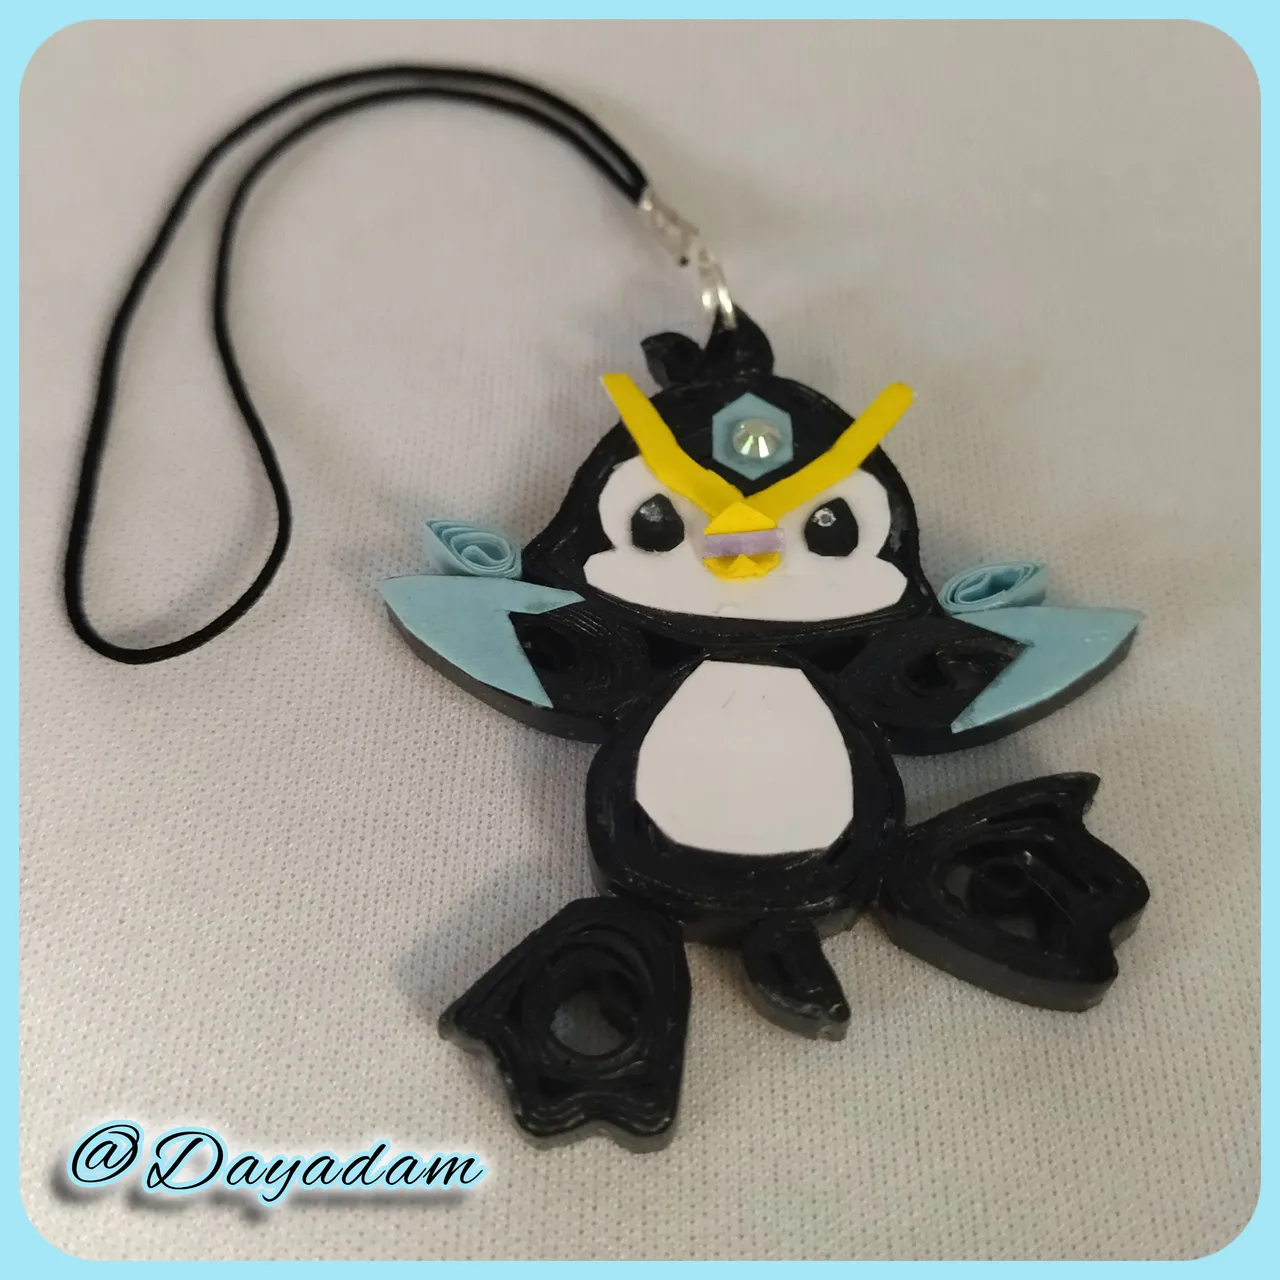
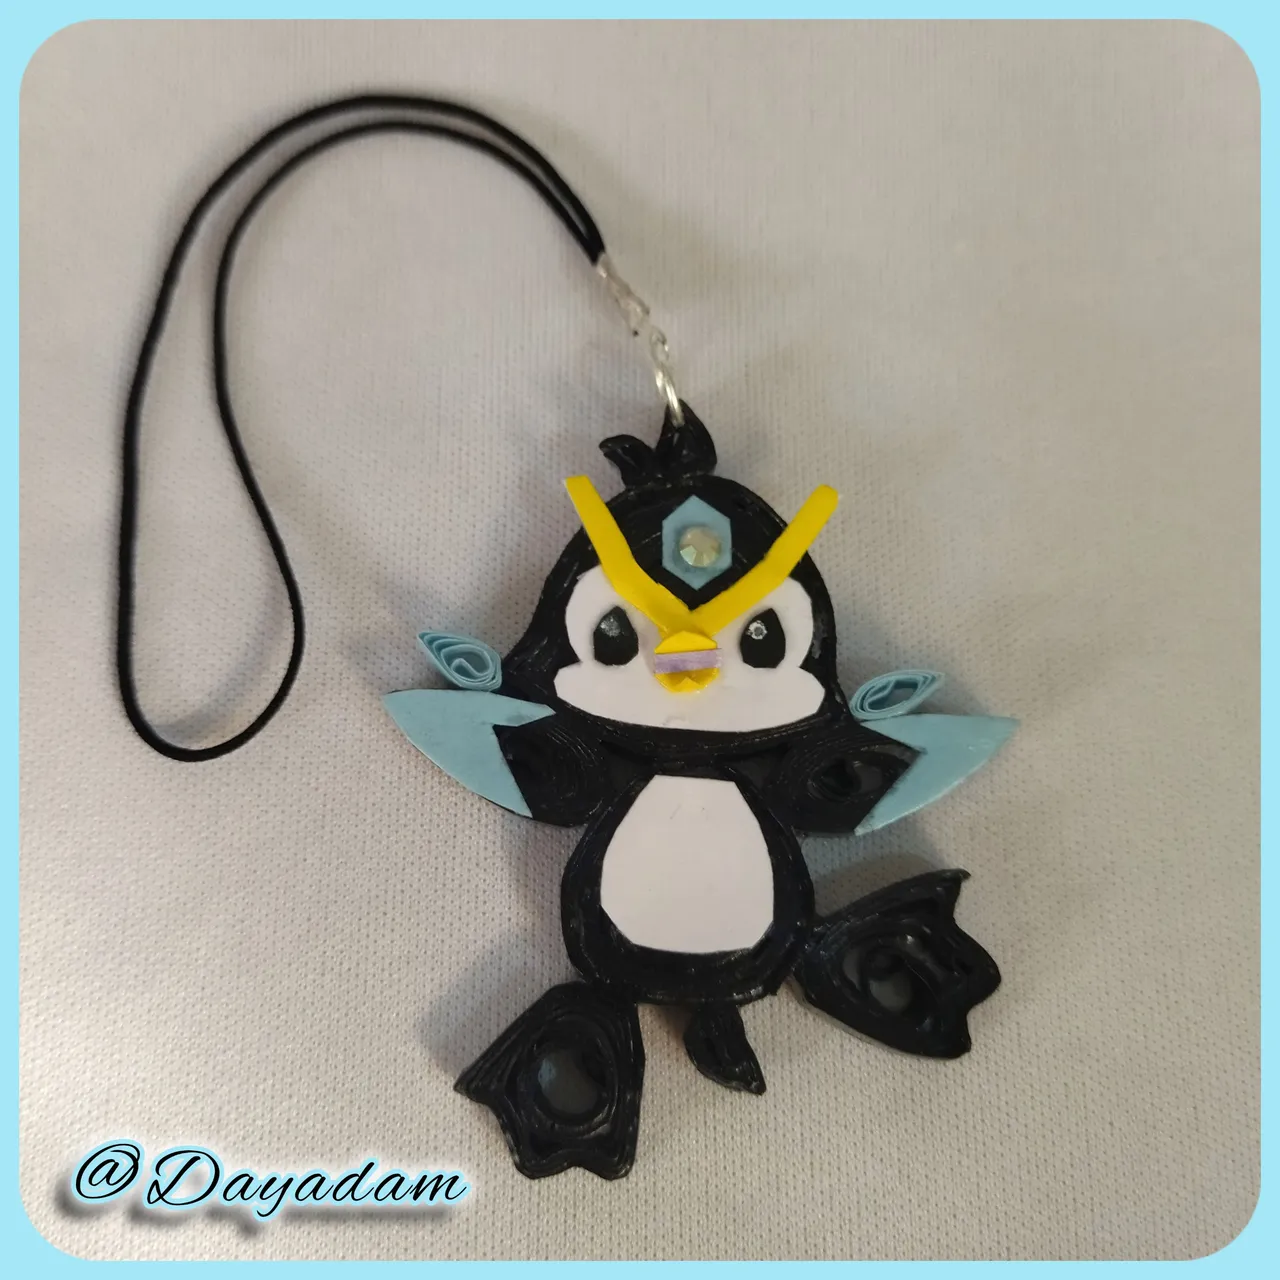
- At this point with small pieces of colored cardboard, cut out the last details, belly, part of the face, eyes, mouth, etc, glue with white glue, to the diamond that goes on the forehead I put a small crystal of costume jewelry to highlight it a little.
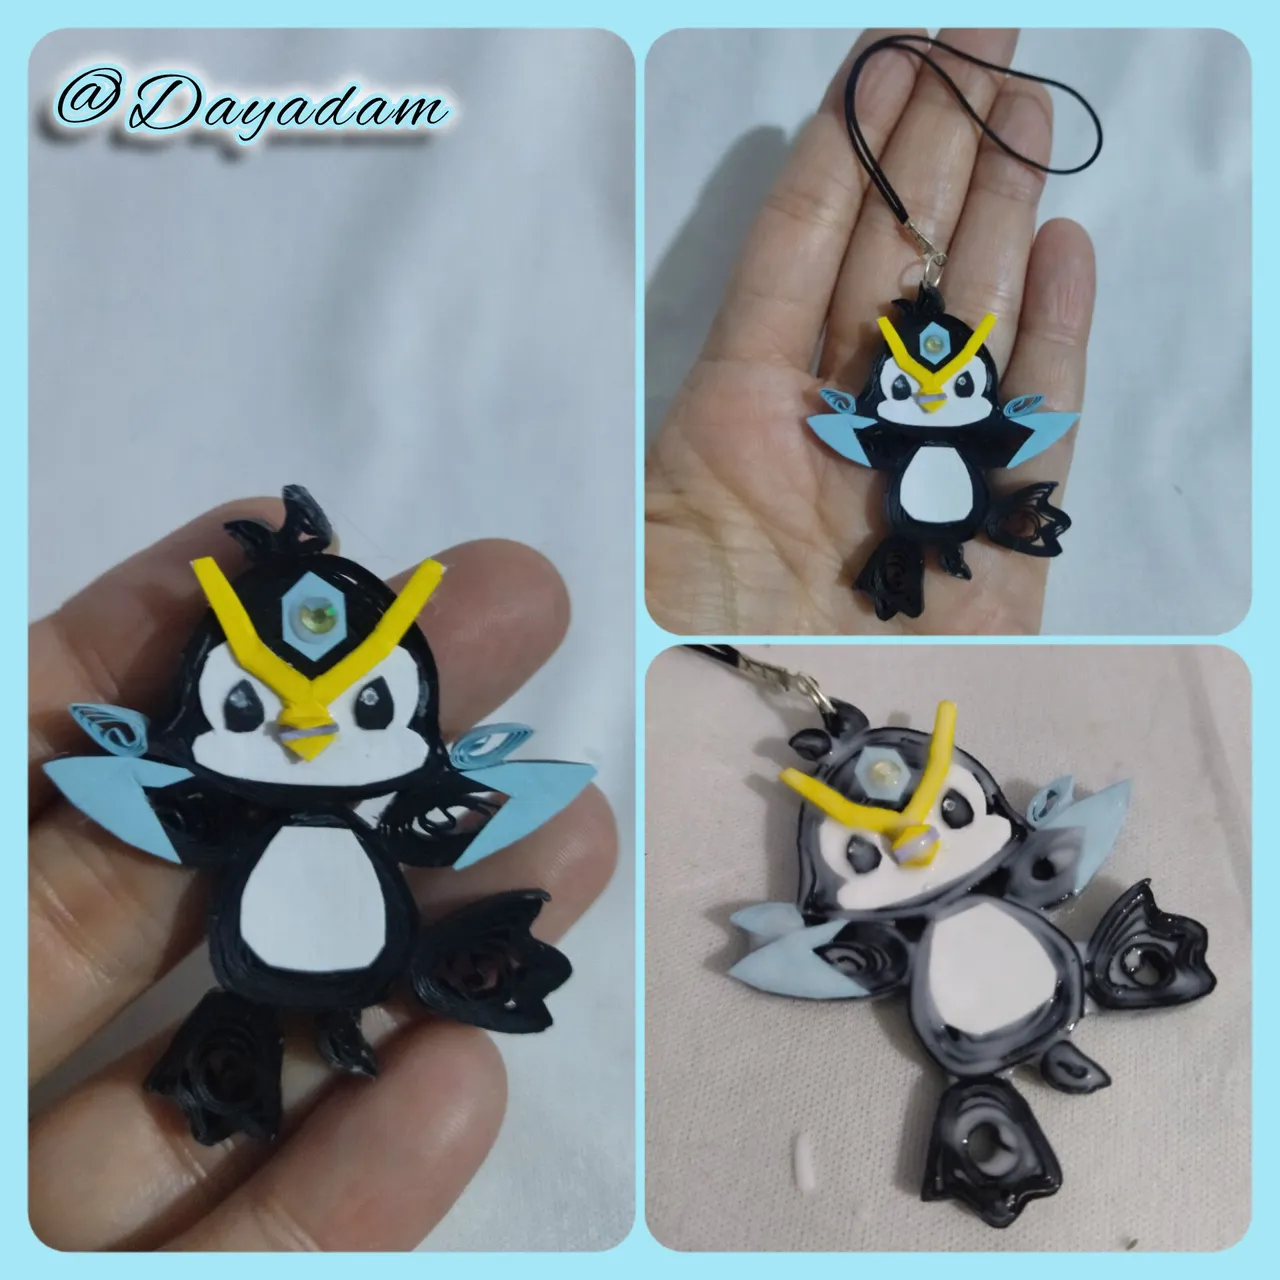
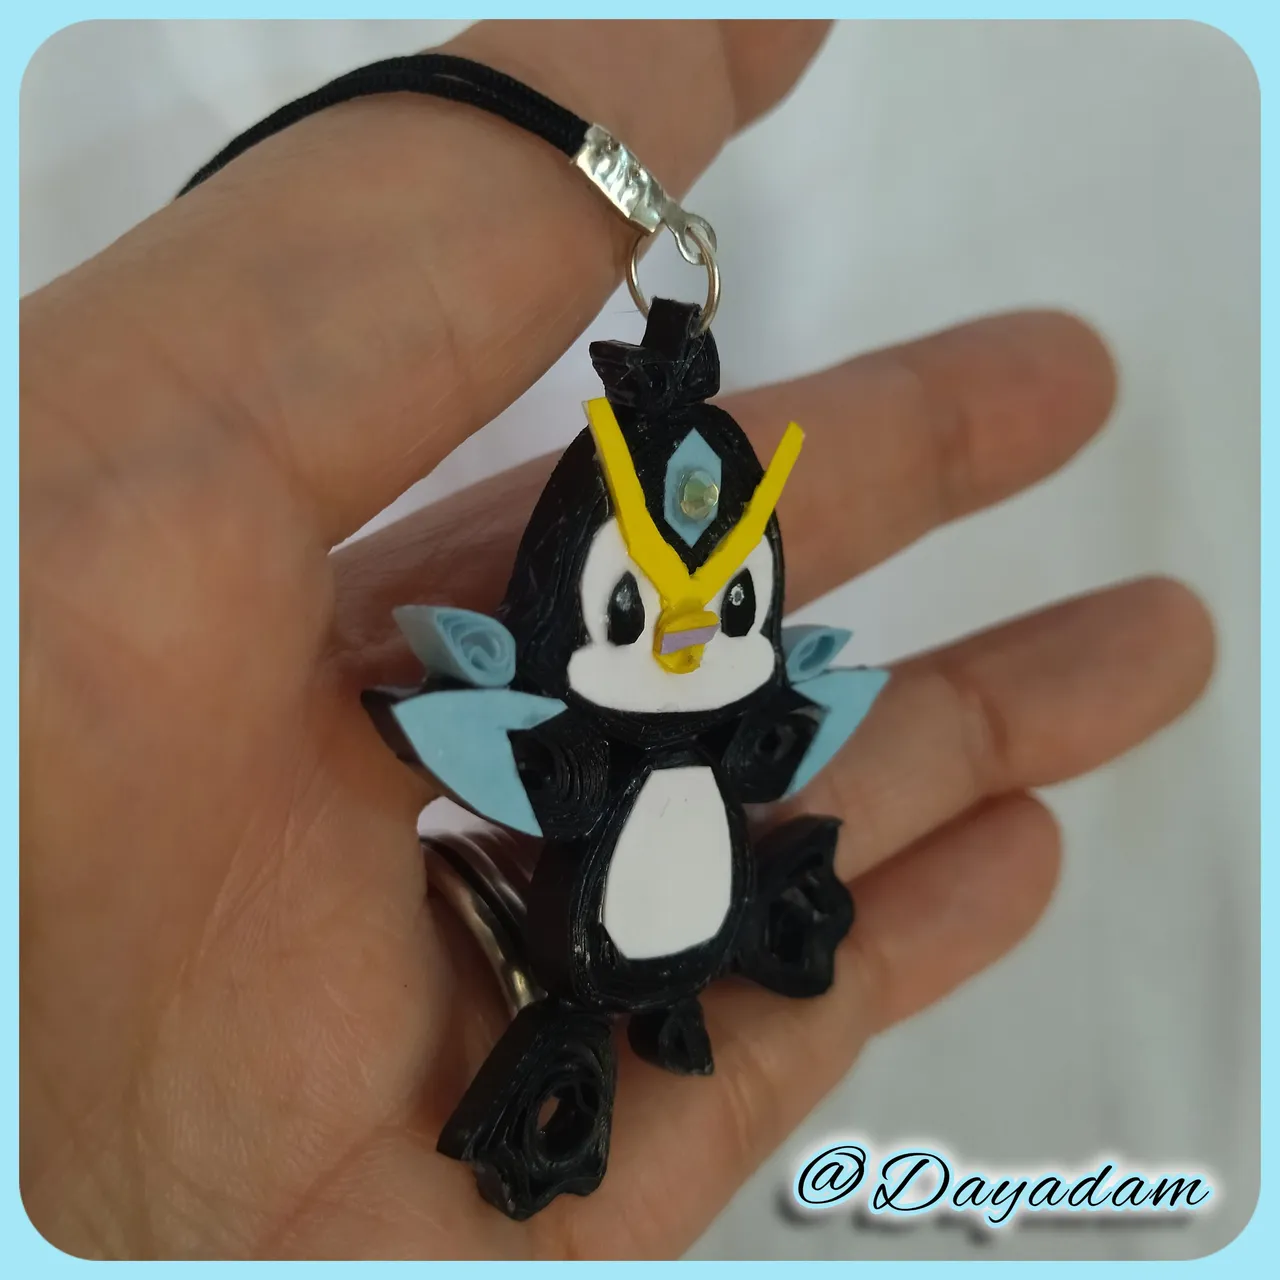
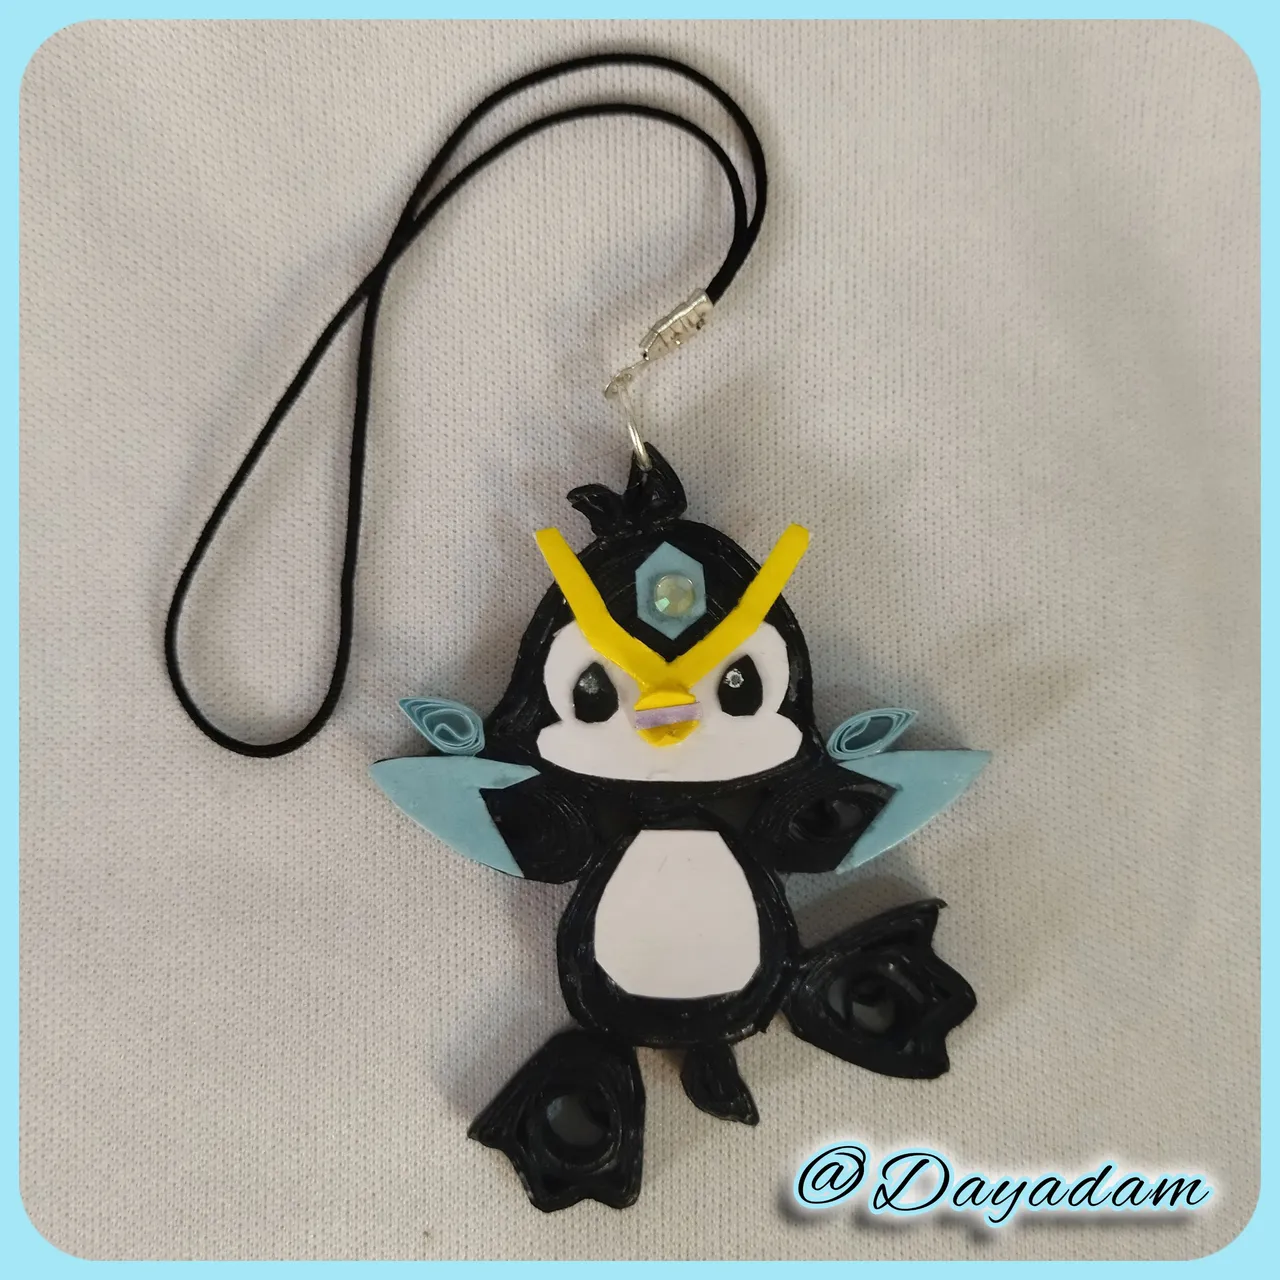
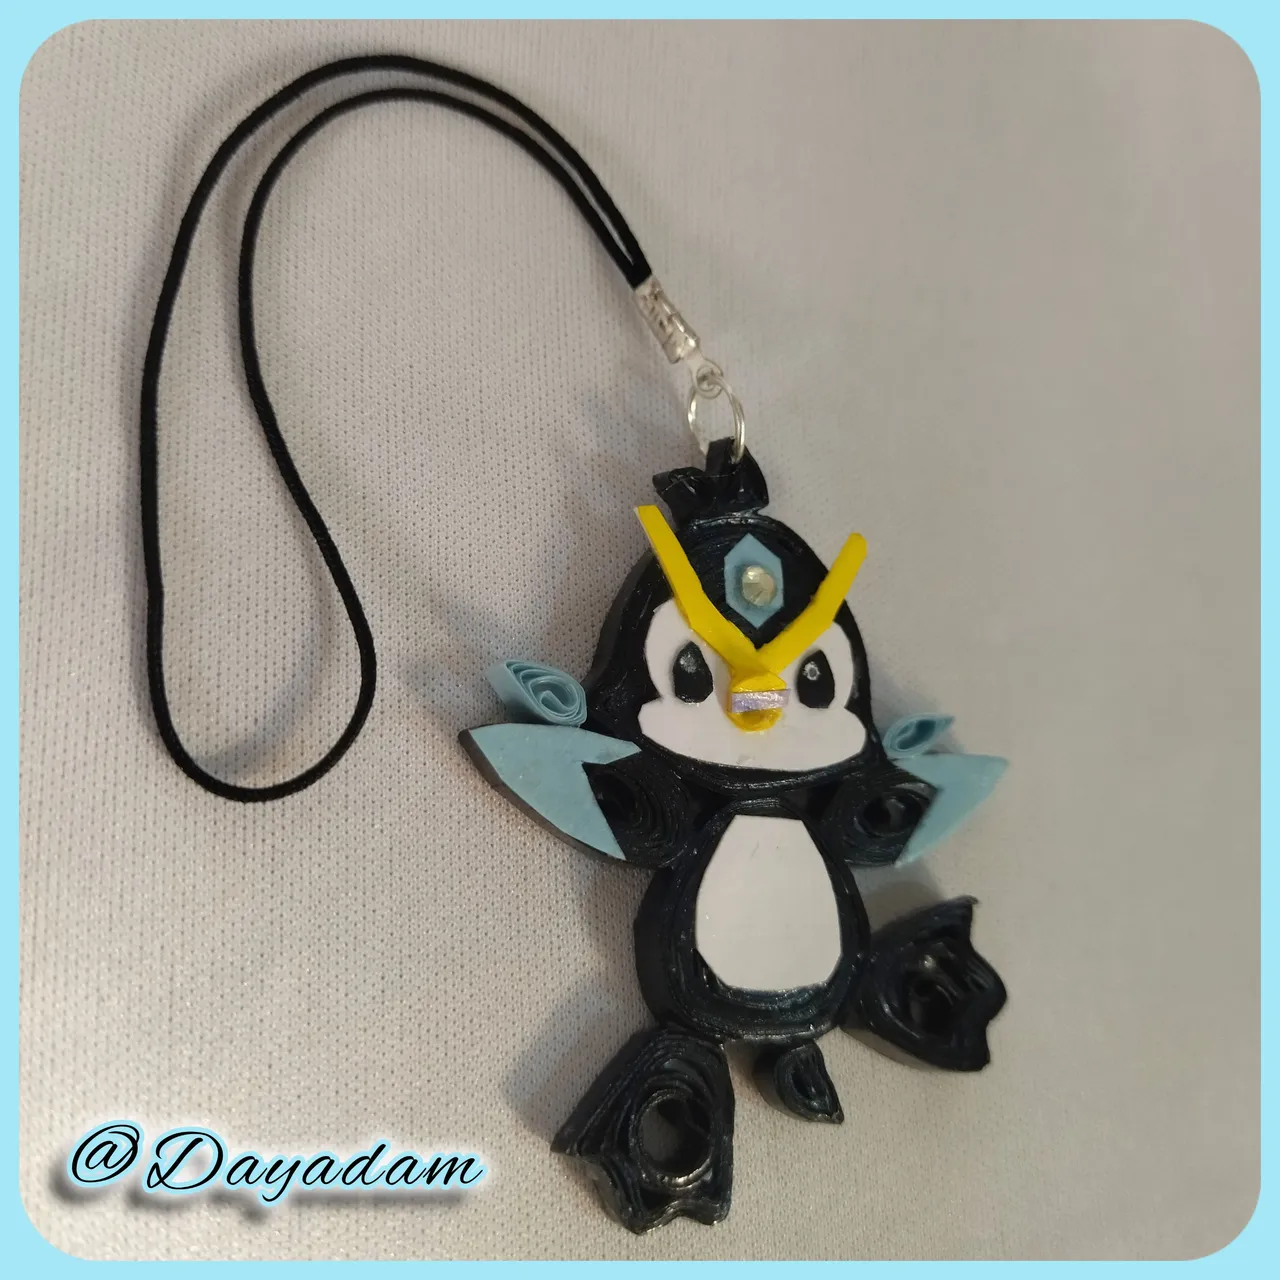
- Finally apply several coats of extra strong white glue and let it dry between coats to give it protection, shine and plasticizing and place a small strip of black Chinese thread with a medium size costume jewelry ring.
This way this little 2D pendant I made of the cute creature Zingu is ready.
• Listas todas las piezas las pegue con cola blanca,
• En este punto con trocitos de cartulina de colores, recorte los últimos detalles, barriga, parte de la cara ojos, boca, etc, pegue con cola blanca, al diamante que va en la frente le coloque un pequeño cristal de bisutería para resaltarlo un poco
• Para finalizar aplique varias capas de pega blanca extra fuerte dejando secar entre una capa y otra para darle, protección, brillo y plastificado y coloque una pequeña tira de hilo chino negro con un argolla mediana de bisutería.
De esta manera esta listo este pequeño colgante en 2D que realice de la bonita criatura Zingu.


What did you think, did you like it?
I hope you did, I hope you liked my explanation, procedure and photos, I made them with love for you.
"Let out that muse that inspires you, and let your imagination fly".
Thank you all, see you next time.🐱

¿Qué les pareció, les gustó?
Espero que sí, que les haya gustado mi explicación, procedimiento y fotos, los hice con mucho cariño por y para ustedes.
"Deja salir esa musa que te inspira, y deja volar tu imaginación".
Gracias a todos, nos vemos en la próxima.🐱

