Hello everyone... 🐱
Hello to my dear Hivers and the dear community of Holozing, very pleased and excited to be here to show you a very simple work made with much love and especially for you.
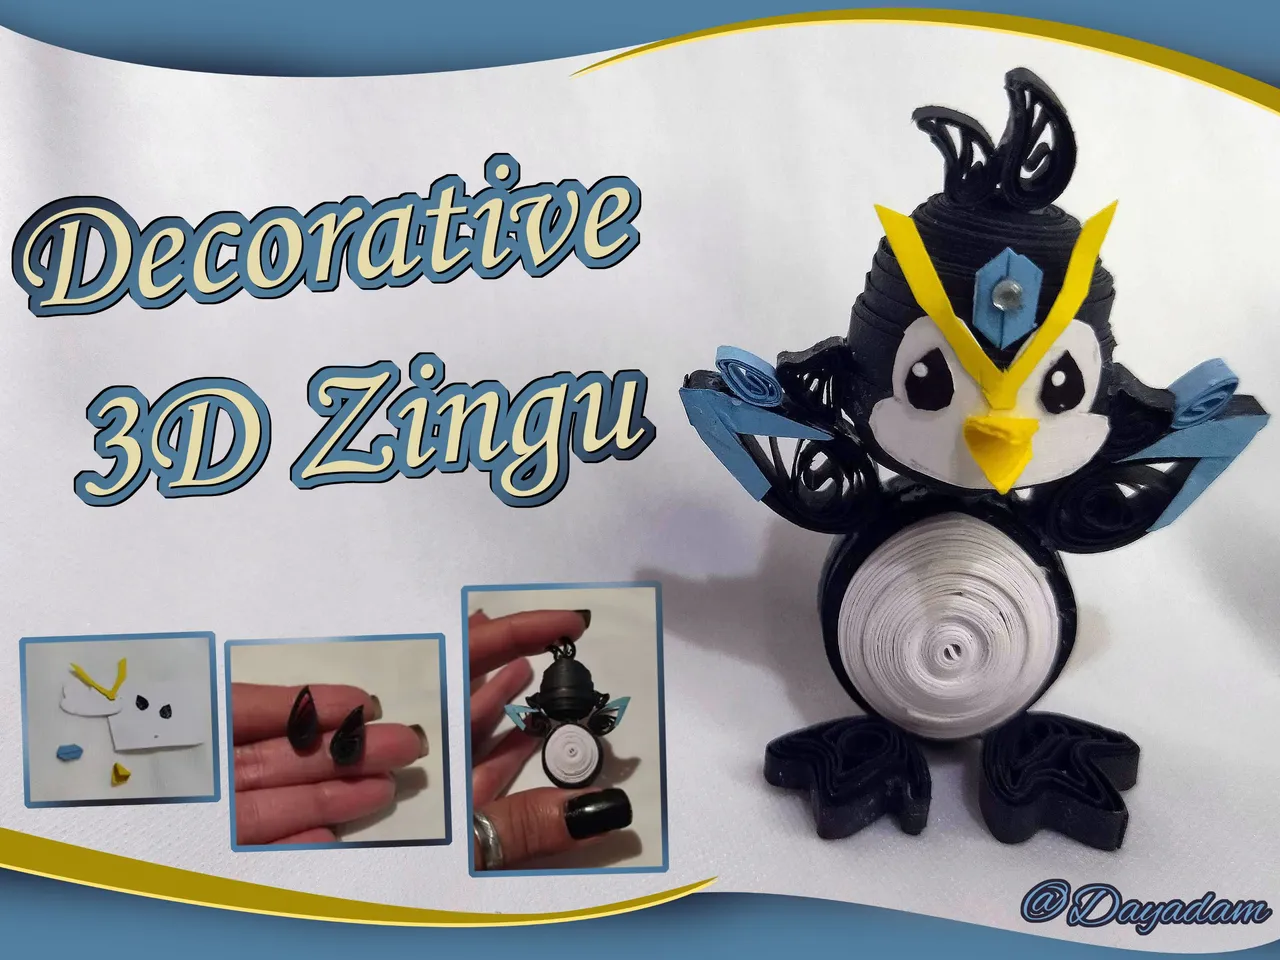
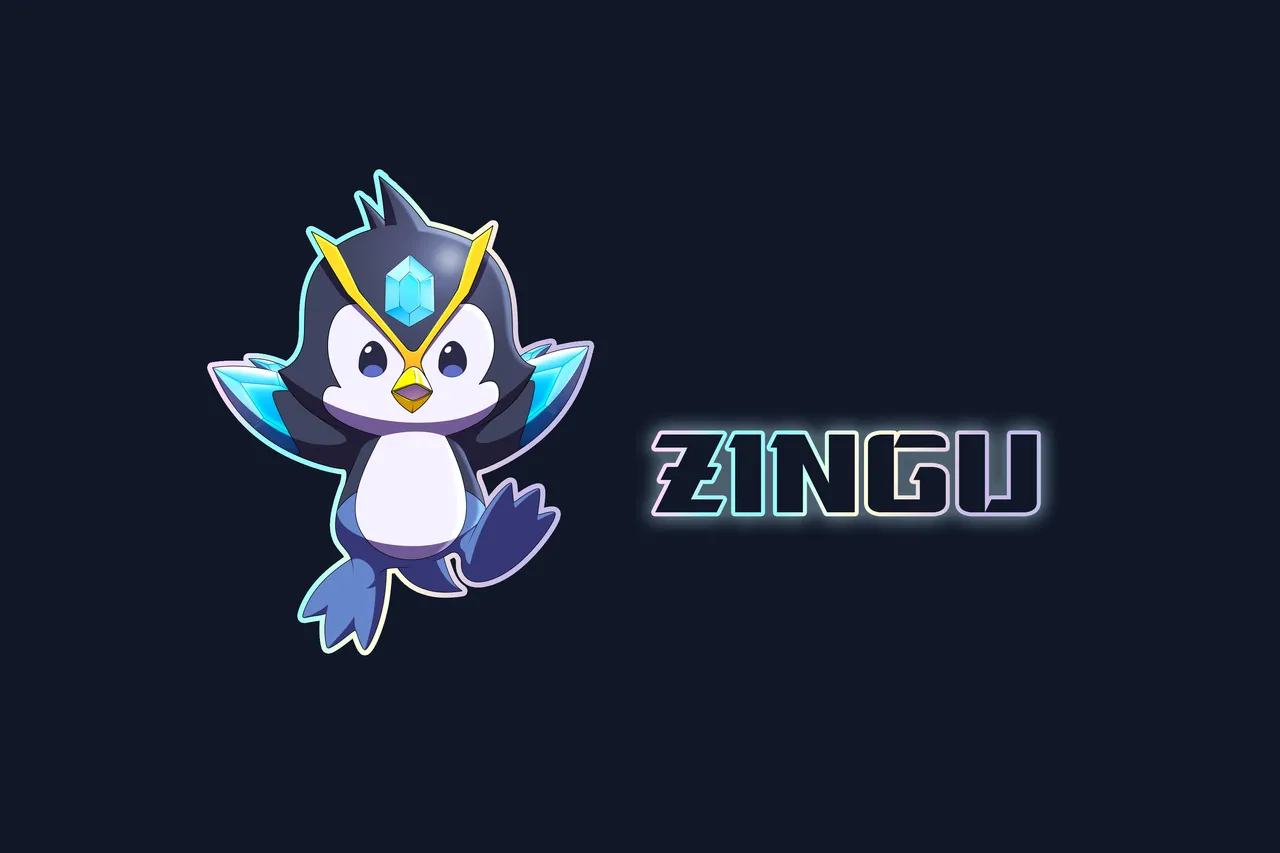
A few weeks ago I made a small 2D Zingu to use as a keychain or pendant, well for this new reward update of the week, I wanted to challenge myself a little more and make something a little more complex since this creature is very beautiful, tender so I decided to make a "Zingu in 3D ” in the quilling technique, which I tried to make with a lot of similarity with the original model.*
I attach images of my progress claiming the rewards for my delegation to Holozing which so far are 706.95HP, and I have an accumulated Stake of 7,339.797 tokens $ZING.
I hope you like my work, join me in this short creative process.
Let's begin:😃

Hola a Todos... 🐱
Hola a mis queridos Hivers y a la querida comunidad de Holozing, muy complacida y emocionada de encontrarme por acá para mostrarles un trabajo muy sencillo hecho con mucho amor y especialmente para ustedes.
Hace algunas semanas lleve a cabo un pequeño Zingu en 2D para utilizar como un llavero o colgante, pues para esta nueva actualización de recompensas de la semana, quise retarme un poco mas y llevar a cabo algo un poco mas complejo ya que esta criatura es muy hermosa, tierna entonces decidi llevar a cabo un "Zingu en 3D" en la técnica de quilling, que trate de realizar con mucha similitud con el modelo original.*
Les adjunto imágenes de lo que ha sido mi progreso reclamando las recompensas por mi delegación a Holozing que hasta ahora son 706.95HP, y llevo un acumulado en Stake de 7,339.797 tokens $ZING.
Espero sea de su agrado mi trabajo, acompáñenme en este corto proceso creativo.
Comencemos:😃


• Cintas de quilling de diversos colores.
• Aguja para quilling.
• Lápiz.
• Hoja blanca.
• Cristal de bisuteria.
• Pega blanca extra fuerte (de carpintería).
• Tijera.

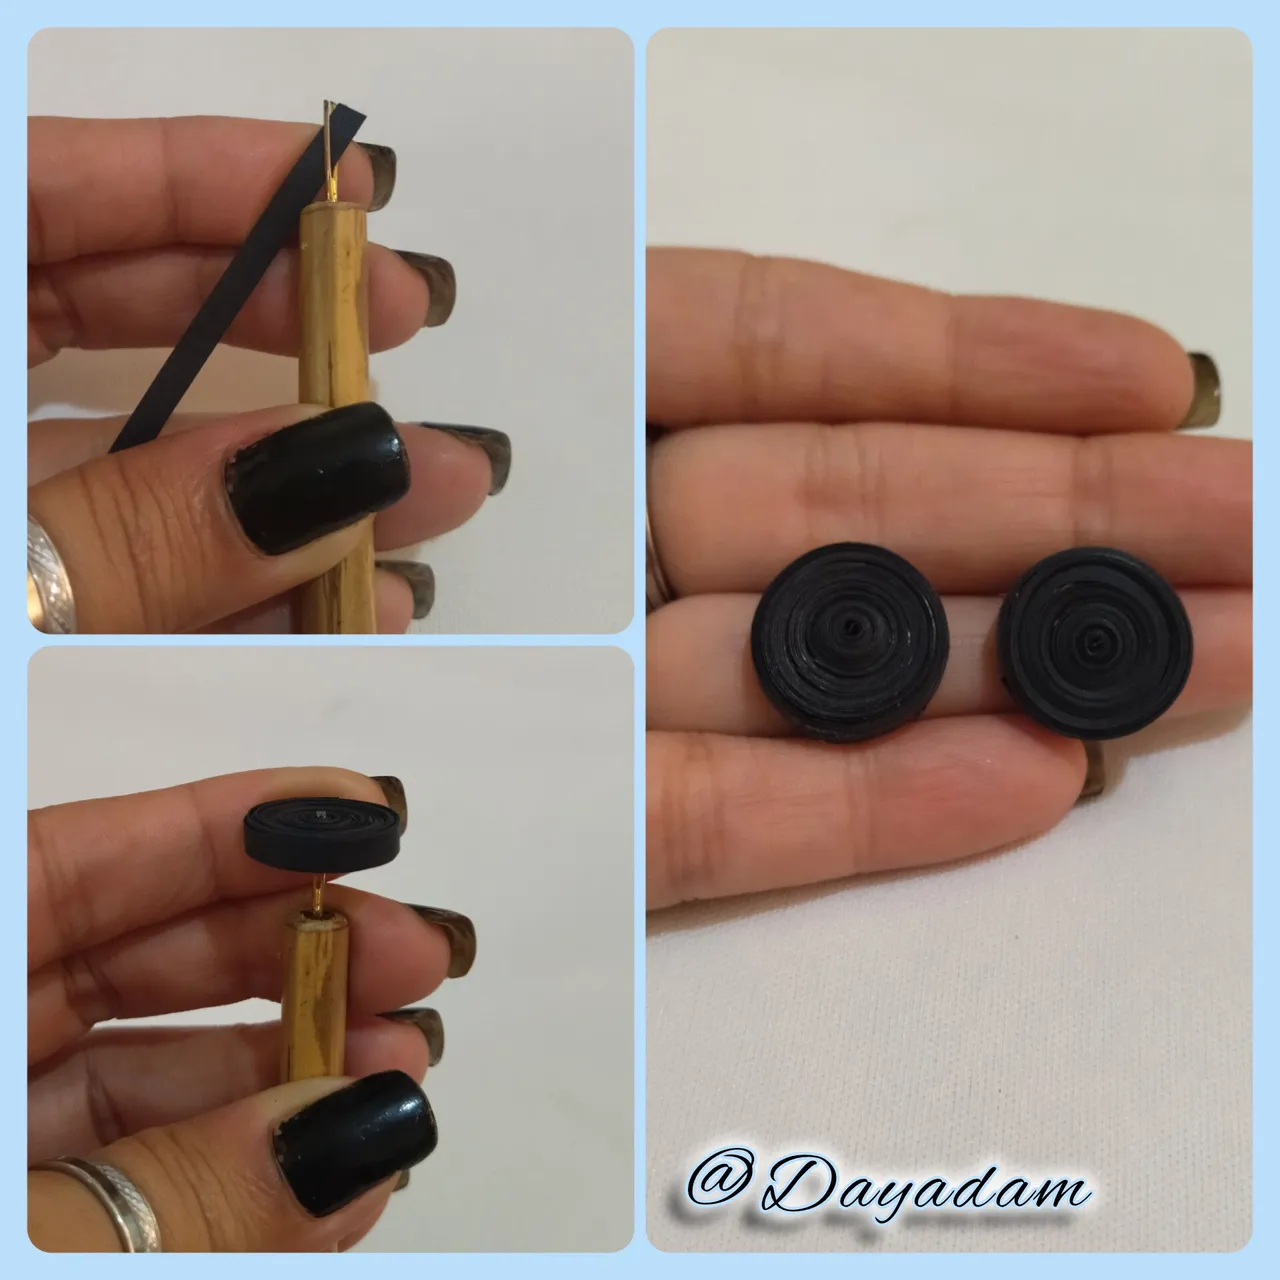
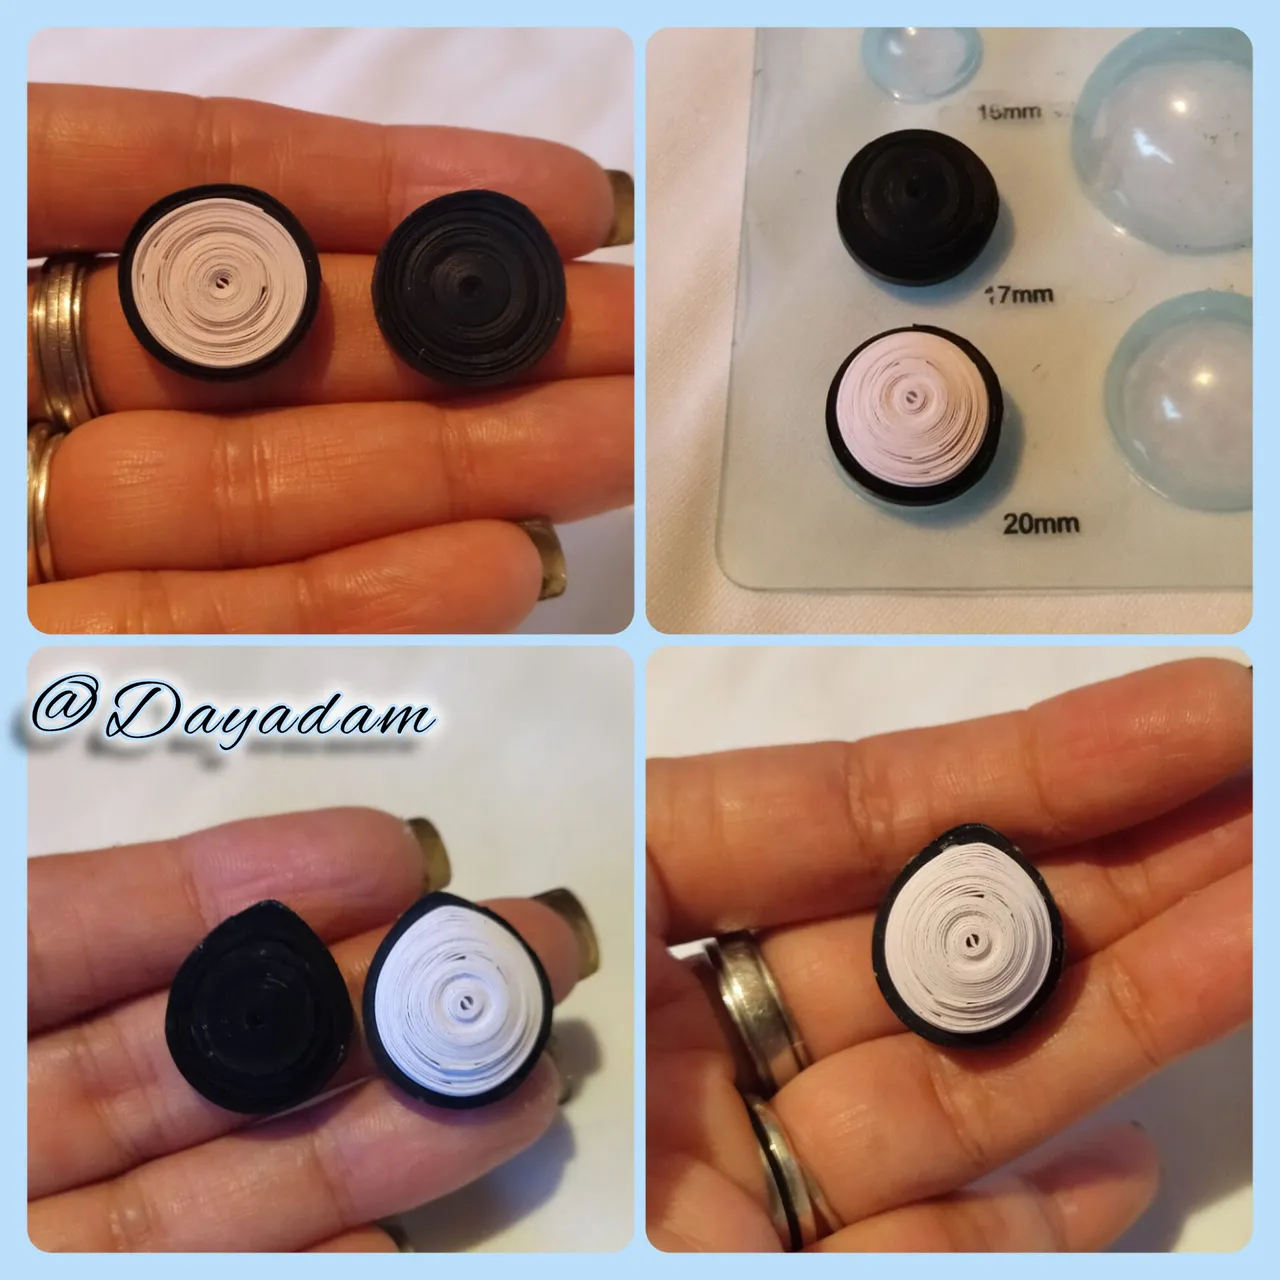
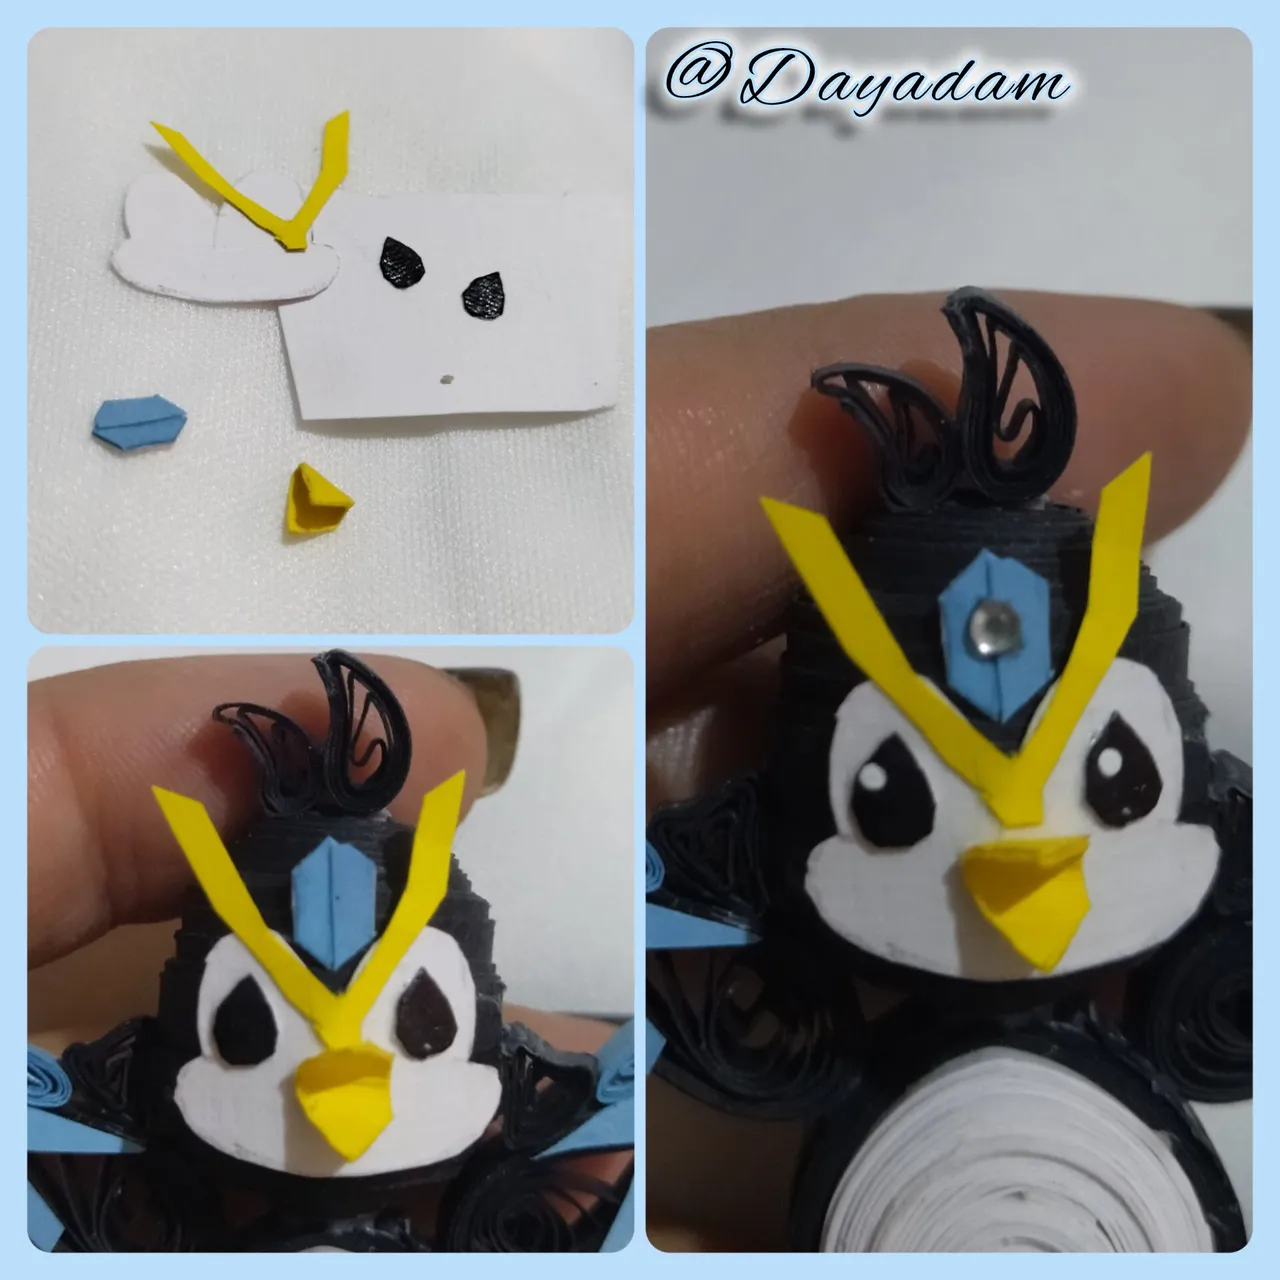
• We are going to take 2 quilling tapes, one of black color, with each one we will make a closed circle which we will measure in a template to mold circles in the measure number 17 and 20, we will add glue in the back part so that they are not deformed and then we will join both with a piece of black tape. This will be the face of our penguin.

• Vamos a tomar 2 cintas para quilling una de color negra, con cada una haremos un circulo cerrado el cual mediremos en una plantilla para moldear círculos en la medida numero 17 y 20, añadiremos pega en la parte de atrás para que no se deformen y luego uniremos ambos con un trozo de cinta negro. Esta será la cara de nuestro pingüino.
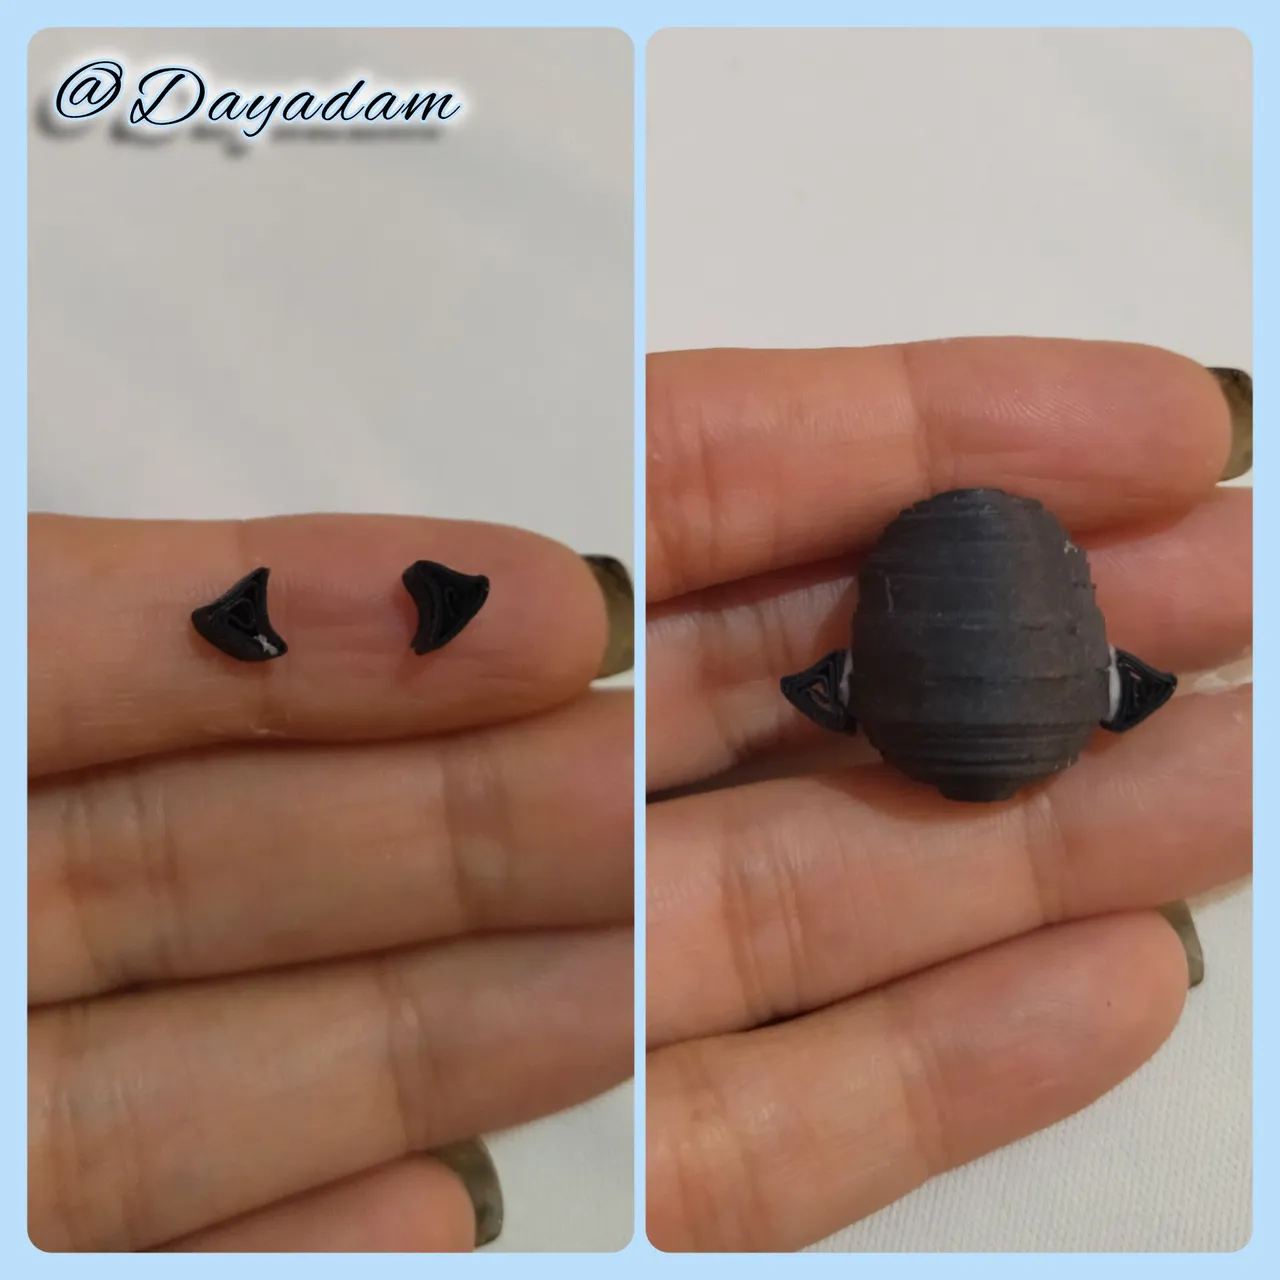
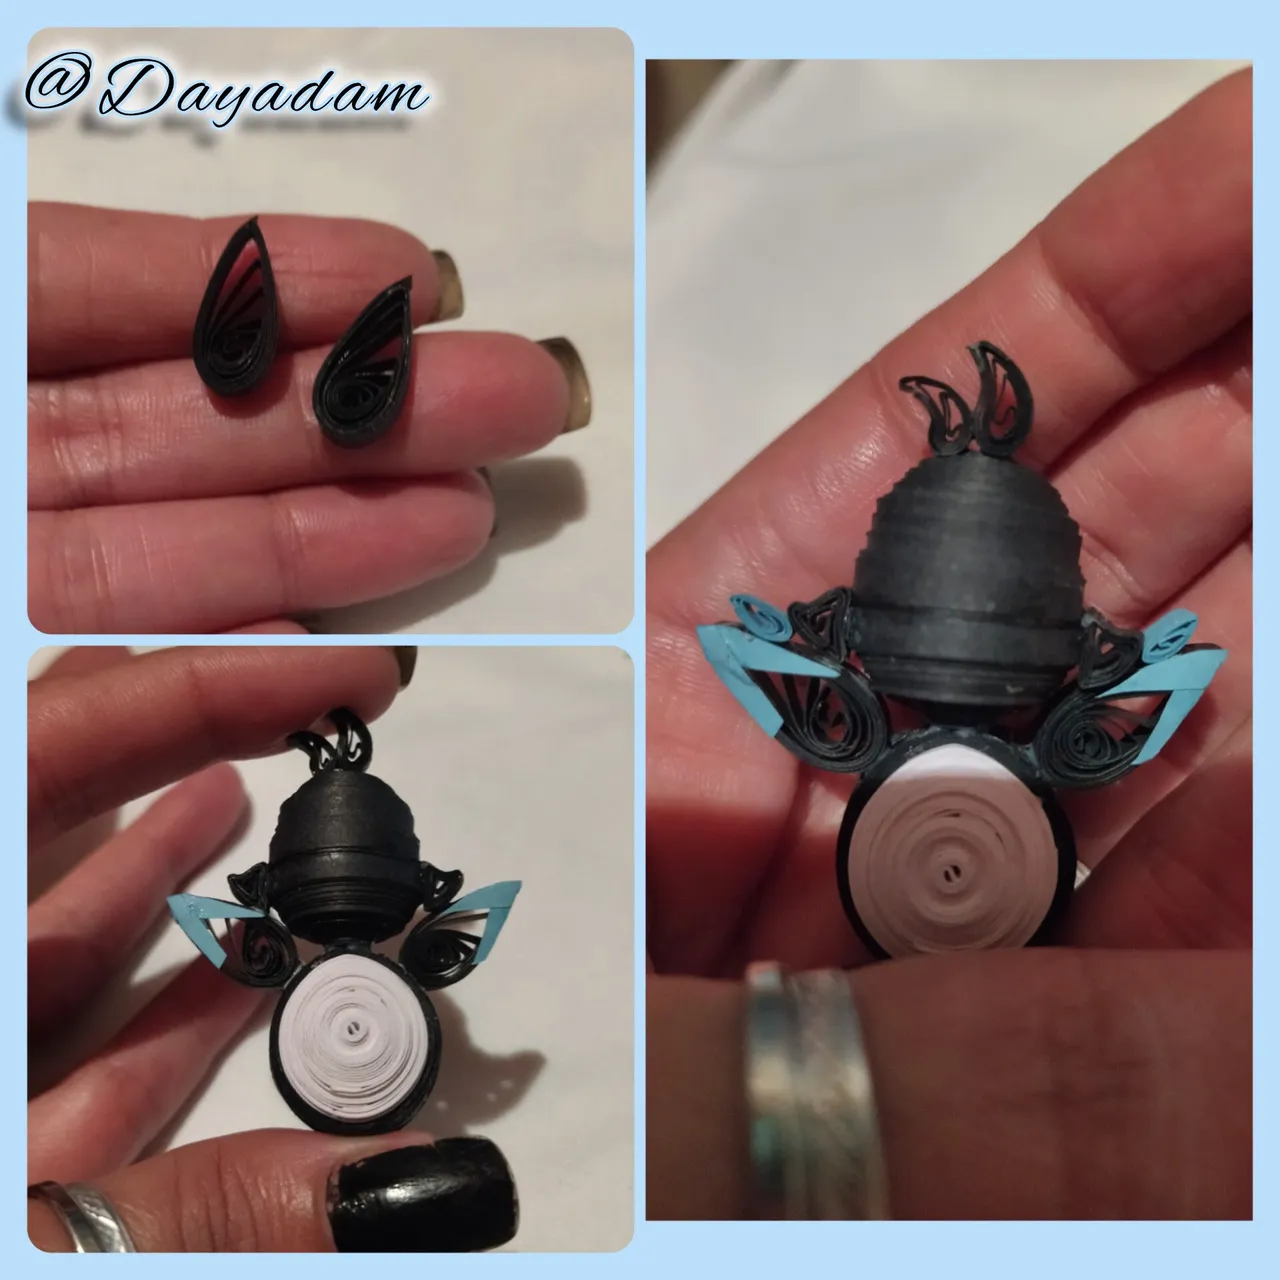
• Realice 2 pequeñas piezas con una especie de forma de triangulo y la pegue a los lados de la base de la cabeza tal como lo indica la imagen.
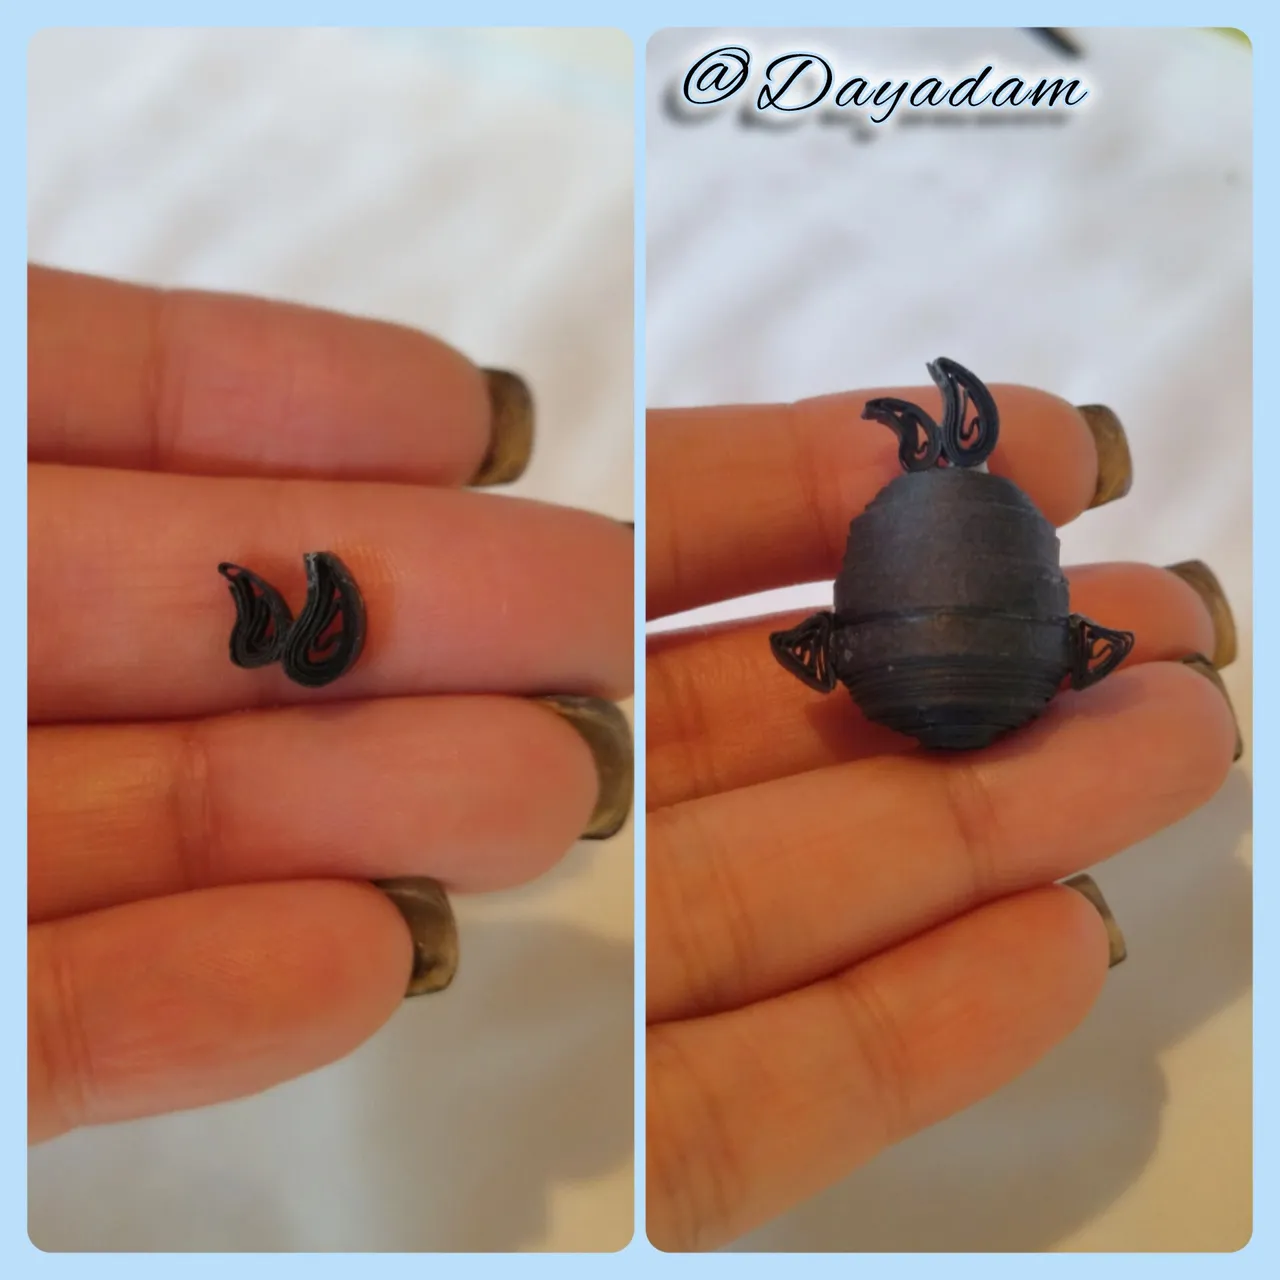
• Para los pelitos de arriba del pinguino, realice 2 triángulos mas los cuales incline un poco de lado y pegue de la parte de arriba de la cabeza.
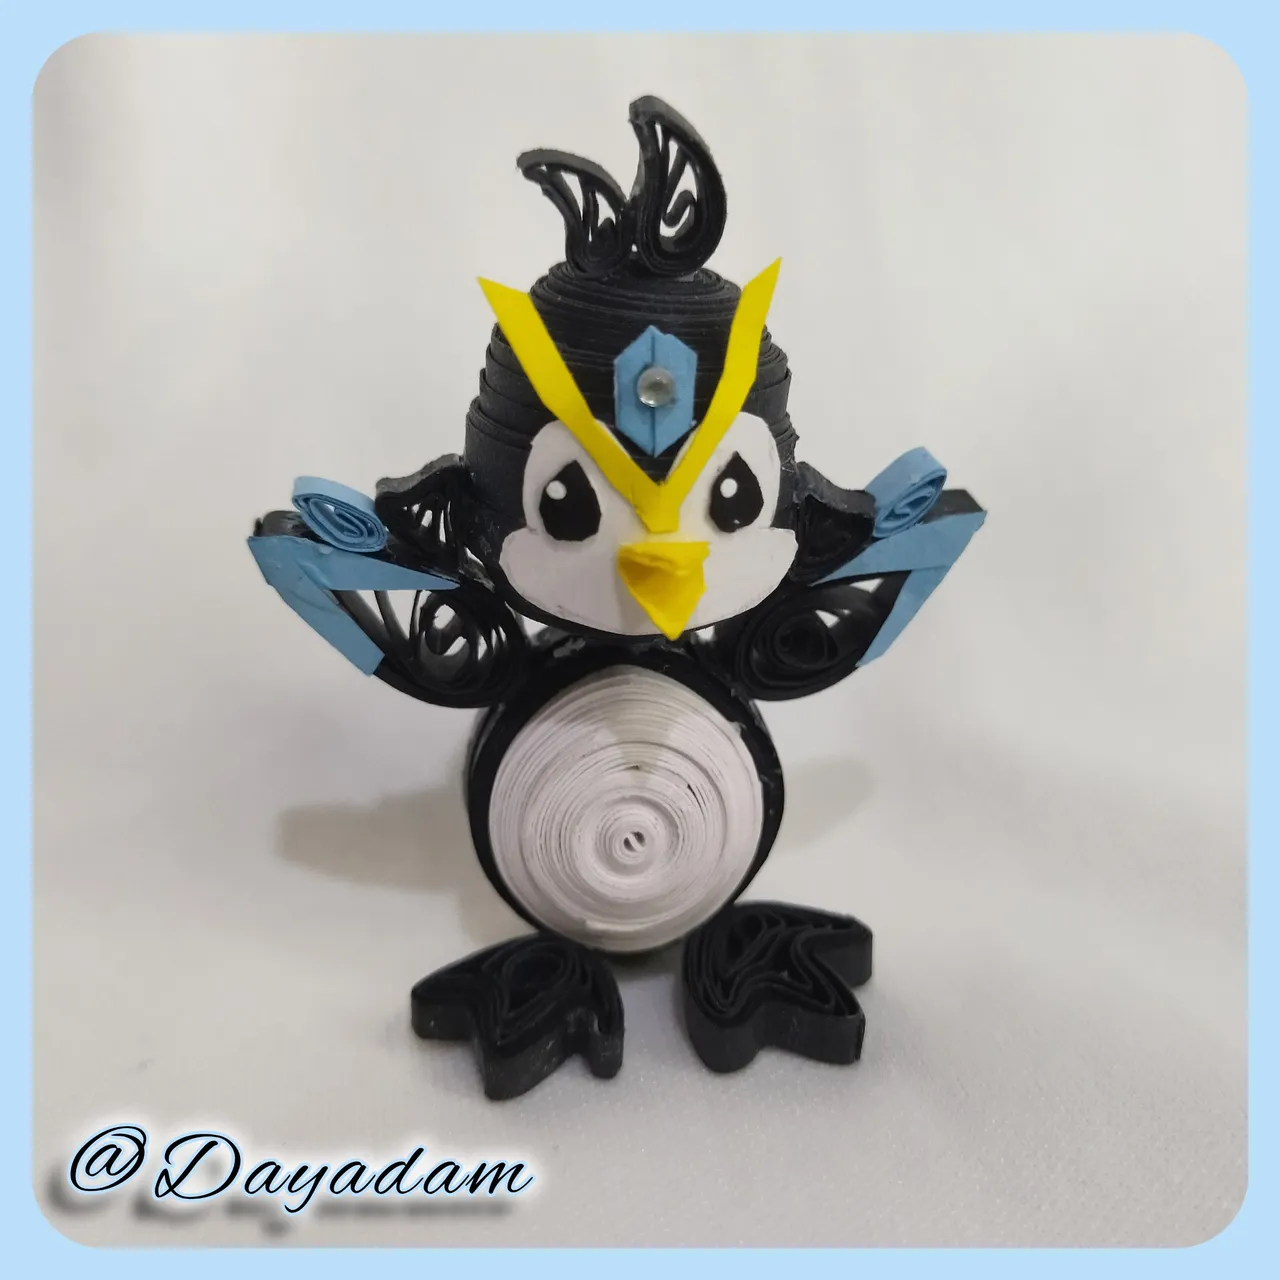
• Para el cuerpo realice dos círculos cerrados, uno de color negro y otro combinado blanco con negro, los cuales moldee en la plantilla para círculos siguiendo los mismos parámetros con los cuales lleve a cabo la cabeza.

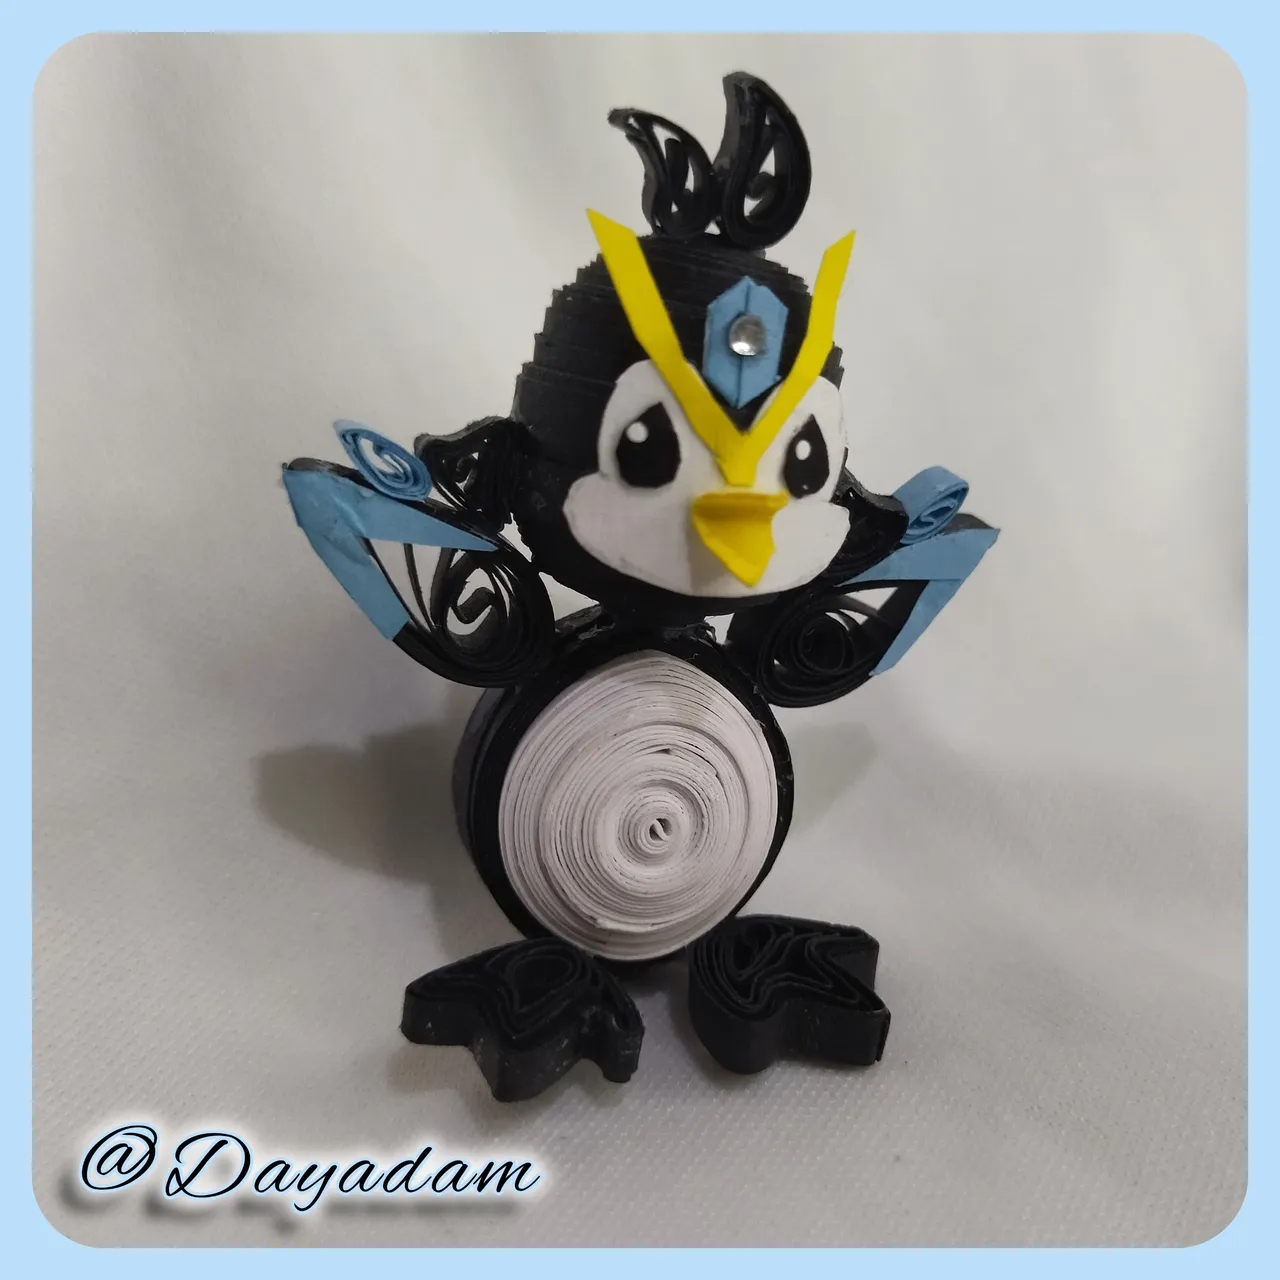
This way this little decorative 3D Zingu I made of the beautiful creature of this promising game is ready.
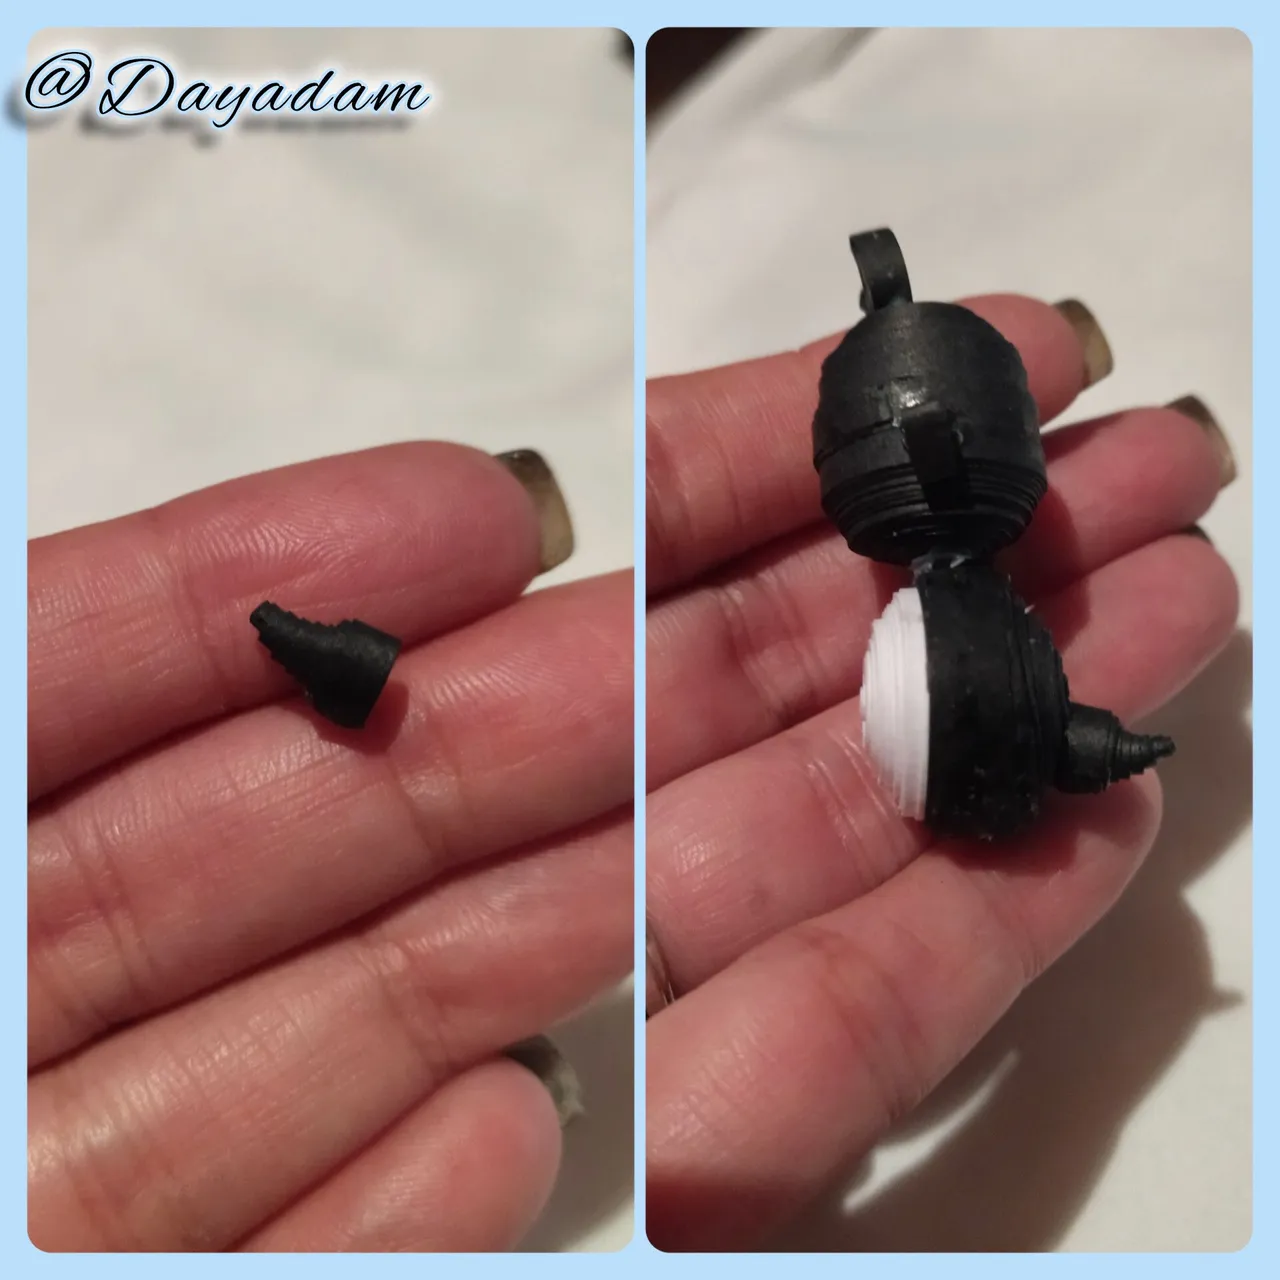
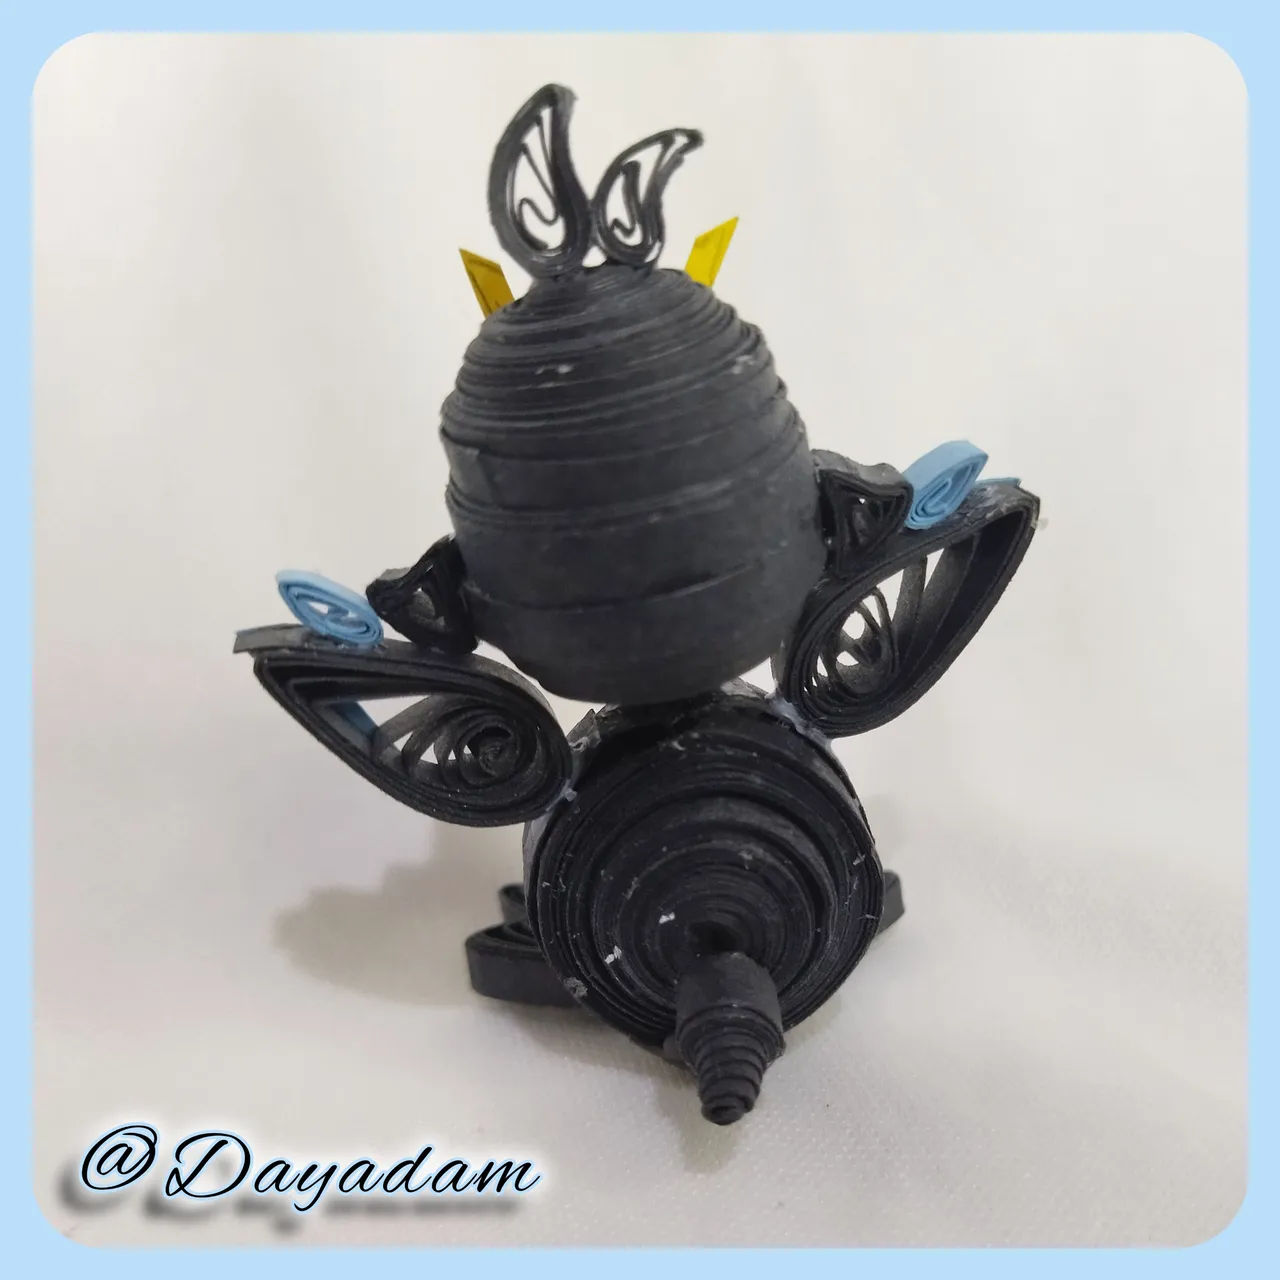
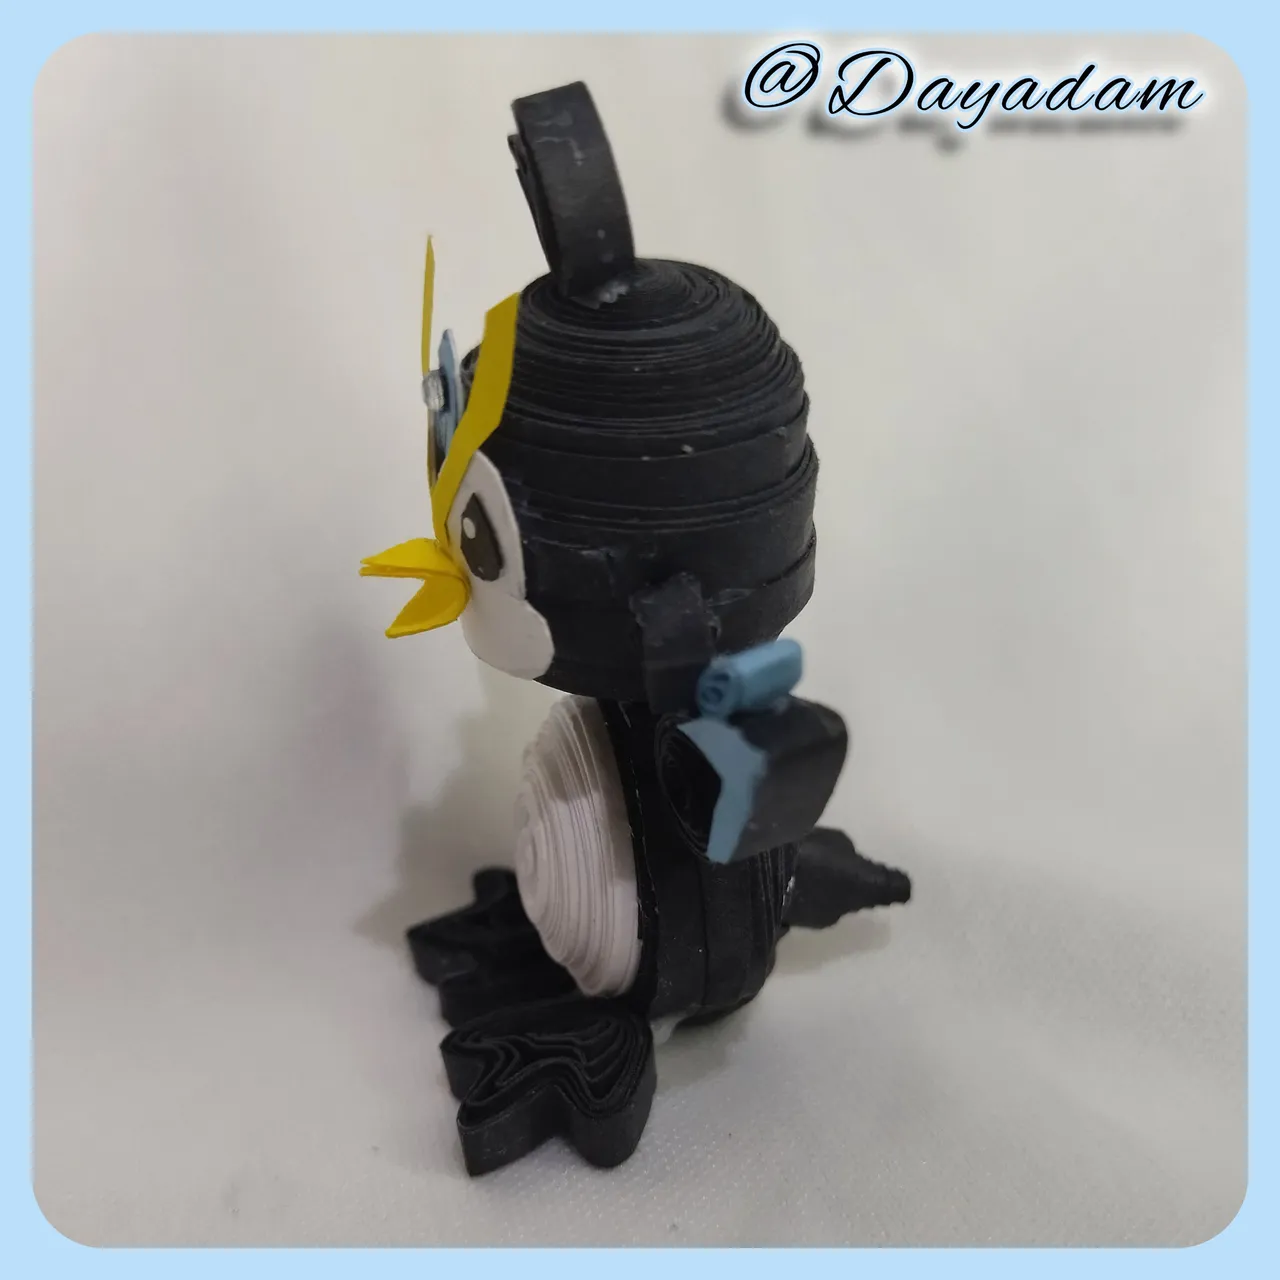
• Para realizar la cola realice un circulo cerrado negro el cual saque hacia afuera un poco, procedí a pegar de la parte de atrás del cuerpo y uní la cabeza al mismo.
• Realice los brazos haciendo 2 gotas alargadas de color negro las cuales decore con cinta azul,también hice 2 pequeñas gotas azules, uní todas las piezas a los lados del cuerpo como pueden ver en la imagen.
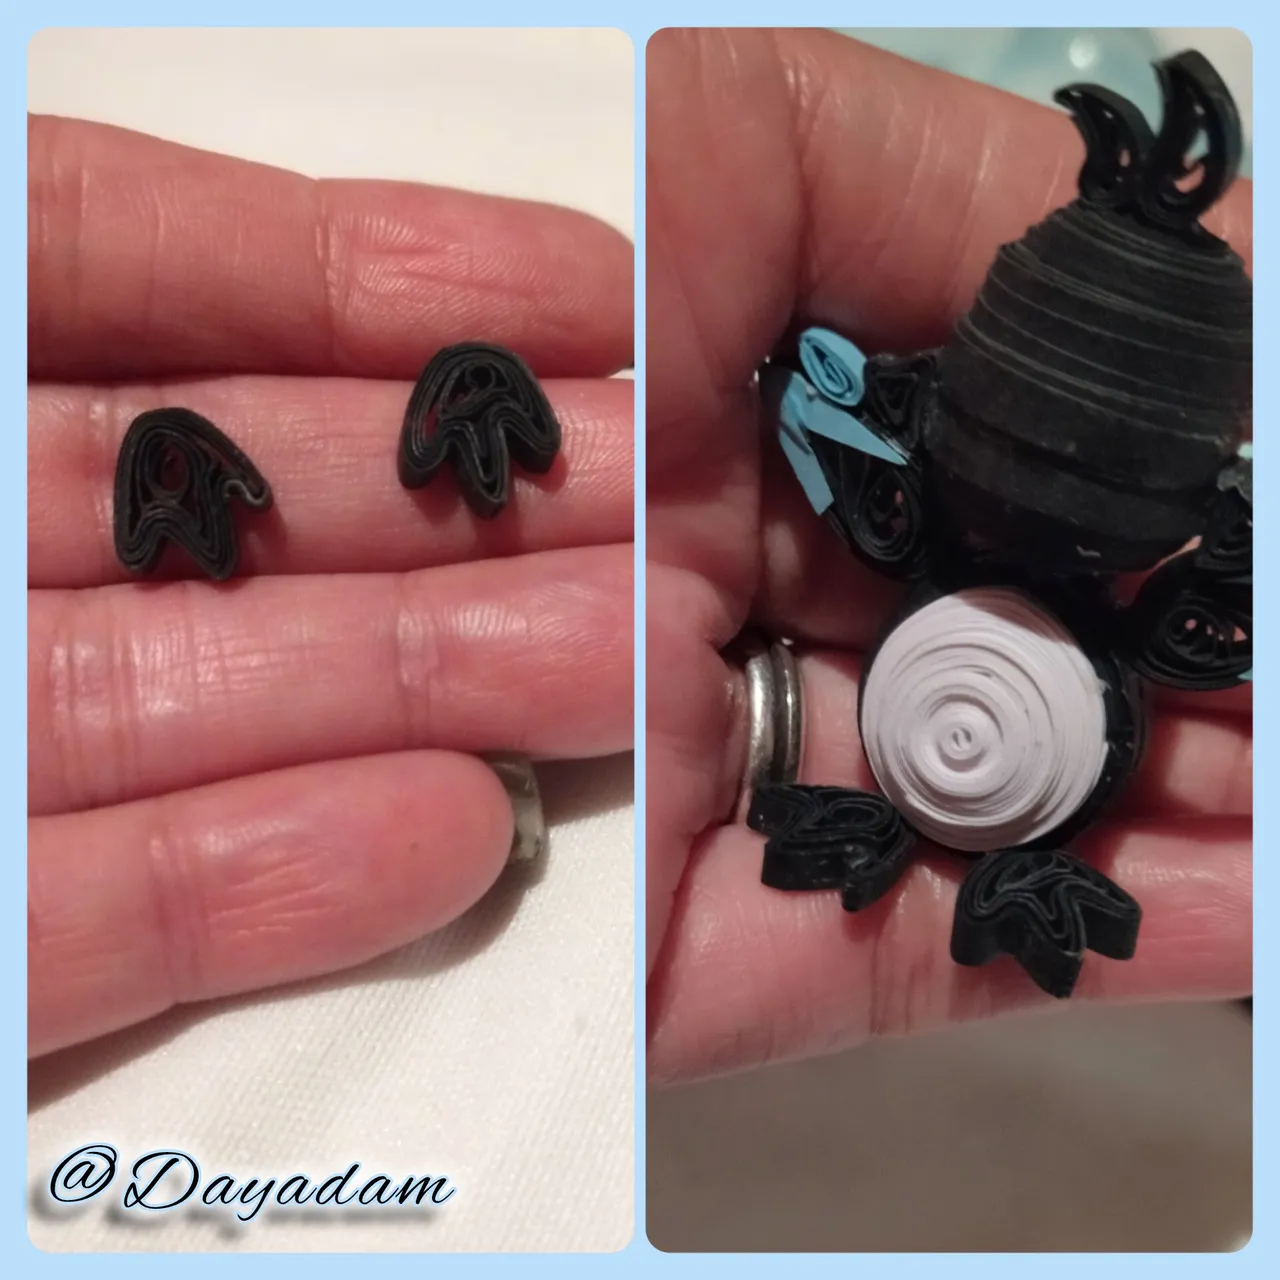
• Para las patas moldee 2 círculos abiertos de color negro los cuales moldee acorde a la figura del zingu.
• Para finalizar recorte todas las piezas de la cara con cintas y cartulina de los colores adecuados y pegue de manera armónica, también para decorar añadí un cristal de bisutería.
De esta manera esta listo este pequeño Zingu en 3D decorativo que realice de la bonita criatura de Este prometedor juego.


I hope you did, I hope you liked my explanation, procedure and photos, I made them with love for you.

Espero que sí, que les haya gustado mi explicación, procedimiento y fotos, los hice con mucho cariño por y para ustedes.

