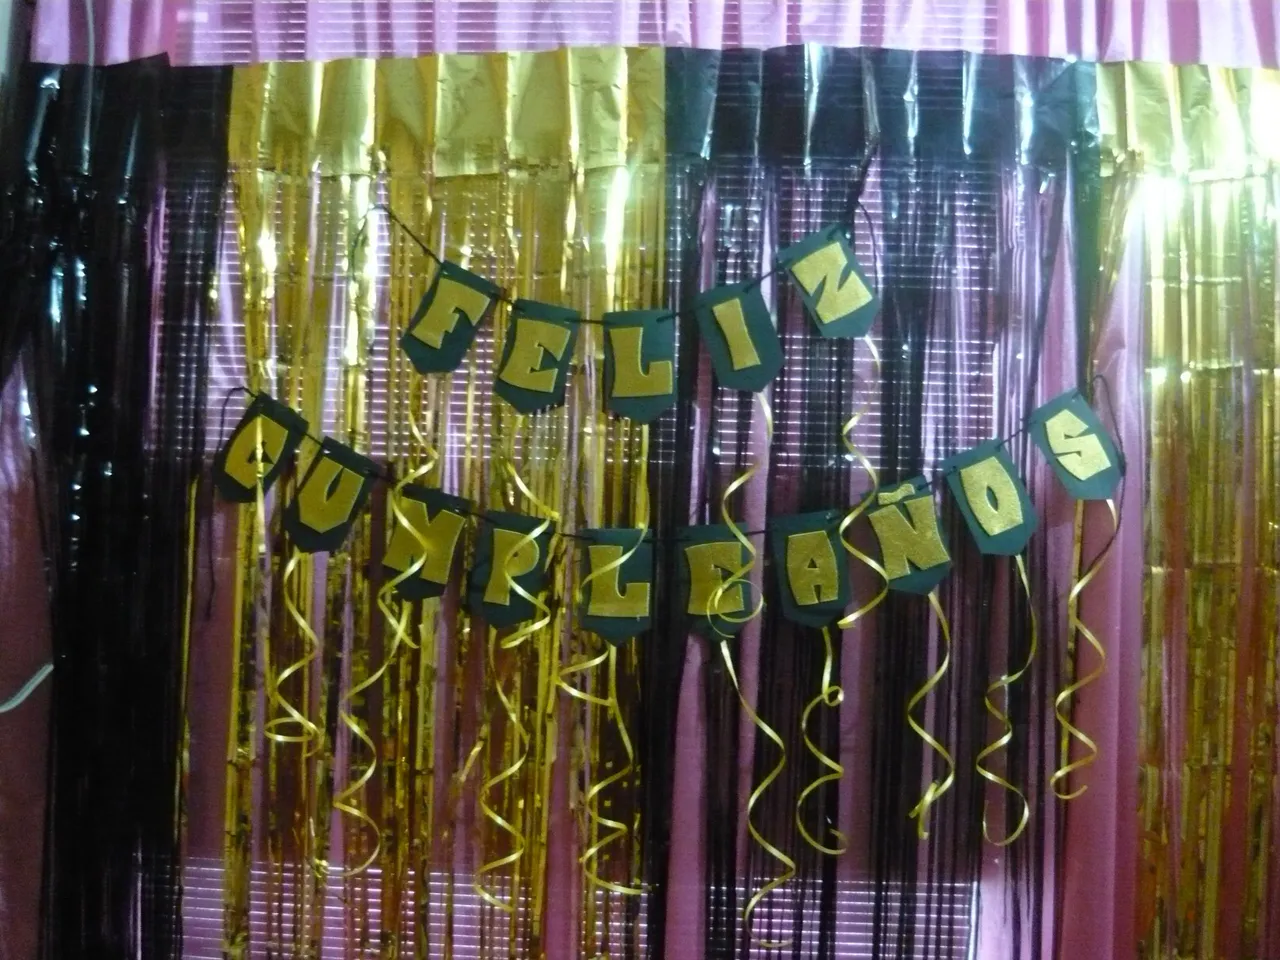
Guao esta comunidad esta de fiesta y quiere que le ayudemos con algunas ideas para decorar, hacer cotillones y mas, este es mi aporte a la fiesta, los banderines que dicen FELIZ CUMPLEAÑOS, que ahora están muy de moda.
Los he visto en muchas partes en venta, pero creo que sale mejor y mas económico hacerlos uno mismo y lo podemos hacer a nuestro gusto, por eso hice este.
Hace poco el mes pasado cumplí años y en este mes cumplen mis dos hijos, entonces lo hice para que de una vez lo podamos usar todos, por lo de la economía je je.
Este es el trabajo final, luego les enseñare el paso a paso foto a foto como lo hice.
Wow this community is having a party and wants us to help them with some ideas to decorate, make cotillions and more, this is my contribution to the party, the banners that say HAPPY BIRTHDAY, which are now very fashionable.
I have seen them for sale in many places, but I think it is better and more economical to make them yourself and we can do it to our liking, so I made this one.
I recently had my birthday last month and this month is my two children's birthday, so I did it so that we can all use it once and for all, because of the economy hehehe.
This is the final work, then I will show you step by step photo by photo how I did it.
Quedo lindo cierto ahora, les digo como lo hice, nada es complicado, ni difícil, solo debemos ponerle cariño, a mi se me hace fácil, porque siempre me ha gustado hacer manualidades y si se trata de fiestas, decoración y cotillones, siempre los he hecho para mis hijos y para mis alumnos cuando trabajaba en la escuela
It looks nice, now, I tell you how I did it, nothing is complicated or difficult, we just have to put love, to me it is easy, because I have always liked to make crafts and if it is about parties, decoration and cotillions, I have always made them for my children and for my students when I worked at school.
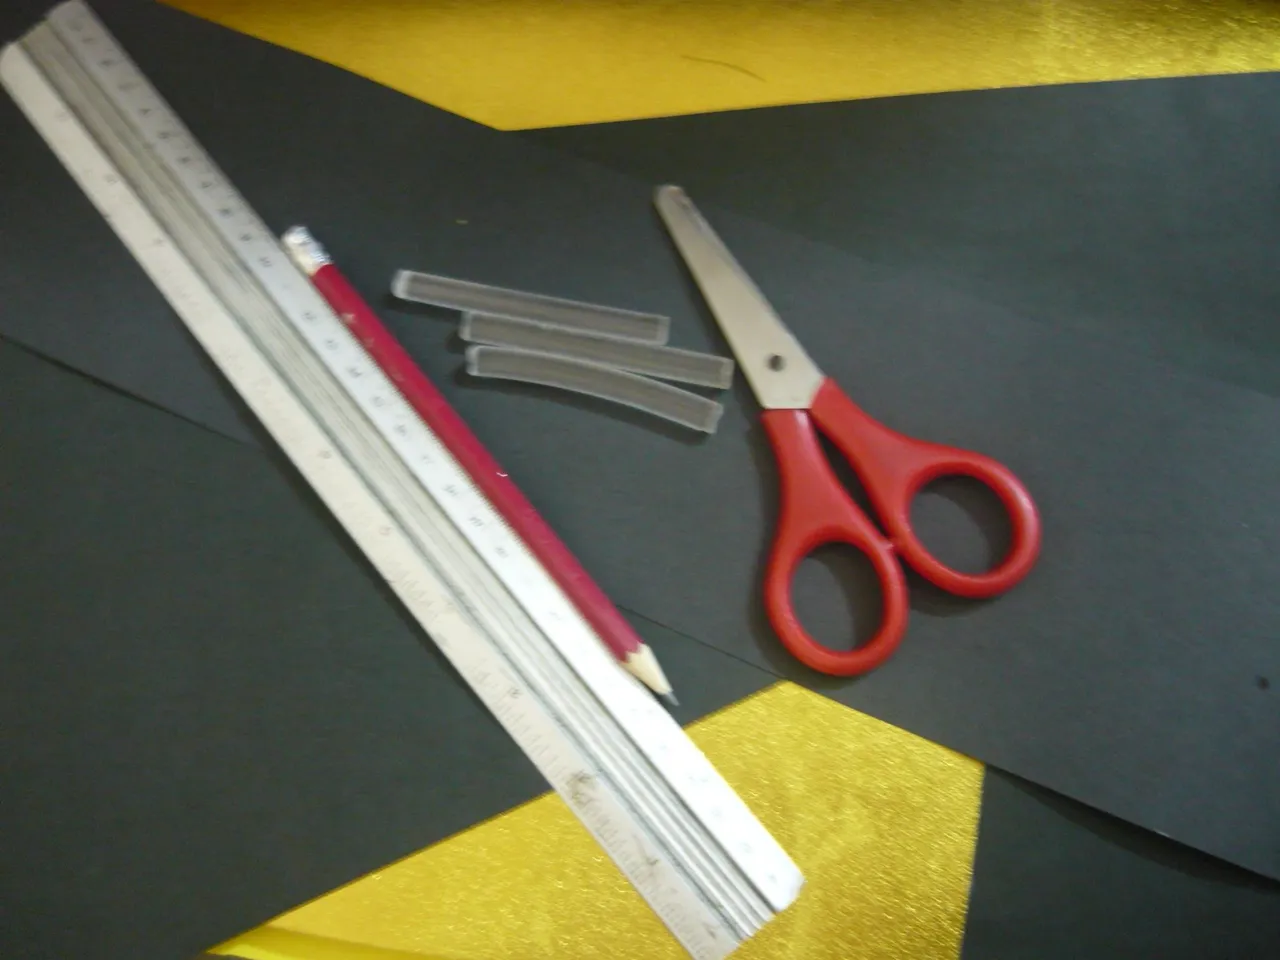
Los materiales y herramientas que use fueron:
Cartulina negra, foami dorado metalizado, pistola y barras de silicon, lapzi, regla, tijera, estambre negro, cinta de regalo de la mas finita, dorada o amarilla.
Los materiales y herramientas que use fueron:
Cartulina negra, foami dorado metalizado, pistola y barras de silicon, lapzi, regla, tijera, estambre negro, cinta de regalo de la mas finita, dorada o amarilla.
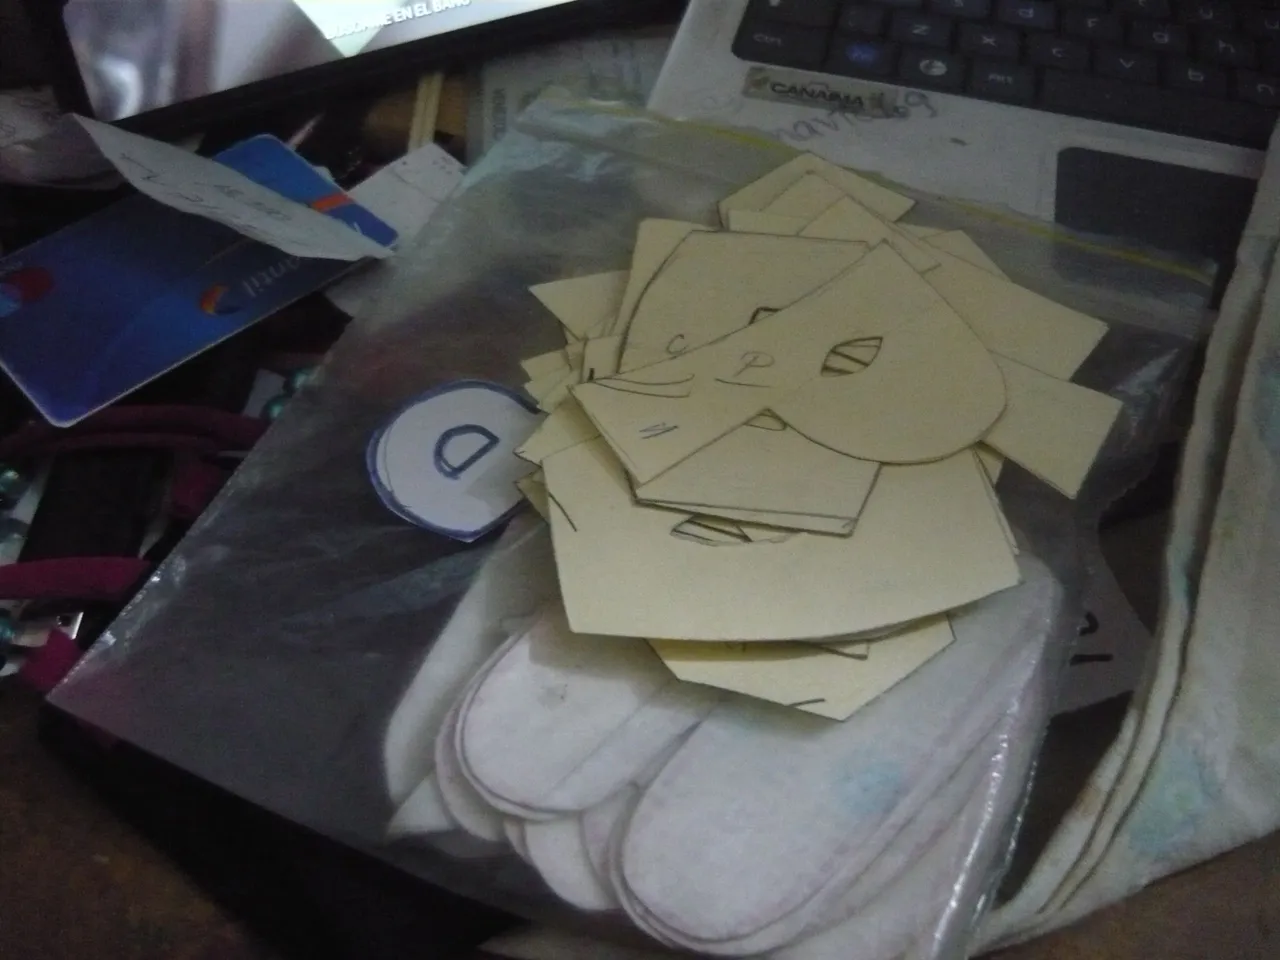
Moldes o patrones de letras, las pueden descargar de la internet sino tienen, pero yo si tengo muchas, de varias formas y tamaños, esas fue la que escogí.
Molds or patterns of letters, you can download them from the internet if you don't have them, but I do have many, of various shapes and sizes, those were the ones I chose.
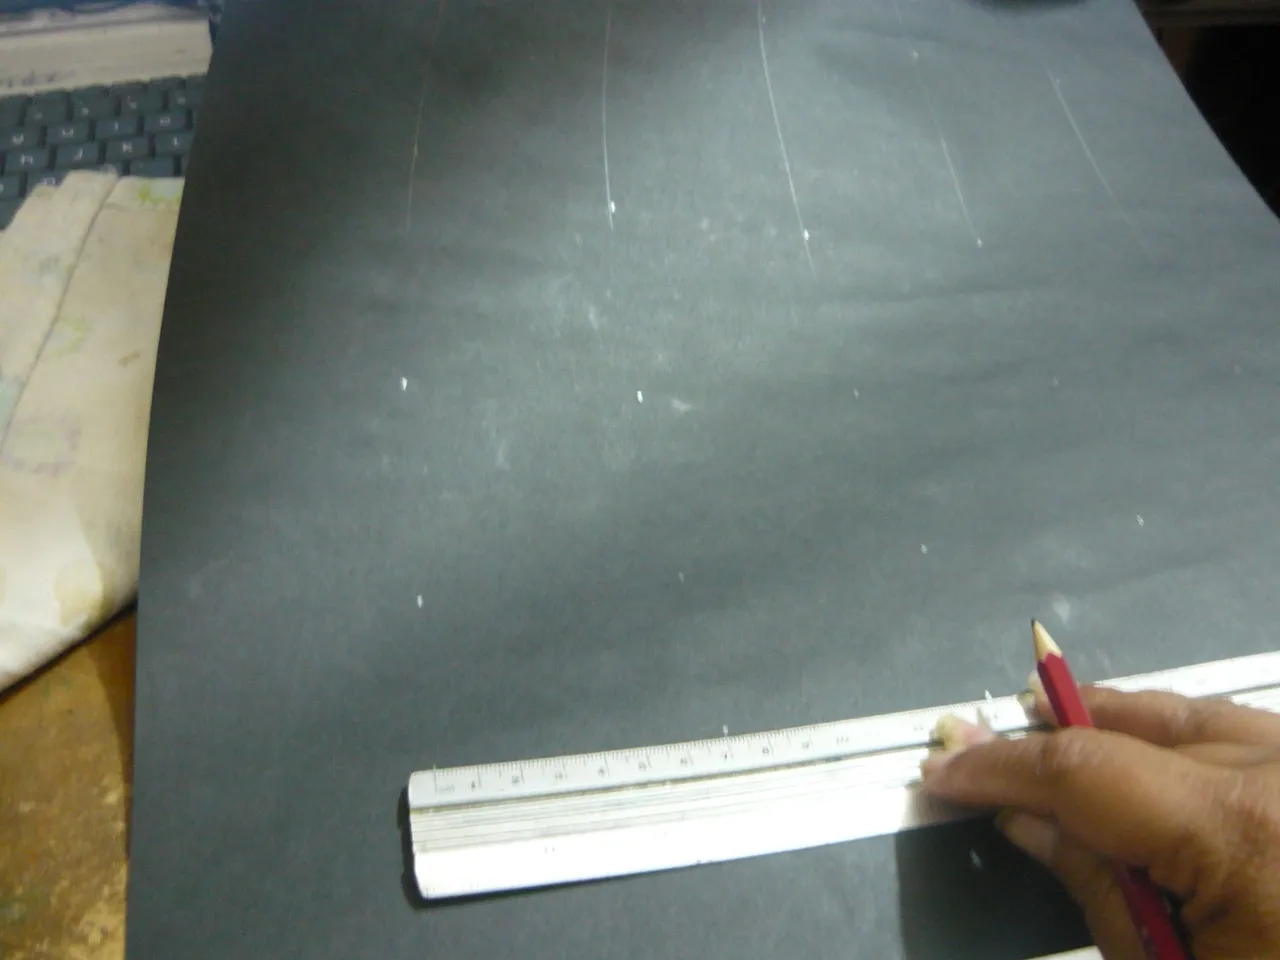
Como no lo quería tan grande, trace unas franjas de 7 cms de ancho a todo lo largo de la cartulina, que luego recorte.
Since I didn't want it to be too big, I traced 7 cm wide strips along the cardboard, which I then cut out.
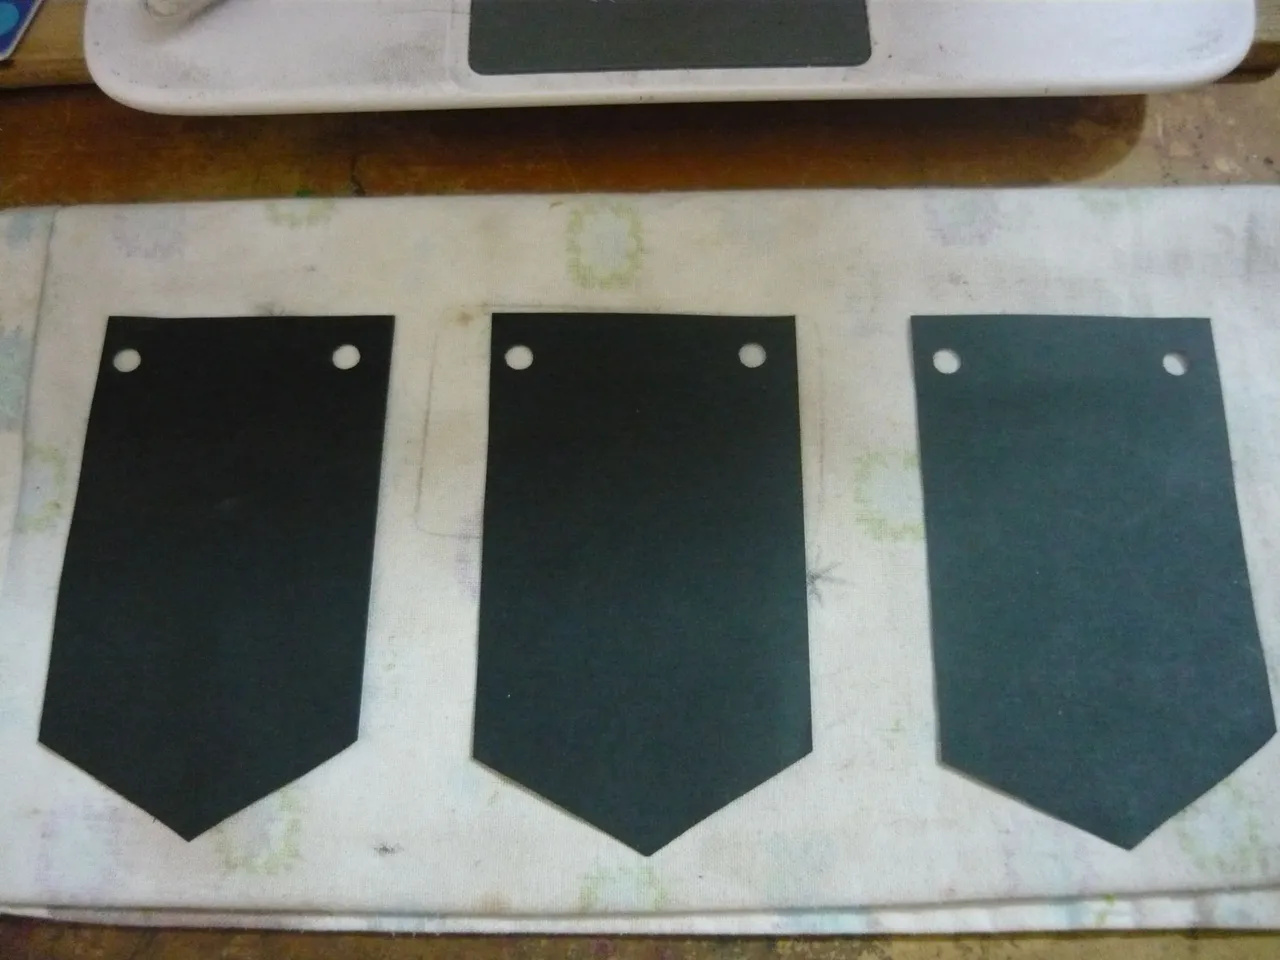
Luego cada franja le medí 12 cms y así me salieron como 7 rectángulos de 7 por 12. Le abrí dos huequitos con un abre huecos, que me falto en la foto je je, por estos es para pasar el estambre, en el otro extremo seria en inferior, le di forma de punta.
Then each strip measured 12 cms and so I got 7 rectangles of 7 by 12. I opened two holes with a hole opener, which I missed in the photo heh heh, for these is to pass the yarn, at the other end would be at the bottom, I gave it a tip shape.
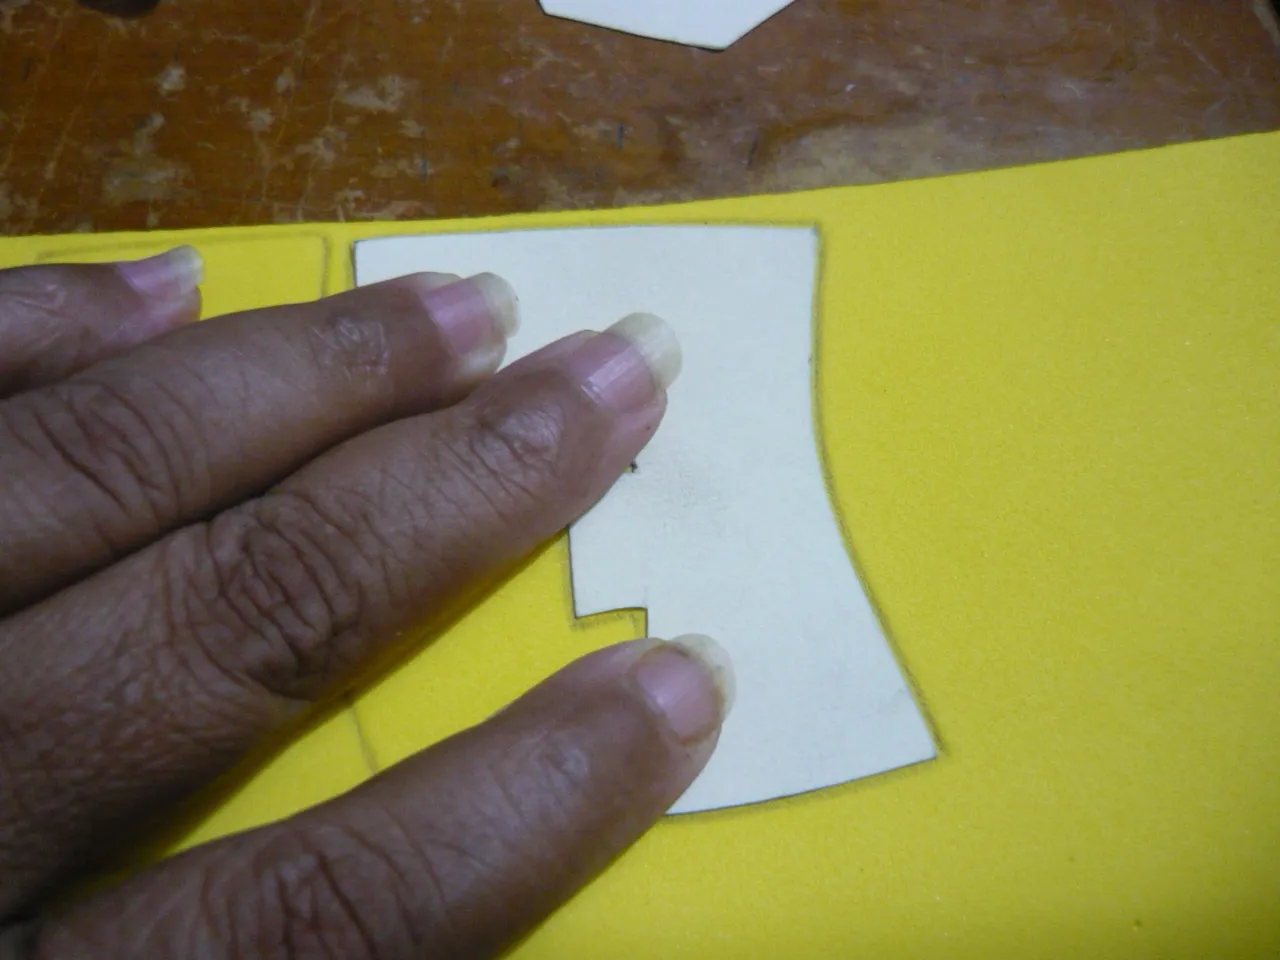
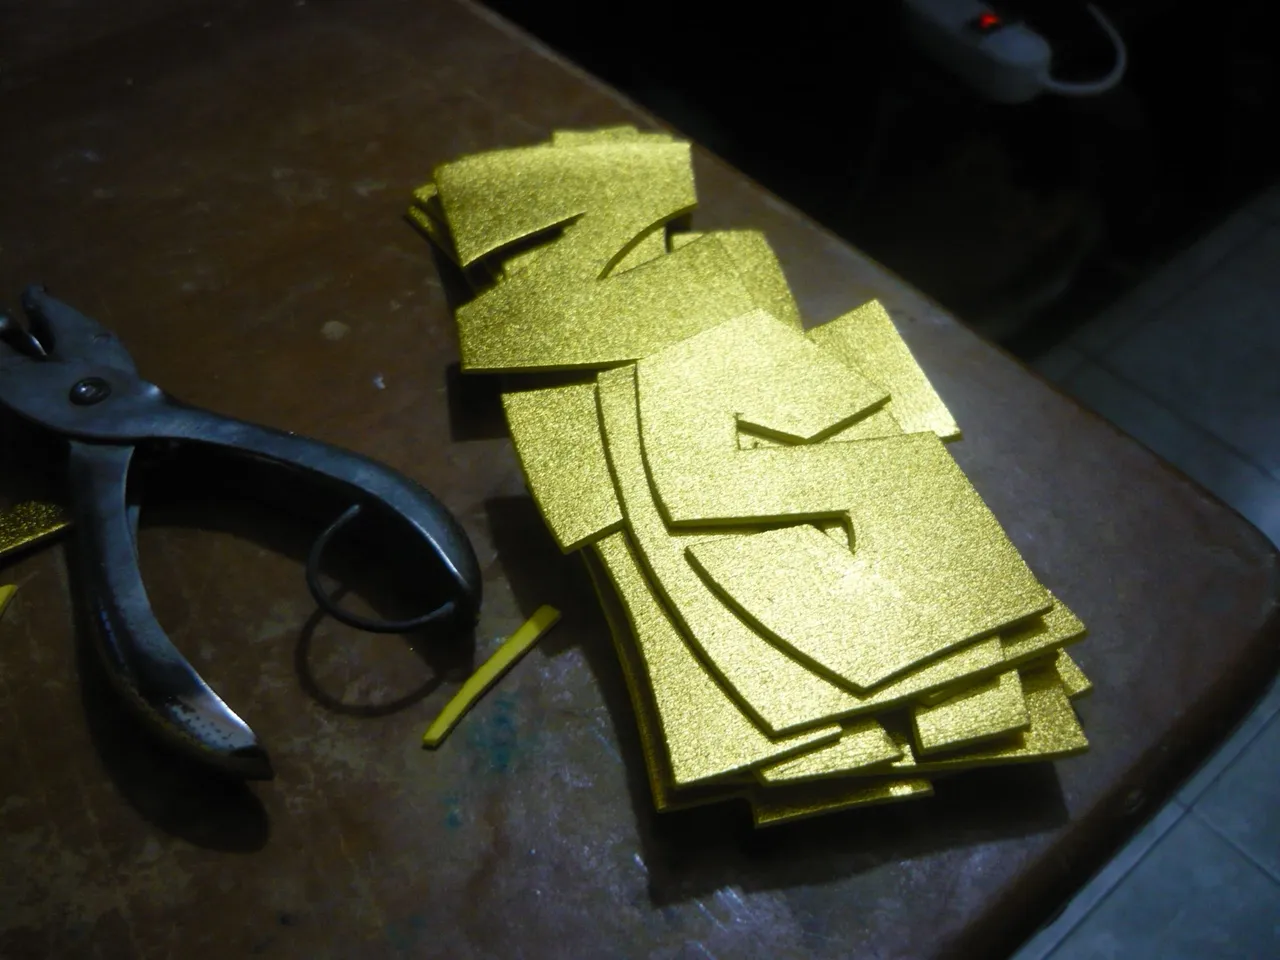
Aquello lo dejamos a un lado y vamos con las letras, cuando el foami es doble, se debe marcar por el revés y las letras se colocan al revés también, así al recortar quedan están al derecho, muy pendientes de este detallito, para que quede bien y no perder material.
When the foami is double, it should be marked on the reverse side and the letters should be placed on the reverse side as well, so that when cutting out the letters they are on the right side, pay close attention to this little detail, so that it looks good and no material is lost.
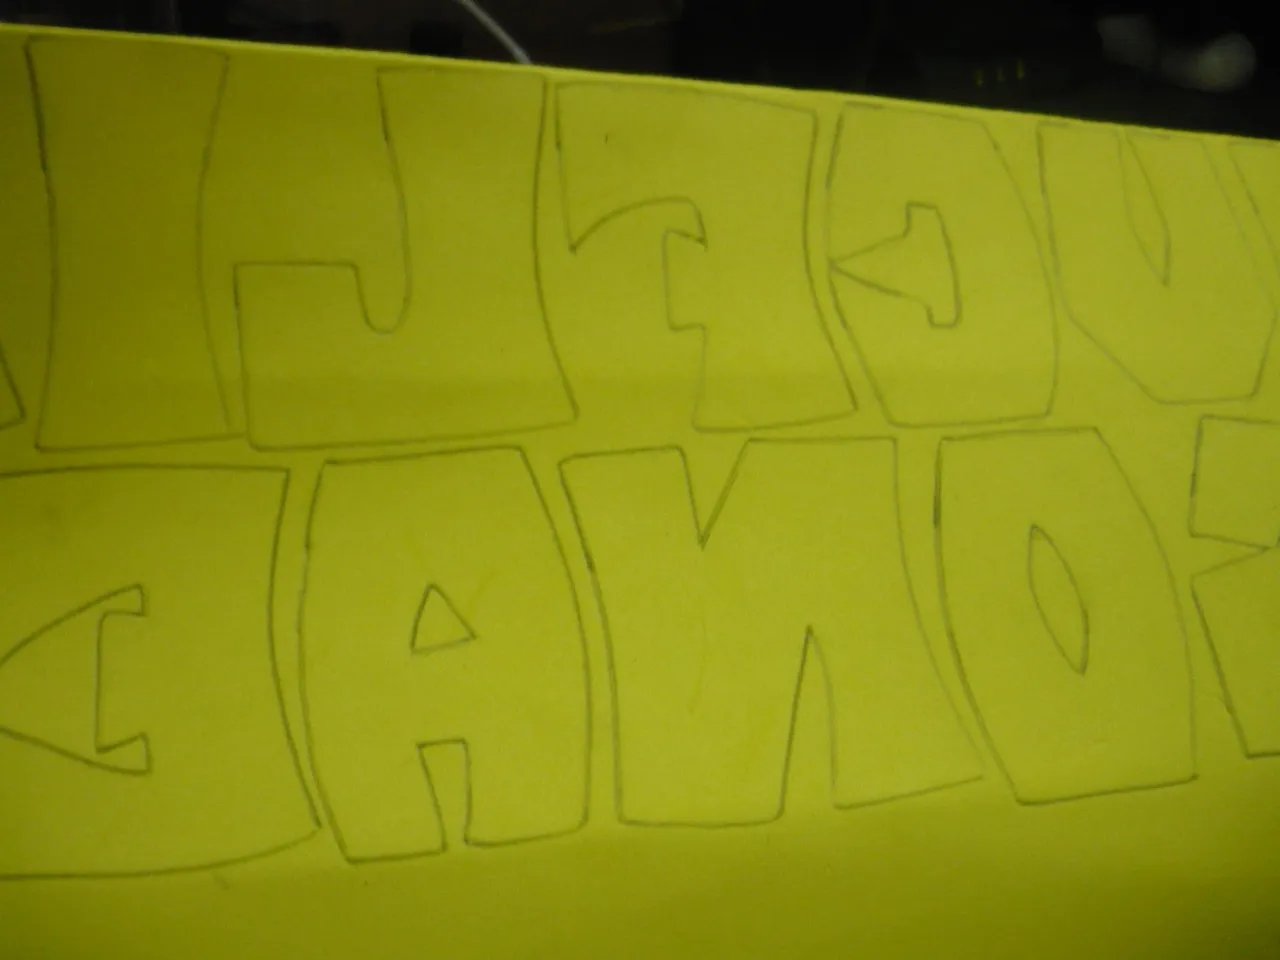
Ya tengo todas las letras a utilizar, fíjense que están al revés. Viene el paso de recortar con la tijera.
I already have all the letters to use, notice that they are upside down. The next step is to cut them out with the scissors.
Ya están recortadas todas las letras , ahí esta el abre hueco o perforadora de huecos, je je, apareció para la foto.
Ya están recortadas todas las letras , ahí esta el abre hueco o perforadora de huecos, je je, apareció para la foto.
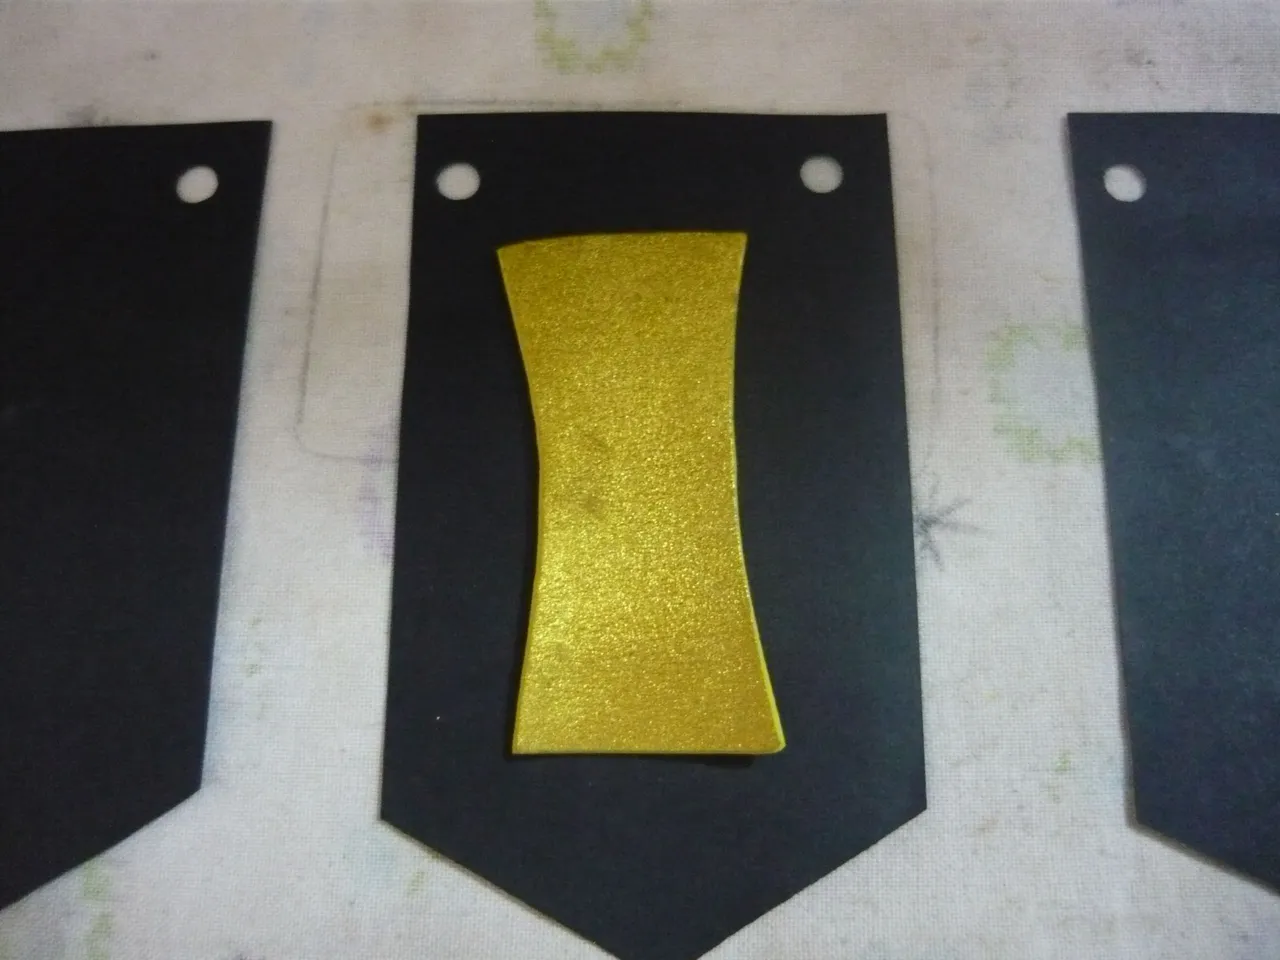
Ahora precalentamos la pistola de silicón tener mucho cuidado de no quemarse, a mi me gusta pegar con puntos de silicón, en cada esquina de cada letra, tratar de que todas queden al mismo nivel.
Now we preheat the silicone gun, being very careful not to burn yourself, I like to glue with silicone dots, in each corner of each letter, trying to make sure that they are all at the same level.
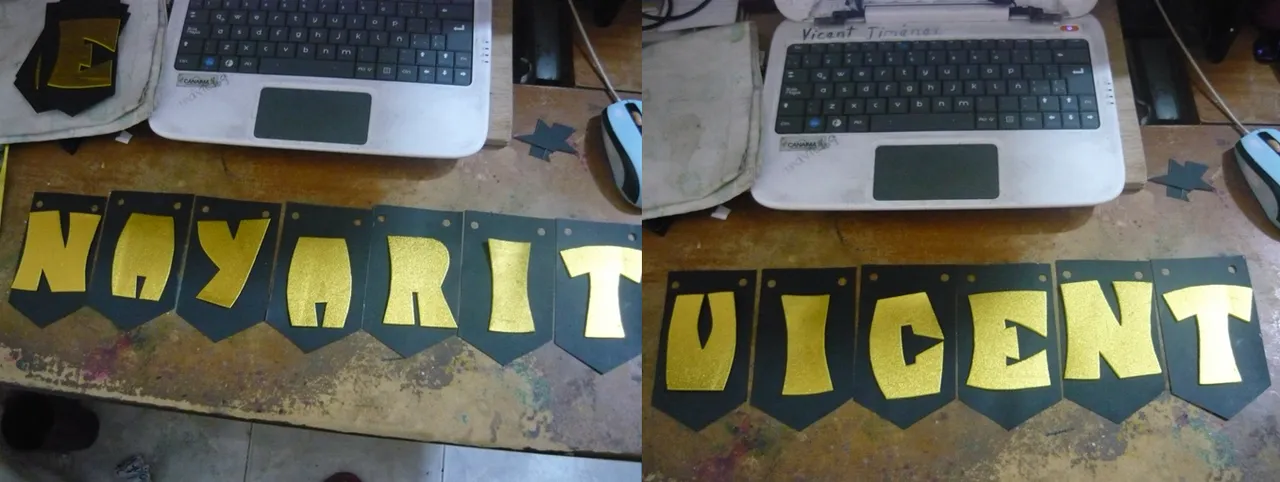
Como dije arriba mis hijos cumplen año en este mes, hice sus nombres también, para mi no, como hay letras similares, solo marque, recorte las que no son comunes o que no se repiten. Como cumplen días diferentes, entonces con las letras de uno formo el nombre de otro.
As I said above my children's birthdays are this month, I made their names too, but not for me, as there are similar letters, I just marked, cut out the ones that are not common or that do not repeat. As they have different birthdays, then with the letters of one I form the name of another.
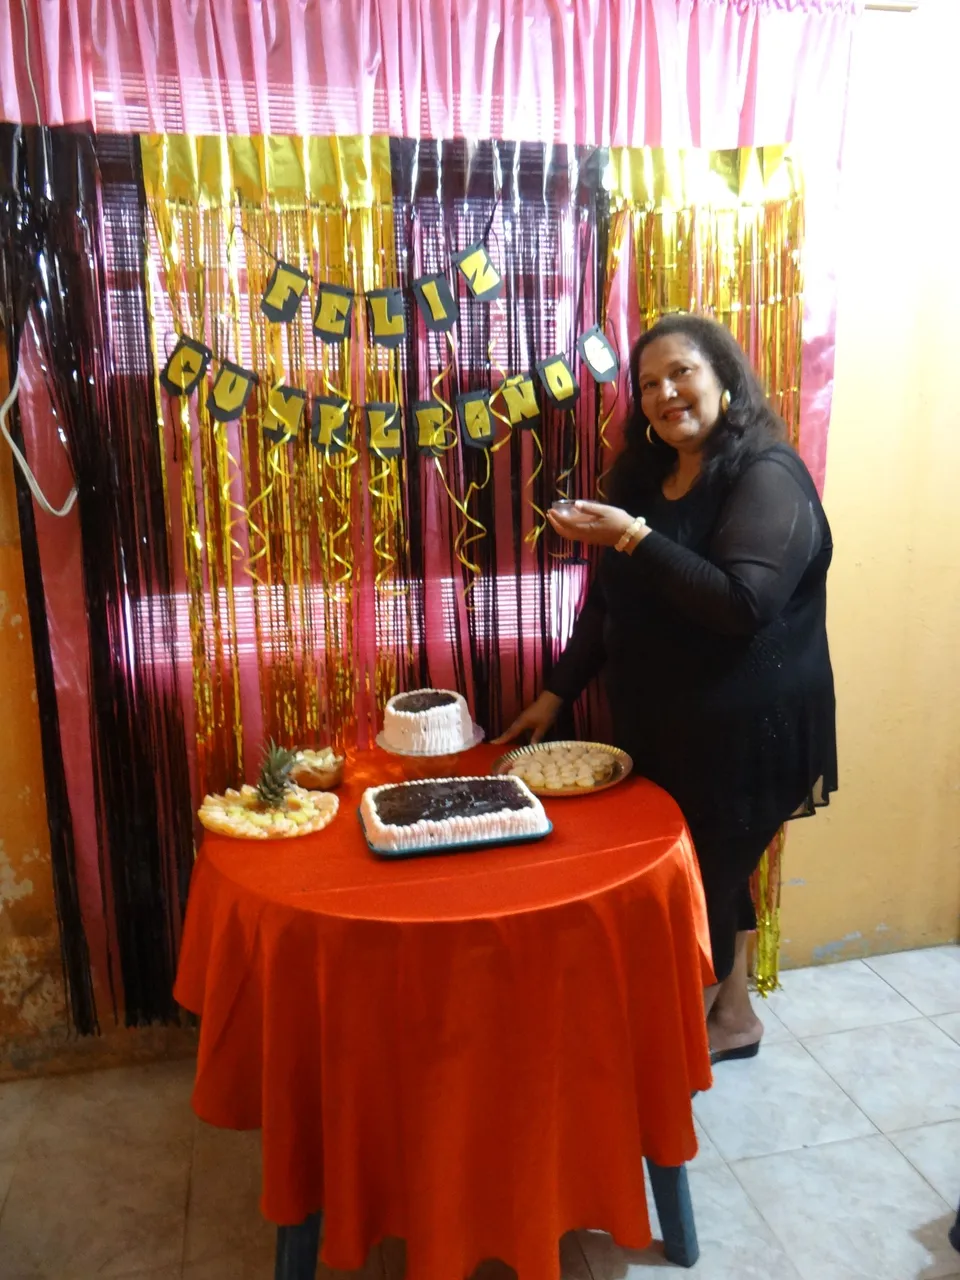
Ven que quedo lindo, sencillo, recuerda que les dije de una cinta fina de regalo, le coloque en cada letra 1 metro a cada una y luego con la tijera le hice ondas. Se pueden guardar para otros cumples, ya viene el de mis hijos.
You can see how nice and simple it is, remember I told you about a thin ribbon, I put 1 meter of each letter and then with the scissors I made waves. You can keep them for other birthdays, my children's birthday is coming.

Esta es mi participacion en este Party Kids.
Todas las fotos son de mi autoría, con mi camara Panasonic.
Este es el enlace del concurso https://peakd.com/hive-130560/@hive-130560/new-contest-party-kids-winners-of-the-previous-contest.
Qudan pocos dias por eso invito a @marito74 que haga su participacion, asi aprendemos mas de todos aqui.
This is my participation in this Party Kids.
All photos are my own, with my Panasonic camera.
This is the contest link https://peakd.com/hive-130560/@hive-130560/new-contest-party-kids-winners-of-the-previous-contest.
There are only a few days left so I invite @marito74 to participate, so we can learn more from everyone here.