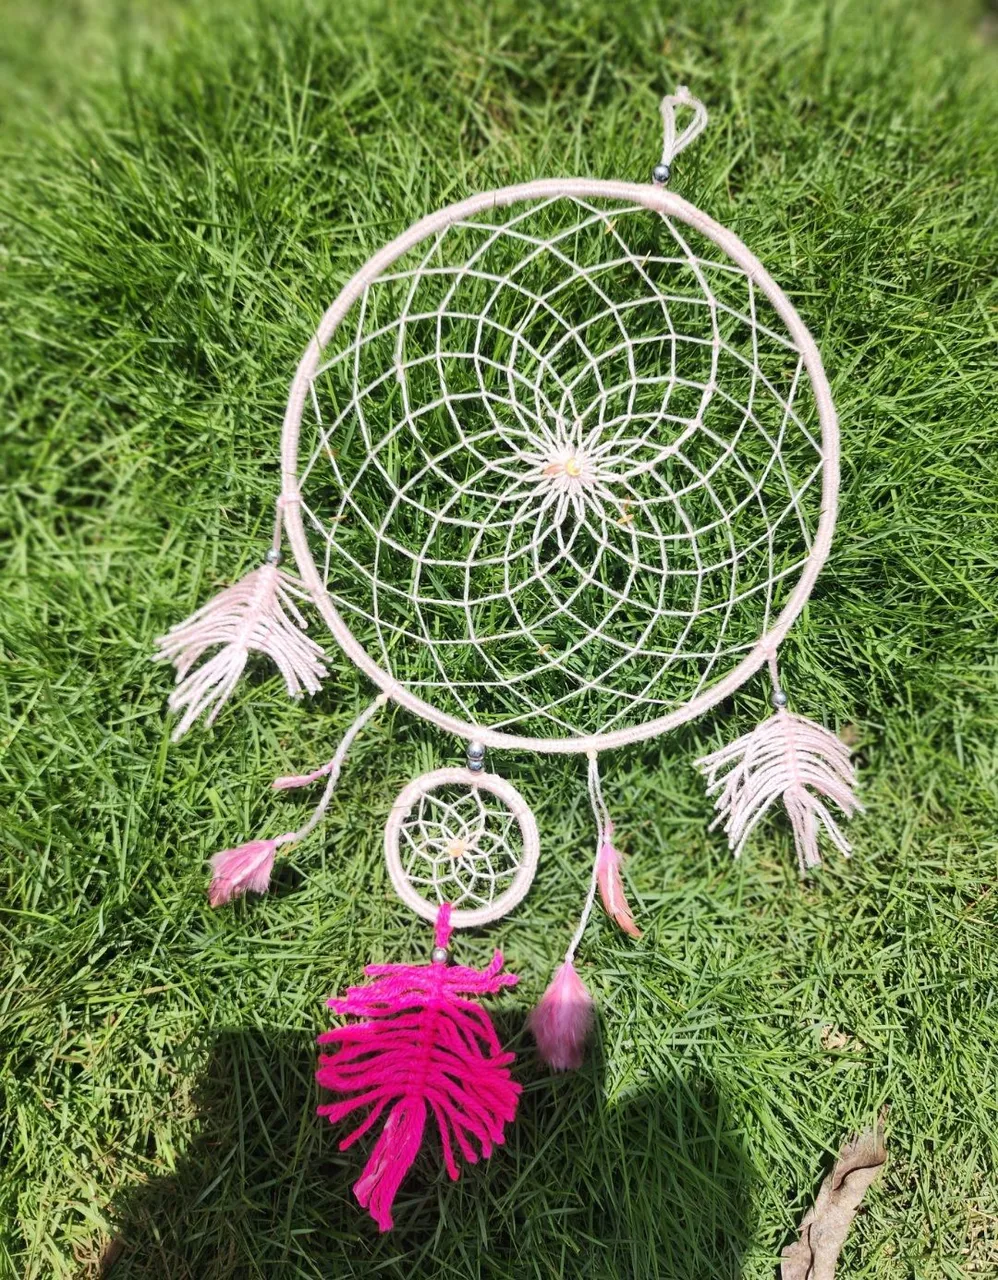
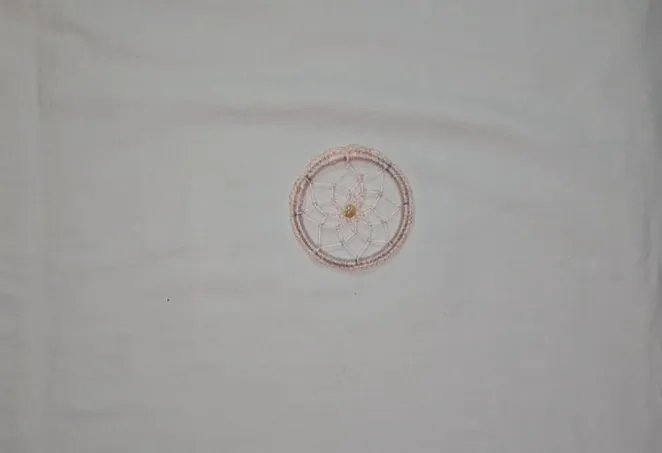
Hola a todos los amigos amantes de las creaciones que logramos hacer con nuestras manos. Espero que todos se encuentren bien, yo por mi parte lo estoy, feliz y agradecida de un nuevo día y de poder compartir este atrapa sueños que me encargaron y ya está terminado y listo para entregar.
Hello to all the friends who love the creations we make with our hands. I hope everyone is doing well, I am doing fine myself, happy and grateful for a new day and for being able to share this dream catcher that I was commissioned and is now finished and ready to be delivered.
Les quiero compartir el tutorial de como lo realicé, es muy fácil, así que si te gustan los atrapa sueños te invito a que realices uno si no los han hecho y a los que sí ya saben hacerlos te pido que me des tu opinión de como me quedó y si debo mejor algunas cosas.
I want to share the tutorial on how I made it, it's very easy, so if you like dream catchers I invite you to make one if you haven't already, and for those who already know how to make them, please give me your opinion on how it turned out and if there are things I could improve.
💫✨️Materiales que utilicé 💫✨️
💫✨️Materials I used 💫✨️
✨️💫Procedimiento / Procedure ✨️💫
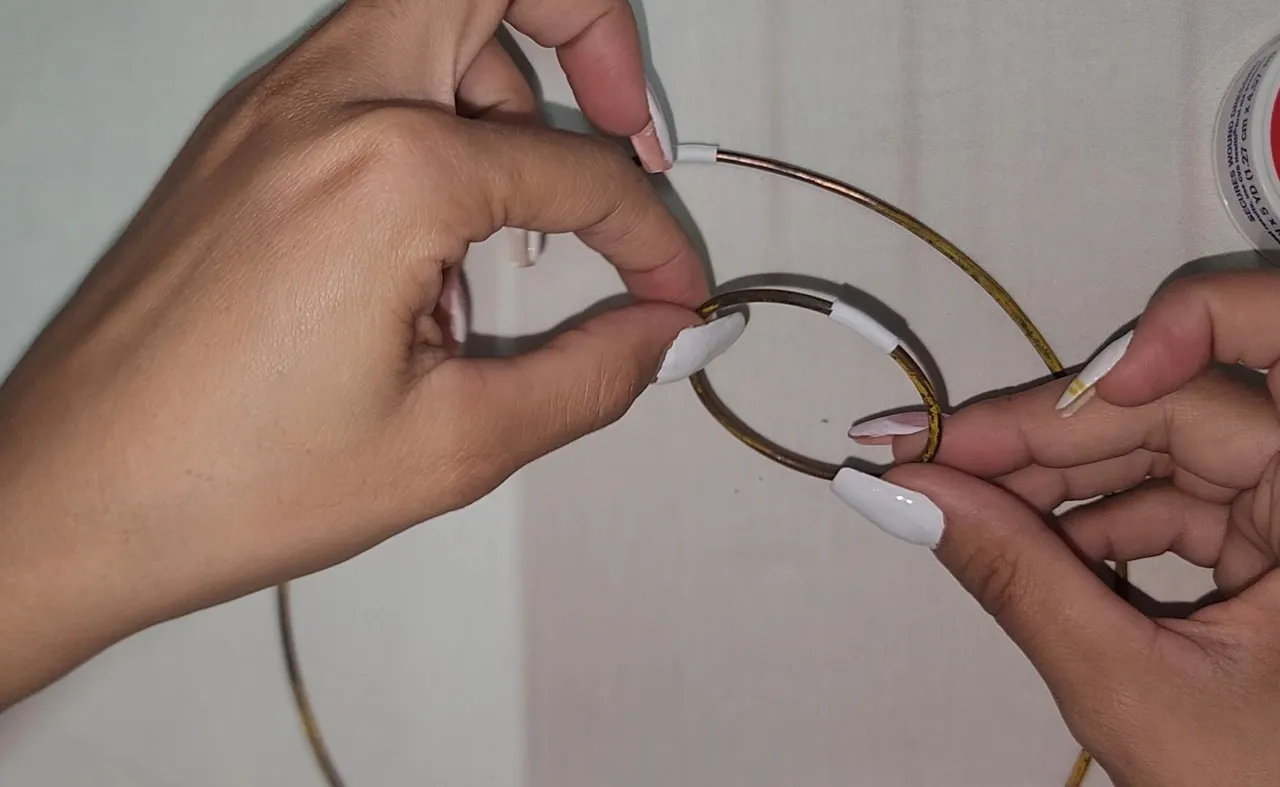
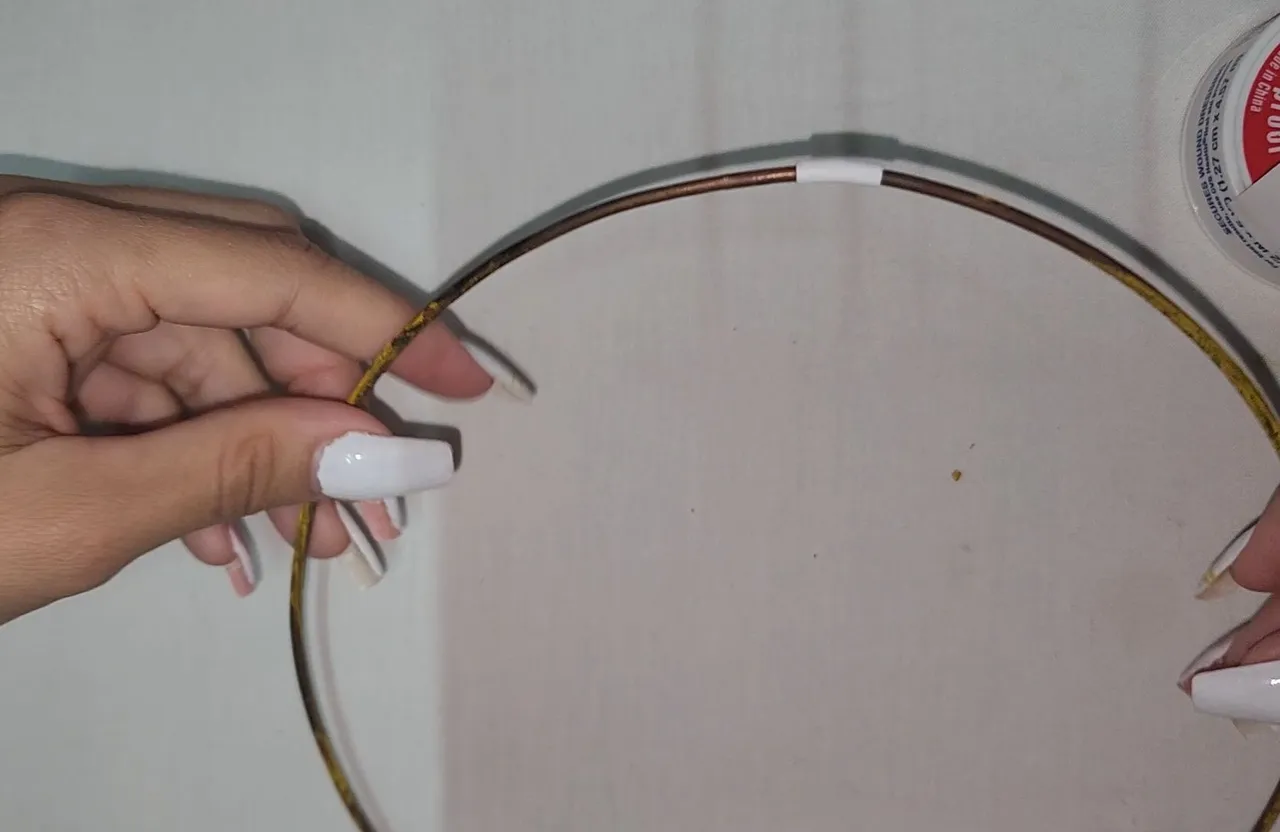
1- Ya con los aros hechos los uní usando teipe.
1- Once the hoops were made, I joined them using tape.

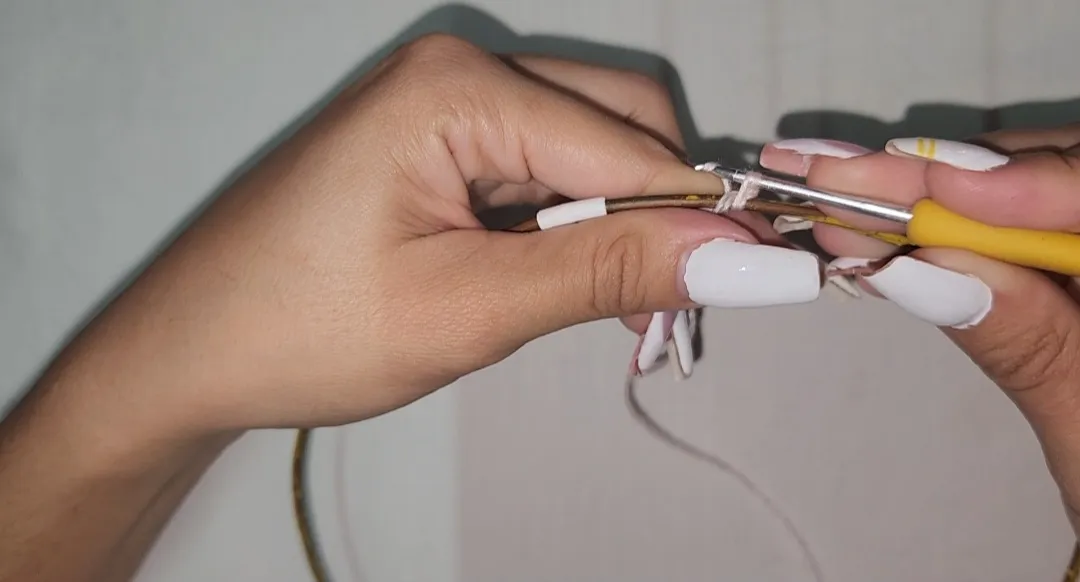
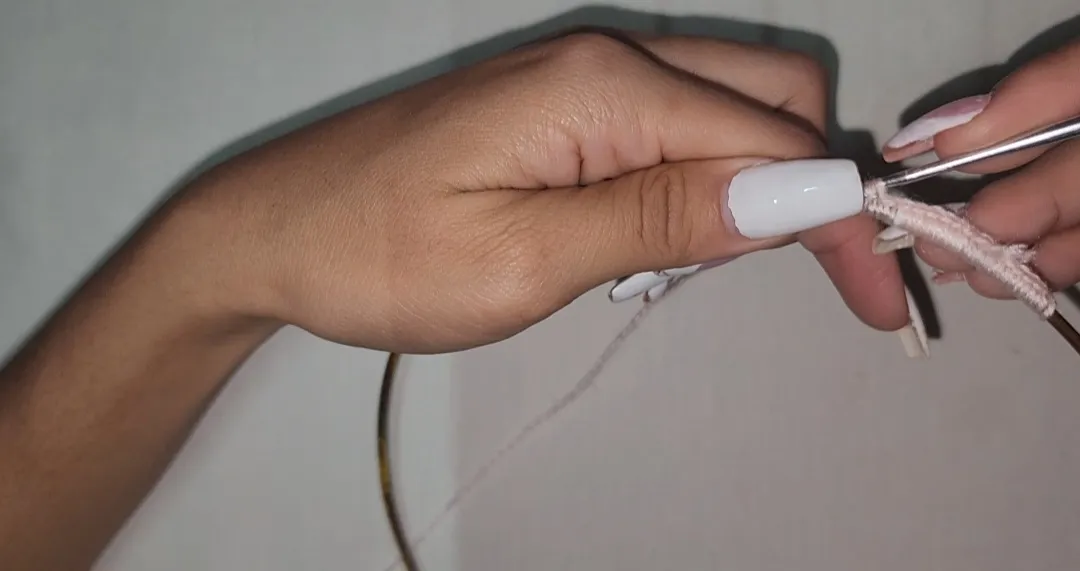
2- Hice un punto deslizado en la lana, comencé a hacer puntos bajos por todo el aro hasta llegar al inicio y cerré.
2- I made a slip stitch in the yarn, started making single crochets around the hoop until reaching the starting point and closed it.
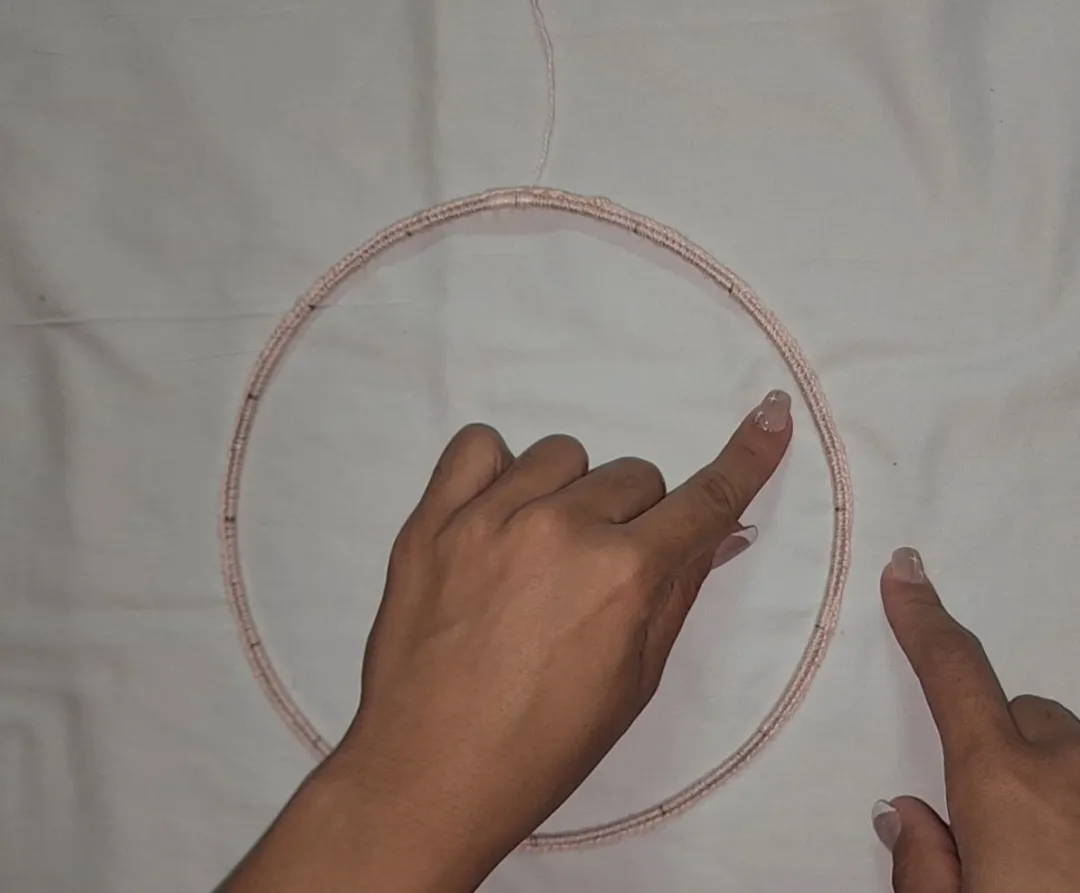
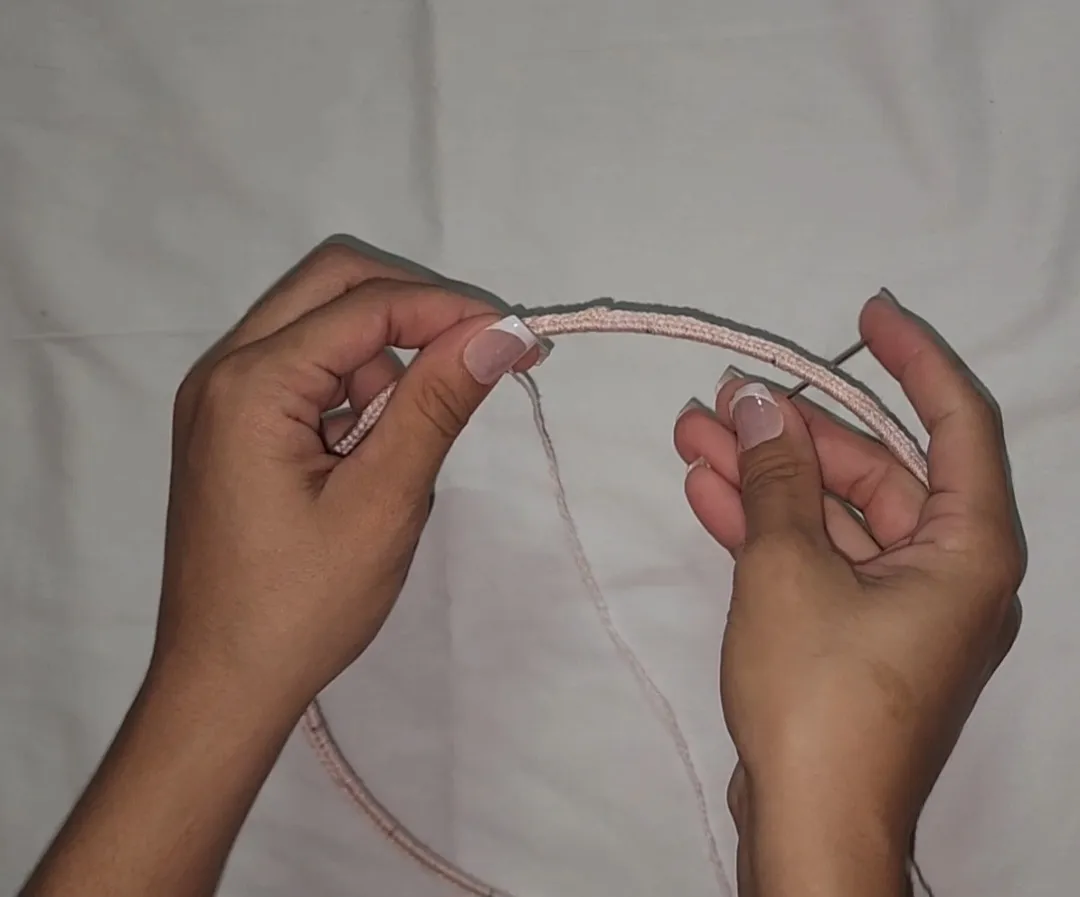
3- Marqué midiendo 16 puntos en el aro para que quedaran bien parejos.
3- I marked by measuring 16 points on the hoop so they would be even.
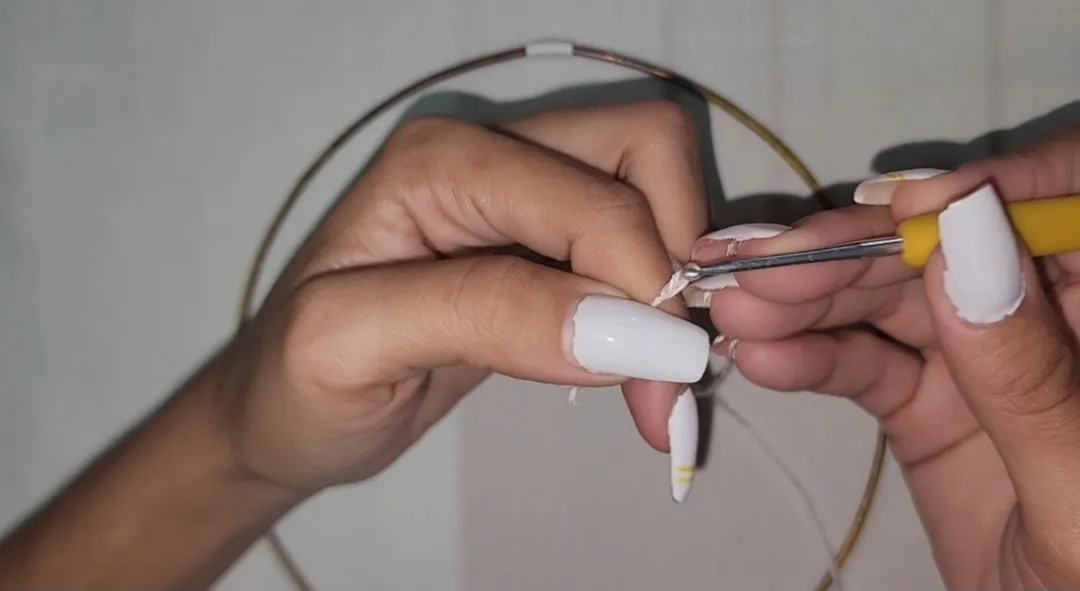
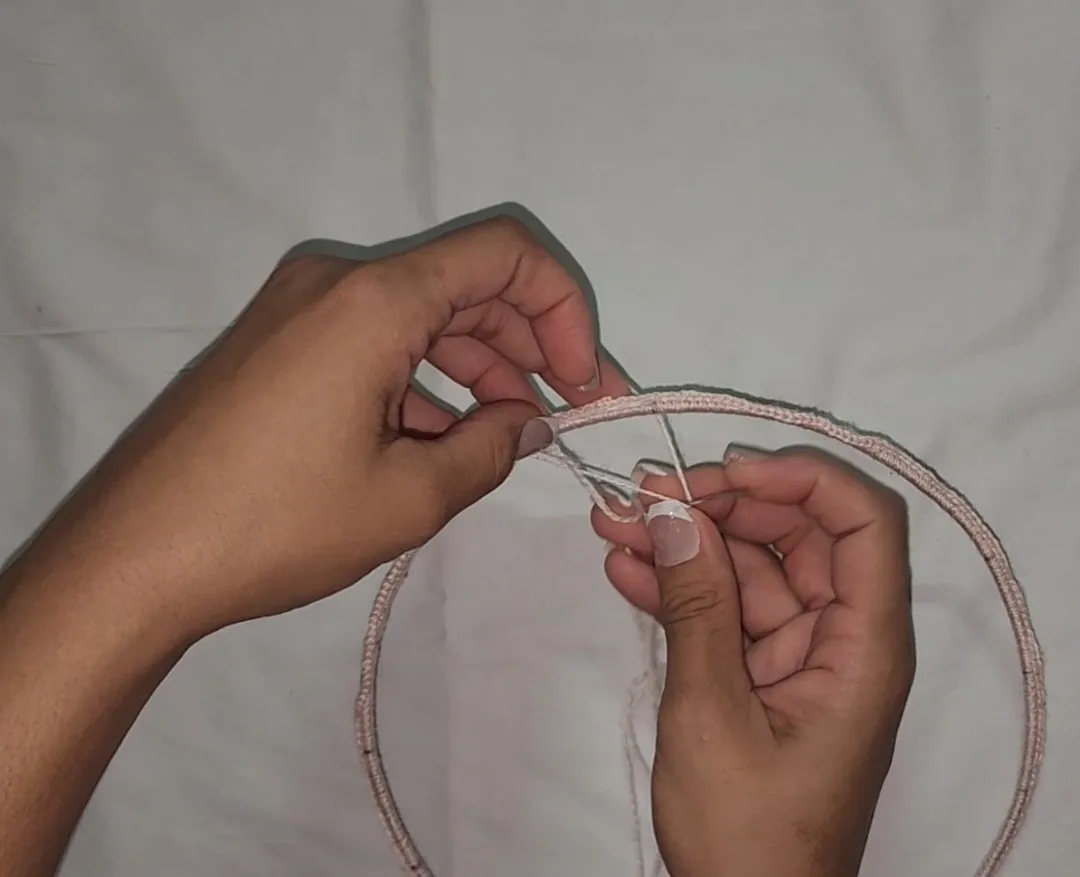
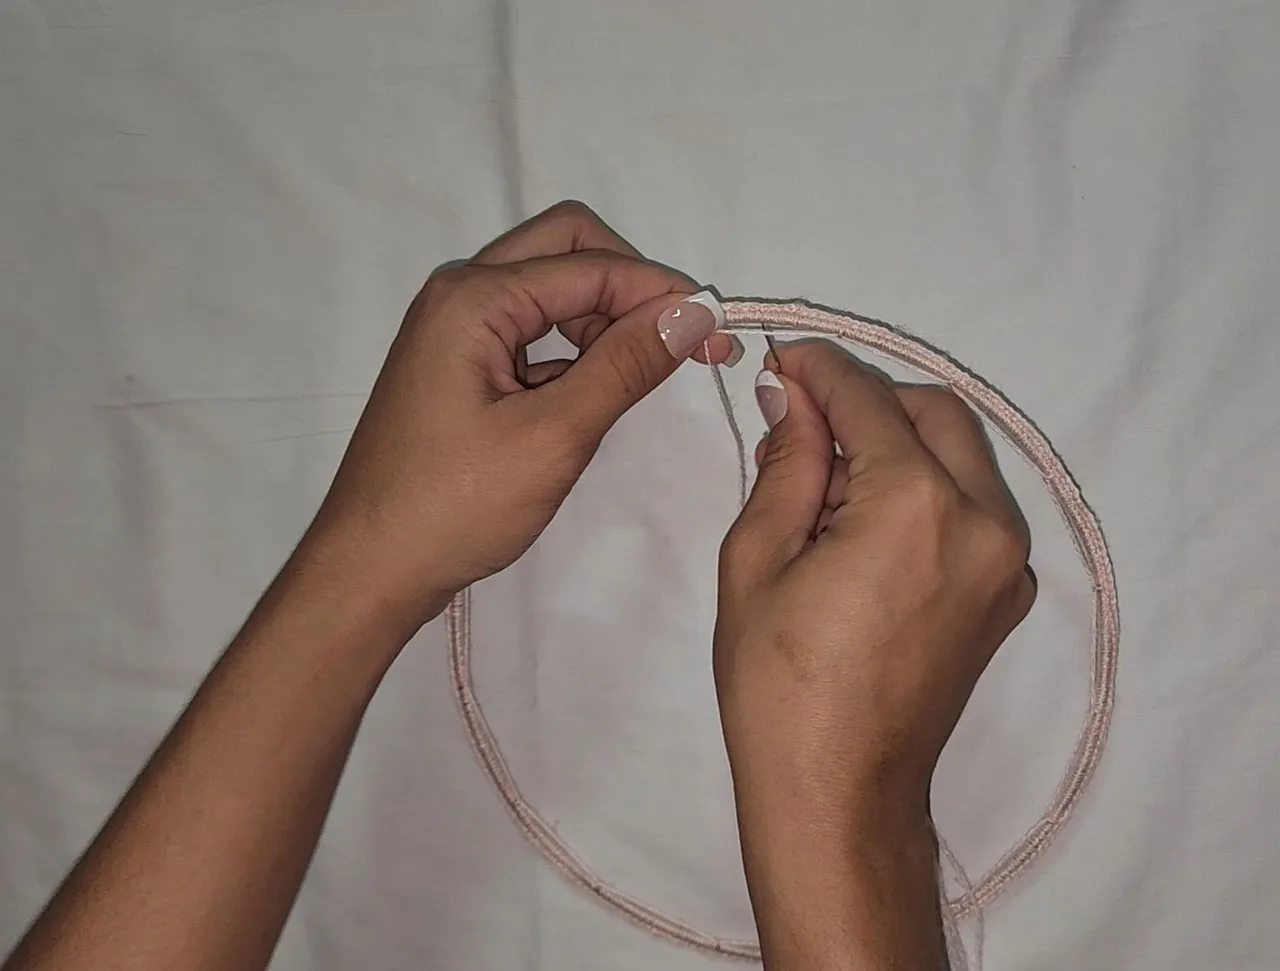
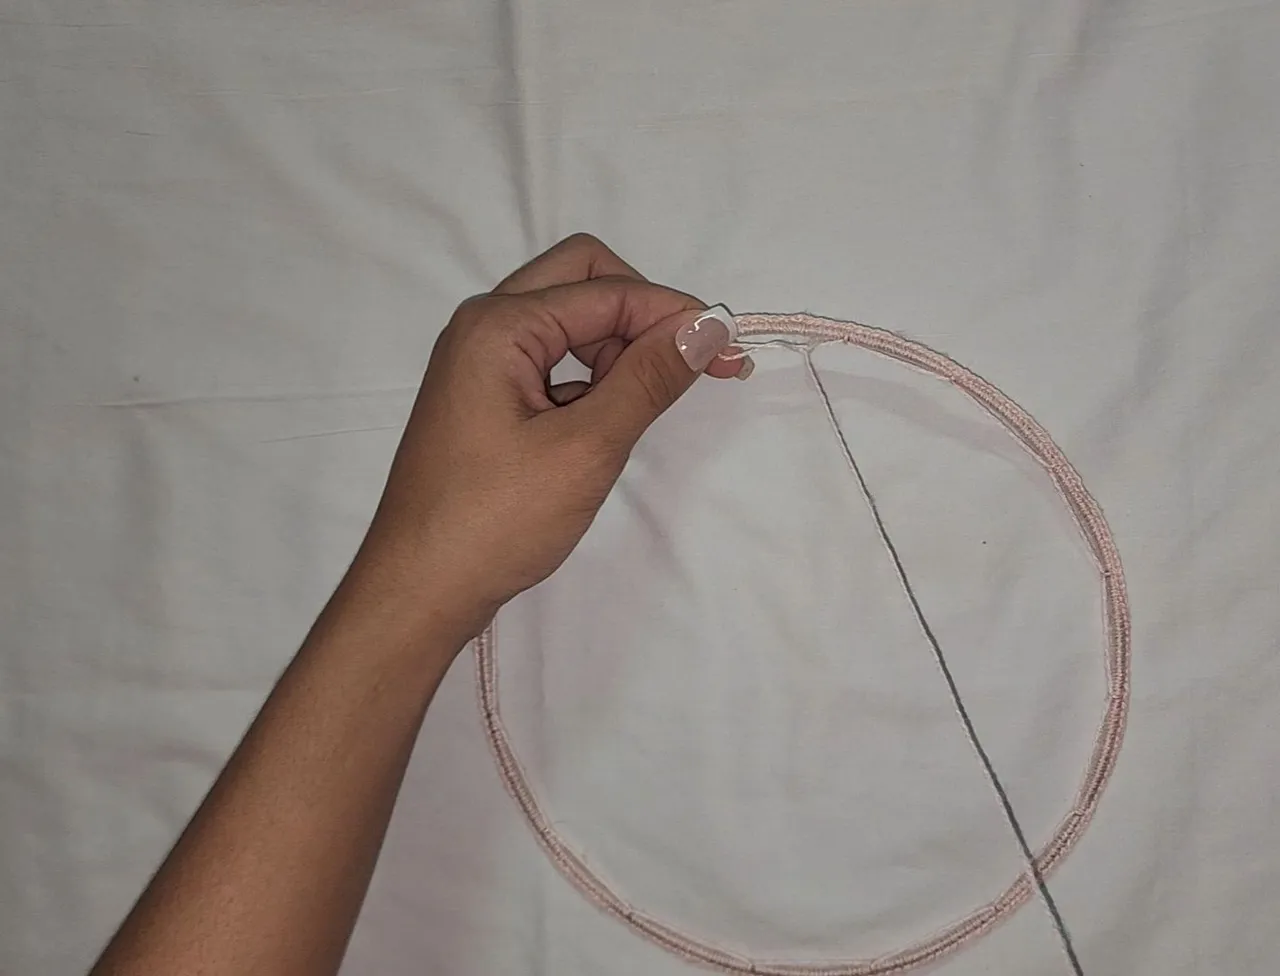
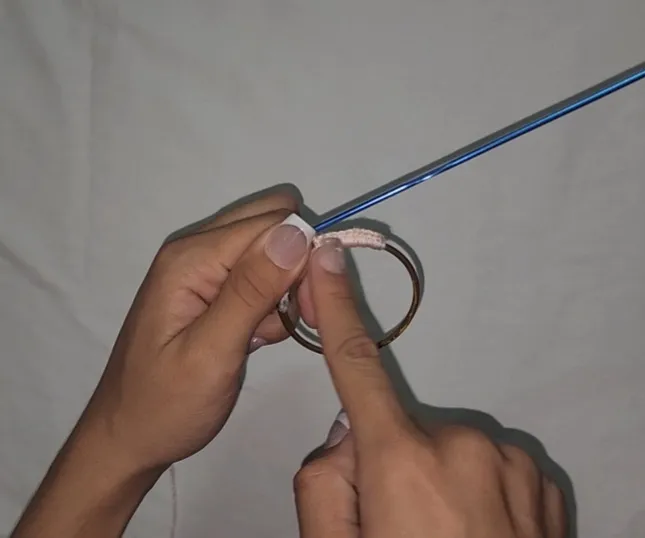
4- Introduje el hilo en la aguja lanera, pasé la aguja por detrás del aro de abajo hacia arriba, la saqué por delante introduciéndola por la primera marca, ale y e introduje la aguja de atrás hacia adelante por el hilo de atrás, ale y se me hace un nudito. Esto lo hice en todas las marcas hasta llegar al final de la vuelta.
4- I threaded the needle with the yarn, passed the needle behind the hoop from bottom to top, brought it out to the front inserting it through the first mark, looped it and inserted the needle from back to front through the back loop, looped it and made a little knot. I repeated this at all the marks until reaching the end of the round.

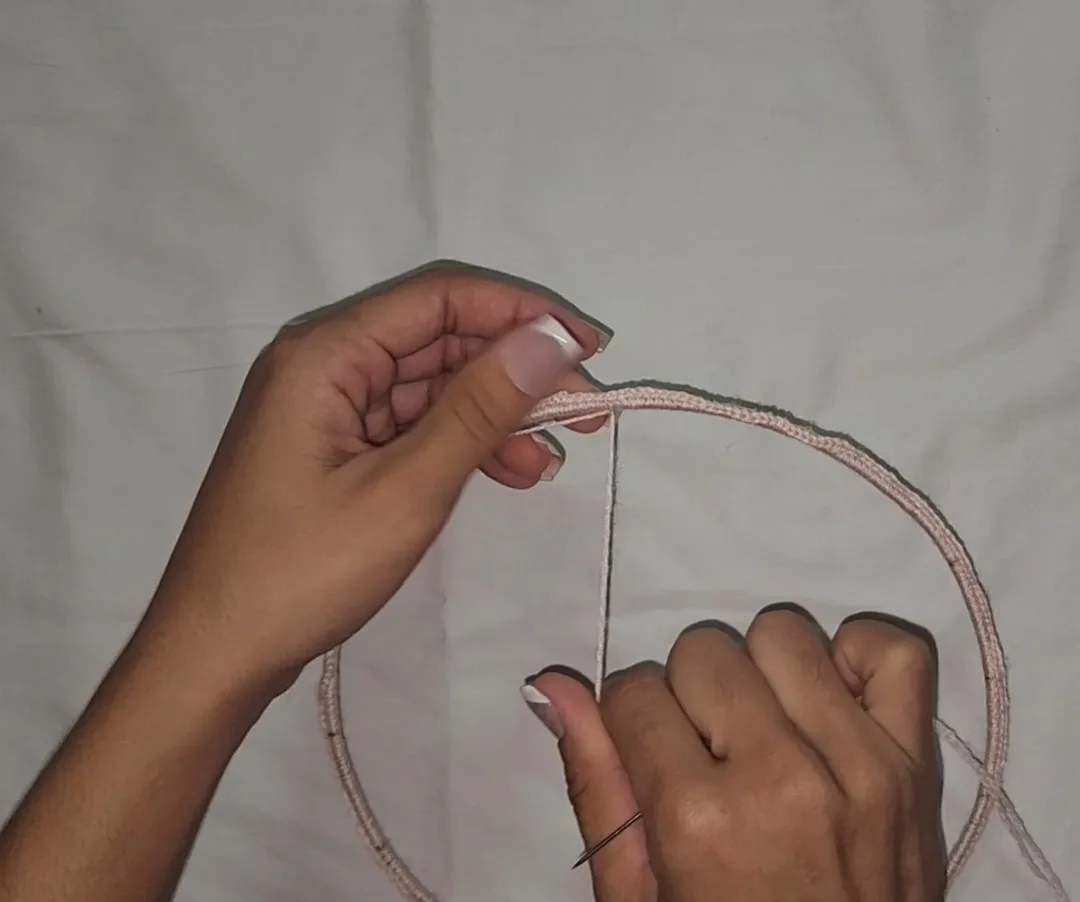
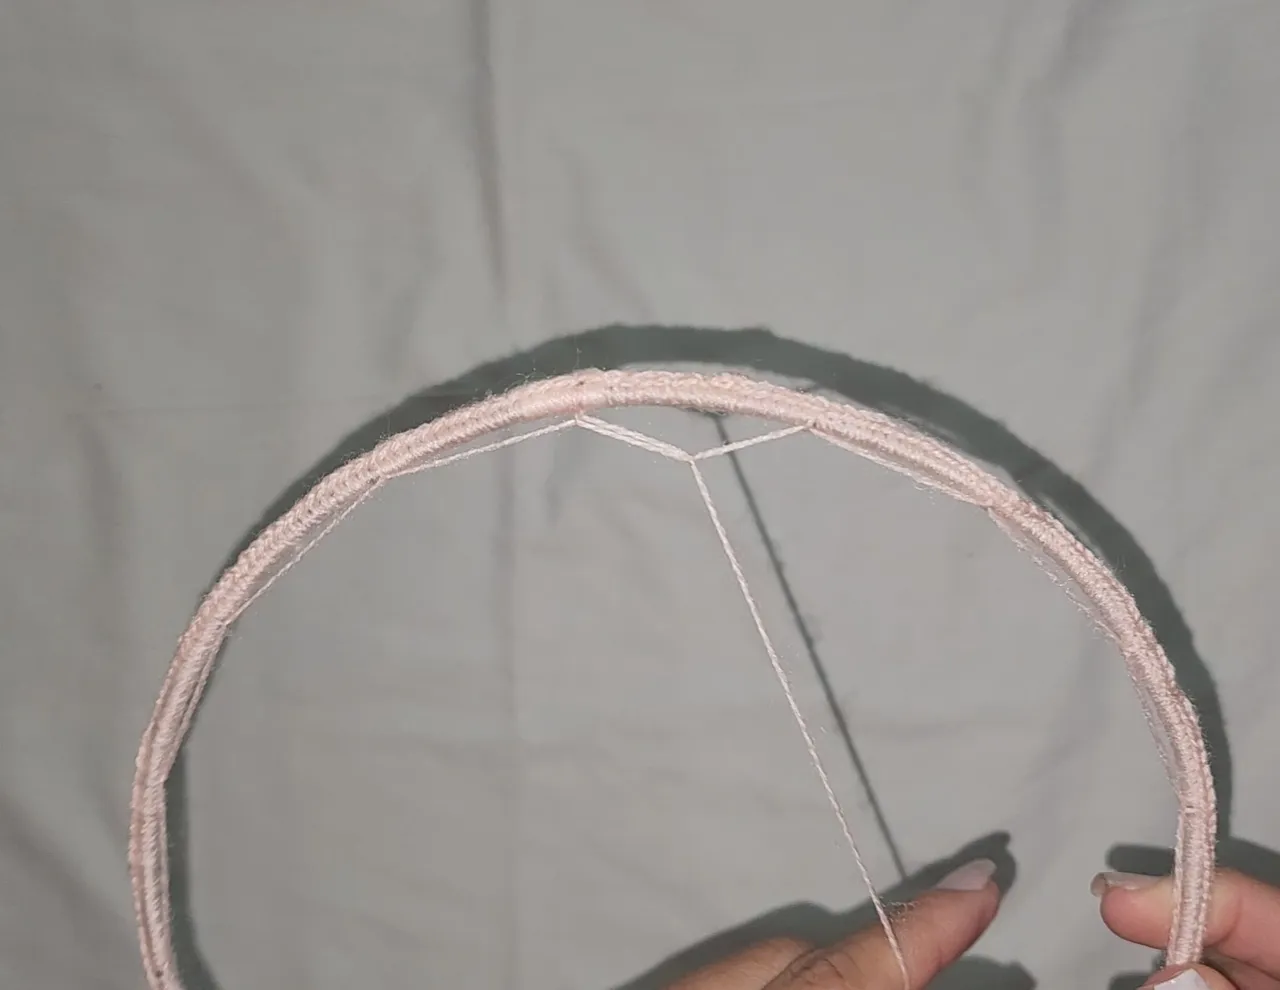
5- Este mismo procedimiento lo continué haciendo, pero esta vez lo hice en la parte media de cada segmento que hice en la vuelta anterior.
5- I continued this same procedure, but this time I did it in the middle of each segment I made in the previous round.

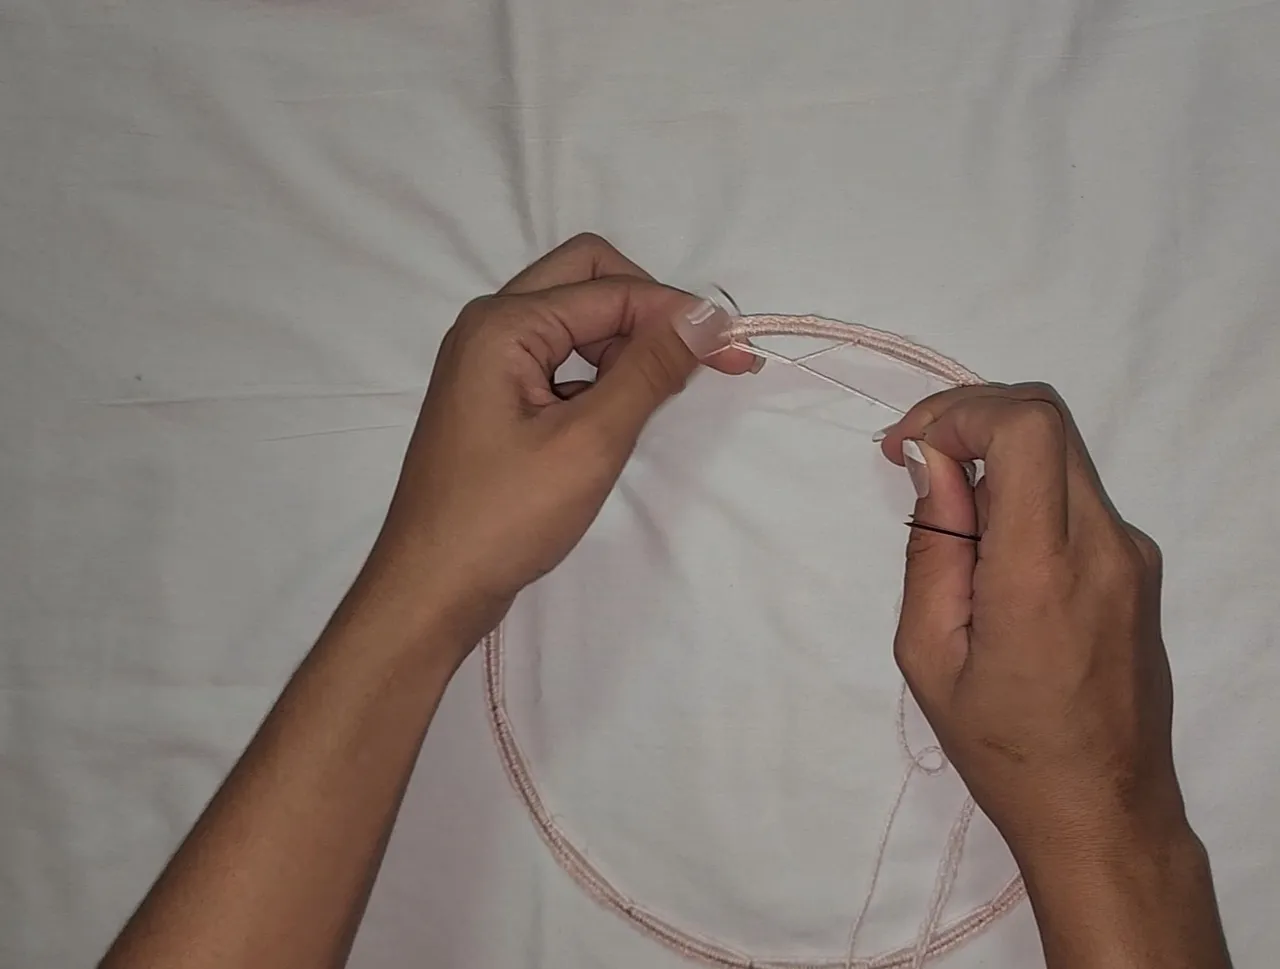
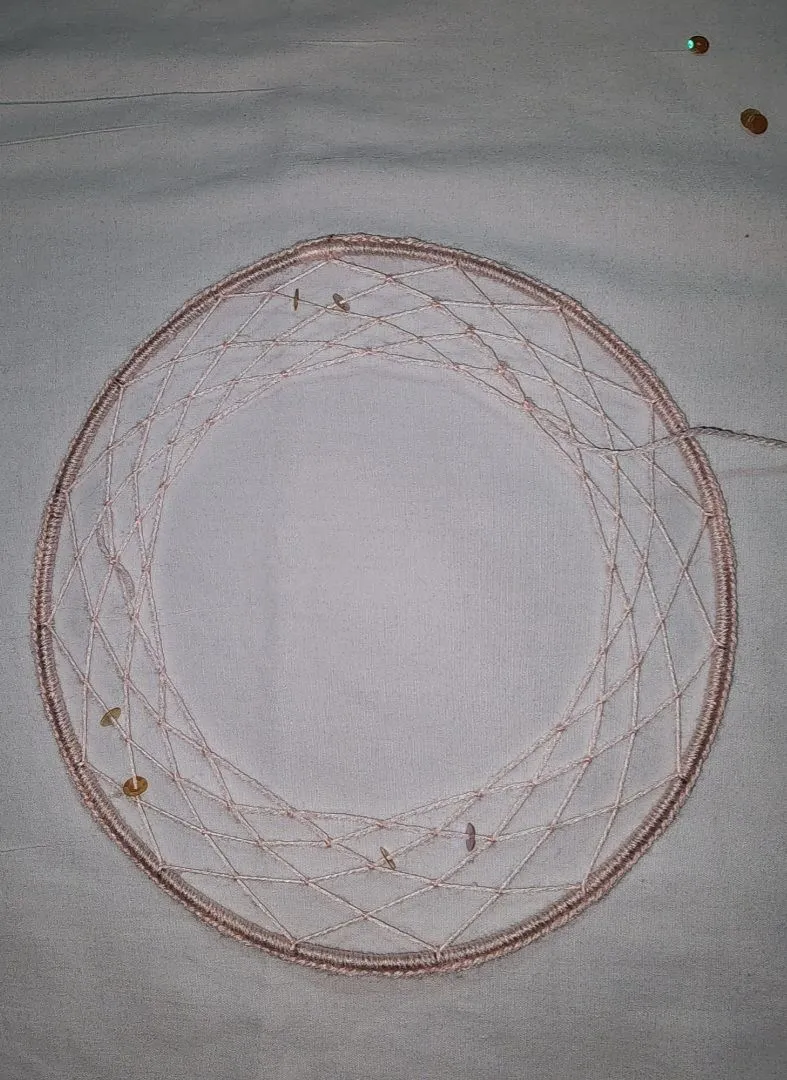
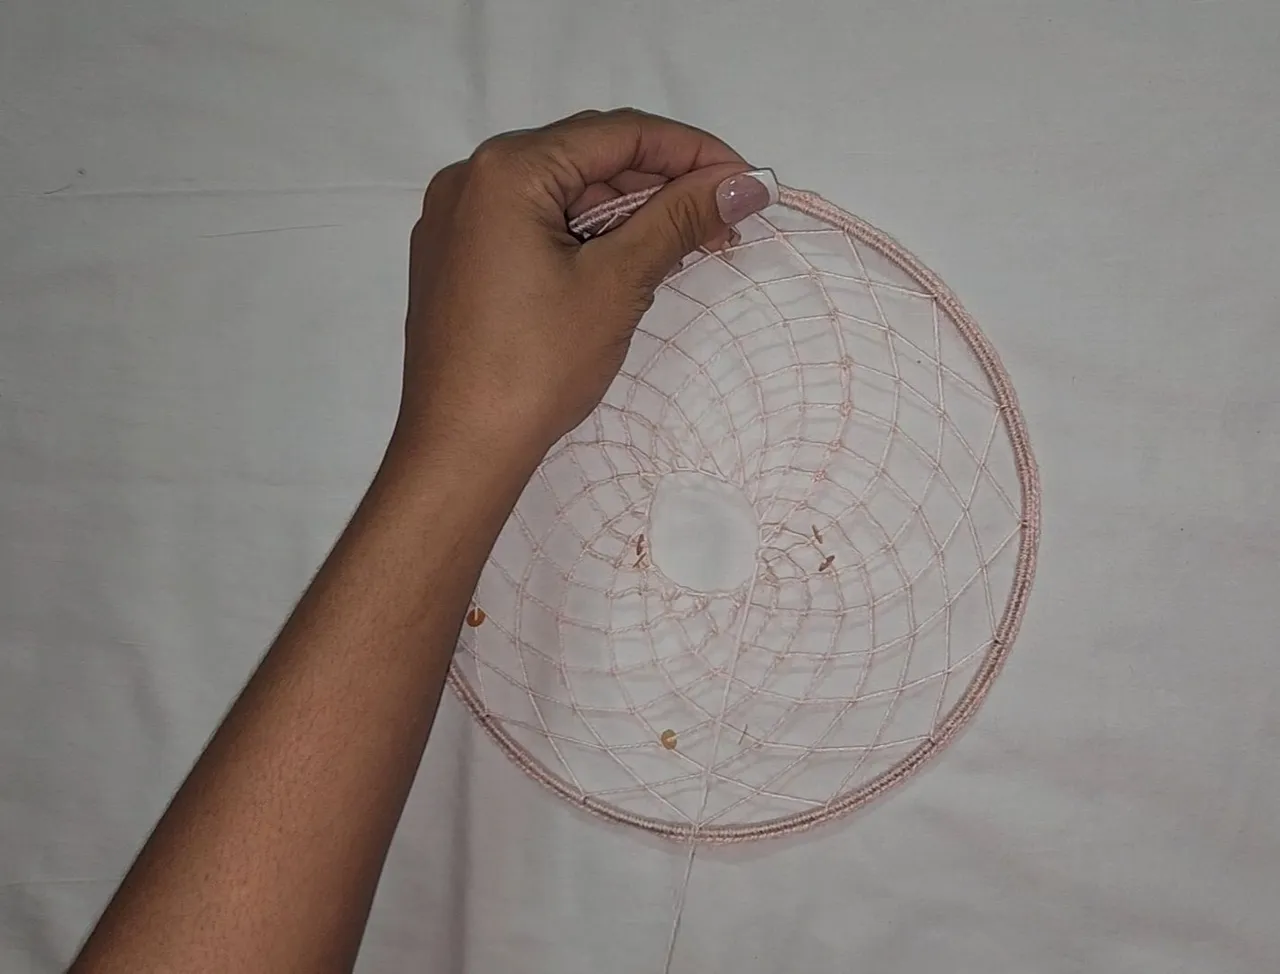
6- Este procedimiento lo seguí haciendo hasta que hice 7 vueltas.
6- I kept doing this procedure until completing 7 rounds.
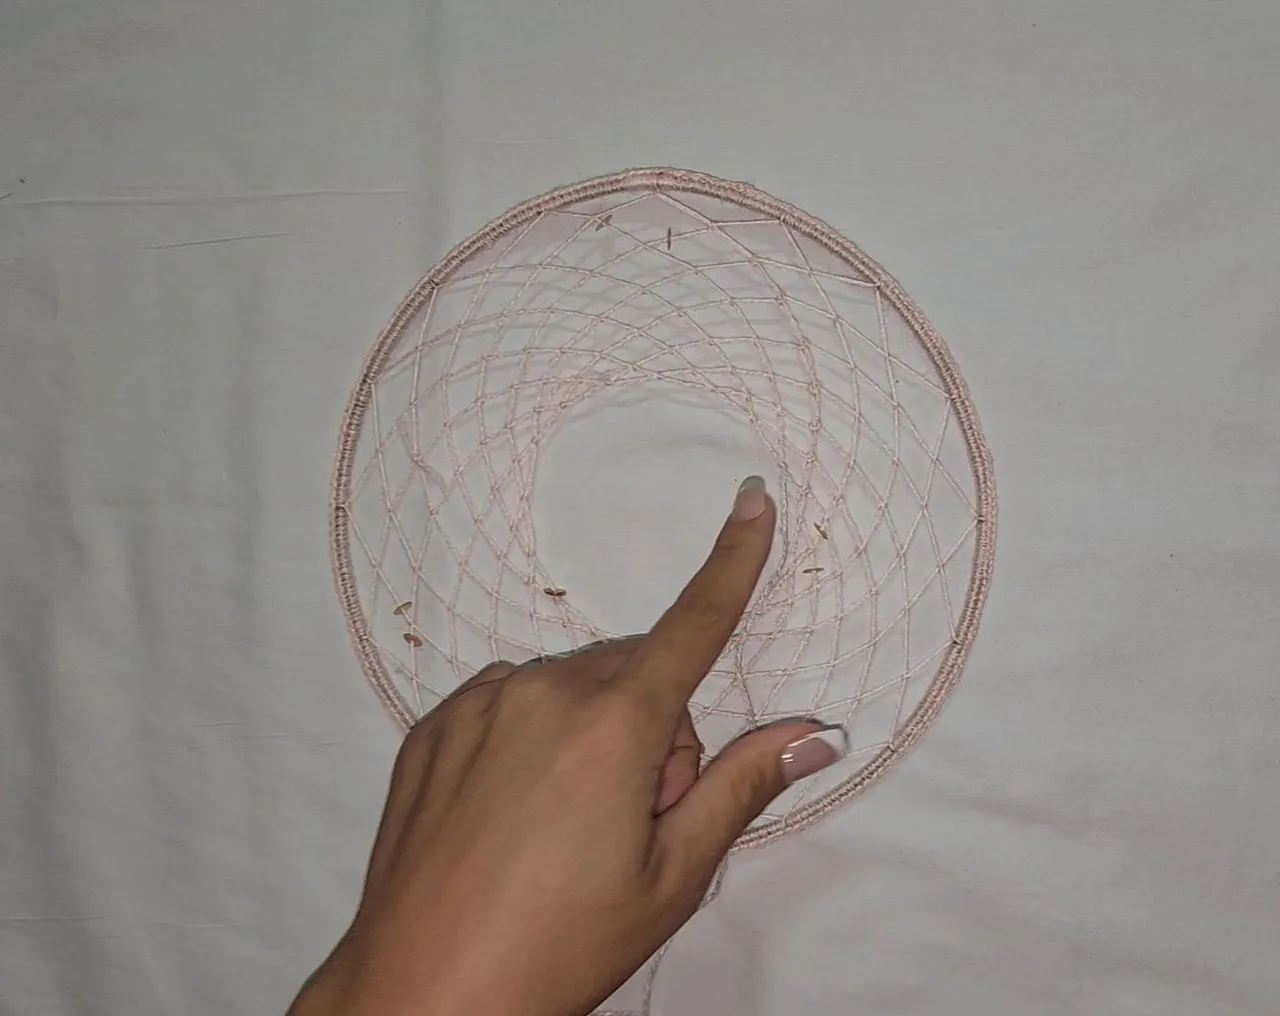
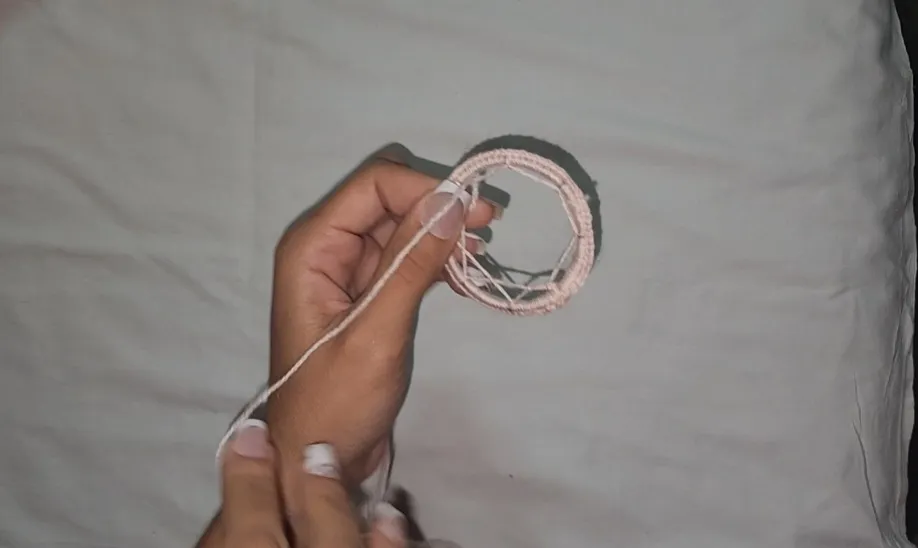
7- Me doy cuenta de que ya puedo cambiar el tejido cuando hago esto con mis dedos y veo que ya el tejido estira fácil como para casi unirse así.
7- I noticed I could change the stitch when I did this with my fingers and saw that the fabric stretches easily almost joining together.
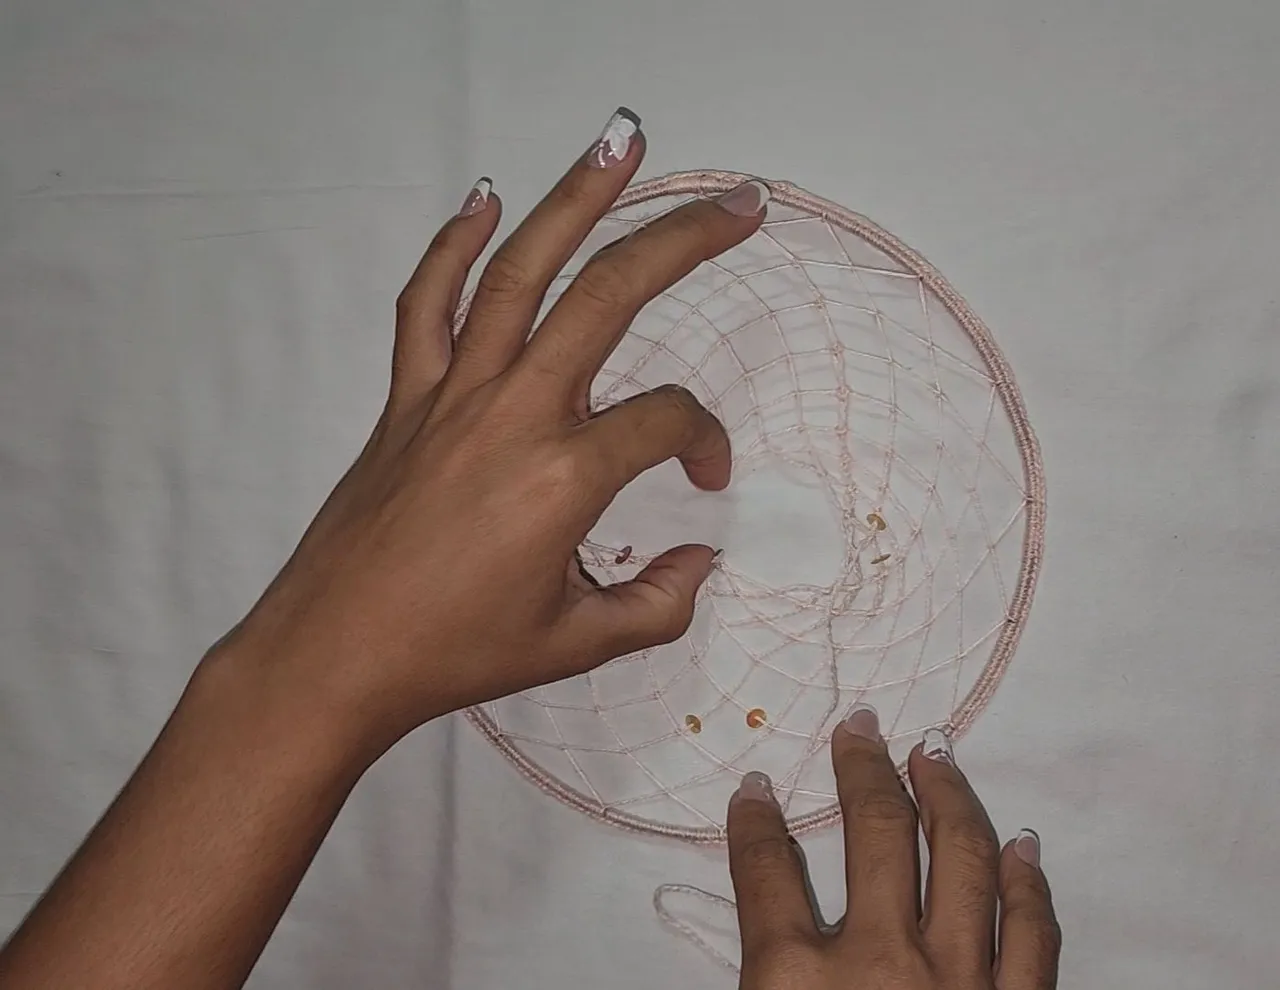
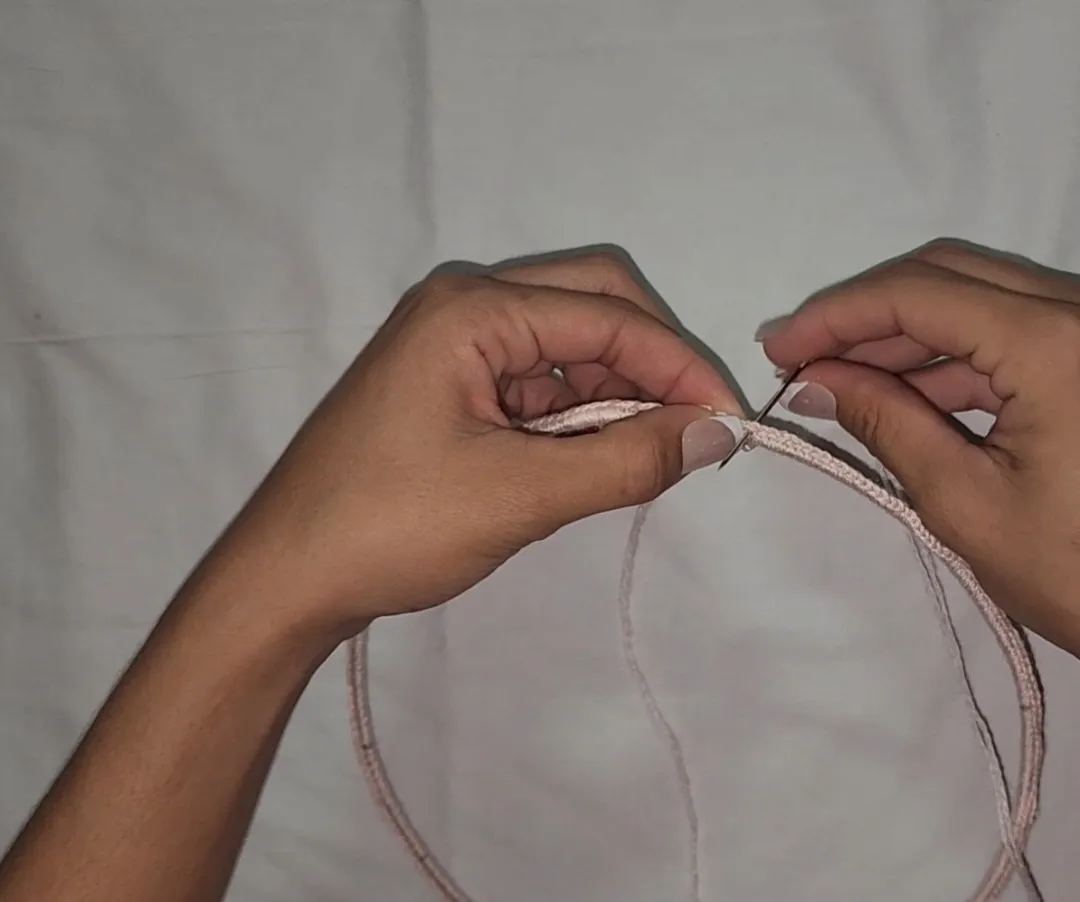
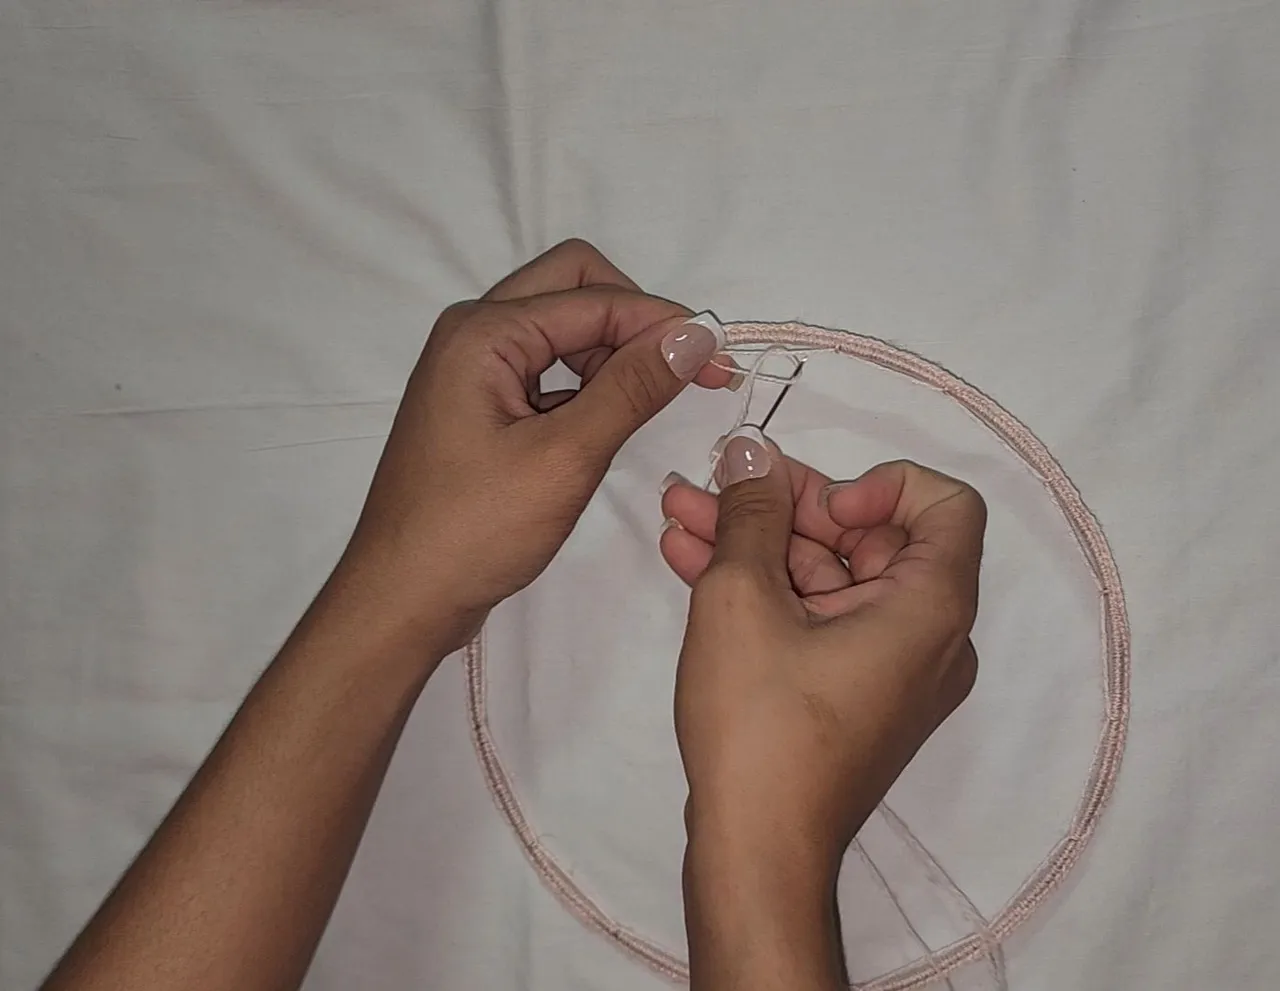
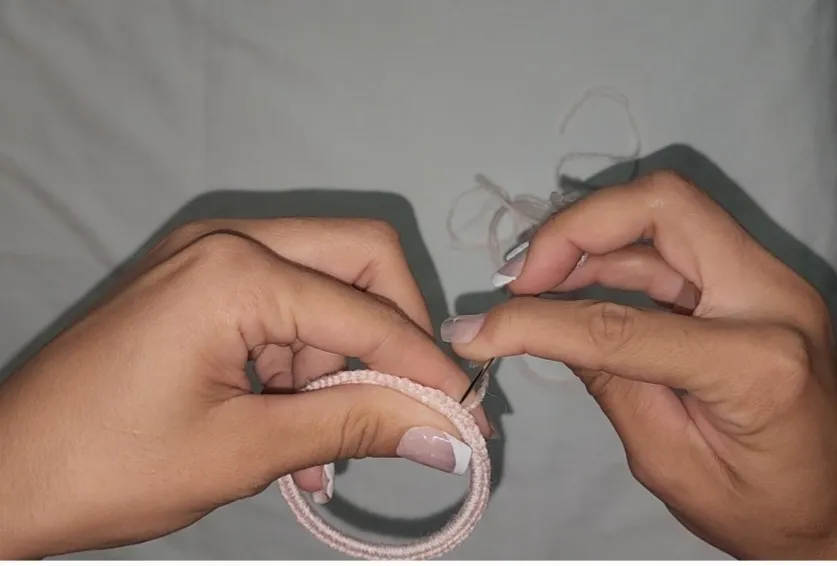
8- Ahora introduzco la aguja en la parte media de cada segmento, pero de adelante hacia atrás hasta llegar a donde mismo inicié.
8- Now I insert the needle in the middle of each segment, this time from front to back until reaching where I started.
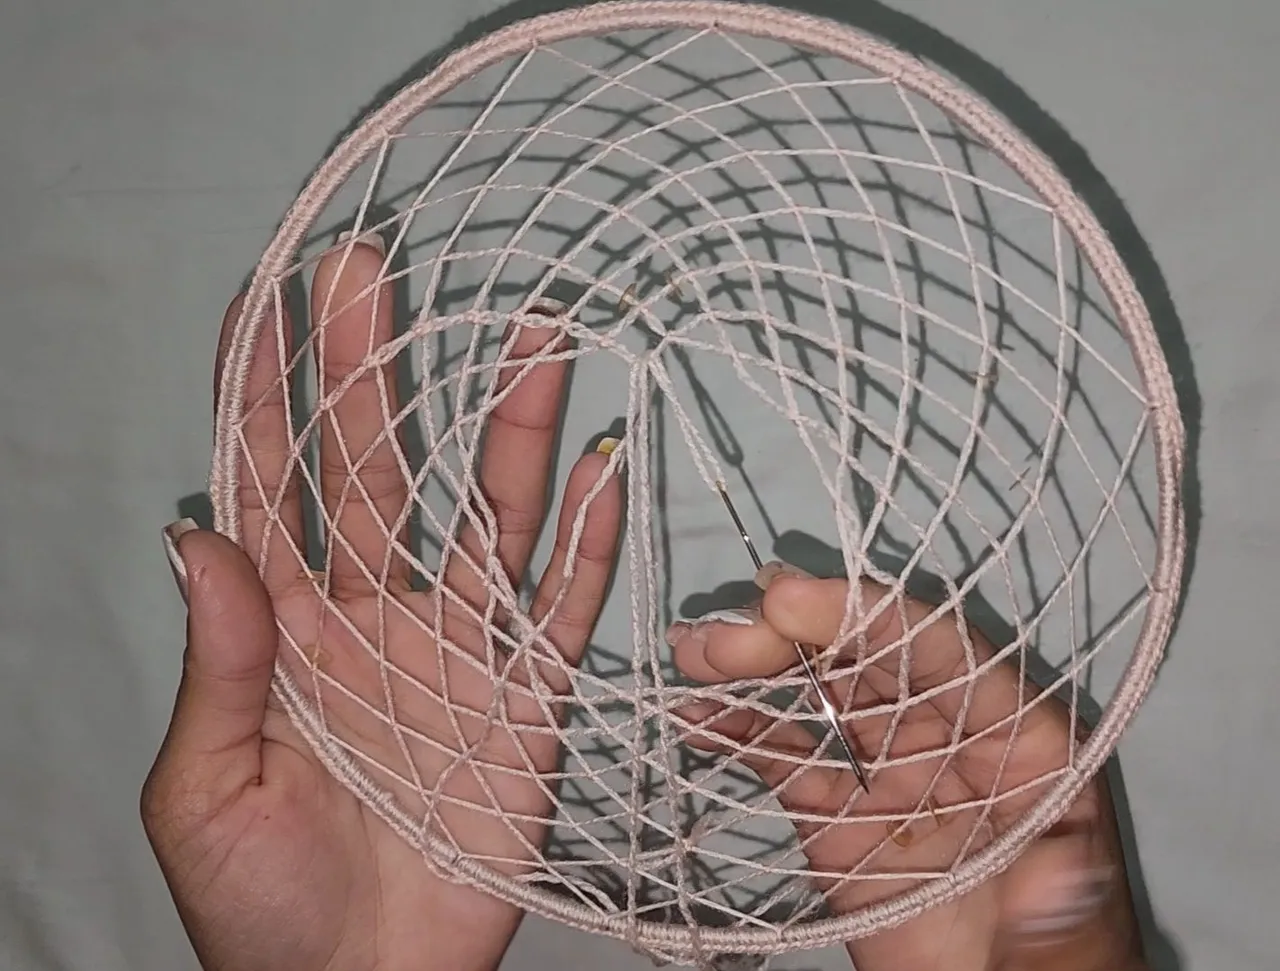
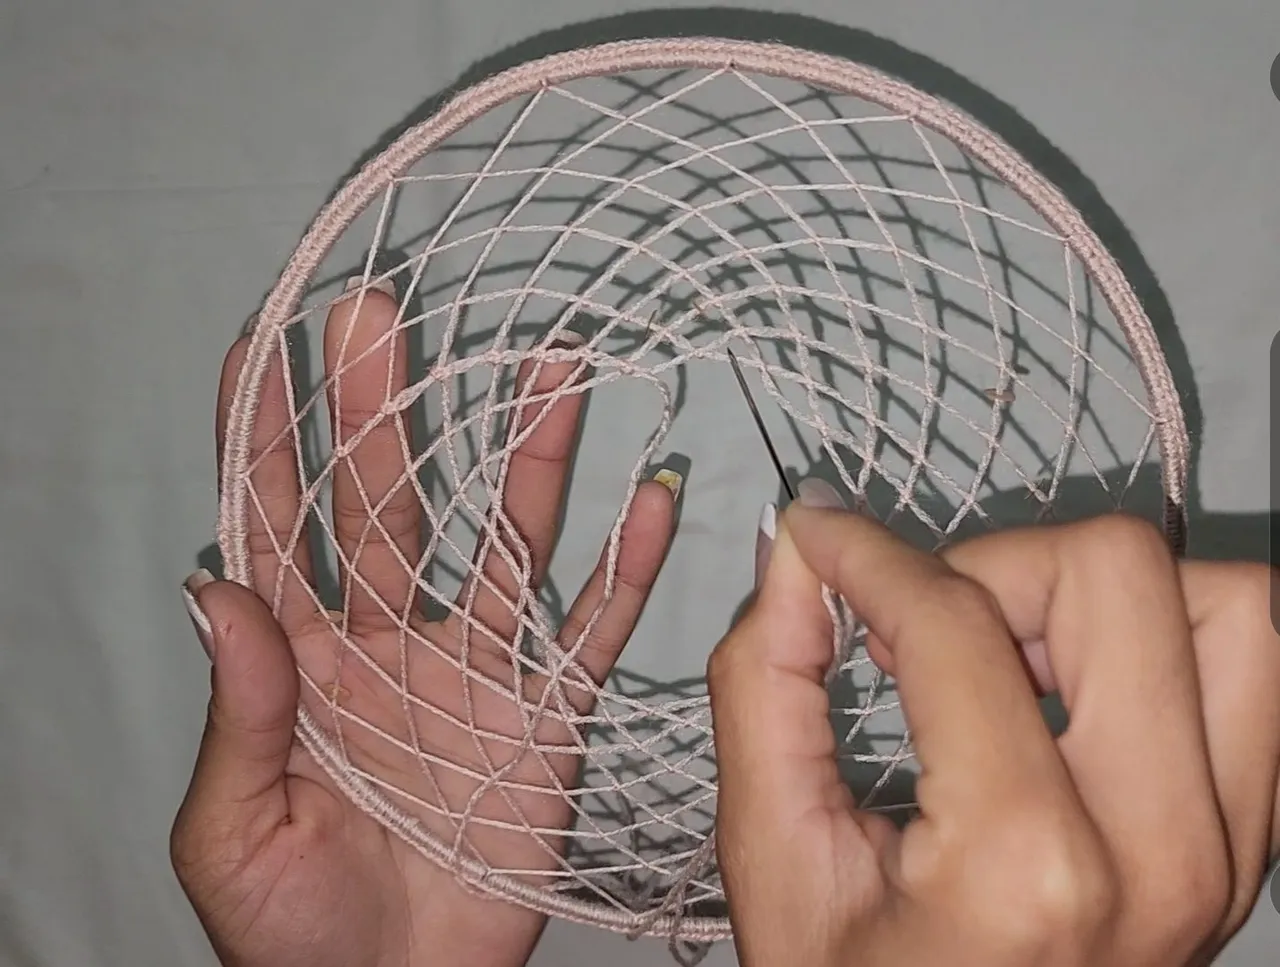

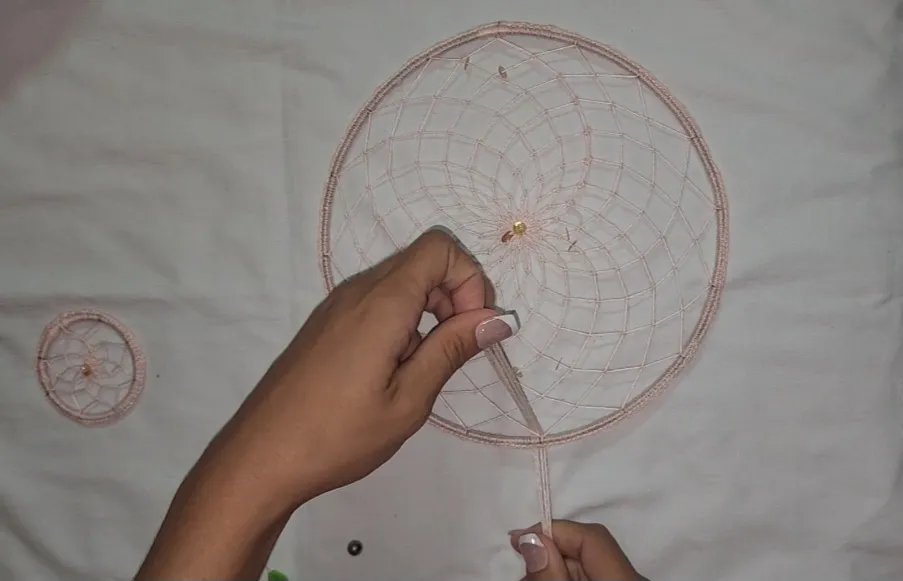
9- Ahora solo tengo que alar el hilo y vamos a ver como se va cerrando el tejido hasta quedar así.
9- Now I just need to pull the yarn and see how the fabric is closing up until it looks like this.

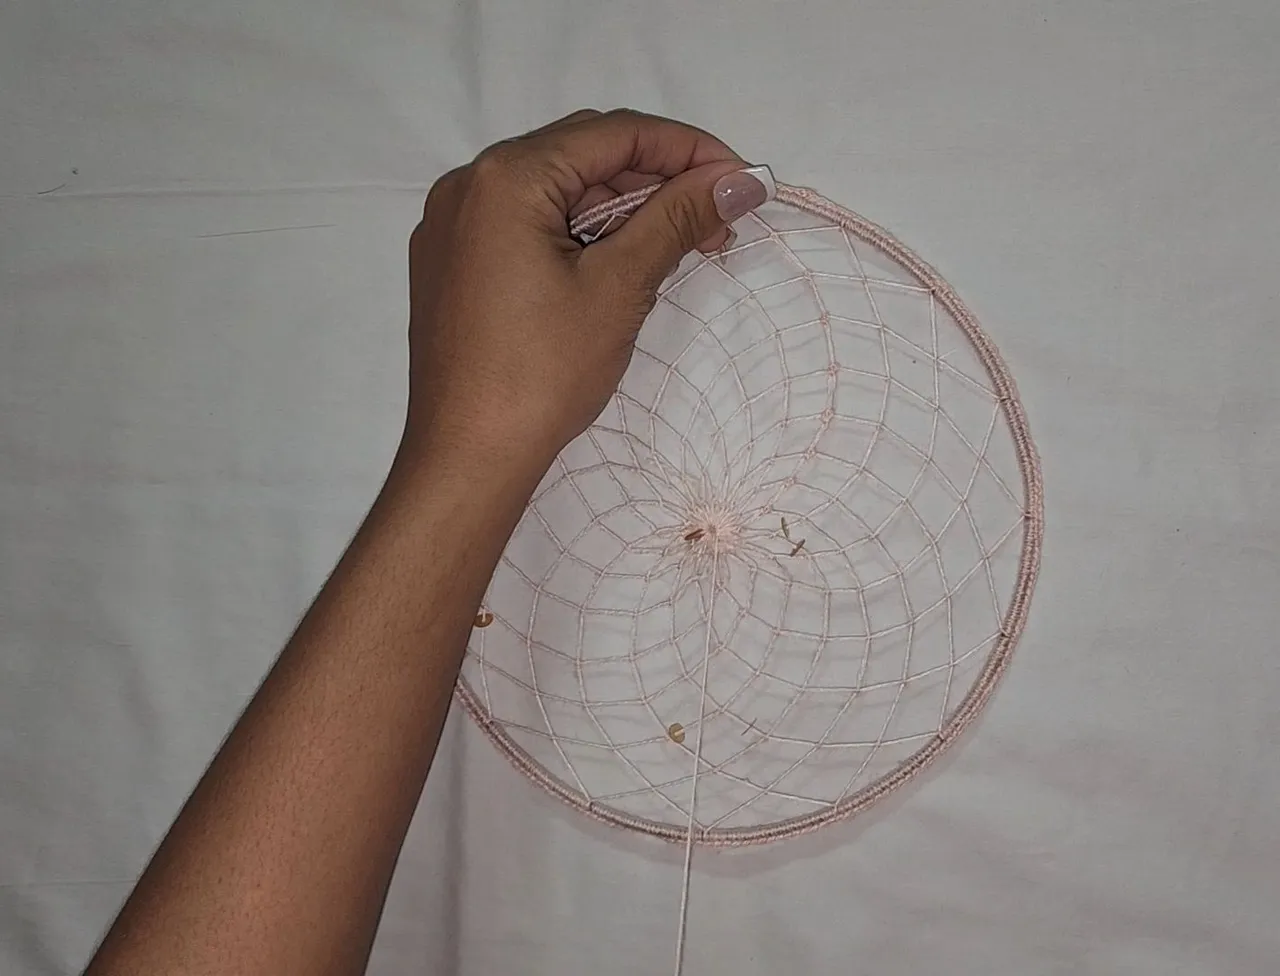
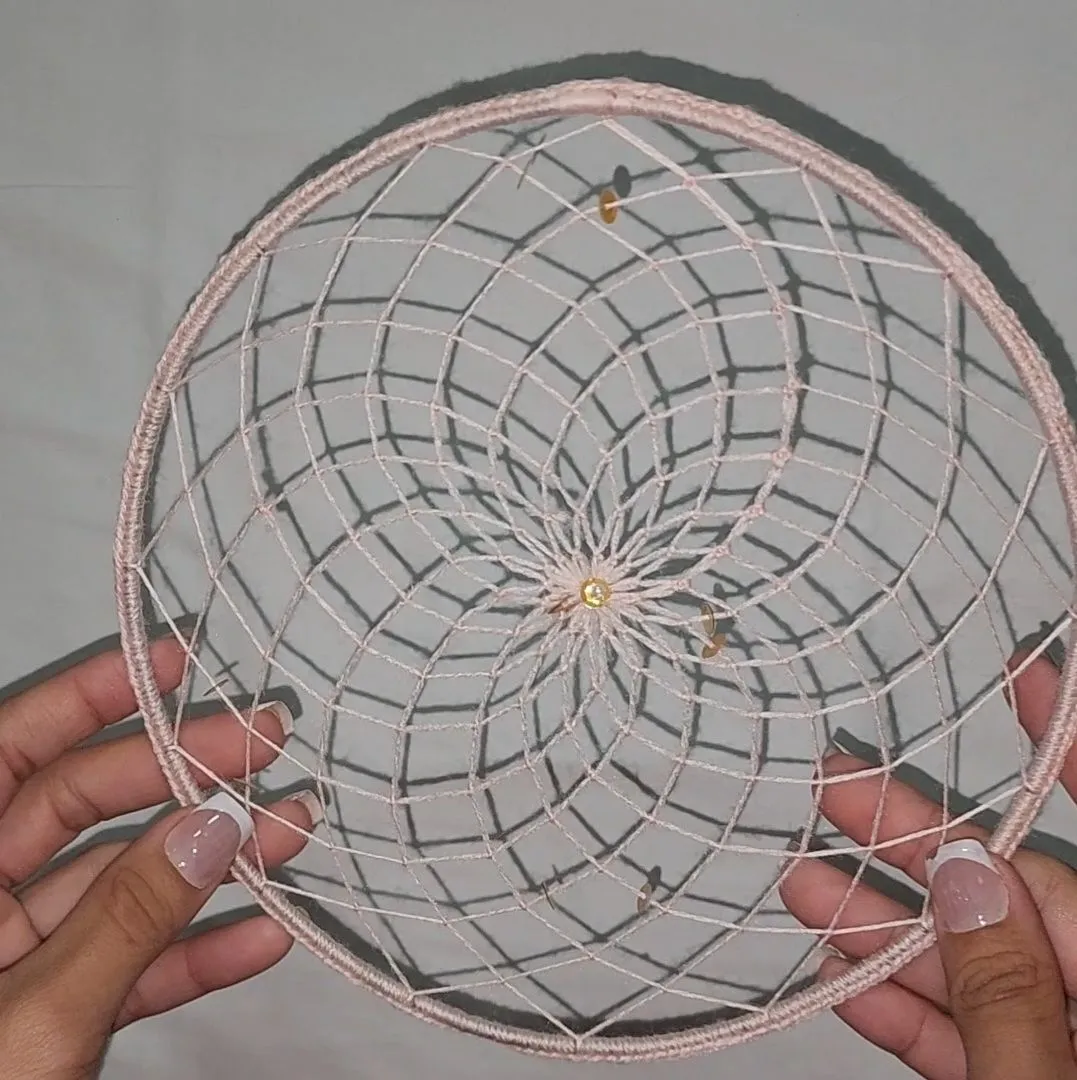
10- Ahora le coloqué un detalle más al cierre final para que quedara más bonito, también le fui colocando detalles al tejido en algunos segmentos.
10- I added a final detail to make it look nicer, also adding details to the fabric in some segments.
11- Todo lo que hice en el aro grande lo hice también en el pequeño.
11- Everything done on the large hoop was also done on the small one.
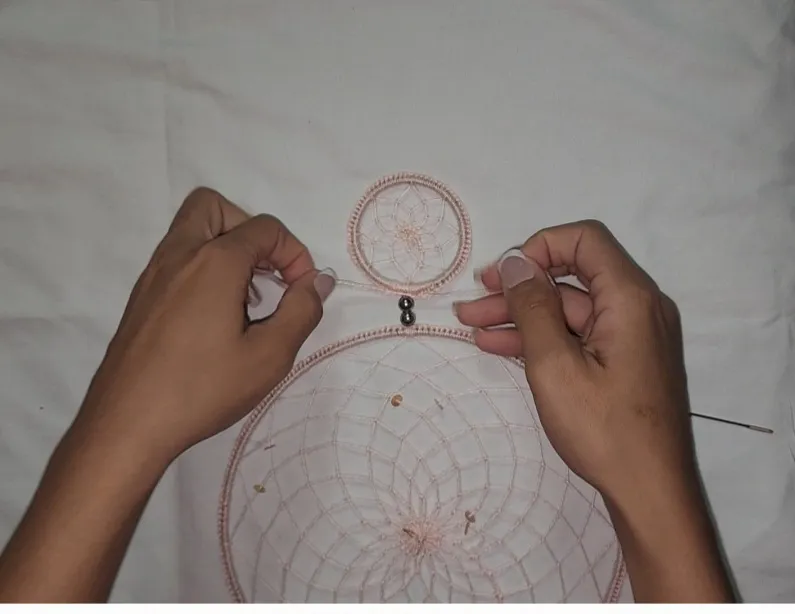
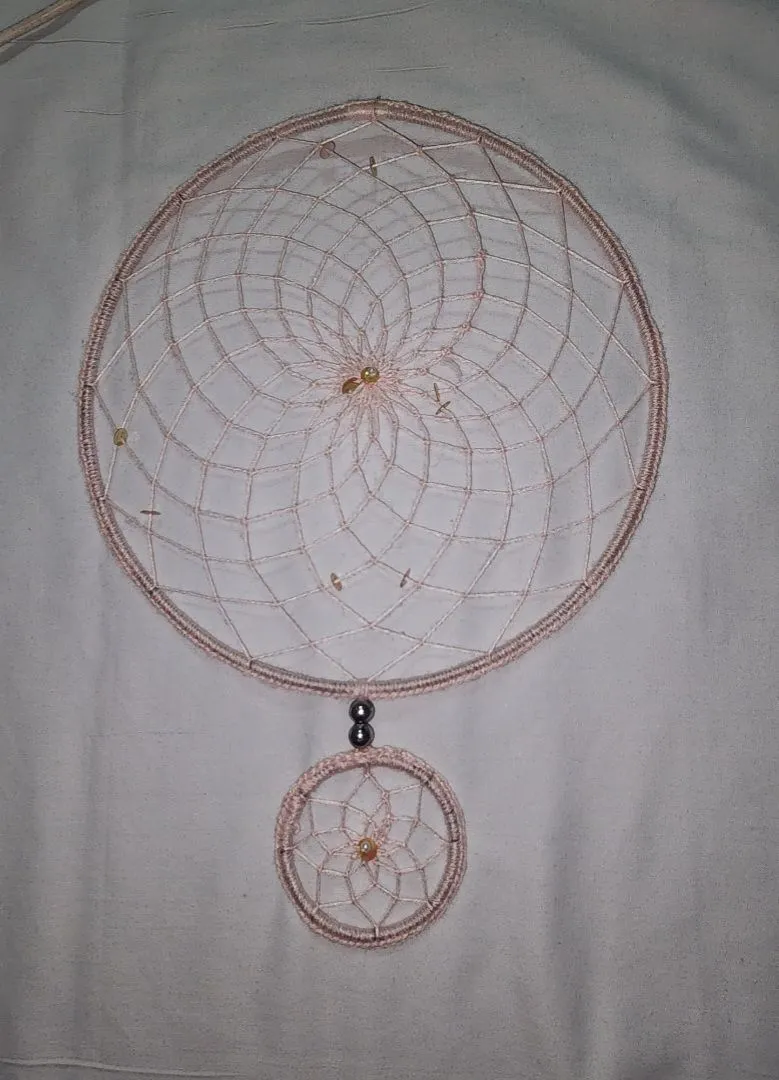
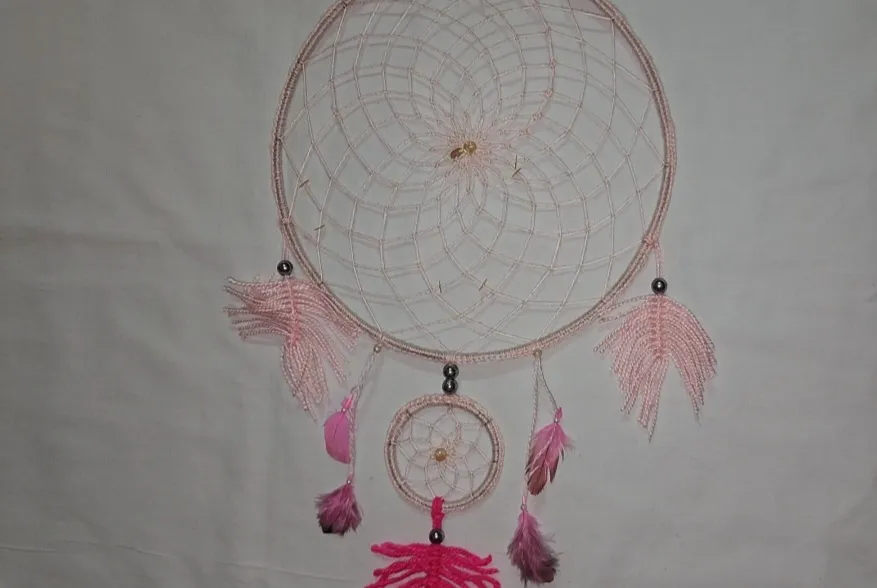
12- Ahora uní el aro grande con el aro pequeño y le puse unas perlitas como decoración.
12- I then joined the large hoop with the small hoop and added some beads as decoration.

13- Luego le agregué las plumitas que ya estaban hechas y también unas naturales.
13- After that, I added the pre-made feathers and some natural ones too.
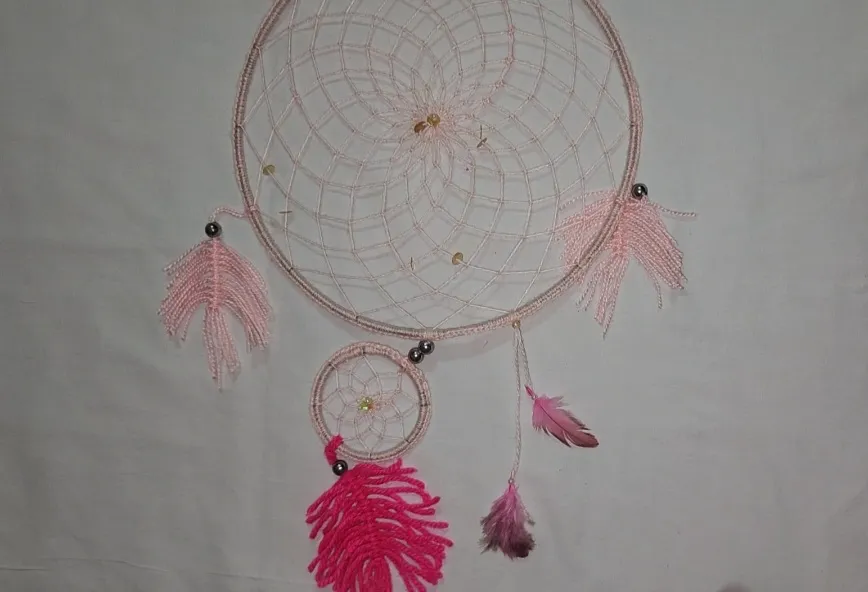
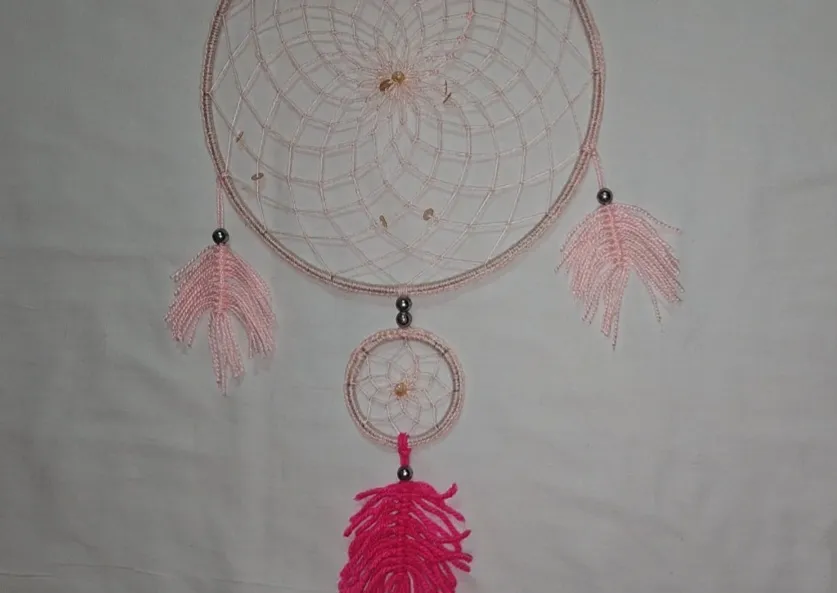
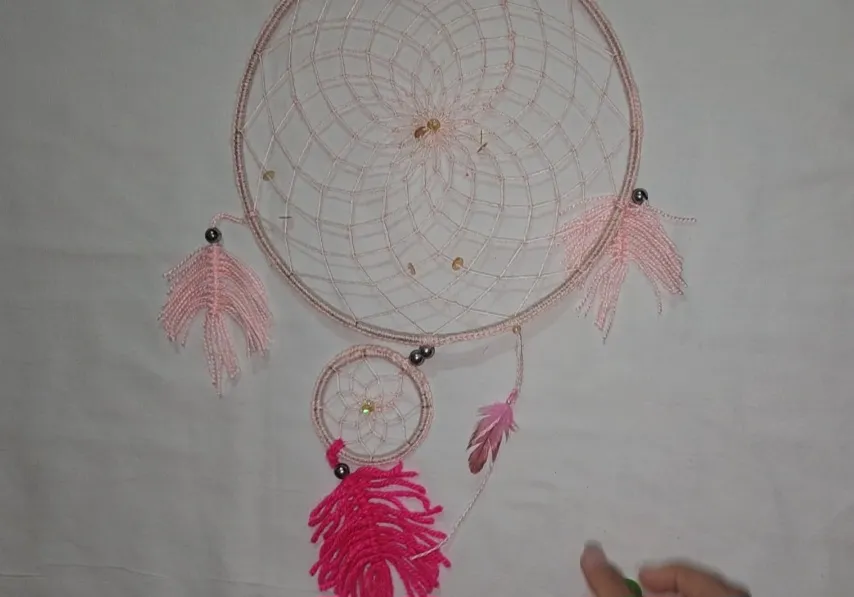
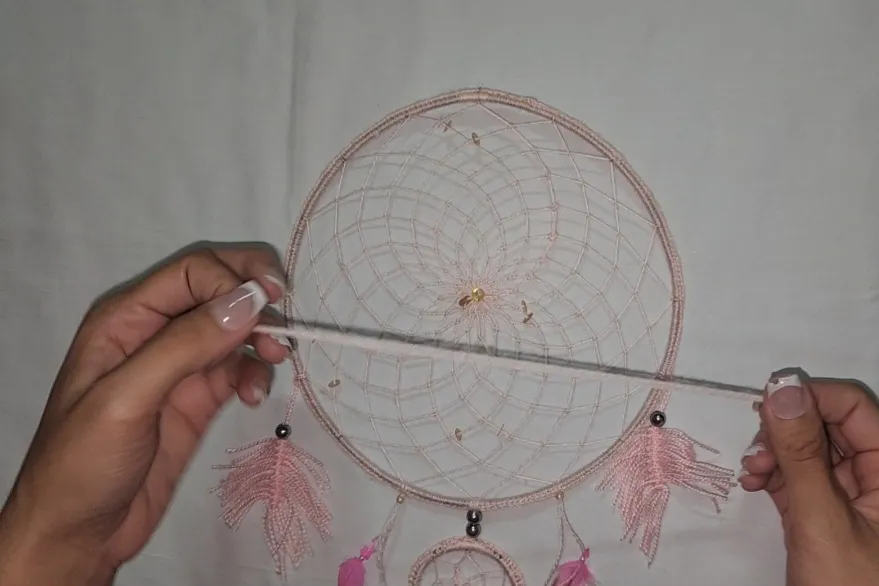
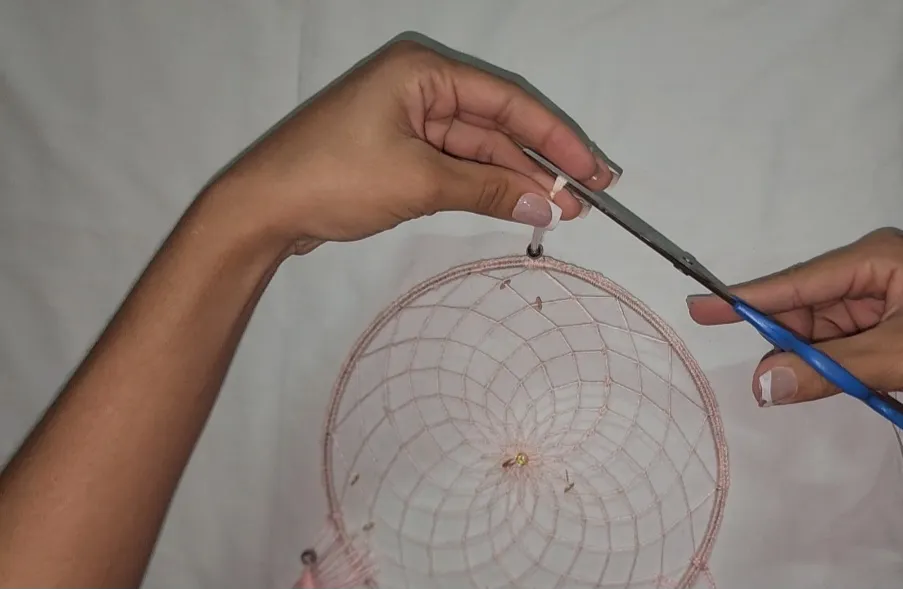
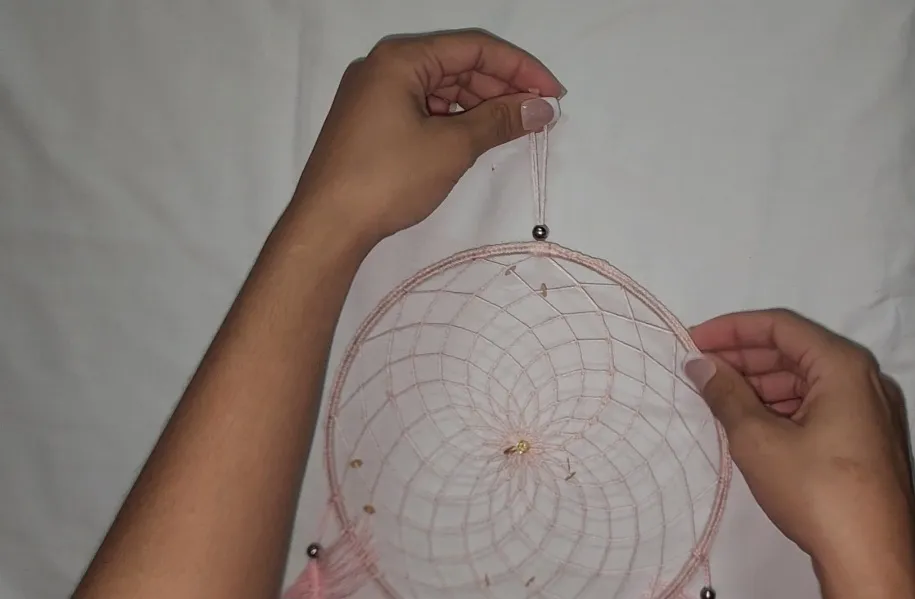
14- Luego le puse una lana para poderlo colgar y le agregué una perlita más.
14- Finally, I added a string to hang it and one more bead.
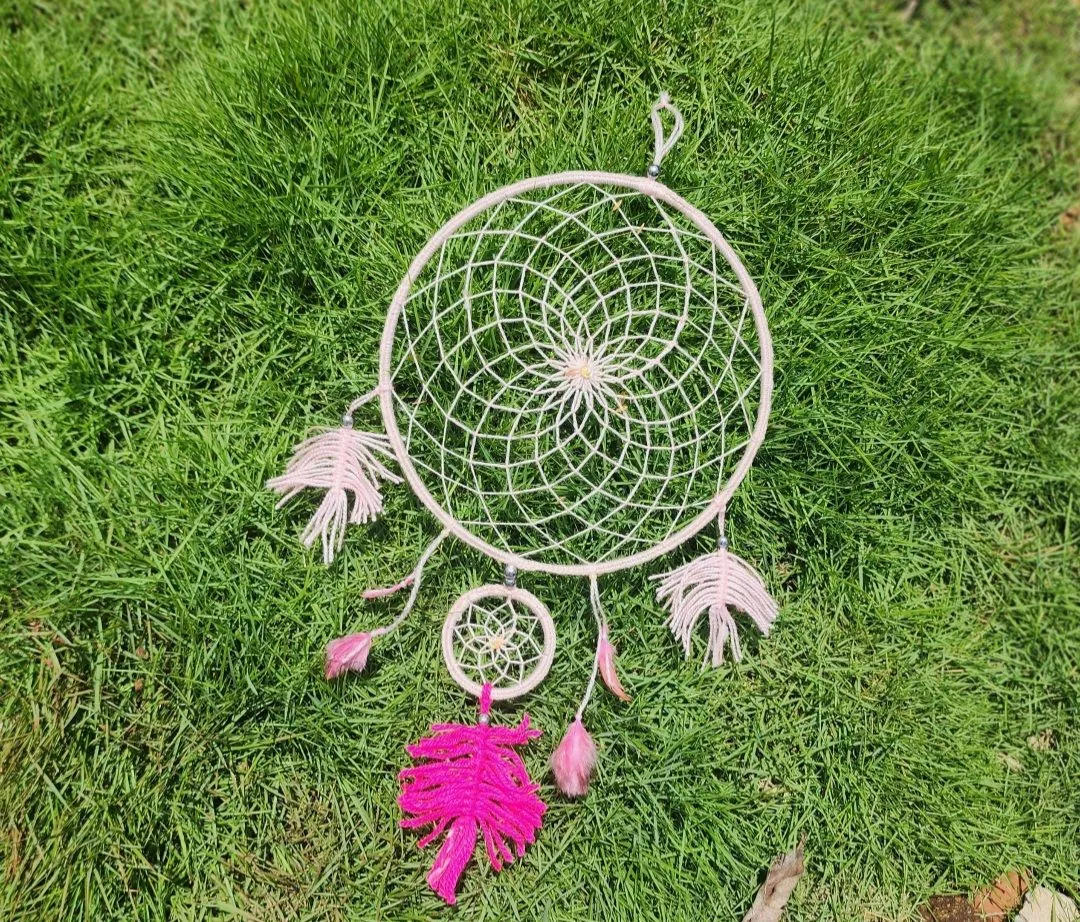
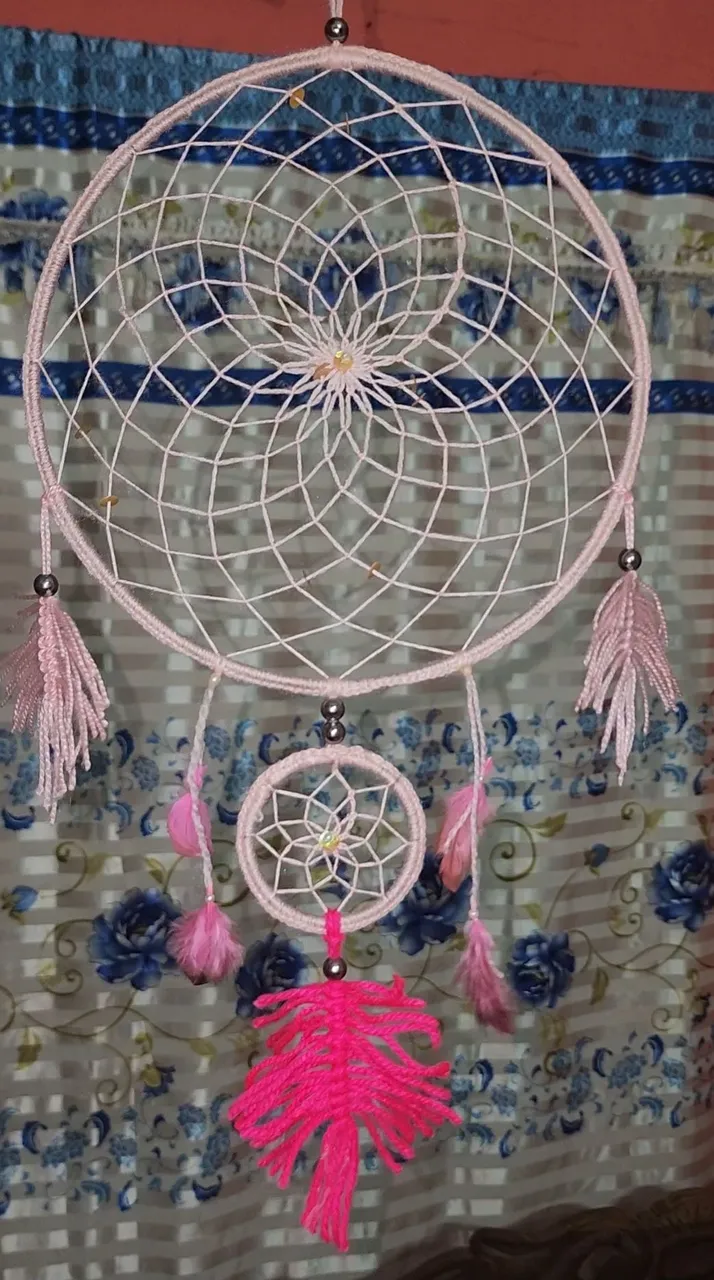
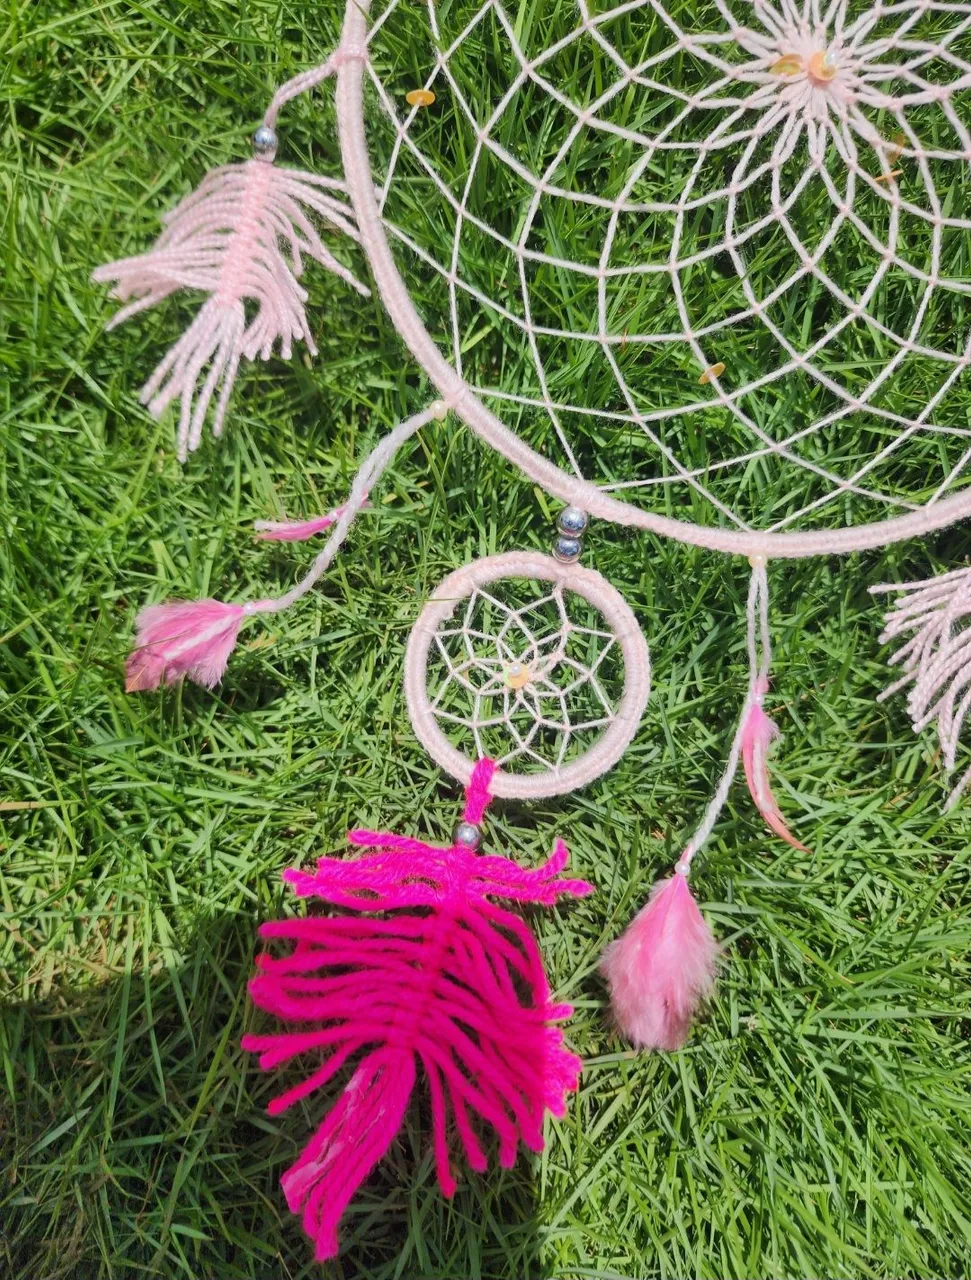
Y listo así quedó este hermoso atrapa sueños hechos con todo mi amor, a la dueña le encantó, espero a ustedes también.
And there it is, this beautiful dream catcher made with all my love. The owner loved it, I hope you do too.
Besitos y bendiciones para todos 😘😘😘.
Kisses and blessings to all 😘😘😘.
| RECURSO / RESOURCE | FUENTE / SOURCE |
|---|---|
| Edición / Edition: | @yunacrochet |
| Imágenes / Pictures: | Samsung Galaxy s22 Ultra |
| Translated / Traducción: | Hive Translator by @noakmilo. |