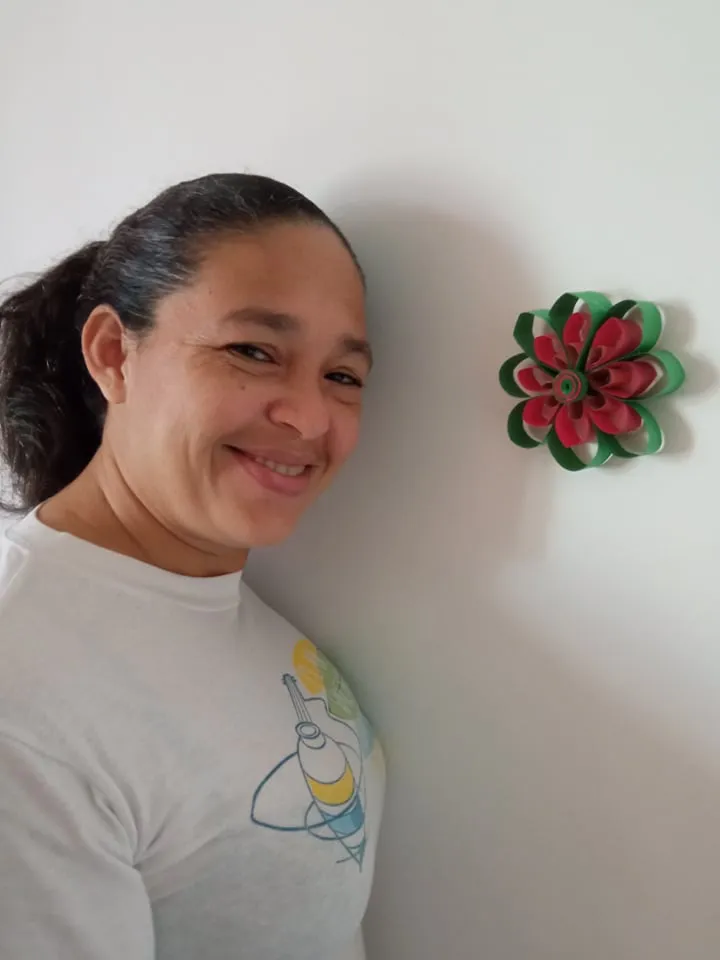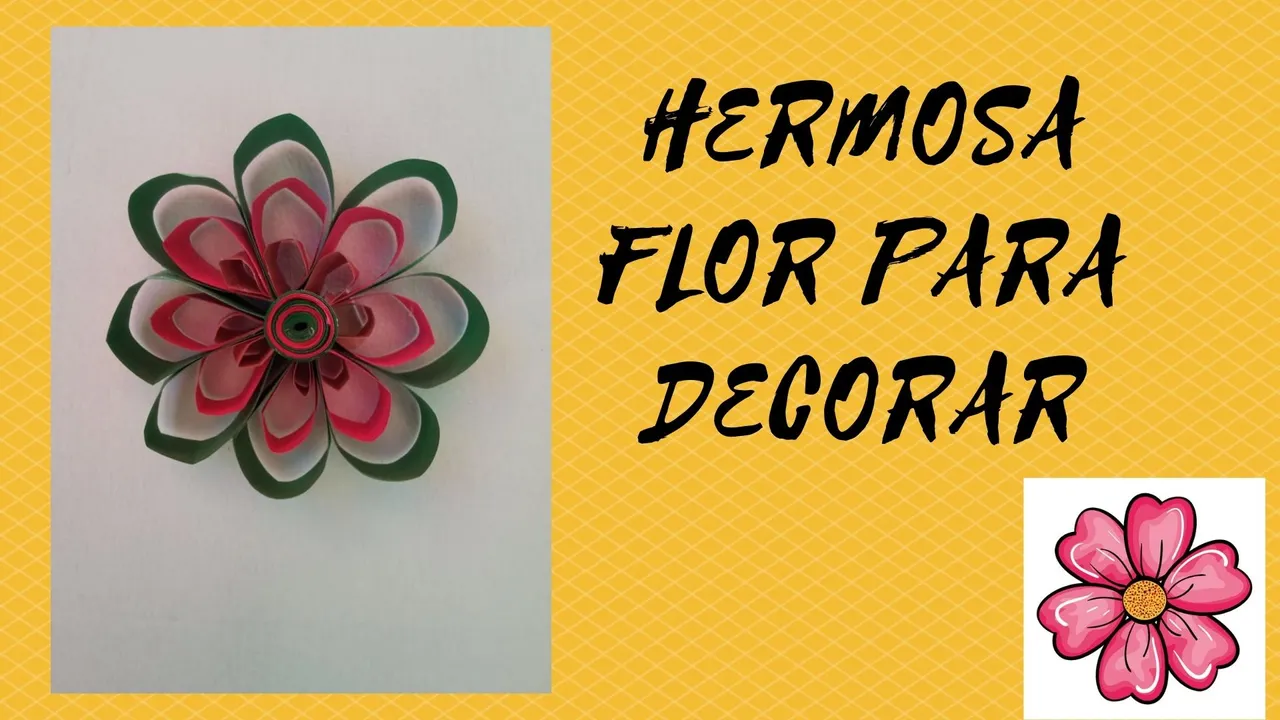
God bless you all, once again I appreciate to share with all of you, today I want to show you a beautiful flower made with useful material, ideal for decorating any corner of our house, then I will show you the step by step.

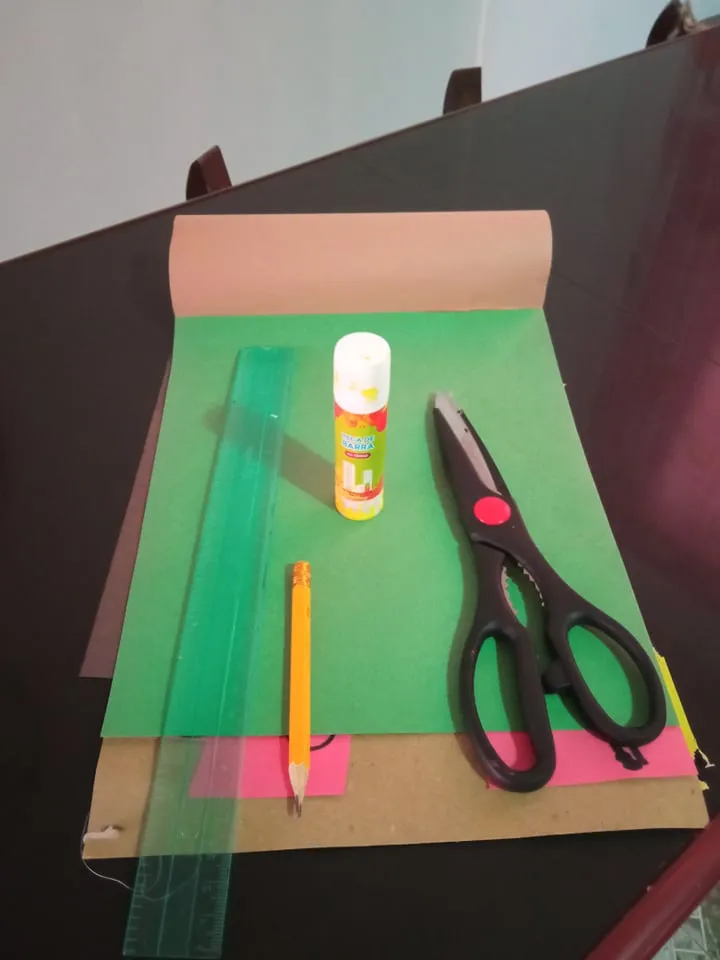
- Los materiales a utilizar son:
- Tijera.
- Papel de colores.
- Pega en barra o silicón líquido.
- Lápiz.
- Regla.
- The materials to be used are:
- Scissors.
- Colored paper.
- Glue stick or liquid silicone.
- Pencil.
- Ruler.
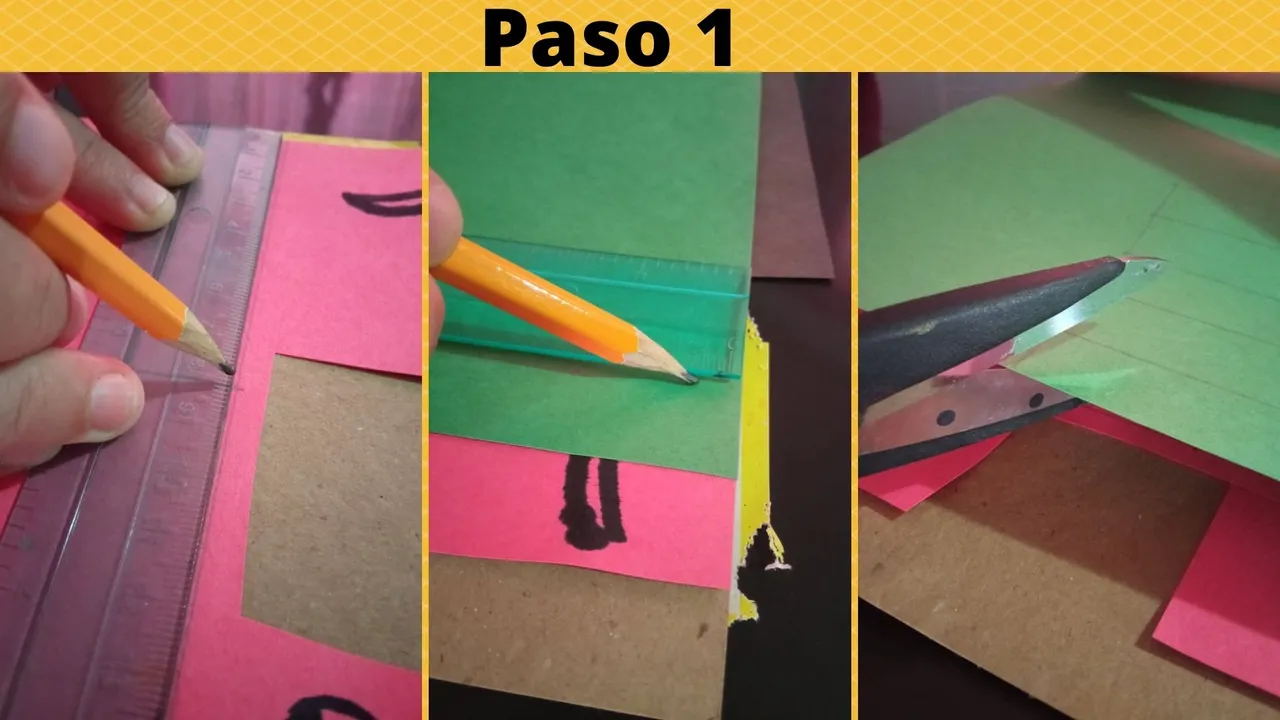
- Paso 1: Primeramente marcamos en el papel varias medidas, 8 tiritas de 2cm de ancho por 12 cm de largo de color verde, 8 tiritas de 2cm de ancho x 8cm de largo de color rosado, y 8 tiritas de 2 cm de ancho x 4 cm de largo, luego procedemos a recortarlas.
- Step 1: First we mark on the paper several measures, 8 strips of 2 cm wide by 12 cm long in green, 8 strips of 2 cm wide x 8 cm long in pink, and 8 strips of 2 cm wide x 4 cm long, then we proceed to cut them out.
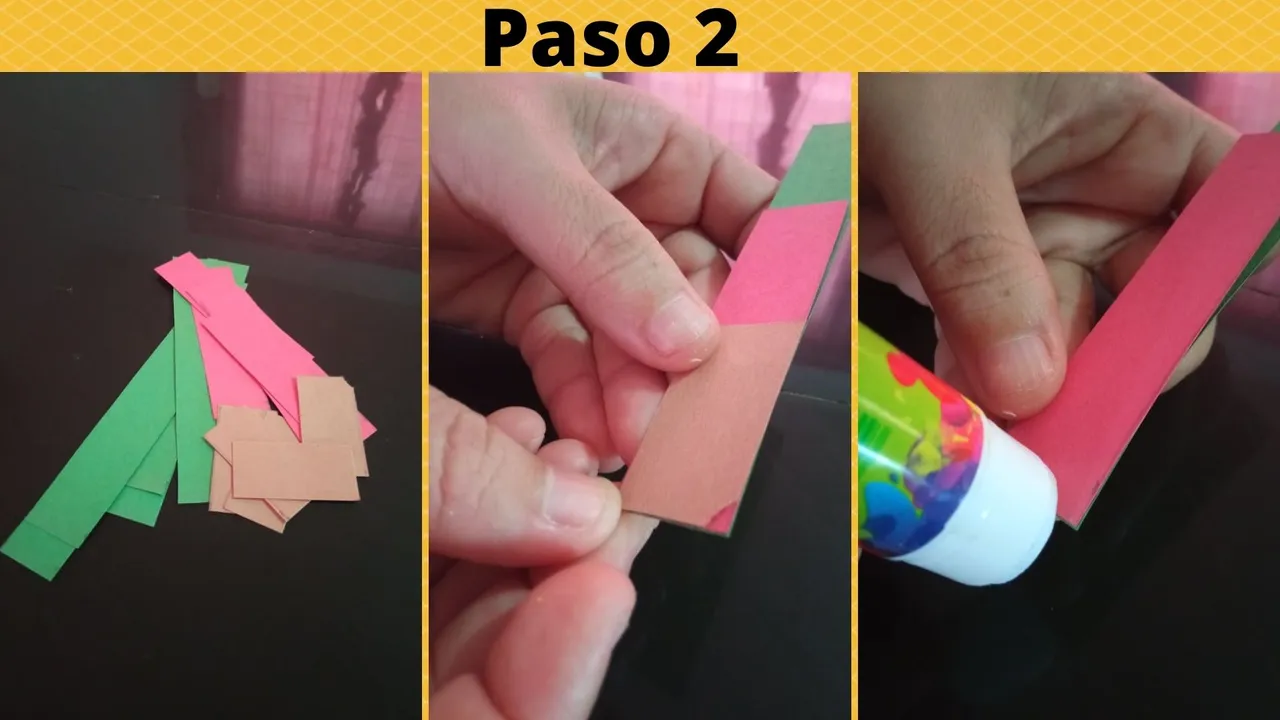
- Paso 2: Una vez que ya tenemos recortadas todas las tiritas, las colocamos una sobre otra, desde la más grande hasta la más pequeña, y comenzamos a pegarlas sólo en las puntas, sólo es cuestión de unir las 3 tiras.
- Step 2: Once we have all the strips cut out, we place them one on top of the other, from the largest to the smallest, and start gluing them only at the ends, it is only a matter of joining the 3 strips.
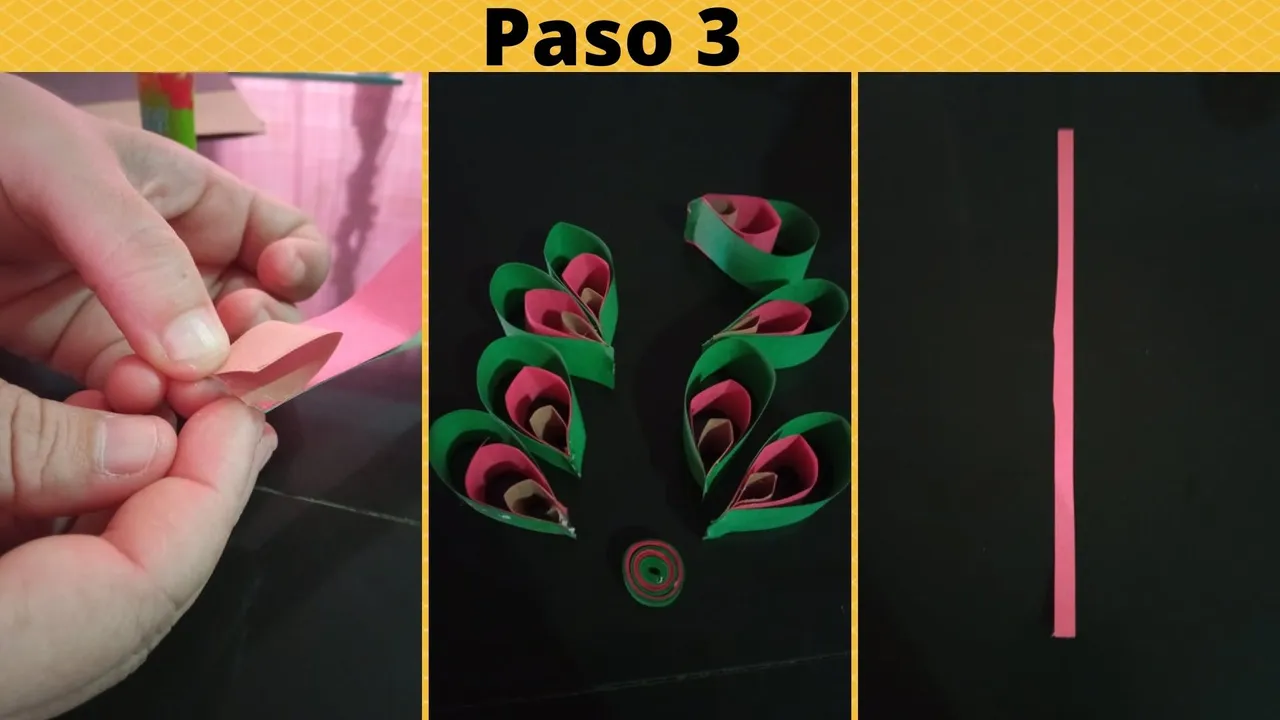
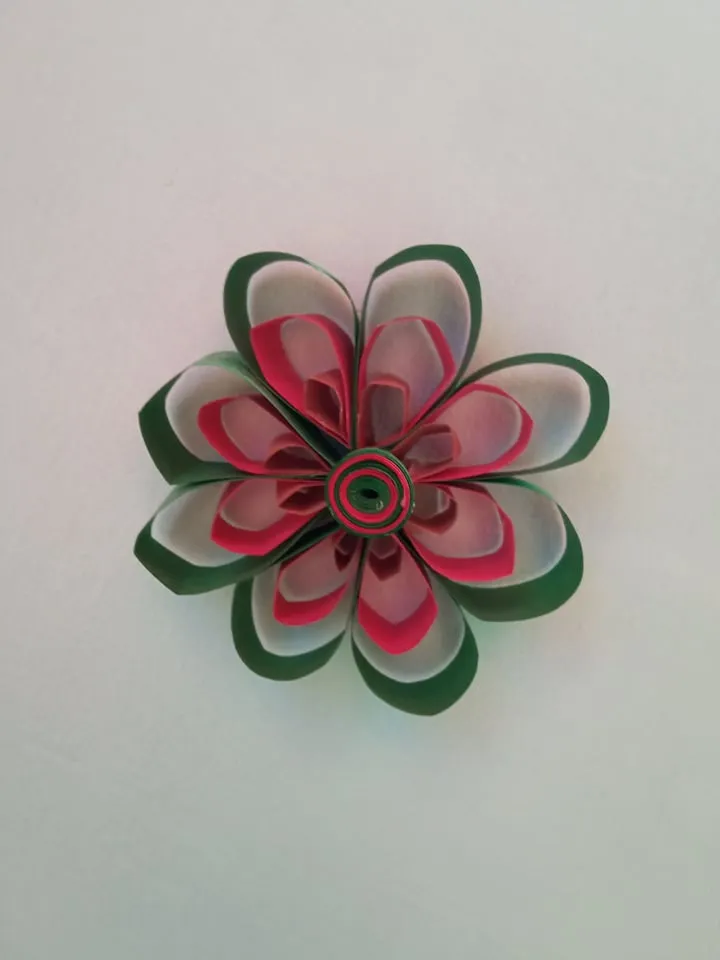
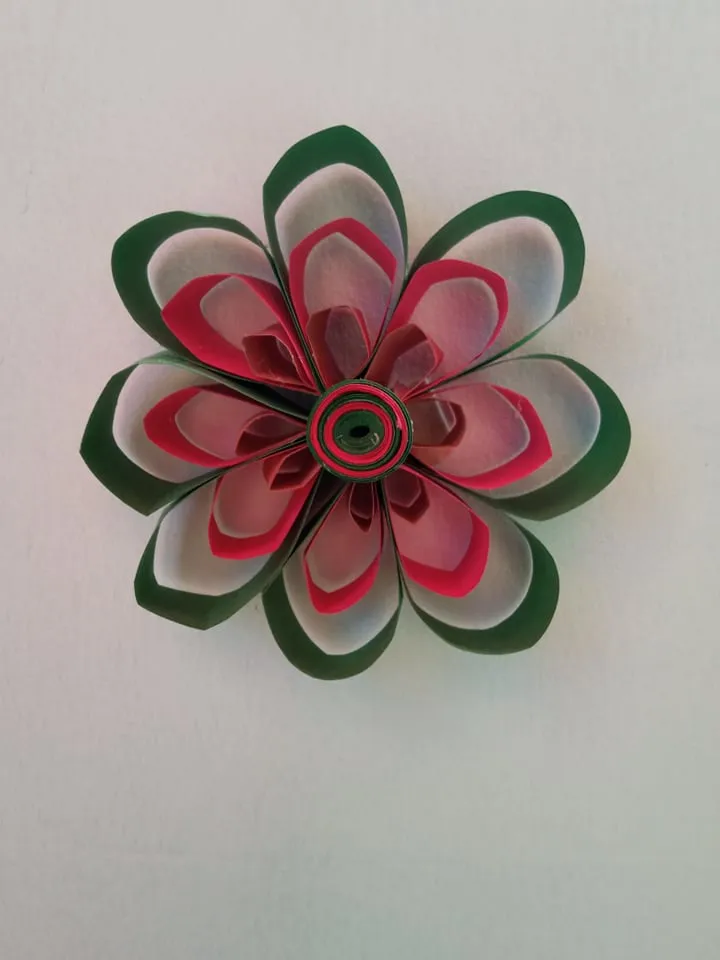
- Paso 3: Luego volvemos a pegar las puntas con pega, pegándolas una sobre la otra dandole forma redonda, tal cual como muestra la segunda imágen, luego sacamos 4 tiritas finas de 23 cm de largo, 2 de color verde y 2 de color rosado.
- Step 3: Then we glue the ends with glue again, gluing them one on top of the other giving a round shape, as shown in the second image, then we take out 4 thin strips of 23 cm long, 2 green and 2 pink.
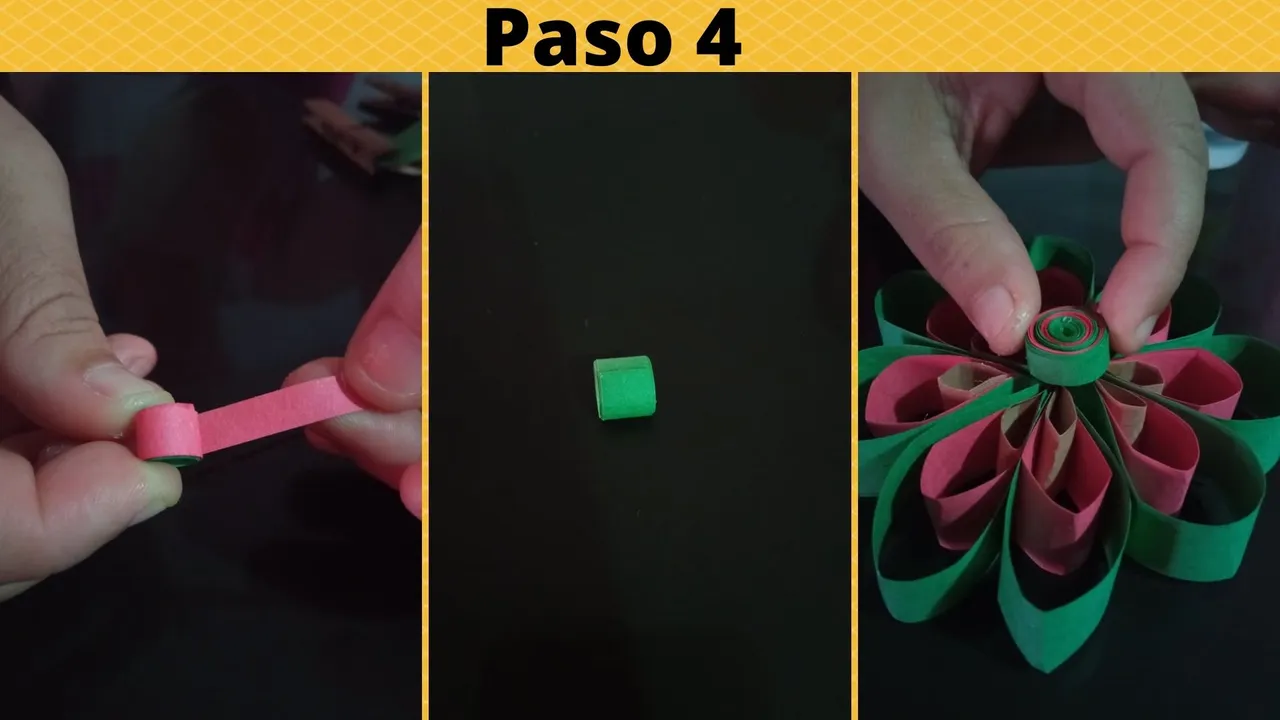
- Paso 4: Esas tiritas las vamos enrollando poco a poco, una sobre la otra, al terminar con las 4 tiritas, procedemos a armar nuestra flor uniendo cada pétalo uno al lado del otro, posteriormente pegamos en todo el centro las tiritas ya unidas.
- Step 4: These strips we roll them little by little, one on top of the other, when we finish with the 4 strips, we proceed to assemble our flower joining each petal one next to the other, then we glue the strips already joined in the center.