 Un placer estar compartiendo nuevamente con ustedes, hoy les mostraré un espectacular florero hecho con cd, especial para decorar nuestra mesa de sala, o nuestra cocina, es muy sencillo de hacer, con muy pocos materiales, pero la verdad es que quedan muy bonitos, le puede colocar flores naturales o artificiales, en mí caso les coloqué flores naturales, acá les mostraré el paso a paso.
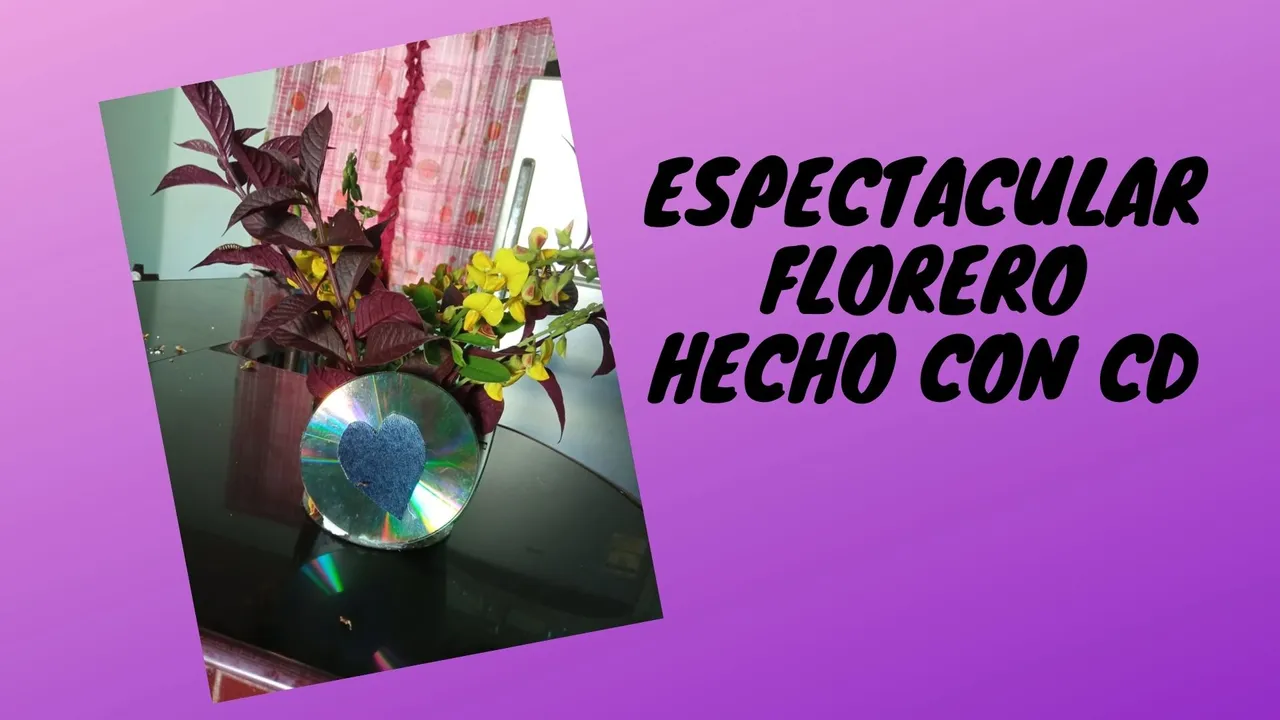
A pleasure to be sharing again with you, today I will show you a spectacular vase made with cd, especially to decorate our living room table, or our kitchen, it is very simple to make, with very few materials, but the truth is that they are very nice, you can place natural or artificial flowers, in my case I placed natural flowers, here I will show you the step by step.

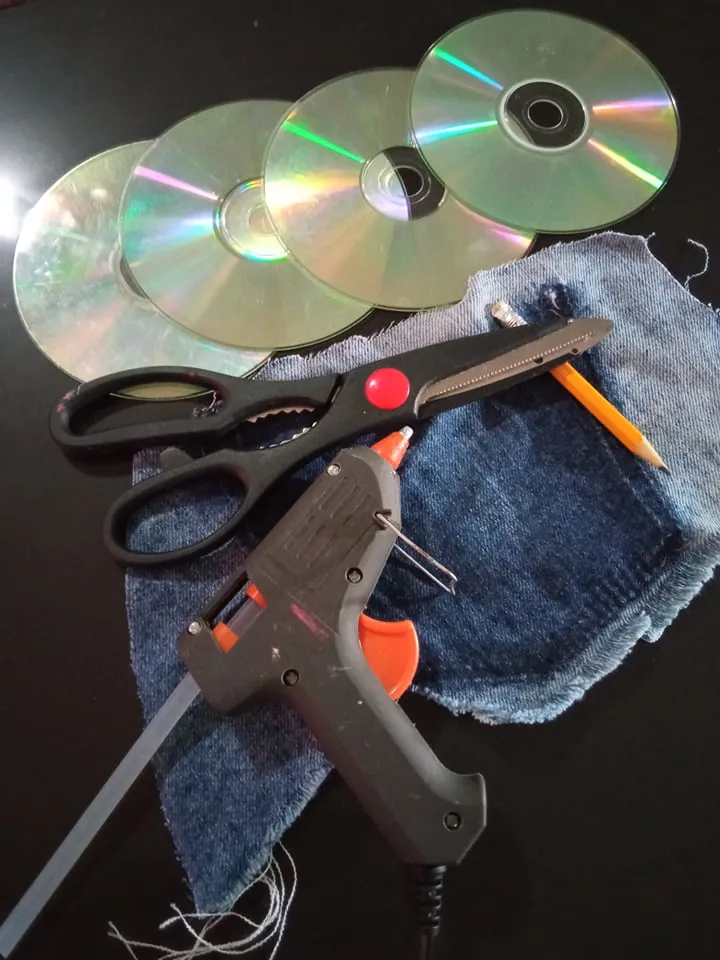
- Los materiales a utilizar son.
- 5 CD.
- Tijera.
- Lápiz.
- Retazo de tela de jean o cualquier otra.
- Silicón en barra.
- The materials to be used are.
- 5 CDS.
- Scissors.
- Pencil.
- Piece of jean fabric or any other.
- Silicone stick.
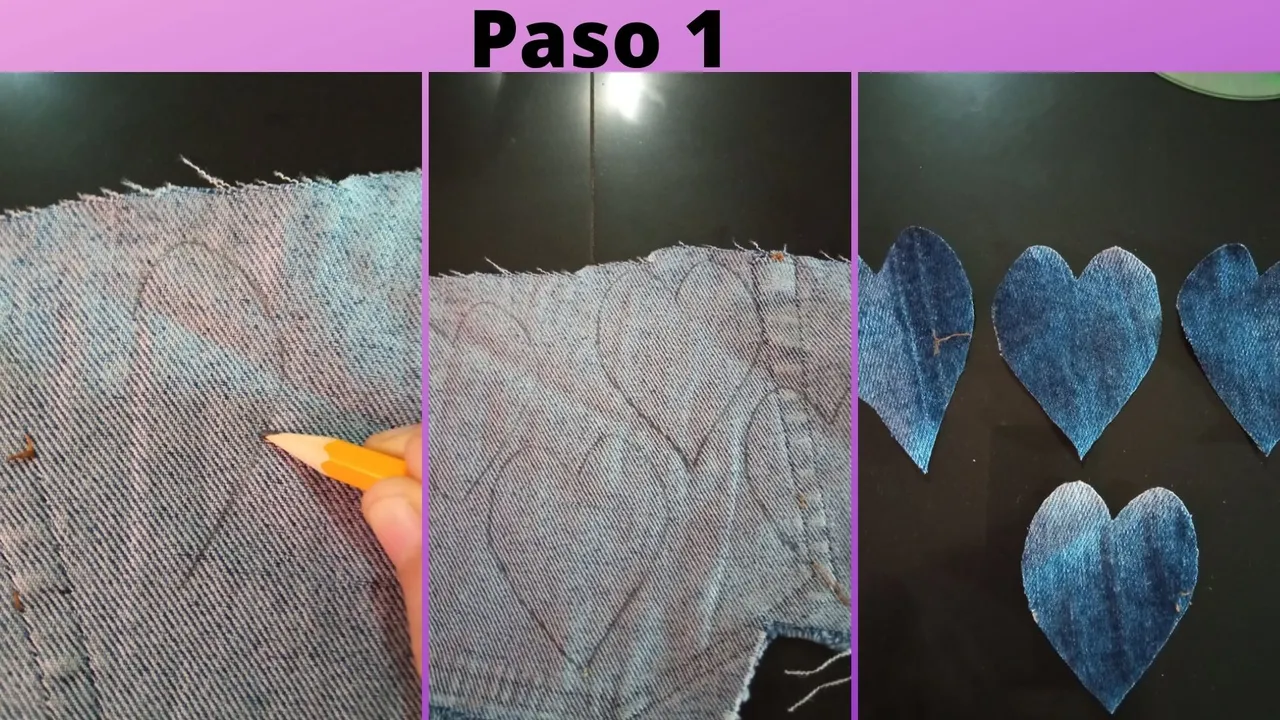
- Paso 1: Primeramente dibujamos en la tela de jean 4 corazones, una vez de dibujarlos, procedemos a recortar uno a uno.
- Step 1: First we draw 4 hearts on the jean fabric, once we have drawn them, we proceed to cut them out one by one.
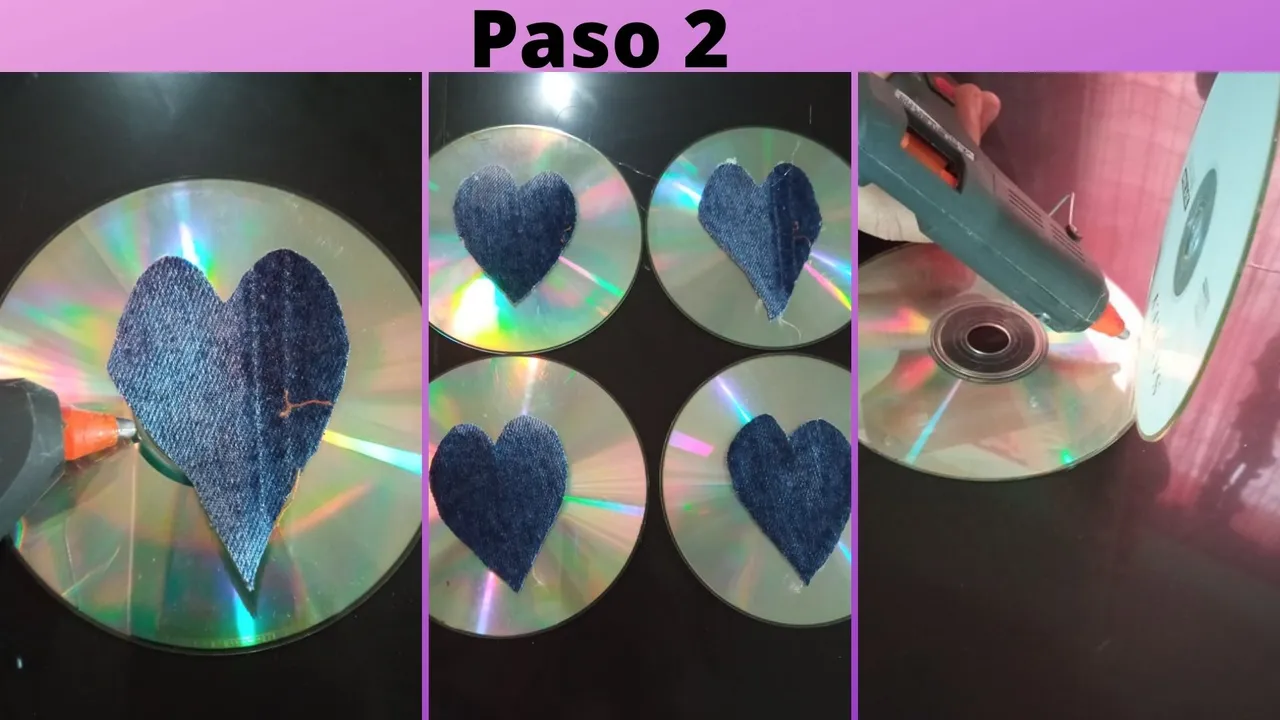
- Paso 2: Una vez recortado los corazones, comenzamos a pegarlos justo en el centro del cd, tapando el orificio del mismo, esto lo debemos hacer en 4 cd, cuando los tengamos listos, empezamos a pegarlos sobre un cd que será la base del florero, pegamos el primer cd justo en la orilla del cd base, quedando el lado del corazón en la parte exterior del mismo.
- Step 2: Once the hearts are cut out, we begin to glue them right in the center of the cd, covering the hole of the same, this we must do in 4 cd, when we have them ready, we begin to glue them on a cd that will be the base of the vase, we glue the first cd right on the edge of the base cd, leaving the side of the heart on the outside of it.
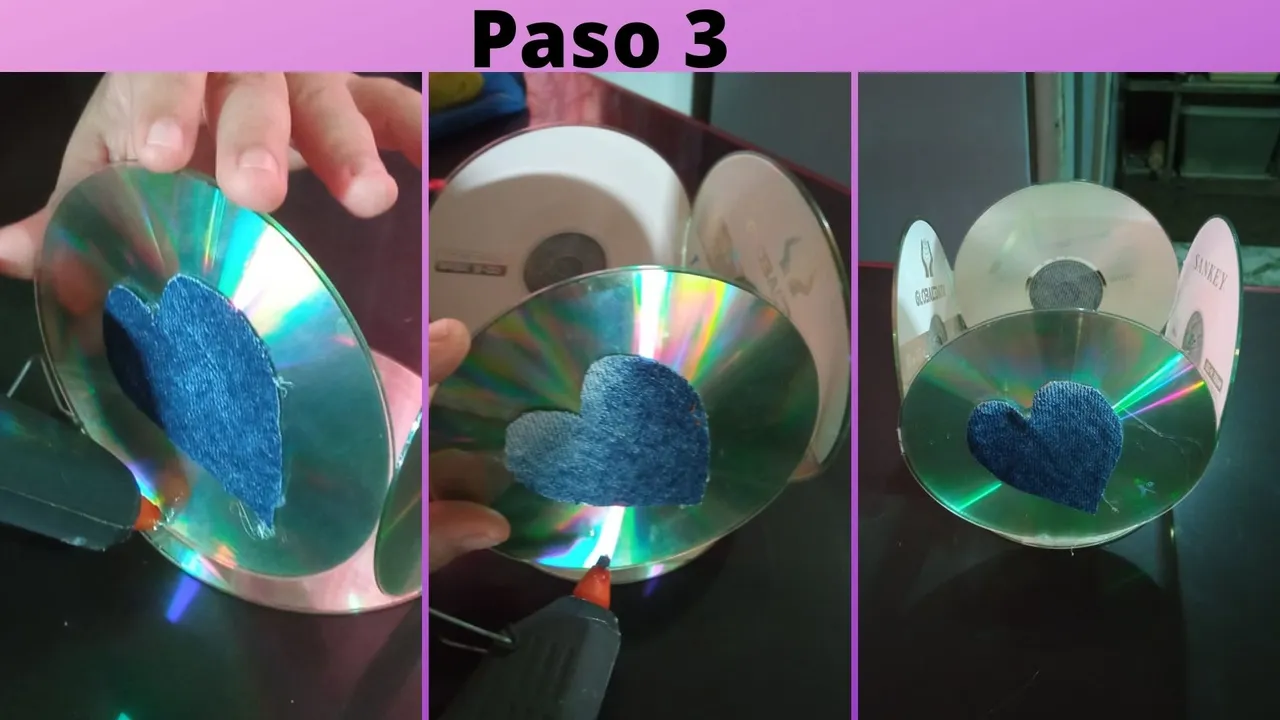
- Paso 3: Luego de pegar el primer cd, pegamos el segundo, también en la orilla de la base, también lo pegamos a la orilla del que tenemos al lado, luego el tercero y por último pegamos el 4 cd, deberá quedar como muestra la tercera imágen, y para darle el toque final, pues coloque las flores dentro del mismo y listo.
- Step 3: After gluing the first cd, we glue the second one, also on the edge of the base, we also glue it to the edge of the one we have next to it, then the third one and finally we glue the 4th cd, it should be as shown in the third image, and to give it the final touch, place the flowers inside it and that's it.
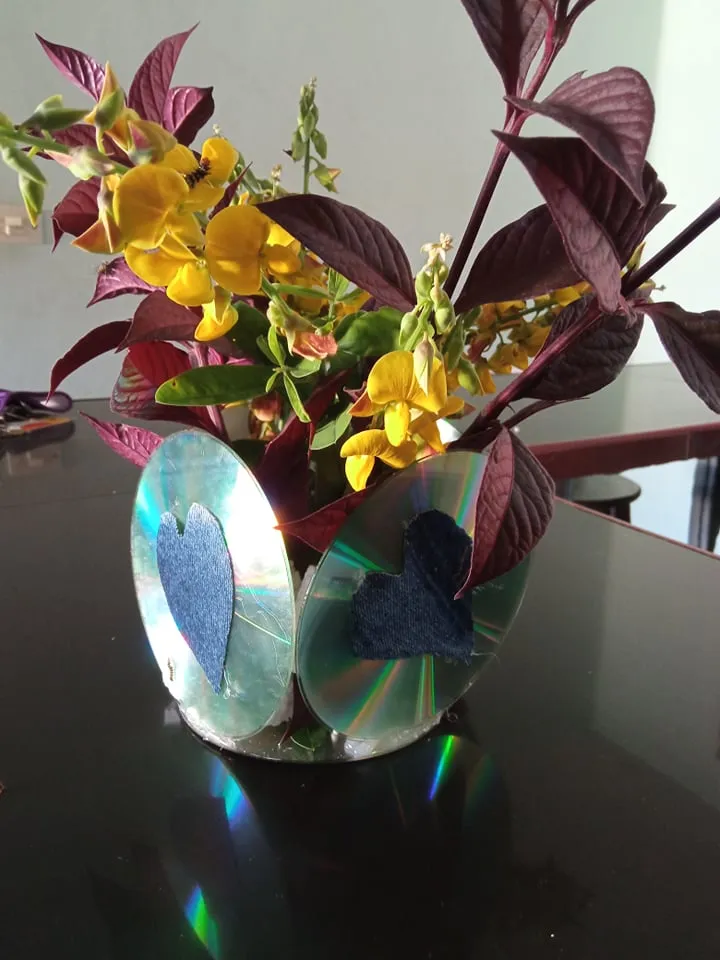
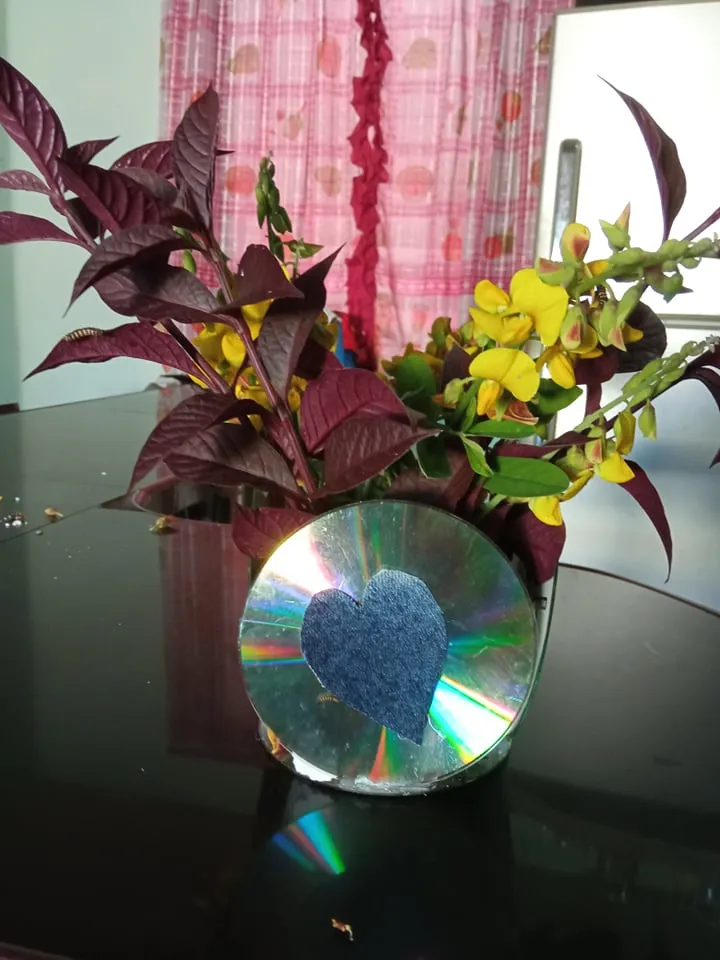
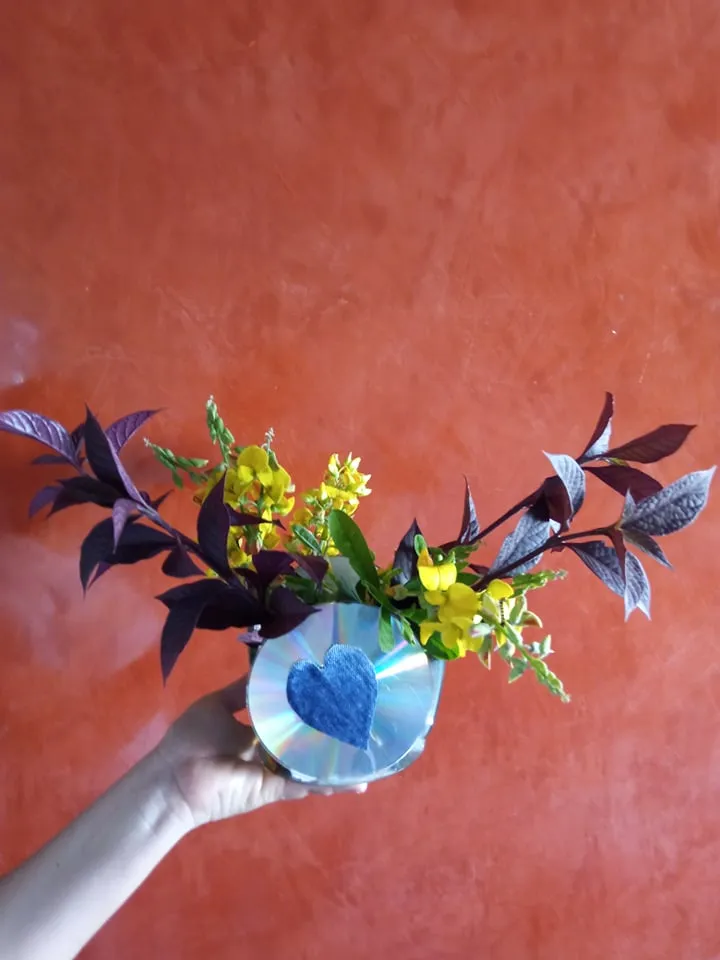
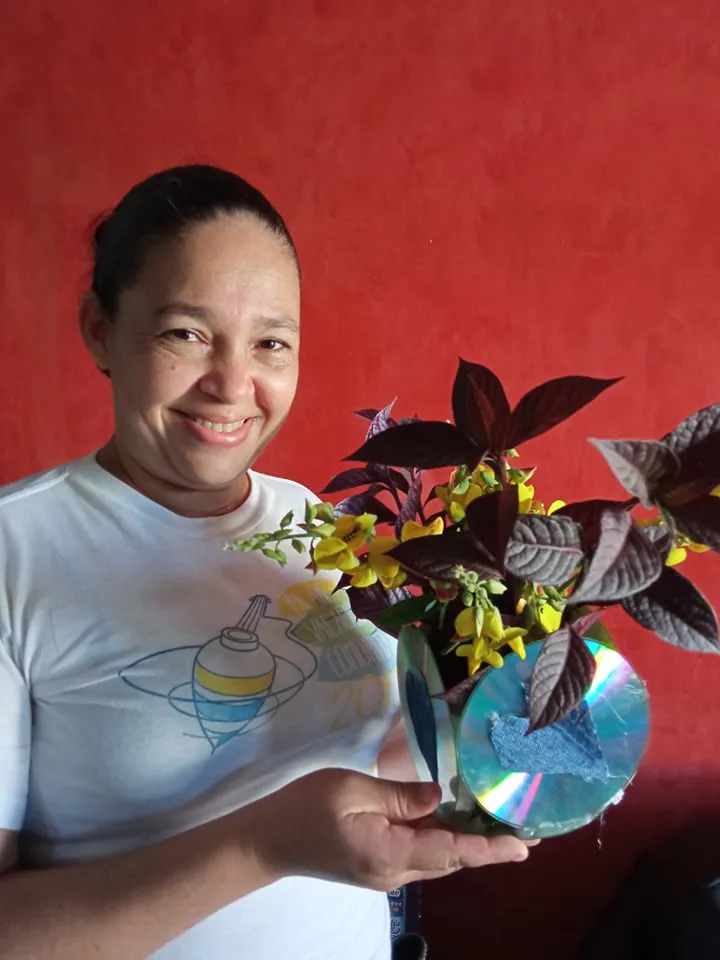
Aqui tenemos nuestro resultado final.
Here we have our final result.
 Todas las fotos son de mi autoría, y editadas desde canva.
All photos are of my authorship, and edited from canva.
Todas las fotos son de mi autoría, y editadas desde canva.
All photos are of my authorship, and edited from canva.